When you click on links to various merchants on this site and make a purchase, this can result in this site earning a commission. Affiliate programs and affiliations include, but are not limited to, the eBay Partner Network.
1996-2002 f-body Body Control Module Modification Write Up
Hi Everyone, I finally decided to take the time and discuss the details of the installation of a body control module from a 4th generation 1996-2002 f-body. For starters, there are 2 different kinds, those made between 1996 and 2000, and the ones made between 2001 and 2002. The latter is more desireable.
Why consider installing one of these modules?
1. This module consolidates, the chime module, door locks, VATS, keyless entry, retained accessory power, interior lighting with a prevention of battery drain, and several other neat features.
2. improves the door locks and removes the stock relay which is not worth the metal used to make it
3. use of a key fob
4. prevents the draining of the battery by shutting off the interior lights if you forget to
5. allows the radio and windows to remain operational after you turn off the key until you open the door.
6. Although it has a VATS function, it can not be used unless you have an engine computer from a late LT1 car or an LS1 car, this remains bypassed.
7. provides you with a GM anti-theft device, which although is no match for an aftermarket set up - no one expects this on a 3rd gen. It is extremely reliable and user friendly, not to mention convenient.
Re: 1996-2002 f-body Body Control Module Modification Write Up
For starters, let us discuss what needs to be removed to gain access to necessary inputs - the best way is to remove the dash in its entirety. If you are weary about doing this, then at the very least, you will need to remove the dash pad, console, hush panels, kick panels, radio pod if equipped, convenience center gets unscrewed and lowered and fuse box gets unscrewed and lowered as well.
If you decide not to remove the dash it becomes more challenging and will make neatness difficult. Also you may need to run or extend a couple wires, than if you remove the dash and untape the hanress and reroute some wires.
You also need to decide where to put the BCM.
The following will work: the area directly above the convenience center, but other options are next to the engine computer, under the dash pad if there is room, and in other places too
Re: 1996-2002 f-body Body Control Module Modification Write Up
So I did this converion 1 year and 2 months ago as a rookie and knew very little about cars. But these are the pictures I have with some comments in red.
I figured I would post pictures first and then put some words to it in subsequent posts.
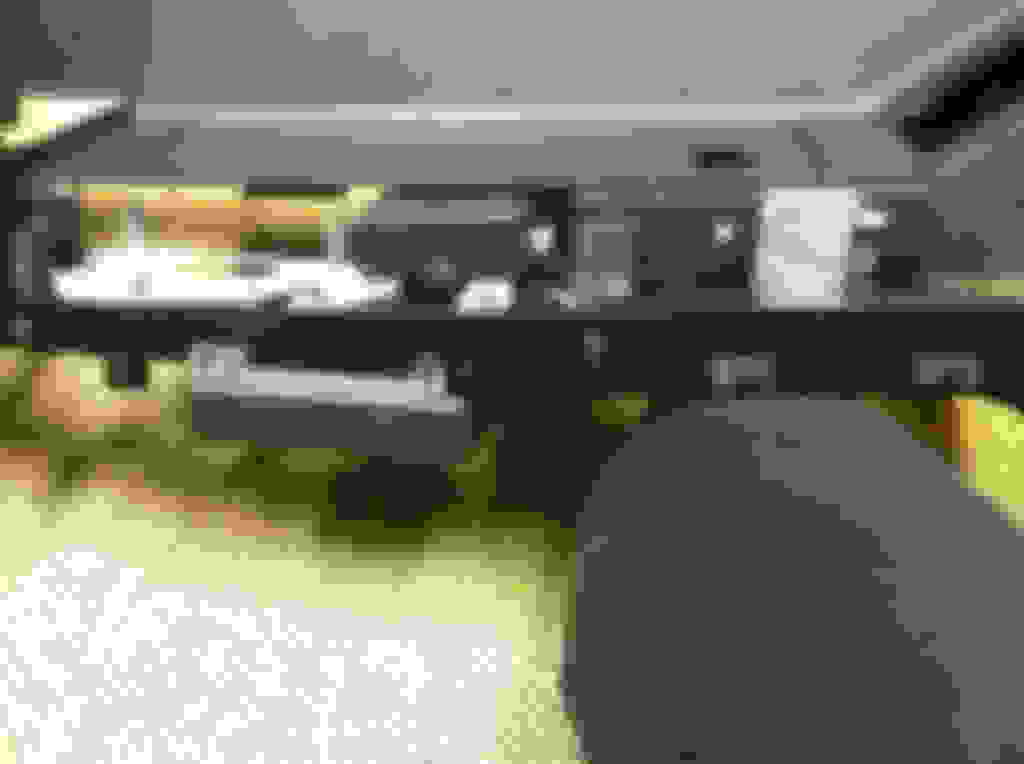
I work a lot neater now - haha<br/>And it is not as bad as it looks.
notice that black box - it is just one of many possible places to mount the bcm
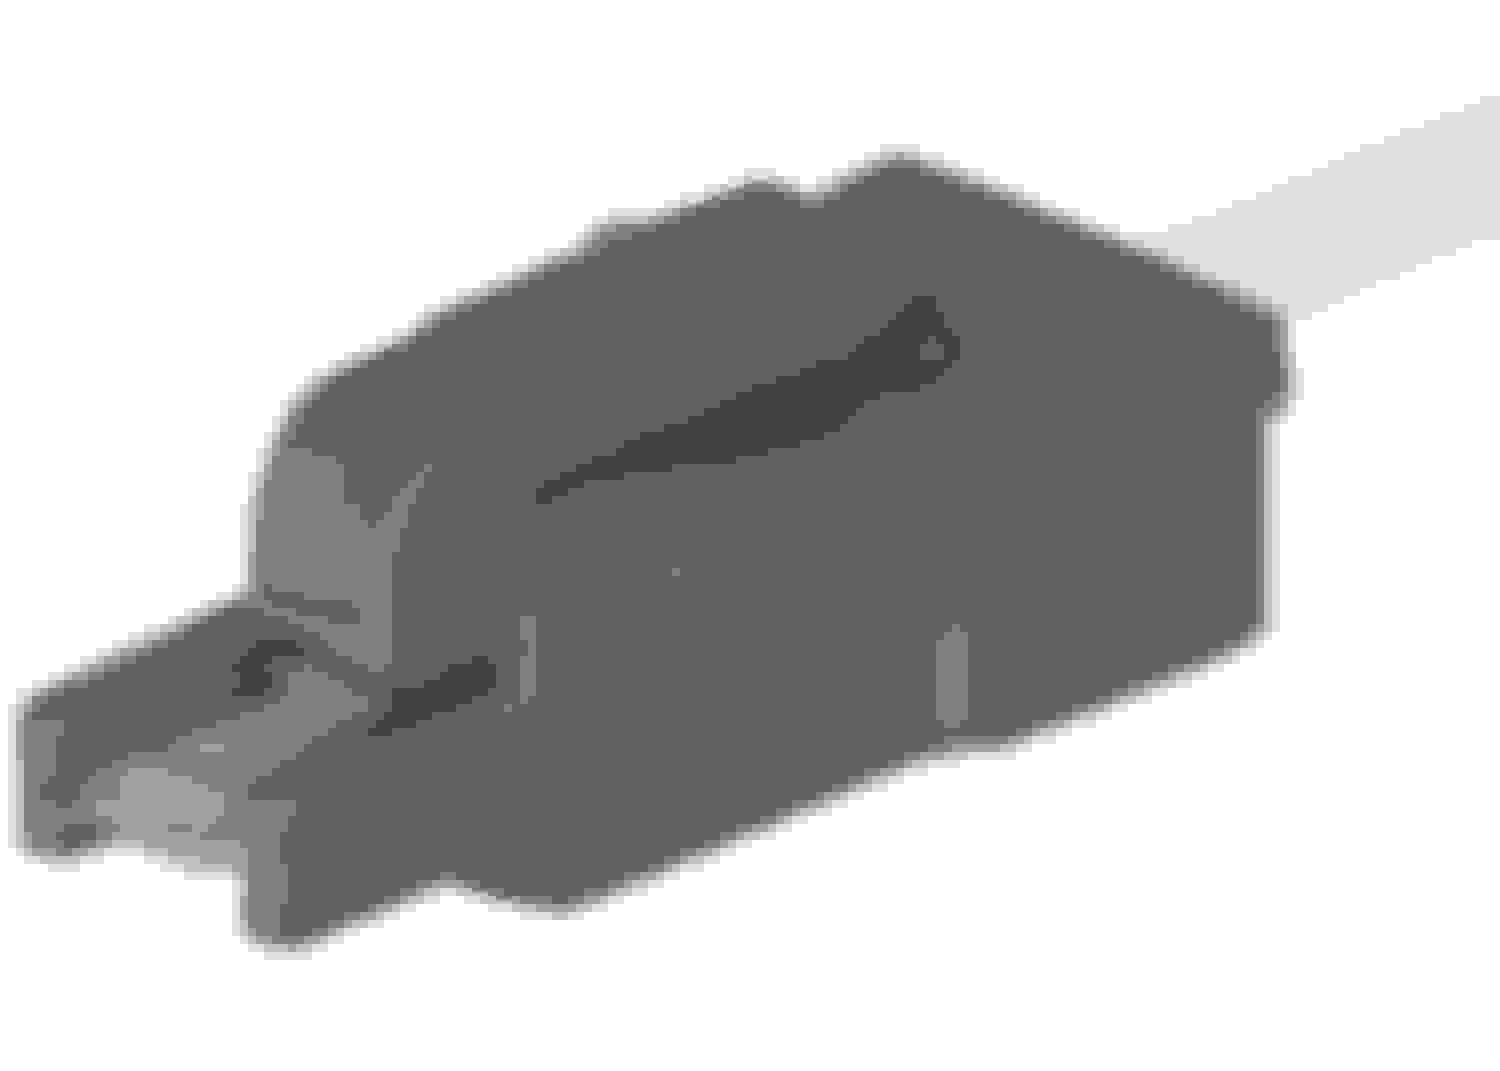
on the left is a new door jamb switch, single pin , on the right is the drivers side stock gm switch, after the conversion, both passenger and driver switches can be single pin
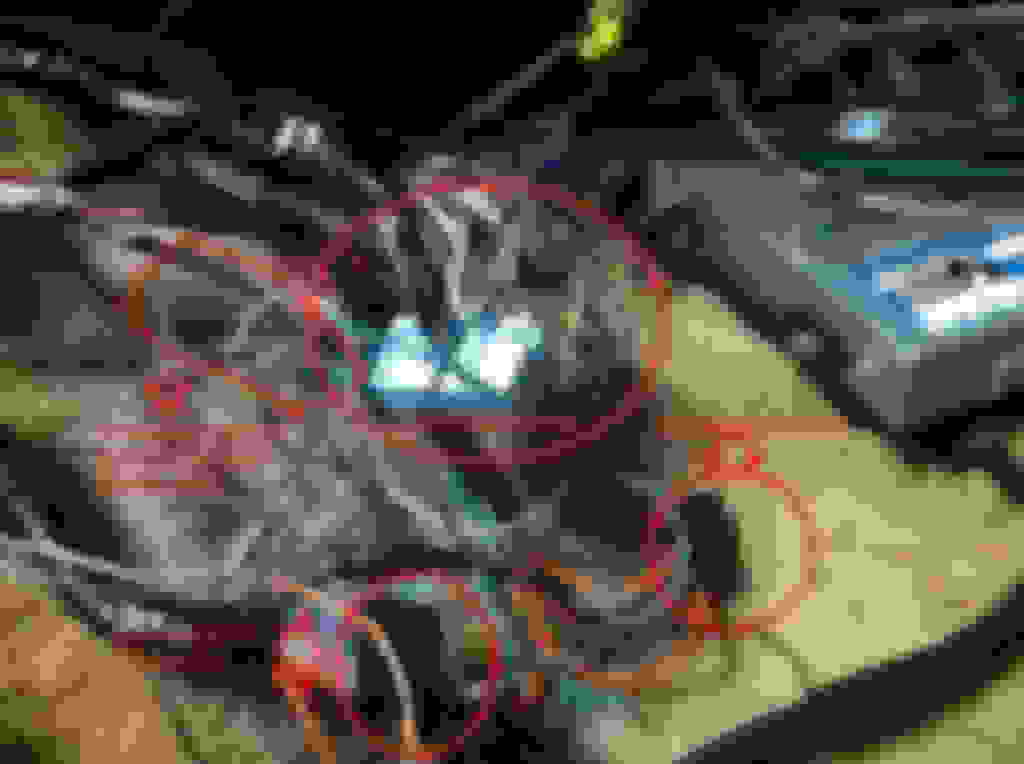
the big blue connector
one relay replaces the trunk relay and the other is for the exterior lights (the bcm controls the lights to flash if someone brakes into the car)
Re: 1996-2002 f-body Body Control Module Modification Write Up
There are three connectors on the body control module, a black connector that has 14-16 guage wires going to it. These are power and ground and lights, another is green and has 16-18 guage wires going to it, it is for the door locks, and the last is a 32 pin blue connector which has a bunch of inputs, but not all 32 cavities are used.
Some supplies you will need are as follows:
1. the body control module
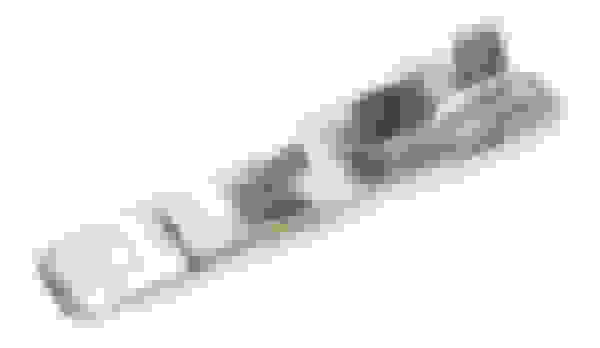
2. pigtails (the green connector actually has an extention put on it by the factory - meaning they ran short of wire so what they did is they made an extention harness. In this case when you get it, you just need to tug on the wires a bit till you see it and then cut the wires after the connector. (when you go looking for a car to get the wiring from, get as much of the wires as possible, or simply buy a body harness - your choice up to you.
3. the following terminals are needed:
GM metripack 280 with locking tang 14-16 guage
GM metripack 280 with locking tang 12-14 guage
GM Metripack 280 without locking tang 14-16 guage
GM micropack 12020757
Fuse Block Connector ACDelco GM Original Equipment PT700 (can be sourced from ebay or elsewhere)
metripack 480 female 14-16 guage
GM packcon male connector 12-14 guage and 14-16 guage GM: 8900524,12020320
a good source is Clipsandfasteners.com
you will also need GM PACK-CON III fuse block connectors - ebay for these if you want them to come in a strip for your application , otherwise clips and fasteners is okay
you will also need two of these relays : Standard Motor Products RY282T Relay
and the base for it : GM 12110541 Relay/Horn/Tail Lamp Connector
You will need a good wire stripper tool and a good crimper. With terminals you may find that to start the crimp you mauy want needlenose pliers and then you can finish it with the crimpers. Also you can use solder to seal it up even better.
You will also need a handful of buttsplice connectors - well more than a handful, and also some various wire colors as well as the wires in different guages. Typically any GM vehicle uses similar color wires for the same things.
you will need 14 gauge wires in the following colors:
red, purple, blue, black
16 guage in the following:
orange, blue, white, yellow, green tan, gray, red, black/white, black, brown, purple, pink, red - these are just the basics
note the green extention harness on the right
Last edited by alex722607; 05-17-2015 at 08:59 PM.
Re: 1996-2002 f-body Body Control Module Modification Write Up
Disclaimer: Although I am confident no one will screw up following this guide I have to say that I take no responsibility for damage caused to your personal property.
Now on to the good stuff!
Well we need to start with power and ground. Disconnect battery before proceeding.
For power Hot at all times you will need to find the PWR ACC resettable fuse. It is indented. On the back side you will see raised sections and a terminal inside.
Basically this is a factory built in port on the fuse block to add stuff on. It is also on the front face. See the picture for more info. Take one of the fuse block connectors (notice the orange thing in the picture, that is removable - its a connector and it just clips right in
.........and a pack con male connector, crimp a 14 guage piece of wire, assemble, and route it the location of the bcm.
Next you will get a key on feed to the bcm. Take the WDO circuit breaker out and take a brown wire, 14 guage, crimp on a pack con female, next you will remove the pink wire that is at the circuit breaker and insert the brown wire into its place. route the wire to the bcm. Now at the bcm location - take a blue 14 guage wire and route to the pink wire you just removed from fuse block. At the fuse block you need to now find the 10 amp radio fuse. You need to remove the fuses for the wipers and radio. There is a brown wire that feeds both the radio and wipers and it is a junction pack con, like those used in the fuse block. Cut off this junction connector and attach a pack con female to the brown and put it into the wiper slot. Now take a blue wire 16 guage crimp on a pack con female and put it into the radio feed slot. Now route this wire to where you just routed the blue wire from the bcm location to the pink wire. Splice the three together (get rid of the terminal on the pink wire).
For the next one you will need to get at the dash harness. You will need to trace out the orange wire that is on your courtesy lamp in your drivers side footwell. It leads to a splice. The next part is going to be triacky. You need a multimeter to test continuity. Basically you take one lead on one side of the wire and the other lead on the other end and if it beeps it tells you what is what. You need to remove that splice, cut it out. First find the wire that comes from the fuse block, mark it, then find the one that comes from the cigar lighter and mark it. Then find the one that comes from the horn relay and mark that. Then find the one that goes to the mirrors (depending on the year of the car, until 1988, certain things like mirrors, locks and windows and the hatch light got their power from a junction block in the drivers side kick panel, which got its power from splices and the fuse block. Spend time looking at it and processing it before you cut anything. Anyway, anything that is lights related, or rather anything that you want the body control module to shut off when it senses that the battery is being drained isolate that to the side of everything else. *Important, do not reconnect the power lock orange wires*
Anyway the stuff you want to be controlled (lights), combine it into a splice and have a blue wire go to the bcm from this splice.
The other wires, combine them into a splice plus an orange wire and send that orange wire to the bcm.
At the bcm get a black 14 guage wire and connect it to a good ground.
This is all the wires you need for the black power connector, at the end I will go down the line and tell you where to connect everything. Next up is the door locks!!
Please post if there are any questions or clarification needed.
Last edited by alex722607; 05-15-2015 at 10:52 PM.
Re: 1996-2002 f-body Body Control Module Modification Write Up
Okay so I uploaded some nice pictures where possible to help visualize what i am talking about.
Now lets talk about door locks.
All of us who have factory power locks have this thing in their car.
It is a piece of crap - new or used.
The one thing you will notice is that these operate off of hot side switching. Basically for those that dont know what what that is, it is essentially sending positive voltage to either lock or unlock - what ever you choose. The BCM operates off of ground side switching.
How do we convert, simple. Remeber in the last post when I was discussing that splice with the orange wires that I said for you to remove and resplice the wires differently. This splice gave the door lock switch power - if you remove the switch on the door, it has a blue, orange and black wire, - well the orange wires for the switches that I told you not to connect anywhere, you can now take an "o" type connector and connect these two orange wires to a ground source - somewhere on the metal part of the dash is okay as long as it is unpainted and rust free.
Now find the relay and remove it. remove the connectors and cut off the connectors/terminals - you wont need this.
Now for the connector on the BCM, the green one, you will need to utilize the metripack 280 14-16 guage connector , or if you want to buttsplice it into a pig tail you can do that aswell. (I prefer new termionals because it is cleaner)
Here we go!!
isolate the two tan wires, and using a multimeter, find out which wire goes to the drivers actuator and which one o the passenger actuator. (use continuity setting)
the one going to the drivers side, extend the wire and route it to the location of the bcm and install into the green connector, cavity A.
The one going to the passenger side, extend and route to the green connector, cavity E.
Now isolate the blue wires, these are the Lock signal. Put these both into one end of a butt splice and in the other end install a red wire and route to the BCM connector green. Put it into cavity C.
NMext come the black wires, do a similar thing like you did with the blue wires, except this time put an orange wire on the other end of that butt splice and send it likewise to the BCM. This wire will go into the green connector, cavity D.
Last all you have left is two gray wires. Put them both into one end of a butt splice and install a gray wire on the other end. Send this to the green connector, and put into cavity B.
The orange wire left by the old relay - you can either trace it back to the junction block if you are pre-1988 and have it on the kickpanel, or if not, then just cap it with electrical tape - never know when you will need it.
Last edited by alex722607; 05-15-2015 at 11:25 PM.
Re: 1996-2002 f-body Body Control Module Modification Write Up
Okay I am gonna take this in several parts, there are two rows on this third connector. Row C and row D.
Here are the pinouts for the connector
This connector utilizes the MICROPACK terminals pictured above
Top row - Row C
C1 - connect this to a ground - an 18 guage wire will do
Next is VATS stuff- so all you with 0411 pcms and want working vats this might work for you - I am still working out the kinks on this one - I actually think my BCM is bad - but thats for another day
For those with TPI or other - just bypass this with a resistor from radio shack and it will work fine - if you don't have VATS, then just bypass it as well. - or else you will get a fault display, or it wont work properly
Cavity C2 and D7 are used for the Pellet in the key for 88-02 f-bodies
C2 - get a purple wire and run it to a place you want to hide the resistor, or run it to your stock black vats connector at the base of the steering column - 18 guage wire is fine.
D7 is the white/black wire and essentially run this with the purple wire. IF YOU WANT 4th gen VATS, plug these two into the black connector at the column, IF YOU DON"T, then just put this somewhere where you can access it later to figure out the resistance value if you don't know it. If you want to incorporate starter solenoid VATS (NO engine computer involved in this), stay tuned for later
Back to the pinouts
C3 is not used, leave it empty.
C4 is where the fun begins.
Find your convenience center- on the right hand side of the drivers hush panel
That big blue thing is what we will eliminate - that is your "dinger"
when they changed the dash in 90 or 91 they must have changed the dinger too - in this pic its black
could also look like this
pull that blue or black or white thing out and remove those terminals for it from the convenience center. Please note, there are plastic locking clips on the side of it - it is either white or blue. pry these out with a pic or else you will have a hell of a time with those terminals.
do yourself a favor and do it one at a time - or it will be a pain
okay so C4 is fasten seatbelts, on the convenience center, that is Pin F on which is a yellow wire. Extend it or do what you have to - to get that to the bcm connector
c5 and c6 are not used
c7 is a little tricky.
for this one you need to remove the headlights switch and the dimmer switch located next to it. Pull the connectors out from the dash to where you have a good look at them.
Connector 2 is the one for the dimmer, the disc thing that rotates which you use to dim the lights inside the car. Find the white wire, or rather cavity C and remove the wire that is there (maybe its a different color for different years or makes). In its place install a gray 16 gauge wire with a female metripack 480 terminal crimped on and route this wire to C7 of the blue BCM connector
take the white wire that you removed from the connector and route/extend it to terminal D1 of the bcm's blue connector.
Last edited by alex722607; 05-17-2015 at 08:38 PM.
Re: 1996-2002 f-body Body Control Module Modification Write Up
C8 is for the alarm. It is a wire that controls a relay that will flash the parking lamps if someone breaks in.
What you do here is take a black/white wire and run it from C8 to a concealed spot under the dash like perhaps above the convenience center. -- up to you.
Crimp on a metripack 280 female without locking tang, I will discuss where to install it in the relay connector later.
C9 is the horn control for the BCM.
What you will do for this is simply take a black wire from the BCM, cavity C9 of the blue connector and route it to the convenience center. Find the horn relay in the convenience center - I think its the only square relay there. The black wire is the signal that you need. You have two options here, you can leave the wire where it is, cut the wire at a point and use a butt splice to connect the two halves and the wire you just ran all together. You can also remove the terminal from the convenience center, and cut it off, then using a metripack 480, attach both wires to the same terminal.
C10 is not used
C11 is the starter enable. If you don't have working VATS and want a partial vats, or if you want this to work regardless, then run a yellow wire from C11 to a remote location. We will discuss it later.
C12 is the MIL/SES lamp for the BCM. Like there is a service engine soon lamp for your engine, this is one for your body. If you have a vats module in your car than just take a gray wire and run it to that light (both can be coinnected) If you don't have a security light, then put a little idit light under the dash where you can access it to see it when necessary.
C13 is the seatbelt switch. Go tyo the convenience center and find pin H, its a black wire. Route/extend this wire to the BCM, pin C13 or the blue
connector
C14 is the signal for the key being in the ignition. Its the dinging you hear with the door open and key in the ignition but not on. Go to the Convenience center and find the light green wire in cavity F. Remove and route to the BCM
C15 is something I have not figured out yet, it would only be for digital dash cars that use a 4th gen radiator with a different coolant sensor
C16 for an LED. It is what tells you the system is armed or disabled. I put mine next to the fog light switch and drilled a small hole. I used a plastic grommet of sorts to keep it in place. You can source one from a 4th gen car, its in the windshield defroster. You can get one from radio shack cheap. Also the presence of an LED tells the BCM to activate theft prevention capability, if disabled. (you can program the BCM to do several things)
Re: 1996-2002 f-body Body Control Module Modification Write Up
So we continue....
D1 was already discussed
D2 is the shock sensor which you can get from a salvage yard from an f-body, for now if you want you can run a light blue wire to a concealed place like the storage in the trunk
D13 is an orange/black wire that detects when the trunk is open. I have to check into if this is available for not non digital dash cars equipped with a hatch pull down unit.
One way to check is if you open your trunk and look at the unit. If you have a black/orange wire coming from the assembly, you can trace this wire and extend it to the BCM. If you have a digital dash car, then find a place to tap into this wire which is located behind the driver information center. It is Pin K at this connector. It is also Black/orange
The hatch switch/relay conversion is different for camaros and firebirds. I will go into detail another time.
What is involved is converting it to ground side switching and I have to research to camaro to accomplish this.
Last edited by alex722607; 05-25-2015 at 07:53 PM.
Re: 1996-2002 f-body Body Control Module Modification Write Up
Ok, so I did some checking, and due to GM's wonderful schematics, could not find anything conclusive about the wire that senses if the trunk is open. So what I am going to say is this: if you have a hatch pull down unit, then chances are that you have this orange/black wire. If you don't - then you probably don't. If you have hatch pulldown, then trace out an orange black wire that comes from the assembly, if you don't have it, then obviously you can't wire it in - the only thing this would allow you to do is that when you open your trunk, it would tell the cargo light to come on- along with the interior lights. Same if you open a door.
If you don't have one, then I would suggest trying one from another car like an 84-96 corvette. It would mount on the hatch filler panel where the light is. It would operate on the same principle as a door switch.
Re: 1996-2002 f-body Body Control Module Modification Write Up
Onward....
D3 and D4 are hatch related.
On Camaros, you have 2 wires going to the switch for the hatch in the console, on Firebirds, there are 4 wires - 2 are for illumination (a festure Camaro's don't have)
For a Camaro take the orange wire and remove it from the connector. If you dont have those terminals than cut it a bit before the connector. Next find the hatch release switch relay. You are going to extend if need be the orange wire to reach to the release relay. Take a black wire and put it in the place of where the orange wire used to be in the switch connector.
Put an appropriate connector on this black wire and put it a ground source.
The brown wire on the switch connector, it goes to the relay. If you can, remove this wire from the relay and route to the BCM. In place of that wire, at the relay, take a brown wire and place it by the relay connector. Then route this to the BCM. The first brwon wire, insert that into Pin D3, and this brown wire,m insert it into D4. Cut the two remaining wires at the relay. Now take the new relays you got and a base for one of them. Take 4 terminals - Metripack 280 without locking tang and crimp one onto each of the wires.
Insert like this:
The black/white thick black wire goes into A2.
The tan/white wire goes into A1
The orange wire goes into C1
The brown wire goes into C2
For a firebird follow these instructions
Take off the panel with the switches on the instrument panel
remove the orange wire at the trunk switch and route to the location in which you have the hatch switch release relay. Back at the switch, get a black ground wire to the location where that orange wire used to be. The terminals for the hatch switch connector are metripack 480 female.
Now at the relay, cut the old terminals off. Take the black white wire that comes from the switch and route this to the BCM, cavity D3. Take a brown wire from cavity D4 at the BCM and route to the hatch release relay. Now take 4 metripack 280 terminals without locking tang and crimp them onto the wires. Get the new relay and a relay connector because you will now use one. Take the black wire and insert into cavity A2. Take the tan/white wire and insert into cavity A1. Take the orange wire and insert into C1. And lastly take the brown wire and insert into C2.
Hatch is DONE!!! Now get yourself a beer - or beverage of choice, its all Downhill now
Re: 1996-2002 f-body Body Control Module Modification Write Up
D5 is igntion voltage, you just happen to have a pink/blk wire at the conveneice center from the old chime thing. Run this wire to the BCM and install.
D6 is kinda fun. You need to tap into the yellow wire that runs from the radio fuse at the fuse block to the radio. What this is - is basically the wire that tells the BCM when it is in program mode. Basically by pulling the fuse after turning on and off the igntion 3 times fast, you enter the program mode.
D7 has already been discussed.
D8 is the fuel output signal to the ECM. If you have an LS1 PCM, then just route this to the appropriate cavity. If not, then don't do anything here.
D9 and D10 are empty
D11 is the door ajar switch from the drivers door. Take the white wire that is there and route it to cavity D11, and D12 is the passenger door, so do the same with this wire. There were actually going to a splice that you cut earlier, so they should be dangling somewhere. Use continutity to find them if your not sure.
D13 was already discussed.
D14 is for the shock sensor - if you have it, then just route it to the sensor (its light green)
D15 is a ground. Just use a black wire and route somewhere to a good ground.
D16 is not used.
Now tuck the BCM up wherever you put it and its good to go.
Re: 1996-2002 f-body Body Control Module Modification Write Up
With the parking lamps relay that you need for the alarm function to work, you need two orange wires that hold constant 12v+, which you can probably tap from the fuseblock.
Atach two metripack 280 tangless terminals and install into a relay connector - into cavities C1 and C2 - doesn't matter which is which.
Into cavity A1 - get the black/white wire that you routed from the BCM earlier, from cavity C8 and into cavity A2, you need a brown wire and route this to the brown wire that was at the convenience center (which now goes to the BCM). If you made a splice earlier, cut it apart and install this wire into a new splice.
Re: 1996-2002 f-body Body Control Module Modification Write Up
if you have any questions ..... any of those who have had the patience to keep up with this thread ... please post up. And I look forward to hearing from all you who do venture out and do this mod.
To those who say it isn't for me - or its not worth it - bookmark this as you may change your mind sometime down the road. - It is not very intimidating- and you don't need to love wiring to do this. It is actually quite simple. Doing this allows you to replace several components with one- and a much more superior one at that.
The next time you get in your car and push the unlock button or lock button on your door and get that sluggish nonexistent response - well then you might change your mind then.
GOOD LUCK and I hope to hear back from anyone that tries this. I can help you out if need be - via computer
 05-14-2015, 09:44 PM