When you click on links to various merchants on this site and make a purchase, this can result in this site earning a commission. Affiliate programs and affiliations include, but are not limited to, the eBay Partner Network.
Hi all! I haven't had a chance to work on the car much recently, so I'm starting a build thread to keep track of my progress (for myself and anyone who might be interested).
I bought this '91 Z28 from the second owner, out of Louisville CO. He bought it to fix up with his kid, who decided he was more interested in building a rock crawler 4x4 instead (his loss). Lots of minor issues right away (terrible paint job, cracked windshield, broken steering column, the list goes on) but I had an end goal in mind and wasn't looking for a restoration candidate. With the exception of one rear fender, the body is in great shape and there is only very minor surface rust to contend with (underside of the car and along the jack "notches" on the sides).
So, I buy the thing not knowing it's customary to request a passed emission certificate. Long story short, I fail emissions about a dozen times and spend enough $$$ to get an exemption for two years. The shop and I were both baffled, but I eventually traced the problem back to the 350 swap done by the first owner. Not sure what happened to the original 305 but given the scorching on some of the connectors and hoses under the hood I would say there might have been a fire? In any case, when the PO swapped in the 350 they kept the 305 injectors, which caused it to run juuust lean enough to fail emissions several times. First lesson learned!
I did drive the car around quite a bit during the first year of ownership, but I wasn't terribly happy with the performance I was seeing. At this point, I had changed all my fluids, replaced the fuel filter, and done the plugs and wires. Knew I wanted a bit more, so I started reading, planning, and shopping...
Up to this point, nothing too exciting. However, I garaged the car in Nov of 2015 and started work.
After some research I went with a conversion kit from Right Stuff. I did run into a few issues, namely the lack of proper e-brake cables (sourced a set through Hawk's) and a few broken bolts and bolt holes that had to be drilled out (you can see these holes at the bottom of the bracket).
I also decided it was time to replace some rear suspension components. While I was originally just going to replace the old rubber bushings with poly, I came across the Founder's LCA/panhard bar kit and decided I had to have it. I also replaced my rear axle seals and bearings.
You can see how beefy the Founder's stuff is in comparison to the stock LCAs and panhard bar.
This shot shows everything in place!
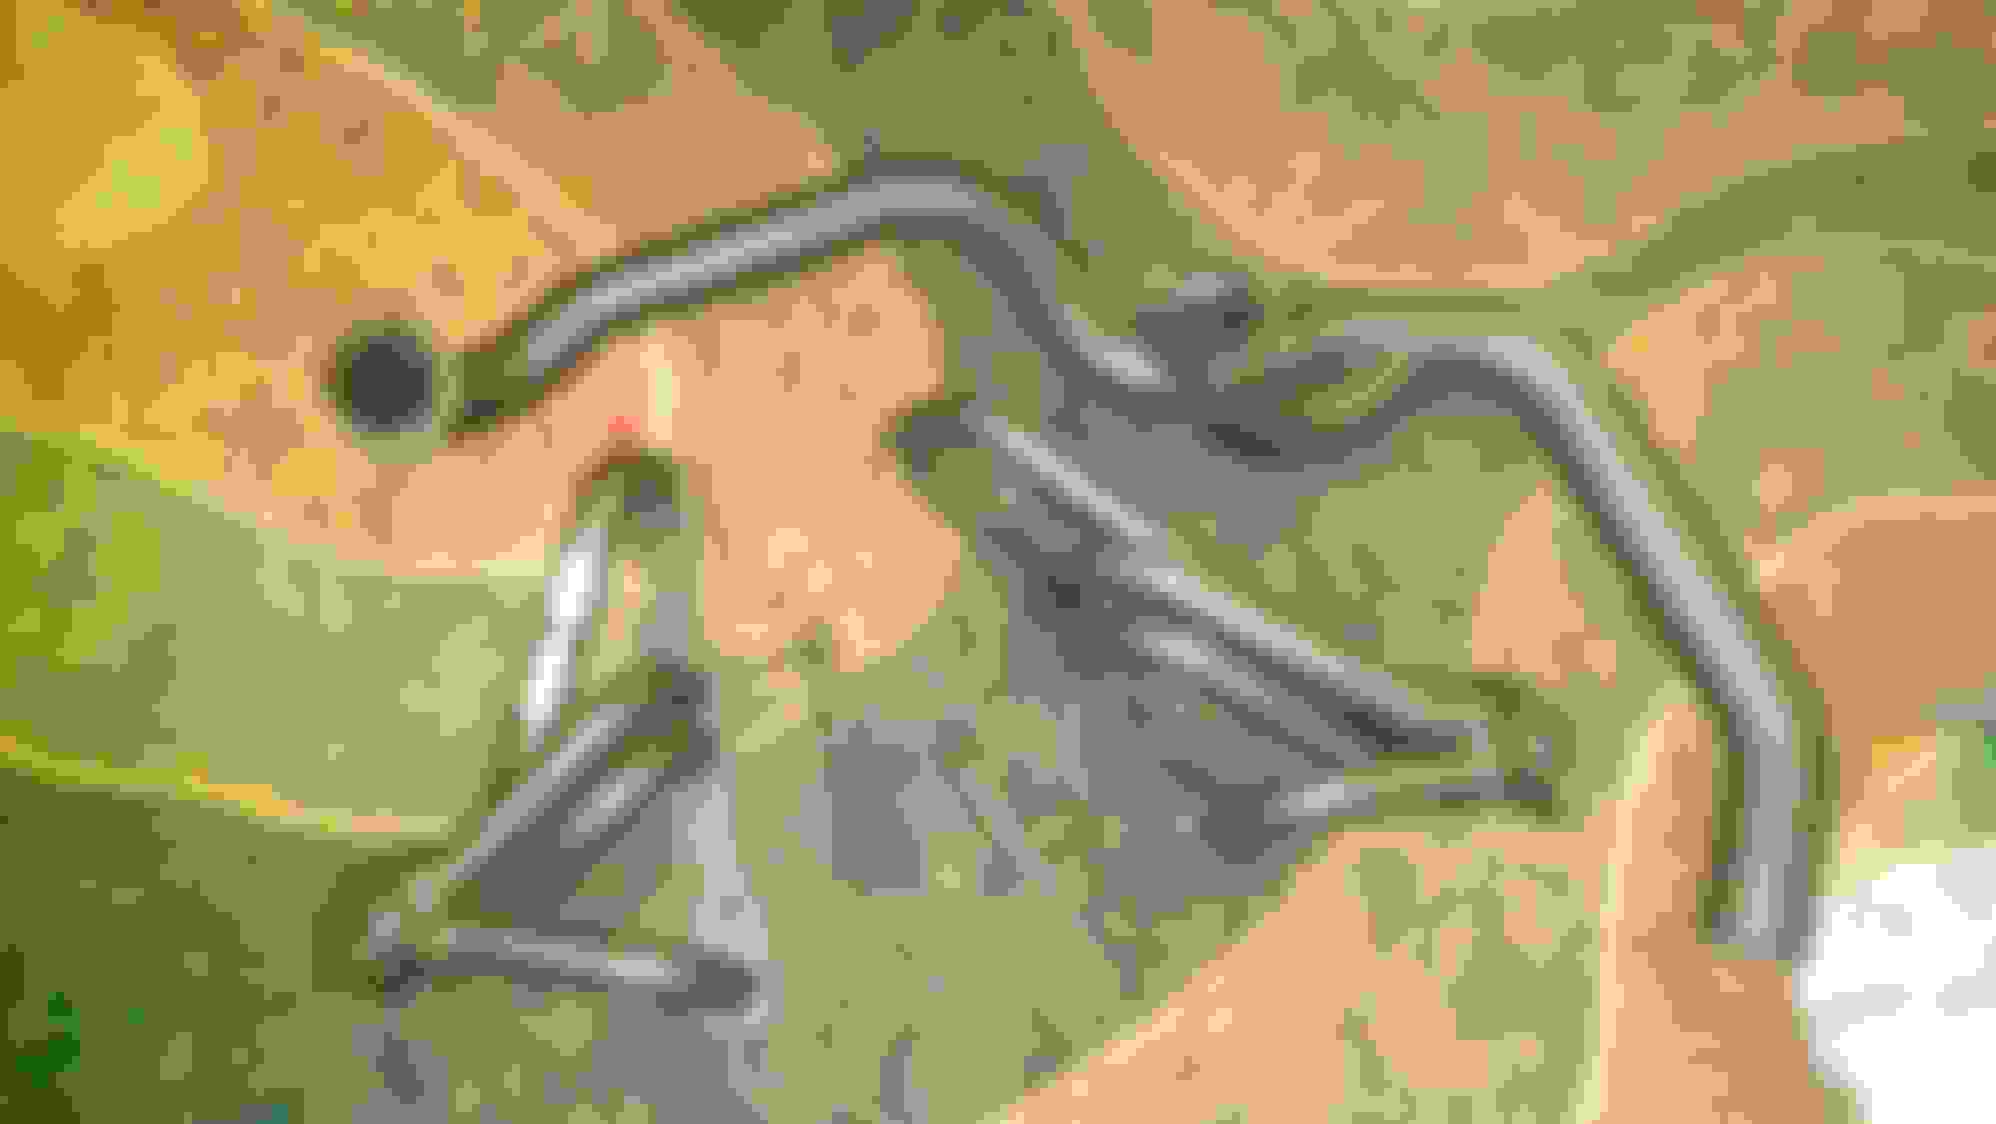
I went ahead and cut the exhaust off so I could drop the fuel tank. Not standard procedure, probably, but my exhaust looked like this (for the entire run from the cat back to the muffler):
Ordered a new fuel tank and pump from Summit. I'm 99% certain my original tank was leaking fumes around the filler neck, which wasn't helping the emissions battle. Tank was reaaallly poorly packaged but it made it in one piece. In this shot I did a test fitting with the old pump in case I goofed somehow.
I also replaced a bunch of smaller items while I had the back end apart: all the swaybar bushings were swapped for polyurethane, the rubber fuel lines were replaced, new hard brake lines, and stainless steel flexible lines (I believe the correct ones were technically for the front brakes on a fourth gen, oddly enough).
Next post will cover more suspension upgrades as I work toward the front of the car!
Alright, I'll go ahead and post another update (work is slow today).
IMHO one of the weirdest design decisions with these cars was the transmission mounted torque arm. I never have liked that, plus the bushing was rotted out on mine, so I decided to just replace the whole thing with an adjustable arm and crossmember from UMI.
Contrary to my original goal, this actually adds a bit of weight to the car. However, the additional weight is low and near the rear of the car, so it's not all bad.
Just test fitting here, the 700R4 is still in the car and needs to go. You can see my chopped off exhaust.
More test fitting. You can see where the torque arm ties directly into the crossmember. Since I'll be running a T5, I figured anything I could do to reduce stress on the transmission would be worthwhile.
Got the car turned around in the garage. The brakes weren't hooked up at this point, so I only had the e-brake to work with. And the driveway is really steep! Managed to get it turned around without incident though.
Here's the engine almost ready to remove! I unbolted as much as I could and drained the engine and transmission to make them easier to work with. After lots of research I decided to pull the engine and transmission together. You can also see that the car used to be a nice dark blue... wonder why the original owner covered it with such a crappy paint job.
...And the engine is out! That's my buddy who helped, we had a few issues with overhead clearance due to the garage door but it went pretty smoothly.
Heh, alright, maybe I messed up a few things. You can see I clearly didn't get all the transmission and radiator fluid out. Also, there's a spot where the oil pan hit the top of the radiator support. Gross.
This engine is a 350 with unknown internals. I strongly suspect it's one of the GM Goodwrench replacement engines. In any case, it ran like garbage (probably due to having 305 injectors) and made a lot of smoke. I plan on keeping the block to rebuild (roller cam, aluminum heads, and a nice paint job) but that's a topic for another thread. Two bolt main with garbage heads as is.
Sent this picture to my dad telling him I spent the weekend working under the hood. His response was to ask where the hell the driveshaft was hooked up. Ouch!
Next post will have some pictures of my donor car and the engine swap process.
Following your build. I have a 1992 RS and plan to do the same to mine with a auto to T5 and eventually a 383 stroker. Was the rear brake conversion an easy one? Mine has the drum rear and I am looking at some 18 inch GTO wheels to replace the stock 16 inch rims. Thanks. Mike
Following your build. I have a 1992 RS and plan to do the same to mine with a auto to T5 and eventually a 383 stroker. Was the rear brake conversion an easy one? Mine has the drum rear and I am looking at some 18 inch GTO wheels to replace the stock 16 inch rims. Thanks. Mike
Mike,
The brake swap was really easy, even for someone like me with little mechanical experience. The only issue is that I broke some of the smaller bolts that hold the drum brake mounting bracket. I bolted the new brackets into place and drilled those out, so it wasn't too bad. You'll have to pull the axles. I swapped to a four wheel disc proportioning valve, but based on some reading on the forums it might be possible to swap a different spring into your existing prop valve to make it suitable for four wheel disc.
I'm still using the stock 16" rims on these brakes, they fit fine without rubbing.
Also my one piece of advice for the T5 swap is to measure as precisely as possible! I managed to get my holes for the slave cylinder off by about .1" which may cause issues with the clutch down the road. And the hole I cut in the transmission tunnel is just waaaaay too big (I'll have pictures eventually). The T5 is a World Class version, so I think it will work nicely if I build a mild 350 and swap that in down the road.
Thanks. I didn't realize the T5 swap had to be so accurate. There must be a template out there some where that has the hole for the tunnel? I look forward to your pictures. I also heard there might be some header clearance issue with the T5 swap with the slave cylinder? I did my body work first (primer) and will now start on other parts of the car like the brakes and suspension.
Are you planning to lighten your car, i.e. remove all the AC/, heater etc..? Hawks third gen has a complete T5 swap available. I would like to do the Tremec 6 speed but this is just a weekend hot rod right now. I have a long way to go on it. It should be fun. Thanks for writing back.
I'll have to post more pictures tomorrow (they're on my work computer). I actually bought a wrecked 305/T5 '90 RS for parts. Made a cardboard template off the firewall to drill the holes for the slave cylinder. I just measured for the hole in the transmission tunnel. Managed to mess both of them up, once I upload the pictures you'll see it. Transmission tunnel is no big deal; the hole is a little too big but I can JB weld a small strip of metal in there. Slave cylinder seems to work fine right now but I have heard it may eventually jam because the piston is at a very slight angle in relation to the cylinder body.
I haven't seen any clearance issues with headers. Running Hooker 2055s and there's at least a couple inches clearance. The line running to the master might need to be tied up out of the way of the y-pipe though.
I am doing some weight reduction! So far a complete HVAC delete (down to the ducting in the dash, 40-50lbs) and swapping from 700R4 to T5 (supposedly good for 150lbs). Future plans include fiberglass hood, aluminum driveshaft, removing carpet insulation (I've heard 40lbs!) and fourth gen seats. However, I've also added some weight with larger front and rear brakes, the torque arm and Founders stuff, and a wonderbar. A strut tower brace is planned too. Overall I'm estimating 200-300lbs lighter when done.
Not going to get too crazy, but I want something fun to drive when the weather's nice. Of course I have no illusions once I get it up and running I'll get the itch to pull it all apart again after a few months...
I have never seen an exhaust pipe split like that. Mufflers yes, but not pipe.
Thanks! I'll have another update soon.
I also thought that was weird, glad I'm not the only one. I've seen rust holes in exhaust before, but these are more like grooves or something. Really strange.
It's hard to make out in this picture, but you can see the hole runs along the section of pipe that goes over the axle. I'll see if I can get another picture of the section between the "hump" and the cat.
Hawks has a T5 conversion kit for $1350. I went ahead and just bought a whole 'nuther Camaro for $1300 (already ahead!). My reasoning was that I would get a good understanding of how everything related to the T5 swap would need to be installed by seeing it as installed in the factory.
And here it is getting hauled away! I also sold the wheels, so altogether I spent about $1000 for a running engine, every component I would need for the T5 swap, a steering column+wheel, a rear hatch with intact glass and tinting, and some extra parts I can either use myself or sell. Pretty happy with that myself (although the neighbors were NOT happy seeing a car gutted in my driveway).
Here's the dash coming out the the '91. Three reasons I had to do this:
Replace the original computer with a computer for a 305/T5 car (this gives me an extra computer to practice tuning!)
Replace the steering column (bypassing VATS in the process)
Swap in the brake/clutch pedal from the donor car (I hear it's not totally necessary to remove the dash but it makes things easier).
You can just barely see the hole I cut for the shifter. Doesn't look too bad, right?
Haha wrong, it's way too big! I really don't know what happened here; I took measurements from the donor car and marked everything, so my best guess is that I couldn't read my own writing. Another lesson learned! I'm planning on using a strip of metal near the front and JB welding it to the edges of the hole, then painting both the top and bottom sides to prevent rust. Not perfect, but I think the end result will be OK.
Of all the parts I bought, this HVAC delete plate was by far the worst. I don't have the skills to weld in new metal, so I bought a pre-cut, pre-drilled plate. However, about half the holes were in the wrong spots and the thing doesn't sit flush against the firewall. My plan was to caulk around the edges (I already redrilled the holes) but I'd be open to suggestions here.
You can also see a little primer in this picture; I don't have plans to paint the car anytime soon but I'm going to sand and prime any rusty areas to keep them from getting worse.
Next update will have a little more stuff from the interior, plus the new engine going in!
Looking good. Yes that is a big hole! The A/C delete panel looks good. Where did you get it? You are so much further ahead on your project than I am. Do you know if a 1995 V6 Camaro T5 and hydraulic clutch would work with a V8? I found a 1995 coupe with rear disc brakes, nice interior upgrade and of course the manual transmission. Just not sure if it would be strong enough, but the parts might get me in the right direction? Oh, did the dash need to come out to drill the holes for the clutch?
Looking good. Yes that is a big hole! The A/C delete panel looks good. Where did you get it? You are so much further ahead on your project than I am. Do you know if a 1995 V6 Camaro T5 and hydraulic clutch would work with a V8? I found a 1995 coupe with rear disc brakes, nice interior upgrade and of course the manual transmission. Just not sure if it would be strong enough, but the parts might get me in the right direction? Oh, did the dash need to come out to drill the holes for the clutch?
I bought the HVAC delete panel on ebay: http://www.ebay.com/itm/150969957441 Not quite the same thing as an A/C delete panel, since the A/C delete is shaped to retain your heating stuff and blower, like this one: http://www.ebay.com/itm/222011606099 I don't really need heating or AC in a summertime-only Colorado car but your situation might be different.
The bellhousing on the V6 T5 is different, so you'll need one for a V8. No idea about the clutch, but I imagine it's the same. On the other hand, I don't think the gearing would be ideal in the V6 T5. Try doing a search on the forums, the question has been asked before and I'm not an expert in that area so you shouldn't rely on my advice alone. Also, if you're working on a 2002 (based on your sig) nothing from my swap is going to apply to yours.
The dash didn't need to come out just for the pedal swap, but it made things a lot easier. There's not much room to work under there. Since I'm using the factory TPI I had to swap out my computer anyway, so I pulled the dash. I didn't even have to disconnect most of the wiring; I just hung it from the roof with a strap. Gave me enough clearance to do what I needed to!
Thanks. I had to fix my signature. Here is a picture of my old crate after the body work. It is a nice rust free car and I got a hell of a deal on it. I was planning to remove the TPI and go with a carbed 383 eventually. The engine is a winter project. I have stripped the interior of the rear carpet and seats as part of my weight reduction. I figure a nitrous bottle will make good use of the rear seat location. Keep up the good work and mine will be a summer only car also. Fast and Loud right or loud and slow for the cruise in's! Following you every step.
Thanks. I had to fix my signature. Here is a picture of my old crate after the body work. It is a nice rust free car and I got a hell of a deal on it. I was planning to remove the TPI and go with a carbed 383 eventually. The engine is a winter project. I have stripped the interior of the rear carpet and seats as part of my weight reduction. I figure a nitrous bottle will make good use of the rear seat location. Keep up the good work and mine will be a summer only car also. Fast and Loud right or loud and slow for the cruise in's! Following you every step.
Oh, that makes a lot more sense. And wow, your car looks great! Do you have plans for paint, or are you sticking with primer for now? I do plan to pull mine apart down to the frame and go over everything eventually, but I'll probably just hit it with a coat of primer for the time being to keep the rust at bay.
Pulling the rear seats and carpet will definitely shed some weight. Have you looked into lighter front seats too? And any idea how much weight you saved pulling all of the carpet? On the fence about pulling all the carpet and using rhinoliner or similar. Would be loud as hell but it's an easy way to lose some weight.
I have read that the upper torque limit for the WC T5s is about 300ft/lbs. The general consensus seems to be if you don't dump the clutch often or drive super aggressively a T5 will handle more. I'm keeping my eye out for a T56 though, that would probably be my ideal transmission choice.
Keep it up! If you have a build thread going I'd like to take a look through it.
I plan to keep it primer for now and maybe do a wrap so I can change colors if I don't like it. They have some amazing products now and you can apply them with a Wagner sprayer. Peel it off if you want a change. I will need to pull of the fenders to fix the drooping doors. The drivers side is very noticeable and the passenger side not so much. Force x distance on those doors and they are heavy.
I had a 2000 Camaro SS with the LS1 and T56. It was an amazing set up and tough. I have heard the T5's can't handle as much power or torque. I was hoping to build a 12 second street cruiser so maybe the T5 isn't the right choice? A built 700R-4 or TH350 might be better with a higher stall speed? My SS would run high 13's shifting through the gears but it could take it and ask for more.
Regardless, the initial expense of the Third Gen Camaro is very appealing. It's the tricking out that makes them expensive. I attend quite a few cruise in's every summer and you never see third or fourth gen Camaro's. Sad but true. They made thousands of them, but the appeal to the hot rod crowd isn't there. That is why I have one. Fast, loud and obnoxious is the way I want to roll.
I bought the HVAC delete panel on ebay: http://www.ebay.com/itm/150969957441 Not quite the same thing as an A/C delete panel, since the A/C delete is shaped to retain your heating stuff and blower, like this one: http://www.ebay.com/itm/222011606099 I don't really need heating or AC in a summertime-only Colorado car but your situation might be different.
The bellhousing on the V6 T5 is different, so you'll need one for a V8. No idea about the clutch, but I imagine it's the same. On the other hand, I don't think the gearing would be ideal in the V6 T5. Try doing a search on the forums, the question has been asked before and I'm not an expert in that area so you shouldn't rely on my advice alone. Also, if you're working on a 2002 (based on your sig) nothing from my swap is going to apply to yours.
The dash didn't need to come out just for the pedal swap, but it made things a lot easier. There's not much room to work under there. Since I'm using the factory TPI I had to swap out my computer anyway, so I pulled the dash. I didn't even have to disconnect most of the wiring; I just hung it from the roof with a strap. Gave me enough clearance to do what I needed to!
I'm not sure about Colorado but my windshield tends to fog up in the mornings. I def need my defrost.
I plan to keep it primer for now and maybe do a wrap so I can change colors if I don't like it. They have some amazing products now and you can apply them with a Wagner sprayer. Peel it off if you want a change. I will need to pull of the fenders to fix the drooping doors. The drivers side is very noticeable and the passenger side not so much. Force x distance on those doors and they are heavy.
I had a 2000 Camaro SS with the LS1 and T56. It was an amazing set up and tough. I have heard the T5's can't handle as much power or torque. I was hoping to build a 12 second street cruiser so maybe the T5 isn't the right choice? A built 700R-4 or TH350 might be better with a higher stall speed? My SS would run high 13's shifting through the gears but it could take it and ask for more.
Regardless, the initial expense of the Third Gen Camaro is very appealing. It's the tricking out that makes them expensive. I attend quite a few cruise in's every summer and you never see third or fourth gen Camaro's. Sad but true. They made thousands of them, but the appeal to the hot rod crowd isn't there. That is why I have one. Fast, loud and obnoxious is the way I want to roll.
I like the idea of doing a wrap, and I've seen some pretty awesome results. I probably could learn to paint but wraps seem less error prone (and easier to change later). At least for someone who doesn't have access to a booth, quality spray guns, masks, and tons of different paints/thinners/other chemicals.
Now that you point it out I do see a little misalignment there. My driver's door is the same way; the driver's door obviously gets a lot more use so it makes sense they wear out first. I had looked into lightening the doors but it just seems unwise for something street driven. Side impact into fiberglass/gutted doors = game over.
Most people seem to avoid the T5 for racing/strip applications. I don't think the T5 would be a good choice for a high performance car but I have only driven about 45 minutes in a T5 car total! I know the 700R4 will take a lot more abuse so they would probably better handle a high stall behind a beastly motor.
The styling of the car and the big V8 was what originally drew me to the Camaro (first car I ever bought was a 1983 back in 2002), but the massive amount of parts and free knowledge kept me interested. I spent under $2k on the car itself and I'm closing in on $3k for parts. I'll confess that a fair chunk of that cost is due to rookie mistakes on my part. The plan for now is to run a 305/T5, (learn to) build and swap a 350, and then if (when?) the T5 grenades I'll look at either swapping in a T56 behind the 350 or a LS1/T56 combo. And I'll keep it as loud and annoying as I legally can. Nice to see someone with the same goal!
I'm not sure about Colorado but my windshield tends to fog up in the mornings. I def need my defrost.
Good work though, I'm watching.
Thanks! I hope to have another update tomorrow (all my photos are on my work computer).
We're about a mile above sea level and the air is incredibly dry up here. About the only time I need the defrost is if I get in the car with snow on my boots. And of course I wouldn't dream of defiling a Camaro that way!
The picture quality here isn't the best, but you can see the dash is back in the car and the new steering column and steering wheel are in place. I pretty much just pulled the column from the '90 RS donor car so I went ahead an did a VATS bypass as well. I'm wiring in a hidden disconnect switch, so I'll still have some measure of security.
Hooker 2055s with y-pipe. Not sure how the neighbors felt about a big box with "Hooker" on the side sitting on my doorstep, but that's not the strangest thing I've had delivered. For the price I was very impressed with these, one bolt hole had a little welding debris stuck inside but I knocked it out with a screwdriver.
And here's the 305 and T5 back in the car! Still some work to do at this point but man I love how the TPI runners and headers look. Hard to make out from this angle but you can see my EGR stuff is still 100% intact.
The engine itself is a roller 305 with an "RV" cam. Unfortunately the PO of the '90 RS (donor car, remember) didn't keep the cam card and had no idea as to the camshaft grind. However, I think the cam will be mild enough to work with the existing computer (factory tune for a 305/T5 Z28 car). It did run fine with the TBI in the donor car, but that doesn't mean much. In any case I only need this motor to last a few years at most until I build up my 350!
Sorry for the picture quality, but this is my latest shot and I wanted to show how far along I am. I just need to get the distributor dialed in, reinstall the radiator, fans, and hoses, install the belt, and install the y-pipe. I also have one plug that needs a special socket to tighten and I'll need to fill all my fluids and bleed the brakes and clutch.
Speaking of brakes, the front brake upgrade will be the subject of my next post!
Looking good. The rear carpet and seats probably saved 10-15 pounds or more? The rear carpet was the cause of the musty smell in my car so I ripped it all out. I am looking forward to your front brake upgrade. Will this require using 17 inch or greater wheels? What kit did you buy? I am also to that point as my car it in pieces in the garage. The rear disc conversion is also in the plan for this winter. I also found this lowering kit, springs, struts and shocks that I am hope to try while it is apart http://brandcarparts.com/shocks-and-...-1-2-drop.html. Look forward to your next post.
Looking good. The rear carpet and seats probably saved 10-15 pounds or more? The rear carpet was the cause of the musty smell in my car so I ripped it all out. I am looking forward to your front brake upgrade. Will this require using 17 inch or greater wheels? What kit did you buy? I am also to that point as my car it in pieces in the garage. The rear disc conversion is also in the plan for this winter. I also found this lowering kit, springs, struts and shocks that I am hope to try while it is apart http://brandcarparts.com/shocks-and-...-1-2-drop.html. Look forward to your next post.
Well, I did just get a great deal on a set of fourth gen leather seats with driver's side power ($200). Not my original intention to use something like this, but I think I'm going to have to. So I'll have the front and rear seats, a little extra weight from the power mechanism, but I'll lose some by tossing the carpet padding. I'll try to weigh both sets for anyone who might be interested.
The price on that kit is awesome. I'm not planning on dropping my car but if they have a kit for stock height (or even a tiny drop) I might have to look at that when it comes time to replace the existing stuff.
Alright, here are my brake details. I'm working with a set of front brakes from a C4 Corvette. They're the 13" HD version. I bought them very lightly used from a forum member; he included the rotors, calipers, carriers, stainless steel brake lines, and custom mounting brackets to bolt to 1LE style spindles. I sourced a set of compatible spindles from Big Brake Upgrade (still need to send those cores back!)
I didn't get as many pictures as I should have. Here the new spindles are already installed, with the rotor just sort of thrown on there.
When I went to bolt everything up, there was an alignment issue with the caliper carrier. It seems like the mounting bracket was too thick, but I'm not entirely sure that is the root of the problem. I was scratching my head over this for hours, and eventually decided to just put a spacer between the rotor and the hub. I bought some aluminum spacers and turned them down just a bit so they would fit behind the rotor. I may eventually get thinner brackets machined to see if that fixes the issue.
Here's a quick little comparison picture showing the difference in rotor sizes. Already looks much nicer, and the caliper isn't even on there! Believe it or not, the brakes will fit under the stock 16" wheels. There's about .4" of clearance!
Comparison between the calipers.
I also swapped in a new proportioning valve. It's the factory four disc option, which may or may not work. Since the front and rear brakes aren't really designed to complement one another, I'll have to do a little trial and error to make sure my brake bias is still appropriate. An adjustable proportioning valve or spring replacement might be in the future.
And this is pretty much where I'm at now. I'll have to bleed the brakes, finish up a few things under the hood, and finish the interior (at least to the point where I can test drive it). I should hopefully have more pictures and updates after this weekend!
Looking forward to your next update. Nice brake set up. I have decided to go with a new single piston caliper with a plug and play 10.5 inch brake from summit racing https://www.summitracing.com/parts/p...t/model/camaro. I plan to only go fast in a straight line so it should work fine along with the rear disc. The lowering kit should be interesting. I will keep you updated.
Looking forward to your next update. Nice brake set up. I have decided to go with a new single piston caliper with a plug and play 10.5 inch brake from summit racing https://www.summitracing.com/parts/p...t/model/camaro. I plan to only go fast in a straight line so it should work fine along with the rear disc. The lowering kit should be interesting. I will keep you updated.
Looks like a nice brake upgrade for the price. If I was doing this over again I might have gone that route, getting these C4 brakes to work has been a huge hassle. Good learning experience though!
Alright, time for another update. I finally have my front brakes done! ...well, one front brake anyway.
Looks pretty solid right? After a lot of trial and error (and an extra delay tracking down a 12mm allen socket) the driver's side is finally together!
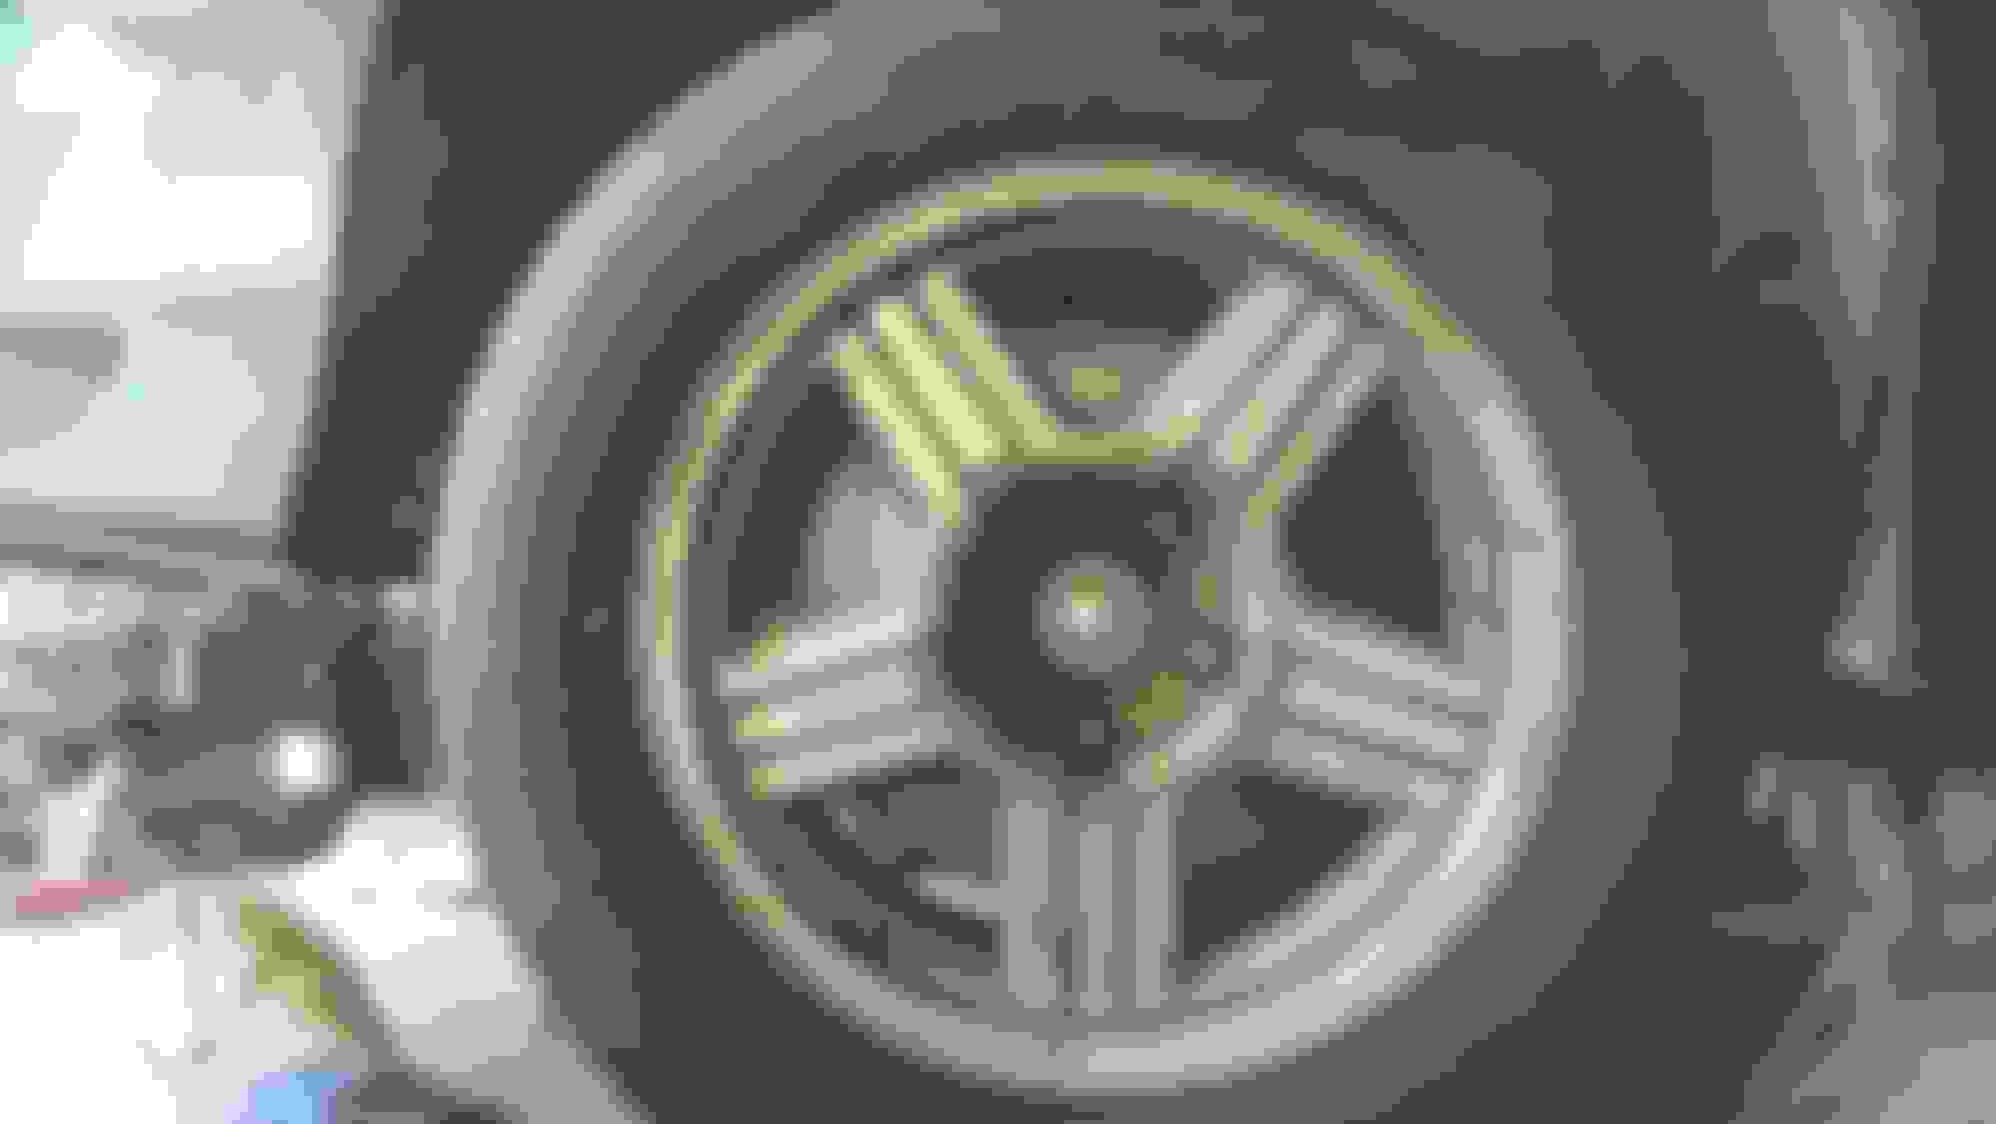
Here's a shot with the factory wheel on. Clearance is very tight on the caliper, but it fits!
This is the final modification for the caliper carrier. I took off a very small amount of material with a dremel, pausing often to check the fit. The rotor was rubbing initially; now it turns freely without any issue. I could have had the rotors turned down, but then they wouldn't last as long and I would have to turn down every set of rotors after that as well.
Another picture of the old exhaust. It was so rusted and weak I was able to bend the tubing with my bare hands! Glad I got this off the car before it decided to fall off on the interstate.
This is my mystery to figure out tomorrow. Installed the switches in the pedal assembly (for anyone doing their own T5/T56 swap don't be an idiot like me; install the switches first). I unhooked the harness for these from the donor car and matched everything up to the appropriate connectors already except for this one. If anyone knows where this goes I'd really appreciate a little help! Of course I'll be doing my own research as well.
Tomorrow should have another update. Won't be able to start the car until I buy all my fluids, and I can't do that until I get paid. But I can finish the brakes and get some interior work done!
So, right off the bat I figured out I was drastically overthinking the clutch wiring.
Basically, I just need to take the clutch switch plug (circled in red)...
And connect the leads from that to the two large gauge wires on this harness. All the other stuff on that cruise control harness just gets in the way, and it doesn't actually connect to anything in my car anyway!
Passenger side brake is done as well. Now all I need to do is bleed them and make sure I don't have any leaks. Didn't flare any of my own tubing, so I'm optimistic here.
Pulled the under carpet padding. Believe it or not, this is just the padding from the front carpet. I did leave a strip in over the top of the transmission tunnel, since it's so close to the rear seats.
Very pleasantly surprised when I pulled the carpet; this is the only rust spot so far. I wish the PO had left that blue color alone!
Here's the carpet partially back in place. I need to hit the pass. side with some primer to keep that spot from getting worse.
I also got the y-pipe hooked up! Bolted on very easily even with one person. At one point I was using my head to hold the thing in place, about all it's good for.
A shot through the wheel well of the y-pipe. Can't wait to fire it up!
I also got my distributor installed, but since I had to pull the water pump to get to the timing marks I'll have to wait until payday to get gaskets and reinstall it. I'll be gone for the next week, so no updates for awhile. When I get back it should be ready to start!
I also posted this in the Electronics forum, but I figured it wouldn't hurt to post here for those following the build thread. Any help appreciated!
For the sake of context:
Swapped motor and trans (700R4 to T5 swap), trans wiring finished
Steering column swap
91 Camaro Z28, column from 90 Camaro RS
Since I swapped the steering column, I decided to just bypass VATS instead of ordering a new key with the correct chip (the lock cylinder in the replacement column has a different resistance value). Measured resistance on my old key+column (at the connector between the column and body wiring) and came up with 1.142 ohms. This should be the value the Keypass module in the car is expecting. Assumed a correct value of 1.130 ohms based on this document (last page): https://www.lockmasters.com/ecommerc...%20Article.pdf
Created my own resistor pairing @ 1170 ohms (figured this was close enough), car failed to start (SECURITY light on dash). Fair enough. Ordered GM bypass kit (all 15 resistors), disconnect battery, install resistor, wait 10 minutes, reconnect battery, attempt to start - nothing (SECURITY light). Tried next highest (1.470 ohm) and lowest (.887 ohm) in case my original read was bad, disconnecting the battery for at least ten minutes between tries - same thing. I did check the kit's resistors with a multimeter.
Checked resistance on the Passkey wiring connector with each resistor installed to make sure the Passkey module could "see" the resistor; values matched within ~1% (so the issue is not wiring or a loose resistor). Tried two different ECMs on the off chance something was wrong there - one 91 TPI auto and one 91 TPI manual (disconnected battery, swapped ECMs, waited ten mins, reconnected battery).
I'm looking into ordering a key cut to fit the lock cylinder with the correct resistor for the installed Passkey module, but I'm pretty certain that's not going to fix the problem.
Figure the problem is one of the following:
1. Passkey module dead
2. Both ECMs dead (one was working before I started pulling the car apart)
3. Something I'm missing (ie, need to leave battery disconnected for 15 minutes instead of 10)
Thoughts? I know Passkey bypass modules exist (simulates the "ok" signal from the Passkey module to the ECM) but that seems a bit expensive. For the cost, I would rather delete VATS provisions from the ECM, but I don't know how to do it myself so a suggestion for a reputable individual/company would be appreciated. Or, if I'm completely missing something feel free to call me an idiot and point me in the right direction.
Let me know if I left something out. Thanks in advance!
Hey...long time no post. I found this 91 RS 305/5-speed hard top this week and just had to have it. I was planning to use it for parts, 5 speed swap to the other car, but it has some real possibilities and now I have two projects. Maybe I can finish one someday? My daughters boy friend tore the front spoiler off loading on the hauler so I will be looking for one as the project progresses. They are out there and they are cheap. Mike
Hey...long time no post. I found this 91 RS 305/5-speed hard top this week and just had to have it. I was planning to use it for parts, 5 speed swap to the other car, but it has some real possibilities and now I have two projects. Maybe I can finish one someday? My daughters boy friend tore the front spoiler off loading on the hauler so I will be looking for one as the project progresses. They are out there and they are cheap. Mike
Mike, that's a great find! TPI? And how does it run? Looks like it needs a little work but I don't think I could gut that one for parts either. Best of luck!
Alright, time for another update. Turns out the VATS bypass module does work, and it was pretty easy to install for testing.
Pretty easy. Red wire gets 12V, black gets grounded, white gets spliced onto the blue wire going from the BCM to the ECM. Now when I turn the key, security light comes on for about two seconds and then goes off. Oh, and of course I'm going to clean this up (proper solder, heatshrink tubing, etc) but the green wire switches the unit between 30Hz and 50 Hz, and I needed some trial and error to figure out what my ECM was looking for.
Bye-bye security light! My next goal is to figure out why the fuel pump isn't running. I applied 12V directly and it appears to start up, but it doesn't start when I try to start the car (doesn't prime or run). Tried bypassing the fuel pump relay, which should make it start running immediately; nothing. Suspecting damaged wiring between the relay and the three pin plug at the back of the car.
Try running 12V to the pump through the relay itself. If that doesnt work then check for continuity in the wiring between the relay and connector near the front of the tank.
Not too sure on the details pertaining to the vats module bypass but maybe it could be causing an issue with the fuel pump circuit.
No TPI on this car. Just a 5.0 with a 5 speed. The VAT is exactly why this car is not running. I am trying to put a resistor together to bypass the system and make the car run. My key had 1865 ohms and I figure it is key#7 so I have a range between 1795 and 1965 to dial it in. The car died on the last owner and they said it wouldn't run anymore. I will try to follow what you are doing to the VAT. What a stupid system this is.
Try running 12V to the pump through the relay itself. If that doesnt work then check for continuity in the wiring between the relay and connector near the front of the tank.
Not too sure on the details pertaining to the vats module bypass but maybe it could be causing an issue with the fuel pump circuit.
Thanks for this, good suggestion. I'm wondering if I damaged some wiring to the fuel pump pulling the carpet and undercarpet padding, so that's my next area to check. From what I understand bridging the two heavier gauge wires on the fuel pump relay should cause it to kick on, but I will try hitting it with 12V there to see what happens.
VATS should only disable the starter enable relay (inside the car near the hood release) and the injectors. I'm getting injector pulses and my SECURITY light is off, bypassed the starter relay.
No TPI on this car. Just a 5.0 with a 5 speed. The VAT is exactly why this car is not running. I am trying to put a resistor together to bypass the system and make the car run. My key had 1865 ohms and I figure it is key#7 so I have a range between 1795 and 1965 to dial it in. The car died on the last owner and they said it wouldn't run anymore. I will try to follow what you are doing to the VAT. What a stupid system this is.
Agreed. Probably quite effective at keeping cars from being stolen, but a huge PITA for guys like us trying to rebuild/restore them. I have the 15 resistor VATS bypass "kit" that I don't need anymore; I'll send 'em your way if you want. I won't need them with that bypass module. Just PM me!
Hi. A quick update. Bypassing the VAT system with the resistor I made worked perfectly. I could not believe it. Runs like a top and I now have a 5 speed Camaro to rip around in while I fix it up. I may use the 1992 auto for parts? Cheap fun for sure.
Hi. A quick update. Bypassing the VAT system with the resistor I made worked perfectly. I could not believe it. Runs like a top and I now have a 5 speed Camaro to rip around in while I fix it up. I may use the 1992 auto for parts? Cheap fun for sure.
Congratulations! Glad you got that up and running. Definitely keep me posted.
I'm 90% of the way done. I still need to start the car, set the timing, and then buy and install my cat and exhaust. Then the interior has to go together, and I'll need to take it in for the smog test. I'll also need to slightly relocate the hole for my clutch master.
Since I already goofed and drilled one set of holes, along with a hole from the PO to run some wiring to control the fans and such (oh man, it's so bad), I'm worried about the integrity and strength of the firewall. My thinking was that I could create a bracket out of 1/16" or 1/8" thick steel, place them on the engine side of the firewall, bolt the bracket to the firewall (using some big washers on the inside of the car). See my sketch (which is NOT AT ALL to scale):
The green circles are bolt holes to hold the bracket to the firewall. The other holes are the cutouts for the master cylinder. My thinking is that this will give me a little more rigidity and result in less play for the master cylinder.
Relocated the clutch master cylinder so it's lined up properly. My bracket idea was good in theory but not something I could do with the tools I have, so I decided to create temporary brackets to spread some of the force from the pedal "legs" across the firewall. Picture big lopsided washers and you'll have a good idea what they look like!
Instead of wasting time soldering and chasing down the PO's self-inflicted electrical gremlins, I just decided to buy a replacement wiring harness. $200 shipped, with only some minor damage to one connector. The plan is to get this installed over the weekend!
Not sure you should have taken material out where you did though. That pad was a machined surface that might have been a critical dimension for the brakes to clamp and retract correctly. You might talk to Ed Miller before you put your trust in those brakes now.
The only "custom" part is the bracket (the flat bar) that bolts to the spindle because that is what locates the caliper relative to the rotor. I suspect the problem you encountered is that the rotor was sitting too far inboard with the standard (non 1LE) spindles. In that case, you need a different bracket that bolts to the spindle to relocate the entire caliper assembly to where it should be.
What you did was alter the GM caliper assembly. That assembly is made up of factory GM parts that were made to work together, and I'm not sure it was a good idea to alter those parts. The good news is that you can undo any mistakes by just buying replacement GM brackets for those brakes.
Not sure you should have taken material out where you did though. That pad was a machined surface that might have been a critical dimension for the brakes to clamp and retract correctly. You might talk to Ed Miller before you put your trust in those brakes now.
I'm not sure I quite understand this, but I'm open to learning something! I removed a small amount of material from the inner surface of the carrier, which shouldn't interfere with the caliper location (still floats freely) or the carrier mounting (since it mounts to the custom bracket on the side I DIDN'T remove material from). The total amount of material removed was about .01", so I don't see any potential issues with weakening the carrier. I understand that major modifications would reduce the integrity of the piece; I don't think that's the case here - but again, I'm more than willing to listen to suggestions.
Originally Posted by QwkTrip
The only "custom" part is the bracket (the flat bar) that bolts to the spindle because that is what locates the caliper relative to the rotor. I suspect the problem you encountered is that the rotor was sitting too far inboard with the standard (non 1LE) spindles. In that case, you need a different bracket that bolts to the spindle to relocate the entire caliper assembly to where it should be.
What you did was alter the GM caliper assembly. That assembly is made up of factory GM parts that were made to work together, and I'm not sure it was a good idea to alter those parts. The good news is that you can undo any mistakes by just buying replacement GM brackets for those brakes.
This is exactly my plan. The bracket dimensions were pretty much spot on except for the overall thickness - since the bracket is about 1/8" too thick, I needed to move the rotors out from the hub by the same amount. Once I figure out if everything is going to work the way I want (remember, I'm mixing front C4 brakes with a Right Stuff rear disc conversion) then I'll find someone to make new brackets to the proper dimensions. I can replace the carriers at that point too, if needed.
Thanks for the input, I always appreciate knowledgeable feedback!
Sorry, I was visualizing it wrong. You're right, that surface is not a mating surface so no harm done. And let me be frank that I do not know much about brakes! I didn't even know the correct terminology for the the "carrier" and was calling it a bracket.
Looking at your pictures, it appears that the surface you touched up is normally further away from the rotor than the brake pad. If you had to clearance the carrier then that indicates the rotor is still too far inboard.... by a lot. And it also means you had to compress the piston quite a lot in order to get the inboard pad to slip over the rotor. And I'll bet there is now a large gap between rotor and outboard pad, too.
I think the 1LE spindle sets the rotor out an addition 3/8 inch, or something along those lines. I suspect you have a lot more distance yet to move. And I wouldn't use the brakes at all until that is corrected.
Seriously, call Ed Miller. He made those brakes and knows more about it than anyone.
Looking at your pictures, it appears that the surface you touched up is normally further away from the rotor than the brake pad. If you had to clearance the carrier then that indicates the rotor is still too far inboard.... by a lot. And it also means you had to compress the piston quite a lot in order to get the inboard pad to slip over the rotor. And I'll bet there is now a large gap between rotor and outboard pad, too.
Ahh, this makes sense! If the carrier is sitting too close then the caliper MAY work with fresh pads, but the piston will already be close to its maximum range of travel... which would mean as the inner pad wears down the piston might hit the point where it can't travel any further and thus fail to apply any pressure. Definitely a problem. The good news is I have a nice low-traffic neighborhood to test things, so I can at least take it for a quick spin around the block to see if I have the proportioning done right (F-R balance).
I won't take this out in traffic as it is. Thanks for looking out!
I'll try to get in touch with Ed Miller and see what he has to say. I'm basically using his bracket with Scott's (of http://bigbrakeupgrade.com/ ) custom spindles (for an LS1 conversion). I had done a lot of reading and come to the conclusion that with the proper bracket C4 brakes would mount to 1LE and LS1 spindles... I think the problem is that there is a difference between the brackets, namely thickness, that wasn't really apparent.
Originally Posted by BOTTLEDZ28
I'm curious to see if he even replies back to people anymore or is even shipping parts out in a timely
Manner
I'll be sure to post what I find here. I haven't ever dealt with Ed Miller directly, so if he doesn't feel like responding to a random guy asking questions I wouldn't hold it against him.
I'm running C4 HDs. I had a machine shop grind down some 1LE rotors to make me a spindle, and using Eds bracket. The 1LE hubs to do move the rotor out a touch, but I was under the impression that all aftermarket hubs did as well? Or are they making some now that keep the rotor in the stock location. If so I could see that causing the issue you are having.
Originally Posted by QwkTrip
C4 brakes, yes.
C4 HD brakes, I've only seen mated to 1LE spindles but I don't know why. Make sure you are very clear with Ed that you have the C4 HD brakes.
The only difference between the two is a bigger rotor, stock C4 is 12" and HD is 13", calipers are the same between the two.
Last edited by grngryoutmyway; 11-02-2016 at 10:44 AM.
"On my setup I am using 88-96 corvette C4-HD (13 inch) brakes which requires a larger offset hub (the heavy duty, HD, hub). The C4 HD 13-inch front rotors have a large offset (rotor inside hat to rotor rear surface), in order to fit the caliper bracket and caliper in between the spindle and the rotor you need a large offset hub to push the rotor out further. To achieve this larger offset you will need to <b>create a hub with a larger offset by starting with a rotor that has a larger offset like the 88-92 F-body 1LE rotor.</b>"
and also the direct statement (which I clearly overlooked):
"If you want the 13 inch C4 HD brakes you will need to use the C4 13 inch HD front rotors and a thirdgen f-body <b>1LE rotor as a hub.</b>"
Originally Posted by grngryoutmyway
I'm running C4 HDs. I had a machine shop grind down some 1LE rotors to make me a spindle, and using Eds bracket. The 1LE hubs to do move the rotor out a touch, but I was under the impression that all aftermarket hubs did as well? Or are they making some now that keep the rotor in the stock location. If so I could see that causing the issue you are having.
This makes sense now too! If you started with a 1LE rotor and turned that into a hub, then that's why your C4 HDs work without issues. I got a thinner hub, so my rotors aren't moved out far enough - hence the spacers. Scott's hubs were designed for an LS1 brake swap, so it makese sense they would be thinner.
QwkTrip, do you know what rotors your hubs were machined from? I seem to remember that you sold 'em already, but if you can remember that might confirm my theory.
My next step: get a set of 1LE rotors and have someone turn them into hubs. That seems like the PROPER way to do it. Maybe someone will do the work in exchange for some lightly-used LS1-based hubs? Could also use a thinner bracket to make up for the lack of offset from the LS1 hubs, but I'm not sure I feel comfortable with that.
 08-16-2016, 12:17 PM


 Could also use a thinner bracket to make up for the lack of offset from the LS1 hubs, but I'm not sure I feel comfortable with that.
