When you click on links to various merchants on this site and make a purchase, this can result in this site earning a commission. Affiliate programs and affiliations include, but are not limited to, the eBay Partner Network.
After selling my previous 91 Firebird project back in July, I was really missing being in a third gen and sports cars in general (my DD is an 09 Corolla). I scoured many websites looking for a 4th gen but never could find one with decent miles for a price I was willing to pay.
In early December, I stumbled across this GTA on craigslist not too far from me for a decent price and couldn't pass it up. Here's the back story: It's a 3 owner (before me) car, with 112k miles. The first owner had the car maybe 6 months and sold it due to not being able to make the payments. The second owner had the car for about 7 years and then sold it to the 3rd owner. The third owner bought the car in 1999 with 45k miles and it was his DD while he was in college. When he graduated in '02, it became more of a weekend cruiser. As time went on he drove it less and less. It was eventually parked at his dad's in a covered building around 2007. His dad would occasionally drive it and start it up and let it run to keep everything lubricated. I guess the PO decided he wasn't going to invest any more time in it and decided to sell it, which is where I came in.
The car is not perfect by any means, but its been pretty well taken care of. It's completely stock save for a Flowmaster catback, K&N filter, and aftermarket radio (the PO did keep the factory equalizer radio which I now have). From running the RPO codes, it appears to be a fully optioned L98 GTA. It has power everything, leather seats, steering wheel, shift ****, and e-brake lever. Having owned lower optioned 3rd gens in the past that didn't have these options, I never knew you could get leather anything other than the steering wheel and seats in 3rd gens. It drove about how I expected for a car that had been sitting more or less for the past 7 years, but the engine and trans were in tip-top shape for a 112k mile car so at least it didn't need motor work. There are no major issues with the car, just little things that I will eventually address. The car has been partially repainted due to a few fender benders (1 being a lady in a minivan backing into the driver side rear quarter and the other when the PO hit a deer. Surprisingly no major damage was done during the deer incident) and the areas that haven't are showing their age with some clear coat issues. The front seats are also quite worn and there's some grounding issues with the backlight for the fog, defroster, and trunk switches.
For now, I only have one picture to share of it. I live in an apartment complex with no car washing area and I'm not a huge fan of the automated car washes so I have yet to even wash the car. But it's been so rainy here the last month, it would be a waste of time to even wash it. I swear, I've driven this car more in the rain than I have anything else. The major expenses thus far have been in maintenance just getting the car up to speed from the years of neglect not being driven. I will go into more detail on that as well as future plans for the car in the next couple posts.
Last edited by 86firebird350; 11-18-2015 at 12:47 PM.
Re: My 91 GTA Build/"Return to former glory" Thread
Fair warning, these first couple of posts are going to feel like books as I've actually done quite a bit of work already. A lot of it has made little to no visual difference in the car but I feel it's part of the process that I want to document here.
The maintenance on this car has almost been completely neglected while it sat the previous 7 years so the first items were ones needed to make the car safe for the road. The very first thing I did was change the oil. The PO said it had been several years since the oil had last been changed but he assured me it was not overdue in terms of mileage. There were maybe 1500 miles on that oil. Still, it was something that needed to be done ASAP. Another plus about the car was that it had always had full synthetic oil used since day one and I fully intended to keep with the tradition. Five quarts of Mobil 1 Full Synthetic and a Bosch oil filter were promptly bought and used.
The next thing on the list was tires. The tires originally on the car looked ok from a tread standpoint but were 15 years old and dry rotted to boot. The PO told me they were the same ones he put on the car in 2000 right after buying it. Since I had such a long list of maintenance items to address and this car won't be raced any time soon, I wasn't looking to go all out on tires. I wasn't going to buy the cheapest (in terms of performance) tires I could find but I wanted a quality brand and tread design. It's been a while since I've had to search for tires for a third gen so when I began my search I was rudely awakened to how few decent summer tires are available in our sizes now. I quickly realized that for my price range I would be buying an all-season tire *YUCK*, but it had to be done. I was able to find some Kumho Ecsta AST's for $70/tire that I couldn't pass up for the price. With new tires and fresh oil, I felt like I could now safely drive the car without worrying about blowing a tire or spinning a bearing.
Re: My 91 GTA Build/"Return to former glory" Thread
The next round of maintenance/general upkeep was relatively minor. Since the 91-92 Firebird/TA/GTAs have such little aftermarket support for HID headlights, and almost none to speak of that don't require fabrication, I decided I'd go ahead and upgrade to Sylvania Silverstars on the cheap. I've never been a fan of the standard flashlights, I mean halogens, that come on these cars. I know the Silverstars aren't anything special but every little bit helps. So I bought new headlights and fog lights and got them installed. Question for those of you with 91-92 birds with fogs: This is the 2nd 91/92 I've owned where the passenger side fog light doesn't appear to be aimed properly. The light works but you can clearly see that it just isn't as bright as the driver's side and there's no visible beam in front of the car. There's no adjustment to the fog lights (that I've seen) so I'm not sure what to do about this. Anybody else out there ever have this issue or any suggestions?
I also had to replace a couple of the side marker lamps and interior bulbs that were out. While doing this I noticed that the green indicator light for the fog light switch doesn't come on when the fogs are on. Also, none of the illumination lights are working either. I tried trouble shooting the wiring at the fog light switch but my Chilton's manual doesn't go into that kind of detail on the wiring diagram. If anyone can supply a wiring diagram for those switches, it would be greatly appreciated. I really don't think it's the switches because all of the switches themselves actually work, they just don't light up when the parking/head lights are on (and in the case of the fog light, the indicator bulb too).
The last couple things I did was replace the serpentine belt and windshield wipers. Just as an aside, we all know how bad and annoying the wiper motors can be on these cars with the chattering and whatnot. I've noticed that the best way to eliminate chatter and streaking/lines and to keep the wipers performing as well as possible for as long as possible (without getting into replacing parts) is to use the frameless wiper design and ensure that the windshield, as well as the wipers themselves, are clean and free of any dirt, oil, large debris, etc. I think one of the only brands that make frameless wipers for our cars is Rain-X. I really like the Bosch Icon's but they don't make them for our cars.
Last edited by 86firebird350; 06-10-2015 at 02:10 PM.
Re: My 91 GTA Build/"Return to former glory" Thread
The next thing on my list to tackle for maintenance was brakes. The brakes on this car were bad, and I mean BAD. I test drove the car in rainy, wet weather and even getting on the brakes hard at about 45-50mph I could not lock up the brakes. Needless to say, I did not feel very confident driving this car in any amount of traffic. This was my first "mod" to the car since, although I was replacing with stock sized components, I decided to upgrade in a few areas. I reviewed this upgrade in detail here but the short version goes something like this: Napa premium front rotors, Stillen metal matrix pads front and rear, Stillen cross-drilled rear rotors, Goodridge stainless steel brake lines, and the Grainger 1NCR5 proportioning valve spring swap. After the upgrades, the brakes feel 100x better and actually stop the car the way it should. It was worth every dime and I would highly recommend it to anyone else out there with the stock 4-wheel disc setup looking for better performance without having to drop a couple grand.
After I got the brakes put on, it was over to the local alignment shop to have the entire steering looked at and replaced as needed. I was hoping to get out of there for a couple hundred bucks, but alas, the maintenance neglect got me here as well. The ball joints as well as the inner and outer tie rods needed replaced to go along with the alignment I requested. After this, the steering felt much sharper and the car actually goes where you tell it. There's still some some slop in the steering wheel so I'll probably tackle the steering box adjustment at some point down the road.
Over the Christmas holiday I was also able to finally clean the interior of the car, something it desperately needed. There was so much dust and crud on everything, it felt like a 312k mile car rather than the 112k the odometer showed. I really took my time here, inspected everything and was able to see just how well it had or hadn't been cared for. The verdict: the dash is absolutely mint, not a single crack. The speaker covers have all of the little nibs that hold them in place and the defroster vents don't rattle or fall out while driving. The headliner is brand new, but the sun visors were not replaced. They're showing their age but for now they're fine. The steering wheel needs to be rewrapped as does the shift **** (the stitching is starting to pull apart). The driver's side cup holder is broken/stripped so that will need replaced, and the gear indicator...thing (not sure what it's called. It's the red/orange part that shows what gear you're in) is broken/missing. I've already mentioned the front seats needing reupholstered but other than that, the interior is in fantastic shape and looks even better now that it's clean.
Last edited by 86firebird350; 10-03-2016 at 10:46 AM.
Re: My 91 GTA Build/"Return to former glory" Thread
The current project and last of what I would deem as "serious issues that need to be fixed ASAP in order to drive the car" is addressing the broken odometer gears. The odometer seems to work intermittenly. It appeared to work perfectly the entire trip home after I bought it (about an hour and a half drive) but it will get stuck sometimes and not work at all which is frustrating because I want to be able to accurately say how many miles my car has and show off how (relatively) low they are considering the age of the vehicle. I have purchased a used gauge cluster off the boards and it should be here Tuesday so I can hopefully start messing with it this weekend. I've done a gauge cluster swap before but I've never tried to disassemble one so I'm not sure what adventure awaits me here haha. I'll be sure to update everyone on the progress I make on it this weekend.
Re: My 91 GTA Build/"Return to former glory" Thread
So that's where I am right now with the car. It doesn't seem like a lot but it's come a long way just in the month or so that I've had it. The things I still have left to do maintenance-wise is flush and fill all remaining fluids (trans, power steering, brake fluid, rear diff, radiator) and replace the radiator hoses. Once all the maintenance is done, I can move on to fixing some of the things that affect driver comfort. Some of these things will include replacing both power window motors since they are shot, the A/C compressor just went out in it, the hi-beam lever only seems to function when the wheel is fully tilted up, the horn doesn't work, etc. It seems I have a mile long wish list that only seems to get longer the more I tinker with this car. All of these things that are on my list don't affect performance in any way.
Once I've gotten some of the bigger, more important things (at least to me) taken care on that wish list, then the real fun can begin with mods. With all my other cars, I've always done the go-fast parts first and worried about supporting mods later. After reading some people's experience on here (plus having been through this three times before myself) I'm going to do the opposite this time. I'm going to focus my attention to start on the chassis/suspension/brakes/etc., before digging into the motor. I've already begun this by addressing the brakes first. The next thing on the list will be new shocks/struts/springs. I can tell already that the rears are about gone and the strut mounts are getting quite noisy as well. Slowly but surely I will work my way through the entire chassis and suspension, replacing/updating/upgrading everything. SFC's are probably tops on the list right after shocks and struts. After that, the list goes something like this:
Finish up suspension/chassis overhaul
Revisit brakes (potentially upgrade fronts to C5 or LS1)
Wheels and tires (currently thinking 18" Y2K's)
Gear swap (3.23 to 3.42's)
Bolt ons (things like CAI, full exhaust, UD Pulleys, roller rockers)
Pro-built rebuild/shift kit
I'm undecided on what I want to do with the motor yet, which is why I'm only doing bolt-ons to start. A part of me has always wanted to have a TPI car so I can build/mod it but as time goes on the allure of the almighty LS swap gains traction (plus it's almost a necessity these days to keep up with newer cars). My current idea is an LS2 or LS3 and eventually supercharge it. But this plan is many years down the road. Trying to pay off student loans while simultaneously saving for a house doesn't leave a lot of extra money to spend on toys.
Last edited by 86firebird350; 06-10-2015 at 02:15 PM.
Re: My 91 GTA Build/"Return to former glory" Thread
Originally Posted by 92GTA
Congrats! Can't wait to see more pictures and what you have planned for her!
Alex
Thanks Alex! Once I get a decent weekend where it's warm and not raining I'll try to get it washed and waxed so I can take some pictures of it. I guess I'll learn even more about the car (but this time it'll be the condition of the paint) when I'm able to do that.
Re: My 91 GTA Build/"Return to former glory" Thread
When I lived in an apartment, I used to take my own wash cloths/sponges/microfiber scrubbers, bucket, soap and whatever else I needed to the do-it-yourself carwash bays. Really all I needed was to use their space and water. Usually ended up costing me $4-6.
The paint on your car looks to be in decent shape. I don't recommend using their scrub brushes. They don't change them often and retain a lot of the contaminants and dirt that the previous people scrubbed off their cars or mud trucks.
Re: My 91 GTA Build/"Return to former glory" Thread
Originally Posted by CharcoalBird
When I lived in an apartment, I used to take my own wash cloths/sponges/microfiber scrubbers, bucket, soap and whatever else I needed to the do-it-yourself carwash bays. Really all I needed was to use their space and water. Usually ended up costing me $4-6.
The paint on your car looks to be in decent shape. I don't recommend using their scrub brushes. They don't change them often and retain a lot of the contaminants and dirt that the previous people scrubbed off their cars or mud trucks.
I would need to ride around and find one of the "do-it-yourself" type places. That's what I would prefer to use because I do have all my own stuff but it seems like everything around me is an automated drive through type.
The parts of the car that have been repainted are in very good shape. It's the roof and the top of the rear bumper that look the worst with clear coat peel... The car was so filthy I did break down and pay for one of the automated car washes. For $5 it served it's purpose but it really missed a lot. I originally was going to wash and wax it last weekend but after taking a closer look at it after the wash, there were a lot of out-of-reach spots that didn't get cleaned very well. If the rain holds off this weekend, I'll wash it at my girlfriend's apartment. Her's has a car wash area.
Last edited by 86firebird350; 05-18-2015 at 01:28 PM.
Re: My 91 GTA Build/"Return to former glory" Thread
Originally Posted by scooter
Nice car, will be following along. I kind of miss my 88 GTA with that color paint.
I hope you didn't pay to have upper ball joints put on the car, it doesn't have any....
Thanks. I seem to have a thing for black but this is a really great color.
I don't know why I said upper & lower ball joints. I knew there are only lowers. Good catch.
I guess I'll give a quick update of what I did last weekend. I got my donor gauge cluster apart and replaced the gears in the odometer. They were indeed broken. Put everything back together and went for a short trip and still didn't have a working odo. All I could hear was a loud ticking. So I took everything back apart and swapped the motor as well. I had noticed the shaft play between the two were quite different but was unsure how it was supposed to feel so I just kept my original one in. Got everything put back together again and this time the ticking was faint but still there and still no working odometer.
I decided to take the car for a drive anyway to see if that would help. It did start working eventually, much to my relief. I've driven the car several more times since then and it seems the odo does not like to work in the cold or at initial start up. It seems to need a warming up period to work properly. I'm guessing the whole mechanism/gear set needs to be greased, but I'm not sure about this. I also need my speedo calibrated now, so I think I'll end up sending the gauge cluster out to be fixed ultimately.
Re: My 91 GTA Build/"Return to former glory" Thread
Originally Posted by 86firebird350
Question for those of you with 91-92 birds with fogs: This is the 2nd 91/92 I've owned where the passenger side fog light doesn't appear to be aimed properly. The light works but you can clearly see that it just isn't as bright as the driver's side and there's no visible beam in front of the car. There's no adjustment to the fog lights (that I've seen) so I'm not sure what to do about this. Anybody else out there ever have this issue or any suggestions?
I'll get a picture for you later of the adjuster. It may not be visible or reachable with the lamp in the housing. I wil be modifying a set to take a really bright LED bulb and I have to change the back of the housing.
Re: My 91 GTA Build/"Return to former glory" Thread
Scooter if you can show me or tell me where it is, I would greatly appreciate it.
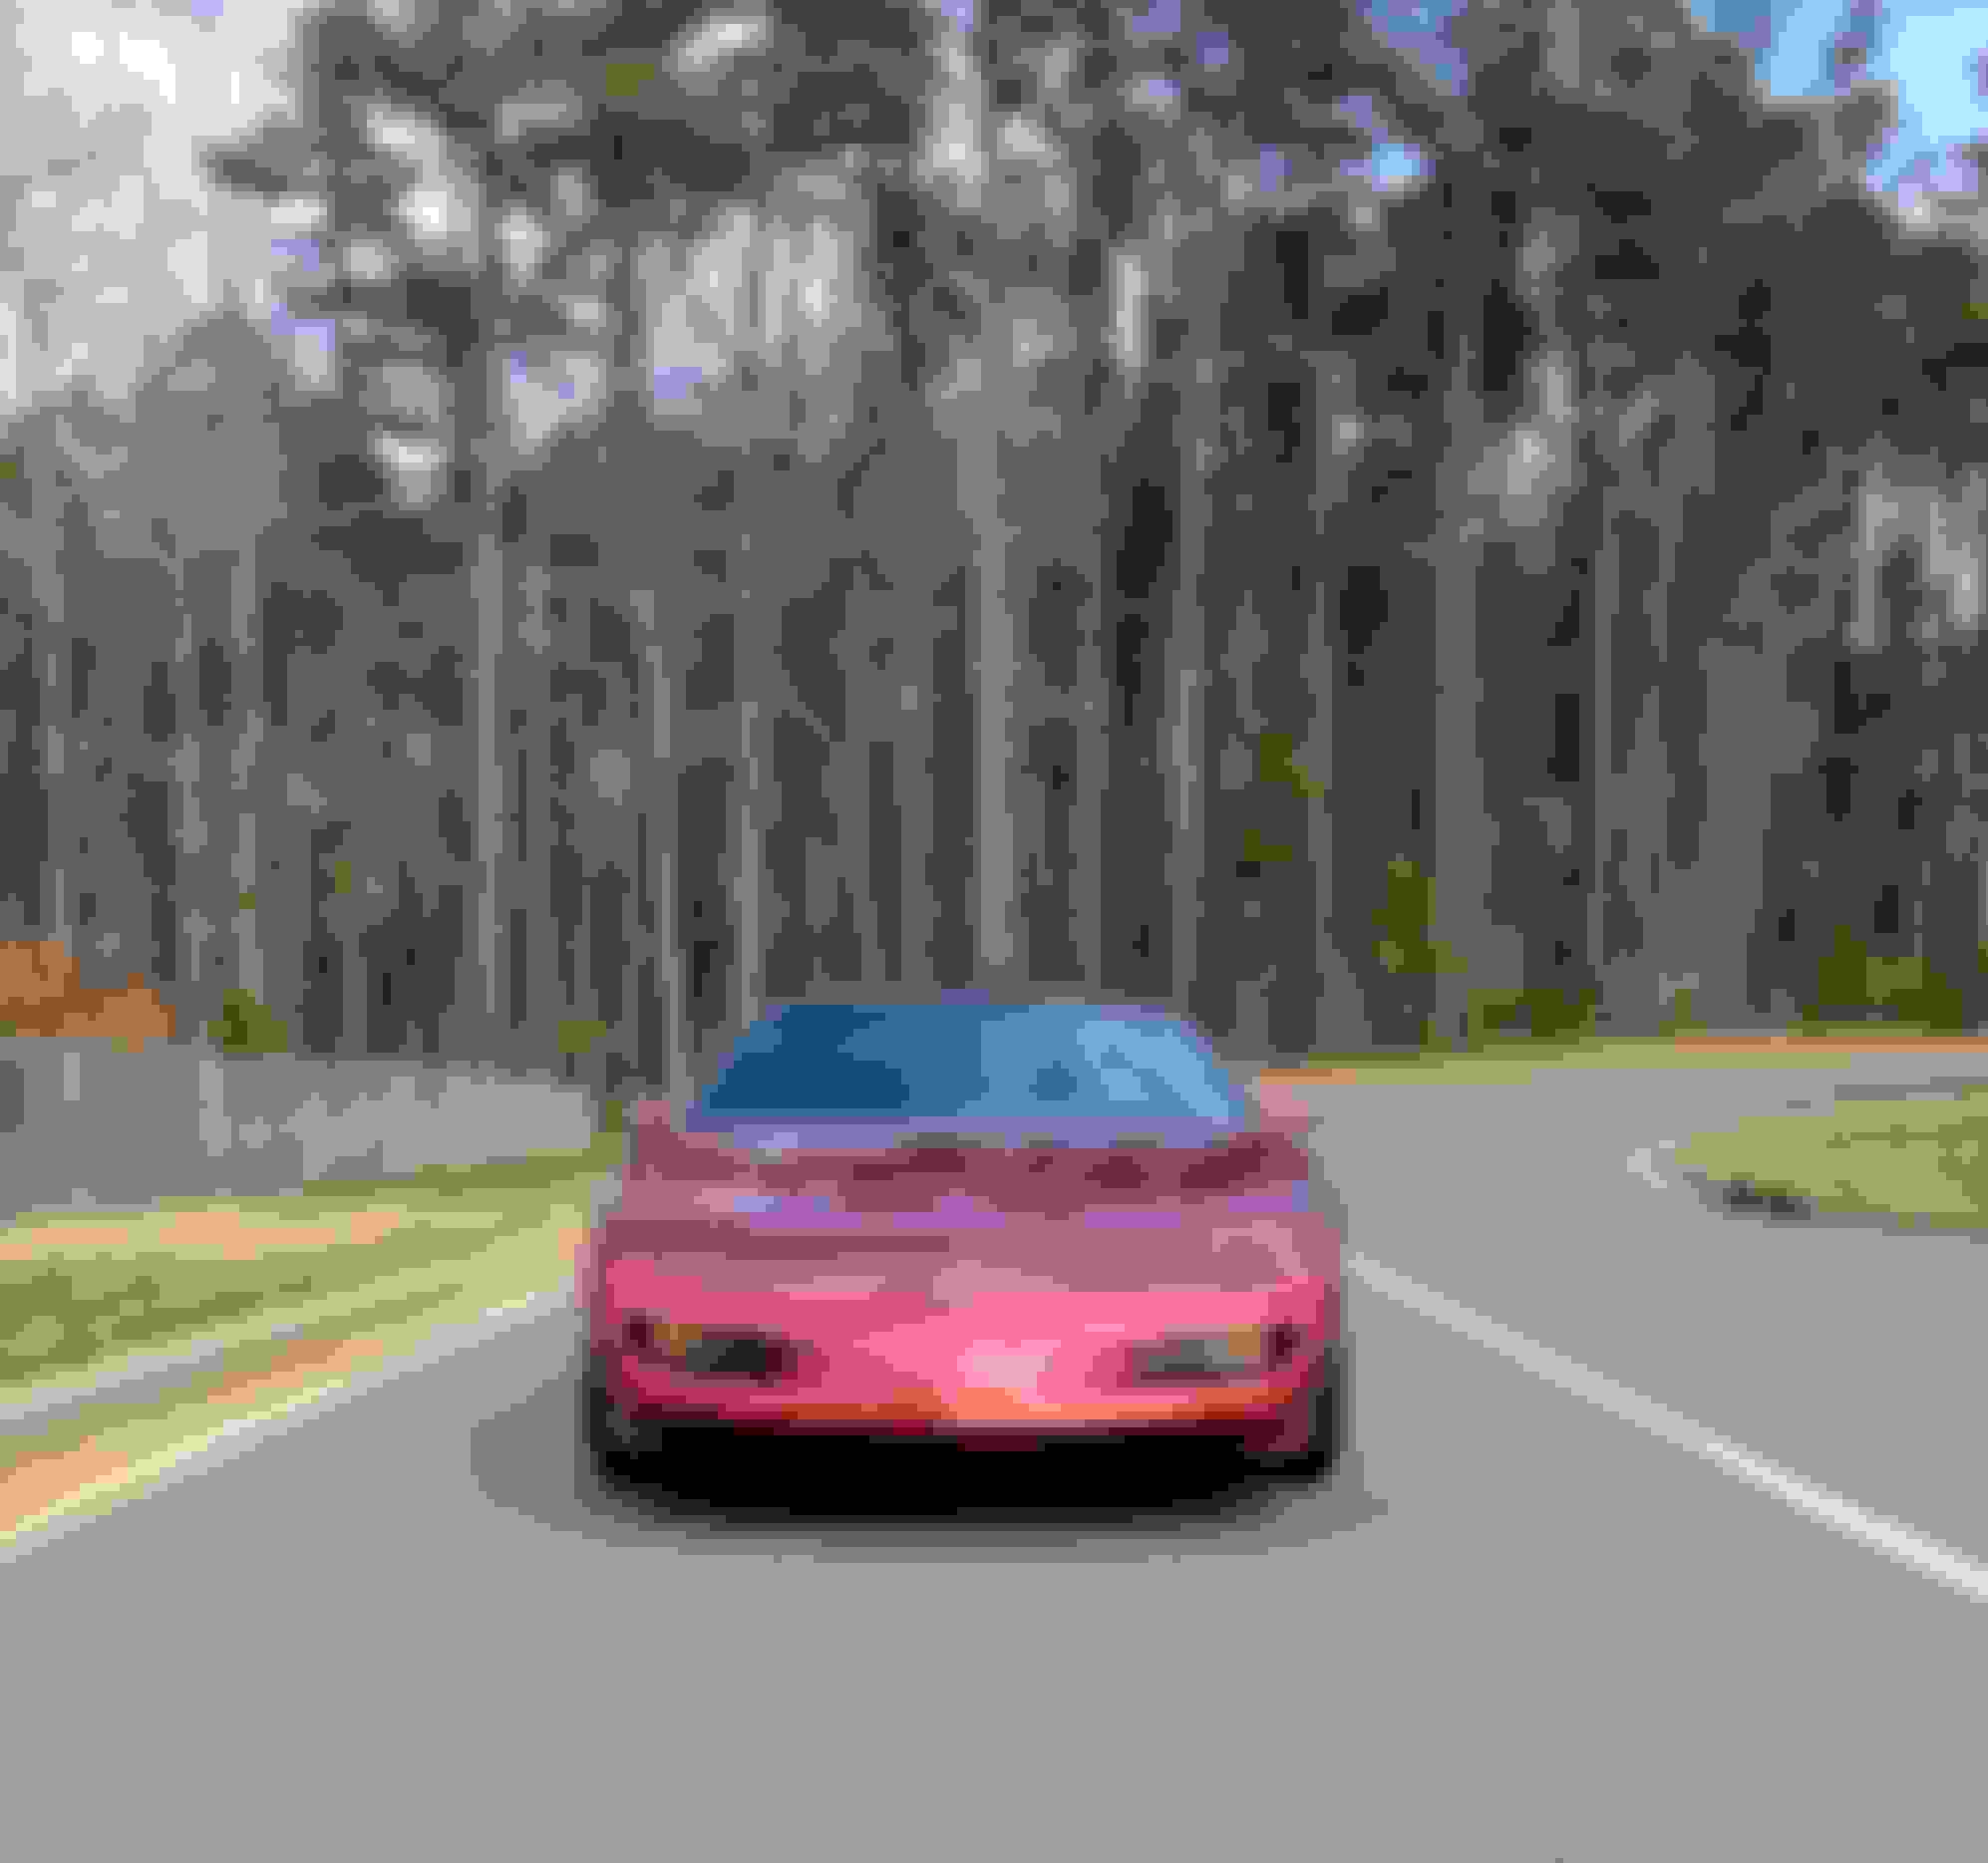
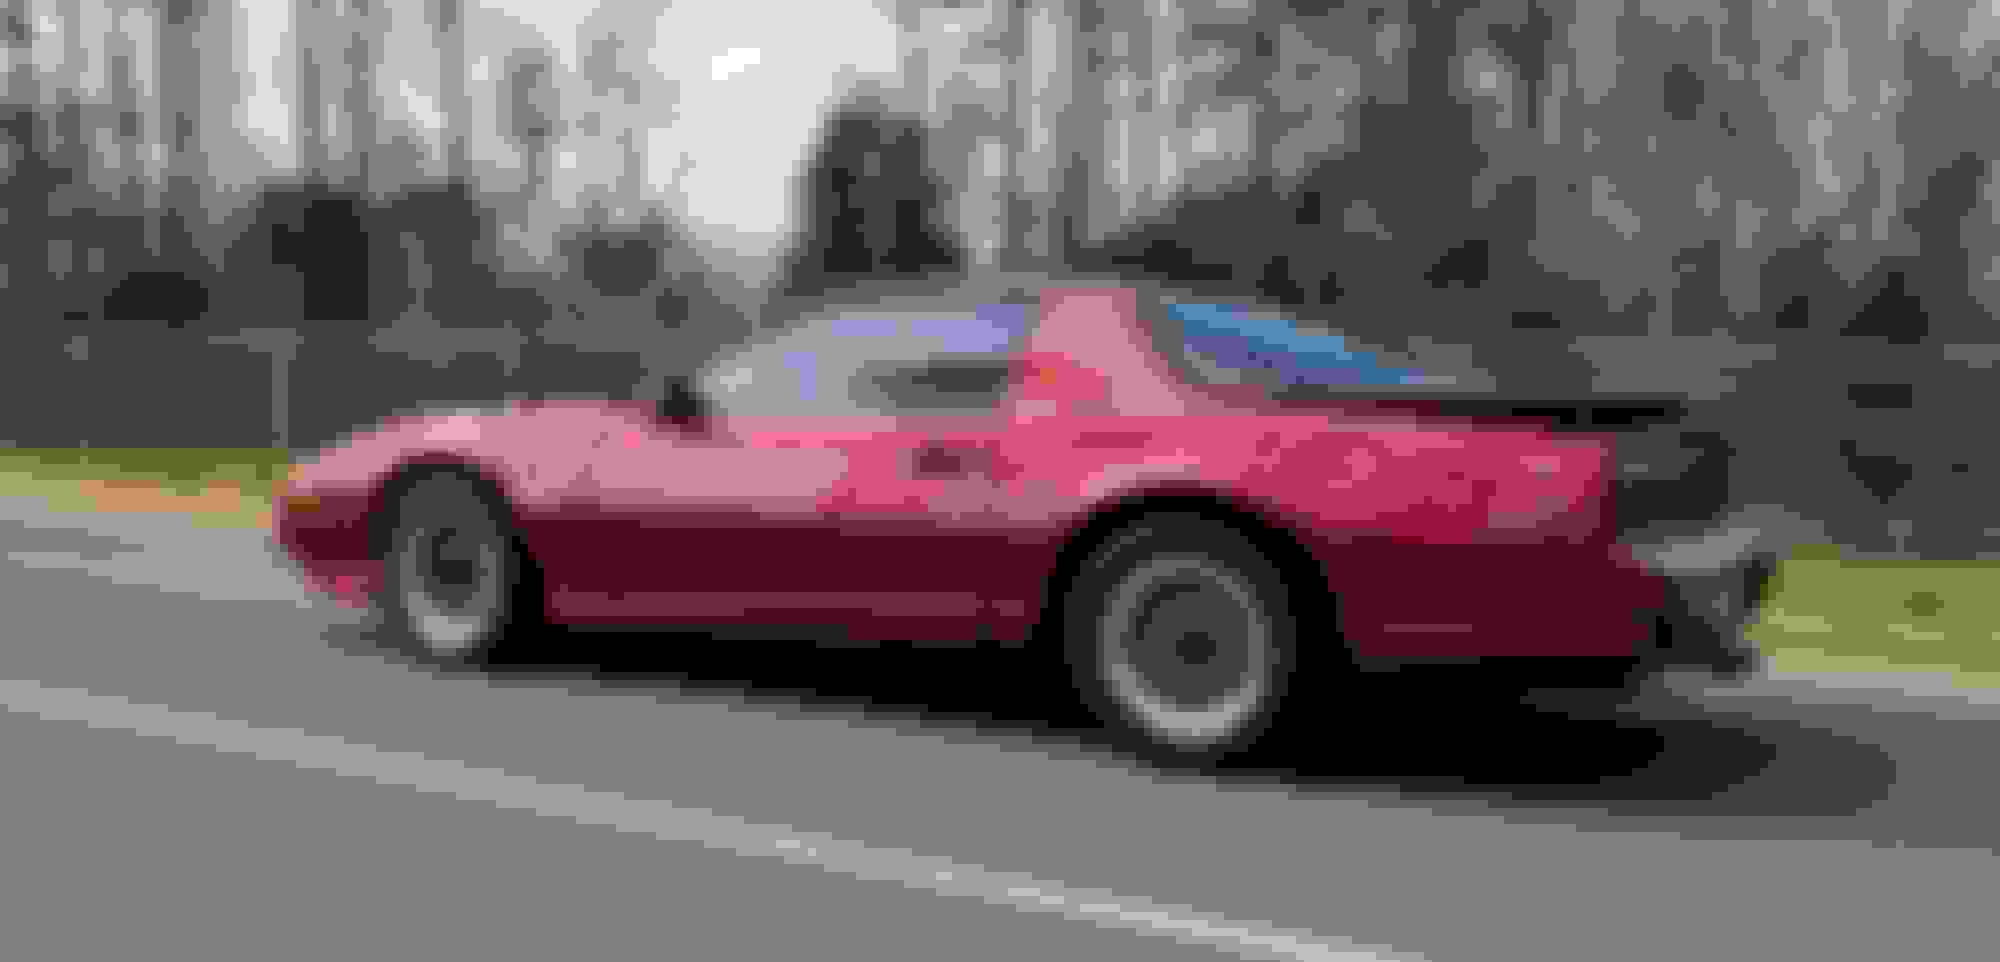
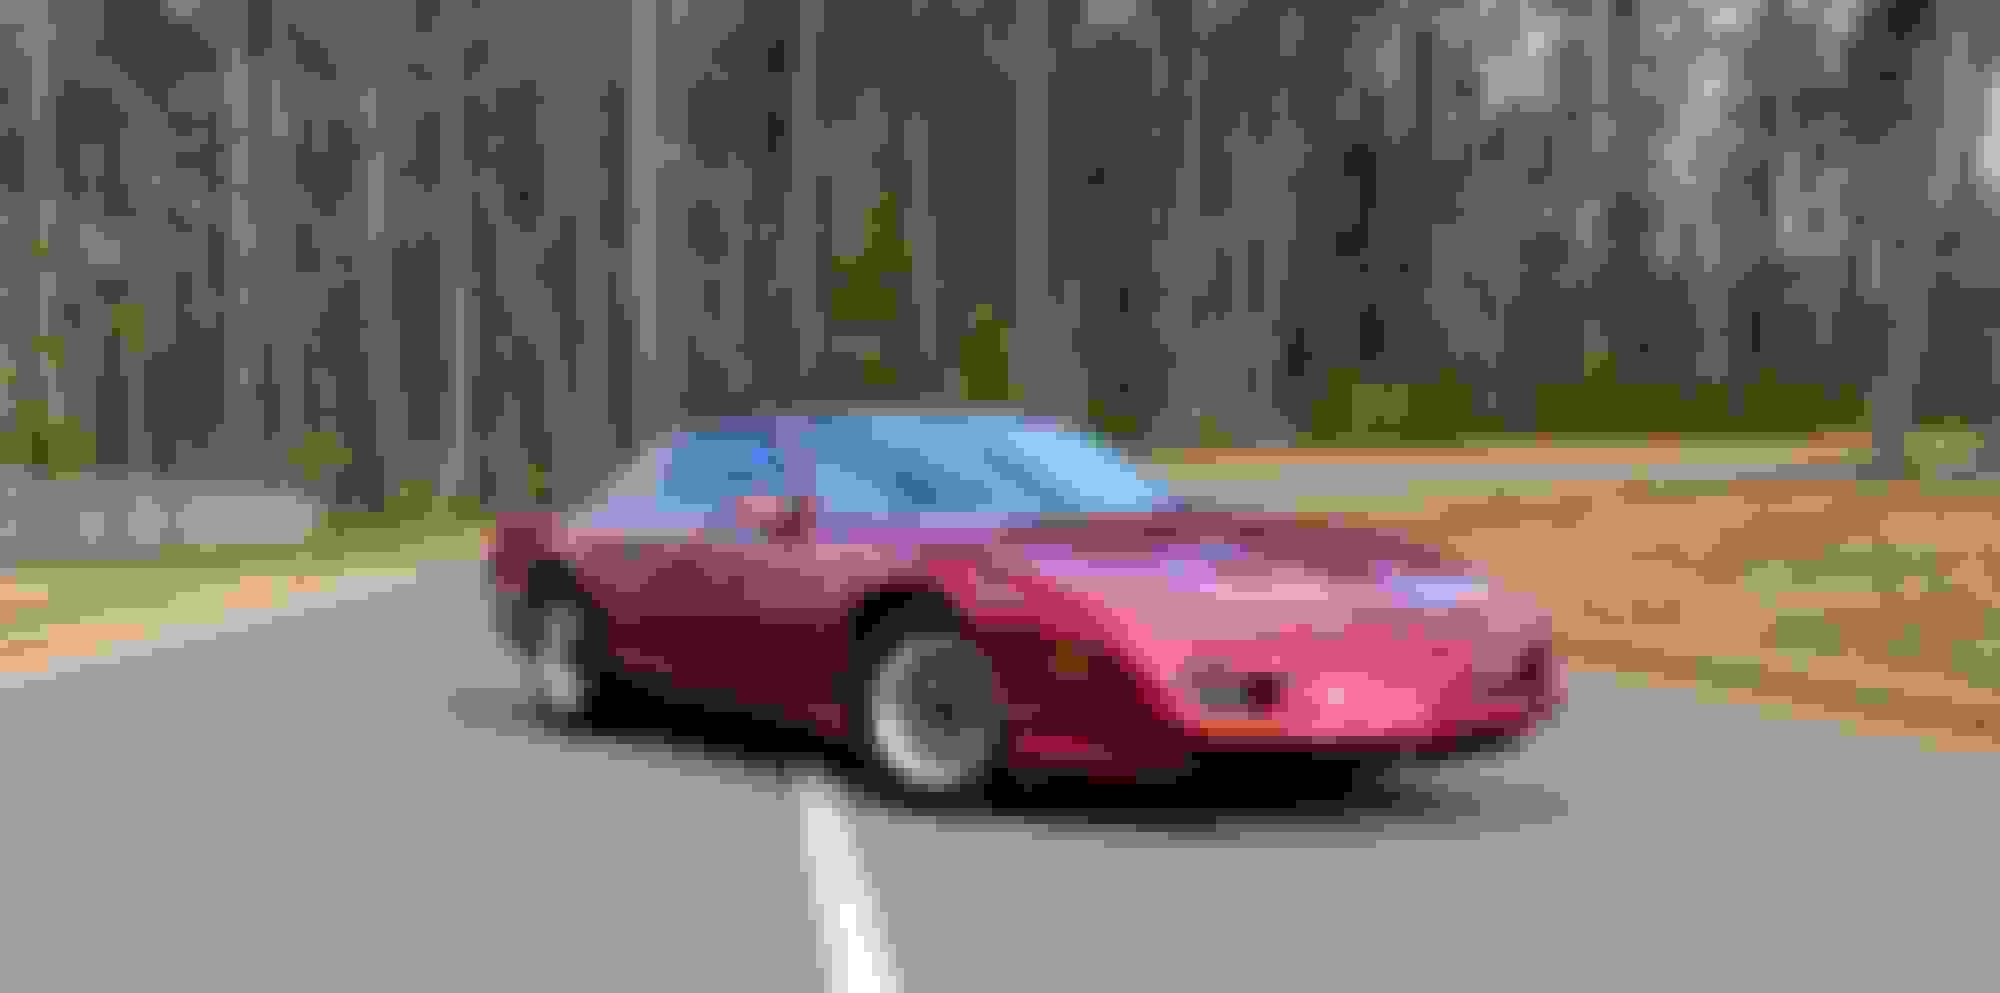
Ok so I finally took some pics of the car. It's not super clean but it looks better than it did about two weeks ago. Hopefully the pictures hide the dirt Here's the good pictures first.
Re: My 91 GTA Build/"Return to former glory" Thread
It has been awhile since I last posted so I guess I will give an update as to what I've been up to with the car in the last several months.
Some time ago I was finally able to wash and wax the car like I wanted. I used the Mother's 3-stage wax system on it...BY HAND (I really need to break down and buy a nice buffer). The parts of the car that have been repainted are in pretty good shape and clean up nice when waxed, but the other parts of the car with original paint...well not so much. I was able to restore a little bit of luster to these areas but you know what they say about polishing a turd... Just this past weekend I did a quick-and-dirty detail job on the engine bay. I cleaned/degreased everything I could reach with a combination of soap and water and some Black Magic engine degreaser. I also used the Mother's heavy duty Back-to-Black on all the plastic parts (this stuff is fantastic btw. I've used it on two cars now and been very satisfied with the results). It's far from show car quality but at least the engine bay is clean/shiny now. I still have some work to do with the plenum as it's a bit pitted with dirt but I'll figure that out later. I will try to post some pictures tonight when I get home.
As far as mods/maintenance go, the one big thing I've managed to do in the last several months is get the power window motors replaced. Having never seen one of these cars with the door panel off or having a good diagram to go off of, I'll just say it was quite the learning experience by trial and error on the first go round. The second time with the passenger side was a breeze. This was huge as up until this point, I could only drive the car on cold days (having no A/C or functioning windows). While I had everything apart I also replaced the broken driver's side cup holder with a new one from Hawks.
I still haven't gotten the odometer/speedo fixed with it's cold start-up issues but it's on the list. I did manage to finally get a flush/fill done on the power steering and radiator along with installing new hoses. That leaves a trans flush/fill and rear diff flush/fill as the only routine maintenance type things left to be done.
The last thing I've done is bought some Koni shocks/struts just this past week. They were on a steep discount so I couldn't pass it up. They won't go on the car until I buy springs, strut mounts, and Del-a-Lum bushings as I only want to take things apart once. I'm also in the process of buying a house right now, so it could be a while before I actually get to install them or update this thread again.
Re: My 91 GTA Build/"Return to former glory" Thread
Here are a few pics. The first is the car after the all day washing and waxing affair. The other two are after my once-over engine bay clean up. The driver's side valve cover cleaned up especially well. It was pretty gross before.
Re: My 91 GTA Build/"Return to former glory" Thread
So this past weekend I got to drive the car for probably one of the last times this summer. It's just too hot and humid down here to be driving a car like this with no A/C... Anyway, I found out last minute that there was going to be a car show at one of the Chevy dealerships nearby and put on by a local classic car club. There was going to be free food & drinks, live entertainment, plus they were giving out door prizes for the first 50 entrants and doing a "Top 40" award so I figured why not give it a shot.
I cleaned up the car Saturday morning and rode over to get it entered. I was car number 51! Dang, just missed the cutoff! There ended up being probably 55 or 60 cars total in the show so my odds were looking good for that Top 40 award. Walking around, there were lots of really nice & beautifully restored muscle cars and classic cars. Nearly all of which were in better shape than mine. When it was time for the awards, I was fully expecting I wouldn't leave with anything, but sure enough, I made the cut and even a got a plaque to show for it! This is the first car award I've ever won so I was pretty excited. I think I have my recent efforts with cleaning the engine bay (along with the rest of the car obviously) and the fact that it's a fairly rare car in decent shape to thank for placing in the awards.
Re: My 91 GTA Build/"Return to former glory" Thread
Once again time flies and it's been several months since my last post so I guess it's time to give another update. Unfortunately, I don't have any pictures to share right now but will work on getting some this weekend.
Shortly after getting all moved in to my new house, I had some extra money laying around and decided to use it on car parts . So I bought new greasable sway bar bushings and end links along with a TDS Wonderbar. I also decided to clean up the sway bars and repaint them a nice gloss black. After the paint dried, I got that installed in an afternoon and took it for a test drive. When throwing the car around corners and other extreme situations, it felt like it didn't have as much body roll but otherwise didn't make the car ride/drive any better. Same deal with the wonderbar. No noticeable difference, but of course, it's more of a preventative measure than anything else.
Due to the intense summer heat and the car having been kept outside when I lived in my apartment, the rear view mirror came unglued from the windshield. I won't go into detail but let's just say due to some carelessness in trying to take an incorrectly installed mirror button off, I cracked the windshield. I'm not really complaining about this because I now have a brand new windshield (and a correctly installed rear view mirror to boot!) that didn't cost me a dime, plus it's not pitted, covered in hard water spots, nor does it have browning tint.
Lastly, and most recently, I purchased Eibach Pro-kit springs and Founders strut mounts to go with the Koni shocks/struts I had purchased back in June so I could finally upgrade the suspension. Got everything installed this past weekend and had it aligned yesterday. The old shocks/struts were beyond needing replaced. I could easily compress both fronts and rears with one hand and the rears would not rebound at all while the front took quite a while to return to their extended state. Comparing the old and new springs, the Eibach fronts were a bit shorter in the free state than the originals, which I had hoped and expected, but the rears were essentially the same height. This was a bit of surprise since I had put these same springs on my previous Firebird and they were shorter than those springs at all four corners.
My settings on the shocks/struts are full soft right now as I get acquainted with the new feel of the car but I'm sure I'll experiment some. My initial reaction/verdict on the parts is that it was money well spent. The car no longer feels like it bounces and floats over dips in the road, doesn't bottom out or bounce going over speed bumps, and just generally feels less sloppy in the handling department. Obviously I haven't had a lot of time to experiment yet, but as of now I would say that the differences before and after are not "night and day" like a lot of people have claimed, but it is a significant change. The car still "feels" and drives the same, it just handles imperfections in the road better now. Basically what I'm trying to say is that slapping a set of new Koni shocks/struts hasn't magically transformed my 1980's designed suspension Trans Am to have the feel/ride of a brand new Camaro Z28. It's also possible I never drove the car hard enough, before or since, to fully appreciate the capabilities of the Koni shocks/struts.
As for the springs, after the alignment the car seems to have settled a little bit in the front and after measuring fender heights I can confirm this. But the back doesn't seem to have changed at all. I'm a little disappointed with this because the car now has a slight rake to it, which I am not a fan of. I prefer my cars to appear level front to back. I think this weekend I am going to drop the rear end and replace the isolators with heater hose to help bring it down some. One thing that the shocks/struts/springs have done is to help balance the car. Before I changed everything, I had 4 different measurements for each corner and when you viewed the car from the front or back, you could see this. I think some of it might be chassis flex but some was definitely the worn shocks/struts/springs. The front of the car now has matching fender heights left to right (26.75" I think?) and the rear is within a 1/2" now (was 3/4"-7/8").
I haven't really felt a difference with the strut mounts, but again, it's possible I haven't driven the car hard enough to notice the benefits.
That's all for now. I will try to take some pics this weekend after I have removed the rear isolators and get them posted so I can show you guys the progress. Next up on the list will most likely be SFC's and getting the A/C fixed. Might even try to work in replacing the sagging door hinges too.
Re: My 91 GTA Build/"Return to former glory" Thread
Unfortunately, I don't have any pics to share after this weekend. The car has developed a starting issue so it's stuck in the garage right now. However, I was able to jack up the rear end and swap out the spring isolators for some heater hose so my original mission for this weekend was accomplished somewhat (I also wanted to wash the car and prep it for a trip on Wednesday. Not going to happen now). Since I wasn't able to drive the car and resettle the springs, I have no idea how much this lowered the car.
As for the starting issue, it seems to have come out of nowhere. The first time it happened, it was as if the battery had died. All my electrical stuff would work (gauges, fuel pump, radio, lights, etc.) but when I would try to crank it...nothing. Got a friend to give me a jump and all seemed fine. Then when I tried to start it Saturday, the same thing happened. So I charged the battery up and put it back in and now the starter will spin but not turn the motor over. Sounds as if the bendix is hitting the flexplate but not engaging it enough to turn it. It seems to be killing my battery when it sits too as I had to charge it twice, though it doesn't charge for long. The second time I had to charge it, I had only tried turning the motor over a couple times but all my lights were dim and the fuel pump was slow to prime.
I will have to investigate more after the holiday weekend. Anybody else had similar issues? I've had a starter solenoid go out on my previous Firebird but that sounded more like an electrical arcing-type pop and would also actually turn the motor over and start the car unlike the current issue.
Re: My 91 GTA Build/"Return to former glory" Thread
Quick update on the car, I was able to get it running again. I ended up replacing the both the starter and the battery. The battery had a dead cell and was probably the culprit the entire time but it always checked out on my battery charger so I didn't realize it until I had already replaced the starter to no avail.
Unfortunately, I've since decided to sell the car. I just don't get to enjoy it as much as I thought I would and I would like to get rid of some student loan debt so it's up for sale. Please check out my ad in the for sale section (linked below) and spread the word to anyone you think could give it a good home.
Re: My 91 GTA Build/"Return to former glory" Thread
So after being up for sale for 8 months and not getting any enticing offers, I think I'm going to keep the car. It's tough because on the one hand, I really could use the money to pay down some debt, but on the other I'd always regret selling it and not finishing what I started.
That being said, there's not a whole lot that's new but I will tell you some things I've discovered since my last update. Over the summer, while looking for better ways to wash my DD and keep it clean (it sits outside under tree cover 24/7 which drives me nuts), I came across a hobbyist detailer on youtube that goes by the name Junkman. Some of you may be familiar with him. He has lots of good videos on the subject of detailing. After watching many of his videos, I've since invested in some good microfiber towels, a DA polisher and some better detailing product and have implemented some of his tips, tricks, and techniques for cleaning/detailing my own cars.
I started this weekend with some water spot remover from Chemical Guys. All the glass on this car (except for the new windshield) is covered in really heavy, hard water spots. I've tried everything to get this stuff off and nothing has worked until now. Using a product called Water Spot RX on my new Porter Cable 7424XP with an orange pad, I was able to finally remove all the hard water spots from the back glass. For the hard to reach areas, I had to use some #0000 steel wool and lots of elbow grease. I'm very happy with the results as the glass is now spotless and completely smooth. Next will be the two door windows.
While I was working on the back of the car, I also replaced the struts on the hatch and boy am I glad I did. The old struts used to make the hatch feel very flimsy when raising or lowering (lots of torquing side to side) as well as very heavy. With the new struts, it pops right up and doesn't torque to one side when raising or lowering.
My plan and goal for the "offseason" is to slowly work on correcting the paint on this car. There are lots of areas with clear coat peeling which I won't be able to fix but my hope is that I can seriously restore the paint on the parts of the car that don't have these issues. Some parts of the car have been repainted so those areas should be much easier to deal with but it's the areas that still have original paint and no clear coat issues I'm really going to focus on. Stay tuned throughout the fall/winter for lots of updates and pictures of progress.
Last edited by 86firebird350; 10-03-2016 at 09:45 AM.
Re: My 91 GTA Build/"Return to former glory" Thread
So I've taken it a step (or 6) further than just removing the water spots from the glass. Over the subsequent 4-6 weeks, I completed a full paint correction on the car, removing the swirl marks, oxidation, and as much of the "dead" clear coat from the clear coat failure as possible. It's still not 100% but it looks sooo much better than it did before. I did a full write up on the main Auto Detailing section here but a few of my favorite pictures from the "after" photo shoot are below
Another thing I've done since the last update was replace the power antenna cable, which snapped one day while I was out to lunch. I've heard that the replacements don't last very long so we'll see how well this holds up.
While buttoning up the power antenna cable replacement, my GTA fender emblem fell off so I also spent some time cleaning that area up and reattached that as well.
In the next few months, my plans are to finally get the A/C working. I need to figure out exactly why the A/C quit working in the first place, and then I will convert it over to R134a. It'll be nice to actually be able to drive it in comfort during the summer. I also plan to do some minor bolt ons to help reach the L98's full potential. A custom cold air intake and a set of under drive pulleys is what will get me started.
 01-12-2015, 02:00 PM


 Here's the good pictures first.


 . So I bought new greasable sway bar bushings and end links along with a TDS Wonderbar. I also decided to clean up the sway bars and repaint them a nice gloss black. After the paint dried, I got that installed in an afternoon and took it for a test drive. When throwing the car around corners and other extreme situations, it felt like it didn't have as much body roll but otherwise didn't make the car ride/drive any better. Same deal with the wonderbar. No noticeable difference, but of course, it's more of a preventative measure than anything else.