Rear Hatch Alignment 101
By Ward Wixon, aka Duffster ( wixon@silverlink.net )
How many of us(3rdGen Camaro owners) have been cleaning our cars and stand back afterwards thinking "WOW…nice car" until you saw the rear hatch? Body work has challenged some and thrilled others (no telling where I’m at here). Today’s class works on the simple re-alignment of the hatch panel which sticks out anywhere from 1/16 to 1/2 inch on most of our cars.
I’ve added some pictures to this procedure and you might notice they appear out of order…they are. I didn’t have anyone telling me the EASY way to do this, so I was winging it. Hence the need for an easy step-by-step for everyone else.
ENJOY!
Recommended tools for this endeavor:
- Phillips screwdriver
- 13mm ratchet (the deep well is better)
- 7mm ratchet
- razor scraper
- adhesive weather-stripping caulking/gun
- roll of 1" masking tape
- Drill with 1/16 drill bit
- An extra set of hands (READ another person)
STEP 1 – Clean the rear glass completely!!!
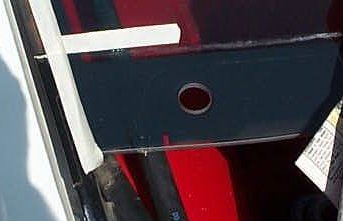
STEP 2 – Mark using the masking tape the top of the desired location for the hatch alignment.
STEP 3 – Pop the hatch and remove the underside panel (plastic trim panel) using the phillips screwdriver.
STEP 4 – *** CAUTION *** HAZARDOUS STEP – Here is where the friend comes in handy. Remove the 7mm bolts attaching the struts to the hatch (if you have rear defroster, disconnect now) and remove the strut from the hatch. OBVIOUSLY if you drop the hatch here, LARGE chance for breakage!!!
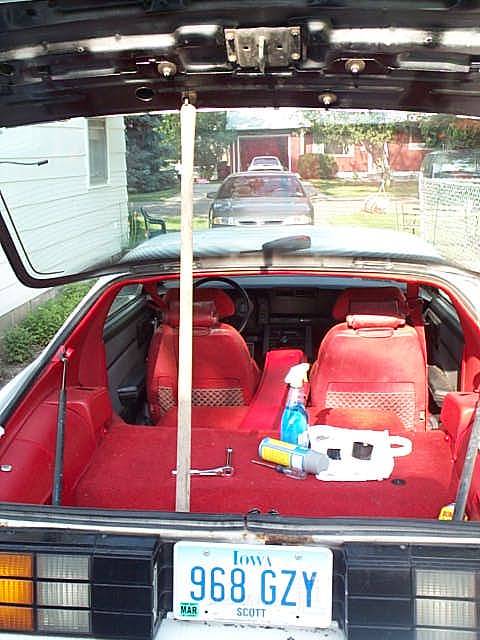
As you can see, not too safe…no friends 🙁
STEP 5 – *** CAUTION *** HAZARDOUS STEP – Lifting the hatch, remove the Phillips screws holding the hatch panel to the hatch frame (should be 2 on each side).
STEP 6 –*** CAUTION *** HAZARDOUS STEP– Lifting the hatch, remove the 13mm nuts holding the hatch panel to the hatch glass, ENSURE your friend is holding the hatch glass from the side or frame( if held from the panel, STRONG POTENTIAL for GLASS BREAKAGE!!!)
STEP 7 – With the hatch lowered to a safe position, now remove the panel and start scraping the black weather-stripping gunk off.
STEP 8 – Using the caulk gun and adhesive weather-stripping, lay a new bead of stripping down based on where your old bead was and where the panel will go. (Clear silicon caulking works VERY NICELY).
STEP 9 – Gently place the panel into its new location and let sit for a few minutes.
STEP 10 – *** CAUTION *** HAZARDOUS STEP– Lifting the hatch, replace the 13mm nuts holding the hatch panel to the hatch glass, AGAIN ENSURE your friend is holding the hatch glass from the sides or frame ( if held from the panel, STRONG POTENTIAL for GLASS BREAKAGE!!!)
STEP 11 – *** CAUTION *** HAZARDOUS STEP– Lifting the hatch, determine where the Phillips screws are to go and redrill a small pilot hole for them. Reinstall the screws.
STEP 12 –*** CAUTION *** HAZARDOUS STEP– Lifting the hatch, reinstall the struts and replace the 7mm bolts (reconnect rear defroster if required).
STEP 13 – Replace the plastic trim panel and screws holding it.
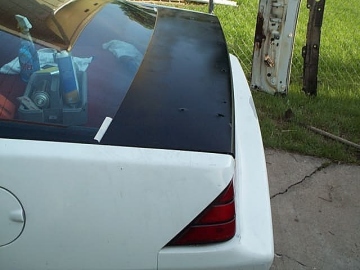
Shut the hatch, stand back, ADMIRE a job ALMOST done…remove tape, enjoy.
IF I’ve missed any steps here, or you have suggestions for stream-lining this procedure, E-Mail me at
Chevy_1988Camaro@hotmail.com
Duffster