Steering Box Rebuild, Rag Joint and Pit Arm
Hello to everyone!
I did my steering box rebuild and took some pictures while doing it, so I thought I should share it with everyone.
The complete rebuild and rag joint replacement will take about 4-6 hours if you have all the tools.
Here’s what you need:
- Steering box rebuild kit Part# 8522. I bought mine thru AutoZone for $31 bucks
- Pit arm removal tool. This tool can be purchased at AutoZone, Pepboys or any other shop. I bought mine at Autozone Part# T72069
- 1 5/16″ deep socket.
- Power steering box fluid.
- New rag joint.
- Four (4ea.) 5/16″-24 lock nuts and 5/16″-24 x 1 1/2″ bolts(for the new rag joint installation).
- 4 1/2″ grinder with cutting wheel(to cut away the stock rag joint rivets).
- Grease lube
- Thread Locker
- Some WD-40
- Clean rags for cleaning
- Snap Ring removal tool
- Hammer and chisel
- Rubber mallet
- Dentist like pick tool
Procedure:
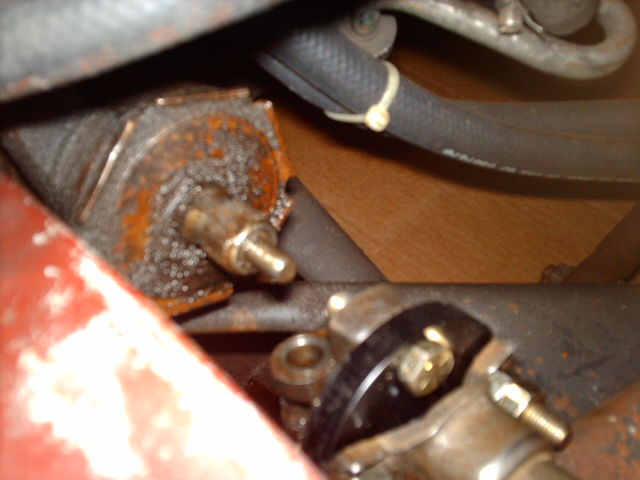
1) Remove the pit arm, but first make a mark on the pit arm and shaft for re-installing purposes, do not use some magic marker, use a small file and make a good mark.
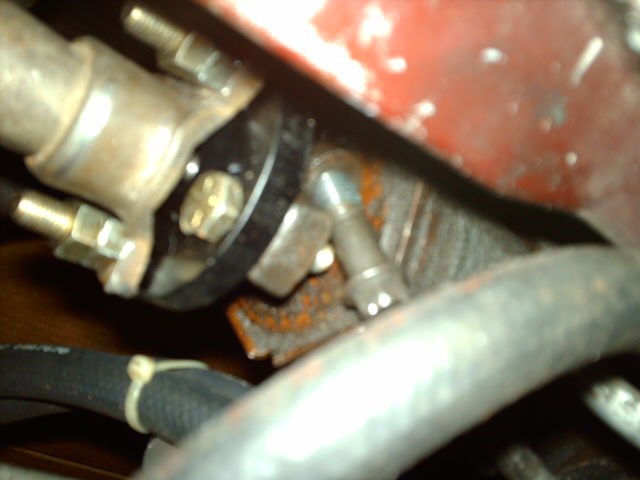
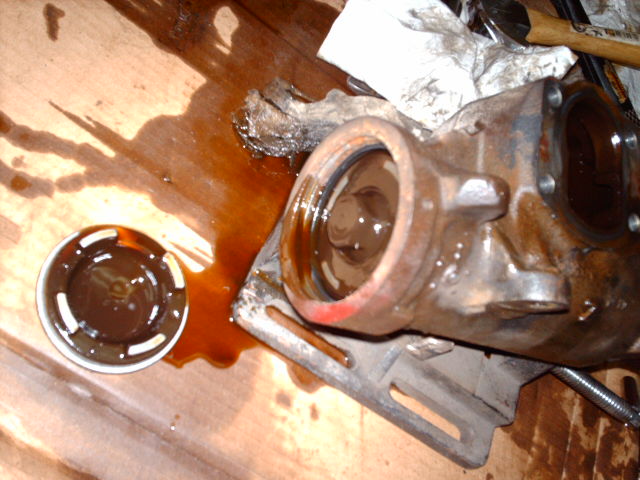
2) Next place some news paper on the floor right below the steering box and remove the steering hoses, remember to mark each one. Some fluid is going to be spilled so that’s the purpose of the news paper.
3) Slide the plastic cover that covers the steering shaft and remove the bolt that holds the rag joint into the steering box.
4) Use some WD-40 and spray it ove the steering shaft slide shaft, near the joint below the master cylinder.
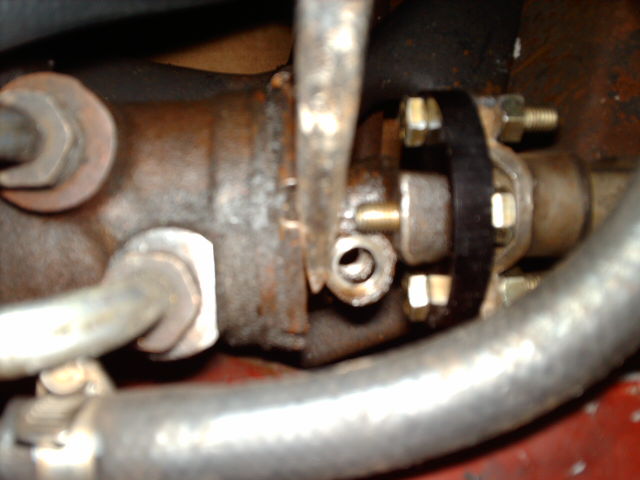
5) Remove the bolt that hold together the steering shaft slide shaft with the shaft coming from the firewall.
6) With a large screw driver or pry bar separate the rag joint from the steering box.
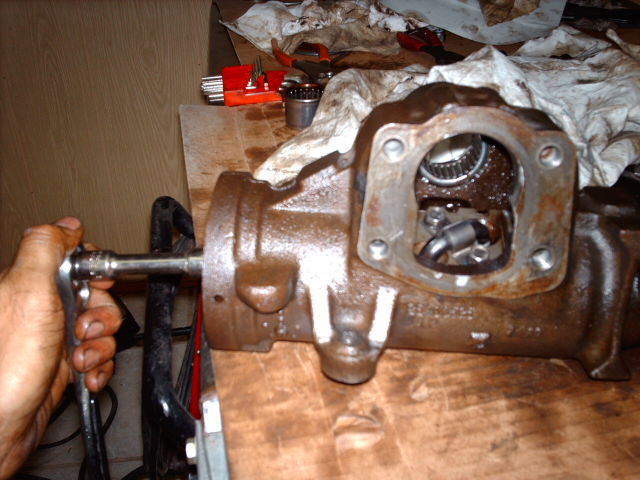
7) Remove the steering box and the steering shaft.
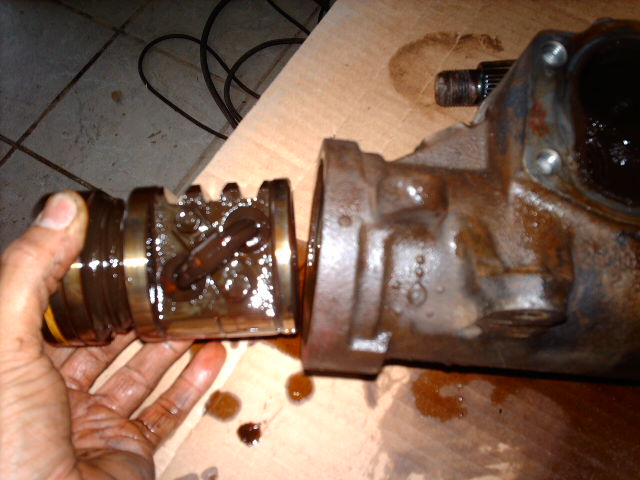
Now that you have those two parts, lets concentrate on the rag joint replacement.
1) First: FORGET ABOUT RAG JOINT ELIMINATORS I did change that on my GTA and the binding it created contributed to a leak on the steering box, main reason for the steering box rebuild. Rag joint eliminators will create dead spots since it takes away the articulate joint that the rag joint provides.
2) Mark the position of the joints with a file also and then remove the rivets with the cutting wheel. Be carefull not to damage the parts to be reused or yourself! You will need the hammer and a rounded punch tool to remove the rivets from the joints.
3) Clean all parts and lubricate the slide shaft with some WD-40 and place aside until re-install.
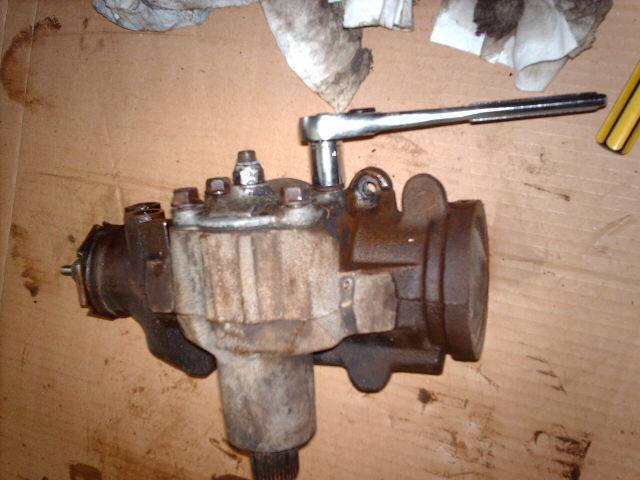
Steering Box Rebuild
1) With the steering box in hand rotate the shaft with your hand from side to side while pointing the two couplers where the hoses attach upside down to a cath container. This will cause all the fluid to be sprayed into the catch container. Try to do it as much as possible to remove all the unwanted fluid trapped inside the box.
2) Once you have removed all the fluid or mostly, remove the lock nut on top of the box.
3) Remove the four bolts that hold the box’s top cover.
4) Using the hex wrench that fits propperly on the adjusting bolt remove the cover while you screw-down the adj. bolt. You will notice that the cover will go up.

5) Remove the shaft using a rubber mallet.
6) Remove the spring wire that hold the front cover.
7) Turning the shaft carefully!! Push the cover outward. Try not to go all the way only what is necessary to remove the cover.
8) Keep turning the shaft until the rack piston is out. BE CAREFULL NOT DROP THE BALL BEARINGS!!!! The are a total of 24 balls.
9) Clean the rack piston completely, replace the seals and set aside.
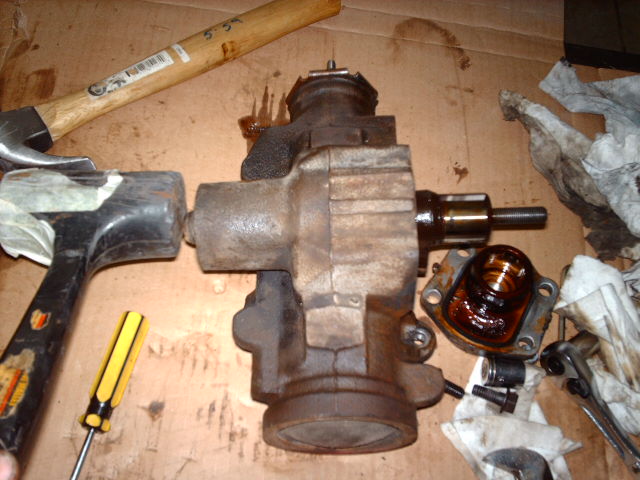
Rack Piston

Rack Piston #2
Remember to clean all parts that you remove and DO NOT DISCART ANY OLD SEAL YET, YOU MIGHT NEED IT!!!
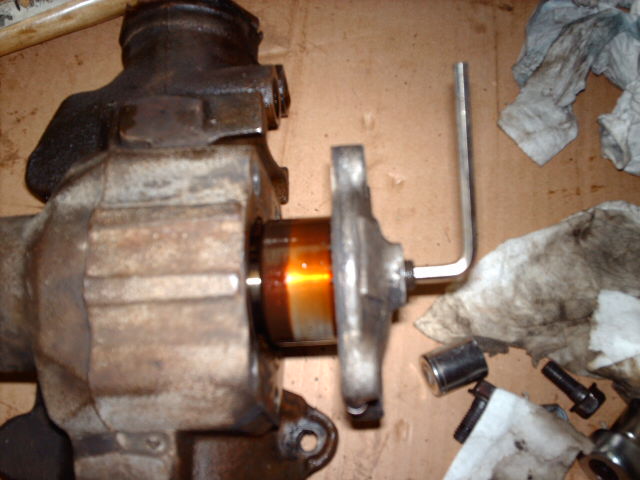
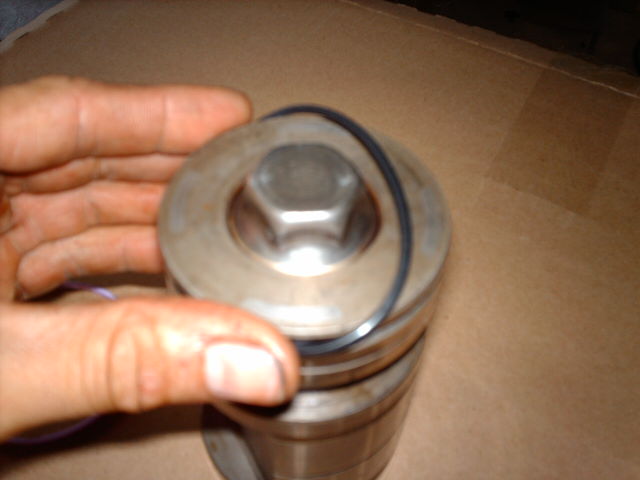
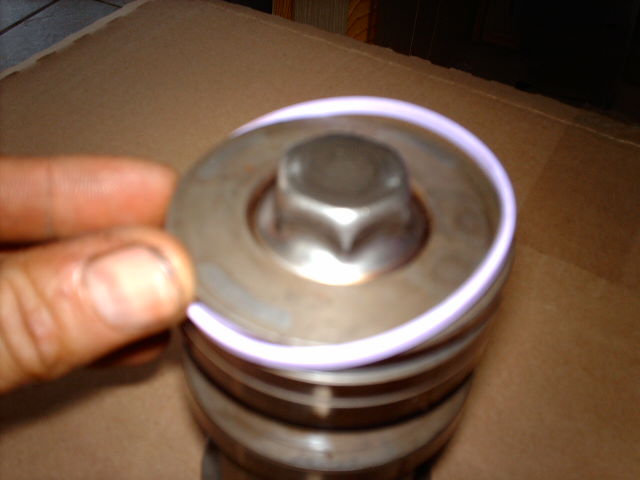
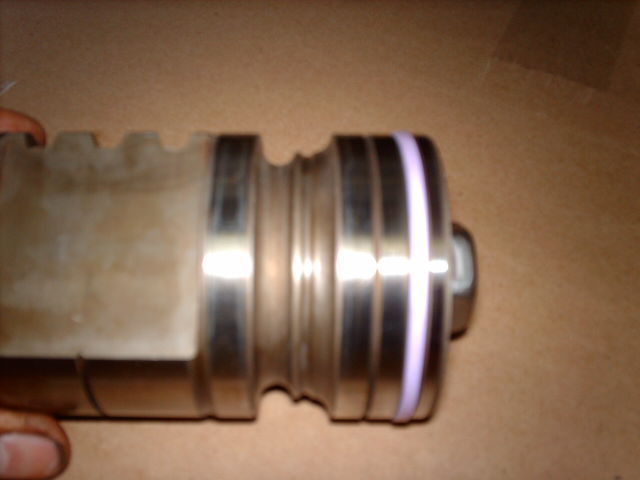
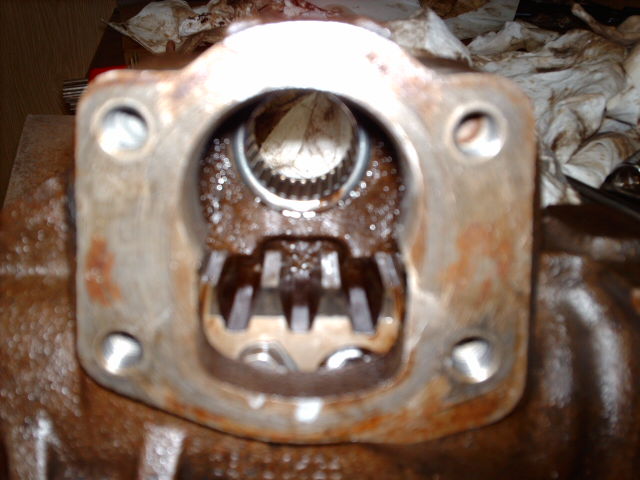
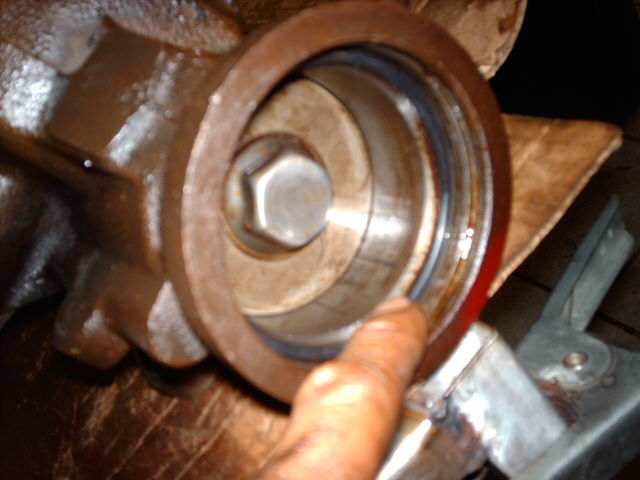
10) Now is time to remove the large lock nut, but first, yes, mark it’s position.
11) Remove the large nut and the cylinder.
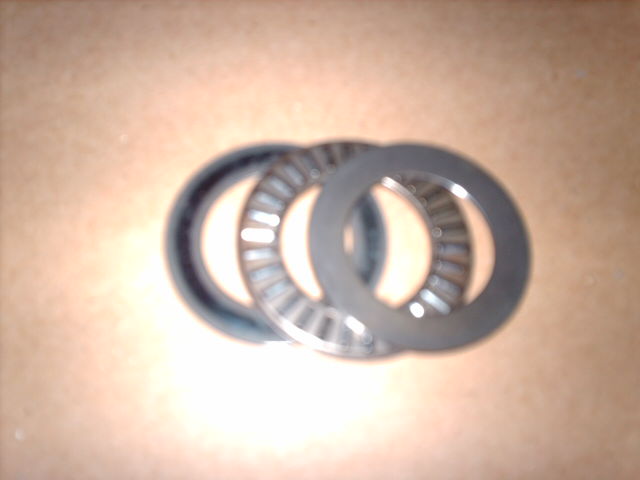
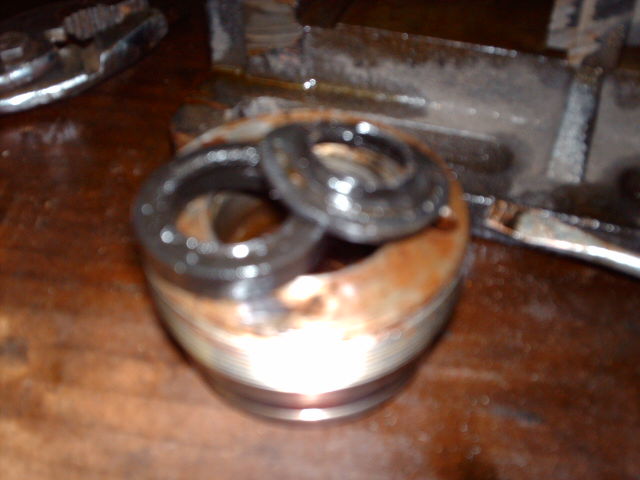
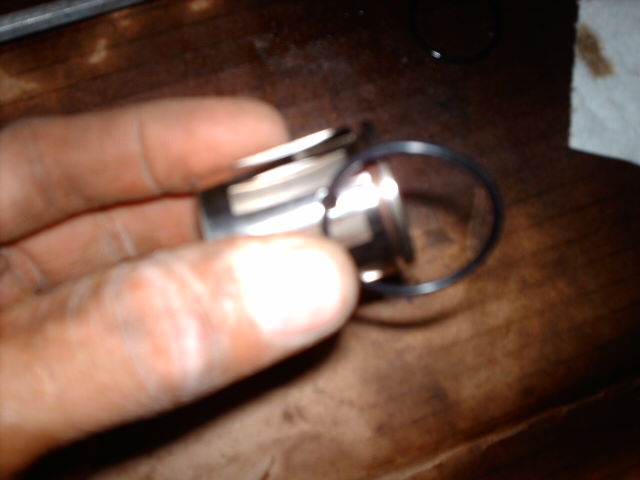
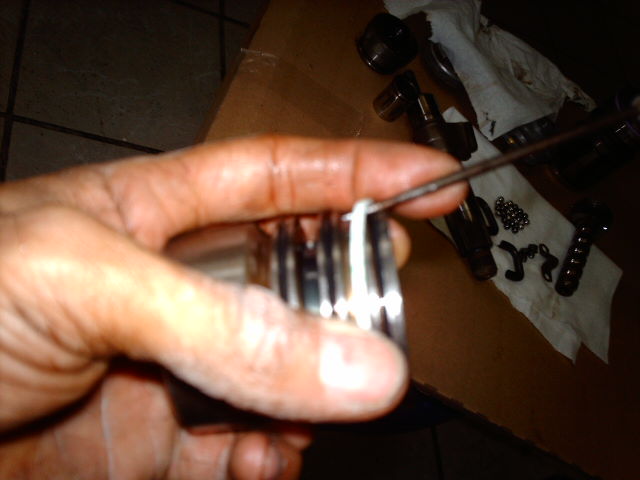
12) From the threaded part of the cylinder replace the roller bearing and the two seals. You will need the snap ring toll for that
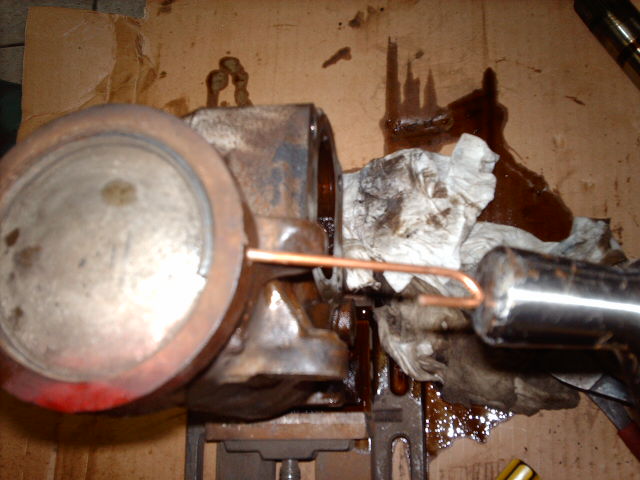
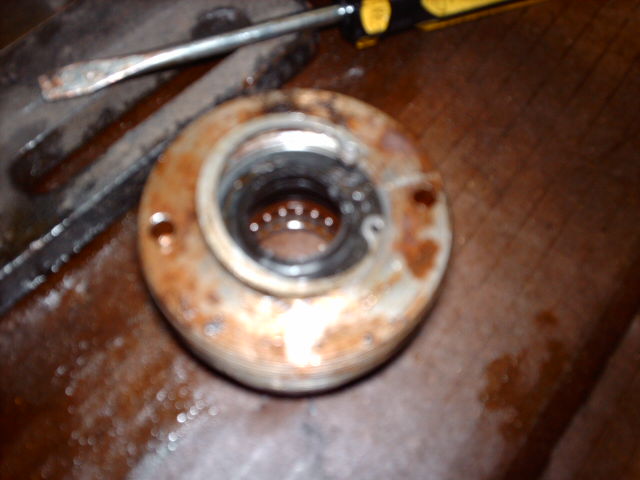
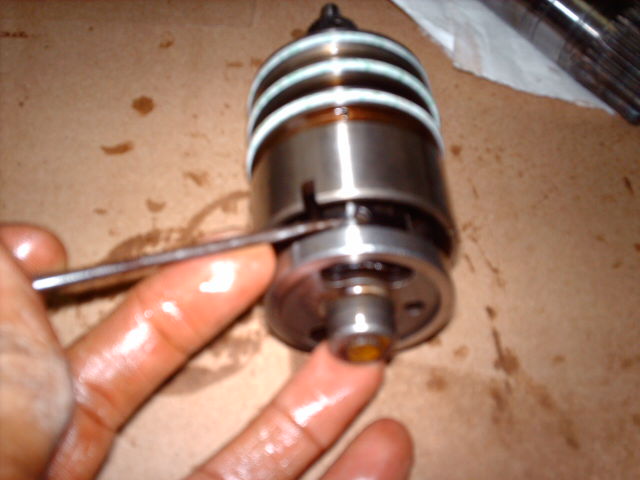
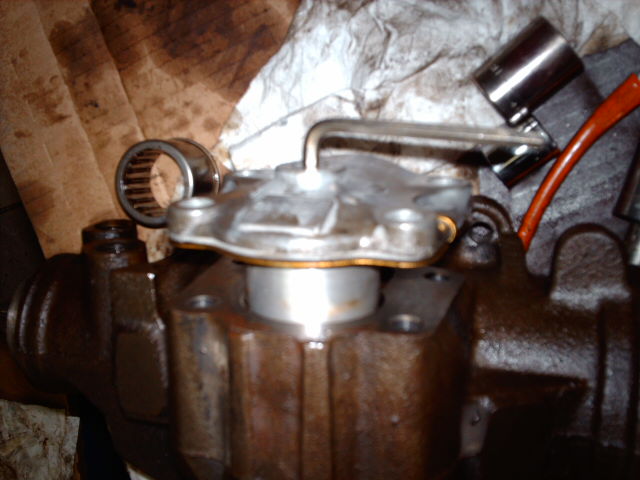
13) Replace the seals on the pump. Be carefull and please notice how all parts interlock before you dismantle anything!!!!
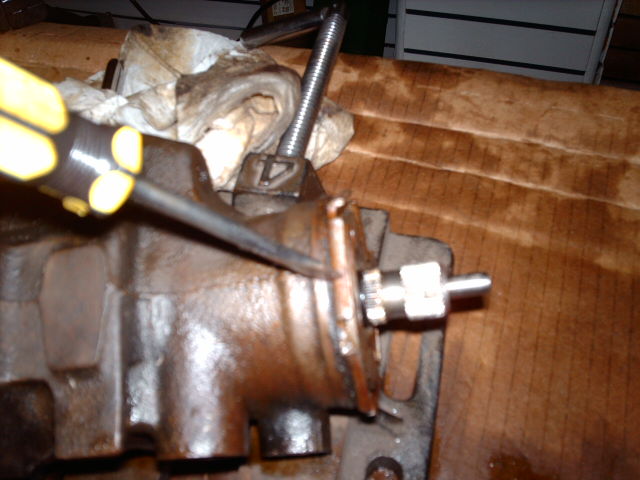

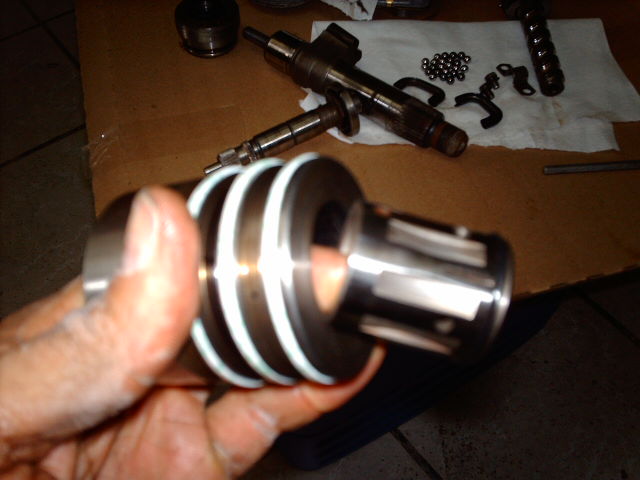
Pump
Ok here is the step that you guys or gals I want you to take your time.
First of all. my camera is a piece of sh_t, and I didnt notice that the pics I took where off focus until I reviewed later, so try no to go blind while you look at them.
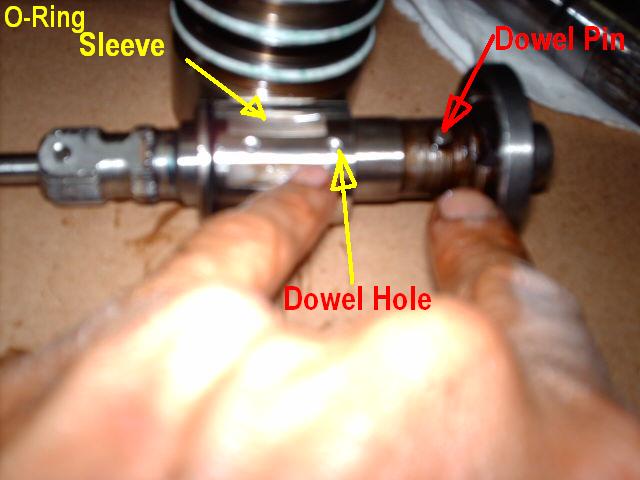
Remember that I told you to please keep an eye on how parts interlock one with each other? Ok The pump has one worm shaft which is the one that turns the rack piston. The Stub shaft and the O-ring valve body with body.
The O-ring body interlocks with the stub shaft via a small dowel. Also please keep in mind the thrust bearing and washers.
14) When replacing the seals on the pump do it in order form the fartest first then to the closer to the edge of the cylinder.

PUMP # 3
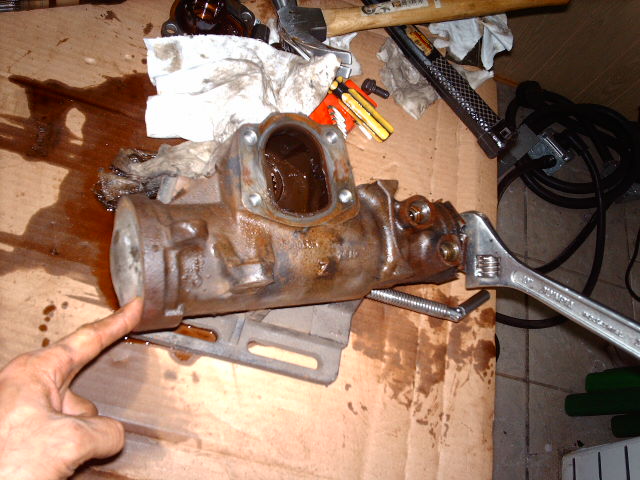
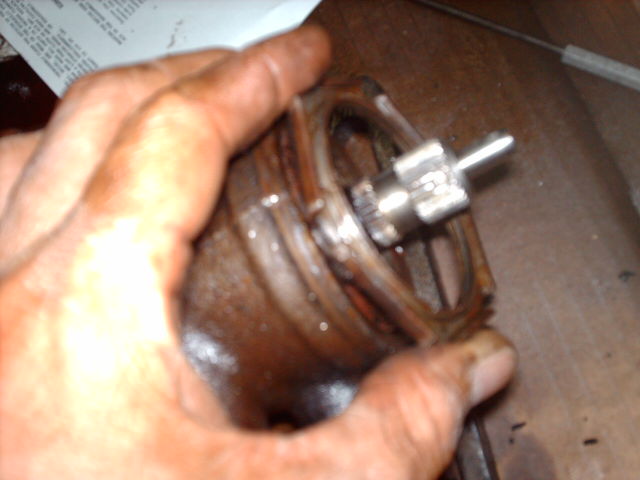
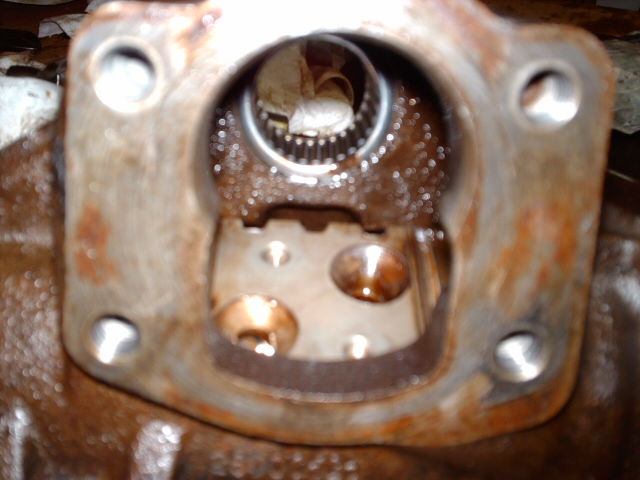
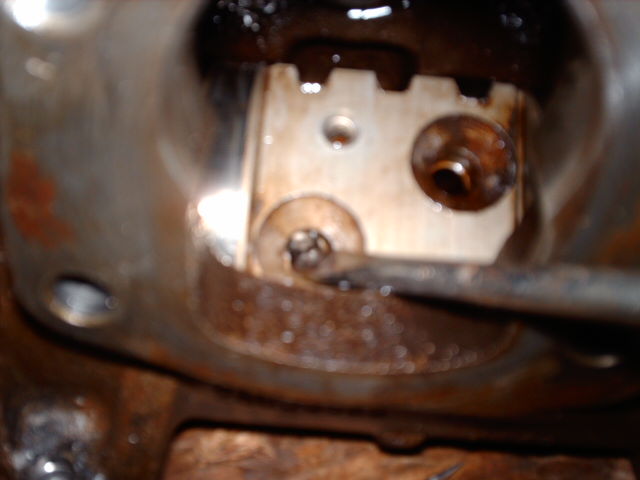
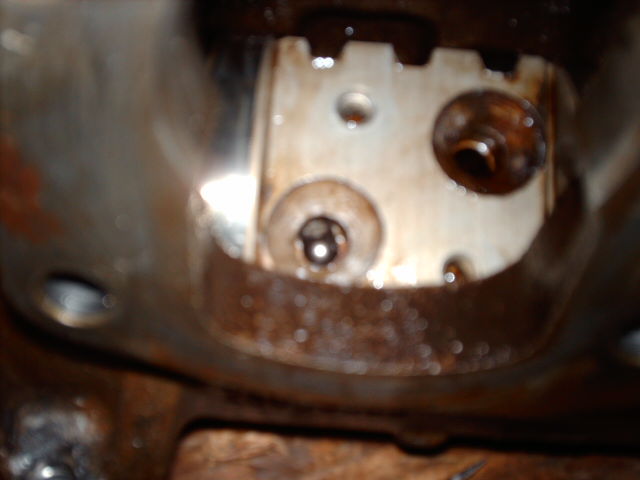
15) Once you replaced all the seals and partially assembled the pump and set it aside its time work on the seal and bearing replacement of the main shaft. Remove the snap ring and remove the seals along with the roller bearing and replace.
16)Re-install the complete pump assembly carefully. Be sure that all o-rings are positioned correctly in place and that everything is as when you remove it. Just hand tight the threaded body for now. Be sure to leave it very loose
17) Install the rack piston. Be sure that thera are no ball bearings inside!!!
18) Install the ball bearings, this is the trick part
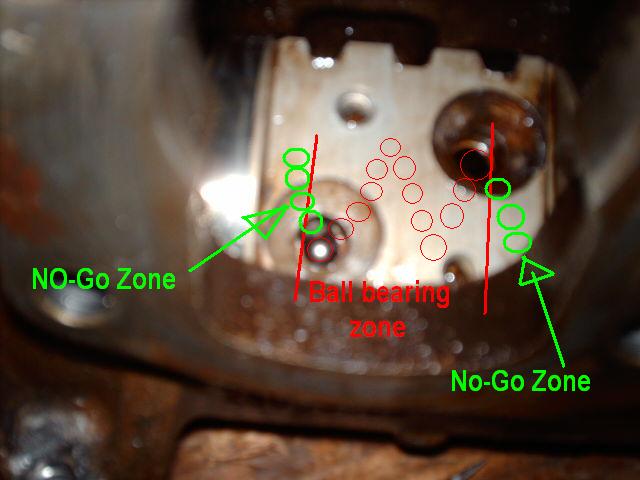
Once the rack piston is inside the box place the box flat on the table. With the rack on it’s centered position you will start putting each ball thru hole on the rack piston to your left side. Be sure that the balls run towards the right side. Use the pick to push the down, but always make sure that they run to the right side. The idea is that when you install the tube carrier in shape of an “U” all the balls run thur the worm shaft and thru the “U” carrier. If the balls are outside the that zone I honestly don want to even know what could happen. Notice that the carrier tube has to “stops” on each end to prevent the balls of getting out of the ball bearing “zone”.
Ball Bearing Zone
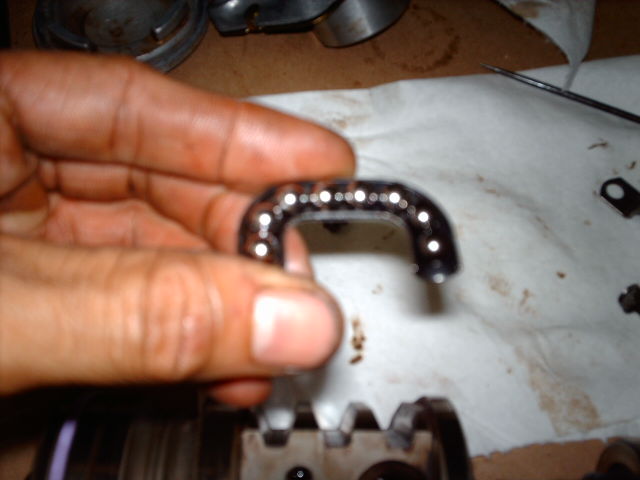
19) Once you have pushed the ball bearing to zone area ONLY, fill the “U” carrier tube with the remaining balls which should be 7-8 balls and put some grease on each end so that the balls will not fall from the tube. Join the tube with some masking tape.
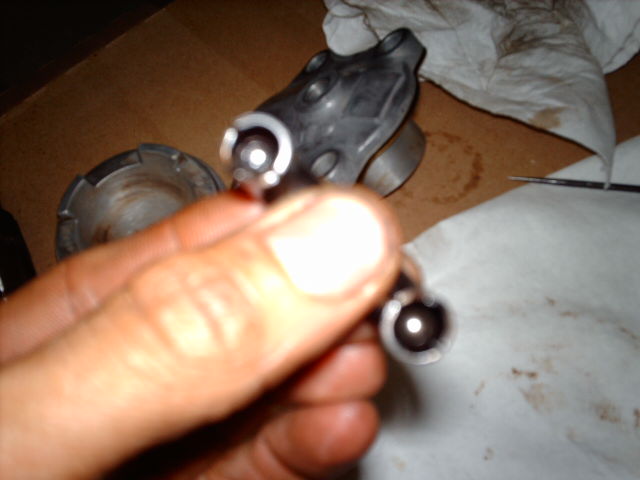
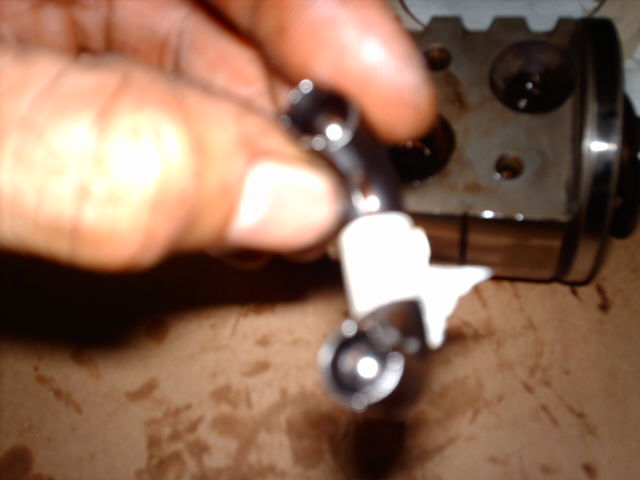
20) With all the balls in the “zone” place the tube as gentle and as fast as you can on its position and put the metal strap on with the screws. Use some thread locker there.
21) Hand tight the threaded body on the pump side. This will avoid the rack, due to its weight to unscrew from the box and spill all the balls out.
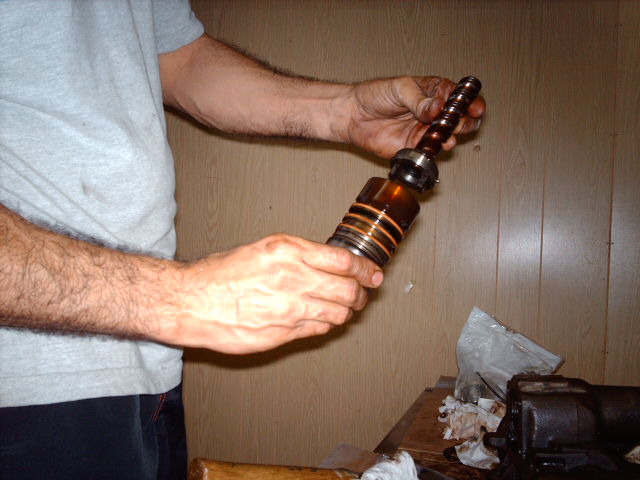
22) Reinstall the main shaft put the top cover.
23) Reinstall the front cover, make sure that you change the large o-ring and put the new spring wire.
Assembly
24) I adjusted the complete box by feel only, did not trust my torque wrench on this one.
What I did is first tightened the threaded body until I got to the mark I left. Then adjusted until I felt no lash on the thrust bearing from the pump. Then tightened the large lock nut.
25) For the main shaft I did it the same way but this time I turned the steering shaft simultaneously until no lash was felt. Then torqued the lock nut.
26) Re-install on vehicle and enjoy your new 2008 steering box!
Hope this will a lot of people!
Contributed by: BBSDesigns