When you click on links to various merchants on this site and make a purchase, this can result in this site earning a commission. Affiliate programs and affiliations include, but are not limited to, the eBay Partner Network.
I am trying to decide which way to go on getting a FIRST (or other) intake for when I build my 383...hopefully in 2018. Also post a short story on your build, quarter mile times, etc. I don't want any debates or putting each other's build down. Only positive feedback.
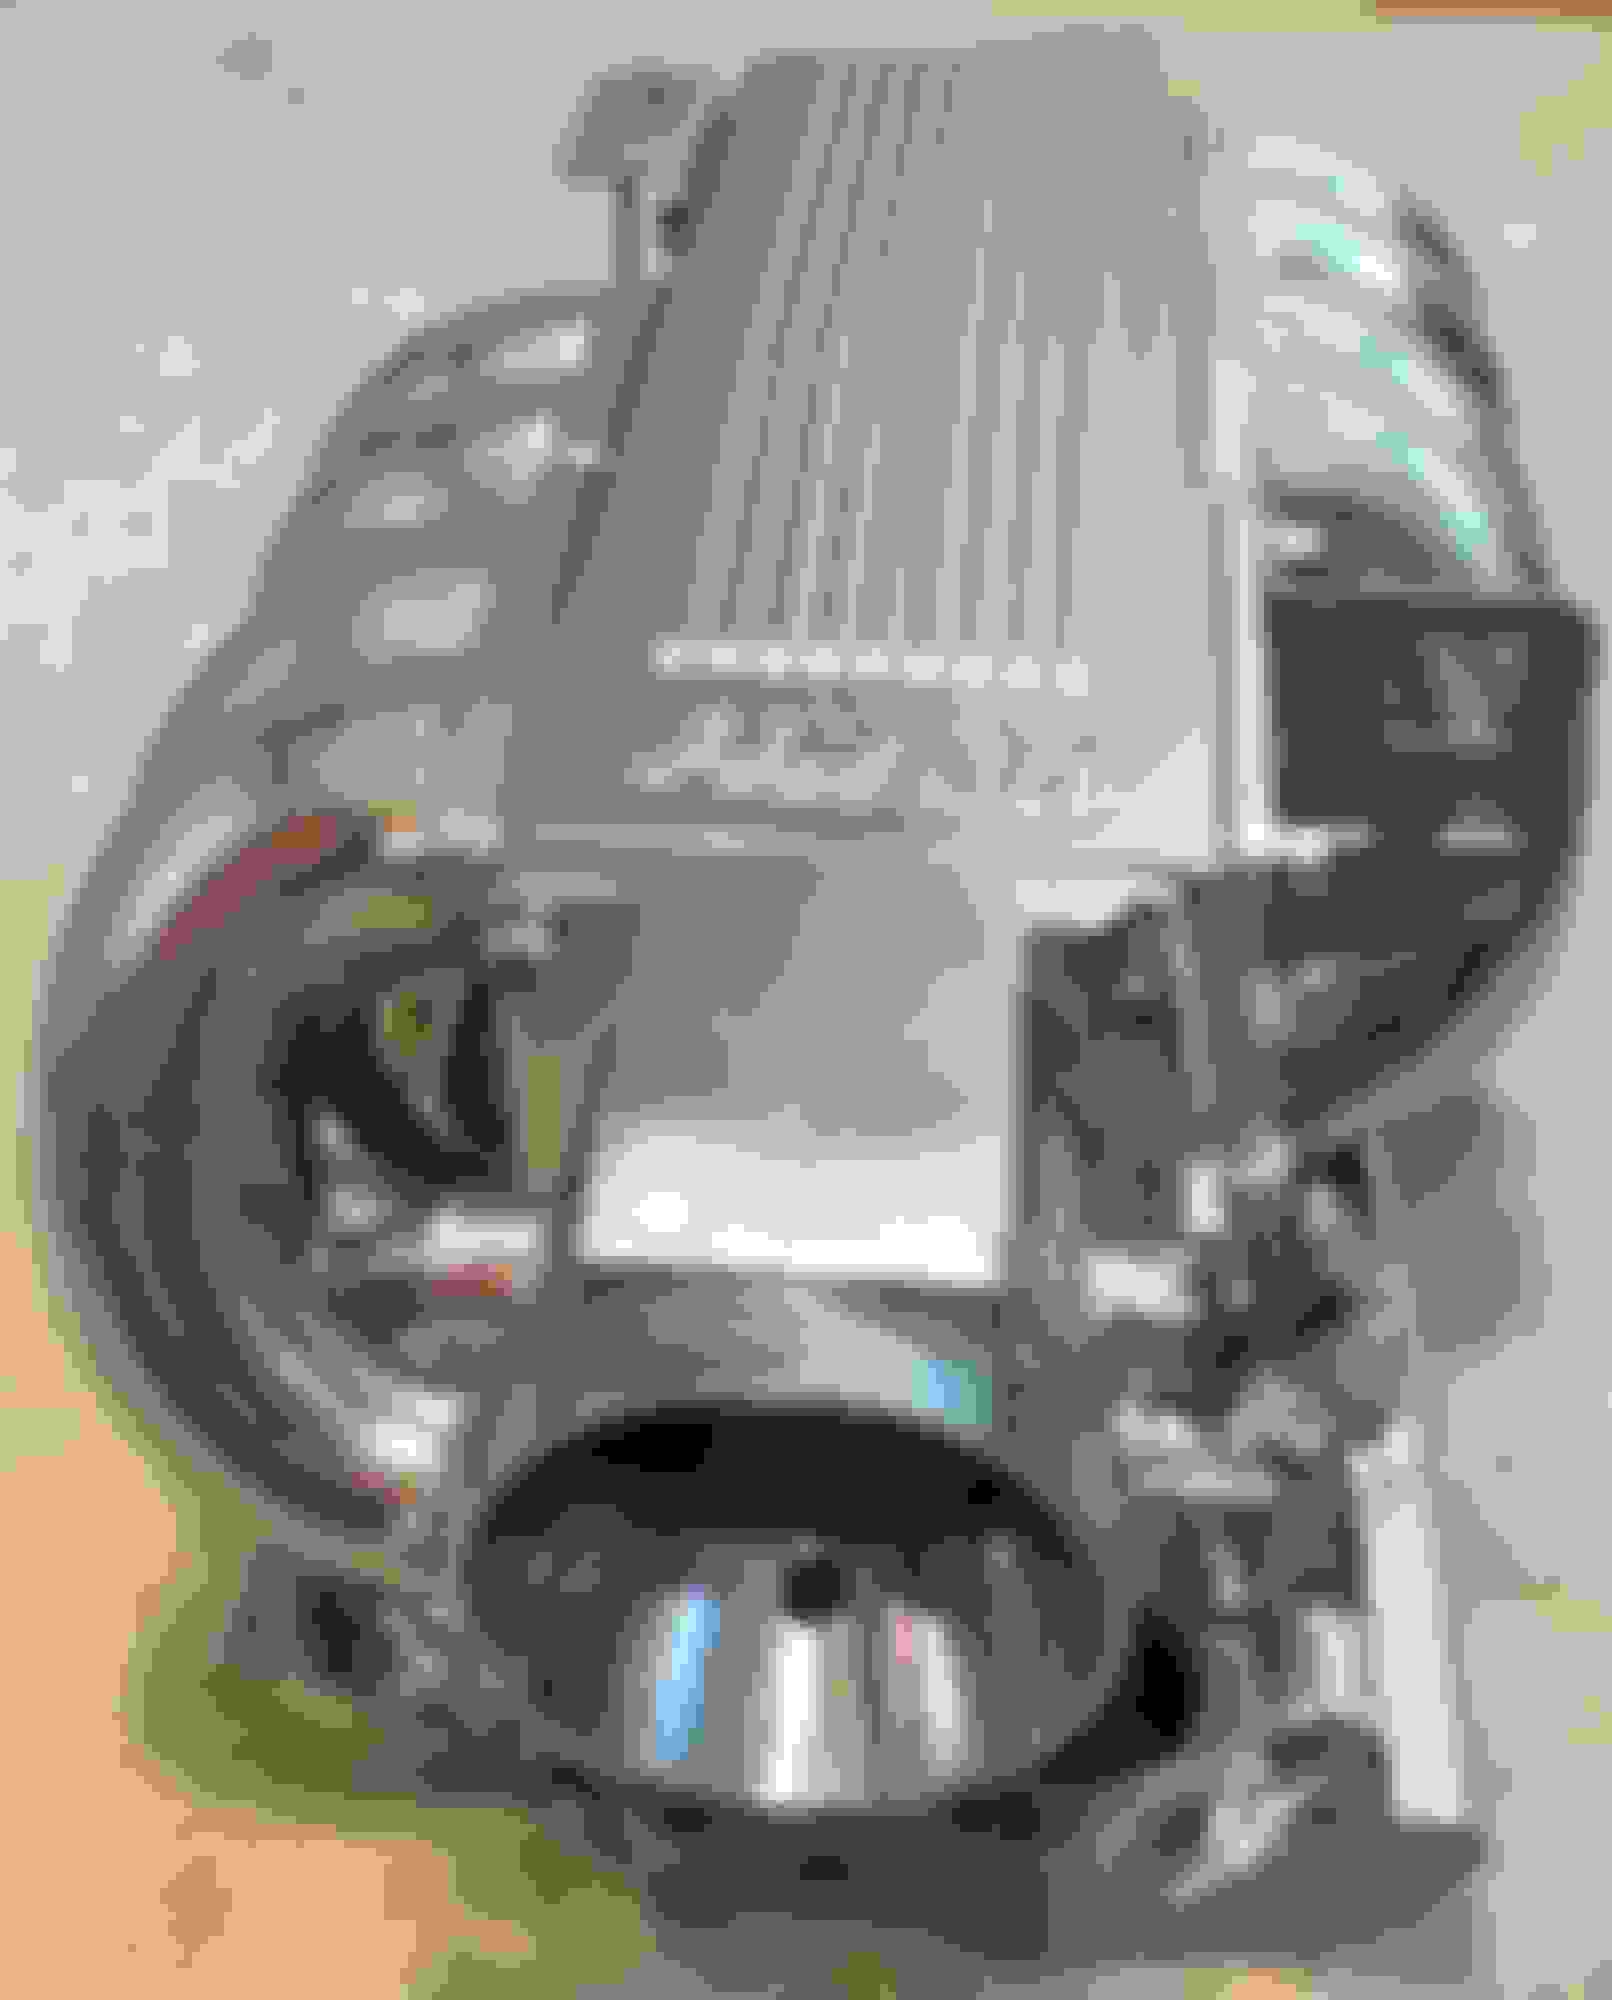
I smoothed the entry to the throttle body, killed the EGR bump at the throttle body outlet and the plenum inlet, and Ken opened it up to a Felpro 1206 and smooth ported around the EGR inlet for me. Beyond that, it's out-of-box.
If you want to get yours thermal barrier coated, I'd recommend making sure that Ken knows; he makes it pretty hard to remove all the throttle body internals and you'd be better off to have him ship you the throttle body without any of the internals, get the whole thing coated and then pay to ship the throttle body to Ken round-trip and get it setup for you properly.
Other than that the whole thing can be coated as-is even the EGR plug and gasket in the base are safe to be put in the oven.
Adam
P.S. Sorry for the weird green tint; my wife painted the kid's playroom in the basement, burn-your-retinas-green.
Last edited by newbvetteguy; 03-08-2018 at 03:27 PM.
Ah FIRST. Of course. It's been a long day lol
Any performance benefits besides the nice aesthetic? Block engine bay heat?
Not significant ones.
Another member on here had the bottom of his intake thermal barrier coated and the top coated in a thermal disbursement and saw a 10 degree temp drop before and after; he saw a 7 degree drop with the whole thing coated with thermal barrier.
I believe one challenge with thermal barrier is that once the intake heats up, it actually takes longer to cool off. But with the thermal barrier on the inside, too the air doesn't tend to pick up the extra heat.
A 10 degree F temp drop = 1% HP increase at peak; so 7 degrees = 0.7%. With an estimated 440 hp, that's 3 HP from increased air density.
Every 7 degree temp drop is also a 1 octane equivalent increase in detonation resistance according to David Vizard. --If you advanced your engine timing to account for a 1 octane equivalent improvement in detonation resistance you'd probably see greater than a 3 HP gain and across the whole curve. (Let just make up rough numbers and call it 6 HP or 1.5%, IF you adjust your ignition timing.) -I live in Washington State and most of our "Premium" fuel is only 92 octane, so for me, I just assume the benefit for me is that it makes my premium fuel perform like most of the rest of the country's 93 octane premium fuel.
(Helps show just how much POTENTIAL increase there is from a cold air intake if you adjusted engine timing to make up for the cold air's detonation resistance; do the #'s with a 30 degree or 40 degree temp drop with a CAI; it's not insignificant.)
With these long-runner intakes dramatically increasing the max cylinder pressuress @ the torque peak and the SBC firing order making cylinder 8 get hotter under heavy loads, cold air and some detonation resistance is a good thing. (Especially with some of the super dinky tiny cams some people use in the TPI motors.)
I'm going to be running a knock sensor so I'm going to go a bit aggressive with my ignition timing for max perf and fuel economy so any detonation resistance helps, IMO.
-I can fully admit that my primary reasons were vanity and making it look shiny and be maintenance free, though.
-It's also worth noting that by, definition, all thermal barriers are microscopically porous so more oil may stick to and burn onto the underside of the intake; in an ideal world you follow-up the thermal barrier coating with an oil shedding coating on the underside. (I did not and will not be.)
The FIRST intake comes all stainless alan head bolts, which resist heat migrating from the heads to the intake via the bolts; does it make any measurable difference? -Doubtful.
Adam
Last edited by newbvetteguy; 03-08-2018 at 03:44 PM.
Wow great data, thanks. I snagged a SR with matching accel base ported to 1206. I was def gonna powdercoat the old thing, also for engine bay vanity, but now I'll look into this. Now- to find a place in town..
Wow great data, thanks. I snagged a SR with matching accel base ported to 1206. I was def gonna powdercoat the old thing, also for engine bay vanity, but now I'll look into this. Now- to find a place in town..
Fireball Performance Coatings is in Toronto; Emerald Coatings also sell the coatings direct in Canada so if you wanted to do the crazy prep, masking, spraying and baking yourself, you could.
-Buy an appropriately sized mini convection oven off of Craigslist for cheap and cook the parts per the instructions. The prep is what's critical, though and the professionals will bead blast the parts with aluminum oxide powder- you're probably not going to be able to do that @ home...
Wicked- nice find, ty Adam. I'd only found powdercoating (and vinyl wrap) in the city that mostly looked like sketchy joints for Acuras. That shop may even have the capability to do the barrier/disbursement combo. I presume in this case you'd do the entire base with barrier.
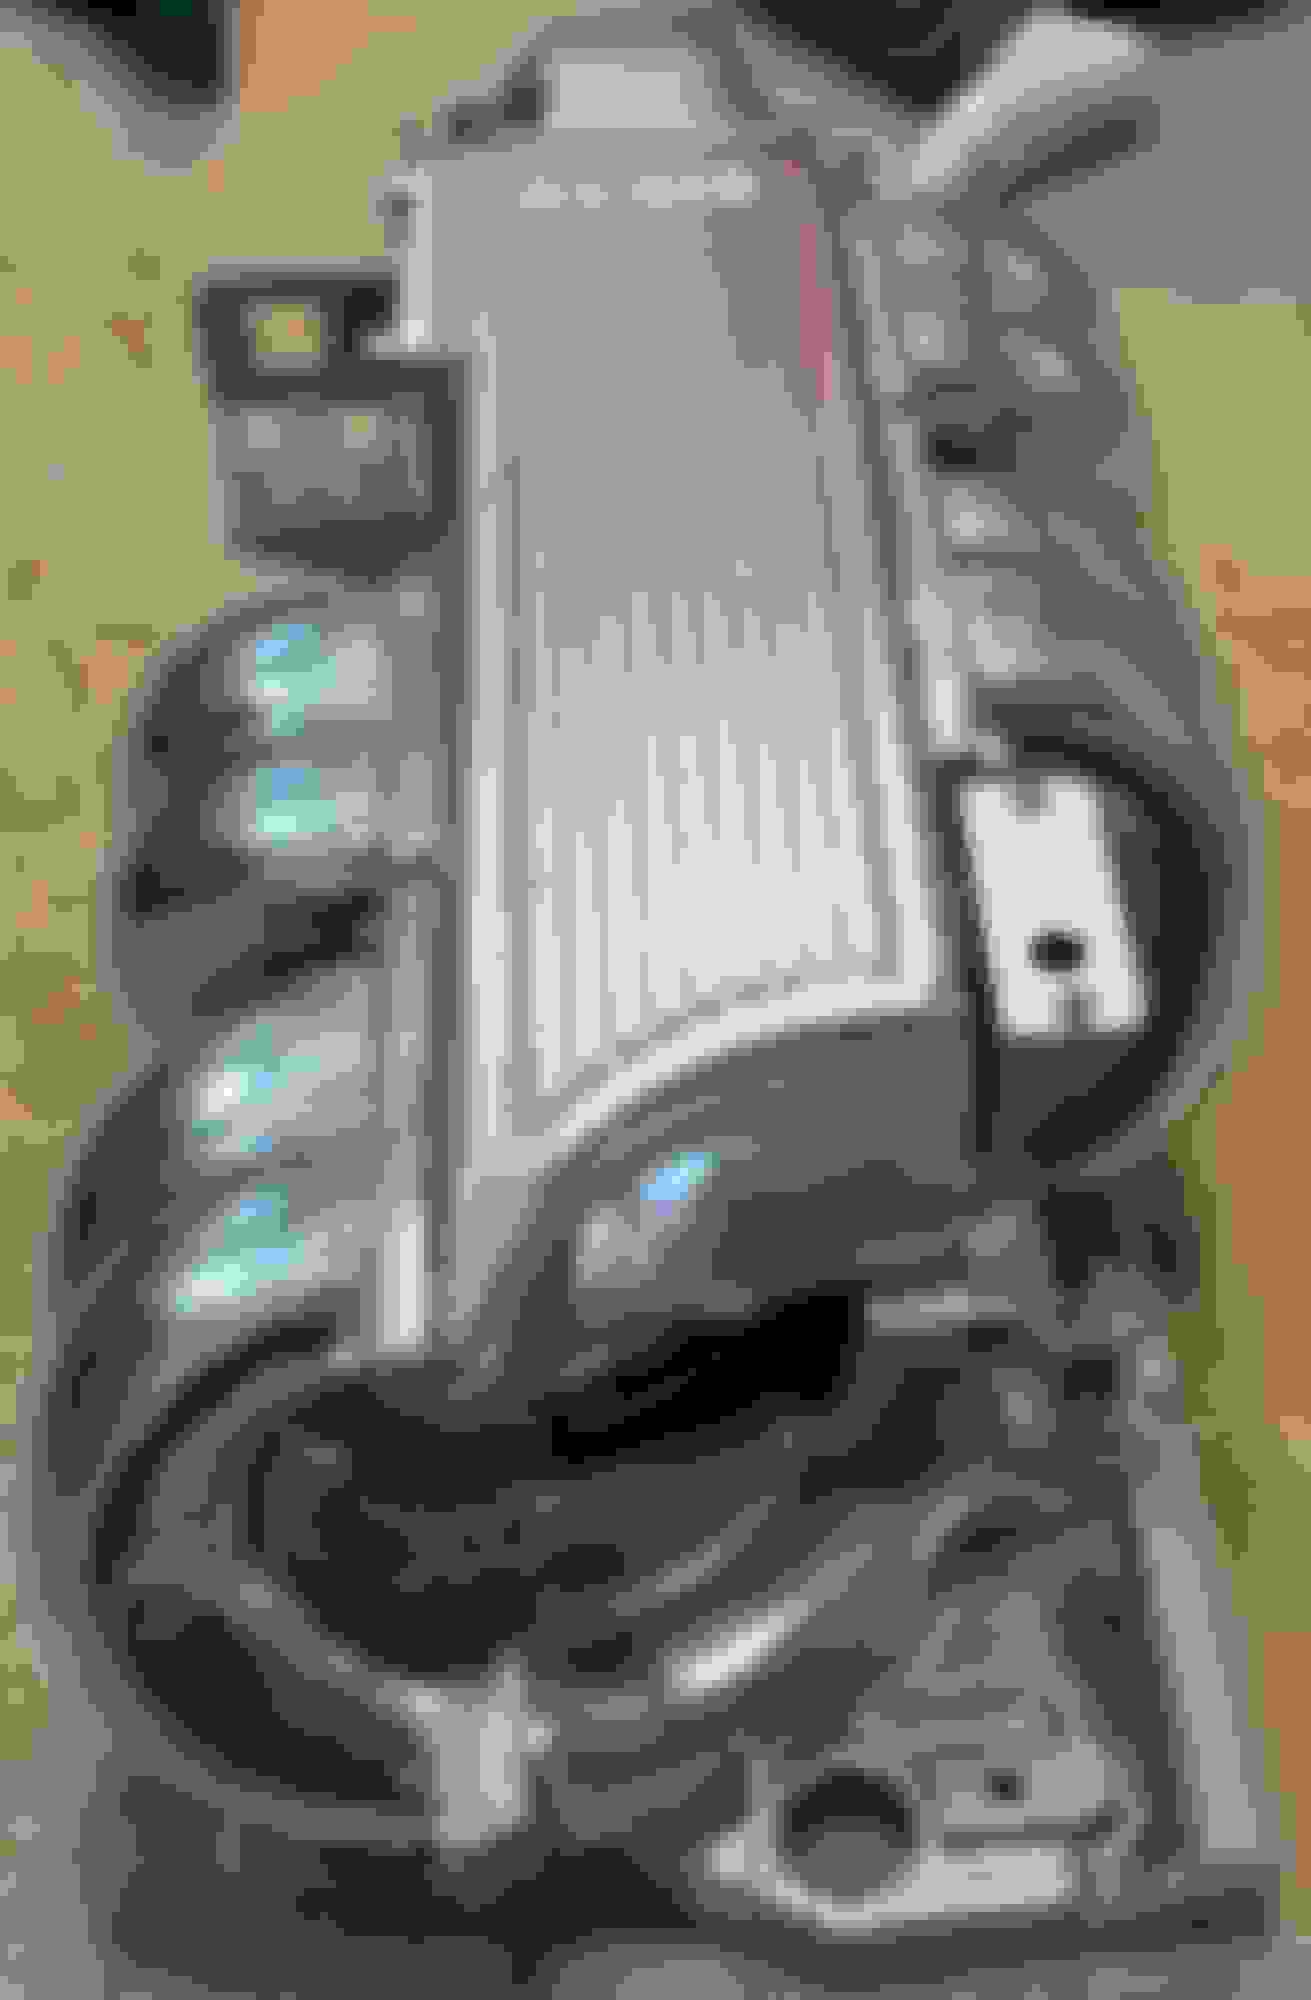
Here is my First intake. Love the look of these. Still waiting to fire the new motor.
Wow; whole engine bay looks amazing; FIRST intake even more so.
It looks like you polished the intake and then had it coated with silver metal flake and then a clear coat?!?
I'm shocked that I even like the look of the center bolt valve covers there.
Surprised you didn't paint the TPS and MAP sensors with the way the rest of the engine bay looks. ;-)
Is that custom welded CAI tubing, too?
Adam
Thanks. The intake i pick up used. It was a polished version but the finish wasn't that great. I bead blasted, then primed and painted based and cleared it. Same as the valve covers. I really wanted a pair of fabricated valve covers. Still have some more stuff to detail. I just ran the holley efi harness. Gotta try and hide some wire now.
Thanks. The intake i pick up used. It was a polished version but the finish wasn't that great. I bead blasted, then primed and painted based and cleared it. Same as the valve covers. I really wanted a pair of fabricated valve covers. Still have some more stuff to detail. I just ran the holley efi harness. Gotta try and hide some wire now.
I looked for a used one for like 6 months and couldn't find one; lucky you! And polished already to boot!
-I'm going with fabricated valve covers (anodized from KMJ Performance-Chinese ones that are everywhere) & also went with the Holley EFI harness.
My mistake so far was going with the BOSCH 4 injectors and plastic adapters- they raise the height too high and 2 of the injectors' electrical connections hit the bottom of the runners when the harness is connected. (I should've gone the pigtail-style adapters- I didn't know they existed...) ;-(
Adam
You had to run adapters on you injectors. The holley harness didnt just plug in? I have bosch injectors also. Got mine from south bay injectors.
You had to run adapters on you injectors. The holley harness didnt just plug in? I have bosch injectors also. Got mine from south bay injectors.
The Bosch 4s have a newer-style electrical connection (already forgot all the names/#s of the different generations of injector connectors) vs. the Bosch 3s and do require an adapter.
They have way faster response times / lower latencies than the Bosch 3s; at idle and especially with higher fuel pressures or "upgraded" injector capacities (enlarged holes) the response times injectors continues to increase (get worse) and it can make tuning @ idle more difficult. The Bosch 4's have a SLIGHTLY better atomization but the Bosch 3s are already really good so hard to improve.
I made a conscious decision to go with the Bosch 4s because with 36lbs injectors and 51 degrees of overlap with my cam, I really wanted all the help I could get with getting it to idle nice; I just didn't think through the height issue with the hard plastic adapters...
I had a stealth ram on mine. It was an awesome setup. Less of a problem with air fuel distribution than miniram imo and bit more torque. Not as much as tpi but alot more rpm and hp than any long runner tpi
You dont see to many first tpis for some reason. It seems like alot of money but in reality compared to other tpi alternatives, which many are no longer being made, its a great deal
As far as heat soak, icing down the tpi intake was always worth .1 in the 1/4 mile for me on my oem tpi L98 bolt on car. I even think it helped on my stealth ram
Thanks. The intake i pick up used. It was a polished version but the finish wasn't that great. I bead blasted, then primed and painted based and cleared it. Same as the valve covers. I really wanted a pair of fabricated valve covers. Still have some more stuff to detail. I just ran the holley efi harness. Gotta try and hide some wire now.
I picked up a polished FIRST intake as well from another member. I don�t really care for the polished look and was thinking of painting/powder coating. What type and color of paint did you use? I think your setup looks really good!
Couple different intakes i have done. My holley stealth ram i had on the L98 and 383 motors, and a tpis big mouth painted in cast aluminum color on a mint 87 iroc and my color matched stock tpi for my blue 91 z28 car i sold 2 yrs ago
You can really get creative with coloring with tpi stuff. regular engine enamels to regular body paint with clear
Nice pics. I’ve read that getting the paint to adhere to polished aluminum can be tricky. I plan to bead blast it first. Anything else I should do to prep the surface before paint?
As far as heat soak, icing down the tpi intake was always worth .1 in the 1/4 mile for me on my oem tpi L98 bolt on car. I even think it helped on my stealth ram
HA! Good to hear that was my thought exactly as the ice / dry ice can get the temps to drop and the thermal barrier helps to keep it cold longer.
Were you icing on top of the plenum or going under the plenum to cool the lower intake and fuel rails?
With the IAC screwed into the bottom of the plenum, I am a little worried that it will throw the air temp readings off.
-As I'm running the Holley EFI with a knock sensor, I think you could tune in a few more degrees of timing and save an "iced" config and pick up a little bit more from the tune, too.
I picked up a polished FIRST intake as well from another member. I don�t really care for the polished look and was thinking of painting/powder coating. What type and color of paint did you use? I think your setup looks really good!
The polished version is kind of a pain to keep looking good. I blastwd the intake first to give the expoxy primer something to bite to and sanded with 400 grit befor applying the base. Then applied 3 coats of clear.
Last edited by crossrush; 04-07-2018 at 08:49 AM.
Reason: Typo
 09-14-2017, 09:31 PM