When you click on links to various merchants on this site and make a purchase, this can result in this site earning a commission. Affiliate programs and affiliations include, but are not limited to, the eBay Partner Network.
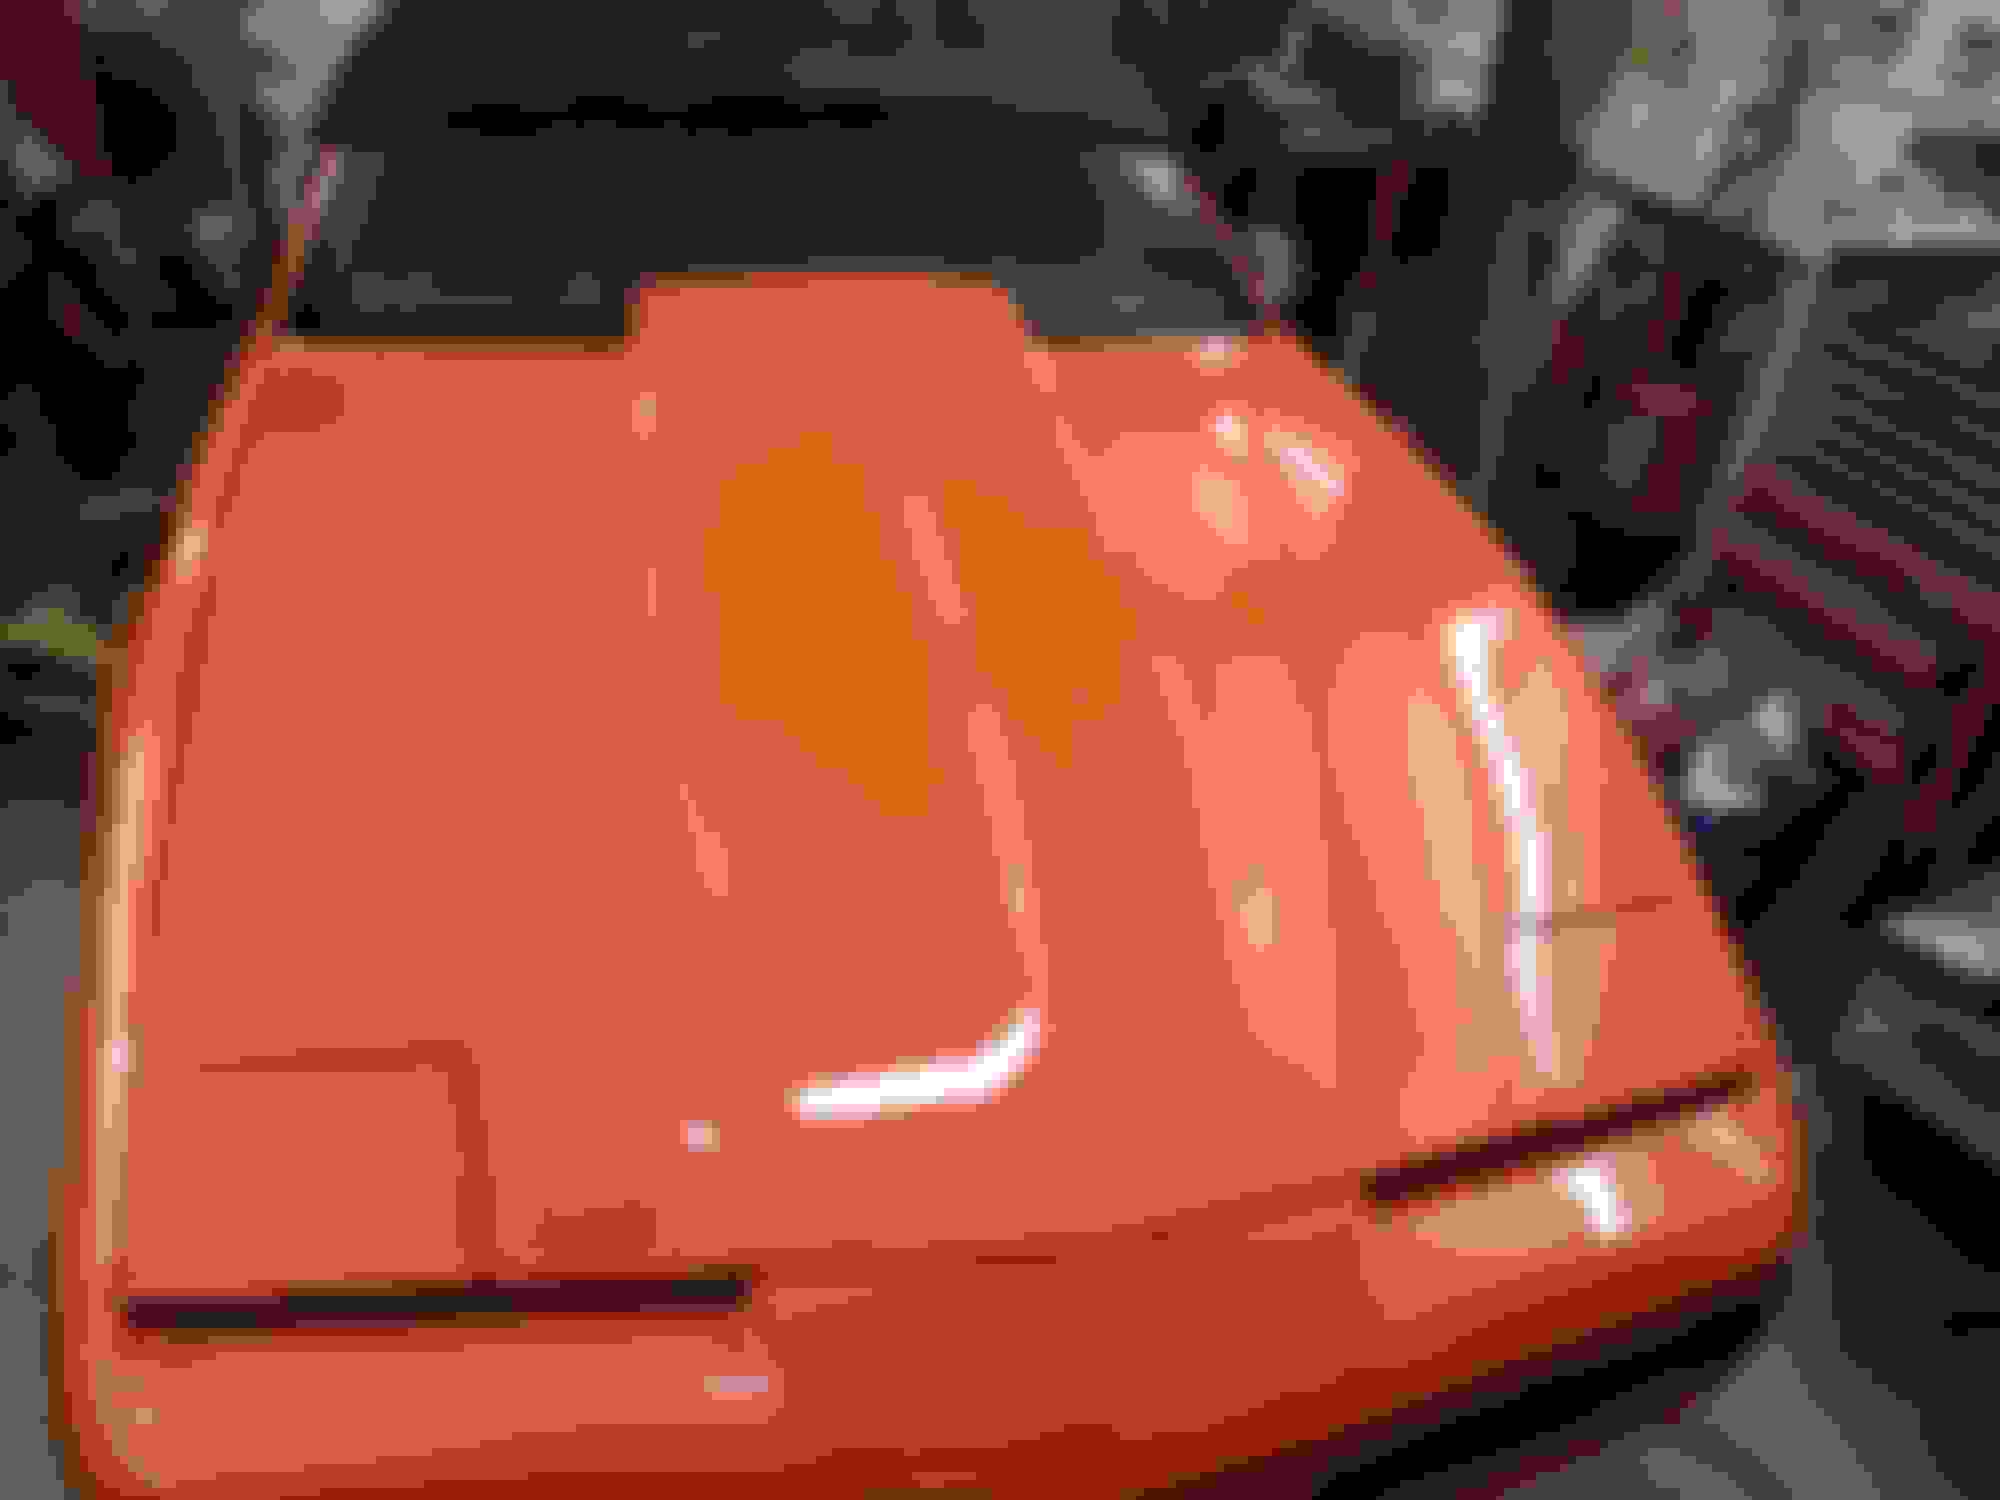
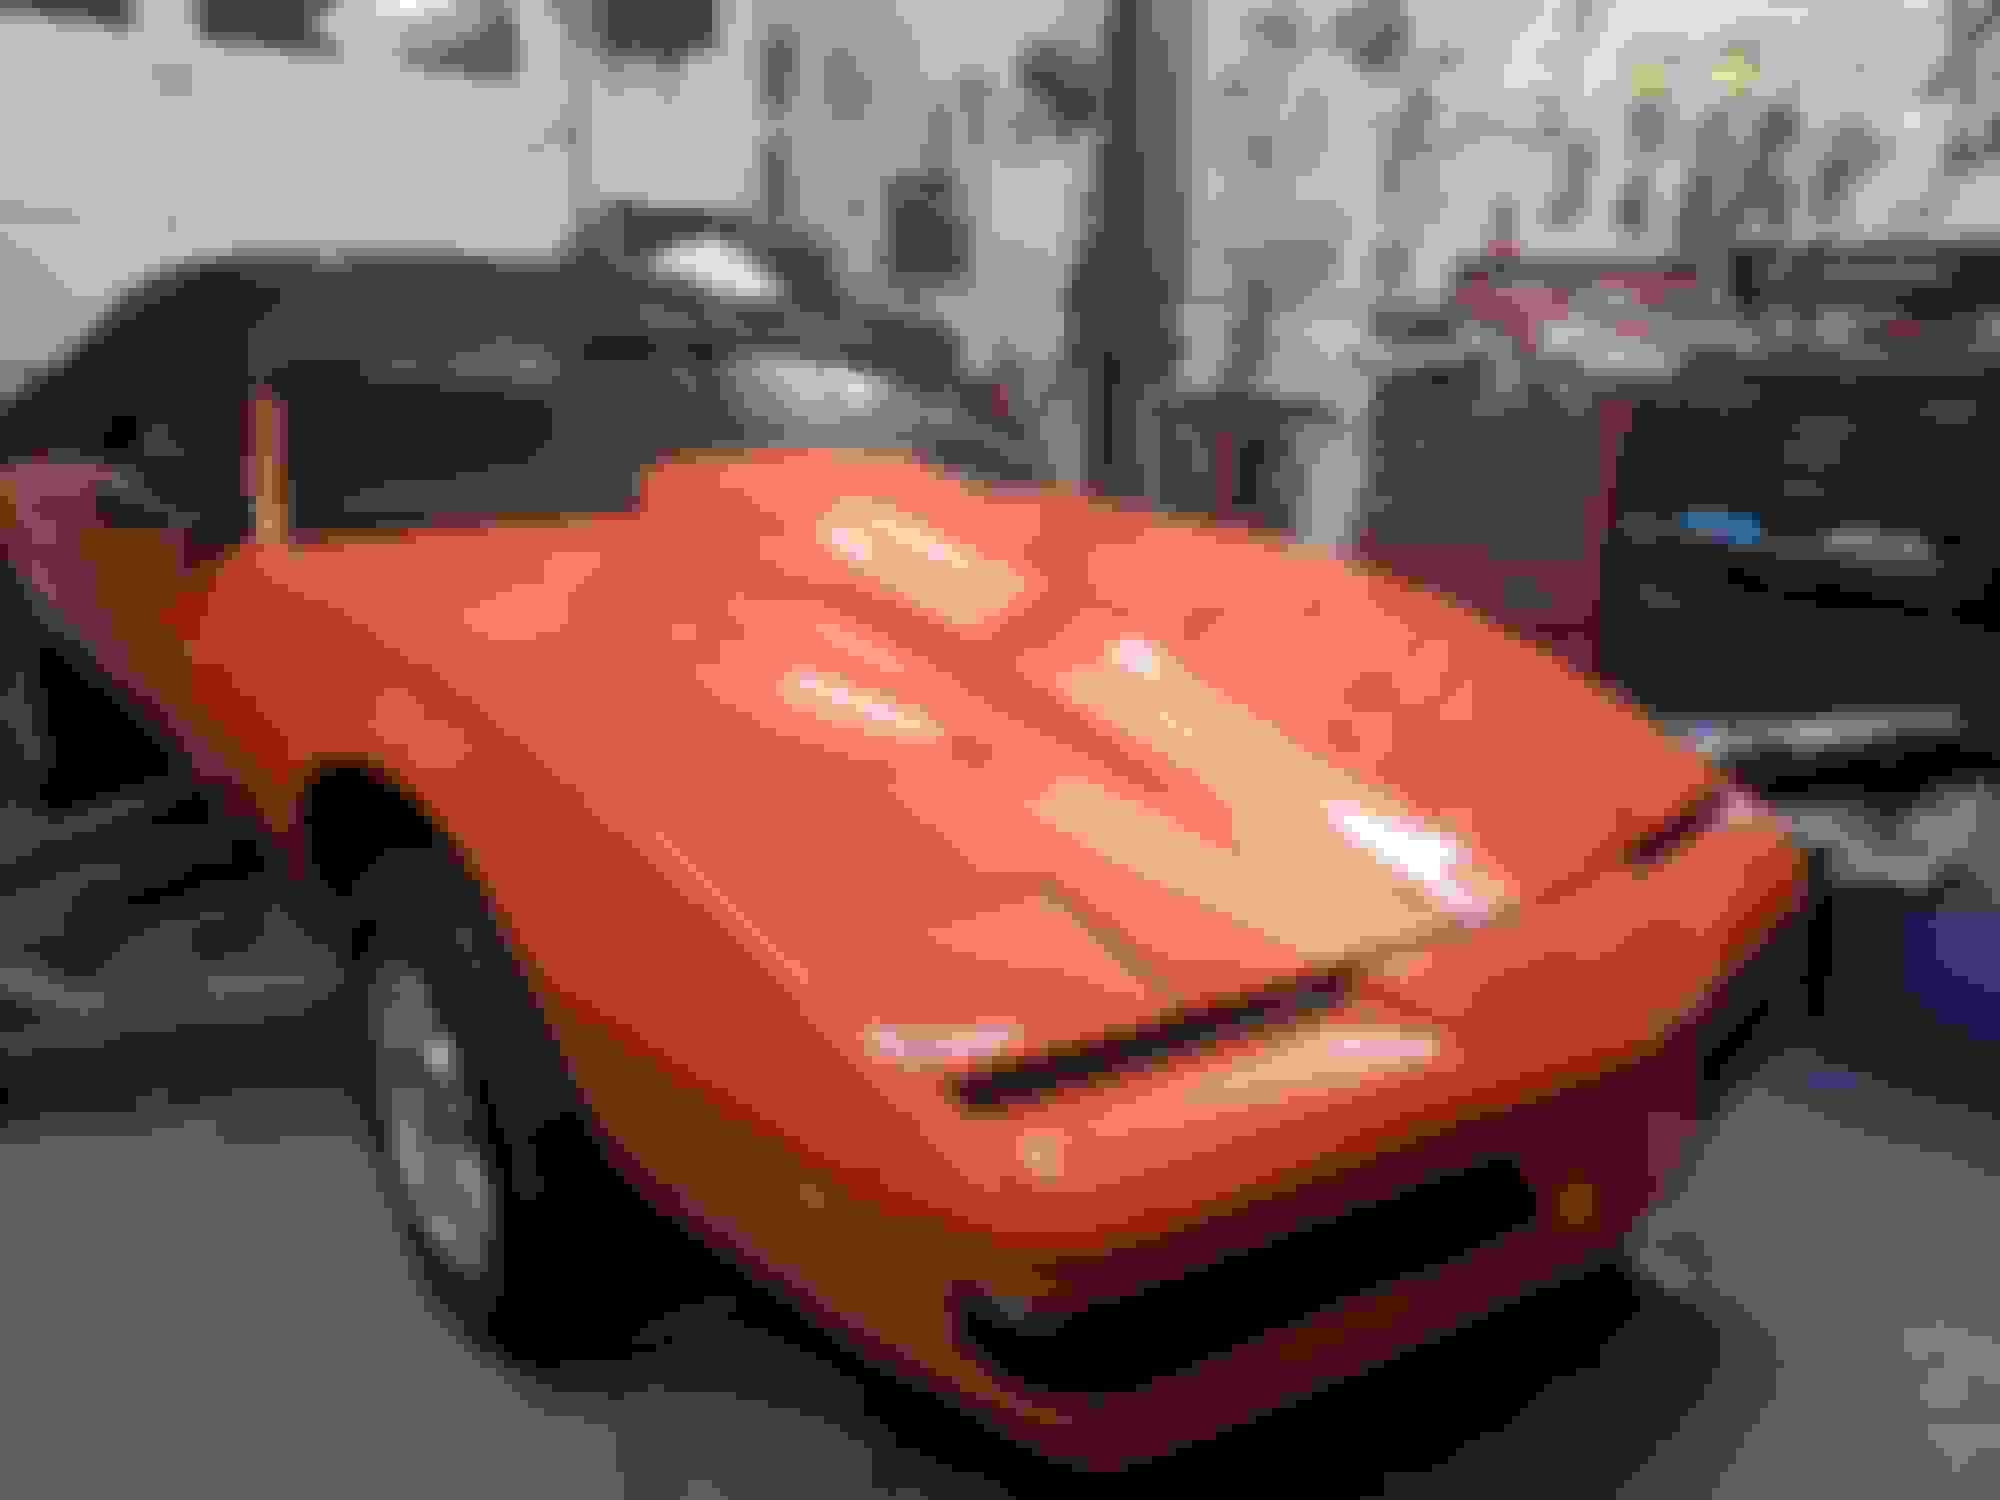
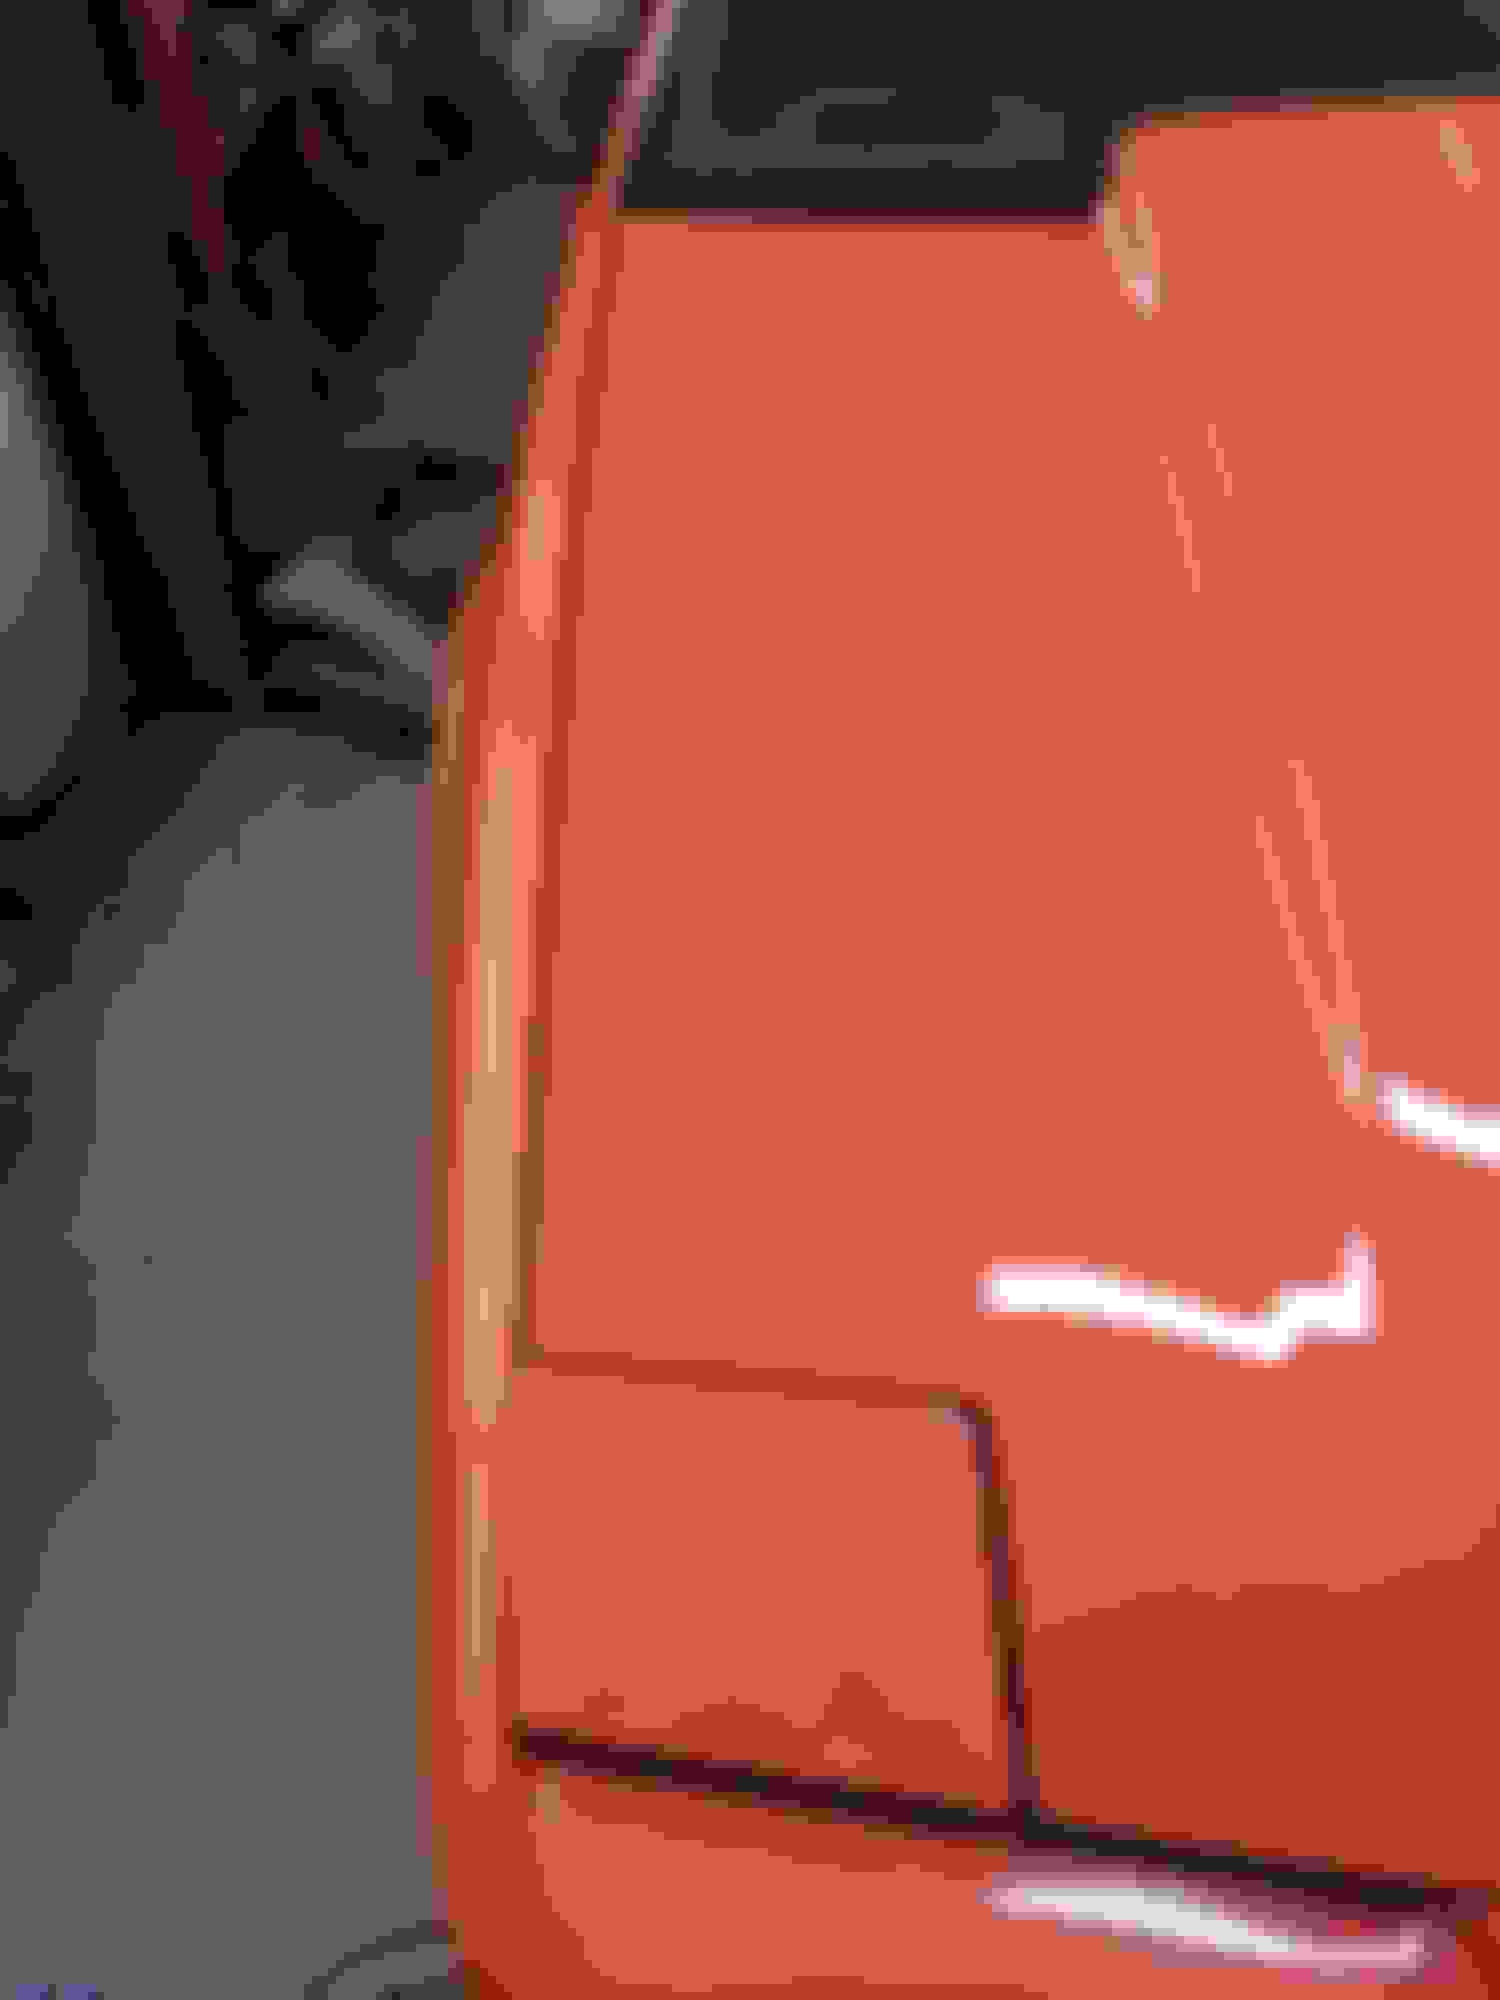
This hood doesn't fit too well. This isn't a a problem with triming, but rather the hood isn't wide enough nor are the curves correct.
I can't tuck the fenders in any closer together. I have the driver side lined up really well with a good gap to the fender, the passenger side has like a 1/2" gap...
The center matches the center of the bumper cover, so.. It's like the hood just isn't wide enough.
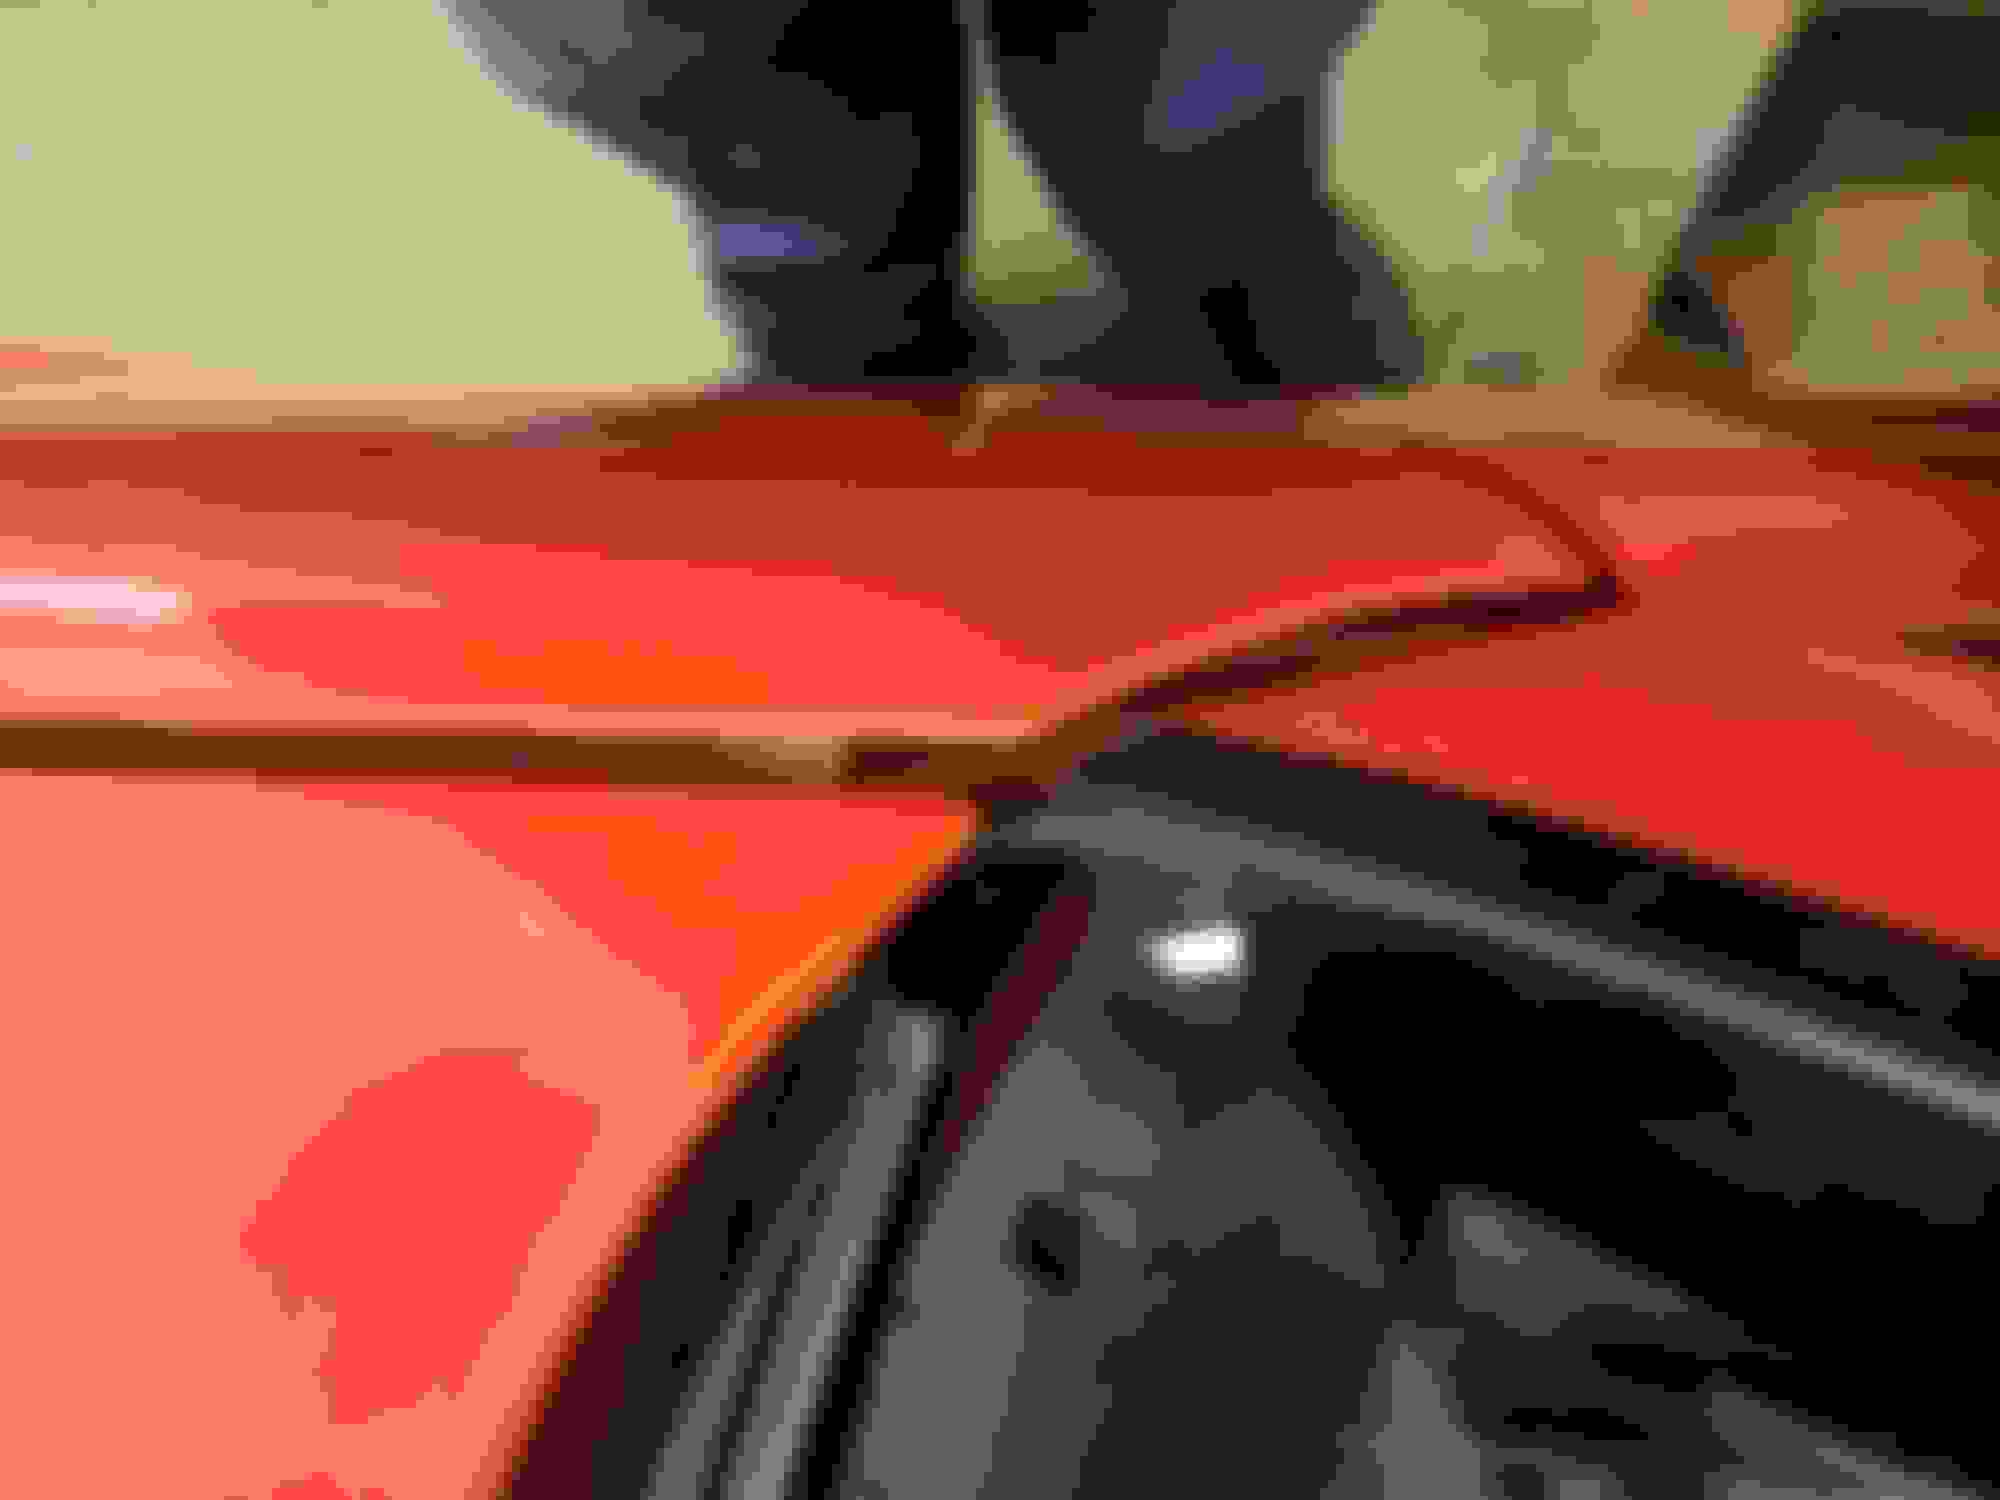
The other issue, is on the driver side the hinge holes are too low so the hood is up too much. I'm gonna probably drill and tap new holes about 1/4" up. No amount of adjustment in the hinge will bring it down enough.
You could try slotting the holes in the fender for the bolts. The gap between my fender and hood (Harwood Turbo IROC hood) is similar but it doesn't bother me since I don't have any other gap (like the headlight to fender gap on a firebird) to show that the gap is larger than stock. I'm ok with the slightly larger gap to because all three sets of hood hinges I've used have had some lateral movement allowable and the last thing I want is to be scraping my fenders when closing the hood because the hinges flexed 1/4"
to tighten up the gap i loosened the 10 mm bolts that run up the fender on top and lightly bump it inward. on the light assy, look around on it, there are 3 or 4 bolts that allow for different angles of articulation so it can be matched to the hood.
on my VFN hood i think i spent 30-45 mins and it was close enough. no trimming was needed on mine.
I losened up and pried the fender in as much as possible.
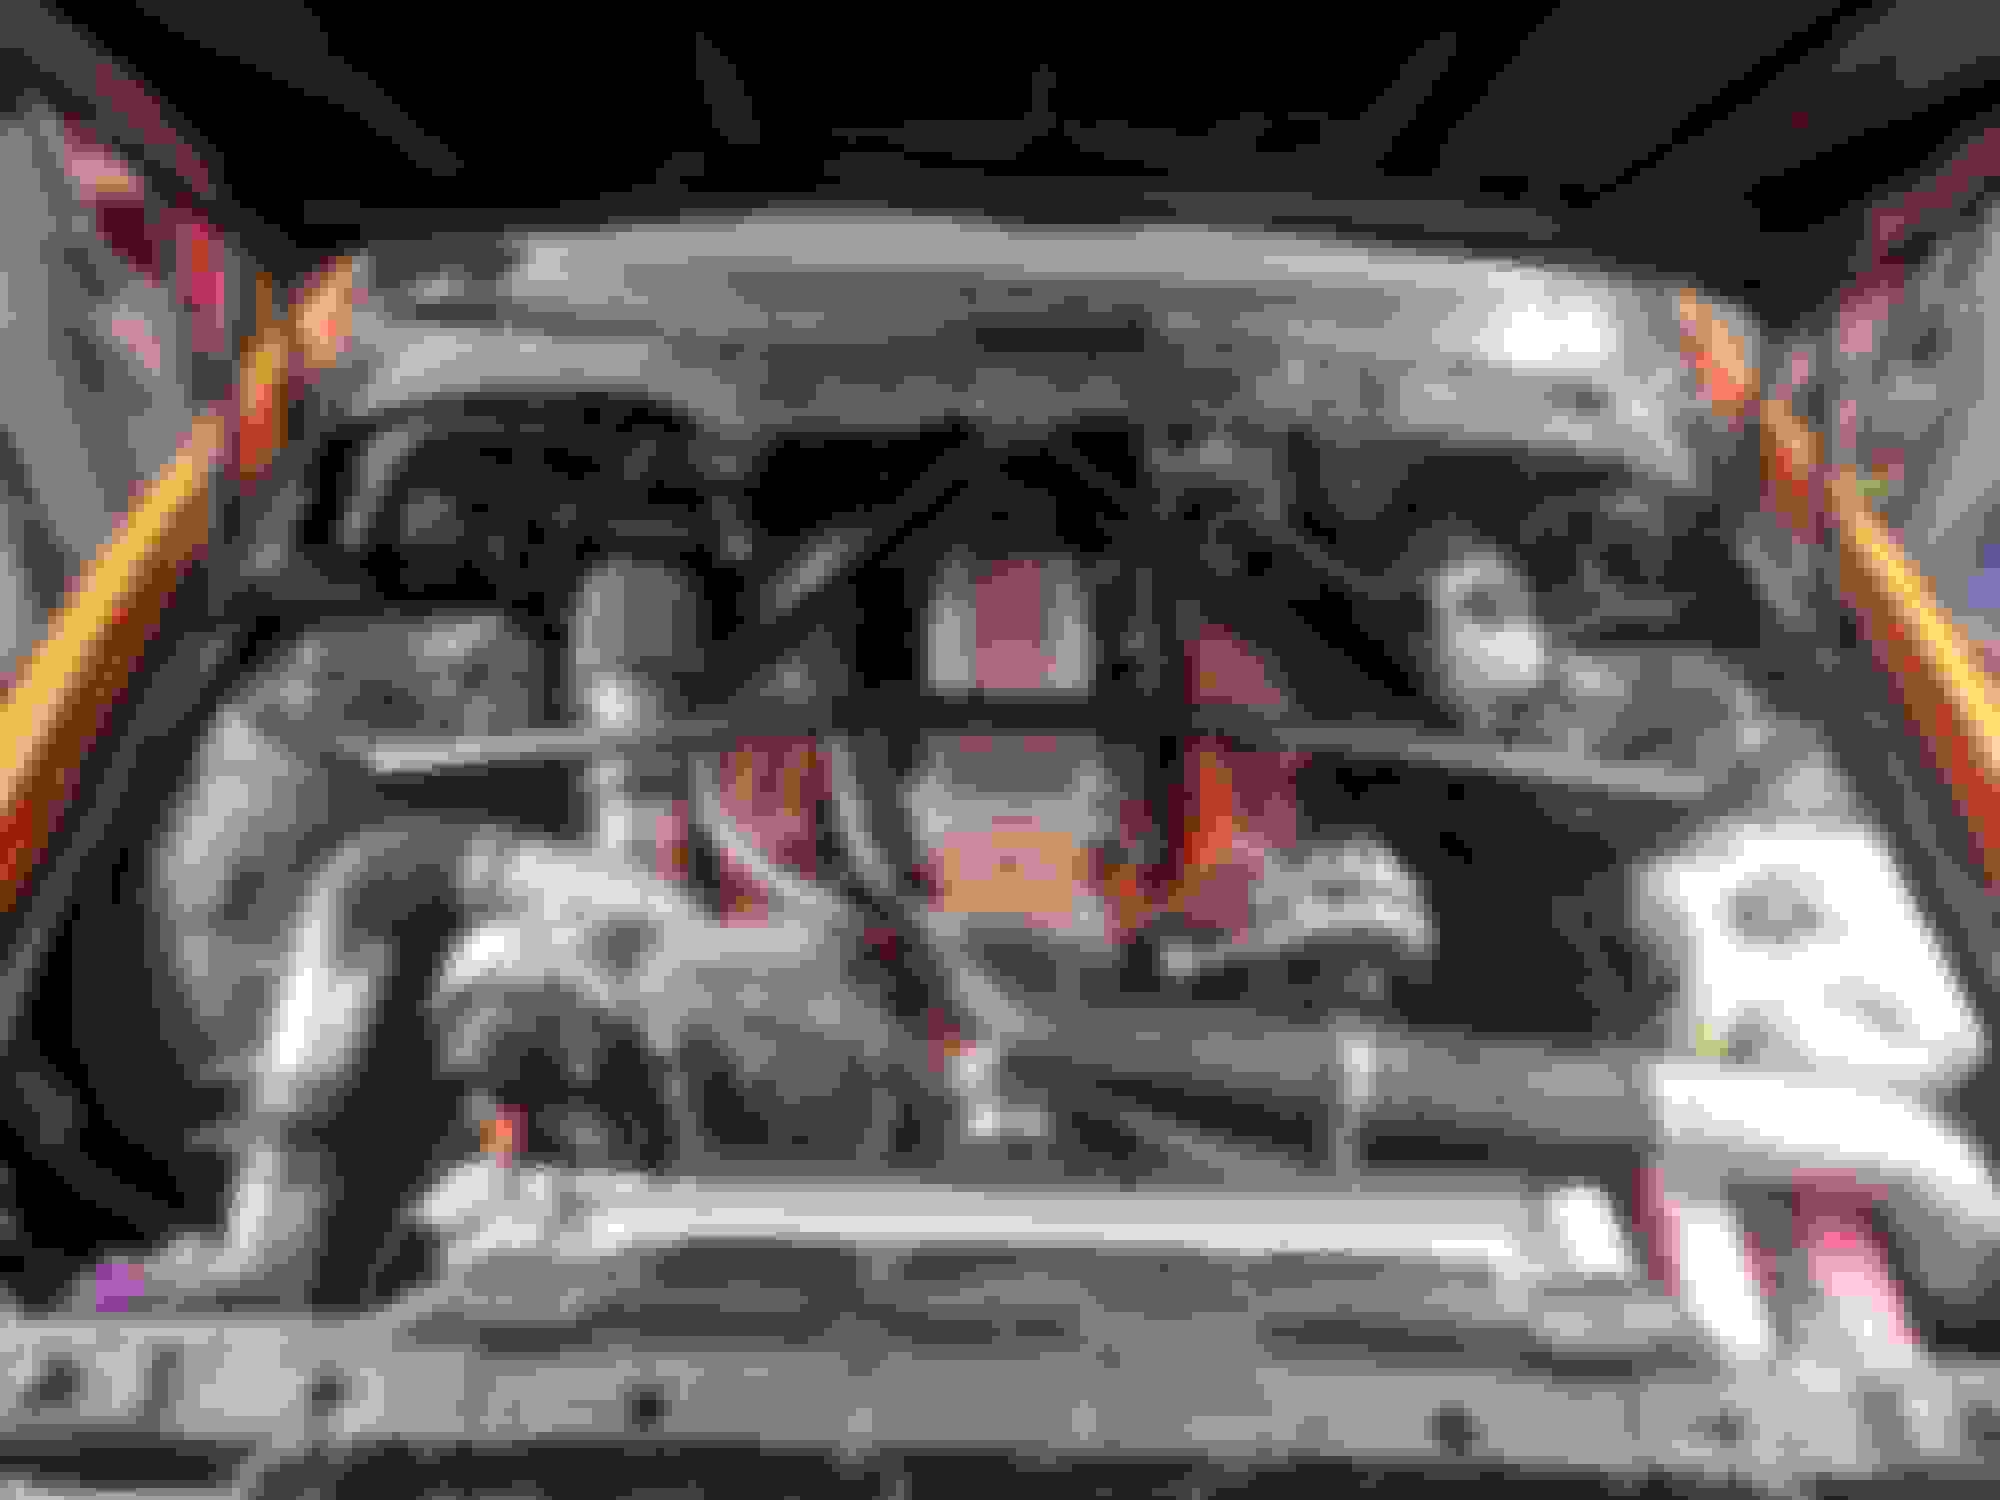
On the headlamps, the 4 bolts holding the lid appear to only allow up and down movement. The two bolts on the top, and two bolts down under the crash bar affect side to side movement, and it's all the way inbound . Still a large gap.
That's disconcerting. I need to order a hood and I was looking at Harwood.
The bigger problem than the gaps is the curve is wrong. It doesn't follow the same arc as the fender. You can see this in my last picture.
For a race car it's fine, and you won't see it from the stands but. If you were building a show car I'd pass on it.
Then again, if I was building a show car I wouldn't be painting in my dusty garage.
I tack ragged the crap out of the base coat, shot the clear. The heater didn't turn on the whole time the clear was drying and I still got a ton of dirt in it.
It's life.
The ram-air hood I had (ASCD) fit a lot better, but was also twice as heavy and I just didn't like the way it looked on a formula. I'll play with the passenger headlight a little more, maybe slot the holes more so I can get some more adjustment out of the lid. But the curve of the hood is still noticeably off.
Joe, in the picture I quoted below, when you lift the hood up you will find a rubber adjuster on both sides of the upper radiator support closest to the fender area. Turn the right one (passenger side) counter clockwise as this will lift the hood only on that side a tad when the hood is closed. You can also raise the hood latch itself on the one side as well. That will at least take care of the hood to fender level issue. As far as the hood itself not extending to the passenger side enough, you might have to compromise a little bit and move the hood over from the driver's side a tad to balance it out.
The bigger problem than the gaps is the curve is wrong. It doesn't follow the same arc as the fender. You can see this in my last picture.
For a race car it's fine, and you won't see it from the stands but. If you were building a show car I'd pass on it.
Then again, if I was building a show car I wouldn't be painting in my dusty garage.
I tack ragged the crap out of the base coat, shot the clear. The heater didn't turn on the whole time the clear was drying and I still got a ton of dirt in it.
It's life.
The ram-air hood I had (ASCD) fit a lot better, but was also twice as heavy and I just didn't like the way it looked on a formula. I'll play with the passenger headlight a little more, maybe slot the holes more so I can get some more adjustment out of the lid. But the curve of the hood is still noticeably off.
-- Joe
My car lies somewhere in between all of that. It's a street car that will get track time. But of course, it's my baby so I want it to look as nice as possible. When I finally find a place to paint it (she's in primer at the moment) I'd like to have a hood ready to go. My old hood just won't clear the air cleaner, or I'd continue using it.
If it makes you feel any better any car shows you enter would necessitate the hood being open. Nobody would have a chance to see the gap difference or arc change.
I'm missing the little rubber things that go inside the fender, so maybe If I find those it will pull the hood up a little to correct the arc?
Probably not. Most aftermarket hoods don't fit that well and have that annoying curvature mismatch. Harwood seems to be better than most. Yours actually looks better than most.
The rubber hexagram adjuster that I was talking about still looks bottomed out on the lower left side of the pic, the one on the right side of the pic looks slightly raised by looking at its' shadow. Turn the left rubber **** (passenger side) counter clockwise to raise the front of the left side of the hood, this will align it with the fender...
The rubber hexagram adjuster that I was talking about still looks bottomed out on the lower left side of the pic, the one on the right side of the pic looks slightly raised by looking at its' shadow. Turn the left rubber **** (passenger side) counter clockwise to raise the front of the left side of the hood, this will align it with the fender...
- Rob
But then it's way too high at the headlight. As it is, the hood is slightly higher than the headlight lid and the lid cannot go up any higher.
The curve is just wrong on the hood.
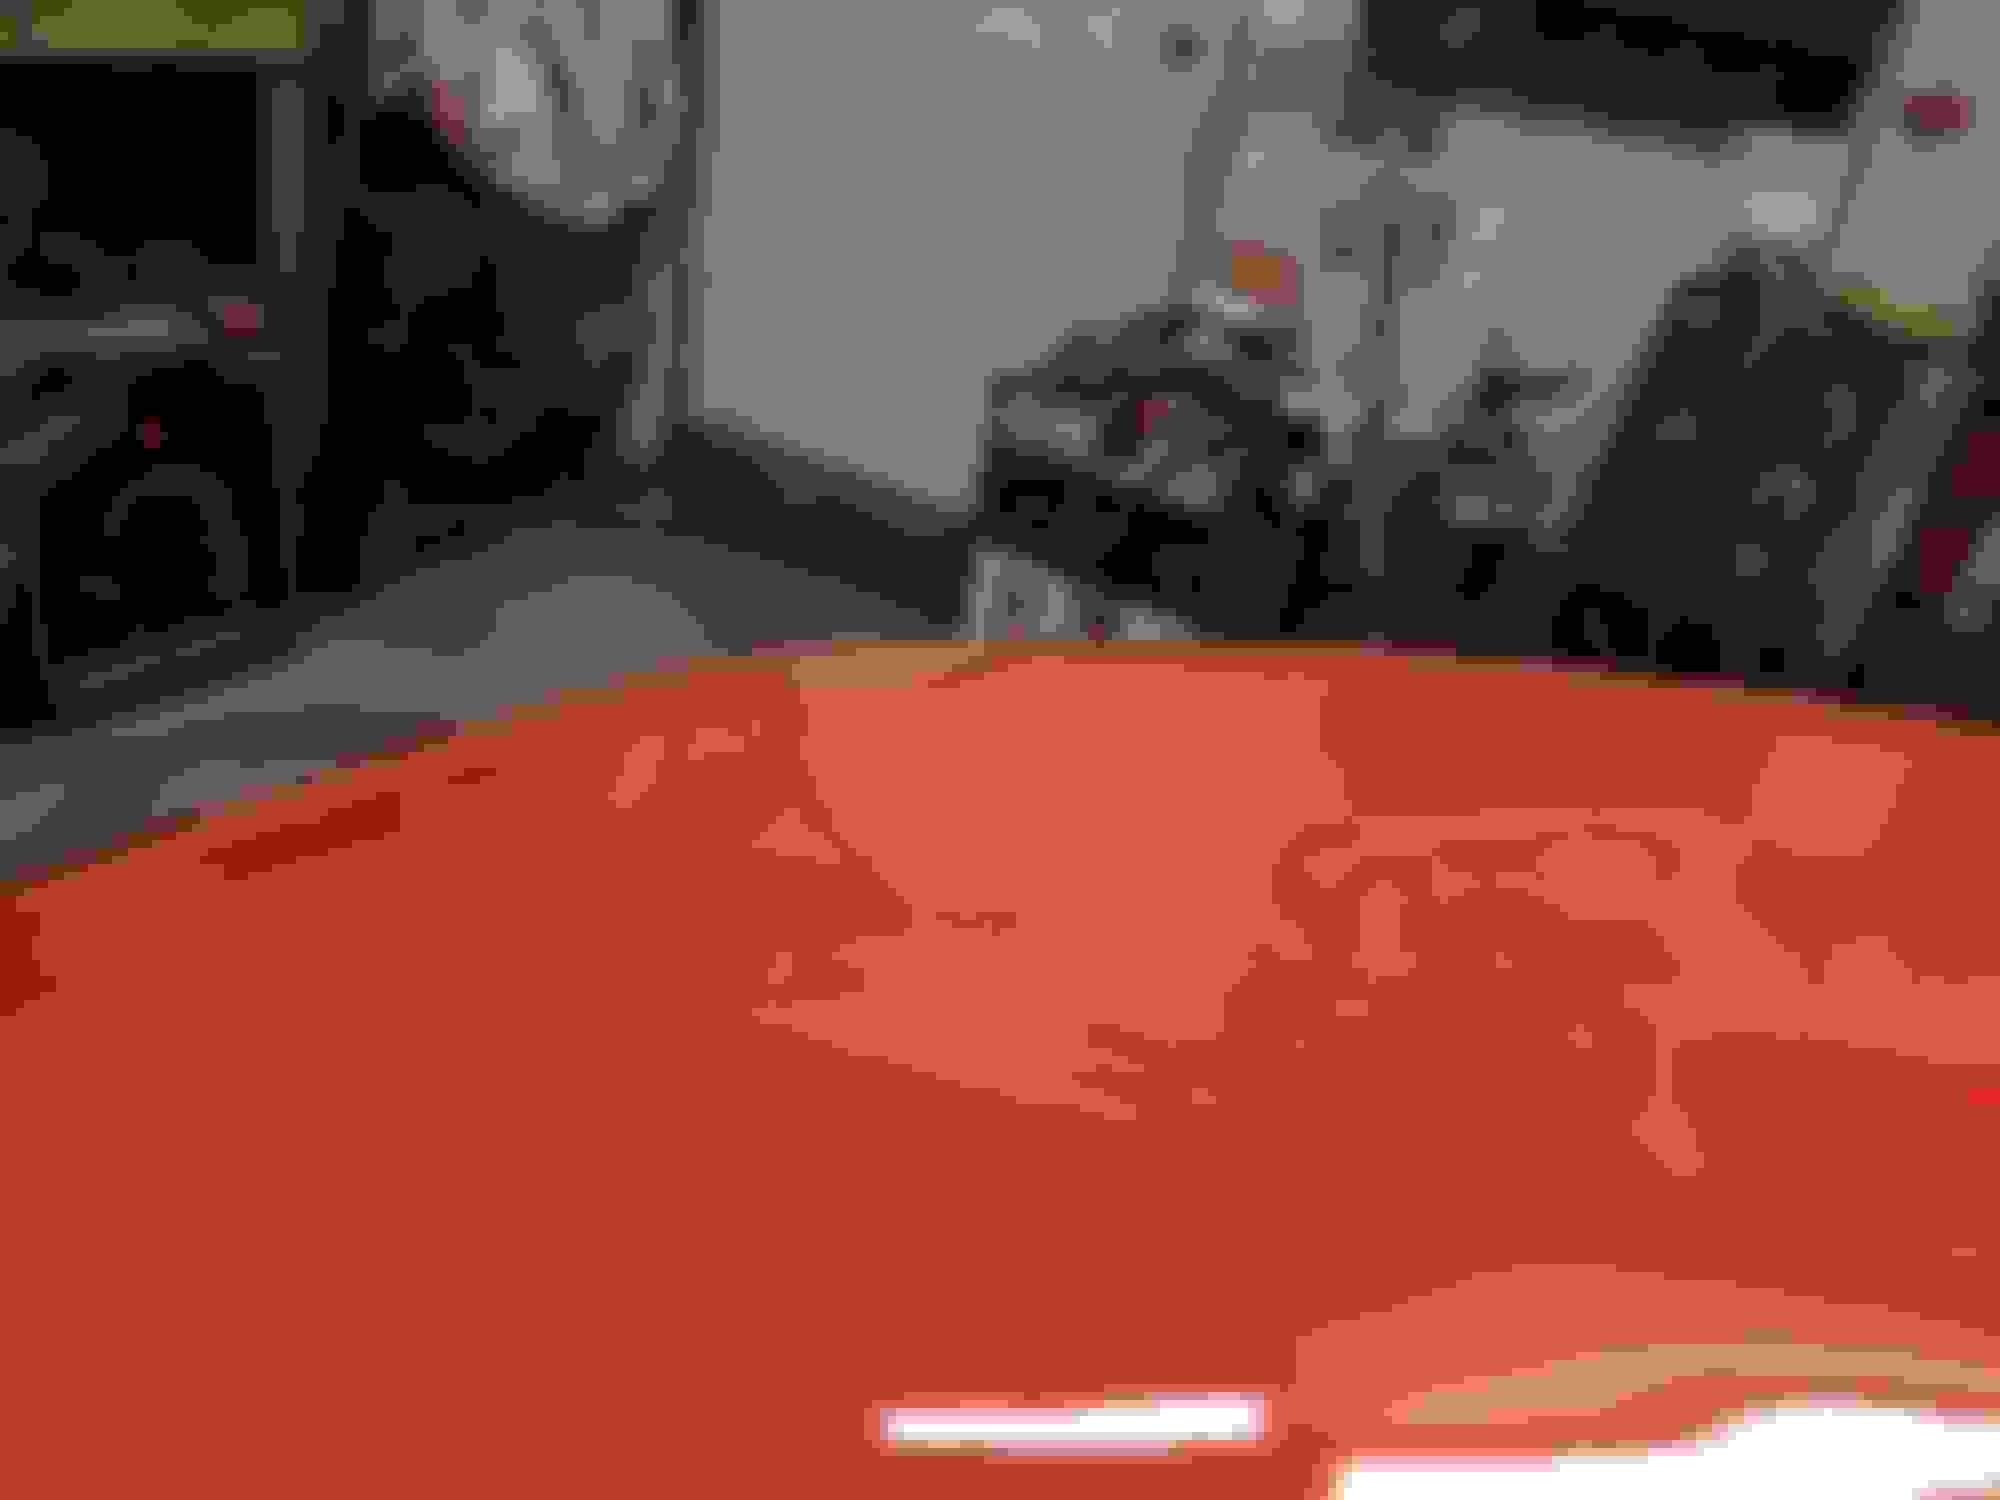
The other thing.. I sanded, and used max fill primer to fill in the spider cracking. Let the primer cure 6 hours, sanded and shot 3 coats of color, 2 coats of clear.
A week later, the paint shrunk and some of the fiberglass 'spider cracking' can been seen through the paint. f'n fiberglass.
The headlights can be adjusted from a vertical perspective. Not the headlight brackets themselves that get bolted to the frame of the car, leave those alone, but there are bolt adjusters that can raise and lower the headlights in the brackets themselves. You can see one of those bolts on the side of the headlight assembly right next to the headlight motors, and then there is another one on the back of the assembly. Just loosen, lift, and tighten. The bracket frame bolts themselves don't get touched.
- Rob
Last edited by Street Lethal; 12-29-2017 at 09:44 AM.
The headlights can be adjusted from a vertical perspective. Not the headlight brackets themselves that get bolted to the frame of the car, leave those alone, but there are bolt adjusters that can raise and lower the headlights in the brackets themselves. You can see one of those bolts on the side of the headlight assembly right next to the headlight motors, and then there is another one on the back of the assembly. Just loosen, lift, and tighten. The bracket frame bolts themselves don't get touched.
- Rob
The lid has two bolts in the rear, and two in the front. They are slotted to make the lid go up and down. It's all the way up.
Then there is a bolt on the side that allows the aluminum cage to go move front to back.
Then the brackets to the frame allow forward and sideways.
Everything is adjusted to it's travel limits. It's still off.
 12-24-2017, 06:57 AM


 But I gotta say , the color you picked looks downright great , , and somewhat familiar too ......