When you click on links to various merchants on this site and make a purchase, this can result in this site earning a commission. Affiliate programs and affiliations include, but are not limited to, the eBay Partner Network.
I decided to do a "How to" thread on a set of headers I got from a fellow TGO member. The headers are Dyno Don's with the AIR stuff on them with his Y pipe and a Magnaflow catalytic converter. I'm installing them on a 88 L98 Iroc that is bone stock. I got started last night around 8 oclock and I worked for a couple of hours before I had to go to bed. Working 12 hour days right now so I only have a little bit of "me" time.
The first thing I did was let the car warm up to operating temp. This helps free up some the bolts. The next thing was to jack the car up since I was replacing the Y pipe and I needed to unbolt it from the manifolds. Once the car was safely off the ground, I started on the driver's side manifold. The manifold bolts require a 15mm socket and there are 6 of them( the very front one is a stud that has the supports for the alternator and the power steering pump and the nut on the outside is 14mm.) To get them out, take a small flat blade screwdriver and bend the locking tabs out of the way. The tabs are part of the heat shields (I t Locking tabs on stock manifold bolt
hink) that separate the exhaust manifolds and the spark plug wires. All 6 of my manifold bolts on the drivers side came out with no issues. The front four were accessible from the top and the back two I got from underneath.
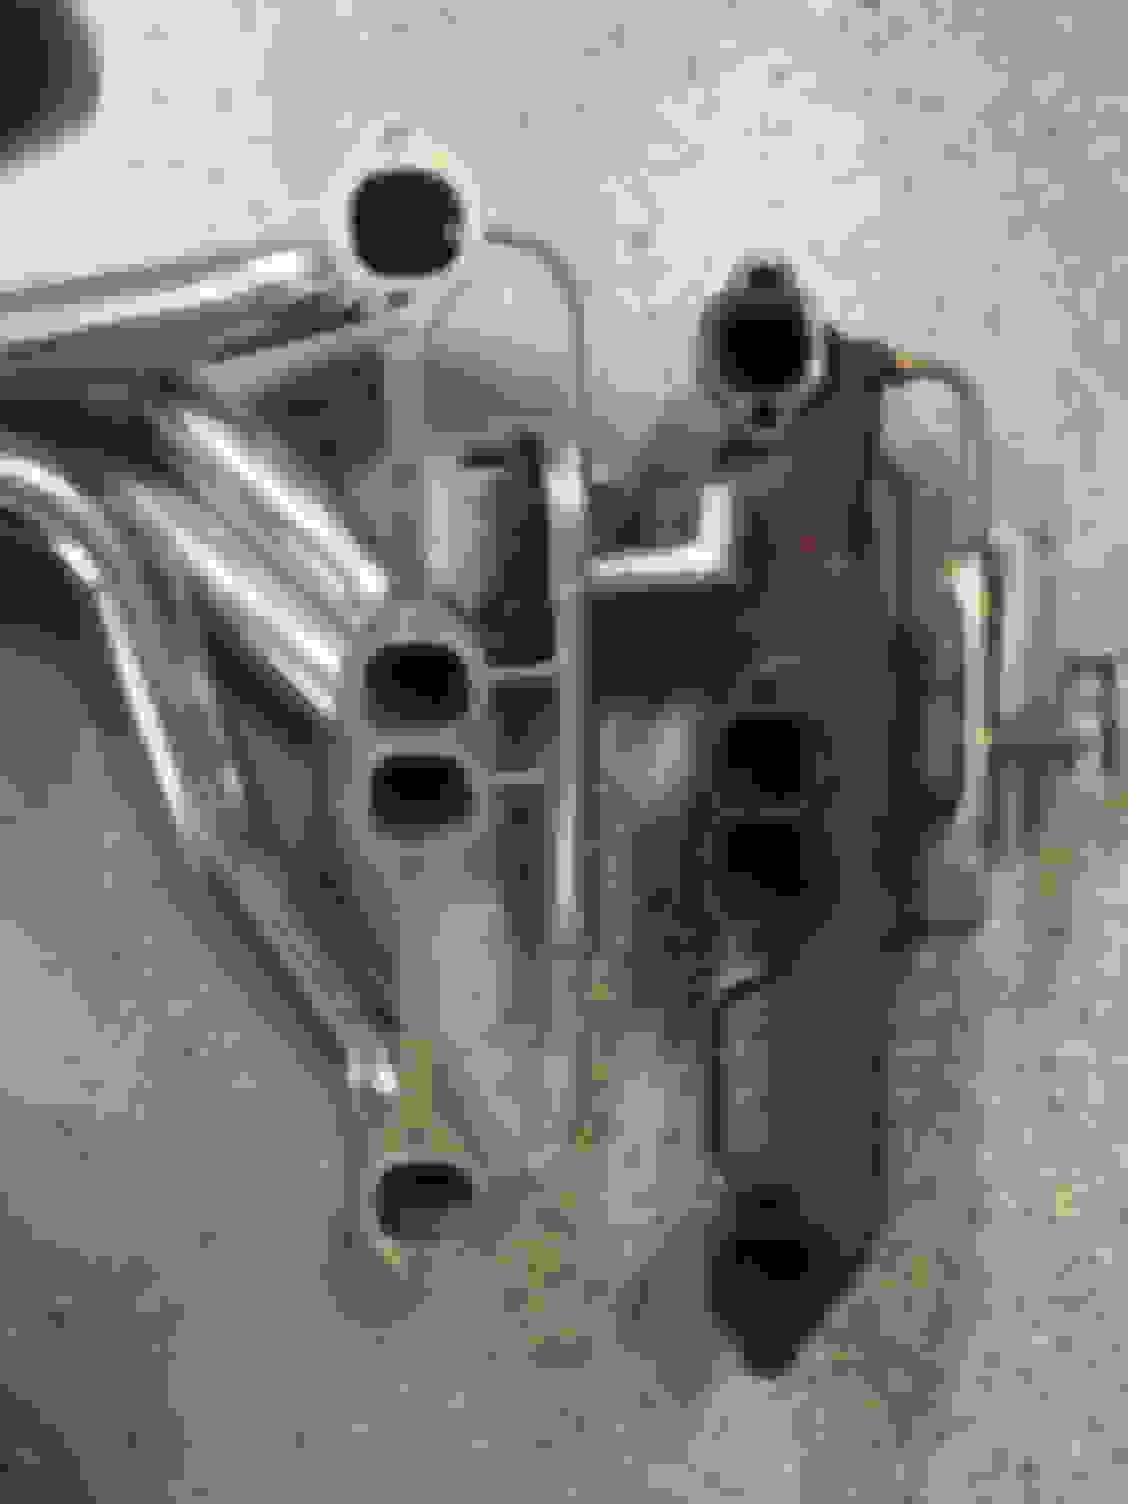
I went ahead and removed the Y pipe and converter before tackling the passenger side. My thinking was that it may give me a little more room to work on the manifold if I had to access it from the bottom. Here is a comparison picture of
the factory "Not a Y" Y pipe and the Dyno Don Y pipe and the magnaflow converter.
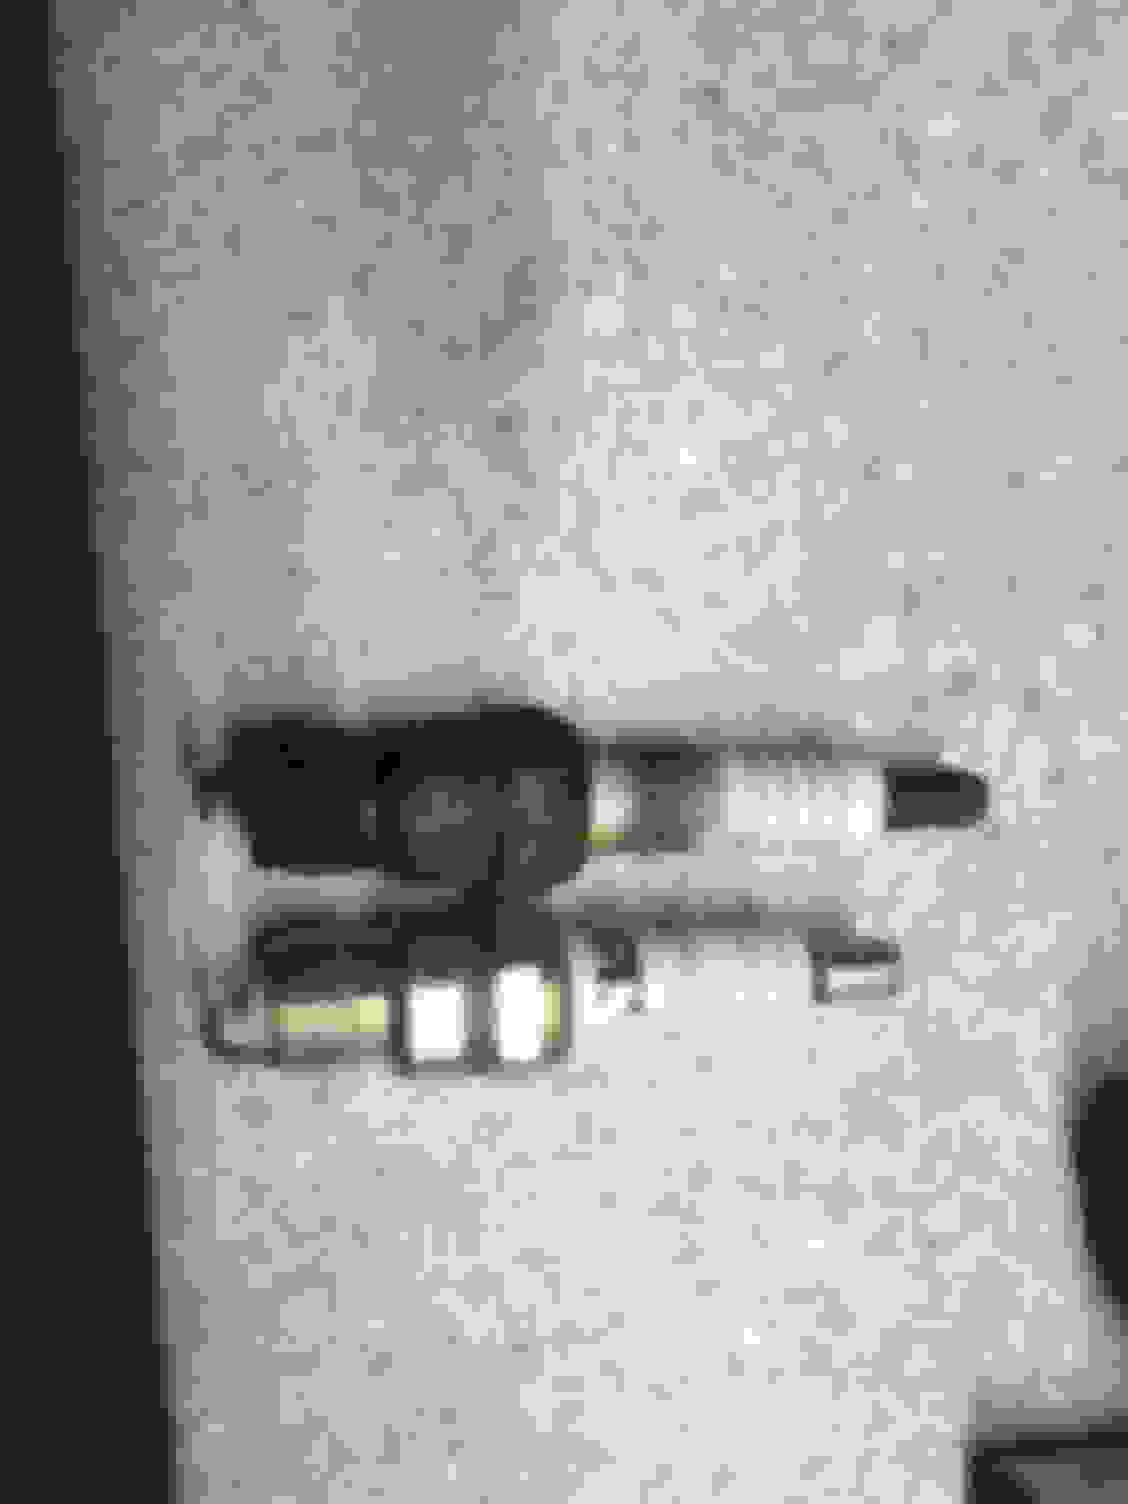
I had to stop there for the night. Tonight, I hope to have the spark plugs, wires and the header installed on the driver's side and have the passenger side manifold removed. Dyno Don recommends 90degree boots on the plug wires and shorter spark plugs. Here is a plug I removed and the new one to be installed side by side.
I had to stop there for the night. Tonight, I hope to have the spark plugs, wires and the header installed on the driver's side and have the passenger side manifold removed. Dyno Don recommends 90degree boots on the plug wires and shorter spark plugs. Here is a plug I removed and the new one to be installed side by side.
I went with the Summit racing 8mm wires with the 90 degree boots and Accel plugs I think 5768. I'll check when I get home tonight. I didn't get a chance to work on it last night. I was busy watching the Astros game with some friends. Ill get back on it tonight.
Got to work on the header install last night for a little while. I got the driver's side header installed. It more or less dropped right in, but I had to spin the collector flange around to clear some stuff, no big deal. Before the header went in I installed the spark plugs but then realized I had to remove one to get the header past it. Its the second one from the back. Installed that plug back in when the header was in place. I used the recommended bolts for the headers and I started with the two center bolts. Got the bolts started just a couple of turns and then started all of the rest of them and worked them in as evenly as possible. Then tightened them all down and installed the plug wires. I did run across one issue yet that I haven't resolved. The wire to the O2 sensor is going to be too short. I think simply lengthening it will be the cure so I'll get on that this evening.
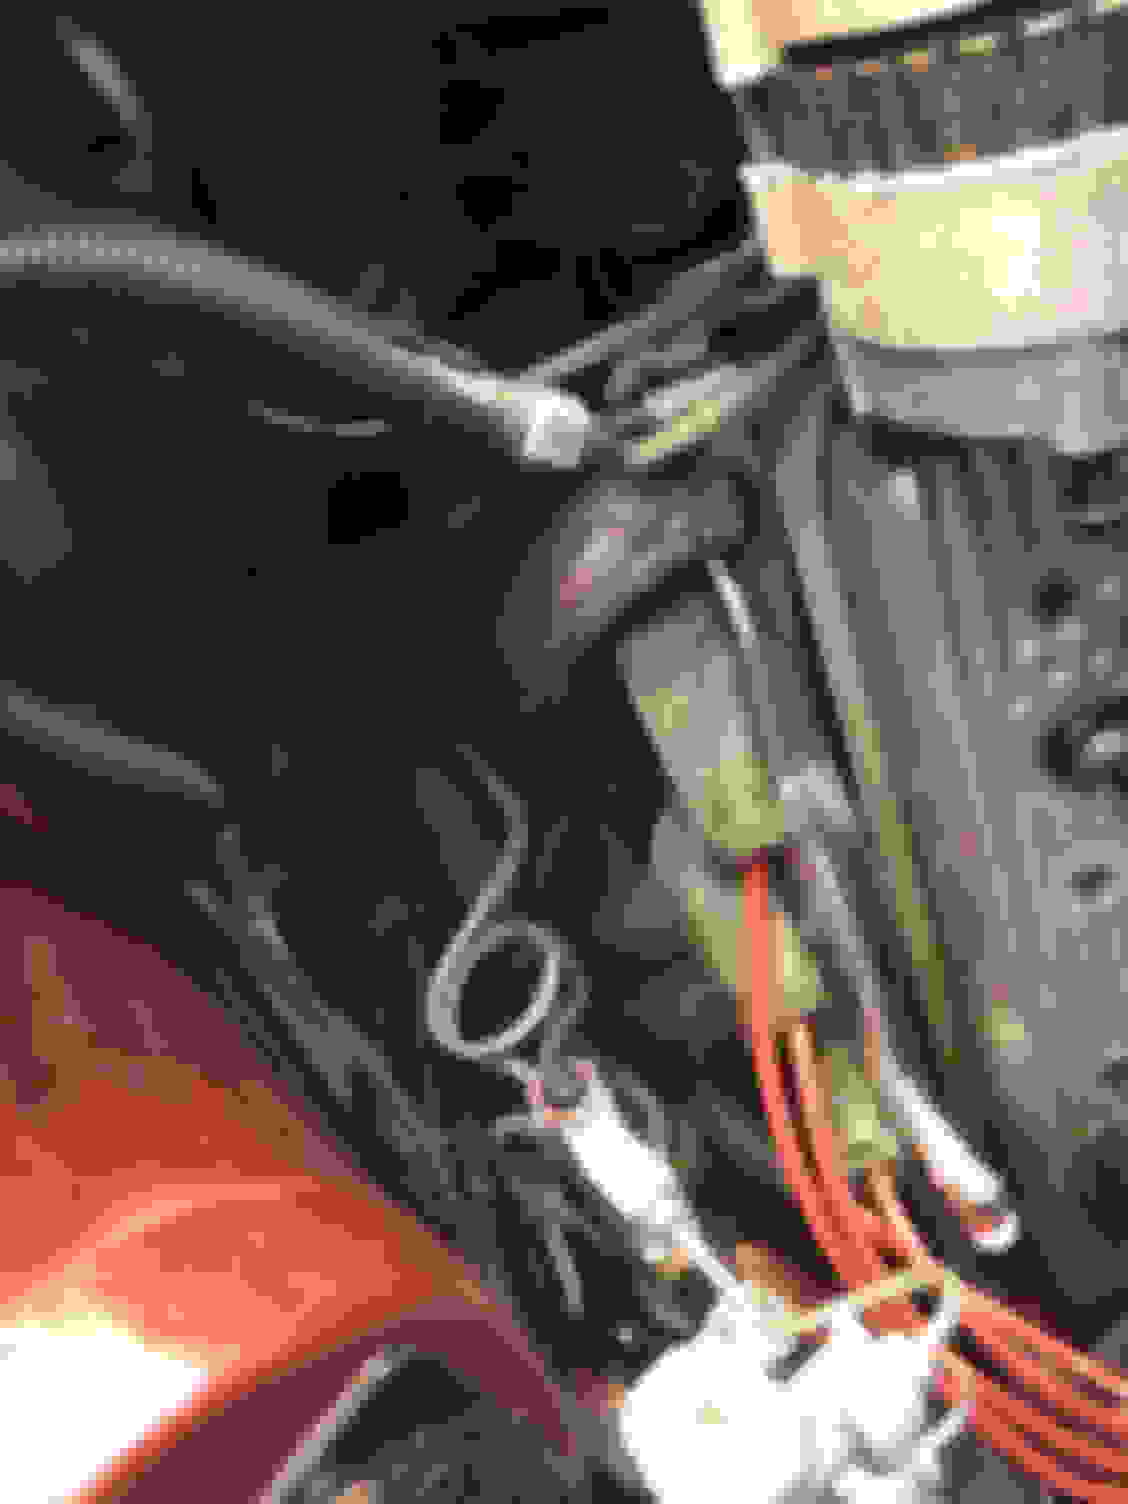
Passenger side is proving to be a little more difficult. I had to remove the smog stuff to be able to see the manifold. Once that was done, I was able to get the three forward most stud out of the manifold. These weren't bolts like the other side, but studs with nuts on them to hold heat shields or brackets. I was easily able to get them from the top using a 14mm deep socket.
The back three studs and bolt are accessible from underneath the car. These are the ones I am having problems with. They seem to be seized in the head. I've been able to get a wrench or socket on them but they are not budging. I plan on soaking them with Knock-R-Loose this evening. Hopefully I can get them out without breaking them off. Finger crossed.. any helpful advise for removing stuck bolts is welcome
Keep soaking those stuck bolts/studs with the Knock-R-Loose for a couple of days.
If that does not work, then it's time for the blue wrench (torch).
Use high temp nickel anti-seize on the new hardware.
Also on the spark plug threads.
Last edited by NoEmissions84TA; 10-15-2018 at 06:48 PM.
Didn't work on the car last night. All I did was spray the bolts with Knock-R-Loose a couple of times. Sprayed them again this morning. Hopefully I have good luck getting them out!
Does dyno don headers have a C.A.R.B number or EO number stamped on? The smog tech where I take my car to told he will fail me if the c.a.r.b number is not stamped on the headers here in california.
I'll have to check this evening but I don't recall anything stamped on them. I will look and let you know.
Nice thread! BTW - In TX your car qualifies for antique status if you don't drive it too much. No inspections required with this status. Just send them their money. I'm thinking, regardless, no emissions standards after certain number years, I forget. Put mine into Antique status and insured it with Hagerty.
I got a chance to work on removing the manifold last night. After days of soaking in Knock-R-Lose, the bolt were cooperating. The problem I had was the heat shield. The nut holding the heat shield on was bound up against the nut on the stud itself and when I turned the outer nut, the whole stud would turn. That's good because the stud is loose, but bad because the heat shield wouldn't allow me to turn it more than about 1/4 turn. I had to take my extended cut off tool and cut the heat shield away so I could be able to turn the stud and remove it. I finally got it out after cussing at it for a while. The back bolt came out easy enough, although it is difficult to get to. I use a 3/8 ratchet with a 9/16 six point socket to do the job on that one. Once that one was out, I zip tied the manifold up and removed the back two spark plugs to gain some clearance for removing the manifold from the bottom. It won't come out of the top if the AC is installed without lifting the engine. The manifold came out from the bottom. I broke my fan switch in the process so I have to replace that before moving on but I feel like I won a huge battle in just getting the manifold removed without breaking a stud off in the head!
So to get everyone caught up top where I am:
I finally got the passenger side off without breaking any studs in the head- Victory
I got the new header in place -Victory
In the process of placing the new header, I broke the fan switch- Loss
Drained the coolant to replace the fan switch and I figured this would be a good time to replace hoses and thermostat-Good intentions
Broke one of the bolts holding he thermostat housing down-S*#T!!
Drilled hole in the bolt and put an "easy out" in there and promptly broke that-S*#T!! x 100
Went to bolt on the passenger side header and got all 6 bolts in and tight, only to realize the insert from the $45 dollar gasket had slipped out and is pinched between the head and the header flange.- More cussing, just short of throwing stuff
New $45 gaskets ordered.
So tonight, I'm gonna take the bolts back out of the header and remove the gasket and then work on getting the bolt out of the manifold. It broke of with enough sticking up to weld a nut on so I did that already. Been soaking and tapping on it. If it breaks again, I don't know what path I will take. This has really turned into a headache.
I used these on the same bolt for the T-Stat neck. WORKED LIKE A CHAMP!! Got them at Advance Auto.
Tip: While trying to turn i out, tap on top of socket and spray some PB Blaster or what ever
Thanks Bob88GTA! I'll pick those up on my way home today. When I welded the nut, it sort of melted a little of one side. An 11/16" fits it pretty good. I'll give those a try. Thanks again
Yeah, they worked for me. Tap the extractor down pretty good and use a steady even pull on the B-Bar or ratchet. Tap while you are pulling. Once it started to move, it spun right out.
Should be able to get the driver's side from the top with out too much difficulty. The passenger side would probably be best accessed from underneath, at least the back two. Having AC and smog stuff still present makes anything on the passenger side a little more challenging. All told, its probably easier with the headers than the manifolds. Keep in mind that some header manufacturers recommend using the shorter spark plugs.
Nope. Here's what happened:
I welded a nut to what was remaining of the stud. I soaked the stud with Knock-r-loose for a few days. I put a wrench on the nut and promptly broke that off smooth with the intake. I tried again to drill out the stud but I guess when I welded it, it tempered the steel and I dulled several bits before giving up. I am removing the manifold and putting on a FIRST, but that's another thread, yet to be started.
I can say this for the headers and Y pipe: They fit very well in my car. Spark plug changes will be easier done from the bottom on the passenger side. I am anxious to get it back on the street since the weather is pretty nice down here. T top weather all last weekend and I missed it. Everything is bolted up on the underside of the car.
 10-13-2018, 09:56 AM