When you click on links to various merchants on this site and make a purchase, this can result in this site earning a commission. Affiliate programs and affiliations include, but are not limited to, the eBay Partner Network.
EDIT: I was a total beginner when I started this project, and I know I've made some pretty glaring mistakes. (TBI vs Carb? Can't believe I was dumb enough to confuse that)
Hi! I've been lurking around on here for a few days now since I bought my first 3rd gen. It's a 1987 LG4 TBI 305 with a 5 speed. The car is in pretty rough shape, but it starts, runs, and shifts perfectly. The great news is the car has only a tiny bit of rust in the trunk pan, (in CT it seems rare for that little rust). But, I had to gut the interior, so I'll be ordering a new carpet for it soon. (Any suggestions? I'm looking at 1A Auto's carpet and it seems solid. Oh and what maintenance should I do with the carpet removed?) I'd like it for this car to be a cruiser and maybe see a few road course days someday so if anyone has any advice I'll take whatever I can get. Anyway, I just wanted to introduce myself as I'll probably be posting more soon!
Last edited by 1987Mike; 10-20-2018 at 09:41 AM.
Reason: Technical mistake
Congrats on the purchase and welcome to TGO. Just keep in mind that the car is 30 years old so just go through it and fix what's worn out. 3rd gens are good platforms as stock for cruising. Mods can come later if so desired.
Definitely putting together tons of parts for a tune up. Hoses fluids, brakes, oil, etc. I've got a pile going in my garage that I can't wait to get started on this weekend. I also bought the struts for both the rear hatch and the hood as they were totally shot. I'll definitely be looking out for anything and everything worn and replace it as I go. Thank you Sleeper!
And I've just started looking into those connectors and those might have to be placed on order ASAP. Thanks for the heads up Drew!
Welcome!! Nice to see people still buying/fixing up these cars still. Nice car, you'll have it looking better than new soon I wager.
I also echo what Drew said, great time for subframe connectors.
Where in SW Connecticut are you? I'm in Newtown (Sandy Hook specifically not far from exit 11-84). I have a black 87 myself and may be able to help you with parts.
Welcome,cool car.
Is it an 88 or 87 because the grille and taillights look like an 88 sport coupe.The wheels are 85-87 but the iroc-z decals on the door are positioned for 88-90 models.Tbi was not available in 87,it also looks like firebird door panels.I am not knocking your car I am just curious if someone converted an 88 sport coupe with a hood,hatch/spoiler,wheels,and decals.Post up some more pics and put one up of the rpo sticker in the console.Again I am not knocking it,I think it is a cool looking car.
It's definitely not an Iroc. The rpo isn't there for that. I know it's an 87 based on the VIN. I saw the hood was from an 88 with an auto trans and the 5.7L. The 8th digit is an H, which I thought meant it was a TBI but after doing a but more reading on the LG4 I see it's a carb. Ive never owned a carb car or really had any experience with one so I'm a little new to this. Totally my fault for saying that, still learning a lot and I just assumed like an idiot. 😅 The previous owner was pretty sure the owner before him tried to make it into an Iroc and didn't finish. (he bought it for his daughter and she didn't want it because it was stick)
I'm in Trumbull, I actually bought the car in Newtown. The car has definitely been repainted as it's a weird dark, dark blue. It was originally the dark red color.
Cool ride! Make sure you have an extra hand when you do the rear hatch struts. That thing is heavy! Keep us all updated on any progress and feel free to ask any questions you might have. There is a wealth of knowledge here
Thanks for the encouragement! I've been really busy working on it. I'm on here all the time mostly reading up on everything, I don't post much though. Here's my updates:
Since I got the car, I opened up the rear diff and found out I've got 4.1 gears with some sort of 28 spline posi. (someone on another thread told me it was some sort of Detroit locker) I replaced the axles with mosers, and picked up some Timken seals and bearings. I also went to my local salvage yard and grabbed all 4 calipers off an 02 camaro and mounted up the rears so I've got discs in the rear now too! I'm saving up for a big brake upgrade kit for the fronts.
I recently installed a new carpet and found a little more damage from mice in my heater core area, so I've been working on that a ton. It's been so hot in CT lately so progress has been slow. I've been taking some pictures and I'm hoping someday to post a full thread of all I've done with it soon. I did get to take it out on the road once and I got pretty familiar with a manual transmission. I can't wait to be able to take it out and hopefully meet some locals with 3rd gens!
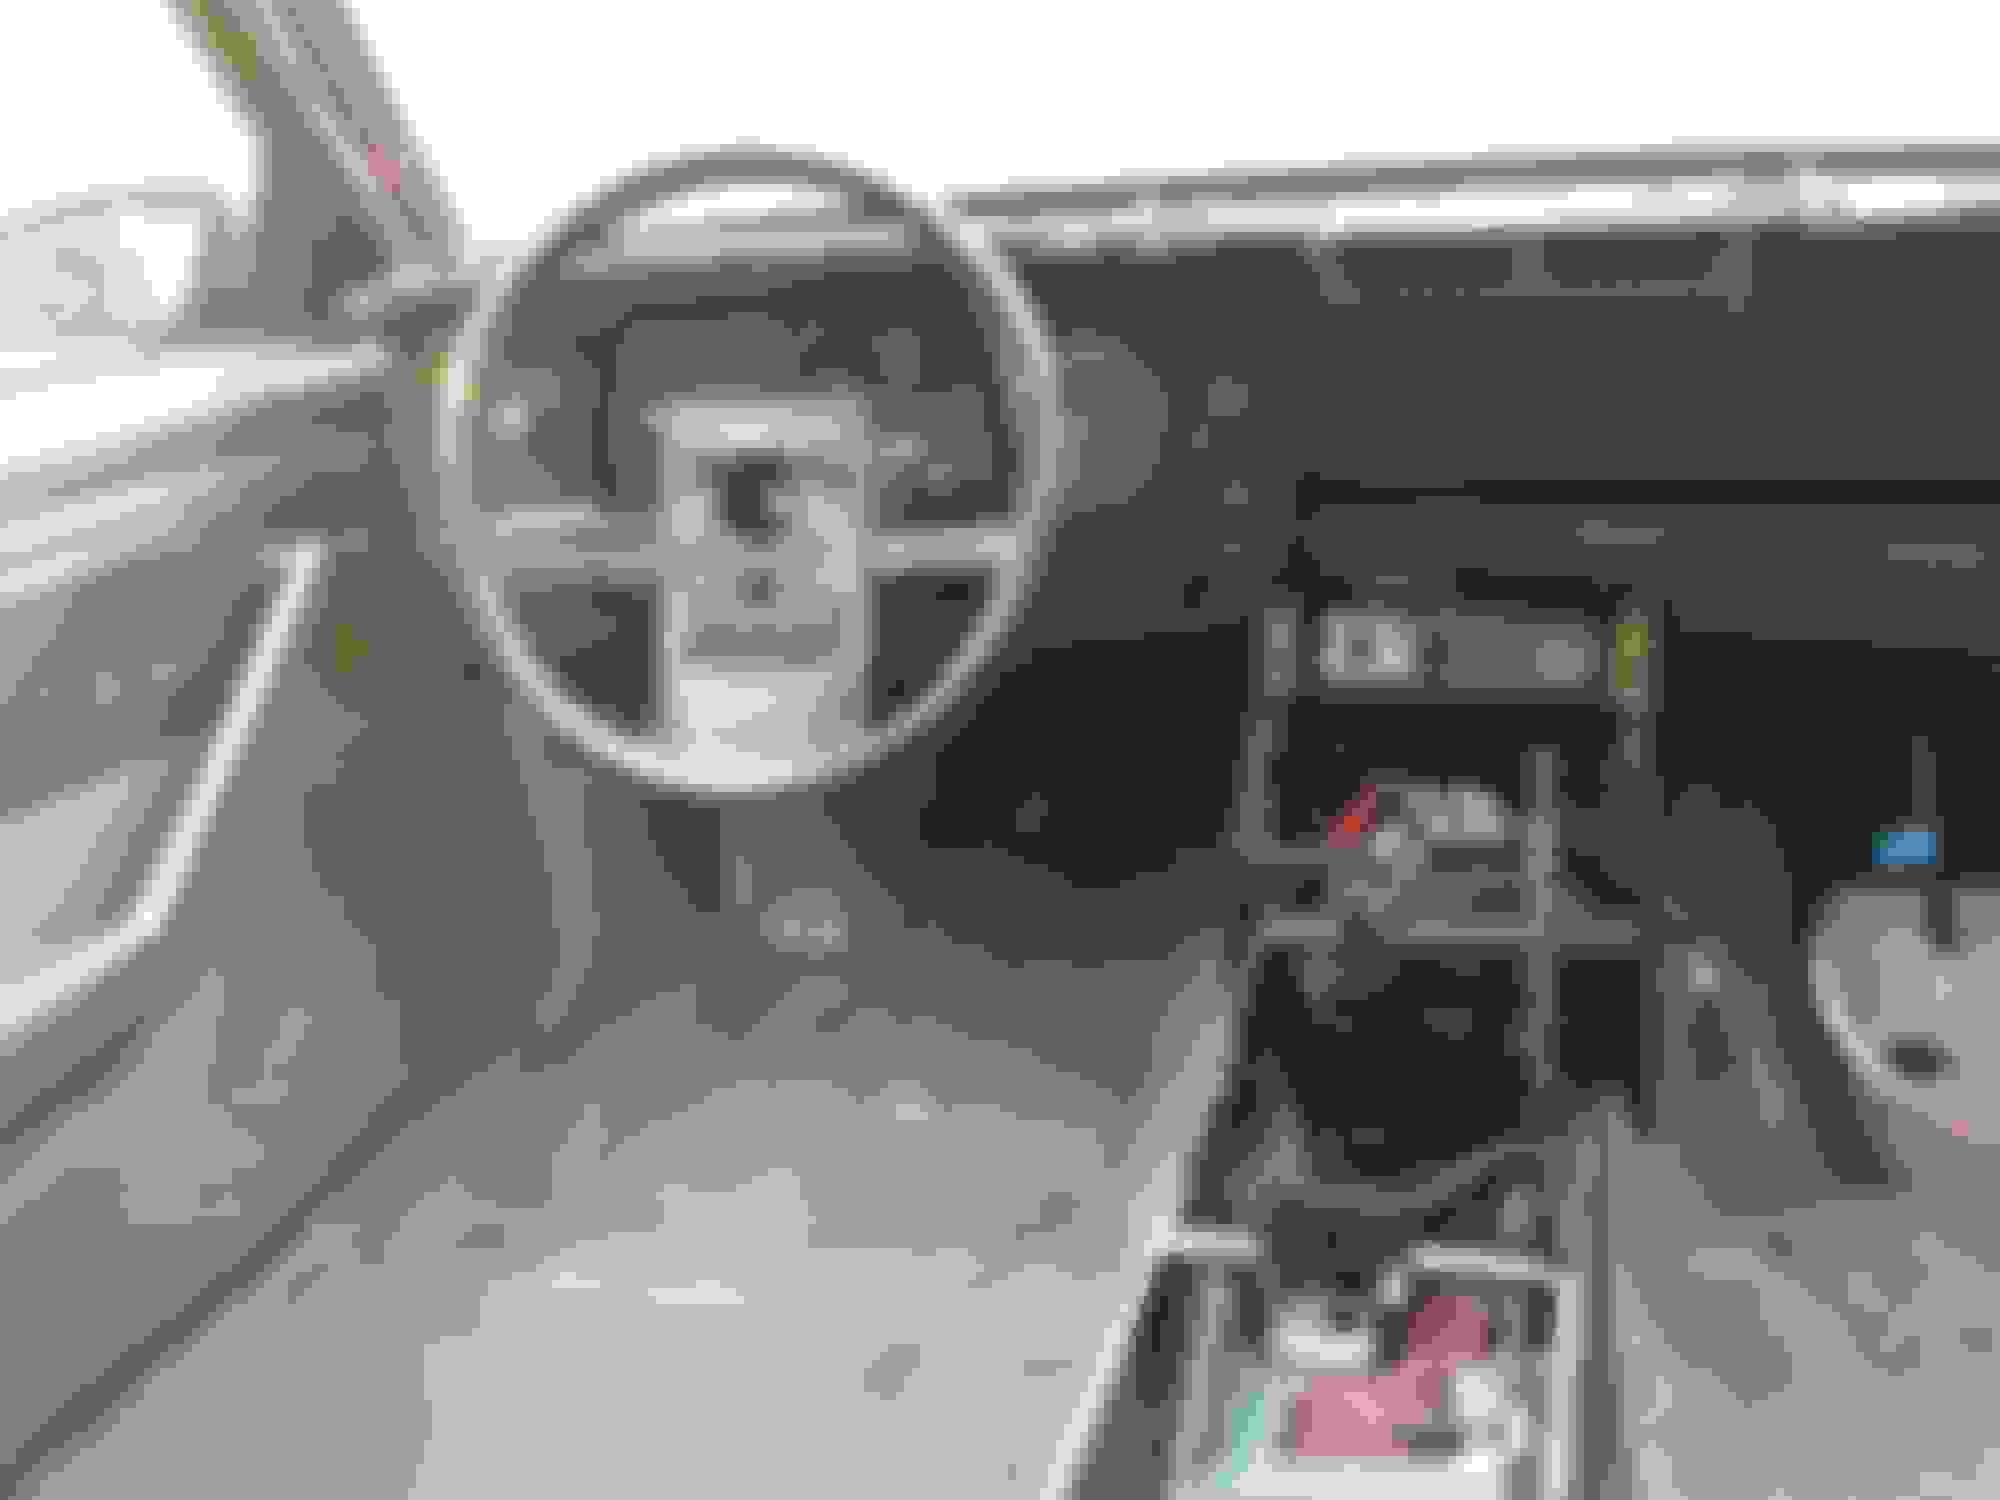
Hey guys! Sorry it's been a few months, I'm a grad student working 45 hours a week, so finding time to work on the car can be a bit difficult. Since July, I've put back together the whole car and driven it on a few longer drives! I ended up having to replace the alternator, and I bypassed the heater core temporarily as the new one I installed leaked. Here's a few progress photos! Carpet getting installed and I was checking the wiring for damage. This car had a serious mouse problem but they left the wiring alone. I had to completely gut the HVAC system and install all new foam. I used E6000 adhesive and some A/C foam from home depot that I picked up for like five bucks. Painted the HVAC blower motor housing using ultra high temp paint - I prefer the flat black look for parts like this. I had to scrub the insides of this from what the mice had done to it.... Interior being pieced back together.....
I had to jump the car after every start, so a new alternator cured that issue. Fit perfectly and the car starts every time. Retrosound Head Unit installed - I like the stock look and I'm not crazy about audio quality. I bought 4 kicker speakers to go with it and I'm happy! Rear kicker speaker installed - Sounds great! I have a boom mat surround behind these since mice had tons of fun with the stock speaker back - things. Whatever you call them, they were in terrible shape and thrown out immediately. Front kicker speaker installed, those boom mats make a big difference! Learning to park it on the line so it doesn't get any door dings..... Picture of it with my (pathetic) daily driver. Sadly after driving it a few times I realized I was missing some coolant.... Hopefully I'll have some time to replace the head gasket this weekend. I bought the entire gasket kit from summit so wish me luck!
I just wanted to say thanks to everyone here! I've come a long way from when I first bought this car and I've used these forums TONS for reference. I don't post much but I definitely abuse the search feature to find reference materials for some of this stuff. This car is definitely serving its purpose of teaching me how to work on a car while also building up something I can take to a track someday!
I plan to continue building this car up as I work through grad school, so progress can definitely be a little slow at time. And I finally updated to a new phone so my pictures will be much clearer from here on out. If anybody has some tips for replacing the head gasket on an LG4, please let me know! (I've got the haynes manual and shop manual to help me too!)
Is that pic of the oil cap showing all recent foamy stuff, as you cleaned it and it got that way again quickly? Just wondering if a coolant system pressure check would be worth while before ripping a head off to be sure that really is the problem.
tips
Taking off heads is a big job. Expect that exhaust manifold bolts could break. Make sure you understand how to remove and install a distributor before you remove it with respect to timing. Don't turn the engine over, even by hand, while the distributor is out or you installing the distributor will require extra steps.
You can likley leave the carb on the intake manifold to save steps.
Perfect time for a tune up and coolant change since you be pulling those parts anyway if you haven't already.
A new water pump is likely not a lot of money and it will pretty easy to get at when you have this stuff apart (optional).
You may find greater success using only RTV to seal the front and back on the intake manifold instead of using the gaskets that come in the kit.
Thanks dagwood & bow_tied!
Yes, that is the oil cap. I noticed it when I first bought the car, and should have known right away. I plan on swapping the motor out someday, but in the meantime I’d like for this one to run well. I did an oil change in April when I bought it and the oil looked similar to chocolate milk. I should have done it then and there, but I was much more focused on the brakes and kinda hoped it was just moisture that had gotten into the oil from sitting so long, but I really should have known. Since April, I’ve driven the car ~300 miles and ran a few tanks of gas through it, and the gunk on the oil cap has returned.
I will take special care while removing the exhaust manifold bolts, and I’ll most likely replace them once I’ve gotten them off if they're in rough shape. I’ve done a distributor and rotor on my Honda Accord, where I remember having to reinstall the new parts EXACTLY as they came off. I’ve watched a few videos of a Chevy installation and I think I’ve got a handle on it.
That’s good to know about the intake manifold and carb! I didn't know I could remove them as a unit. I remember seeing that I will need to catch some fuel when I remove the carb, I believe I saw that in the shop manual.
I’ve been replacing things as I go. Coolant flush was something I did in the beginning, and I’ve got more for when I fix this issue. I’ve already done plugs, wires, Oil change, coolant, brake fluid, and belts. I have a new dist. Cap and I’ll probably order a rotor and water pump as well. I’ve got some RTV in the garage, I may try using it if it seems like the gasket won’t cut it.
I'm glad I didn't get to start this job this past weekend, now I've got a few great tips to keep in mind! Thank you!
Last edited by 1987Mike; 10-22-2018 at 02:17 PM.
Reason: Formatting
 04-18-2018, 06:58 PM