
Here's the kit I purchased:

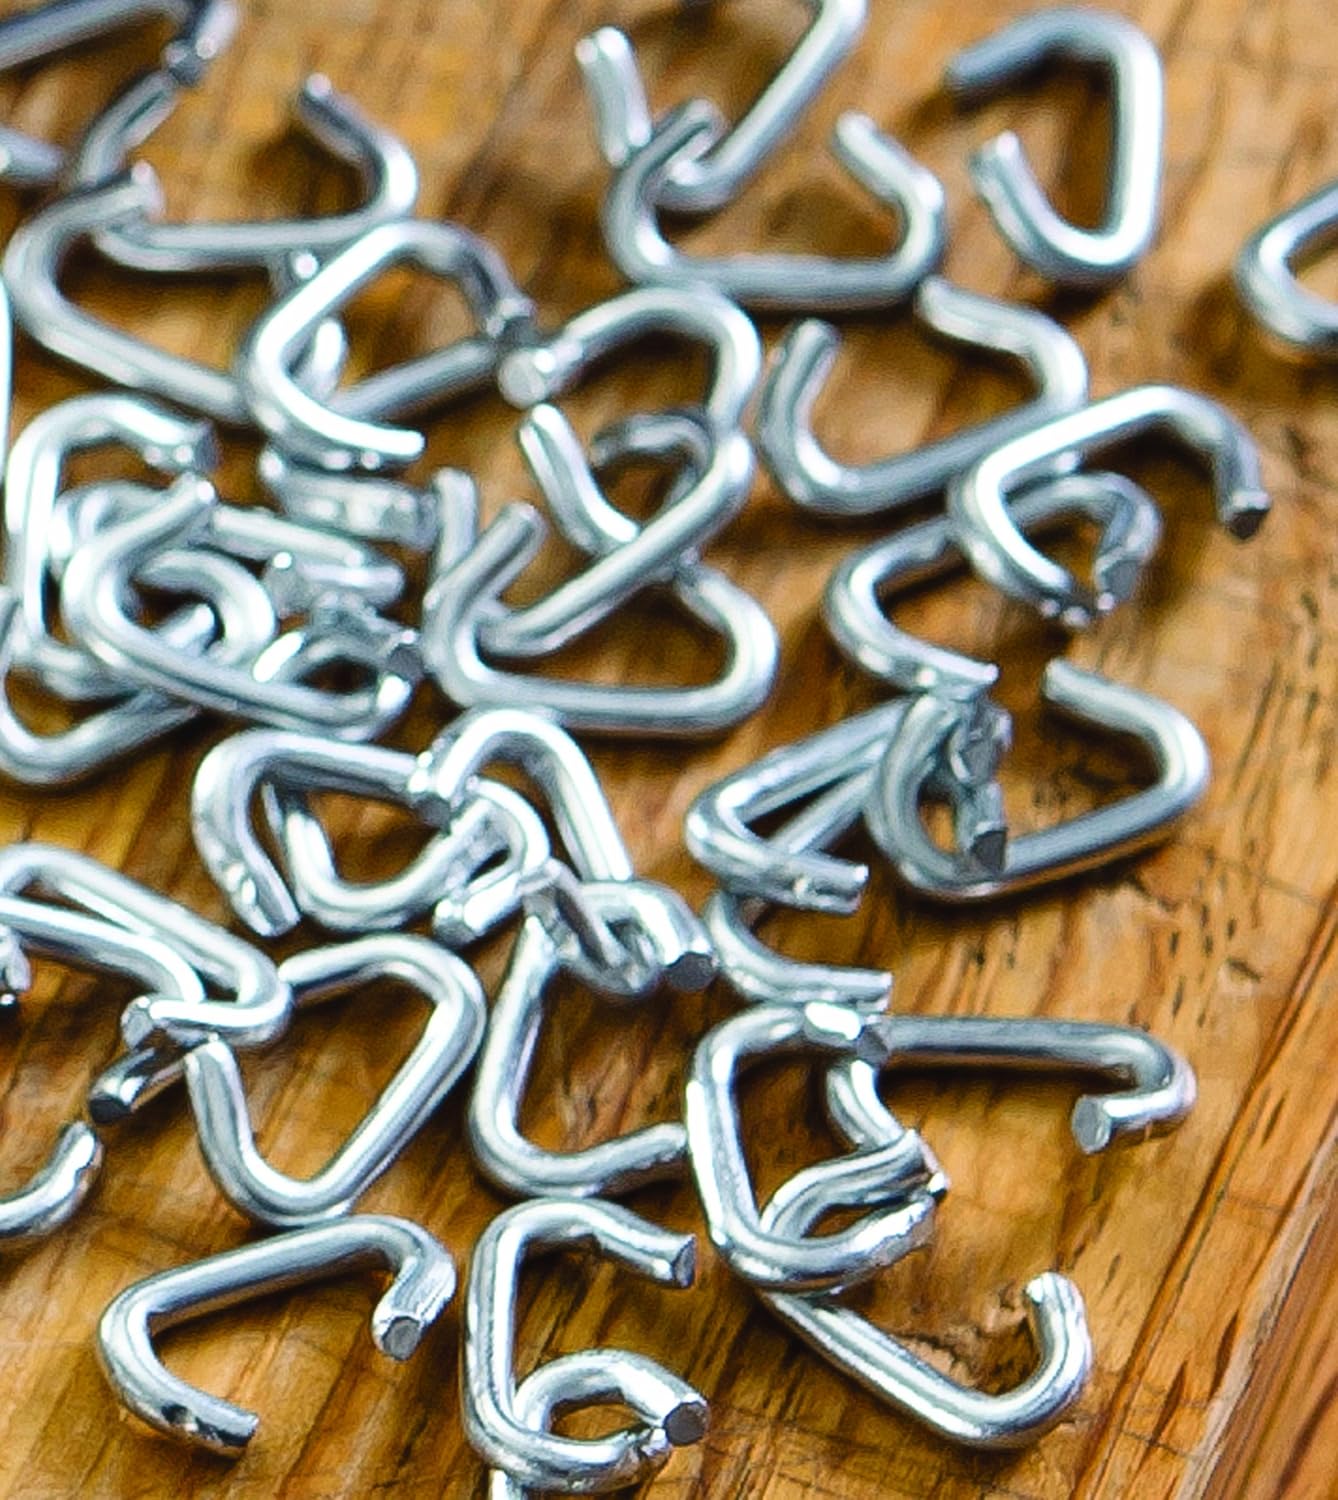
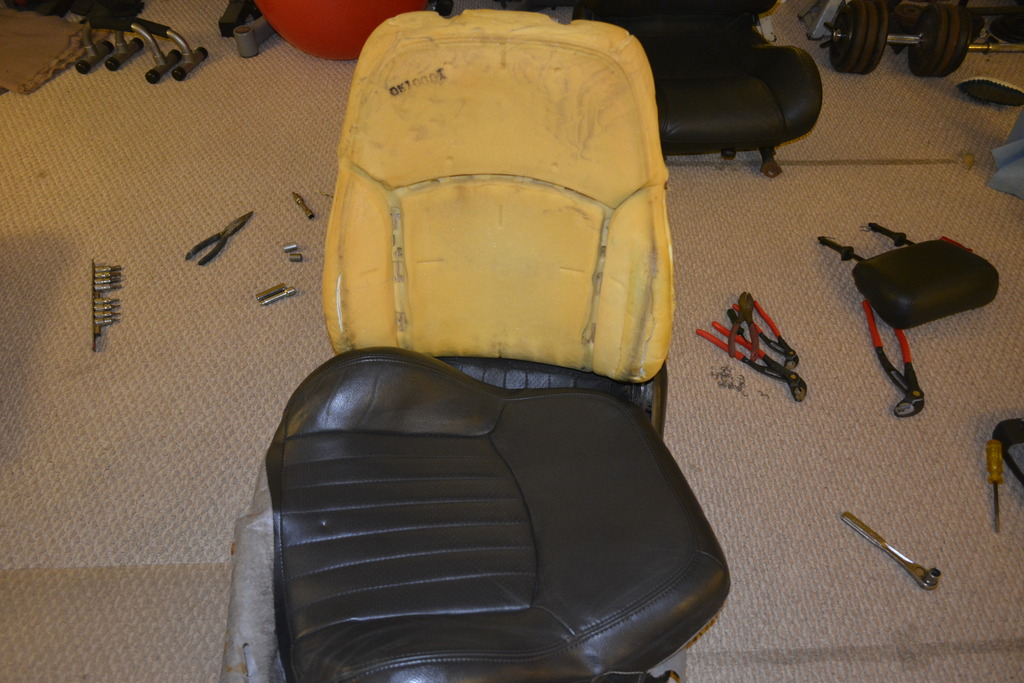
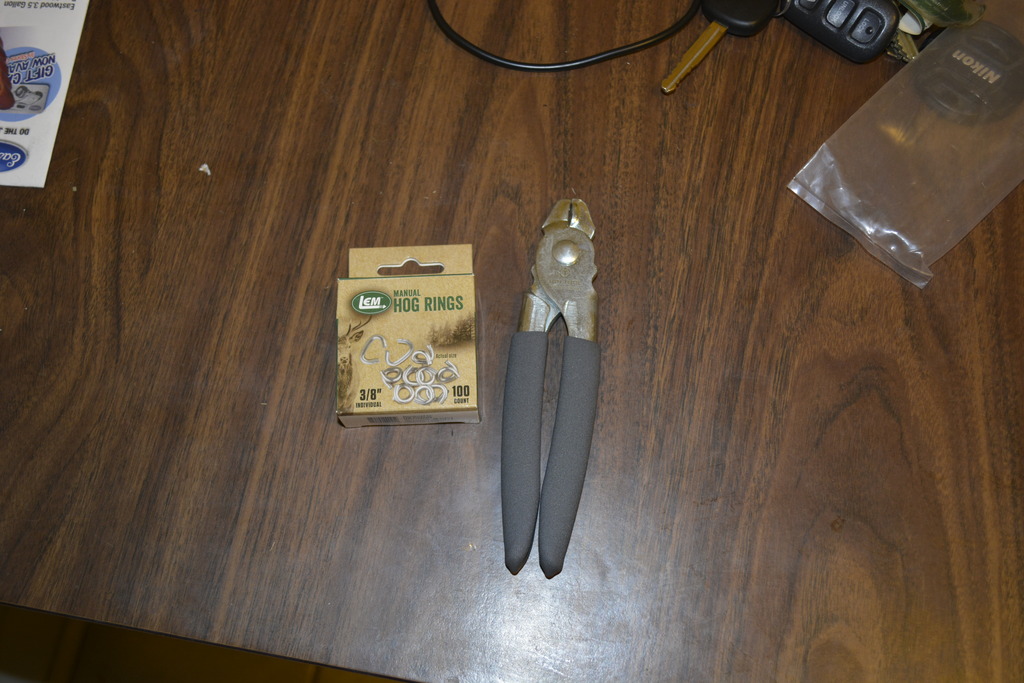
You'll need a large TORX bit to get the seat back separated from the bottom. The only other tools you'll need are 3/8" hog rings and hog ring pliers:

I started by bringing the seats inside for a few days so the covers would warm up, making them easier to work with. They were dirty:
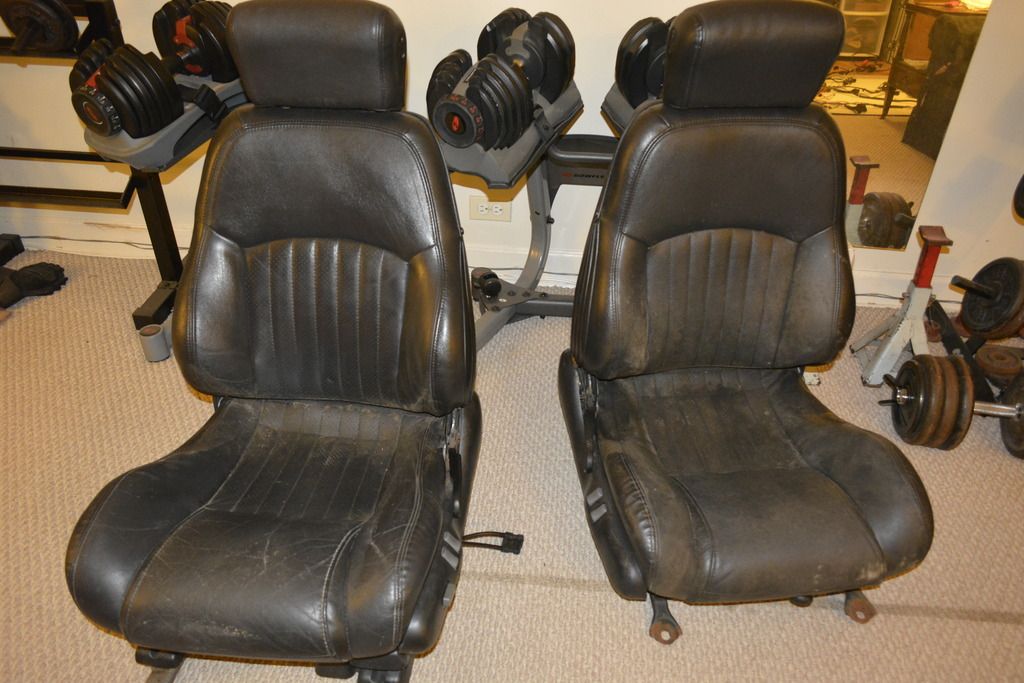
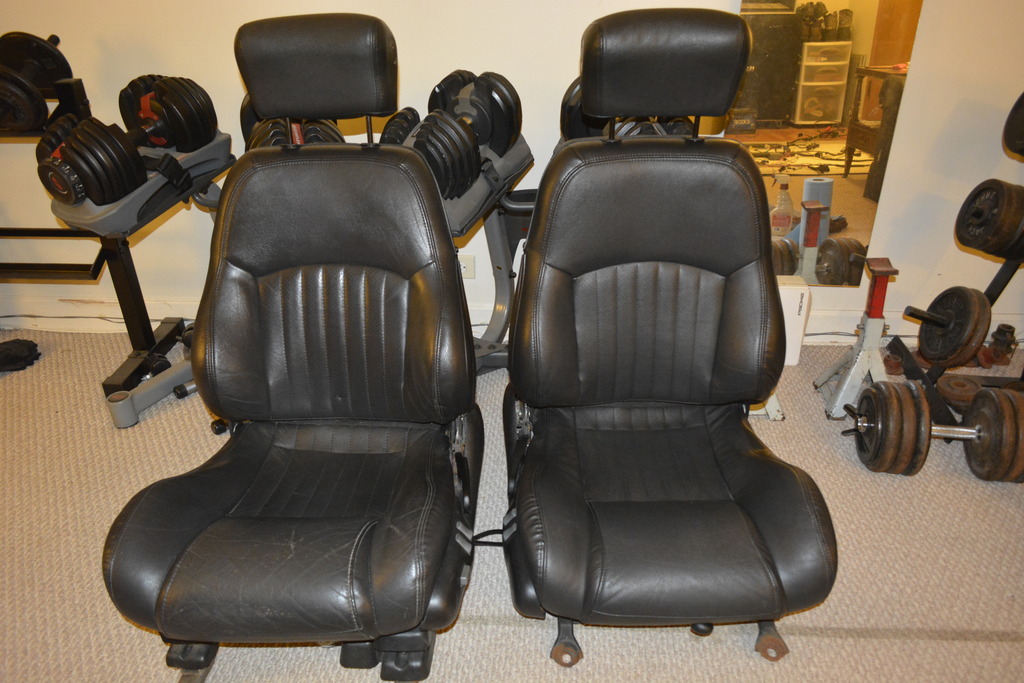
So I cleaned them up first:
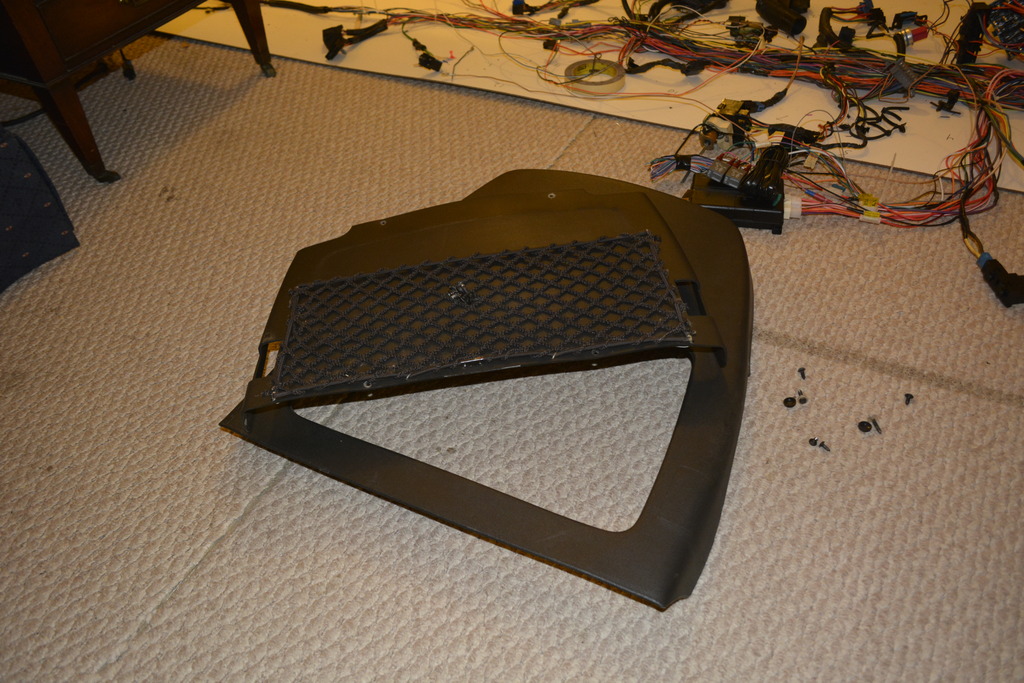
Now start taking off the plastic backs:
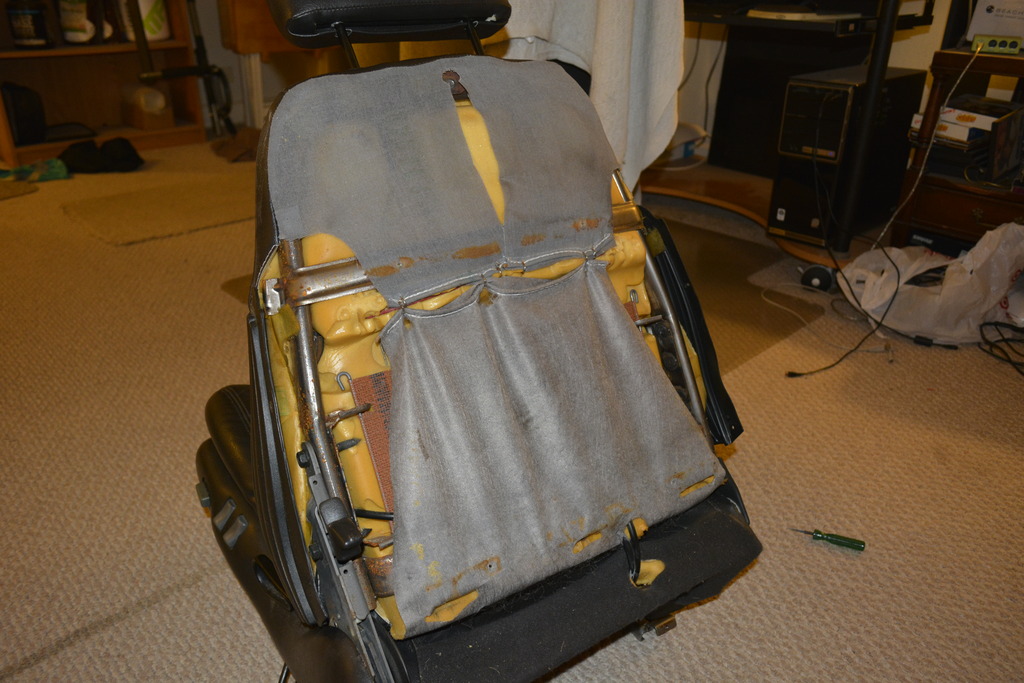
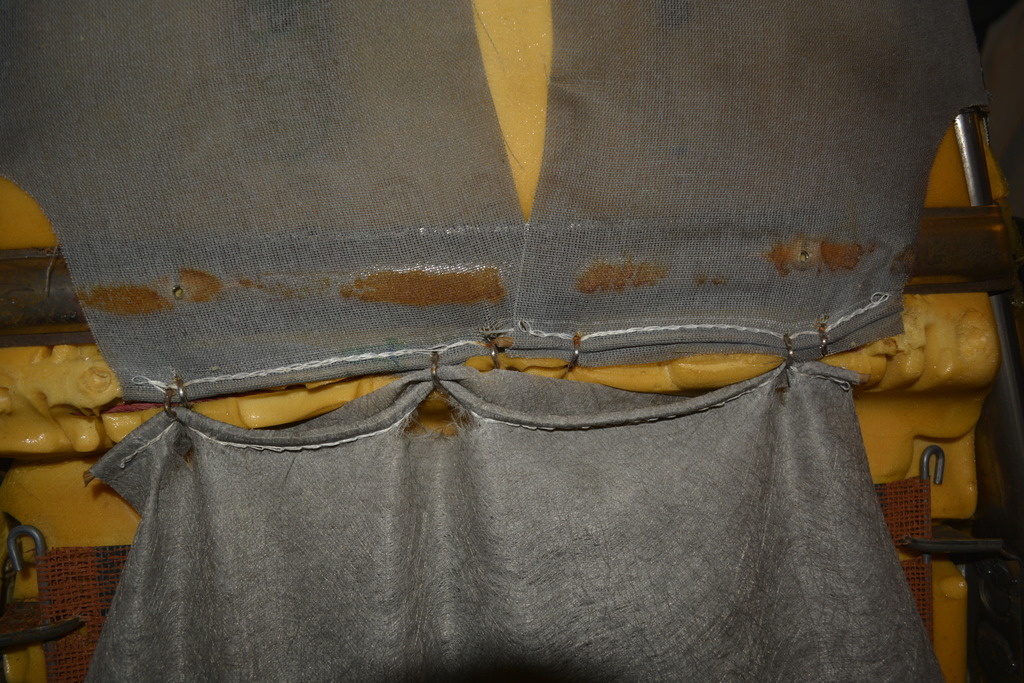
Underneath the plastics back are hog rings. Cut them off:
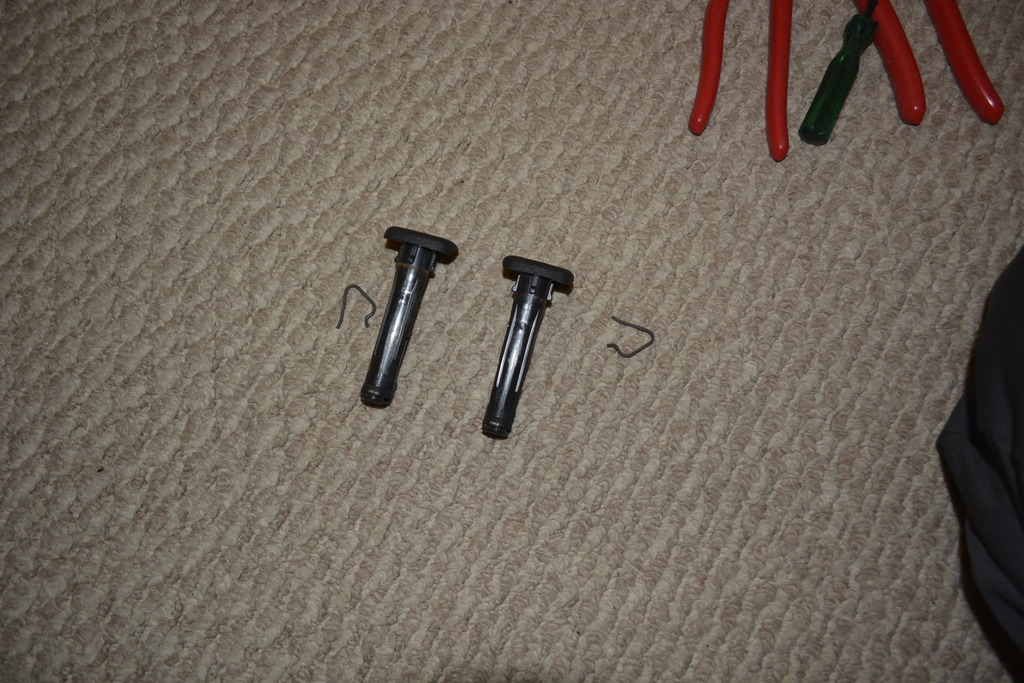
Remove the headrests by removing these clips:
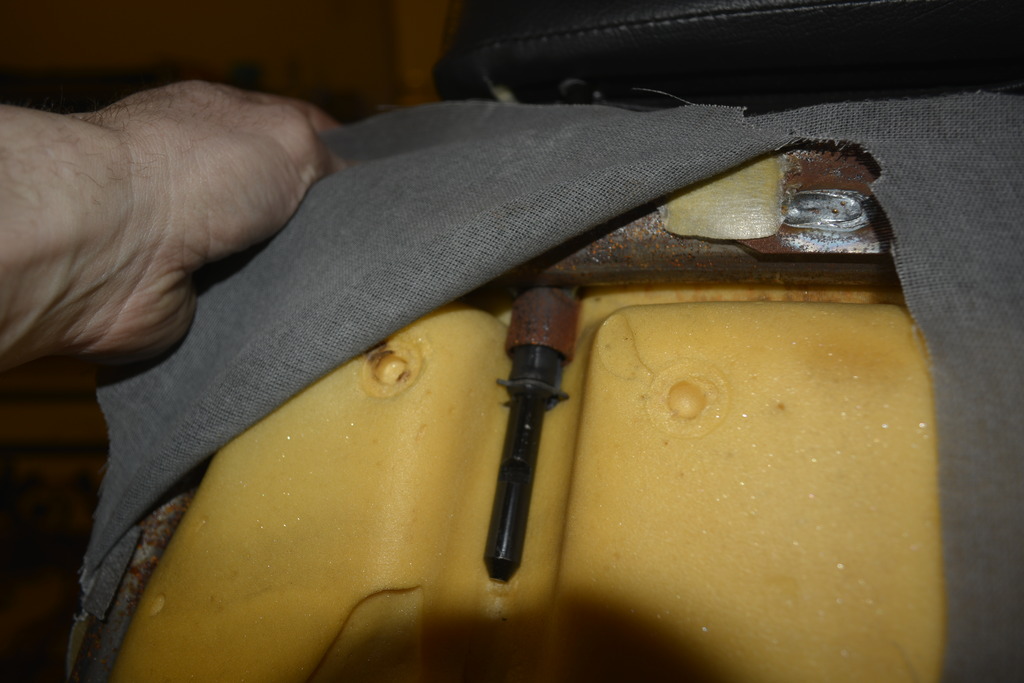
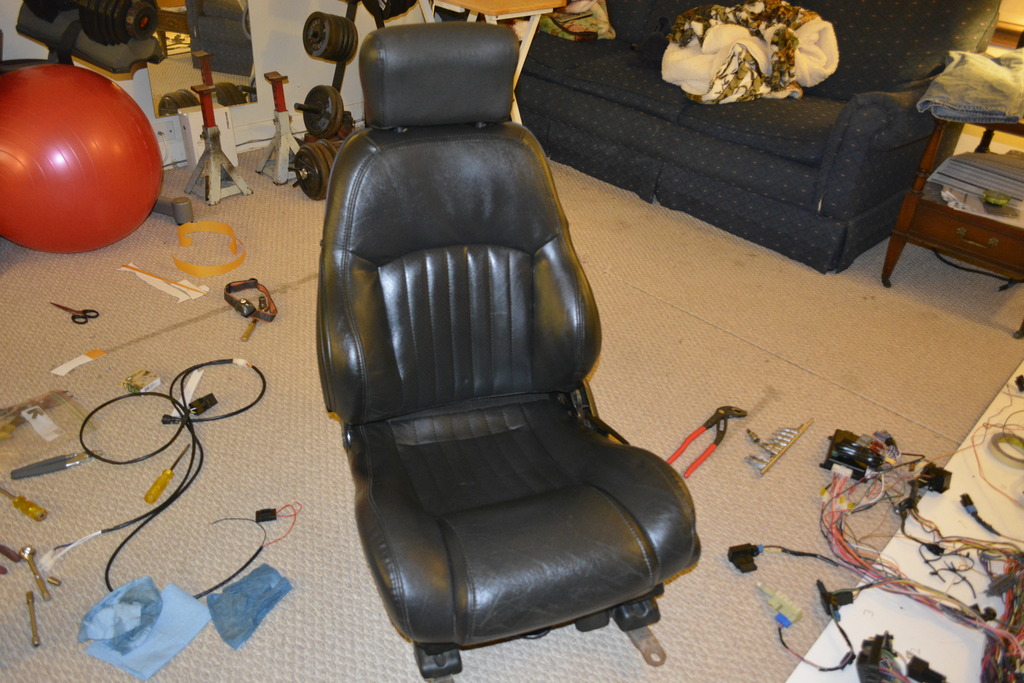
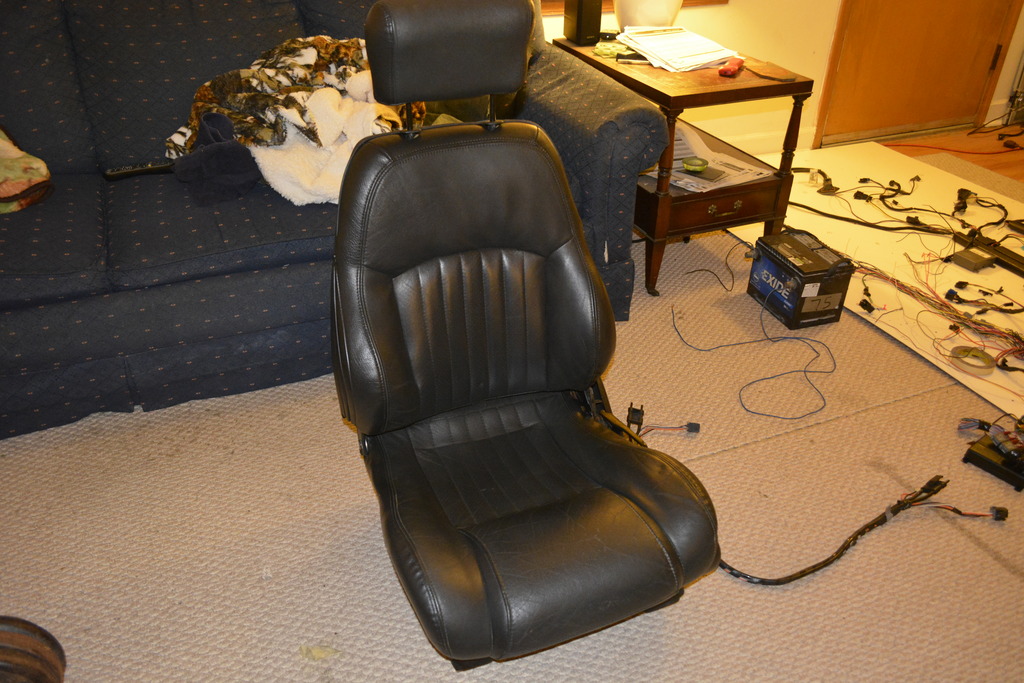
Now pull the air hoses through the seat bottom and remove the seat back from the bottom (3 bolts)
Now cut all of the hog rings that hold the cover on:
You'll need a large TORX bit to get the seat back separated from the bottom. The only other tools you'll need are 3/8" hog rings and hog ring pliers:
I started by bringing the seats inside for a few days so the covers would warm up, making them easier to work with. They were dirty:

So I cleaned them up first:

Now start taking off the plastic backs:


Underneath the plastics back are hog rings. Cut them off:

Remove the headrests by removing these clips:


Now pull the air hoses through the seat bottom and remove the seat back from the bottom (3 bolts)
Now cut all of the hog rings that hold the cover on:

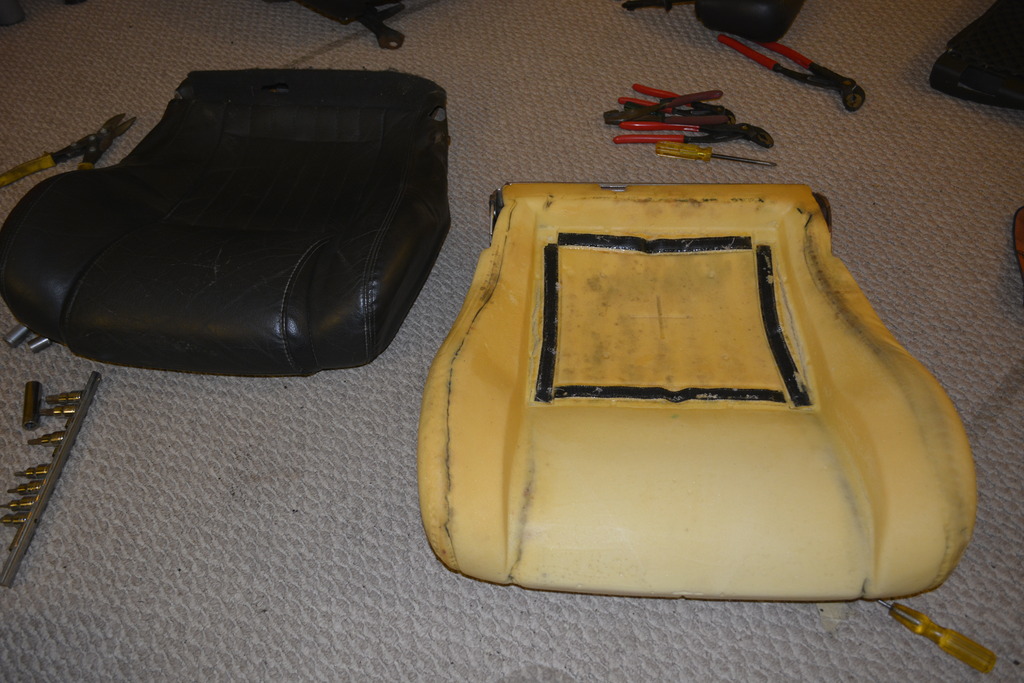
And carefully remove the seat cover
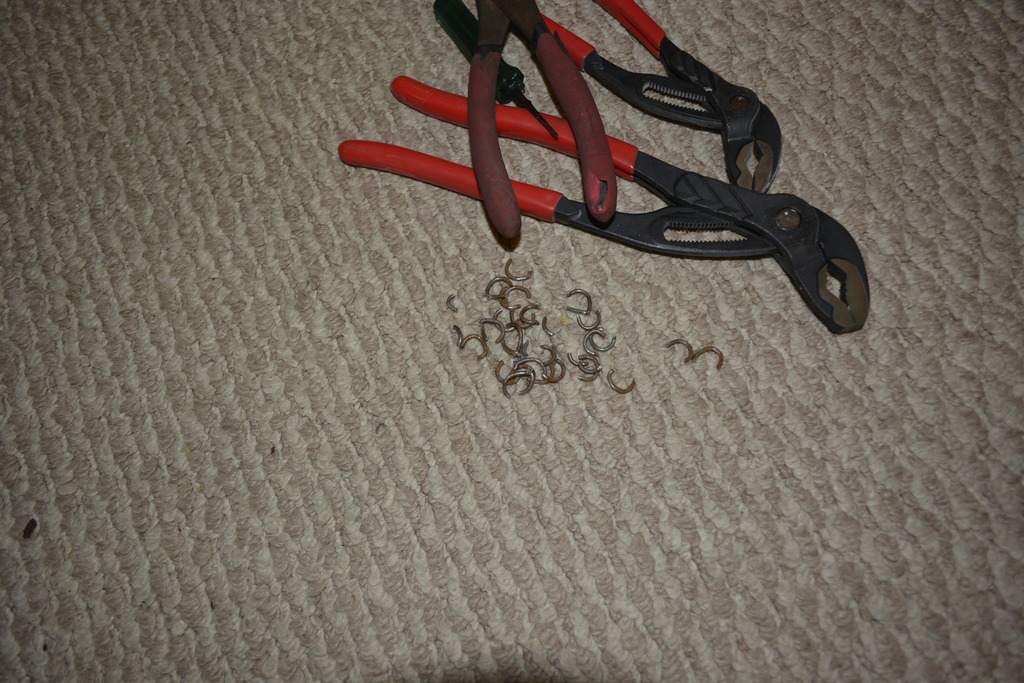
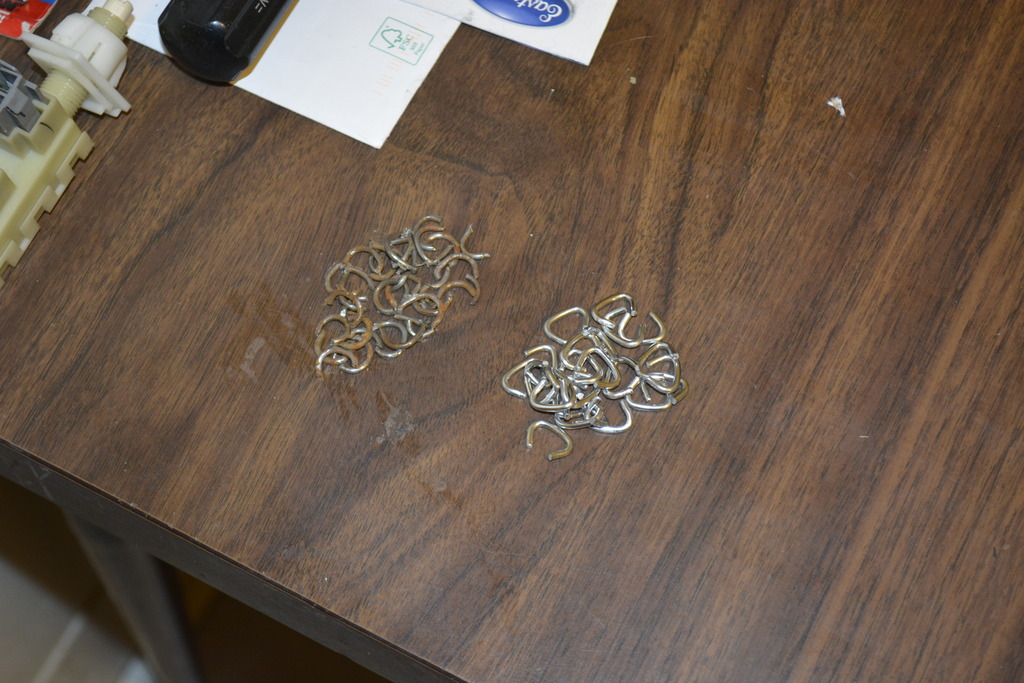
There are the old hog rings
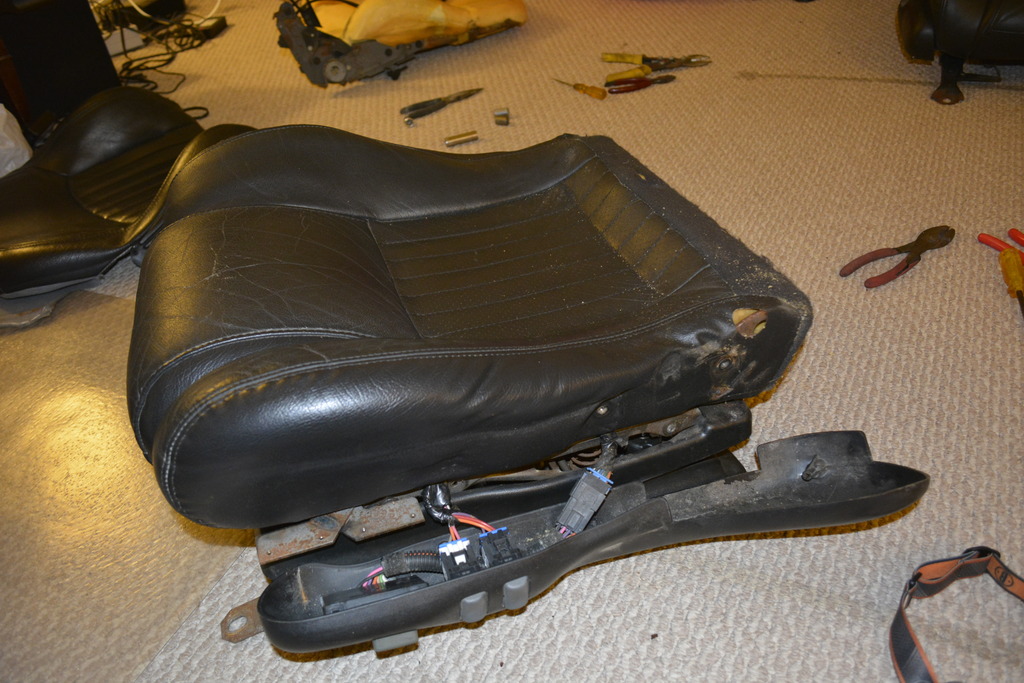
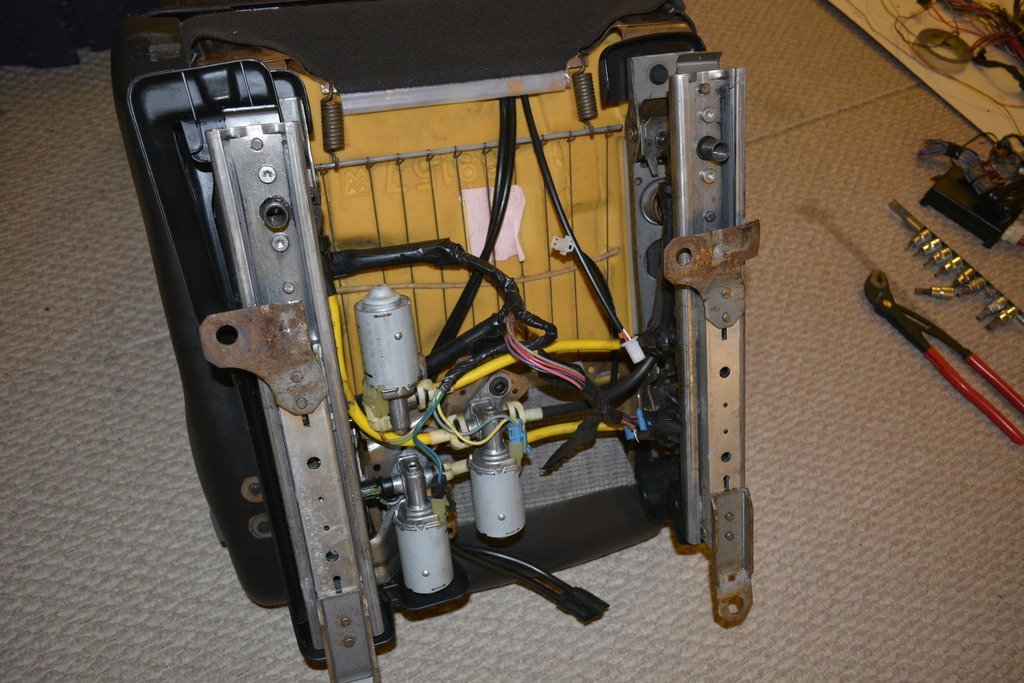
Now remove the controls on the seats side (that control the seats position and lumbar support). Be careful not to break the plastic piece that hooks around part of the seats frame. It's hard to see but you have to remove the screws then pull up and back. Force is not necessary.
Then remove the seats tracks
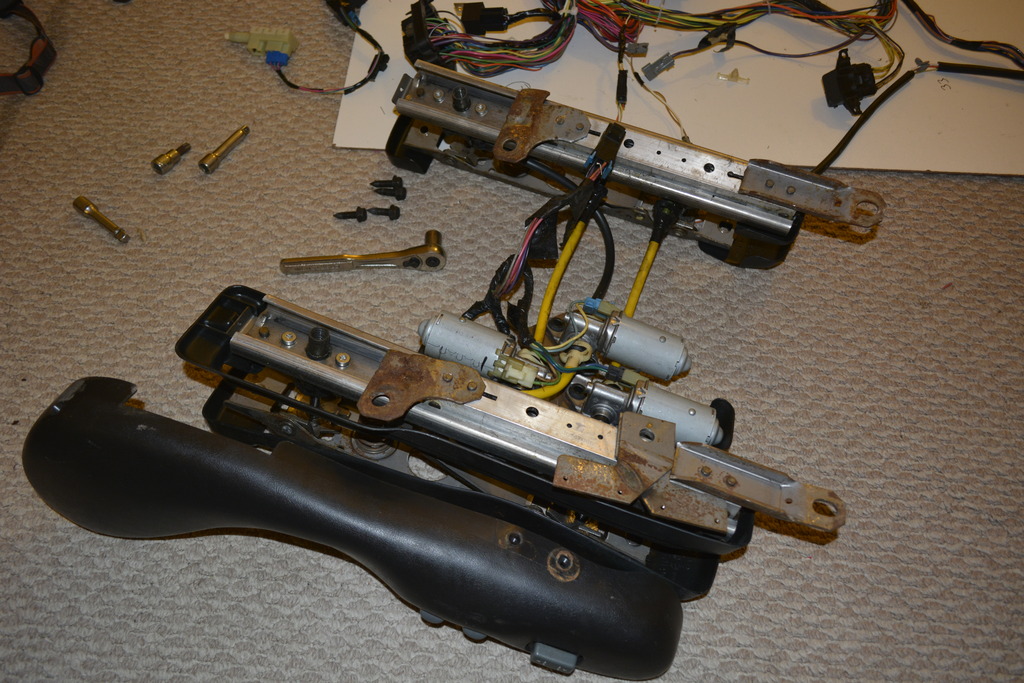
Leaving only the seat bottom
Now detach the plastic hooks that hold the cover to the frame. They can be tricky because the frame has metal barbs that prevent the hooks from pulling away.

There are the old hog rings

Now remove the controls on the seats side (that control the seats position and lumbar support). Be careful not to break the plastic piece that hooks around part of the seats frame. It's hard to see but you have to remove the screws then pull up and back. Force is not necessary.

Then remove the seats tracks

Leaving only the seat bottom

Now detach the plastic hooks that hold the cover to the frame. They can be tricky because the frame has metal barbs that prevent the hooks from pulling away.
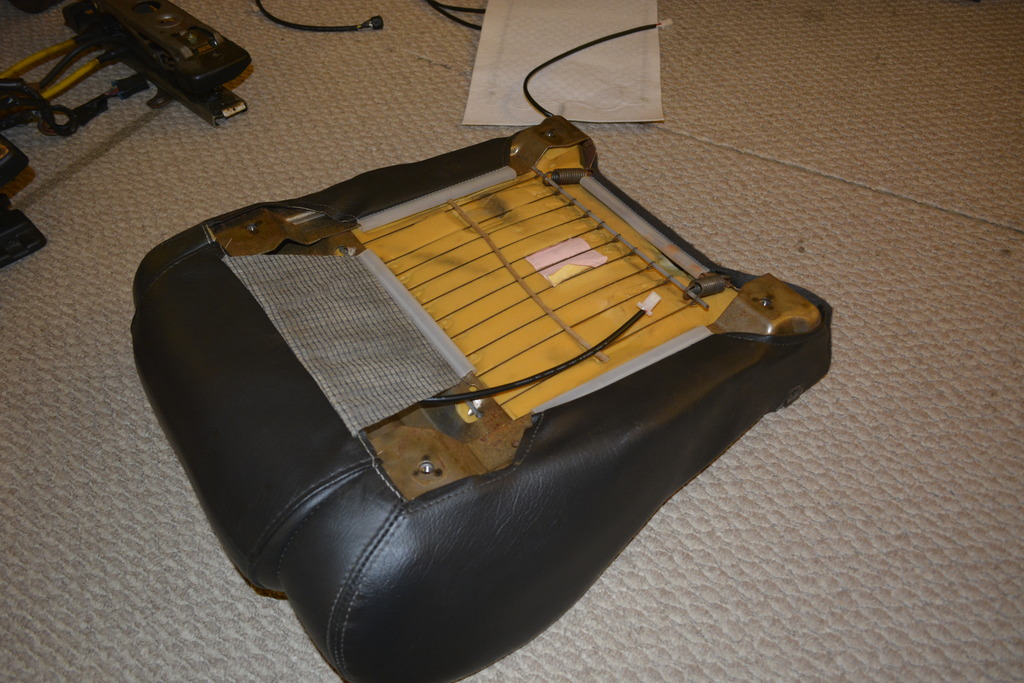
The seat bottom uses velcro not hog rings.
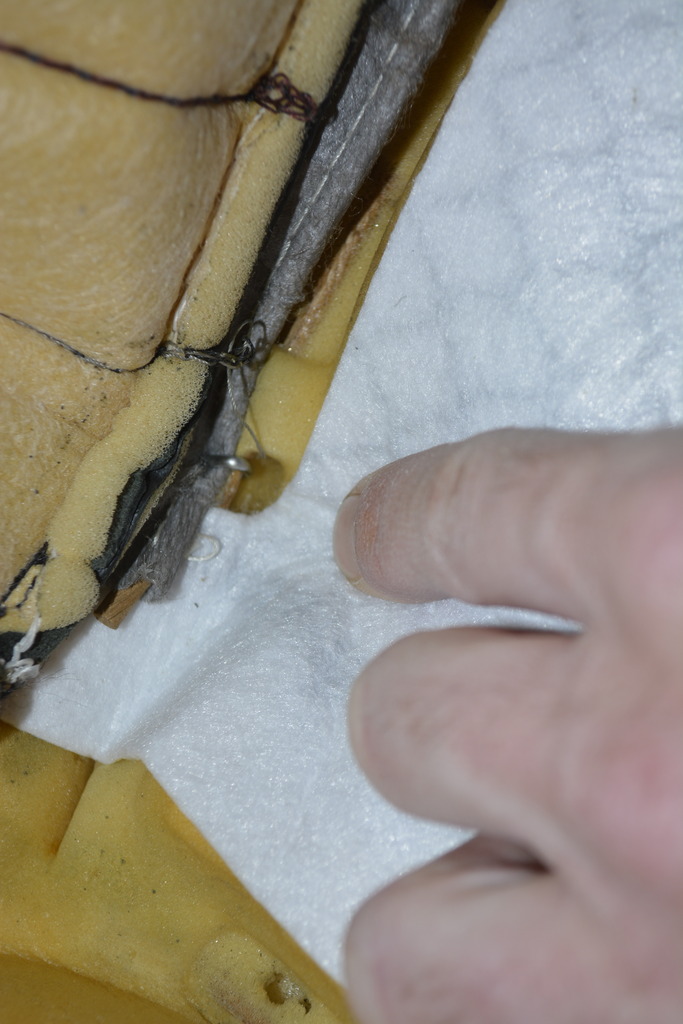
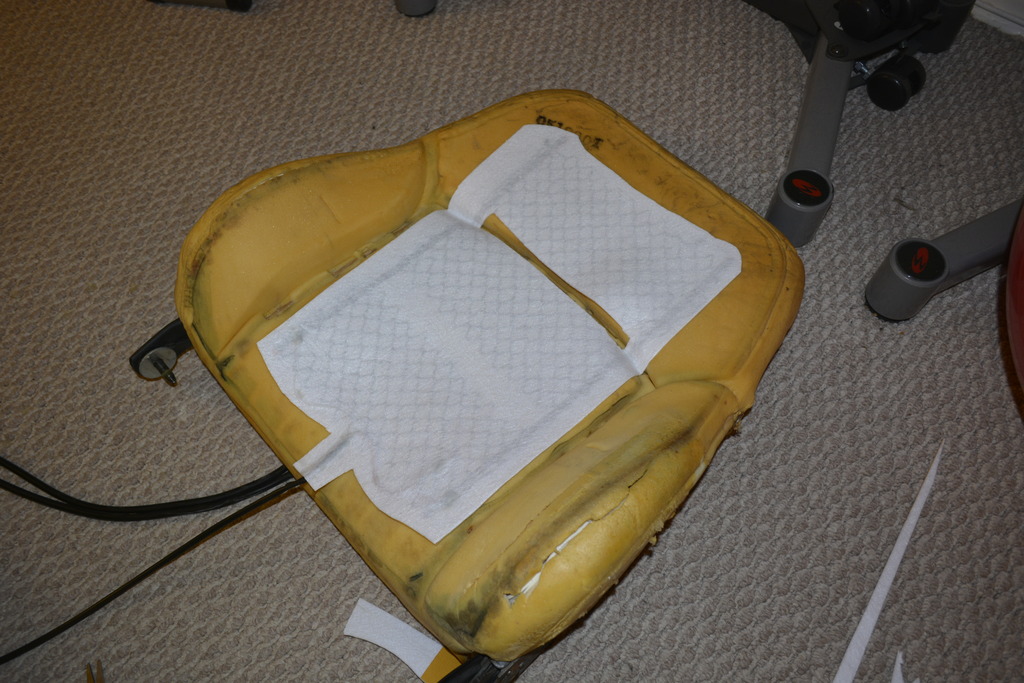
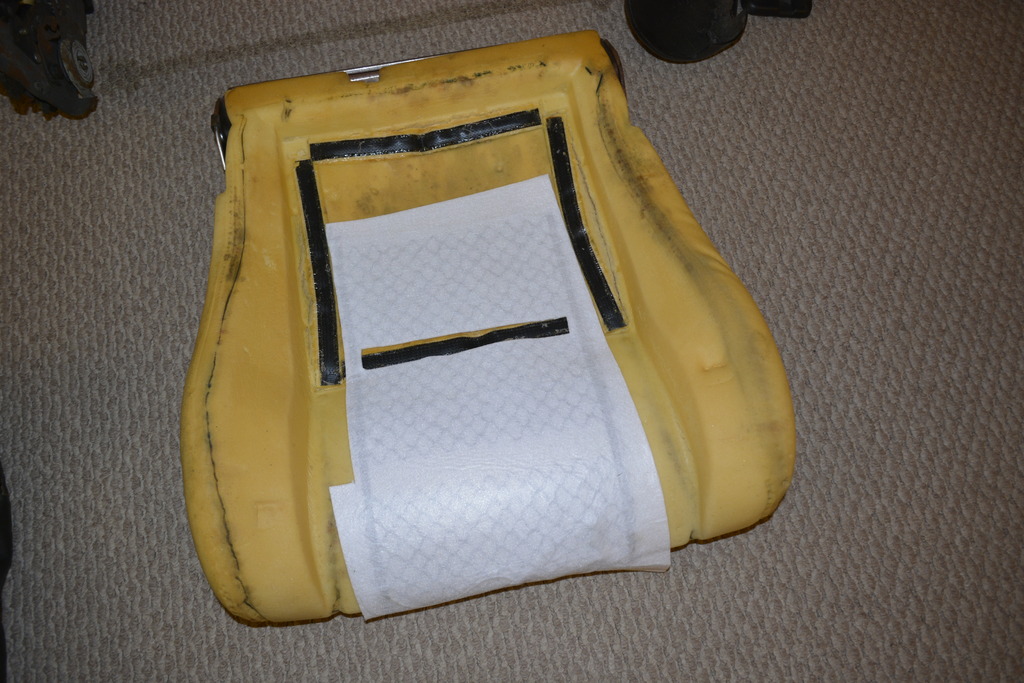
Now cut and position the seat warmers:
Now reassemble the 2 halves of the seats in the reverse order.
Use the hog rings and pliers to re-attach the seat back's cover to the seat back. this is the hardest part of the process. Just be patient and you'll get it.
Old vs new hog rings
Bottom should look something like this before you zip tie everything
Finished
Of course you then have to run switched power and the temp switch (hi/low/off) to the center console which I haven't done yet.

Now cut and position the seat warmers:


Now reassemble the 2 halves of the seats in the reverse order.
Use the hog rings and pliers to re-attach the seat back's cover to the seat back. this is the hardest part of the process. Just be patient and you'll get it.

Old vs new hog rings

Bottom should look something like this before you zip tie everything

Finished


Of course you then have to run switched power and the temp switch (hi/low/off) to the center console which I haven't done yet.

This is great, helpful info Rob. Thanks for making it. I'll be doing my seats too before the end of '17.
Very cool. Also helps show people how to recover.
Junior Member
where are you adding the buttons?
Quote:
I was going to mount them on the center console, but I think here is better:Originally Posted by DylanMiner
where are you adding the buttons? 

Junior Member
Three questions, I had seats reupholstered with heated seat option added,
I am thinking they may be a heavy draw on my alternator, what is your thoughts? How did you wire them up? Direct to the battery or through
the fusebox, or splice them into maybe the cigarette lighter circuit?
I am thinking they may be a heavy draw on my alternator, what is your thoughts? How did you wire them up? Direct to the battery or through
the fusebox, or splice them into maybe the cigarette lighter circuit?
They don't draw much at all, so don't worry about it. Each seat came with a series 10A fuse per seat. Each seat draws less than 4A and that's a MAX possible situation.
I ran a dedicated fuse feed from my fuse panel to power them as well as my power seat motors.
Make sure they're switched power so that you don't drain your battery in-case you leave them on.
I ran a dedicated fuse feed from my fuse panel to power them as well as my power seat motors.
Make sure they're switched power so that you don't drain your battery in-case you leave them on.


I put my buttons in the overhead console for front seats. I put the buttons for the rear seats in the ashtray for rear seats. I had a extra set of elements so I stuck them in rear seats.
Junior Member
Thanks for the information! I was thinking at least a 20 AMP circuit so I can
get past that. The seat pack I got didn't include much information. Going
to hopefully, put them in the kick panels if I can get enough clearance. Will
be working on it tomorrow. I also never heard of "fuse taps" till surfing
today. Okay, so I am not the brightest bulb but I am working at it! Thanks
again for your help!

lonsal
Moderator
close

Jun 2, 2025
Curious if they have a timer in the circuit? Stock heated seats usually do.
Lon
Lon