Camaro Cup Holders 101
By Duffster ( Chevy_1988Camaro@hotmail.com )
How many of us (ThirdGen Camaro owners) have been sitting in our cars driving, while trying to drink your favorite cola or juice? Where do you put it for convenience? The typical location is probably between your legs. Am I right? Seems to be your only choice unless you have a passenger. Think they want to hold 2 drinks all day long? Today’s class works on the simple fabrication of a replacement panel, for those non-smokers, to allow the use of 2, THAT’S RIGHT TWO, cup holders.
The parts necessary to make the panel shouldn’t cost you more than about $12-$15 total. If you decide to add the Camaro emblem as I’ve done, that is about another $20.

(Part number 1408-3968 from Chevrolet)
I’ve added some pictures to make this procedure easy for you. So simple, my 8 year old girl (under supervision) could make this. ENJOY!
Recommended tools for this endeavor:
- Torx T-15 screwdriver
- Sheet of Plexiglas 8" x 10" (I recommend 0.10" to 0.15&" thick) and allows enough for 2 (in case you mess up)
- Superglue
- 2 plastic cups (use an aluminum can to ensure you get 2" – 3" of can into the cup. I used our Tupperware—don’t tell the wife)
- Pen or pencil
- Dremel tool with cutting discs (a lot)
- Round metal hand file
- Truck bed liner spray or black paint.
Here is where the fun begins.
Start by removing your shifter knob and shifter plate.
Cut the ashtray off of this plate and clean as necessary. Use the ashtray for a template, or copy down these measurements. The holes for the cans measure almost exactly 2 3/4" diameter.
Make the necessary marks on the Plexiglas ensuring decent spacing between cup holes.
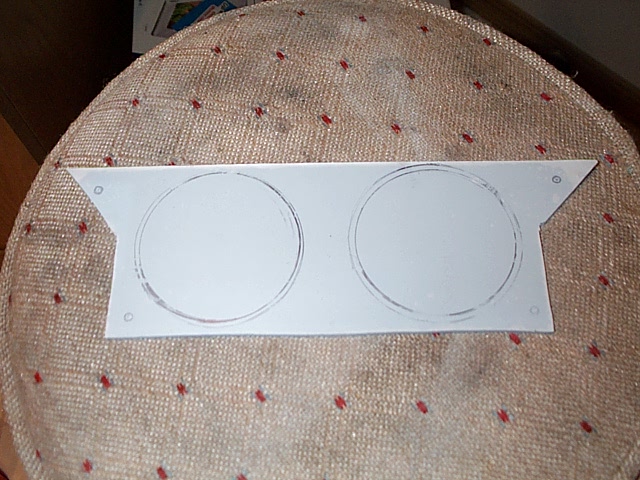
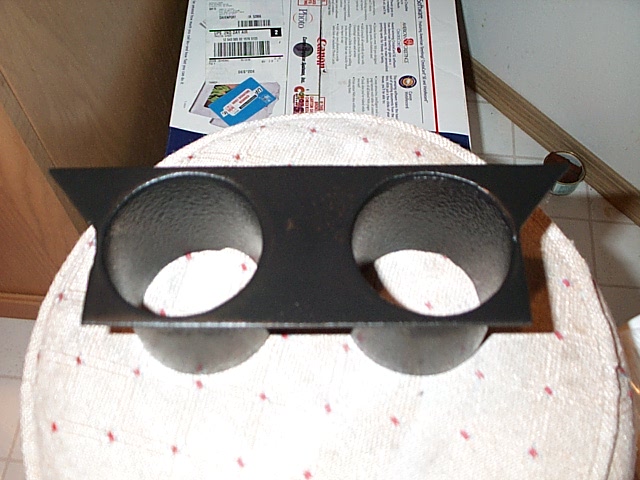
After cutting the cups and cup holes in the Plexiglas, glue them together and use the round file to smooth off the cup holes. Now would also be a good time to determine where the screw holes will be going since it’s clear and will make alignment easier.

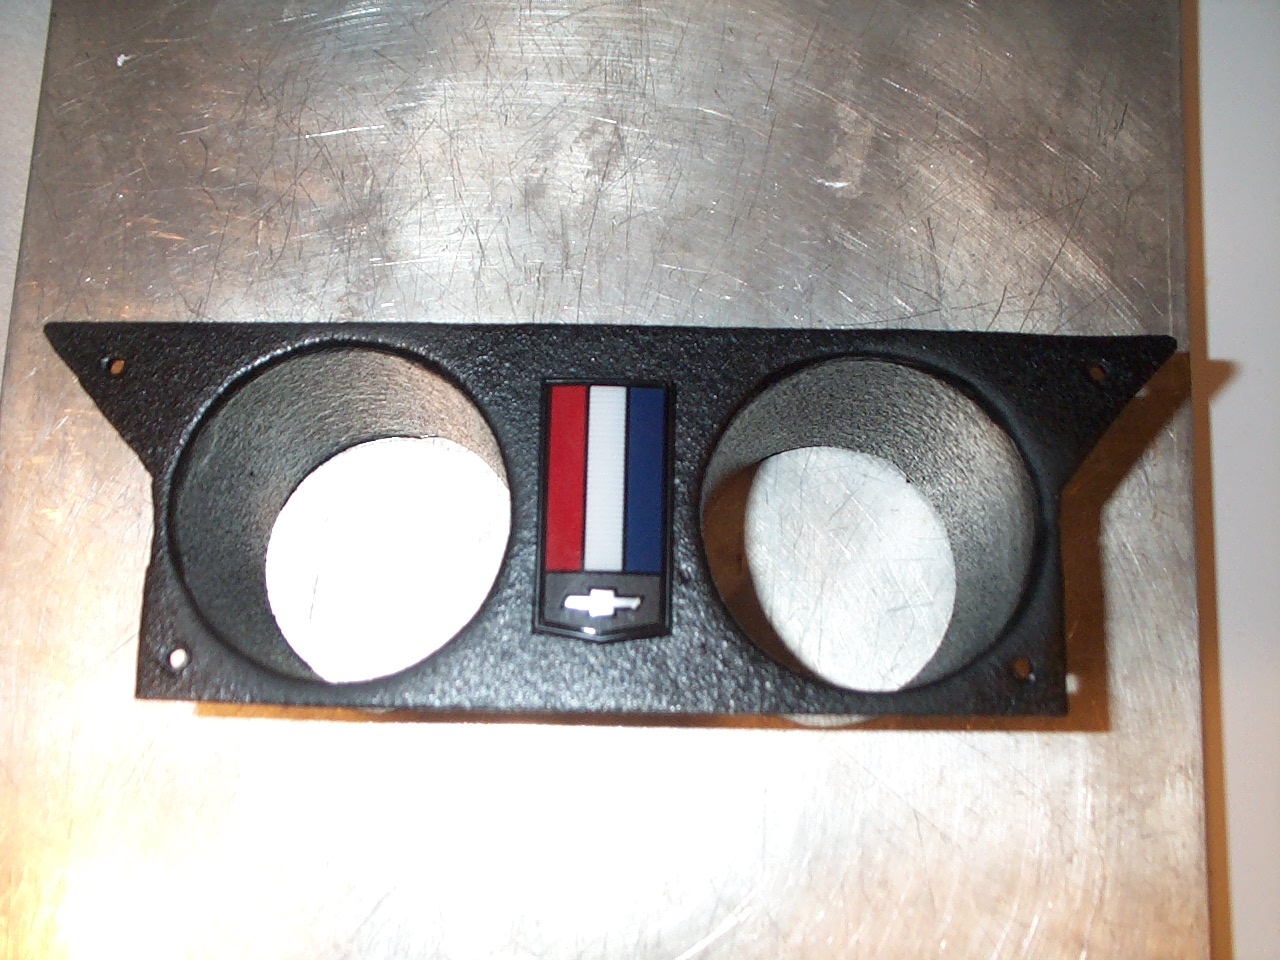
Before moving on to the next step, take the cup holder panel to the car and with your dremel and a metal grinding bit, make necessary adjustments to the plastic to allow the cup holder to slide into the opening. The points of concern are highlighted in red below.
I used canned Truck bed liner to make the texture look the same.
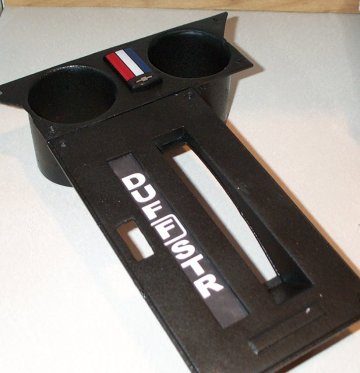
Here is where I added the Camaro nose emblem. Looks good if I do say so myself 🙂
Now, superglue the panel to the shifter plate and if you can, clamp it to allow time for the superglue to hold.
Another option is to put the two panels back separately since there are enough screw holes to allow this, but I believe it might rattle.
And this will conclude today’s lesson on manufacturing a usable cup holder for your third generation Camaro. If there are any other questions on this subject, or any other, please email me.