
My door weatherstrip solution for bad repro

Thread Starter
Member

Joined: Feb 2002
Posts: 180
Likes: 13
From: NE PA
Car: '89 IROC, '14 LTZ Burb, '18 H6 Outb
Engine: 355 TPI /w Vortec
Transmission: 700R4
Axle/Gears: 9 bolt 3.27
My door weatherstrip solution for bad repro
So like others, I could not find repro seals that are really reproductions of OEM. I got the Hawks set and frankly it sucks. The end blocks are too big and misshapen. The middle seal is too big and the wrong shape. Also the mounting plugs are too small and fall out. Reviews for others are not good. So Screw it I'll make my own. I happen to see some plain stuff with 2 sided tape, It's a closer match then the hawks.
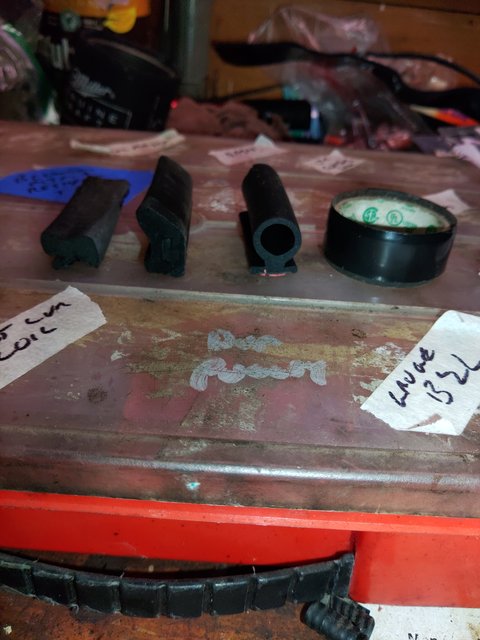
From left to right you can see how they differ and the Hawks is too thick and solid and will never crush down.
Stock/OEM reproduction from Hawks/Gen of the shelf from Auto Zone
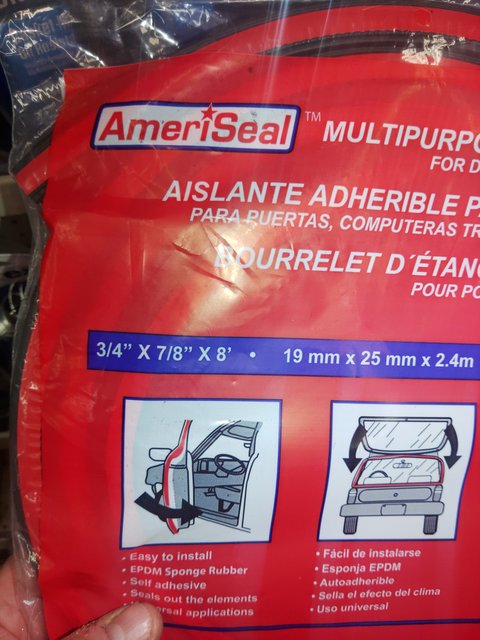
Even with the loss of size due to 30 years the replacement is way too tall and the mounts are wrong. So I got 8' packs and only needed about 6'. I left the large end fillers on the car and cut the rest off. It used 2 sided tape and it went on and followed the angles nicely. Most of all I don't need to cave the door in to get it closed. I used some weather seal glue to seal the ends to the middle and carefully cut so there was no gap on the ends.
the AZ part-
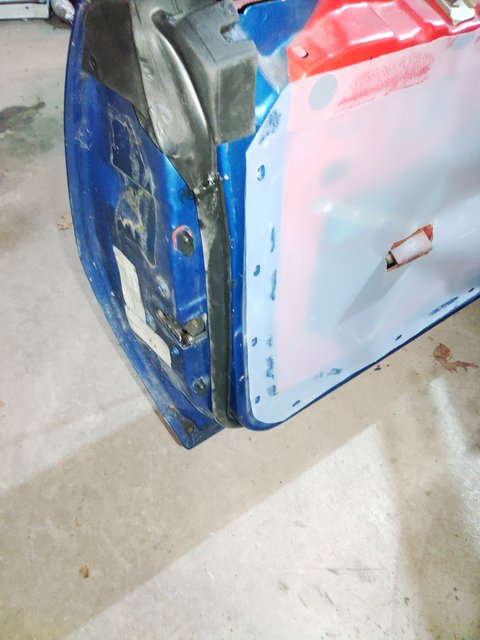
on the door it followed the hinge contours like a dream
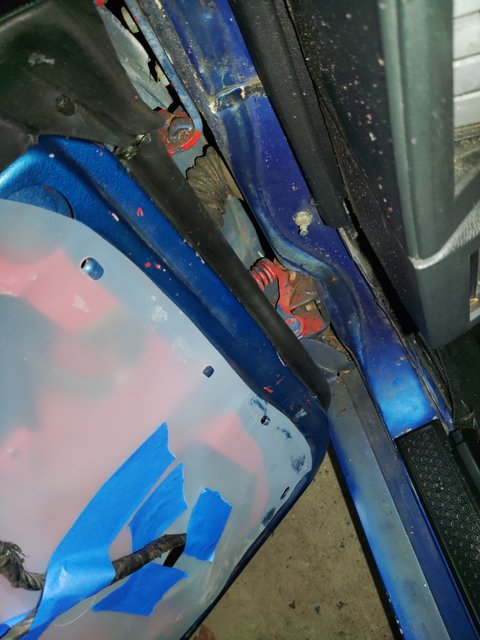
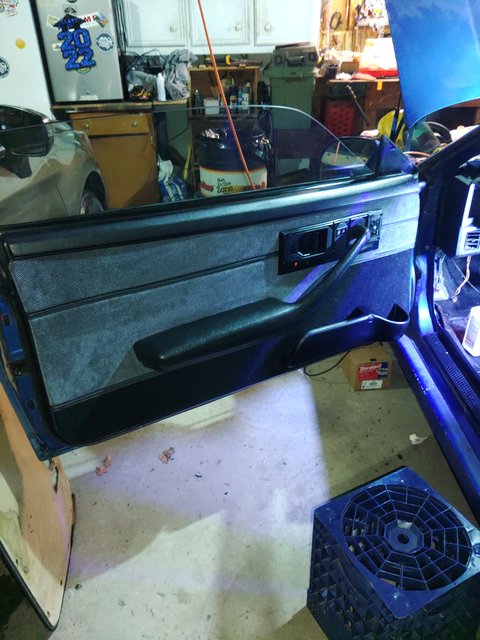
I was then able to finally finish the rehab of the driver's door and put the new inside panel back on. The passenger side is next. Damm I can't wait to drive Rosco again.
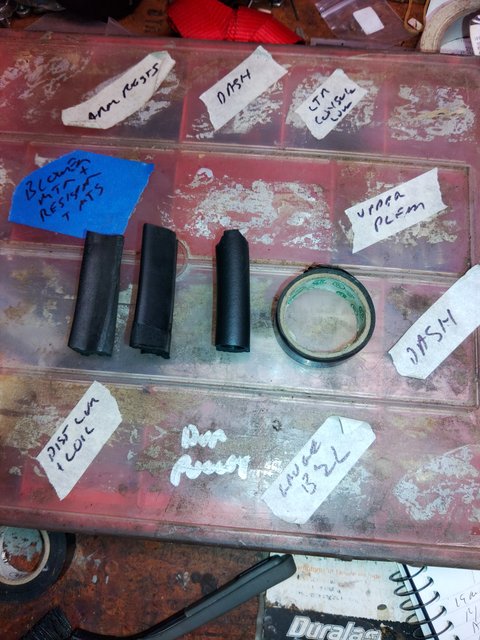
From left to right you can see how they differ and the Hawks is too thick and solid and will never crush down.
Stock/OEM reproduction from Hawks/Gen of the shelf from Auto Zone
Even with the loss of size due to 30 years the replacement is way too tall and the mounts are wrong. So I got 8' packs and only needed about 6'. I left the large end fillers on the car and cut the rest off. It used 2 sided tape and it went on and followed the angles nicely. Most of all I don't need to cave the door in to get it closed. I used some weather seal glue to seal the ends to the middle and carefully cut so there was no gap on the ends.
the AZ part-
on the door it followed the hinge contours like a dream
I was then able to finally finish the rehab of the driver's door and put the new inside panel back on. The passenger side is next. Damm I can't wait to drive Rosco again.

Thread
Thread Starter
Forum
Replies
Last Post