When you click on links to various merchants on this site and make a purchase, this can result in this site earning a commission. Affiliate programs and affiliations include, but are not limited to, the eBay Partner Network.
LTX and LSXPutting LT1s, LS1s, and their variants into Third Gens is becoming more popular. This board is for those who are doing and have done the swaps so they can discuss all of their technical aspects including repairs, swap info, and performance upgrades.
OK, one question for ya. When I installed my LCA's I understood the heim joint (spherical bearing) was to be installed on the axle side, why did you install them the other way? The alignment shop I used said I had them installed correctly.
Short answer.. I didn't know any better! But, thinking about it, you are exactly right.
The fillerneck website has the hose, but not the neck. No junkyards had any 4th gens with that part available either, so I bit the big bullet and bought a new Vette style filler neck and it will need some mods, but not having a gas cap to contend with will be nice!
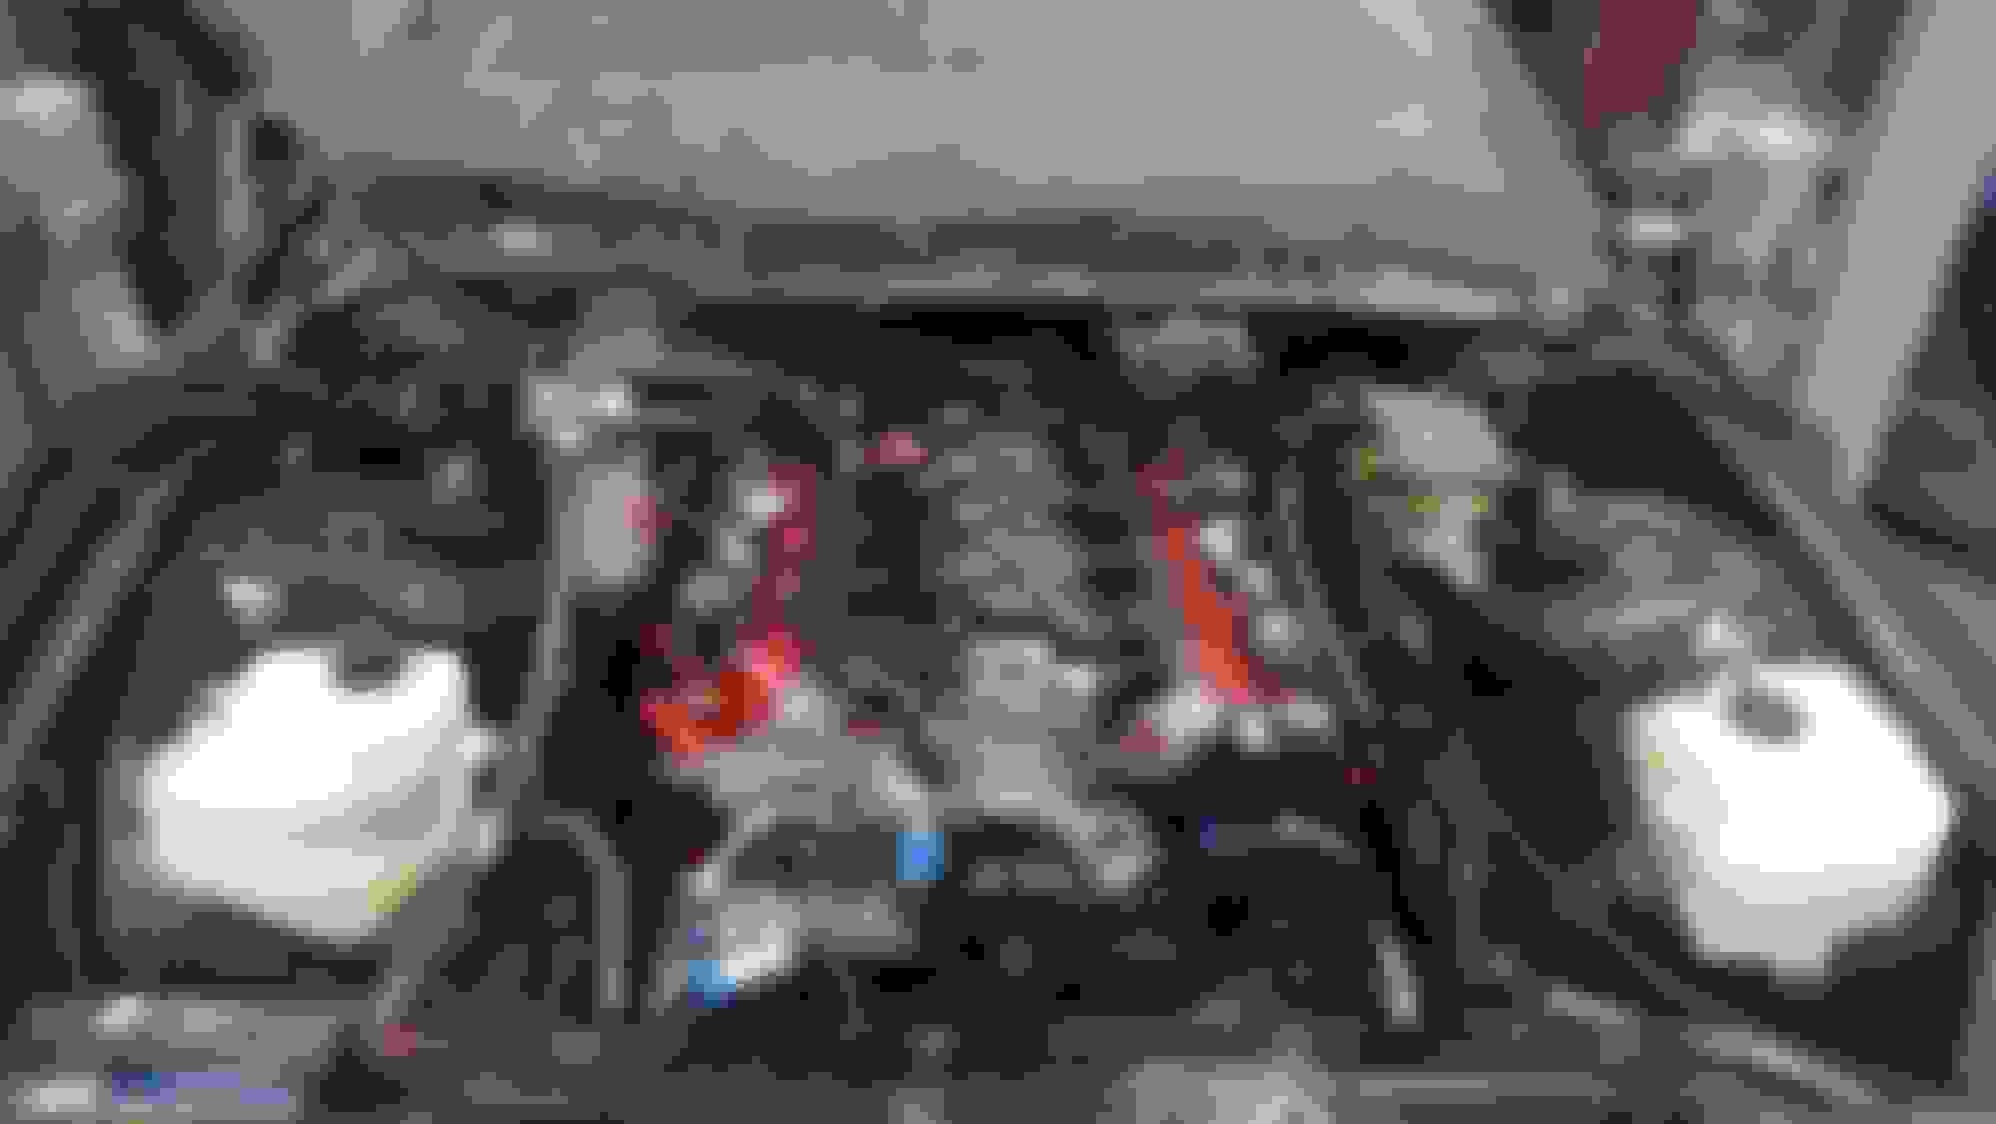
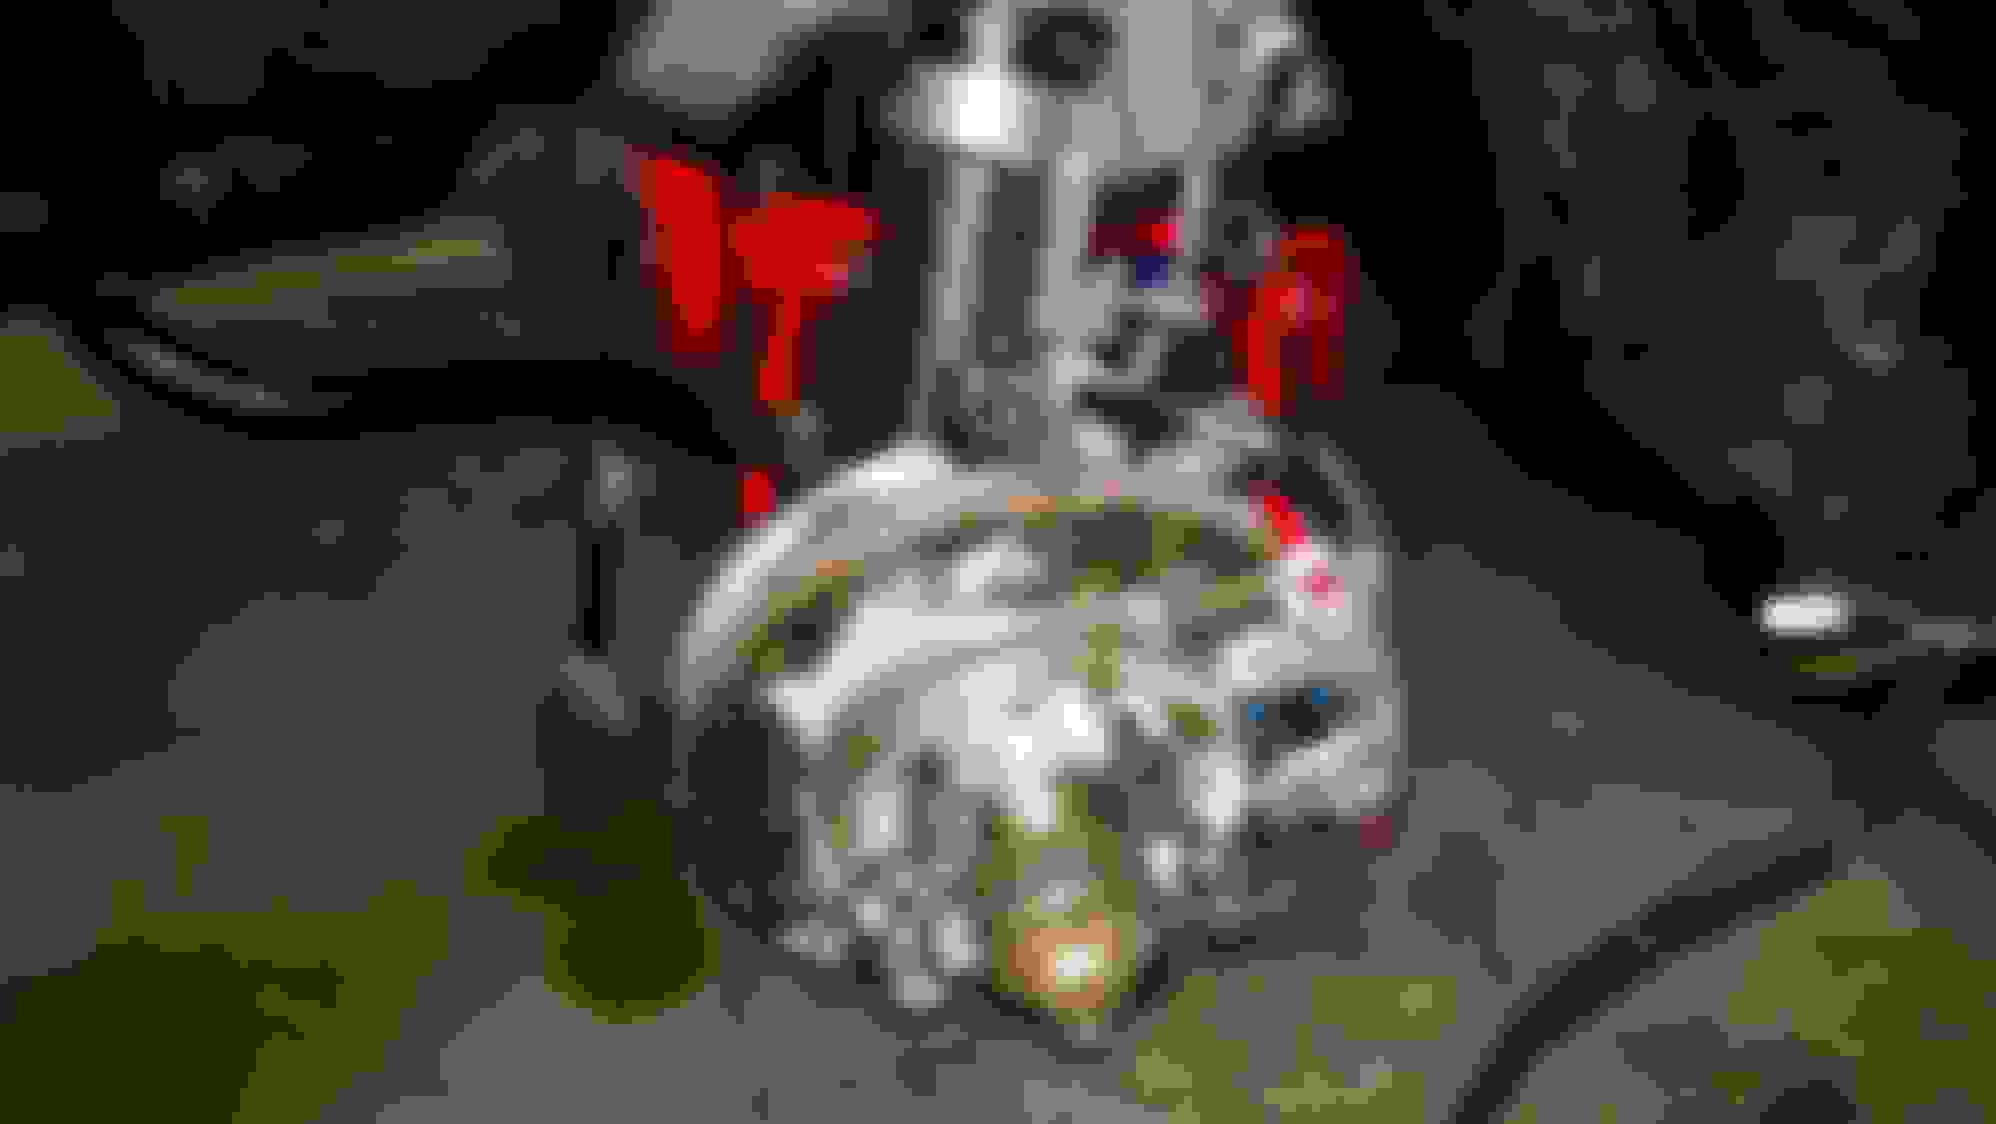
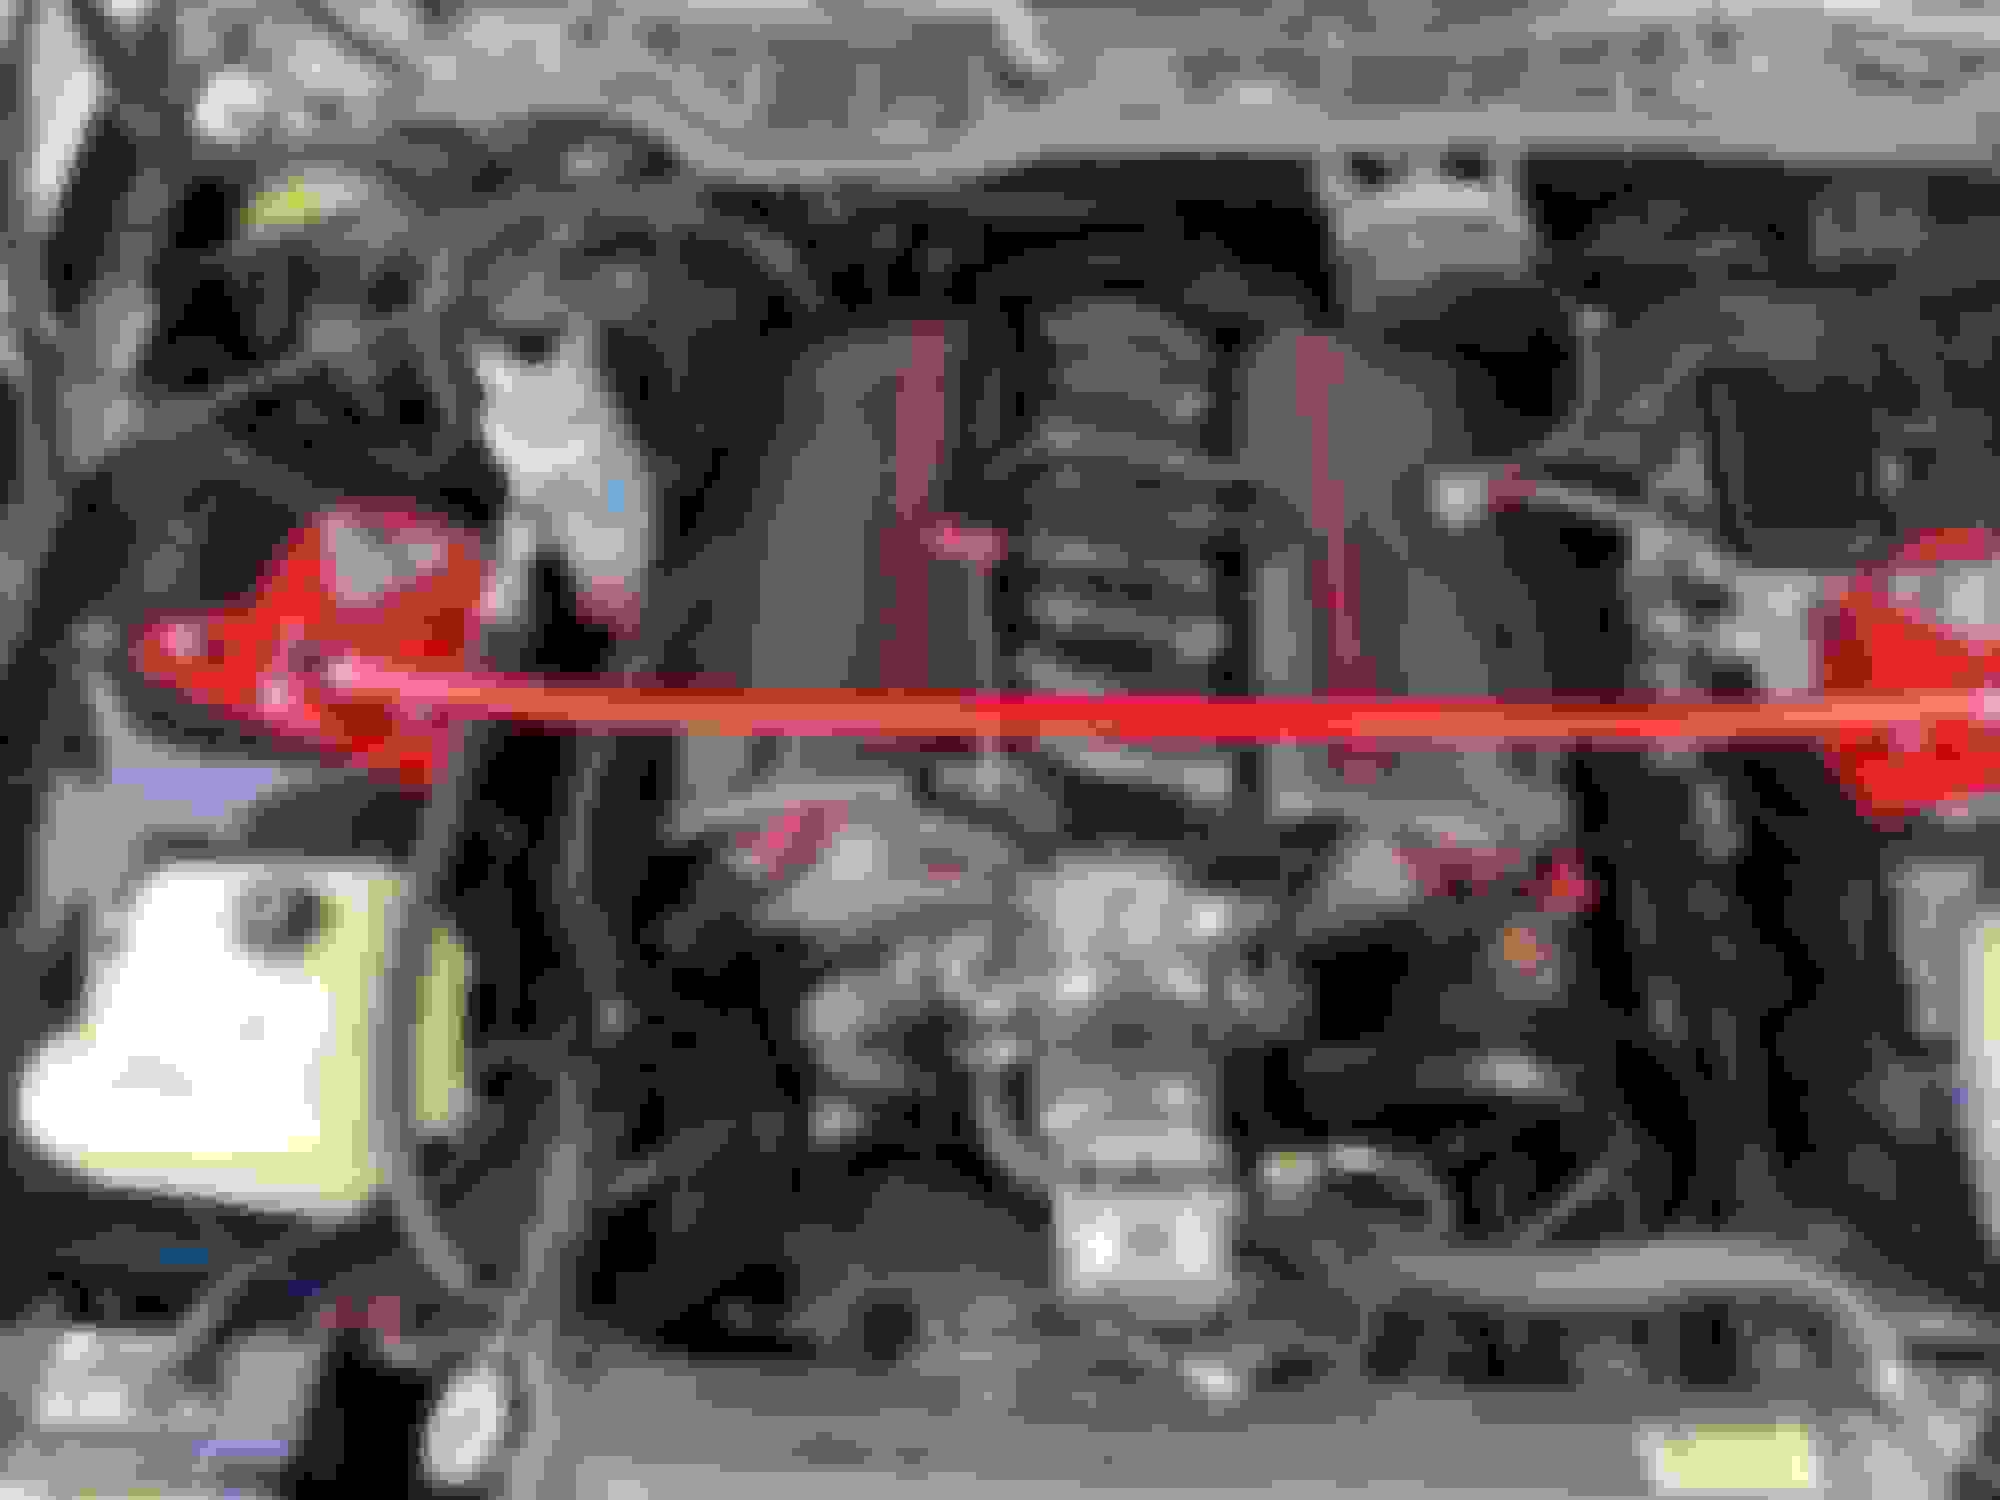
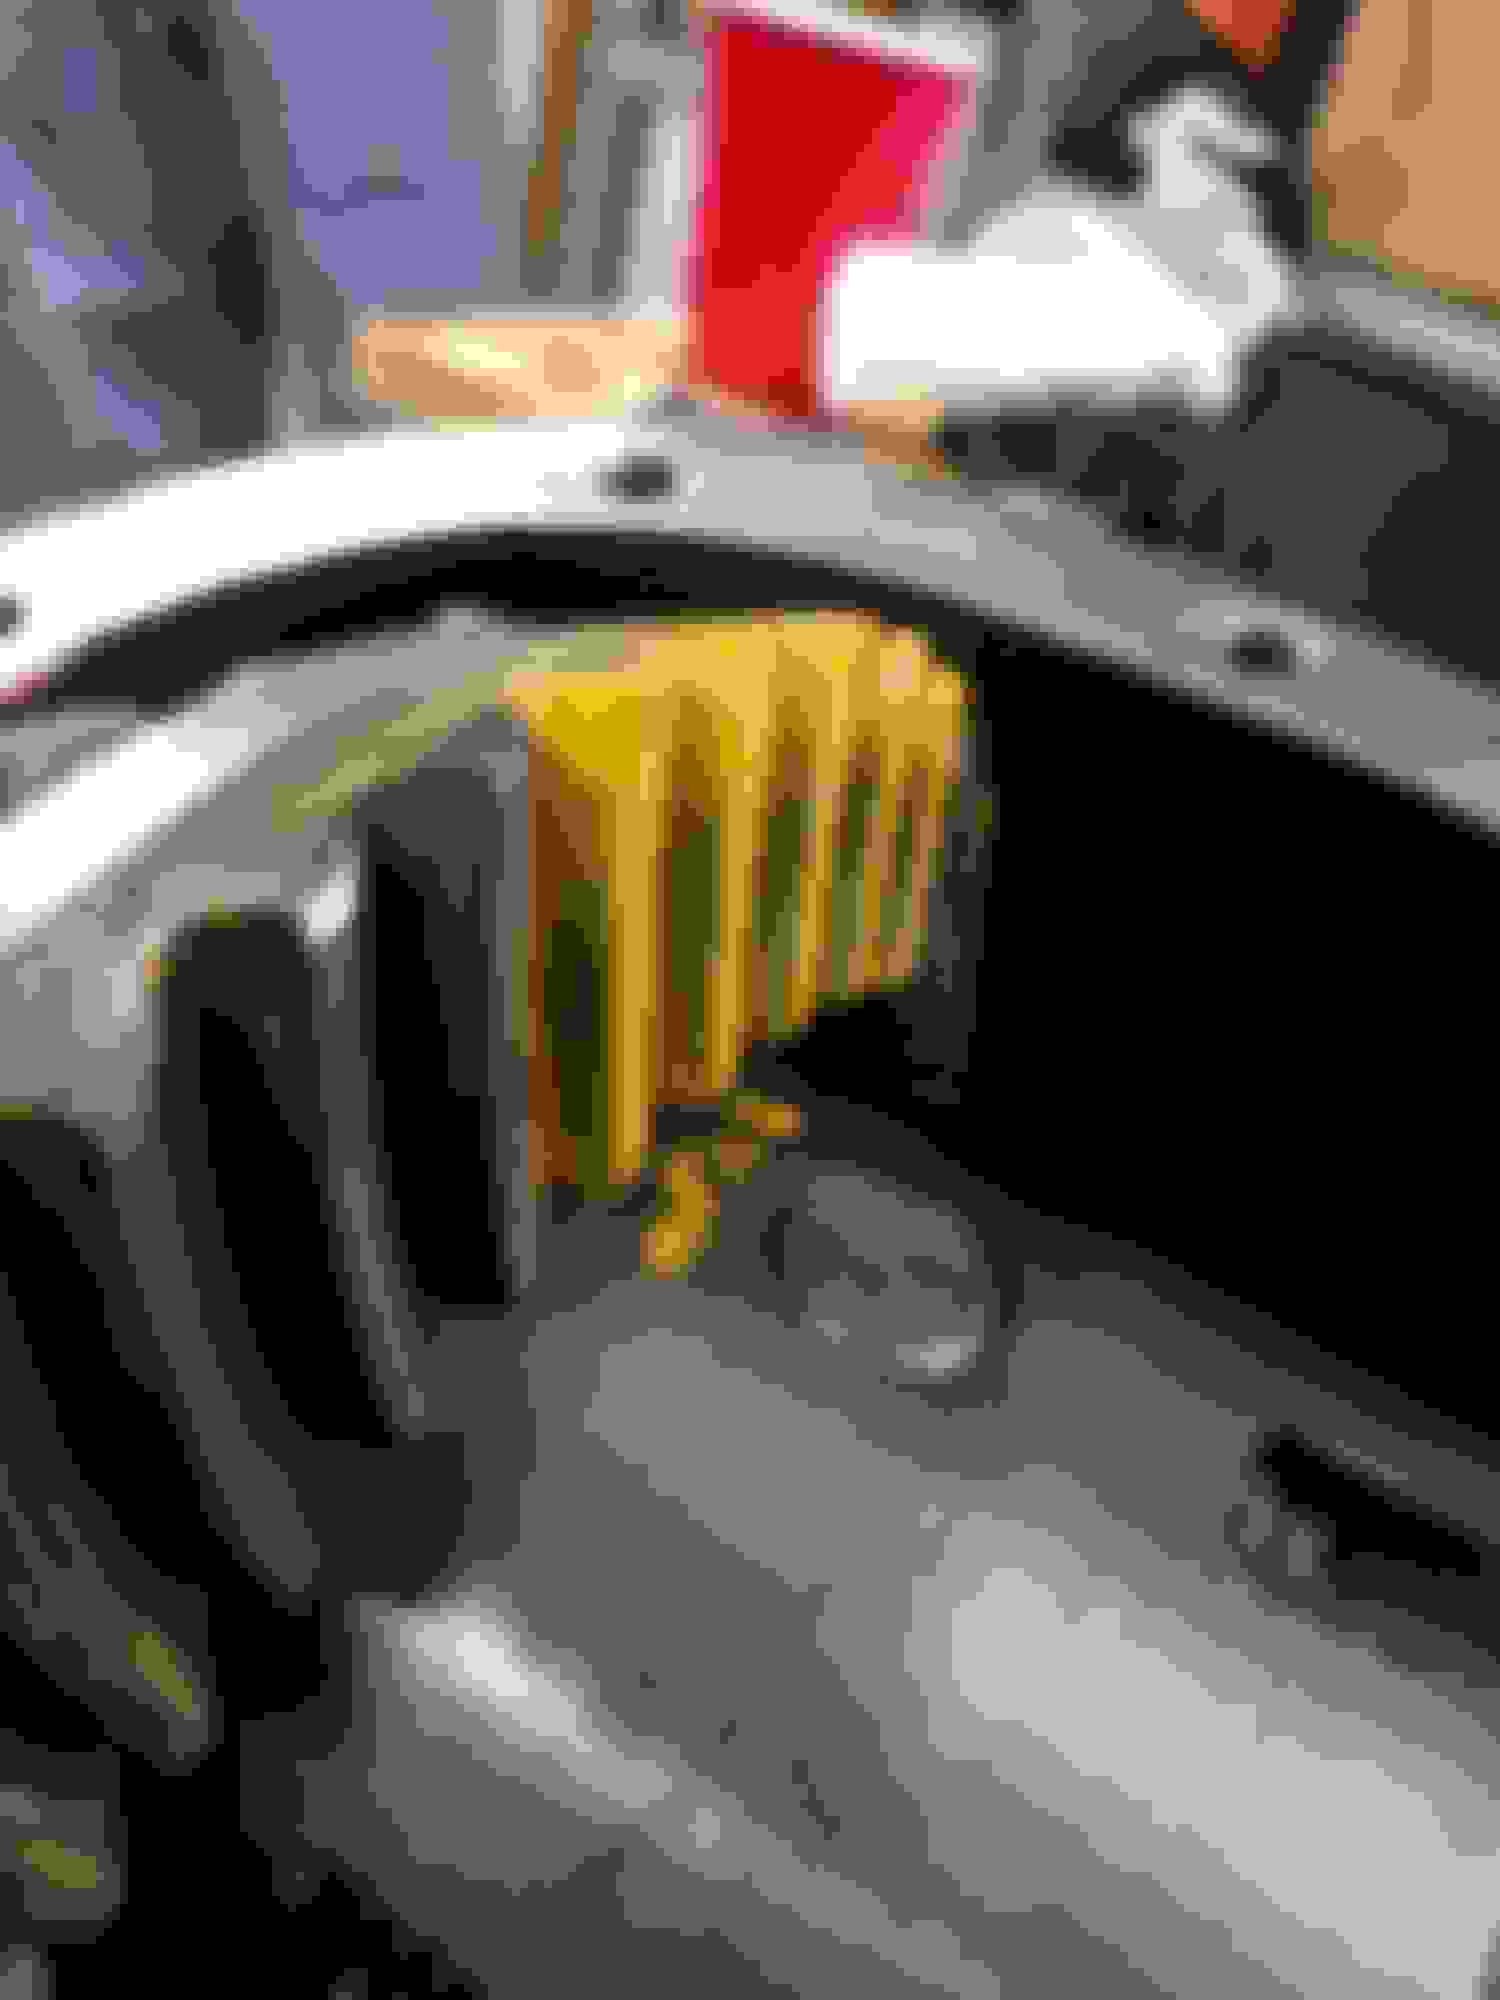
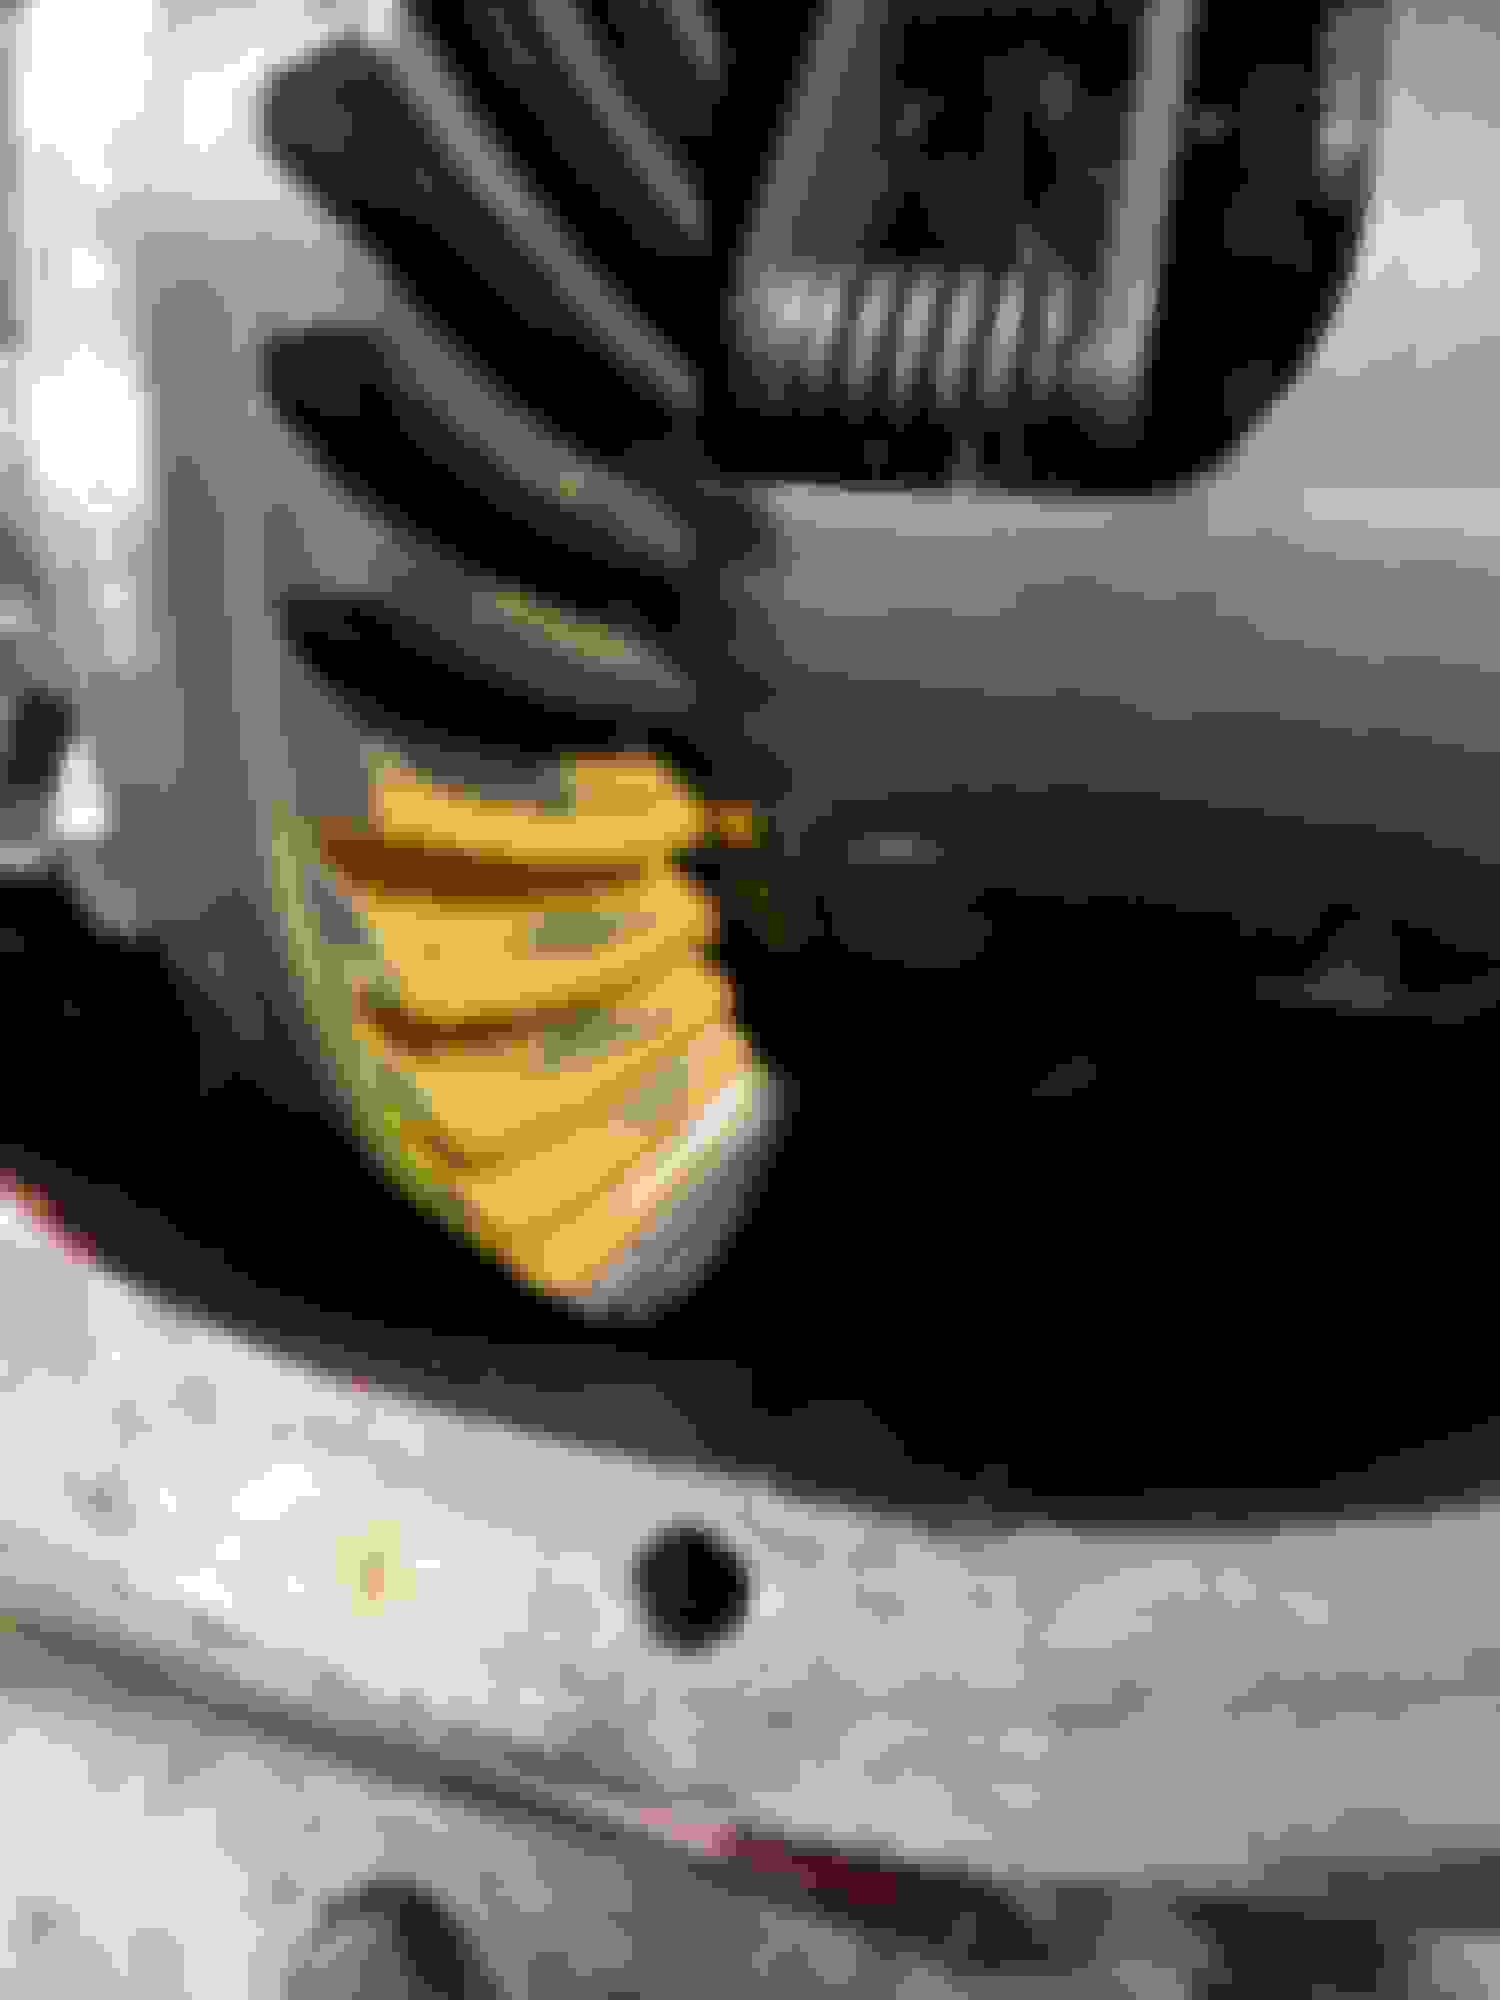
So, we made some progress last eve. Got the motor and trans set, but realized the new trans x member was for the wrong tranny. Jason @ PA and I had a miscommunication, but he is getting a new one built as we speak. I did have to take a tad off of the heater box, but only where it protruded for a fastener. Other than that, went in smooth as silk. I had already ran the new fuel and brake lines in the stock location, but I'll have to move them as they are approx. 1/4" away from the headers... that could make for a really bad day!!
Am I correct that the only vacuum necessary will be for the brake booster and the hvac control? If that is the case, do I need to keep the vacuum storage "ball/canister" in the forward section of the car?
A little more progress last eve. I realized once we set the motor and trans that the stock location of my fuel lines was not going to work. There was literally no more than a 1/4" of space between them and the headers. I ended up coming up through the trans tunnel, then ducking behind the brake booster. I'll add a couple of insulated clips/connectors when I get to the buttoning up stage. I did manage to get the brakes all back on and brake lines re-connected. I have my fingers crossed on my self re-built proportioning valve. I hope it works, I'm not looking forward to having to re-flare all the lines. Also, got the steering linkage and front sway bar back in and squared away. I ordered the custom caster plates from PA. They will work much better with the coil overs. I need about 2 hours this eve to bleed the brakes and get the driveshaft installed and we'll be just about ready to go into the paint booth! I can see the light at the end of the tunnel and praying it's not a train. Unless Pocket interjects and tells me otherwise, it's looking like I'll be tackling the harness. Of all the headaches of this build, I dread it the most .
Actually, wiring is the part of my build I enjoyed the most, it was a pleasure to note where the factory screwed up between one generation and corrected it for the next. Running the wires in the engine bay, was not as enjoyable and I definitely learned a lot for the next LS1 swap, if I ever do another on a 3rd gen that is.
I have a few observations to make: I plan to use coil-overs like you have but also want to use 275 tires have you looked at clearances with the coil-overs yet and what size tires do you plan to use? I also like the way you ran the fuel lines looks neat and out of the way. I also plan to run as much of my harness as possible outside the engine compartment into the wheel wells above the liners. Have you considered that? I am in the middle of my swap engine is out, harness pretty much out of the car, front end is completely out (K-member included).
I have a few observations to make: I plan to use coil-overs like you have but also want to use 275 tires have you looked at clearances with the coil-overs yet and what size tires do you plan to use? I also like the way you ran the fuel lines looks neat and out of the way. I also plan to run as much of my harness as possible outside the engine compartment into the wheel wells above the liners. Have you considered that? I am in the middle of my swap engine is out, harness pretty much out of the car, front end is completely out (K-member included).
I have not checked specific tires for clearance issues, yet. I plan to go with the OE style 18 x 8 wheels in black/silver. The car is off the lift now and lower than stock and doesn't appear to rub going lock to lock on the steering. I do plan to bring the harness through the wheel well like stock, only because I have that area opened up and ready.
Chris
I used something similar for my fuel system, except I used the firebird filter, so I basically built the return with an an fitting T after the fuel gets filtered. My routing though is exactly the same and so far so good- hopefully you'll have the same good luck as me.
A few pics of the fuel lines. Also, regarding the comment regarding the LCA position, Jason @ PA Racing, recommended positioning the way I had them.
I'm not so sure about that, I believe the much thinner gage material in the sub-frame will work harden and crack out sooner than what is in the rear end attach points, the clamp up of the bushing more effectively supports the sheet metal sub-frame. Also the way I see it the rear end tends to articulate around its natural arc more effectively with the spherical bearing on the axle end of the mount. The reason I did not buy (and I assume you too) full poly bushed LCA's is because of the tendency for full poly LCAs to cause a binding then an explosive unloading under heavy cornering causing a loss of control. It seems to me the bind occurs in the axle end of the LCA. I do know that most I've seen installed were in the axle end orientation and most manufacturers I've seen tell you to install them with the spherical bushing in the axle. I have run mine about 14 years like I have them without any trouble.
I'm not so sure about that, I believe the much thinner gage material in the sub-frame will work harden and crack out sooner than what is in the rear end attach points, the clamp up of the bushing more effectively supports the sheet metal sub-frame. Also the way I see it the rear end tends to articulate around its natural arc more effectively with the spherical bearing on the axle end of the mount. The reason I did not buy (and I assume you too) full poly bushed LCA's is because of the tendency for full poly LCAs to cause a binding then an explosive unloading under heavy cornering causing a loss of control. It seems to me the bind occurs in the axle end of the LCA. I do know that most I've seen installed were in the axle end orientation and most manufacturers I've seen tell you to install them with the spherical bushing in the axle. I have run mine about 14 years like I have them without any trouble.
I see it both ways. I agree that the other way would allow the rear end to articulate more, but I disagree that this stresses the connection point under the floor, simply because it is allowed to move more freely. Also, I would think this may help eliminate some road noise? I think I will leave it for now, if for no other reason, the stock LCA's allow no movement, so I wouldn't think it would cause more stress than stock, either way.
I do appreciate your input and helping me think this through and please continue to point out anything you might see me doing wrong. I've never worked on a car before and am bound to make many mistakes!
My founders LCAs were similar to yours. I put the rod end on the axle to reduce noise. Both ends articulate to some degree, so there isnt much benefit one way or another. The bushing will deform inside its sleeve to make up the degree or two of swing required
Factory LCAs seem solid, but the rubber bushings flex a little, plus the stamped steel part flexes quite easily to torsion forces http://www.spohn.net/shop/1993-1997-...-Bushings.html
LCAs like that seem similar to the OEM LCAs but have significantly more torsional rigidity. Not a big deal under most circumstances, but when the rearend hit a bump on one side it cant twist like it should, so they act similar to a larger rear sway bar which can be interesting when cornering
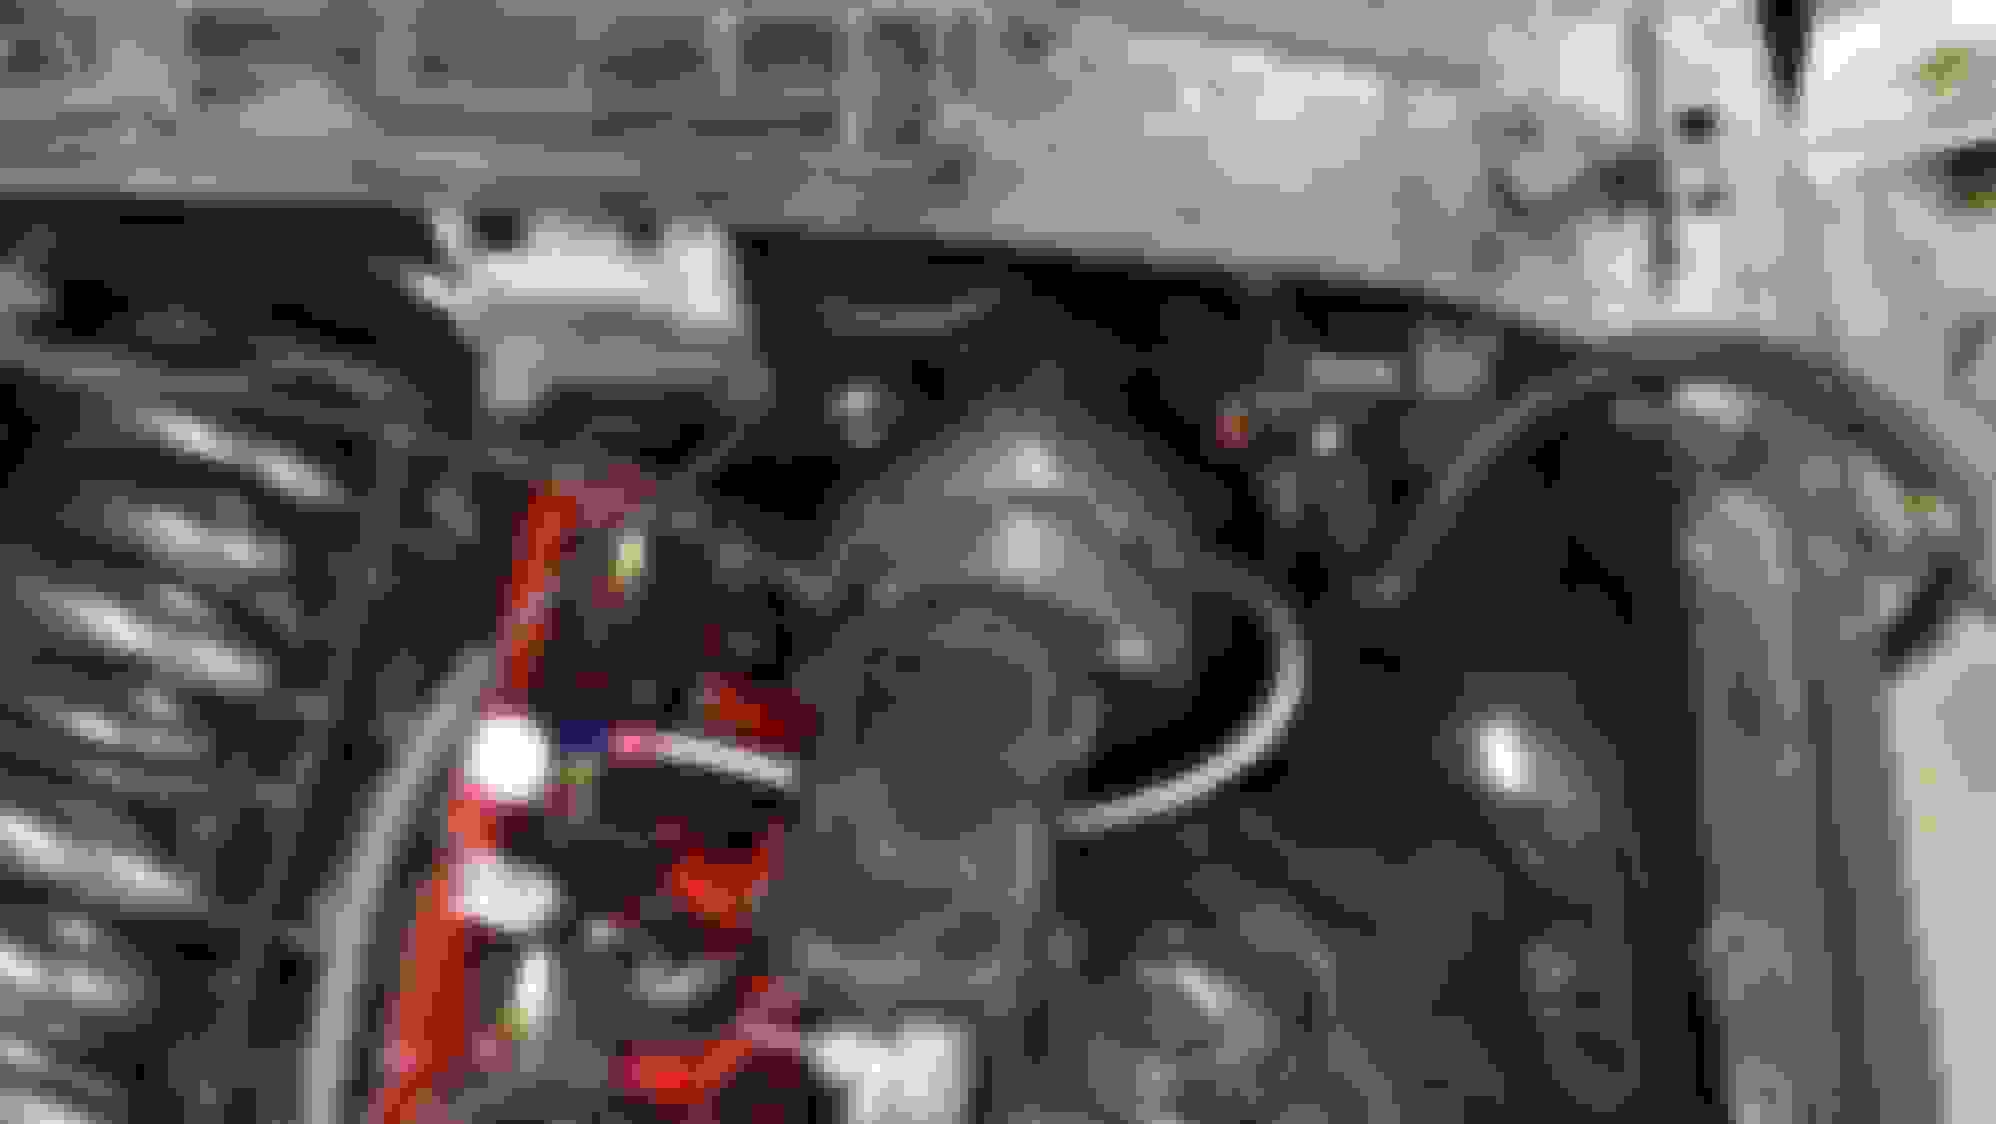
Can you post pics of the pass side header collector flange/sub-frame rail/trans clearance area? What headers are those make/size?
I won't be able to get back to the car until this weekend (working on it at a buddy's house about 30 minutes away), but I certainly will take photos. These are the Racing Innovations headers. Without a doubt, things are gonna be tight! I'm going to have a local exhaust shop build the exhaust and he's gonna have his work cut out for him!!! The bracket for the shifter cable appears to be in the way. I'm assuming he'll have to bend it up a tad to install a flange and head right into a very tight radius. We'll cross that bridge when we get there! I haven't rec'd the new trans x member yet, he's having to rebuild it for me (PA racing)
Pocket, thanks for the input. I was thinking it couldn't make that much of a difference either way.
It's the other side that is hairy - as far as tucking up for ground clearance.
Great... more money and time!! lol I'll prolly just fab something over the weekend to address the shift cable. The other side didn't seem horrible, but then again, haven't ran the exhaust yet. I'd say the biggest trick is gonna be y'ing the driver side exhaust to the passenger side around/under/through the new torque arm.
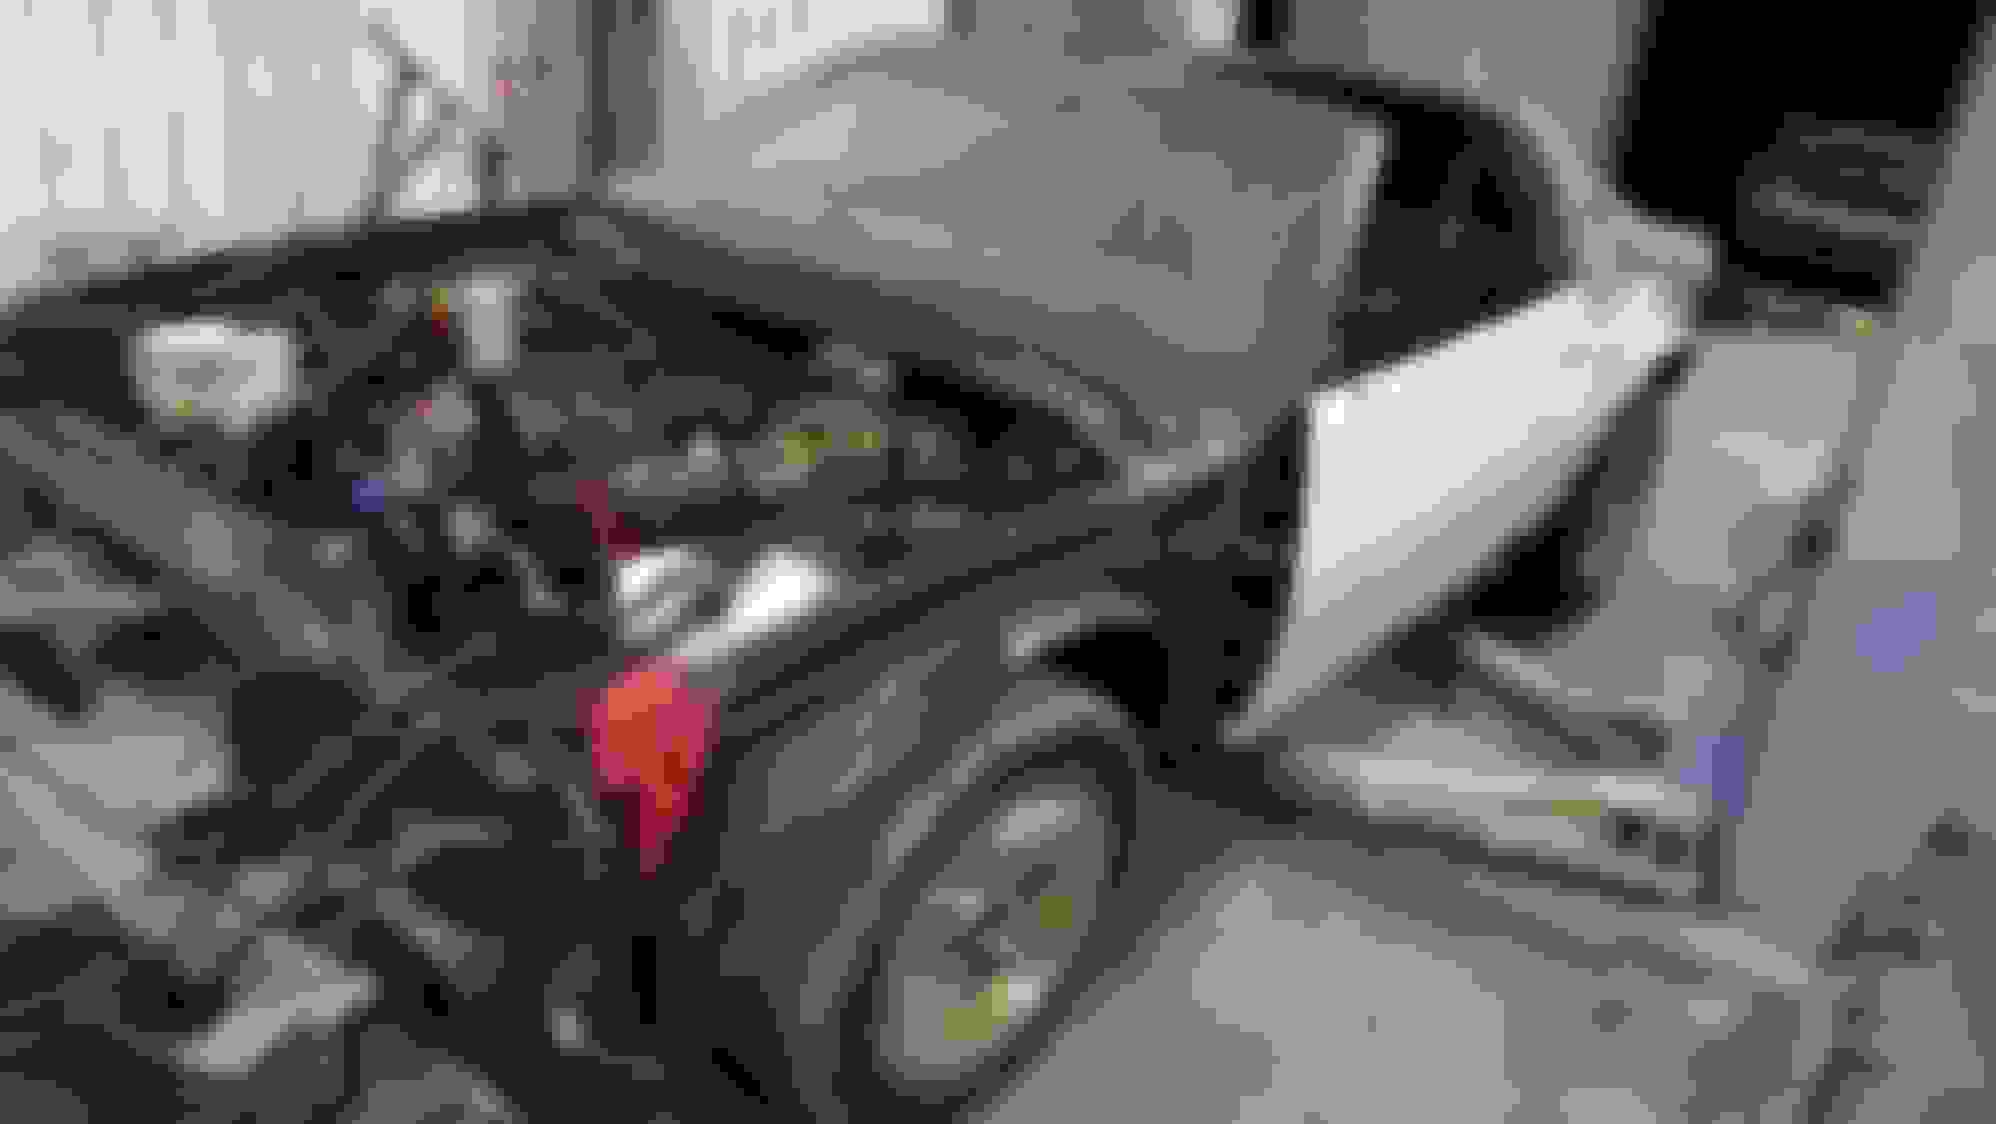
And soo... after being absent forever, I thought I'd let everyone know that not much has been done since the last post. I did go ahead and order the torque arm from PA and get that installed. Now just waiting on my buddy to find time to get it into his paint booth. I hope to share some photos soon with some progress. Apologies for letting this thread sit in La La land for so long!
Chris
Wow, 19 months since my last post! Lots has happened in life, not as much with the car. I'll post pics later today. It is back from paint, but only just recently. It looks great. I'm finally beginning to get a little time to get back on the car. My wife and I had a baby 15 months ago, bought a business earlier this year and thus don't have the income we had back when I was buying goodies for this project, at least until we get a little further along with the business. Not much left to get her on the road, just tedious little things that I don't have much time to do. Still need to install the radiator, harness, misc small things.
Chris
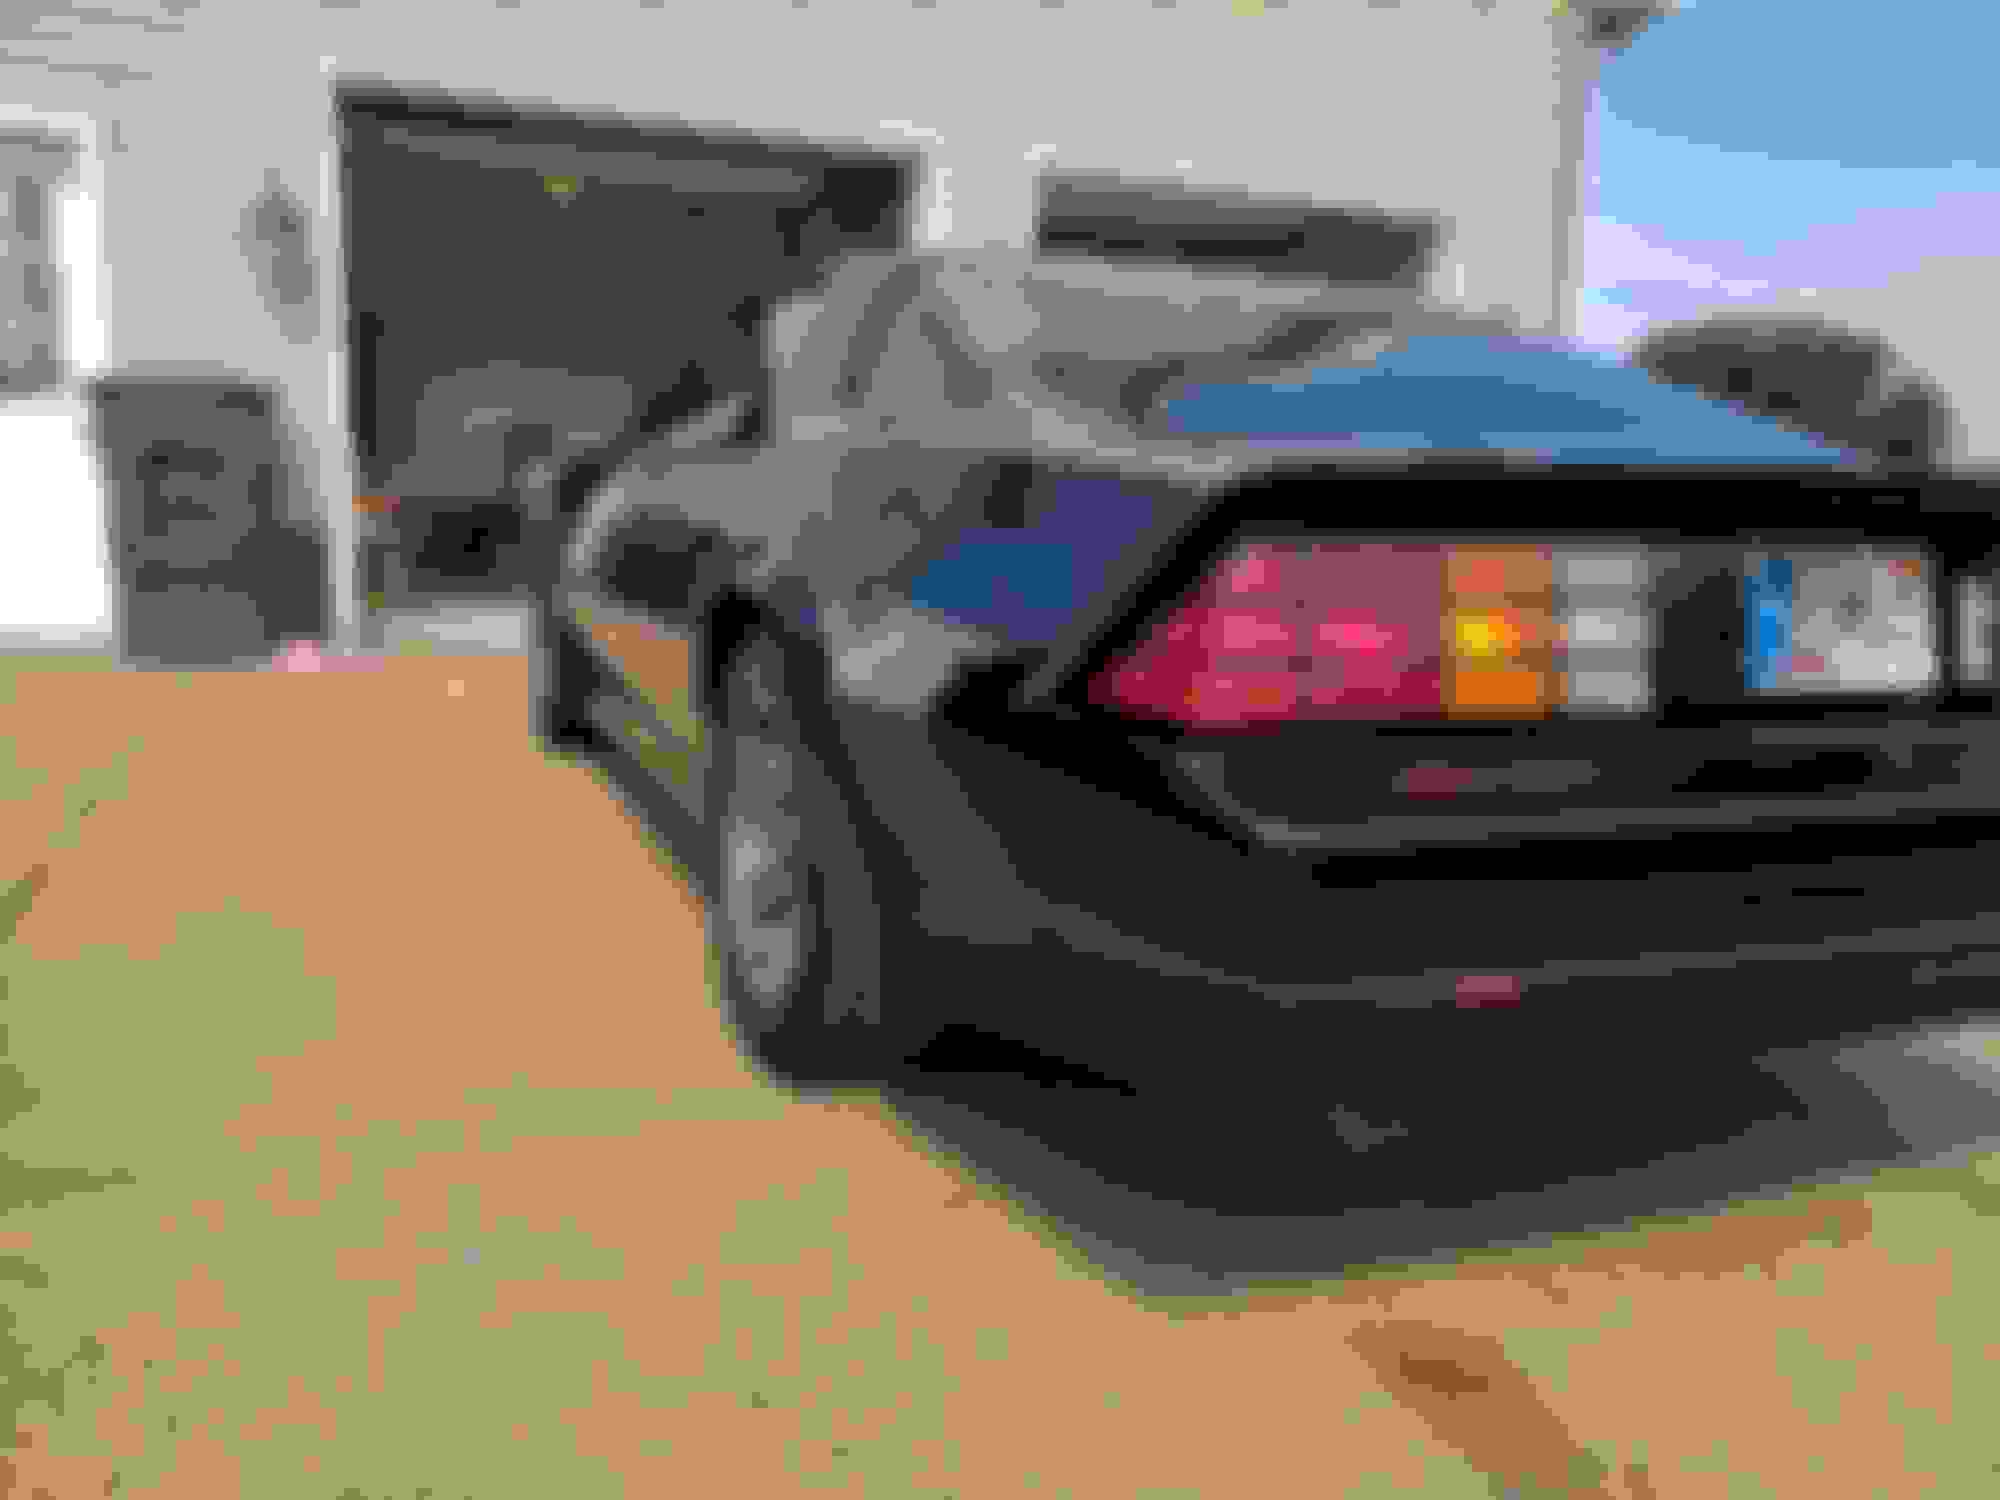
Note for the last photo: Just some Amazon LED cheapie fog lights. I prefer the originals, but they were busted up and I'm not willing to pay the $$ that people want for them.
Guys... a little help plz. I had read somewhere about running the LS steam line to the coolant overflow and that is what I did. I just drilled out near the top of the overflow tank and tapped in a 1/4" nipple. I just read somewhere else that this steam line needs to be pressurized? Can someone confirm? I know there are several posts about it, but just to be clear, I should plumb this in to the now unused port on the radiator just below the line out to the overflow? I didn't realize this line needed to be pressurized.
Also, I've read over and over on Pocket's "Digital cruise" thread and I can't seem to find a cruise control mini harness. I just have the large 5 pin plug. His harness gets me 6/10 connections, but can't find where to get the other 4.
New Harness to be routed today. Also, I hope the get the Lokar throttle cable in place as well as a few other small things done.
If all goes right, I should be able to hear this thing rumble in a week or so!
Also, was it normal to only have 1 Vacuum line coming from the hvac harness in 1985? I could only find 1 and the harness does not contain another. I thought there had to be 2 for 1 to go to the heater control valve. As it stands, I just used the small vac line on the back of the ls into a check valve, then into this 1 vac line to hvac. Can anyone confirm this for 1985 Iroc 305 TPI (original)?
Guys... a little help plz. I had read somewhere about running the LS steam line to the coolant overflow and that is what I did. I just drilled out near the top of the overflow tank and tapped in a 1/4" nipple. I just read somewhere else that this steam line needs to be pressurized? Can someone confirm? I know there are several posts about it, but just to be clear, I should plumb this in to the now unused port on the radiator just below the line out to the overflow? I didn't realize this line needed to be pressurized.
Also, I've read over and over on Pocket's "Digital cruise" thread and I can't seem to find a cruise control mini harness. I just have the large 5 pin plug. His harness gets me 6/10 connections, but can't find where to get the other 4.
New Harness to be routed today. Also, I hope the get the Lokar throttle cable in place as well as a few other small things done.
If all goes right, I should be able to hear this thing rumble in a week or so!
Thank you!
Chris
I have not heard of anyone but you going to overflow. Most go to rad, H20 pump, or Jagsthatrun piece for the rad hose - these would be pressurized.
I have not heard of anyone but you going to overflow. Most go to rad, H20 pump, or Jagsthatrun piece for the rad hose - these would be pressurized.
I'm beginning to think I'm crazy! I can't find where I saw that, may have made it up in my mind. At any rate, I've decided to just tap onto the port below the overflow from the radiator. I'll just step it down to 3/8" and put a clamp on it. That should do the trick. Thank you!
How do you like the fit of the PA Kmember? Do you have any photos of the front passenger side where the AC would traditionally be located? I also notice that the engine mounts come fixed?
How do you like the fit of the PA Kmember? Do you have any photos of the front passenger side where the AC would traditionally be located? I also notice that the engine mounts come fixed?
Like any of the aftermarket options (based on what I've read), it's not perfect, but didn't take much to line it up right where it needs to be. I think attached pic answers both of your questions. Plenty of space for the 4th gen compressor. This was the reason I went with PA. Jason is great with all things third gen (and pukestangs..lol). I've been to his shop and he's got all the toys!
Chris
This picture is worth everything to me. So many thanks. I will be running the ctsv front accessories which sit a bit closer to the engine but it looks like there is still room behind your compressor? Is there plenty of clearance around the kmember and compressor? I don't want to relocate the compressor (UMI) and I know the BMR unit does not clear the ctsv kit.
Well, with Pocket's help, I've gotten a lot done over the last few days. The harness is in, for the most part, digital cruise has been wired in (for some reason, I really struggled with this), starter mounted, and a few other small things. My goal is to turn the key by weeks end. Feeling good!
I have done an absolutely terrible job of documenting along the way, but without further ado, SHE'S ALIVE!!!! If I can figure out how to post a vid, I will. Here she is last eve after I've done some cleaning and tidying in the engine bay. I need to get VATS handled, then on to the next 50 things...
Engine bay cleaned up. A few mods were necessary to coil covers to address throttle cable, fuel pressure gauge, etc.
This project will be done in a month or so... finally!! I have many photos to share, but don't want to bombard the page with these huge photos. Is there an easy way to share smaller photos? I ended up doing a restoration of the stock wheels. I went back and forth about this, but decided this is the route I wanted to go. They turned out much better than I had expected. Exhaust being done next week and tuning the next day after exhaust. Then, final buff out, graphics, detail...Getting very excited!
I loved the stock 85-87 Iroc wheels, especially when they have been shined up to perfection and I like the inserts black. Guy on Ebay does vintage wheels and he sells Iroc's but they aren't cheap for a factory wheel, yet they look better than when they were brand new. It is a tough decision. If I were to ever buy another car, it would be left alone (I'll try my darnest to), and I would probably buy refinished stock wheels.
Well, I've skipped tons of info and will try to go back in and fill in the details, just been short on time. At any rate, the car is complete except for another trip to the tuner to line out some idle issues and what not. I'm absolutely thrilled with the final results!
Well, it's official! She's done and absolutely streetable! Got a nice tune from James Short a few weeks back. Lost the 3/4 clutch pack in the trans last week, but the guy who built it fixed it quickly (cut a seal on the piston). Unfortunately, where I live, she was covered in dust after a 2 hour cruise. BTW, saw a beautiful blue 3rd gen that sounded really nice on Zoar Church Road in Evansville, Elberfeld, IN area last week. If that was you, reach out to me and let's compare notes!
this is and awesome project. Any information you can provide on hooking up the LS AC Compressor to rest of system and wiring would be greatly appreciated. thanks
I know this has been talked about before, but I'm going crazy here! NOISE, RATTLES, SQUEAKS!! I have been through this car entirely during the restoration and have replaces, greased, oiled, touched, everything I know to and still have tons of noises from this car. When I had the doors apart, I vac'd out the bottom and thoroughly greased up the internals. I have removed the spare tire and vac'd out all the cavities. I have tracked down some squeaks and added weather-stripping where I can. But, at the end of the day, it's frigging noisy!!! Anyone have any ideas of some areas that I may have missed or not thought of???
I did rid of one annoying noise over the weekend and that was the whining of the rear end. Completely rebuilt with Yukon Dura-Grip diff and new ring and pinion and bearings. That project ended up being a bigger bear than I had initially thought! A lot of work to get it just right! While I was in there, threw in some MOOG rear springs. Incredible difference from the 33 yr old, tired *** stock springs!
When I redid my car, I used some vibration dampener, somewhere between 25-40% coverage on all flat panels (I used FatMat, and will never use again, there is a reason Dynamat is the leading manufacturer), I used sound deadener (Mass loaded vinyl, same stuff that comes on the back of the factory carpet), 100% coverage on the floors. You put 1/8" closed cell foam in between those things. I also glued the 1/8" CCF on the back of all the air ducting inside the dash carrier, the backside of the dash carrier and anywhere wires were going to touch something else in the dash. I also used about 50% coverage of the vibration stuff on the flat roof panel and used butyl rope in a lot of the gaps between the flat roof and the structure pieces. After I put the vibration dampener up I would smack the roof and it still sounded "tinny", after I used the rope in the gaps it sounded a lot more dead when I would smack the roof.
I have yet to do the doors, will be 25-40% vibration dampener on the inside of the skin, then the MLV on the back of the door panel. I also plan on using the 1/8" CCF on the back of all the interior panels in spots where it will not be noticed where pieces touch something else. Aside from my gear whine and noise, I have almost no squeaks (the passenger side seat does, but that's different) no rattles and the sound of road noise is much more diminished too.
Great info. I wish I had asked these questions when the car was in a million pieces! Tough to do that stuff now. My whining in the rear end turned out to be a burnt up outer pinion bearing. Pinion was very discolored where that bearing rested.