When you click on links to various merchants on this site and make a purchase, this can result in this site earning a commission. Affiliate programs and affiliations include, but are not limited to, the eBay Partner Network.
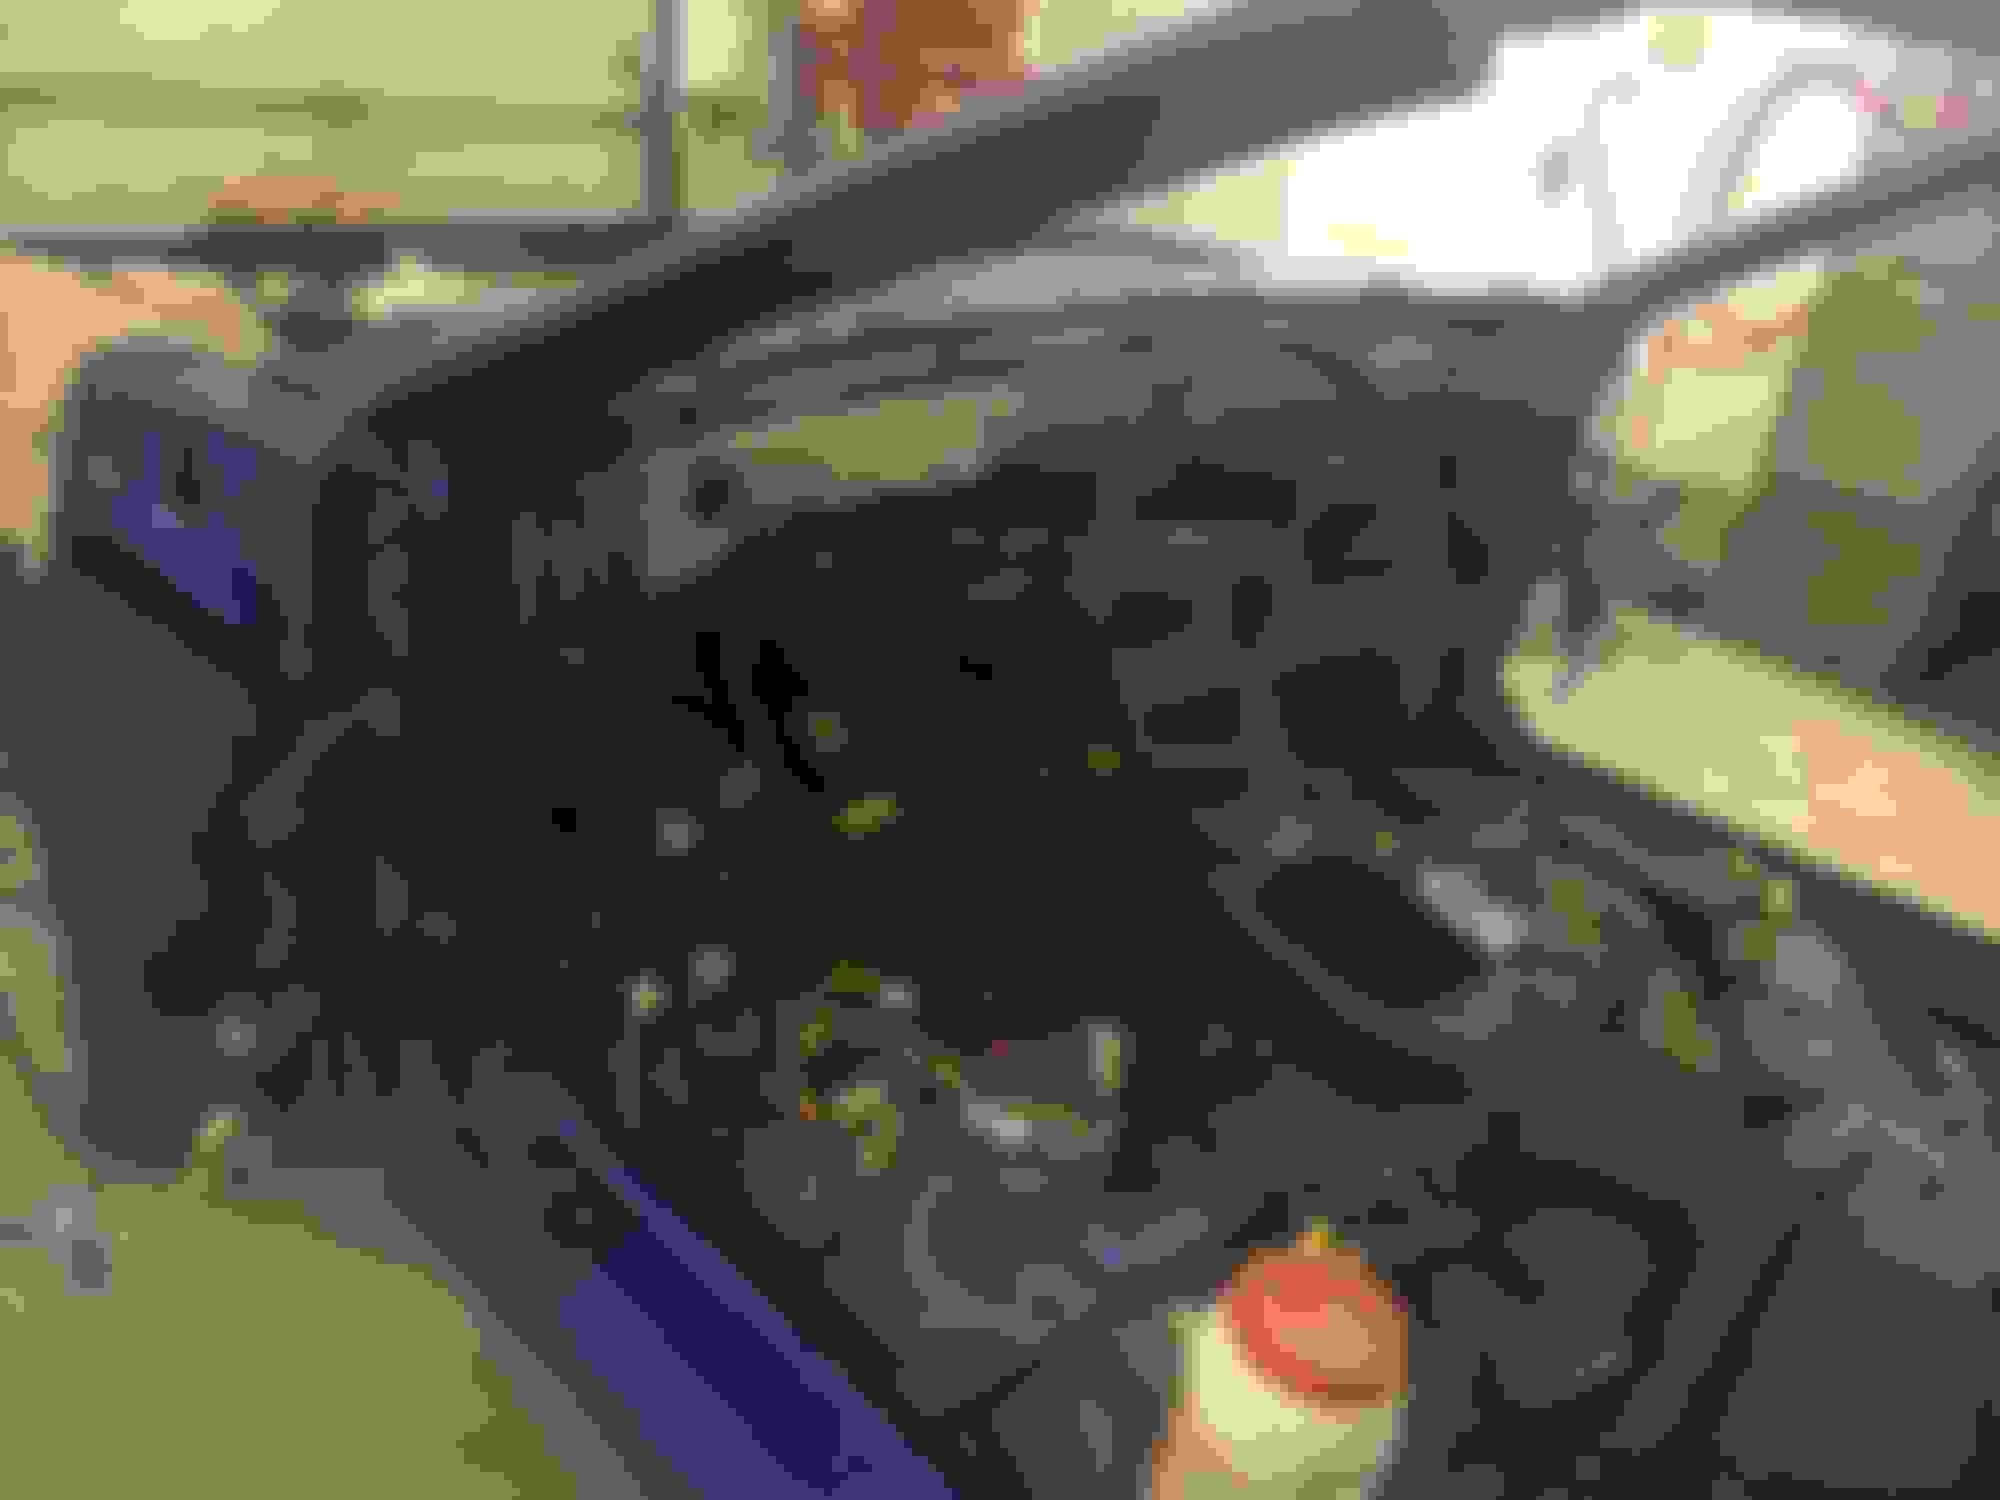
Thanks everyone for the kind words! It�s super exciting to see this thing start falling together. Here�s an update on photos from the weekend KYB struts but I searched hard to find drilled and slotted rotors that�d let me keep the factory wheels. Should give it a nice subtle touch. Springs are from Summit Racing overstock from Hotchkis Suspension. Should give it a nice ride height. All brand new steering components purchased 2 years ago are finally going on! The steering box was rebuilt and coated in the duplicolor cast iron paint. Steering column and rear end soon!! Then we will be rolling for the first time in 3 years.
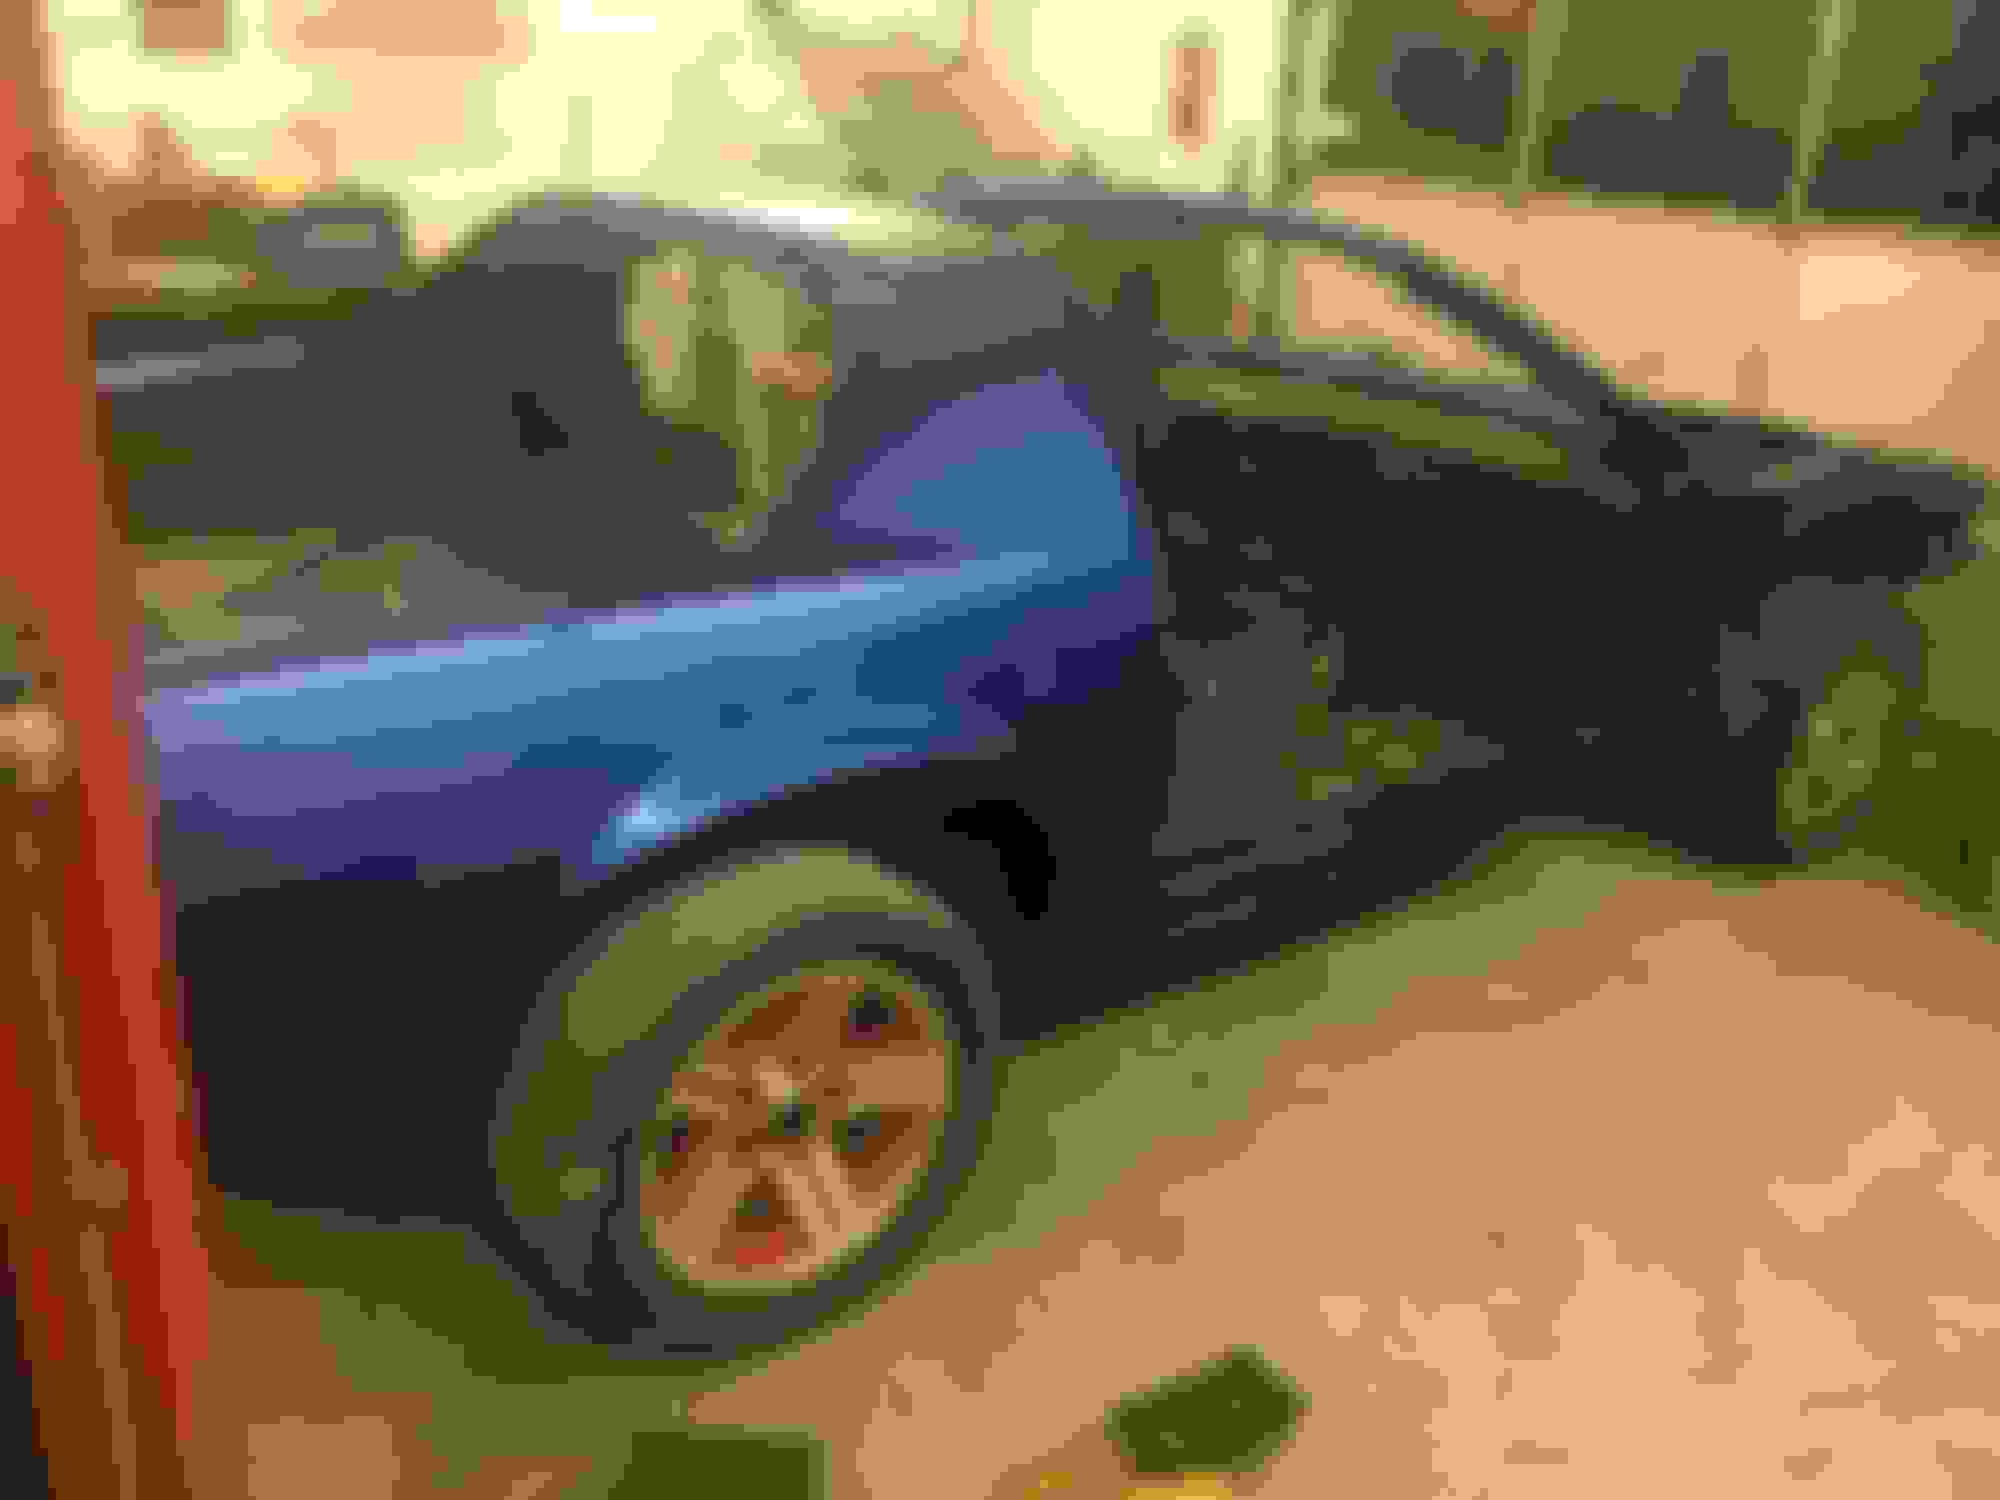
Had a free night this week to throw some updates on here. Since last time I have finished the front suspension, redone the steering shaft, redone/ installed the steering column (not fun), began installing the brakes (still waiting on a few lines and the rear calipers), installed the gas tank, installed the rear for final assembly and completed the rear suspension. Finally have the baby rolling and able to be moved with relative ease.
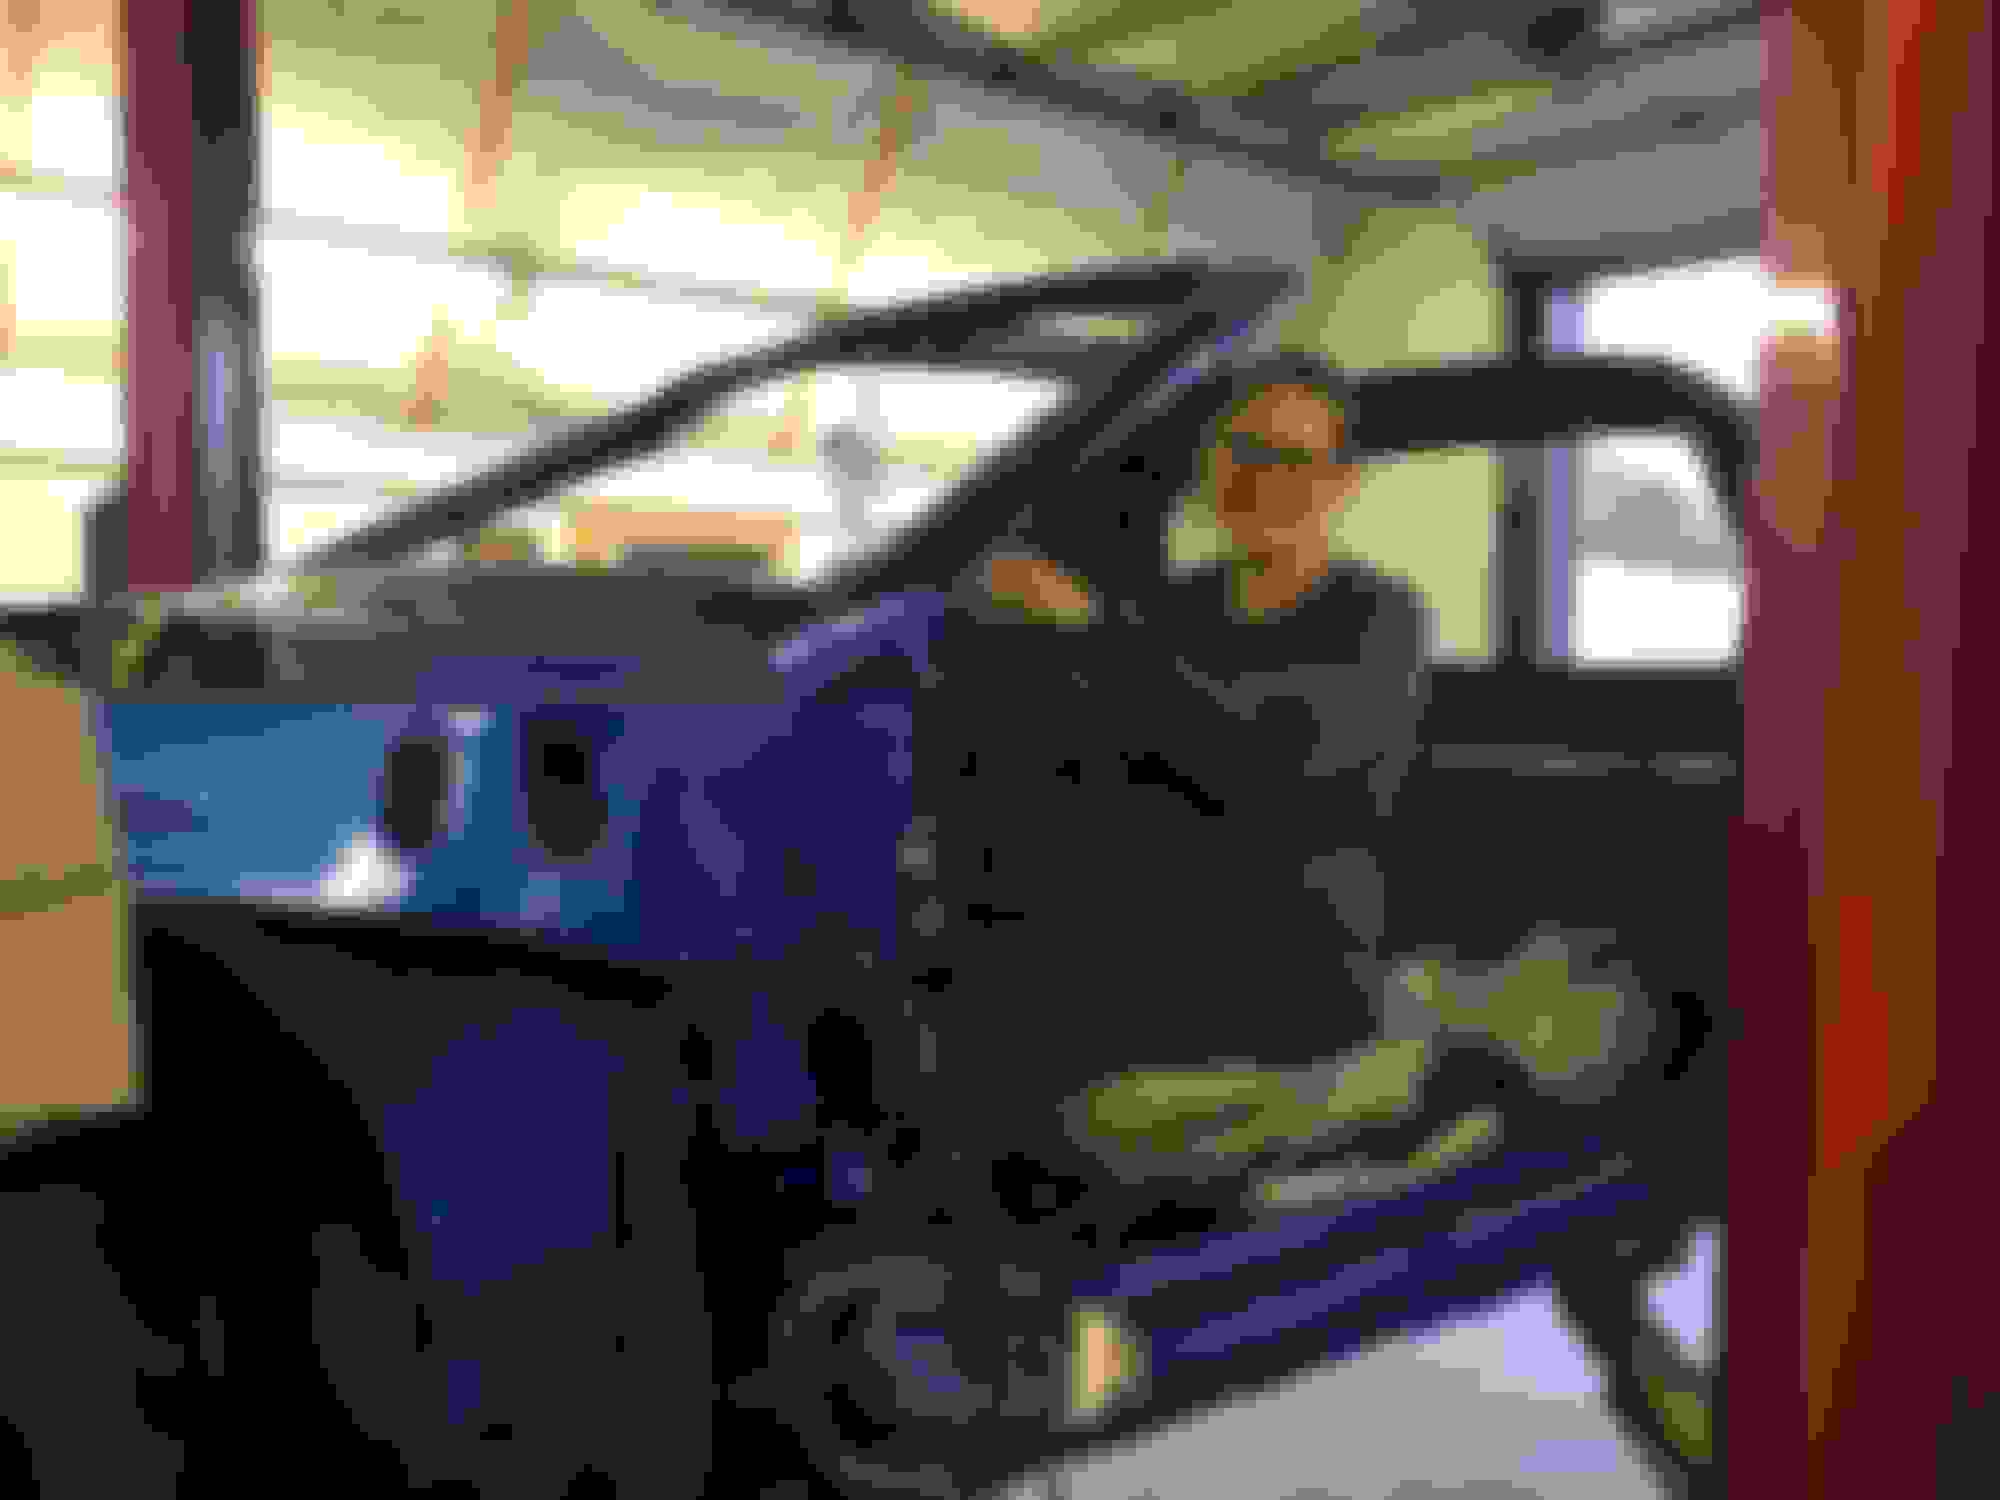
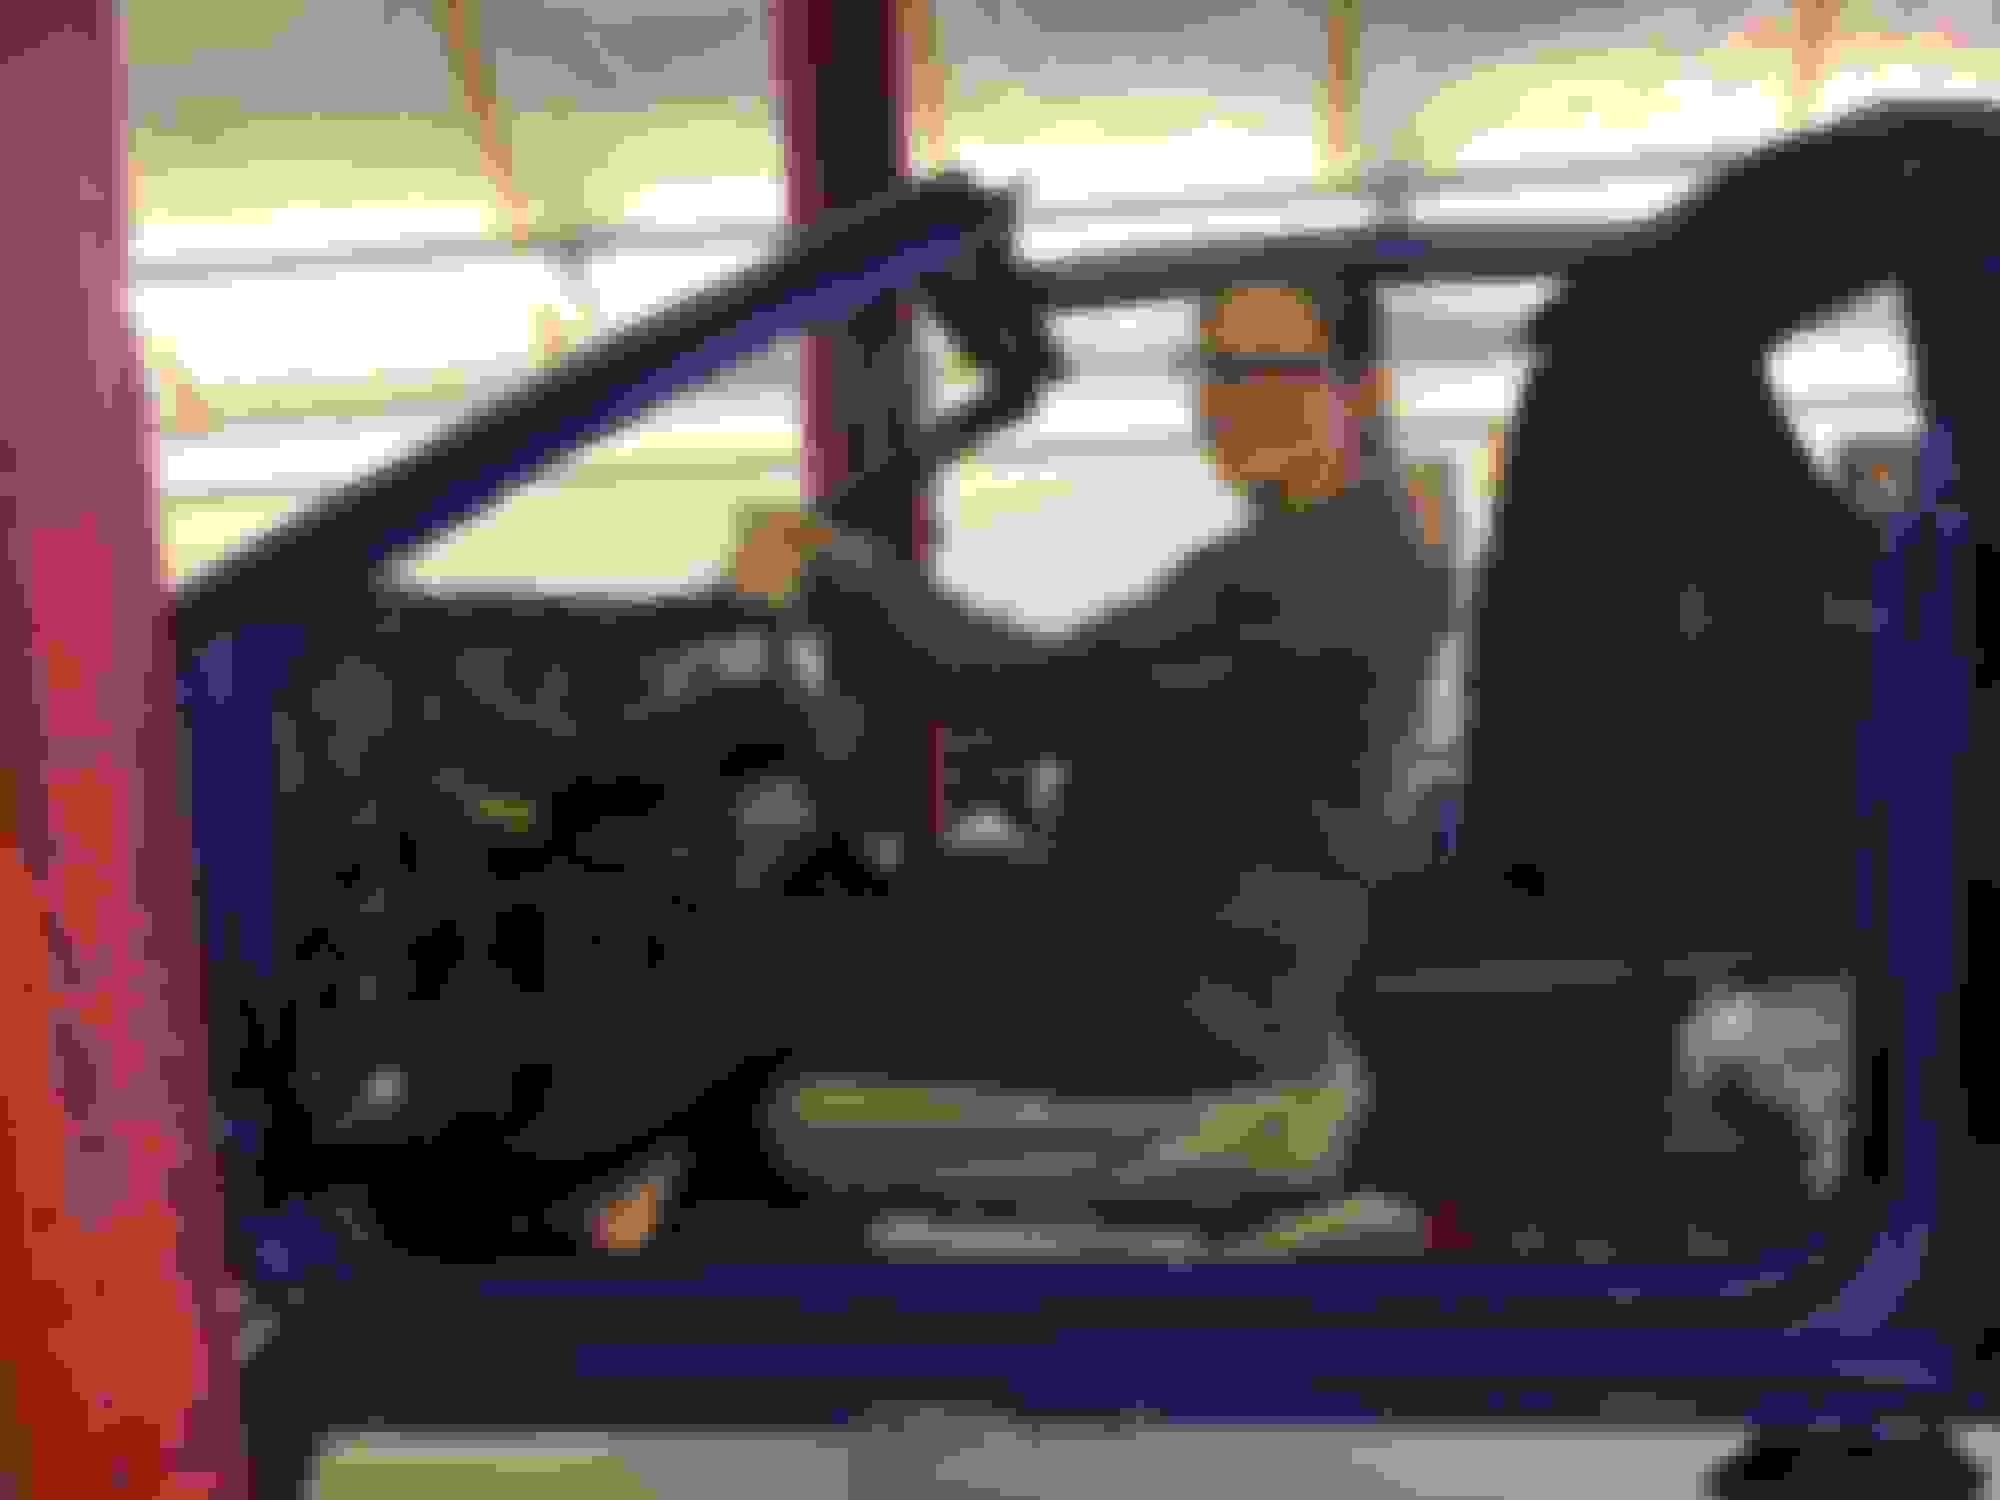
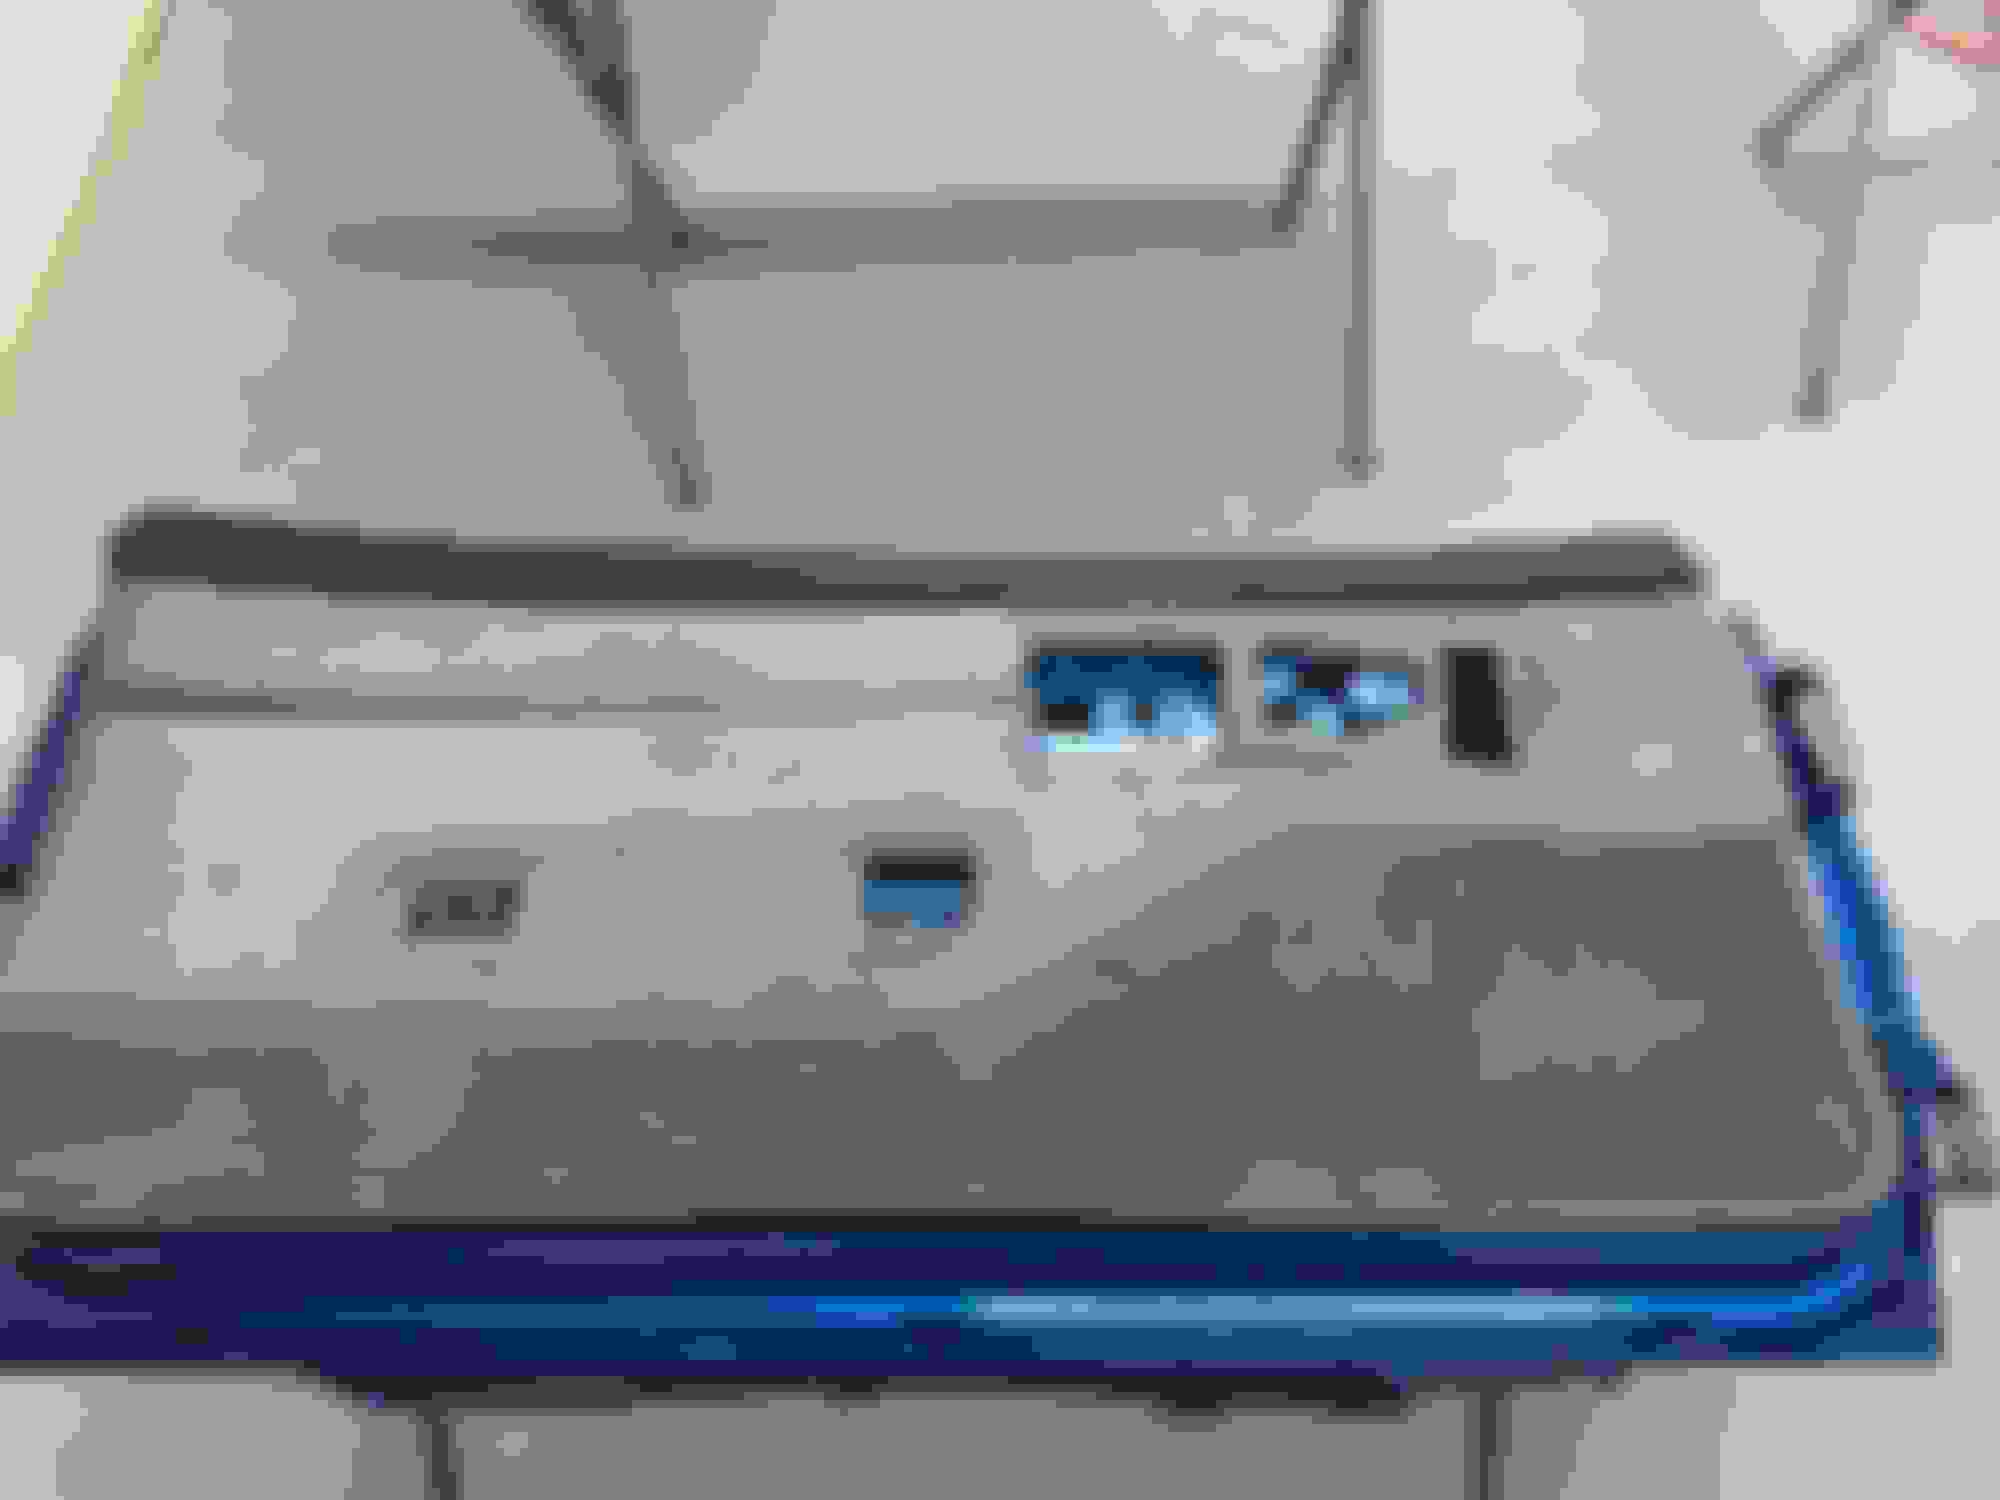
Dash Install is next. once that�s done.... drive train assembly! Won�t be too much longer
Hey everyone, sorry for the hiatus... I�ve been waiting for Summit Racing to send me the rear calipers I ordered but after being back ordered twice; they finally told me they can�t get them. After trying to find them
Here is the original one before I began surgery Finished product Hardware Kit from Auto Zone, spend the $10 bucks for this! The misses helping out, pregnant and all! FYI... Prebent lines are awesome; however, don�t expect to install these things without a fight. Just need the �filter to tank� rubber/ steel line to come in and I can button up all the plumbing.
everywhere, I decided to redo the originals; came out pretty good and work great.
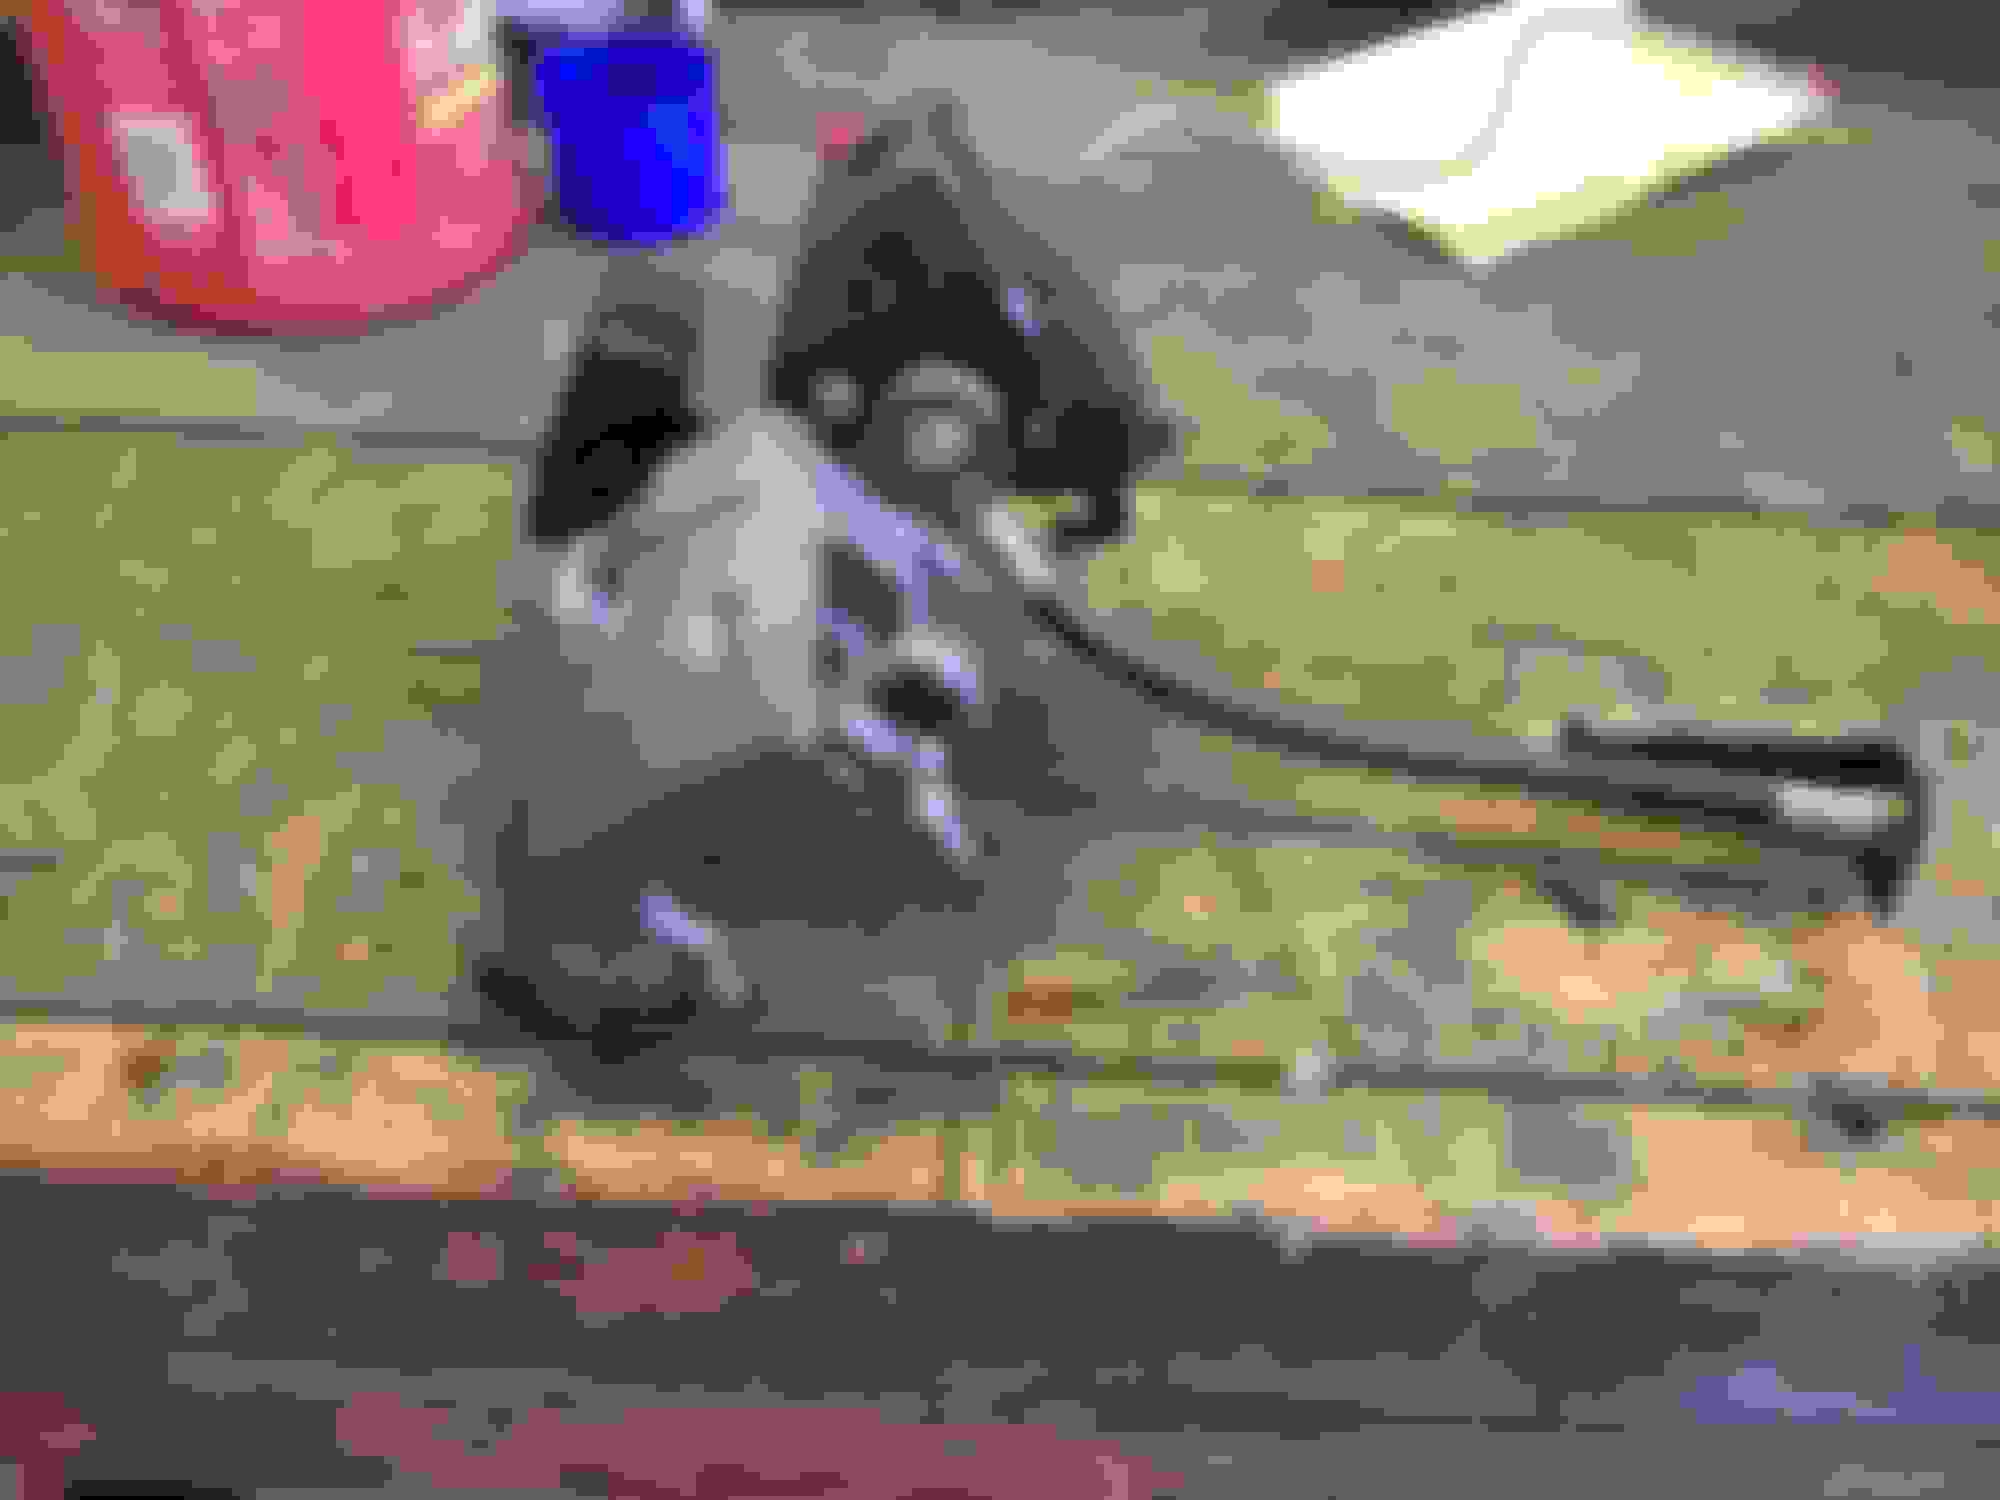
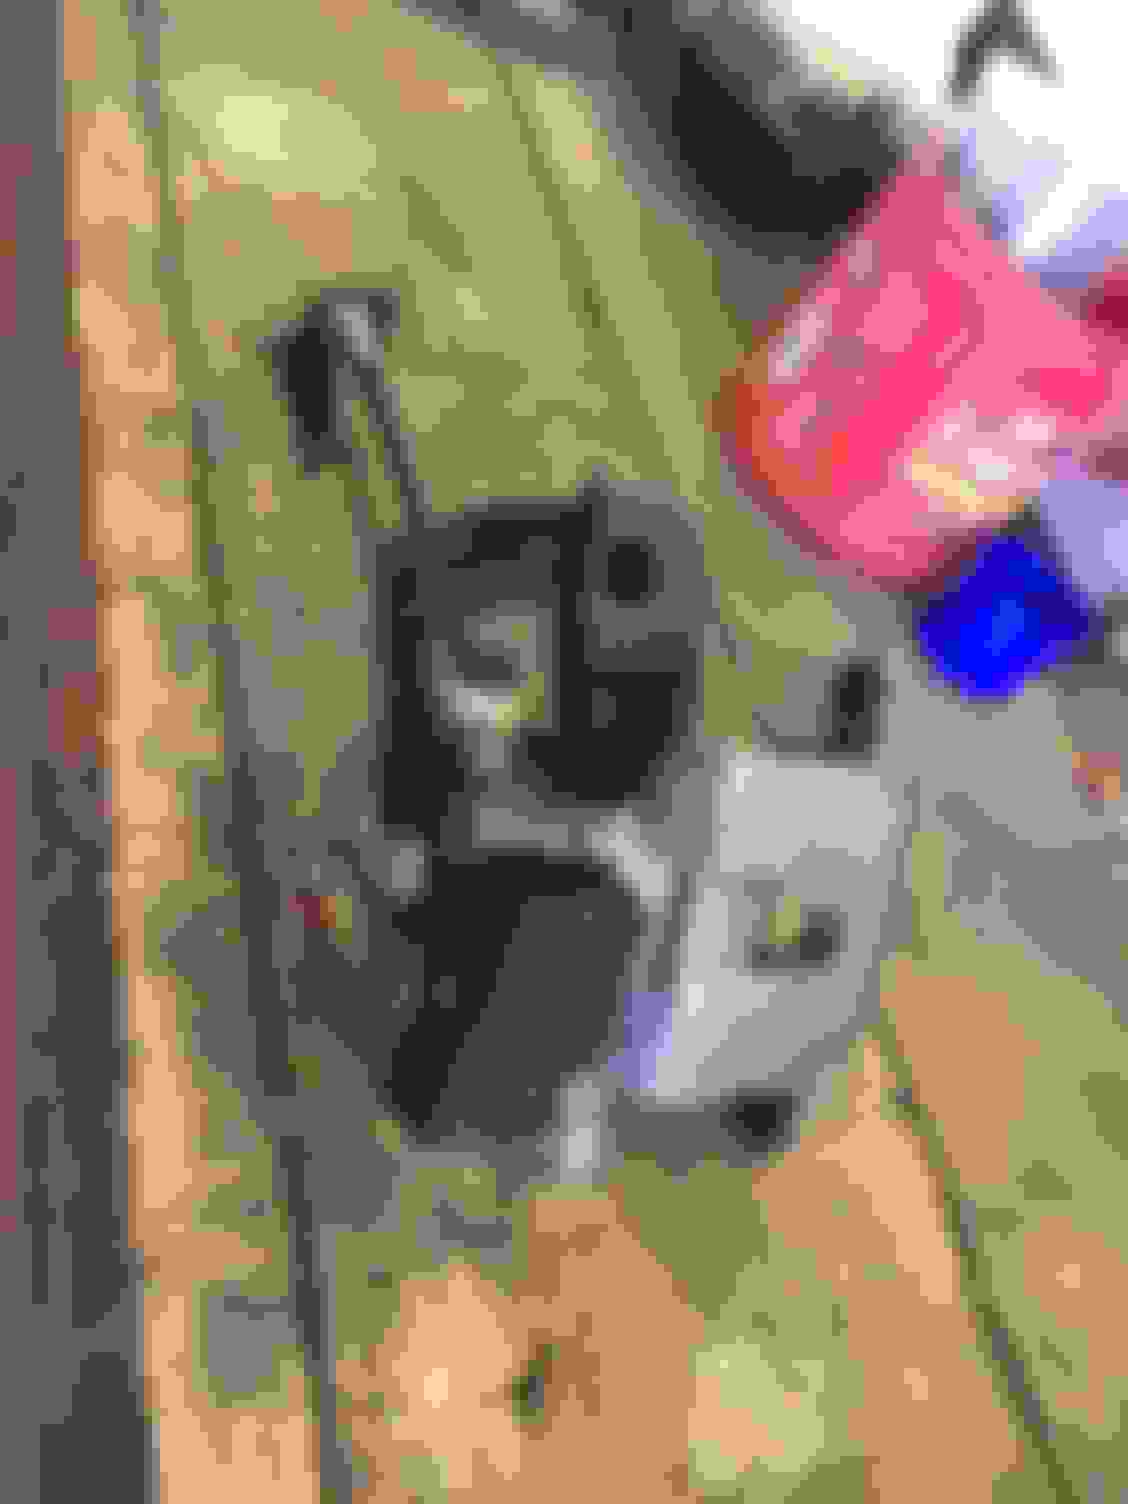
I finally have working brakes on the car, no leaks. All brand new lines, hoses, master cylinder and booster. Even had my wife (5 months pregnant) in the shop helping bleed them. For anyone rebuilding rear original calipers I attached a photo of the Auto Zone parts code for the little clips that hold the pad on, hopefully it saves someone some trouble.
PS: I swear the next time you see it, it�ll have a dash!
Hey congratulations to you and your wife!
i started to text you the other day, but just been too busy at work. Glad to see you're back at it. I've gotten nowhere lol. Will talk soon tho I hope.
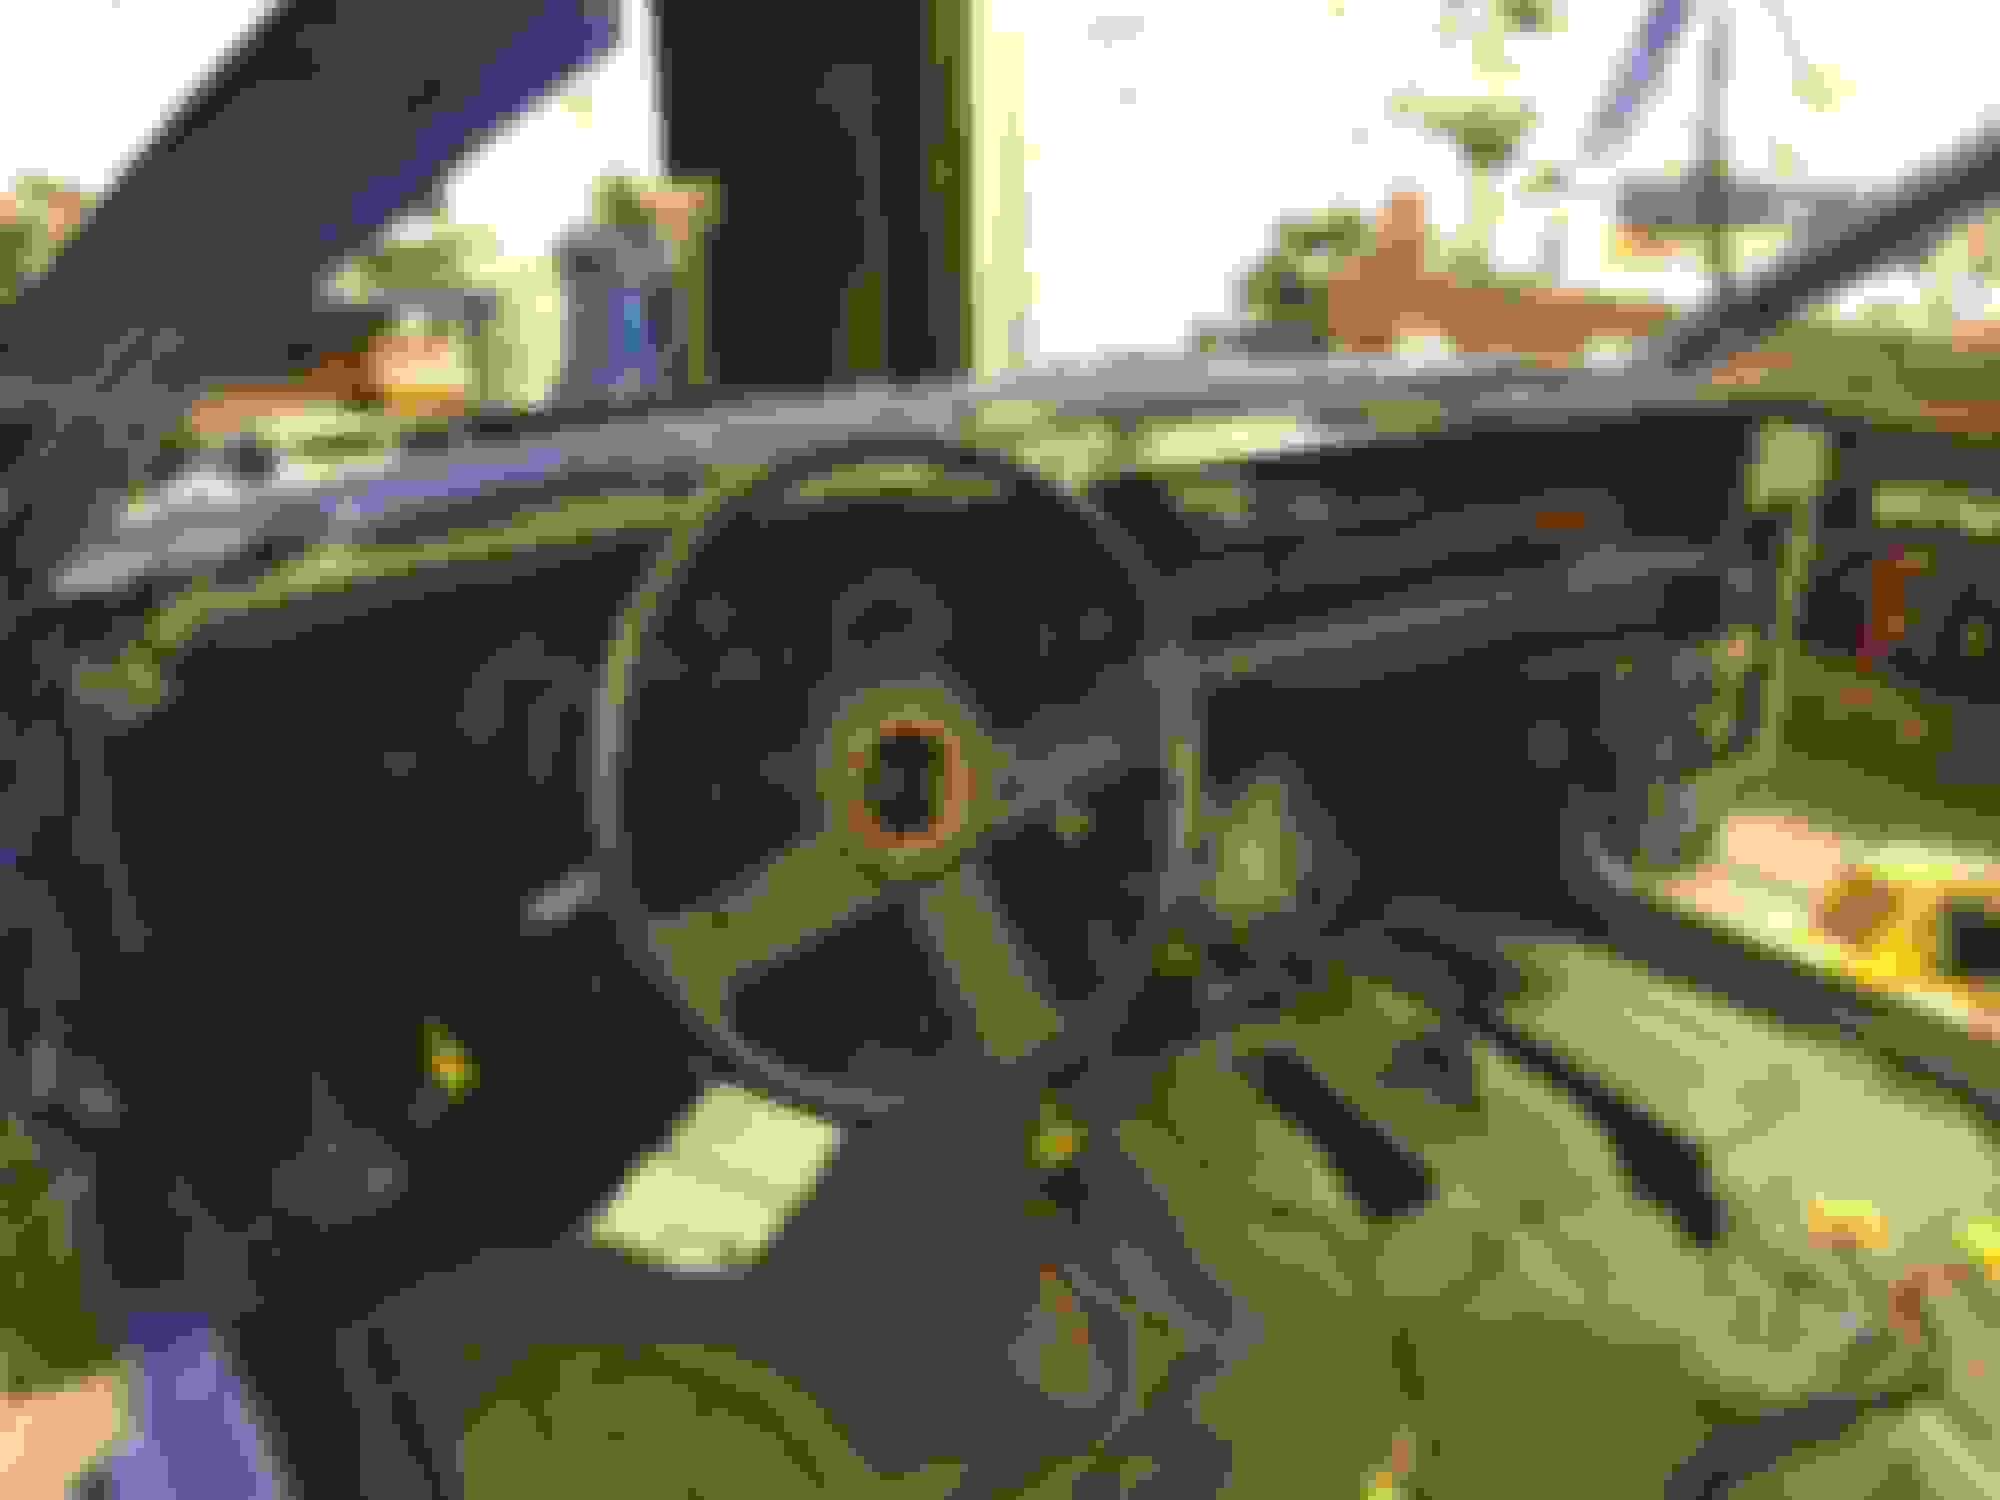
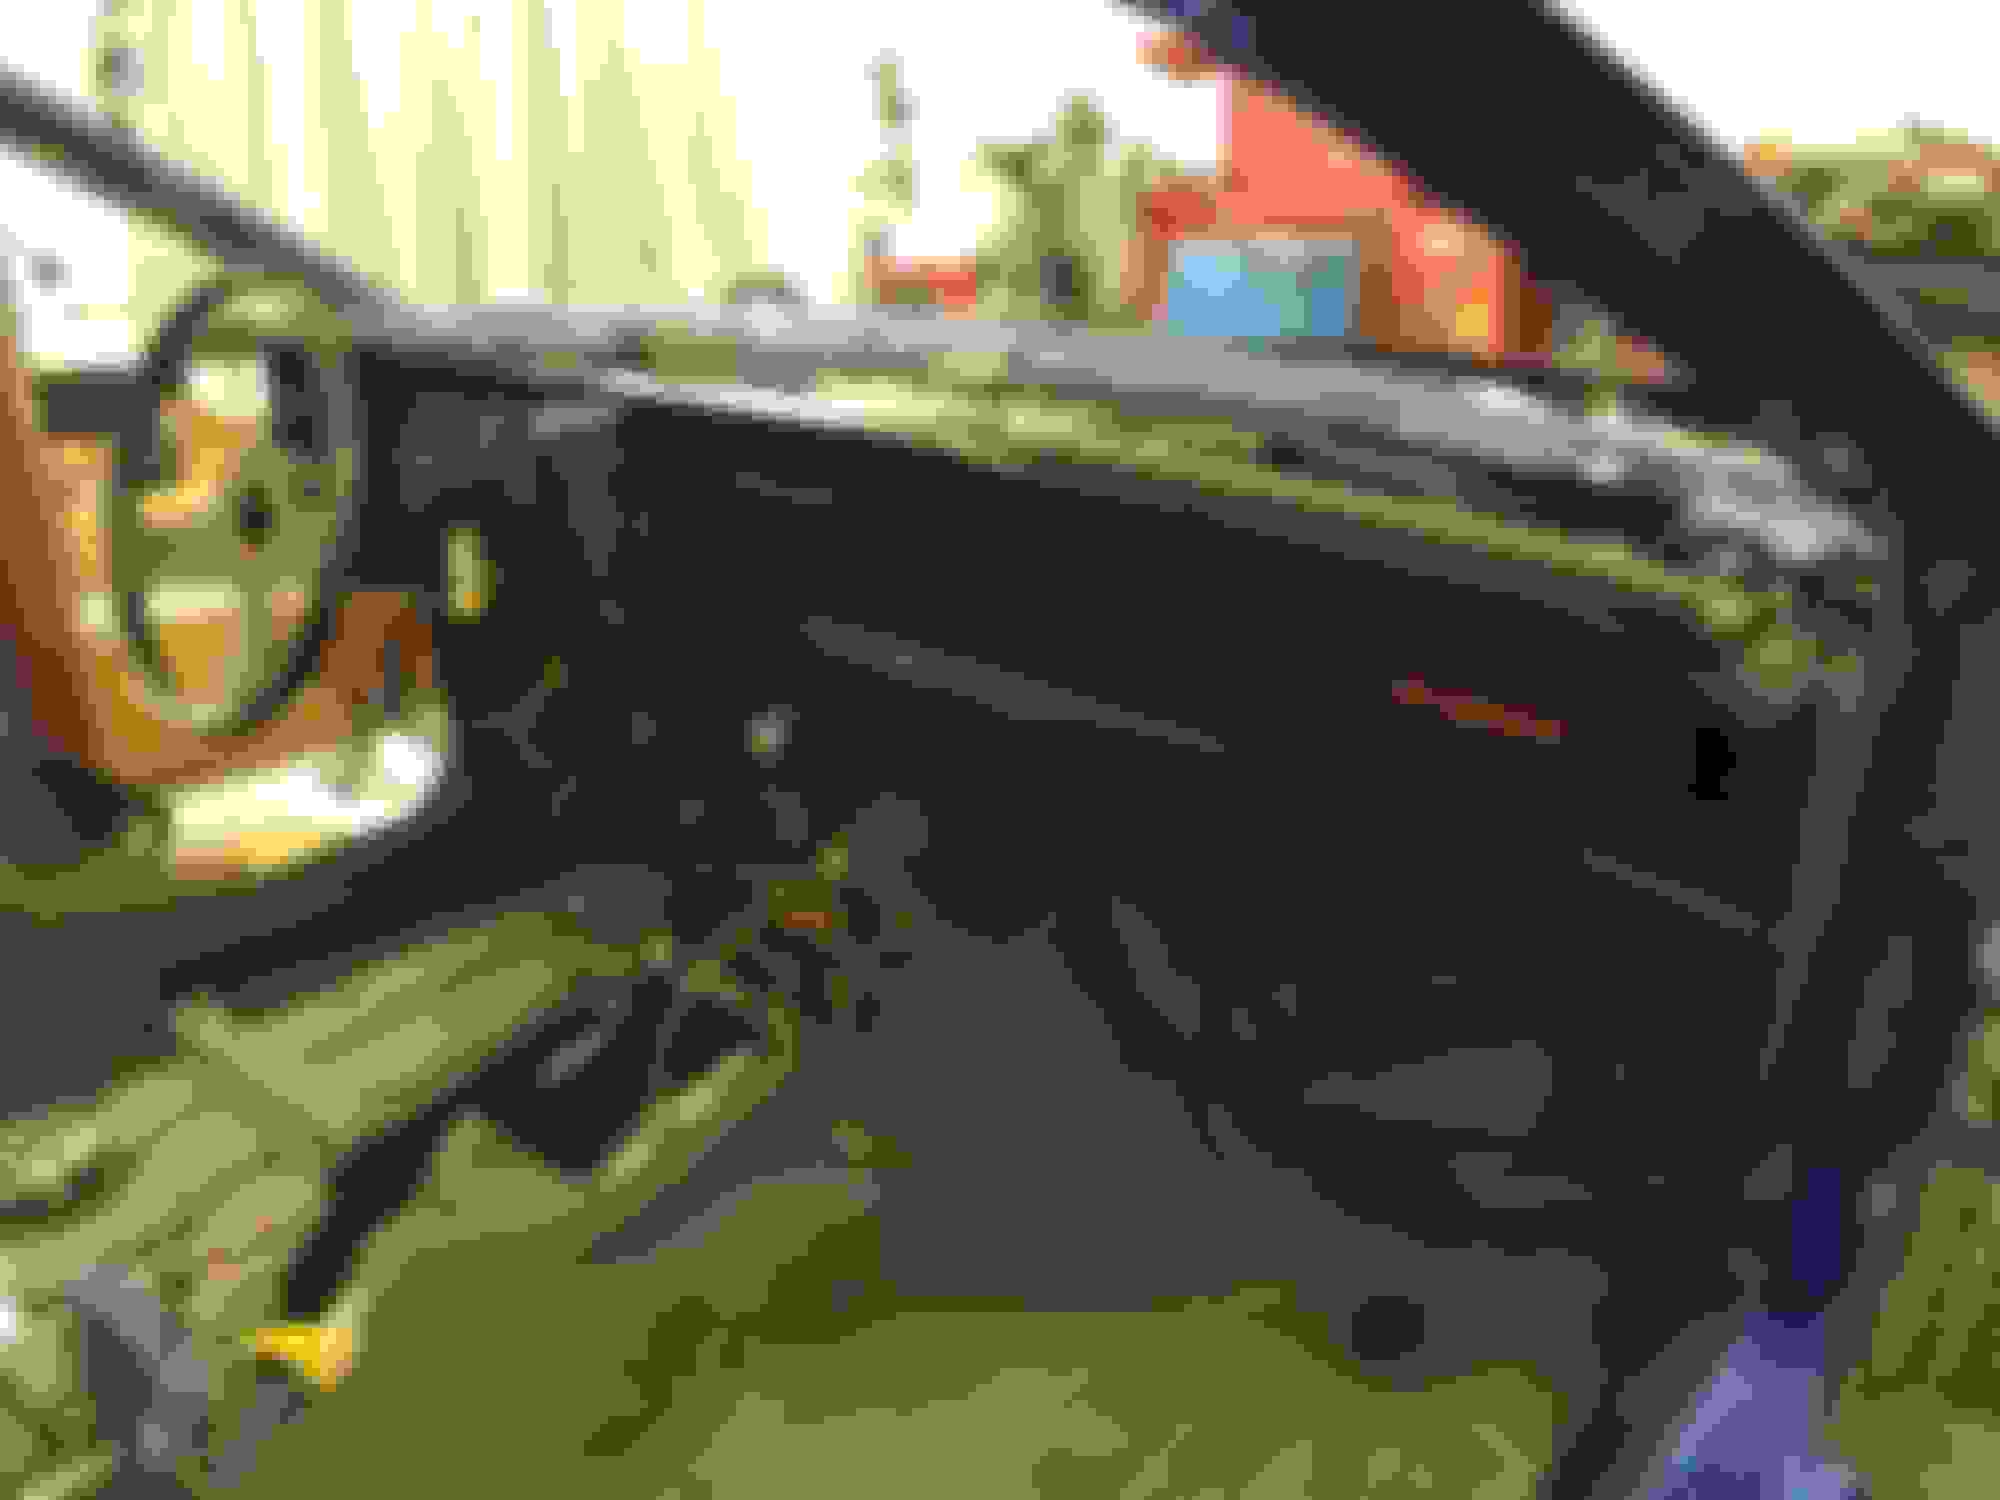
Sorry it�s been a while, been busy prepping for the new little guy who will be here in 2 months. Also, could resist and picked up an 89 IROC Convertible 5-speed car at an estate sale. Pretty stoked about that but, As promised, a dash. What a pain in the hind parts... I forgot how many tiny little screws and how little room there is to work. But it�s in. Also tested all the wiring to make sure it�s all good before buttoning her up. First time I seen the head lights on and wipers move in
I am am running into two minor issues. Switching from Auto to Manual; obviously the neutral safety switch moves from the shifter area to the pedals. But does anyone know what connects to what? On the neutral safety switch in the.pedal there is a purple and tan wire... the auto switch have several wires, many colors. ANY HELP WOULD BE APPRECIATED!
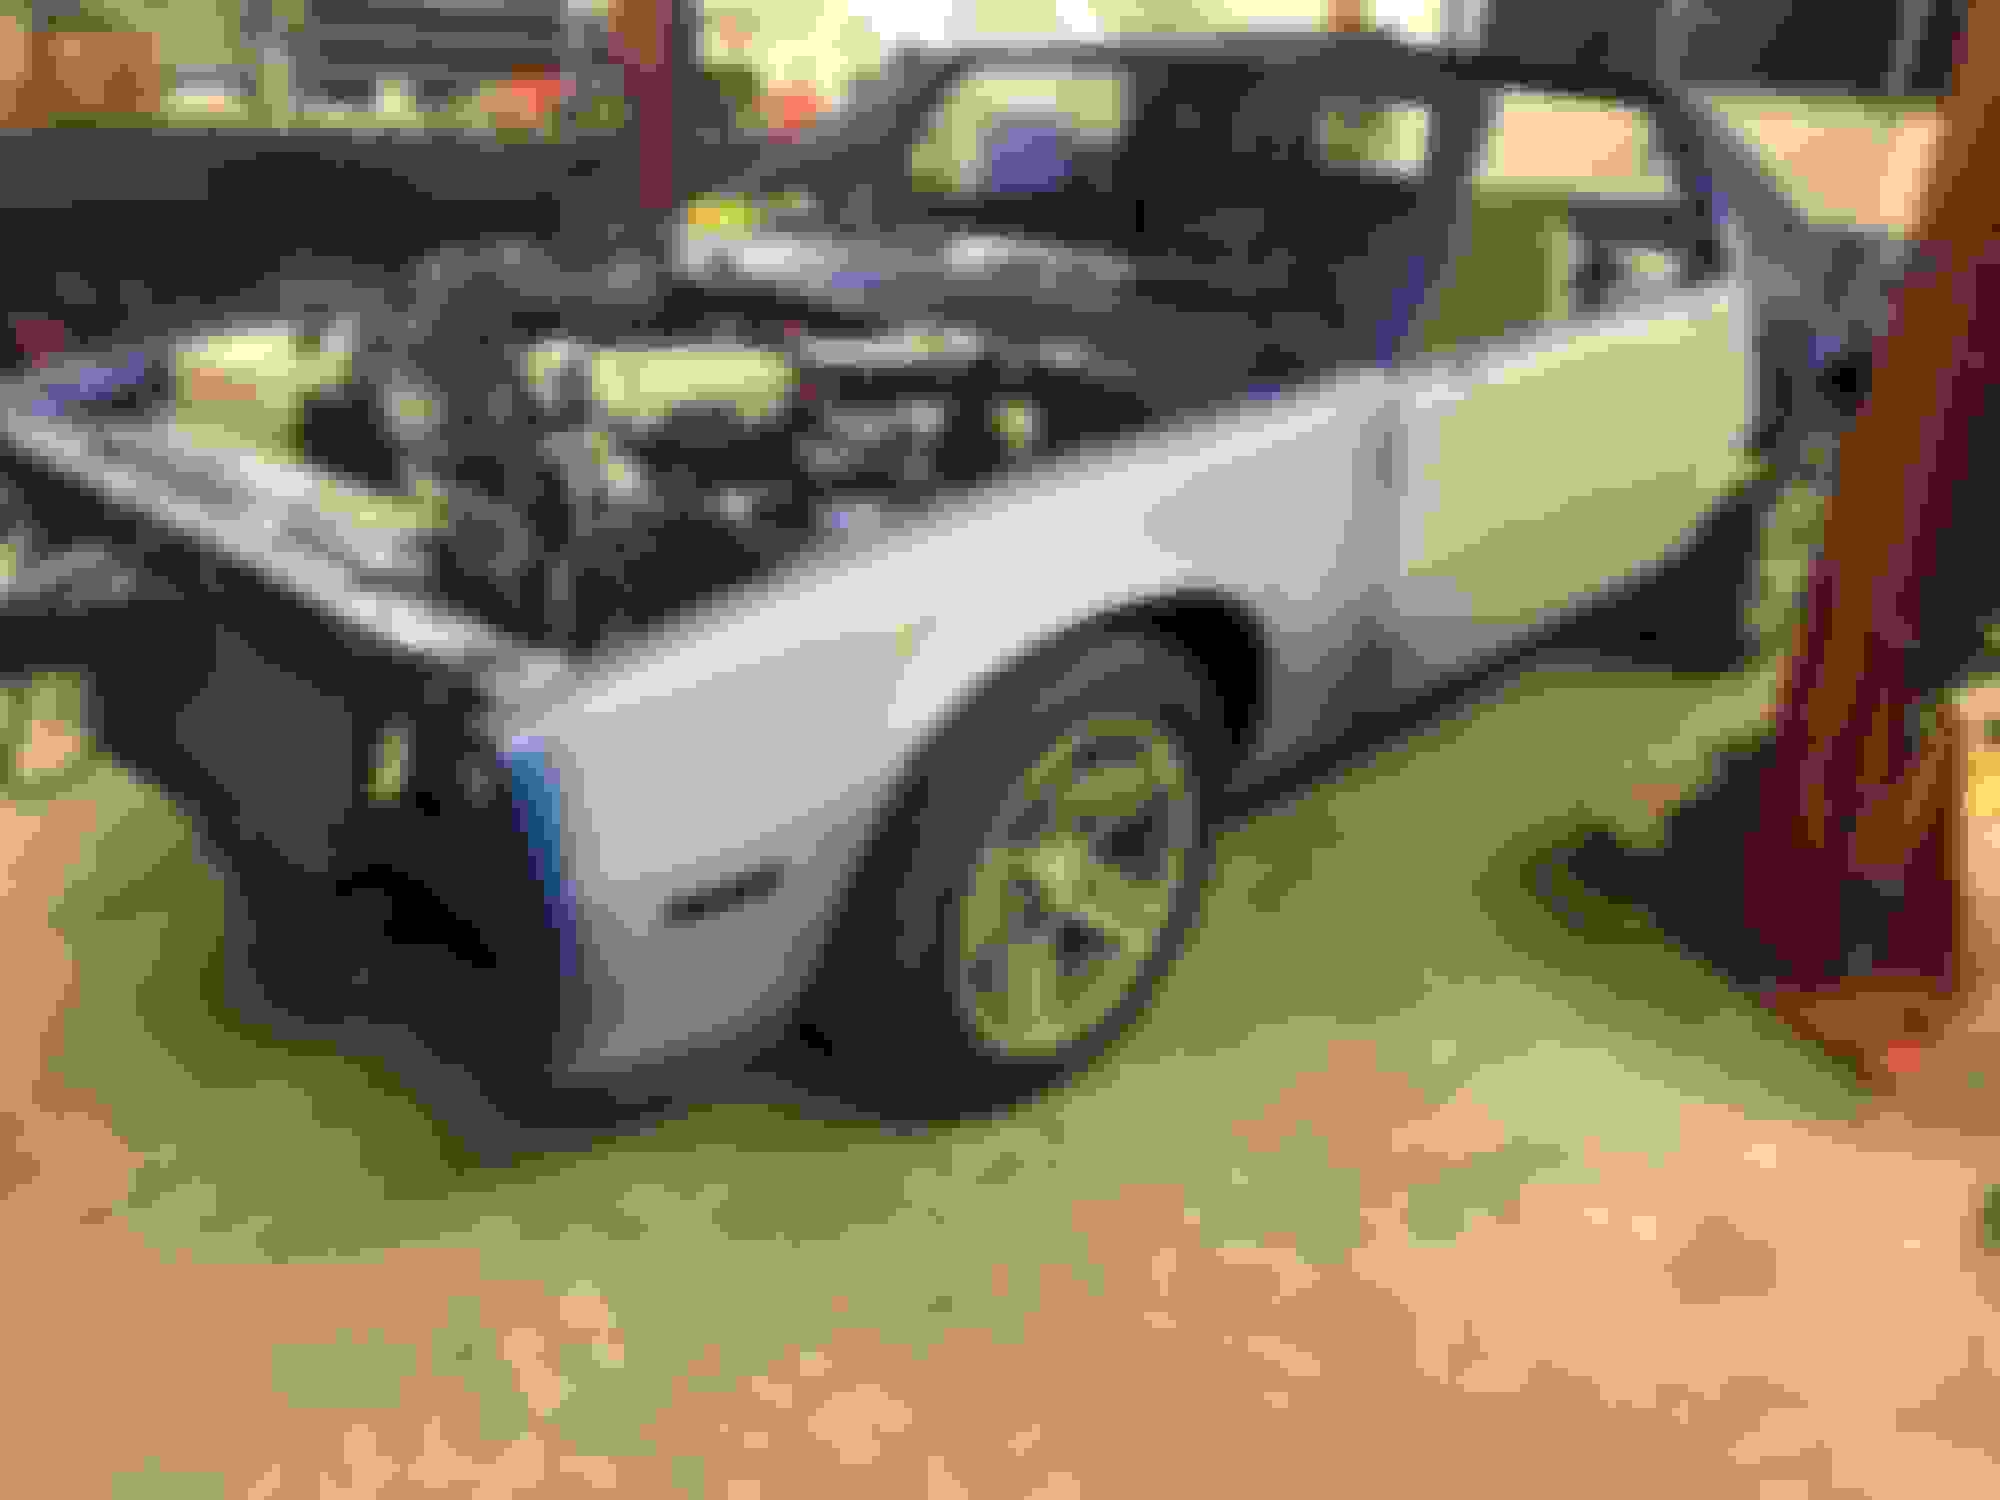
Next... cutting in doors and finally ordering the engine.
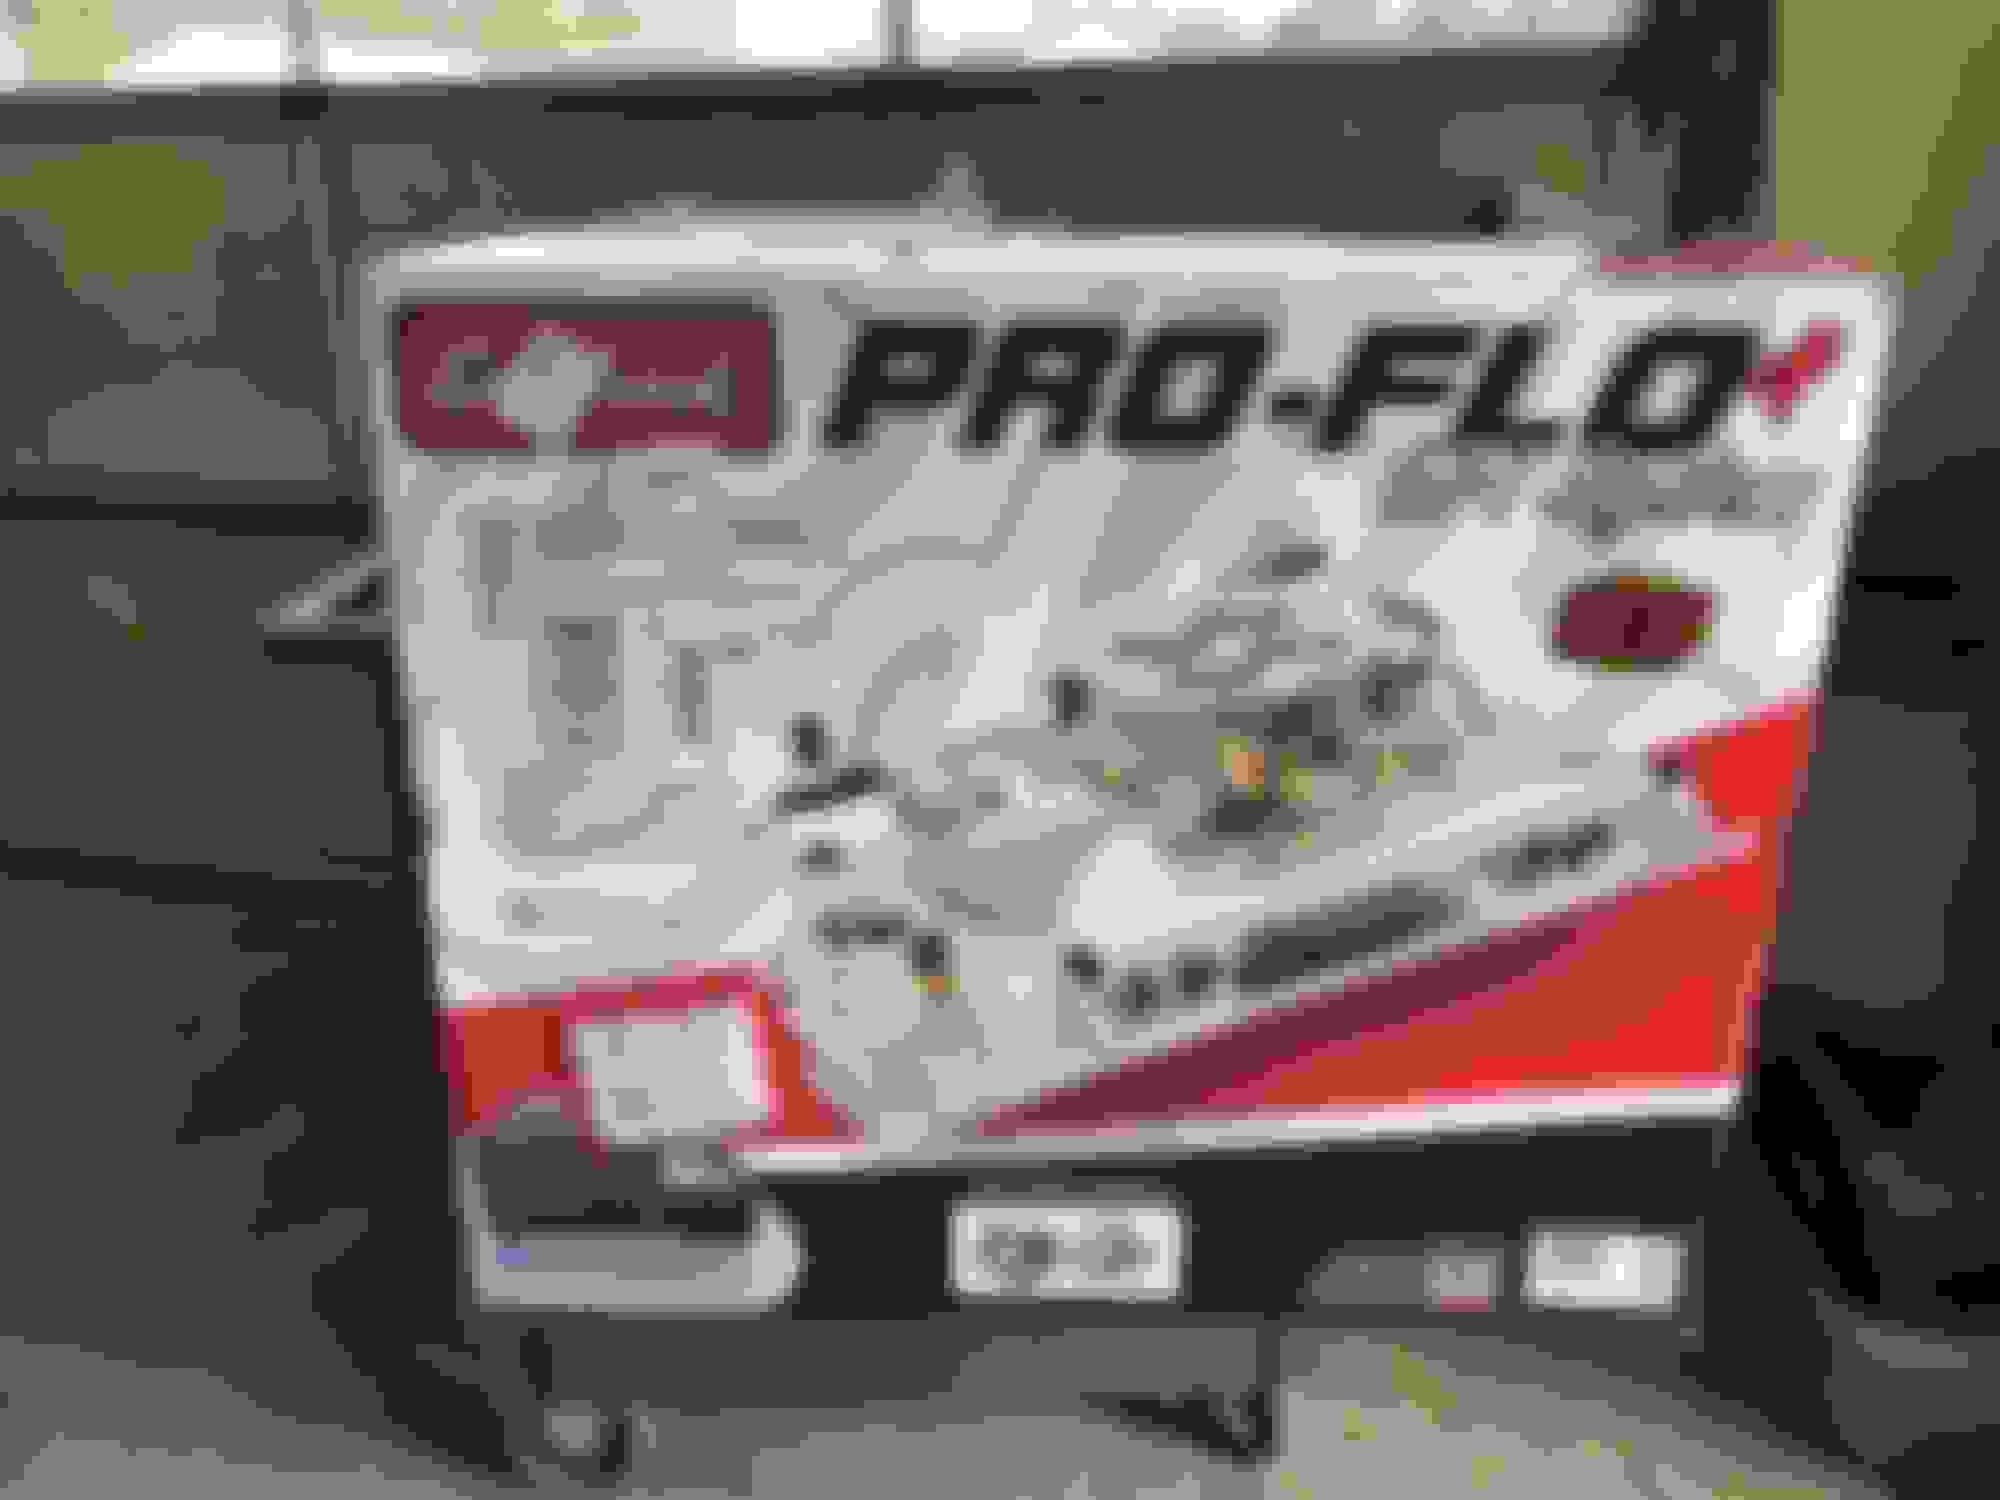
Christmas in October!!! What we have here is a new ATK HP32 350 (350hp/ 400 ft.lb. Torque) engine, Edelbrock ProFlo XT fuel injection system to replace the old underperforming TPI sysyem and serpentine belt system! Been saving and saving, finally ready to hear baby girl roar to life. Stay tuned, it won�t be long. I have everything I need, only thing I�m missing is the time is gonna take lol. Next post I�m hoping to have a video for you guys!
Cool to see progress and it is looking good! Going to a manual from an auto you need to move the yellow and purple wires to the clutch switch. I attached a wire diagram to help you out.
Well... in the event anyone thought I sold it, gave up, or lost interest. I regret to inform you, that�s not the case. Between buying a house and having another child; time to post and work on Blue are limited. But here�s a current update. She is running... super nasty. Just blocked out the last �metal� panel and she should be done this summer. Here are some progress photos. Had to weld in new hinges to the doors... that was fun, lol.
Before someone says it... fully aware these aren�t 87 panels. I like these better
Oh! Almost forgot... picked up a 1977 trans-am Y82, one owner, 72000 documented miles to start ones Blue is done.
Looking good. A lot of people don�t understand how long this type of thing takes when it�s just you doing it in your spare time. Plus the ups and downs and at least in my case, the mistakes lol
awesomeness. I'm trying to shoehorn one into a 91 Trans Am and useful to clear up some of the confusion about whether it will fit without 'mad-max'-ing a the hood
stock size LS1 throttle body or larger?
Originally Posted by Goodolboy0404
Per my measuring tape... yes. Lol. Rubber meets the road next weekend though and see for real.
awesomeness. I'm trying to shoehorn one into a 91 Trans Am and useful to clear up some of the confusion about whether it will fit without 'mad-max'-ing a the hood
stock size LS1 throttle body or larger?
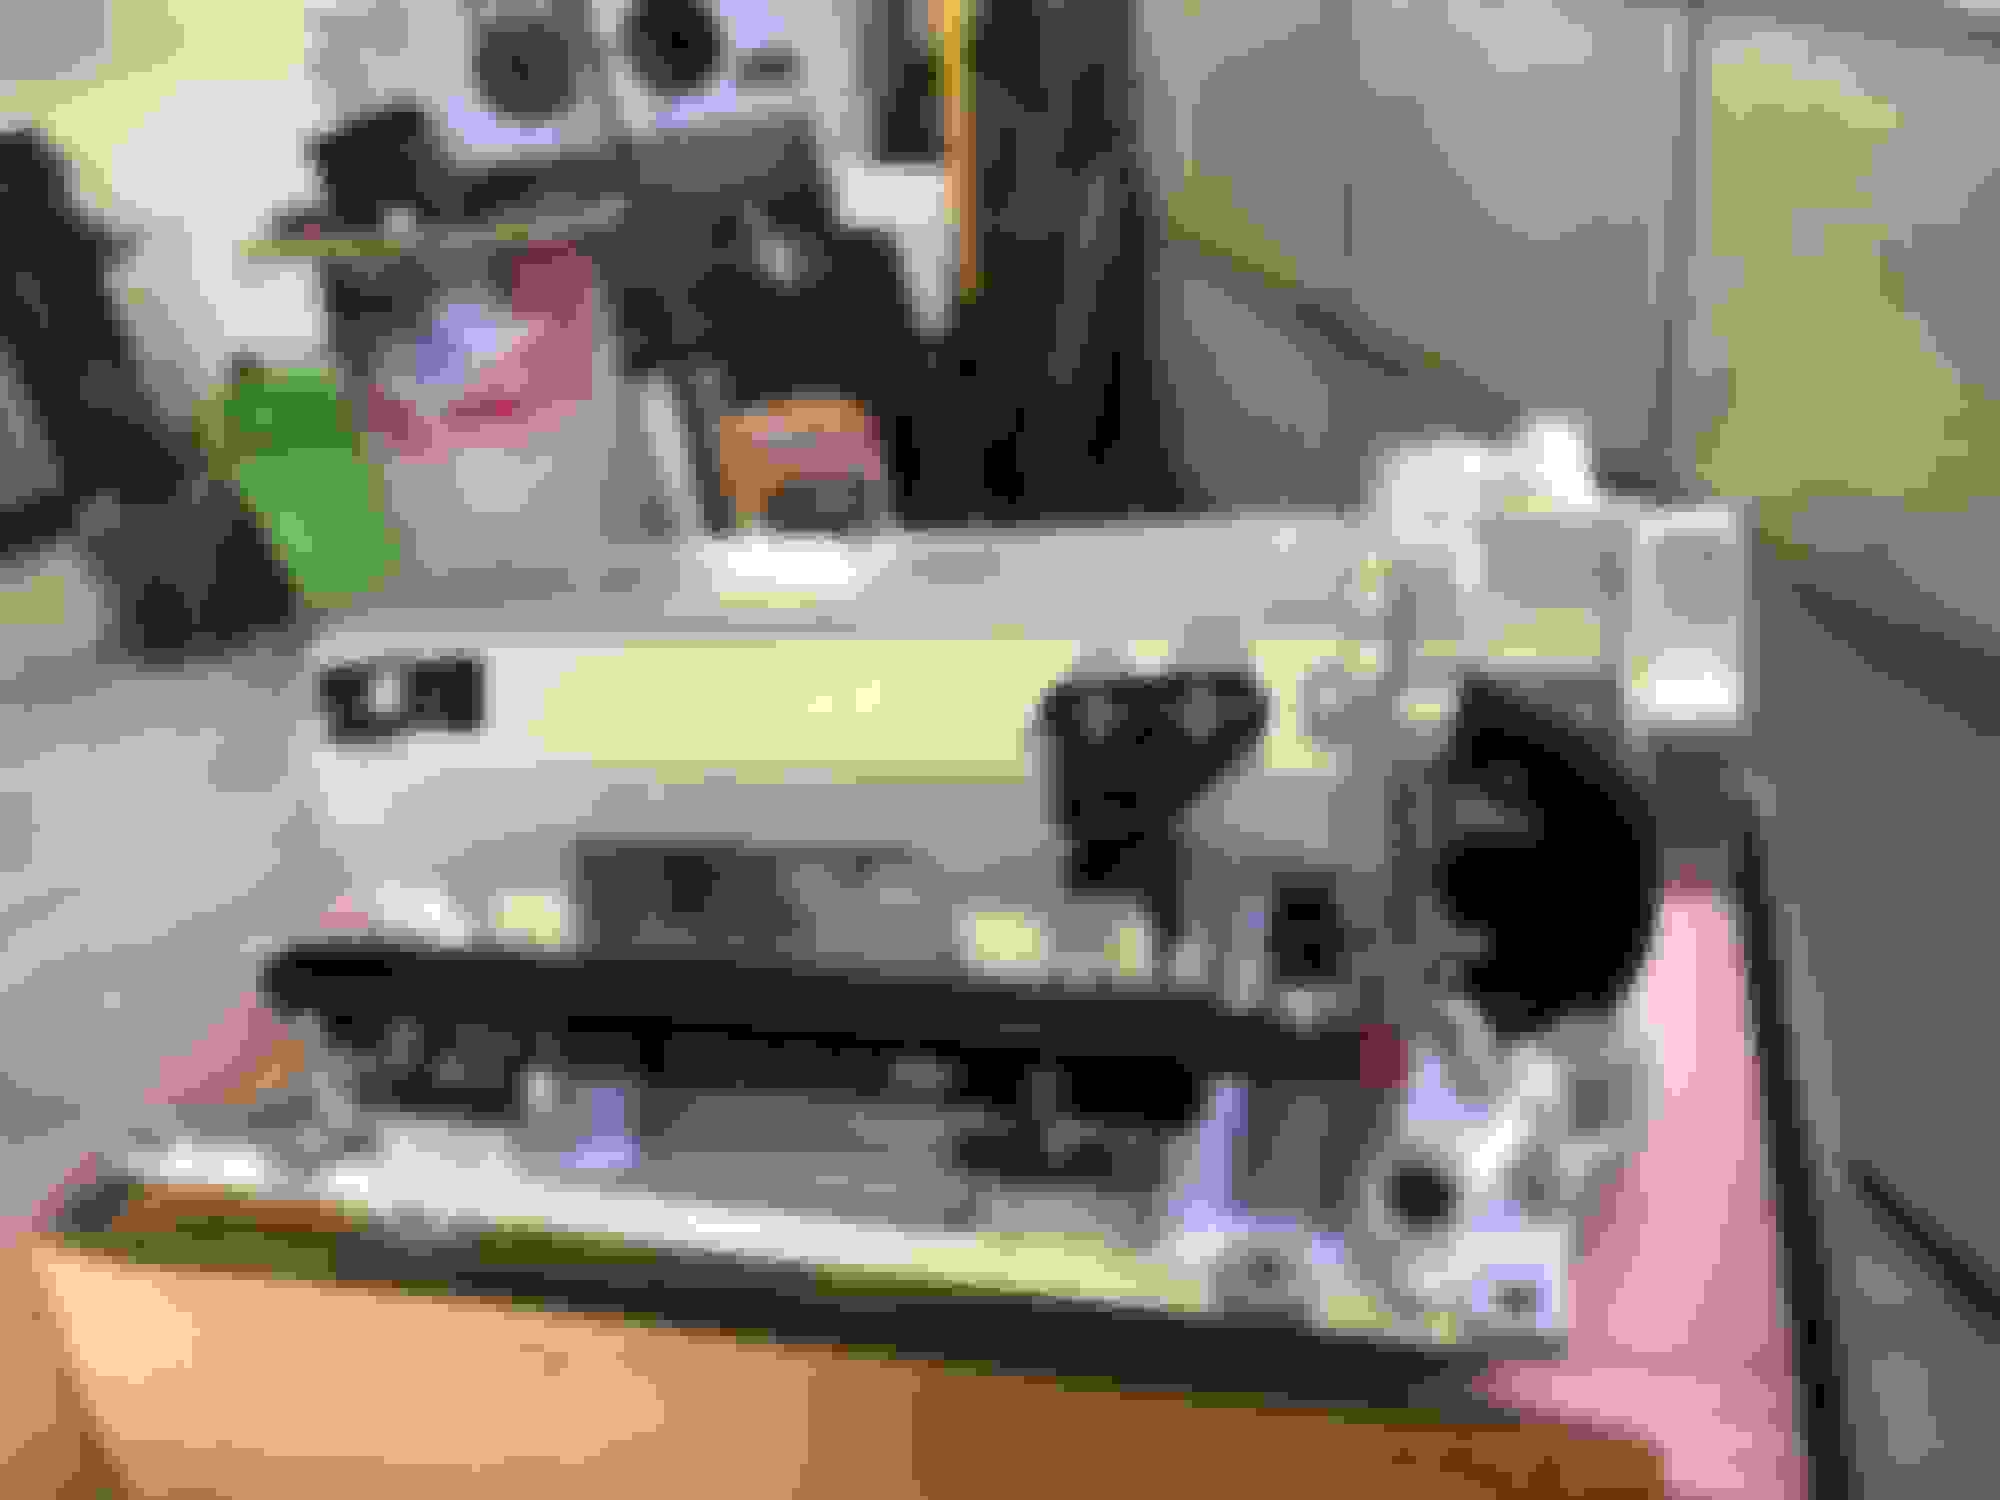
It went in easy. Some brackets had to be modified and drill/ tap some stuff for the AC but nothing major. The throttle body is an Edelbrock 90mm 1,100 cfm that comes with the kit.
My. God. I joined this group because of this thread.
I have dreams of doing mine like this with this amount of attention to detail and dedication. Here's my but: BUT, I have NO experience with metal fabrication, welding, sand blasting, painting...
So here's my question: If I gave you mine, and 10 years to complete it, what kind of price tag would that run me?
you are absolutely correct. With my ten year time line, I'll have lots of opportunities to screw up before getting it right. I am planning on counting on the experience and expertise here in this community. Particularly the OP.
LOVE that in the midst of this project, he has worked a full time job, bought a house, had a kid and had no excuse to get to work.
My. God. I joined this group because of this thread.
I have dreams of doing mine like this with this amount of attention to detail and dedication. Here's my but: BUT, I have NO experience with metal fabrication, welding, sand blasting, painting...
So here's my question: If I gave you mine, and 10 years to complete it, what kind of price tag would that run me?
The money it would take to do a �customers� car like I�ve done this one would be nowhere close to being cost effective. Shops charge like $80-120/ hr... that adds up quick, especially in body work. You�d have $10,000 in parts and labor to get a body like this back into shape. I haven�t kept track of the time because it�s a hobby so I enjoy the work. The reason it�s taken this long is life lol. If I had a month to just focus on this thing I could knock it out but that�s just not practical with a full time job, kids and a wife.
also, you�ll appreciate doing it yourself wayyyyy more. Anyone can write a check, figuratively speaking, but to build it yourself... and one day say �yup, I made that� from what should�ve been a trip to the Salvage yard. That�s cool. Plus, these are great cars to learn on. Some tricking lines to get right, long flat panels, cheap parts and if you mess up (spoiler alert, you will) it�s not like you messed up on a rare Expensive car.
ask questions... have fun... you�ll love it when it finished
Last edited by Goodolboy0404; Apr 3, 2020 at 10:27 PM.
^^exactly. I�ve never understood the guys who buy an old car and then send it off to have fixed up. Personally I�d rather have something that isn�t 100% perfect/show quality that I did myself instead having something perfect that someone else did.
Wow that is some serious work being done. Very nice, cant wait to see it done! The Bird is awesome as well!
thank man, I really enjoy the work. As far as the Trans-Am I picked it up a few months ago. All original, one owner, hurt t-top, Y82 Special Edition, 72K miles. Couldn�t pass it up.
thank man, I really enjoy the work. As far as the Trans-Am I picked it up a few months ago. All original, one owner, hurt t-top, Y82 Special Edition, 72K miles. Couldn�t pass it up.
I envy you with that bird. She will be a beauty with the kind of work you do.
you are absolutely correct. With my ten year time line, I'll have lots of opportunities to screw up before getting it right. I am planning on counting on the experience and expertise here in this community. Particularly the OP.
LOVE that in the midst of this project, he has worked a full time job, bought a house, had a kid and had no excuse to get to work.
That's the car hobby in a nutshell. Having children (Especially teenagers) has taught me patience. The internet is the greatest tool invented, for learning new things. You will treasure your car, if you commit the time and energy to do it yourself.
DR.K.
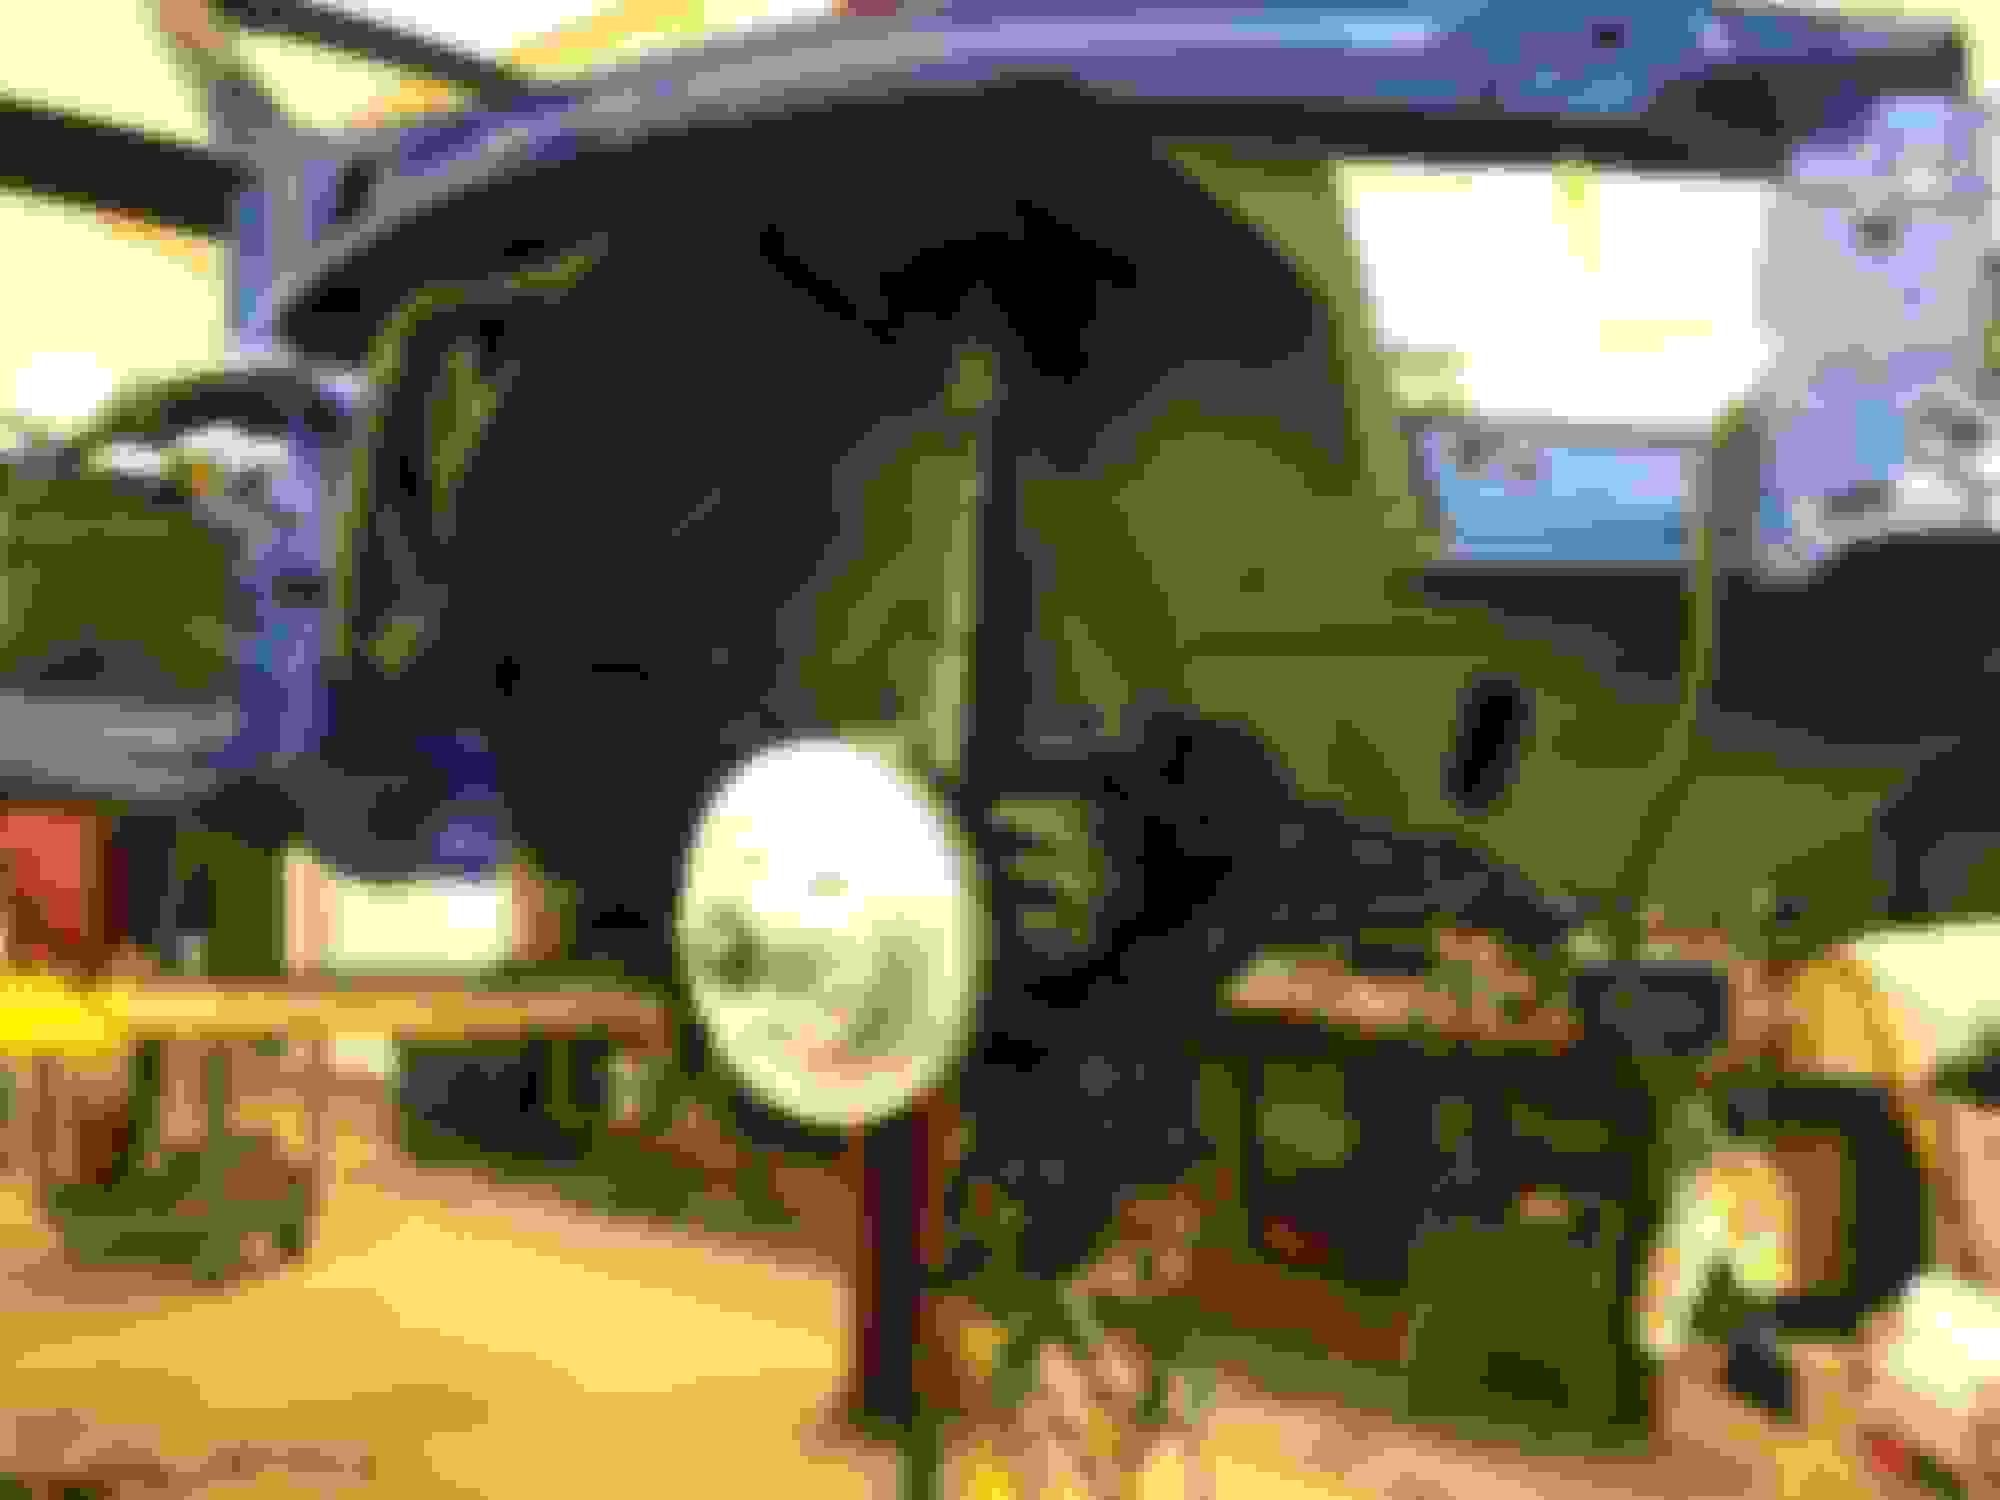
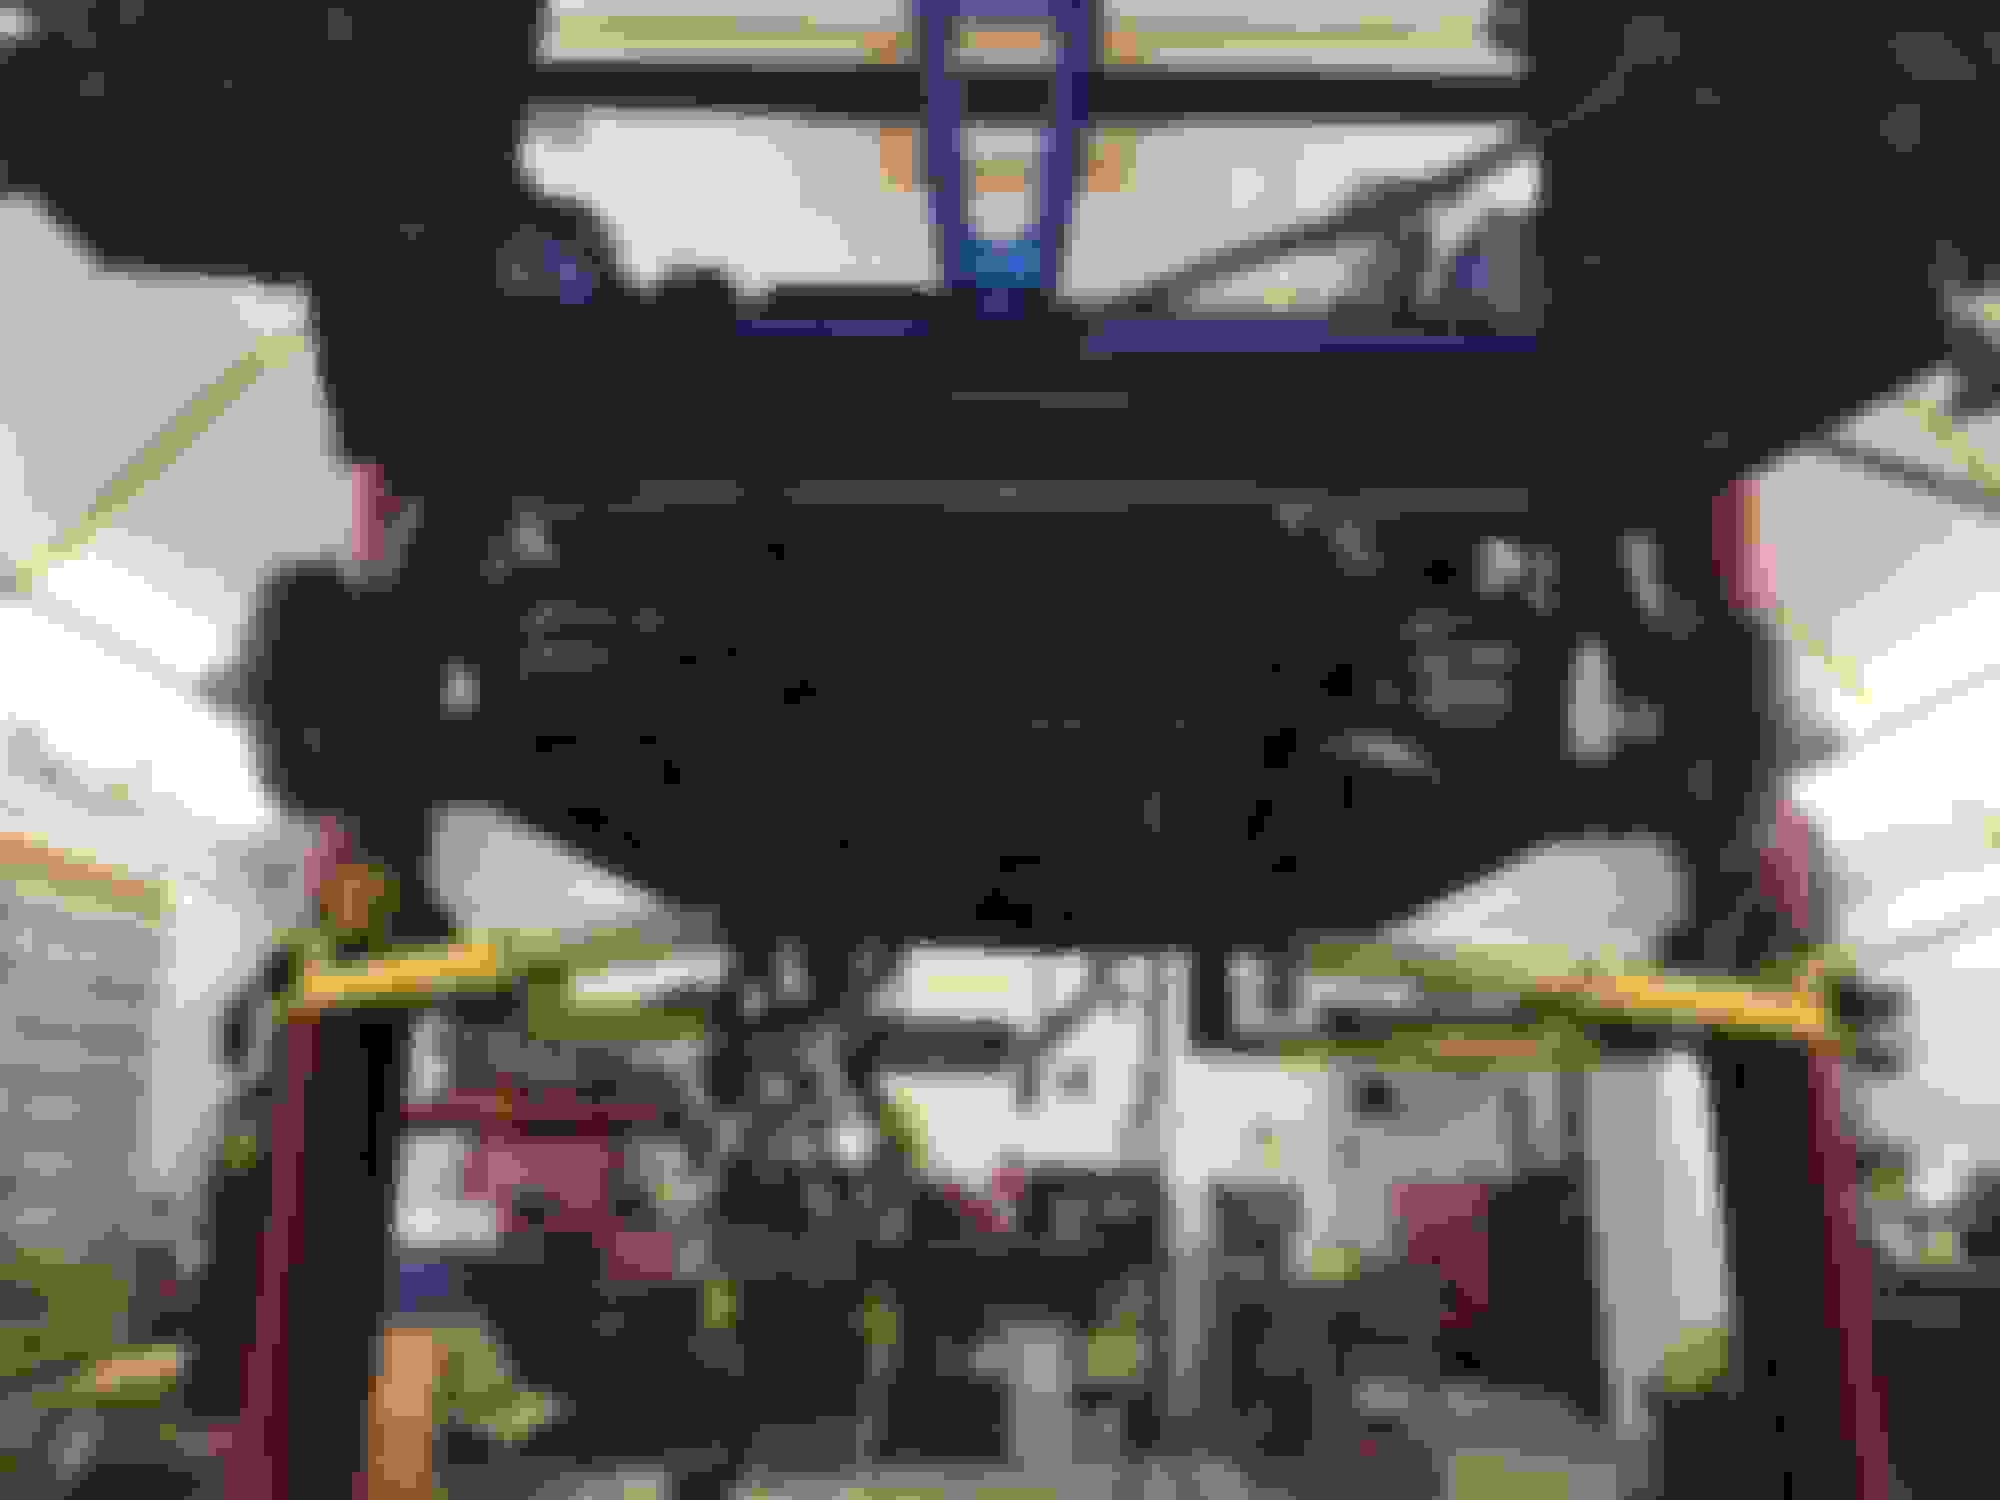
Slight update... all of the heat shields were refinished and new exhaust installed. Next is to wrap up the body work and finish the paint, all the interior is patiently waiting install. ****Spoiler alert, it�s not 87 interior unfortunately but it�s clean and will look nice with the blue. Stay tuned Don�t mind the red... needed to throw it on for fitment.
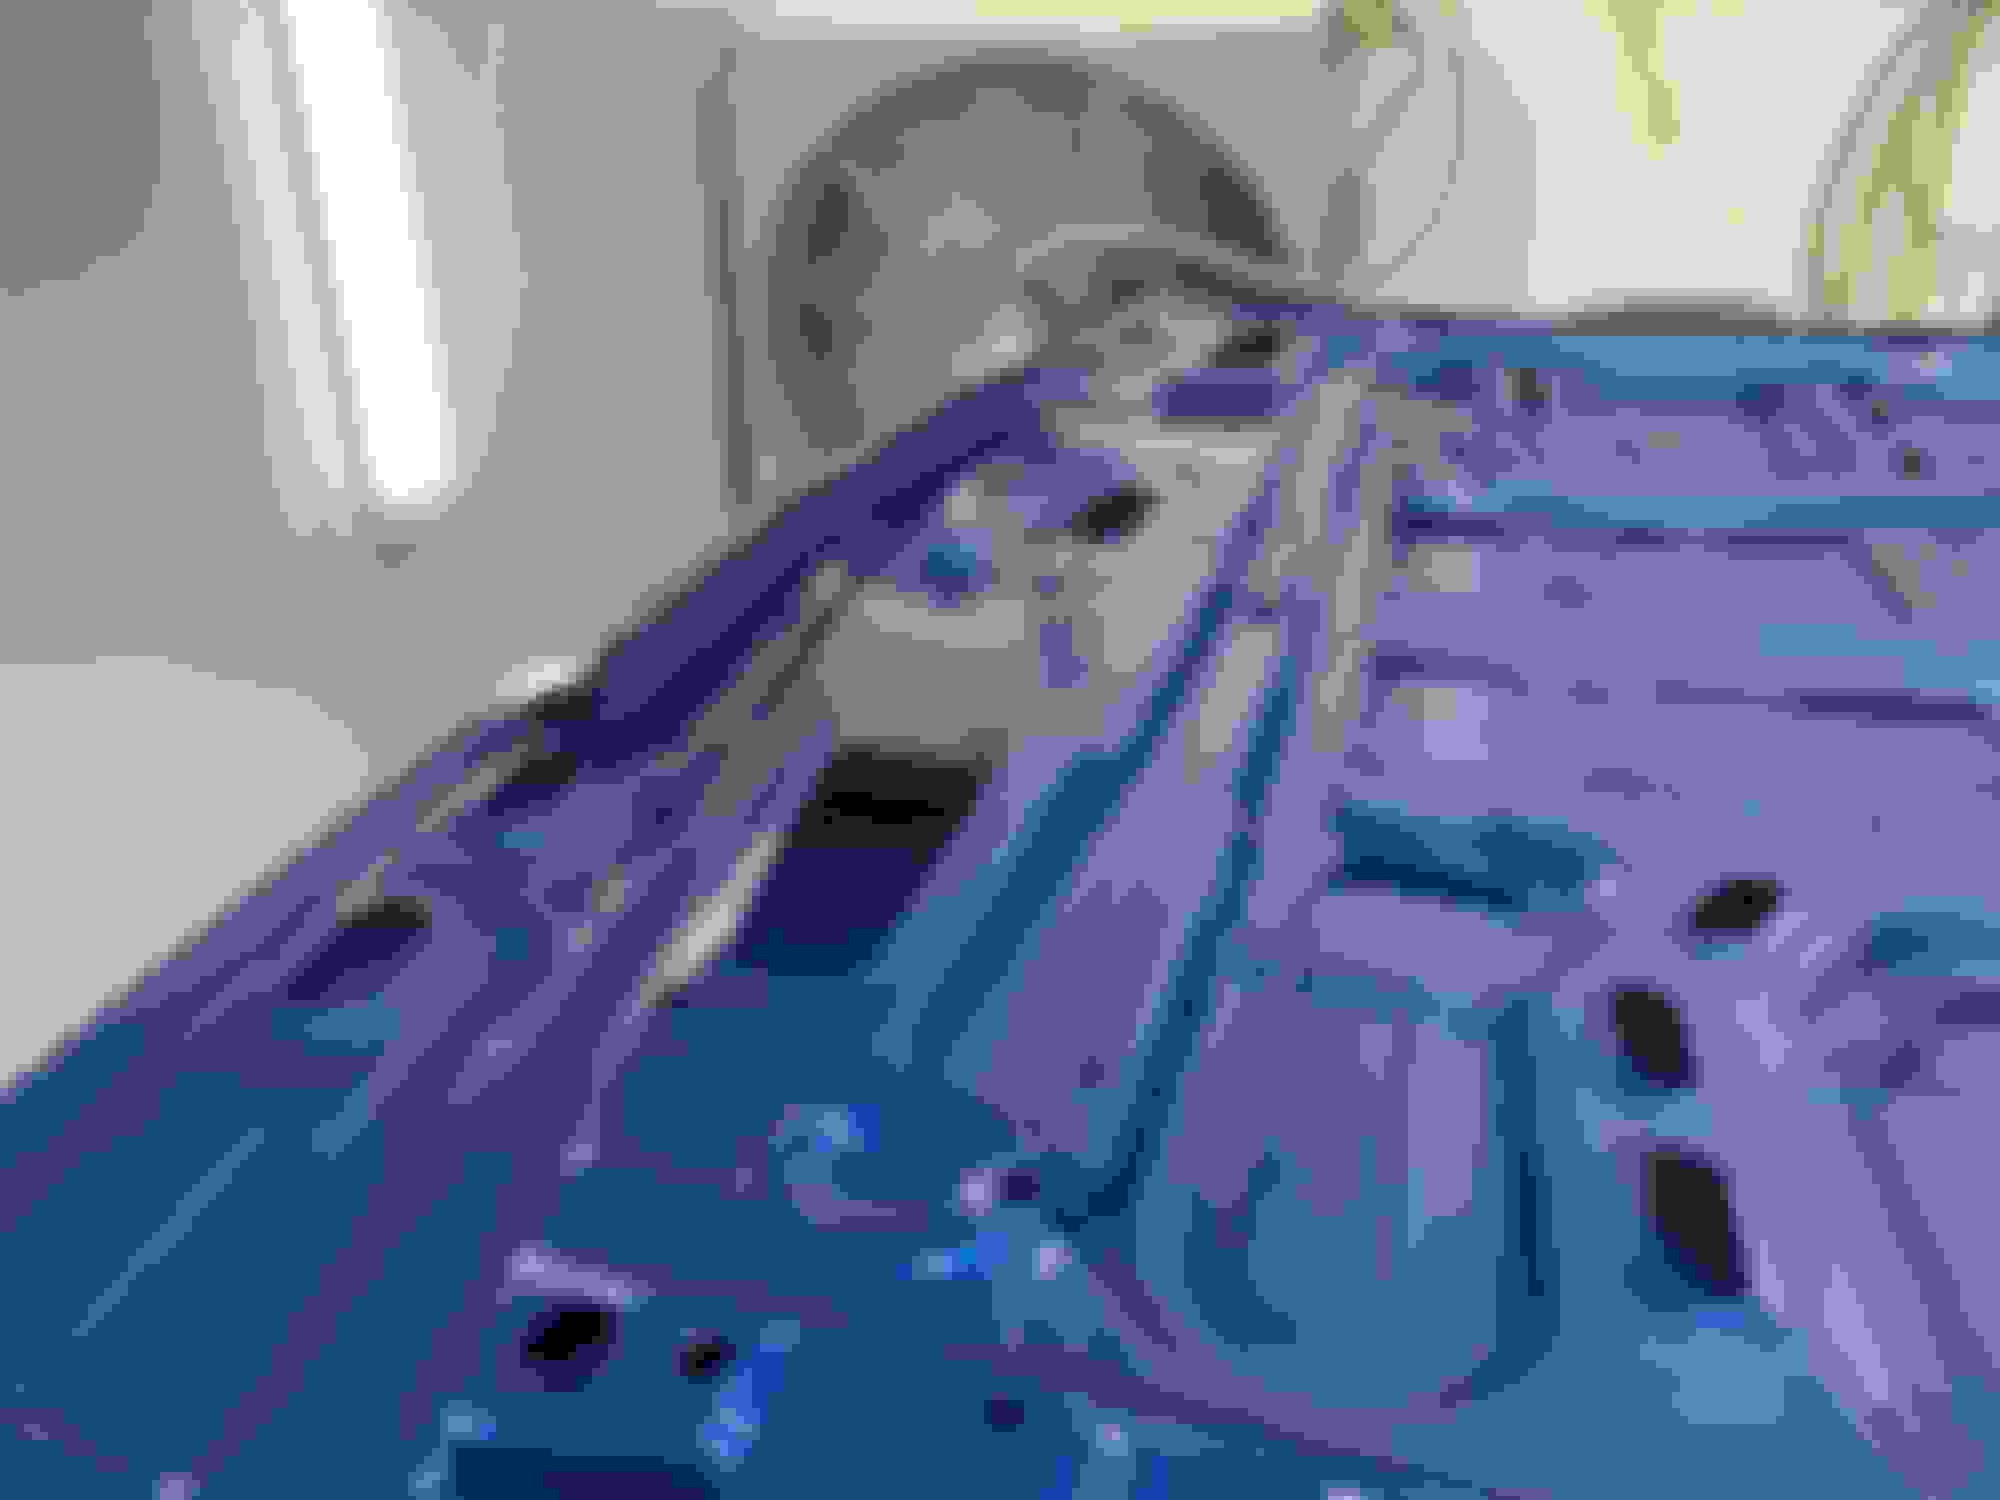
After about 12 hours of priming and blocking the hood it straight as it�s going to be... finally got the color on the bottom after blocking it out. Let her dry... new photo baby girl will have her good back and finishing strong with effects and bumpers... getting close 😬
I think I said 2 years ago that this was going to be motivation, which is why I read it all again. Amazing job. Have the floor pans for my 91 and sub-frame connectors waiting. House repair and kids are my excuse and I'm moving in a few weeks, but making the car a priority over the new house ... at first.
My main question is on floor repair. Even though rust had taken over, when you cut out the floor and inner rockers where you at all worried about the body flexing out of shape? My plan is to fix the floors, get it all sitting on the ground again and then do the sub-frame connectors.
My. God. I joined this group because of this thread.
I have dreams of doing mine like this with this amount of attention to detail and dedication. Here's my but: BUT, I have NO experience with metal fabrication, welding, sand blasting, painting...
So here's my question: If I gave you mine, and 10 years to complete it, what kind of price tag would that run me?
Id take that challenge. I'd do a restoration for 45 an hour plus materials- but for everything he's done to his car id say you be into it about $45000 at least. when its all said and done id bet hes gonna have dang near 1000 hours into it. i know i just did an exterior refresh on my car and i probably have close to 100 hours into it and that was with almost no Rust at all.
Wow! Great work! I bought this 87 Iroc a year ago and it was in pretty bad condition. Rust everywhere. Floor pans, rocker panels, qtr panels,A-pillars, etc so I feel your pain. It is ALOT of work. I decided to vinyl wrap instead of paint to keep cost down.
I think I said 2 years ago that this was going to be motivation, which is why I read it all again. Amazing job. Have the floor pans for my 91 and sub-frame connectors waiting. House repair and kids are my excuse and I'm moving in a few weeks, but making the car a priority over the new house ... at first.
My main question is on floor repair. Even though rust had taken over, when you cut out the floor and inner rockers where you at all worried about the body flexing out of shape? My plan is to fix the floors, get it all sitting on the ground again and then do the sub-frame connectors.
you have to do a section at a time, unless you brace the bottom to support the car once you remove the floor which would be a PITA! If you do a section at a time it won�t flex.
That's what I figured you did. I have new door pins and bushings I bought at a dealer for an IROC i previously owned and never used. Going to put those in to fix the door sag and assuming all looks good, I won't worry about bracing. Thanks for the response
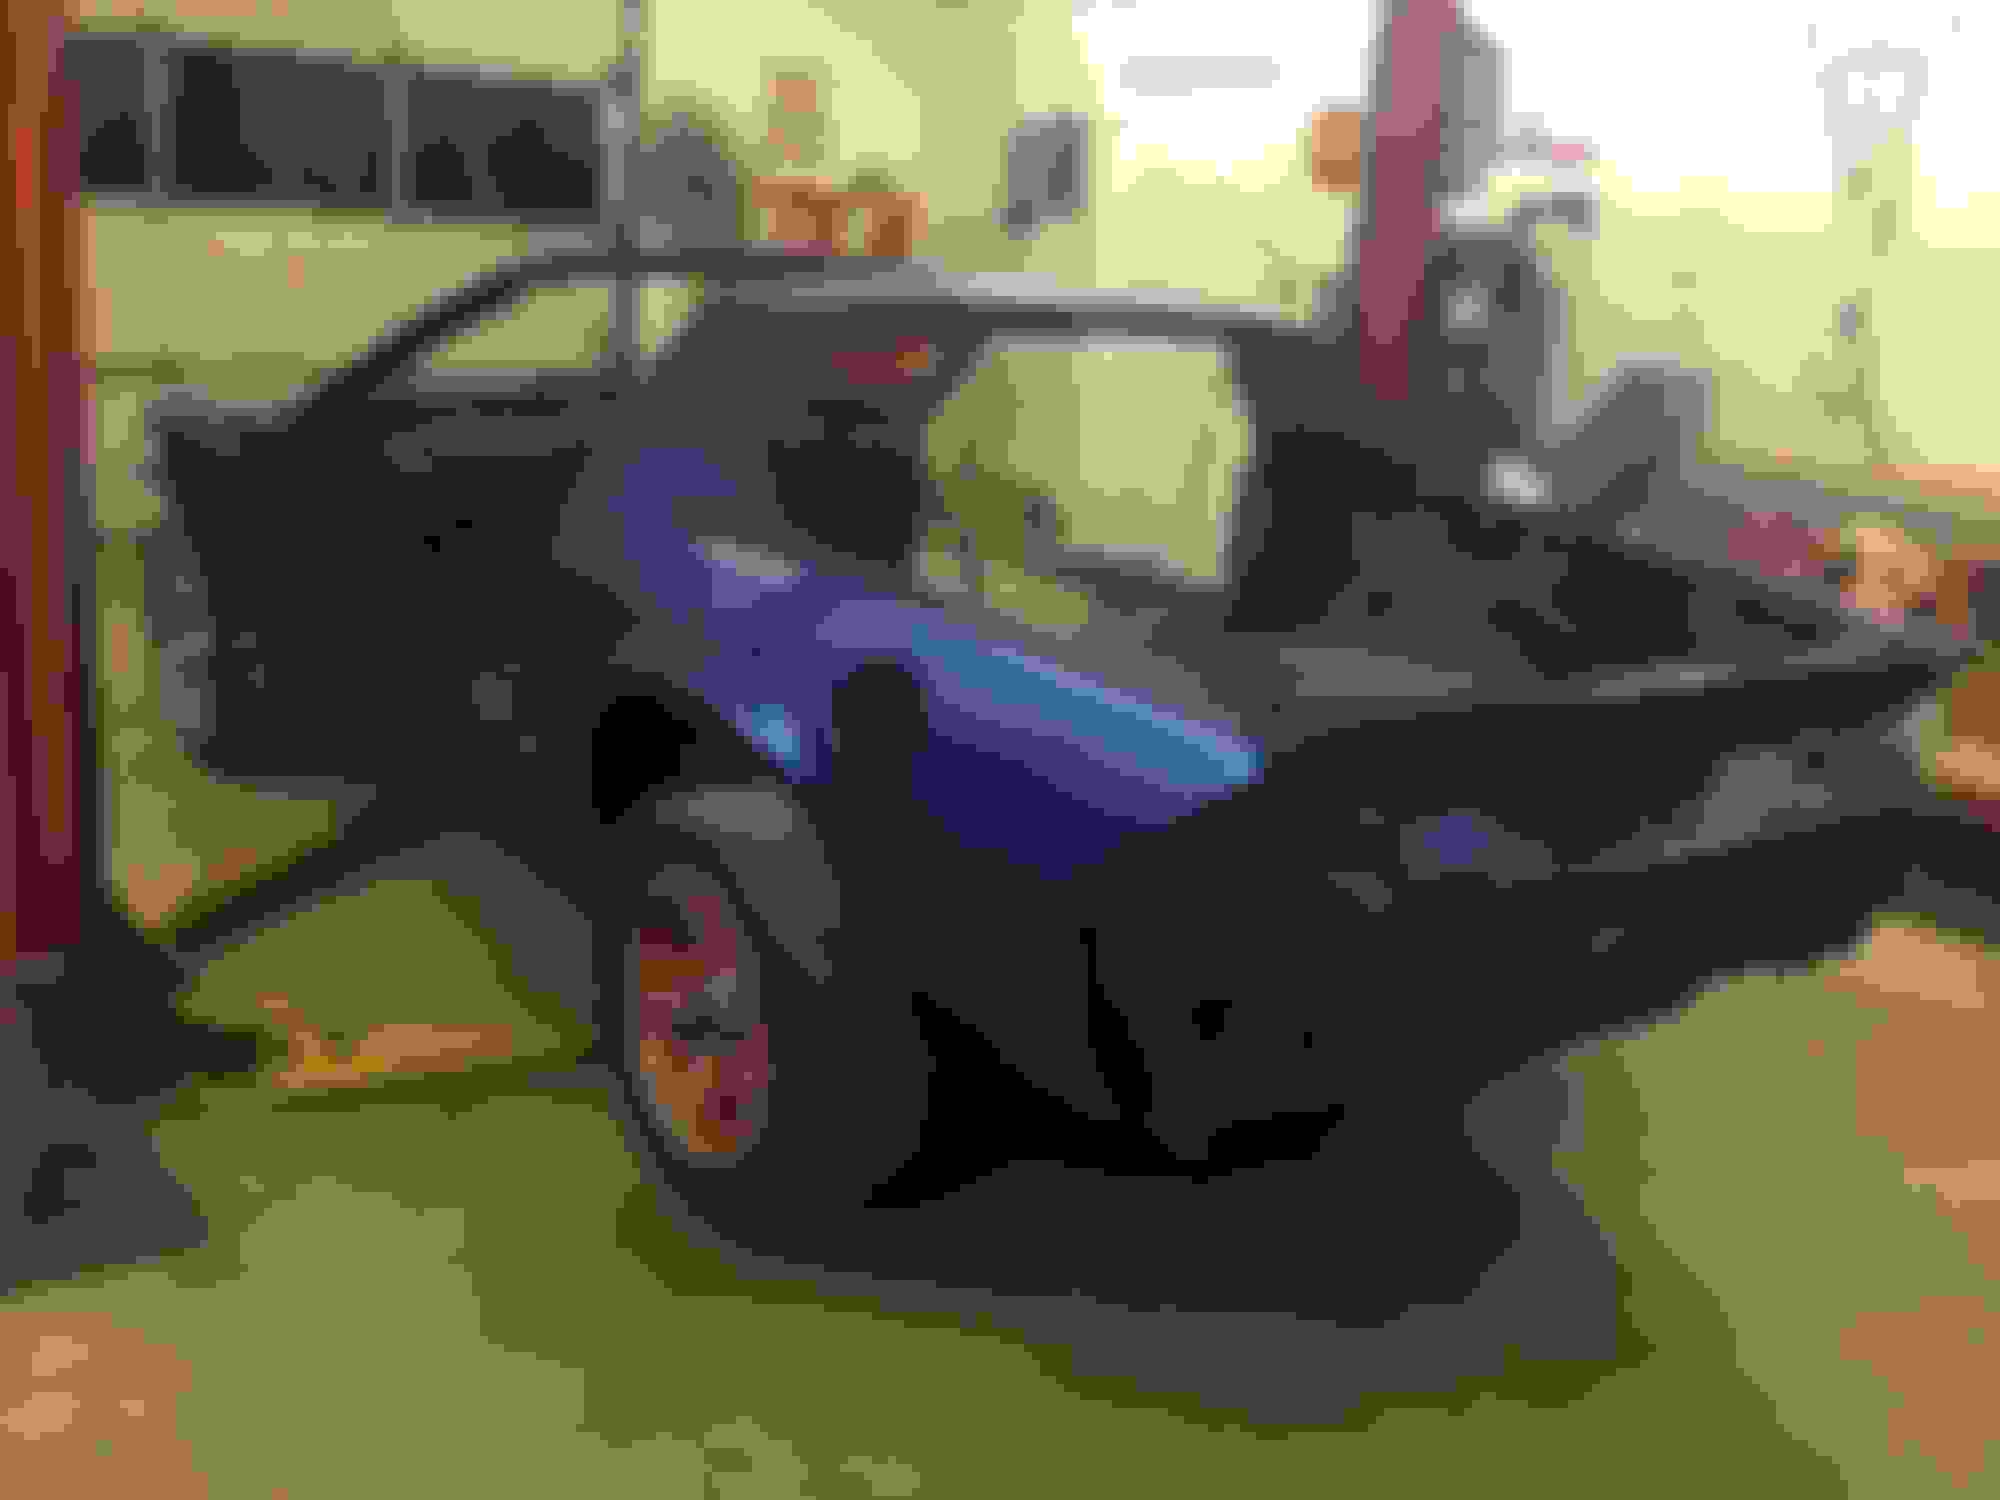
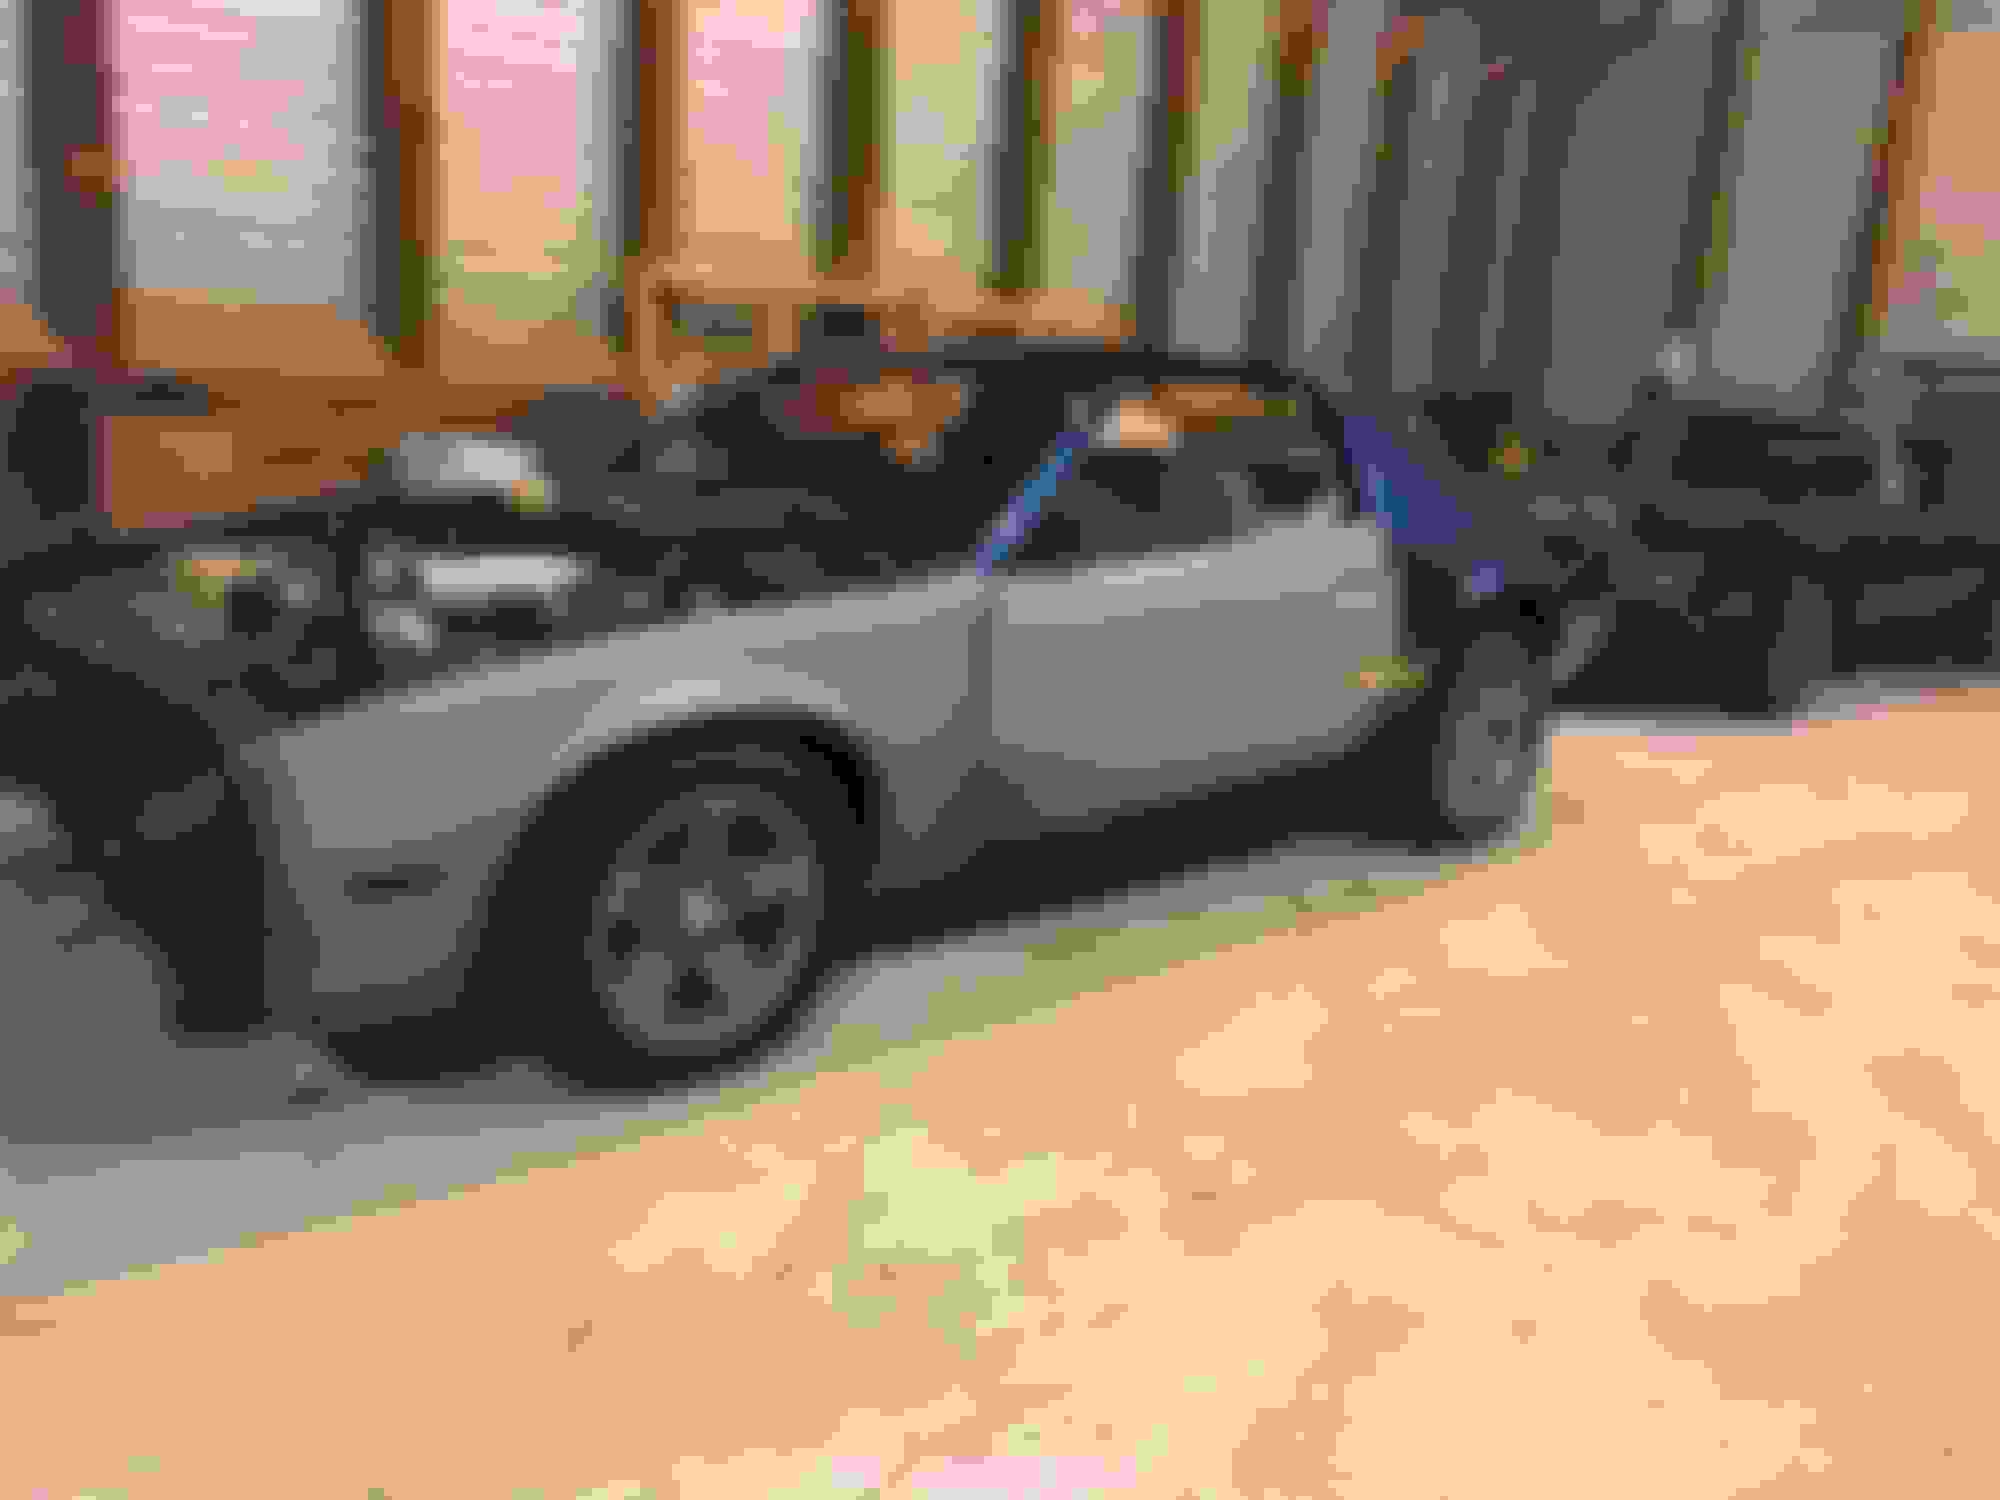
Spent the day test fitting the final pieces and Tightening gaps on fiberglass parts. First time the front bumper has been on her in 6 years; which is crazy to even think about! Should be all one color soon. Stay tuned