When you click on links to various merchants on this site and make a purchase, this can result in this site earning a commission. Affiliate programs and affiliations include, but are not limited to, the eBay Partner Network.
LTX and LSXPutting LT1s, LS1s, and their variants into Third Gens is becoming more popular. This board is for those who are doing and have done the swaps so they can discuss all of their technical aspects including repairs, swap info, and performance upgrades.
So yes I grounded the black/white wire in c207 and now the passkey module works without the ecu etc. Also the security light comes on for a few seconds when the key goes to run position then goes off. So the security light doesn't require the ecu to work.
Black/white is the ground for the passkey module in C207 on the 1989.
Last edited by Aviator857; Jun 25, 2018 at 07:49 PM.
Ok my search skills are failing I should have the car running this weekend and want to do the wiring for the AC before I pull the harness off and re-loom it...
But where is the guide on the AC wiring ... I know it exists just can't find it.
Using new thirdgen components, hawks hoses, and 4th gen compressor in stock location.
I have the high side 4th gen sensor and the low side thirdgen sensor.
QwkTrip, I've seen a few posts where you say the BMR is flimsy have you had a problem with it or is preceived issue. I do wish it was set up with the engine mount about 1/2 inch lower and .5 to 1 inch forward -- that would give me better spacing to the firewall.
I don't think I could of cleared the cats with any other K-member.
I don't like the trans cross member I have but I can't find one I like, I think I may build my own cross member... well tack it up and get a better welder than I to finish weld it. Either that or take my sub frame connectors out and replace with other style.
I don't like having to run the exhaust above the cross member and only having 1 inch space between the pipe and the transmission as it goes through there.
One problem with BMR is they don't have good process controls. They have a jig for the general shape but give freedom to the worker to ad-lib instead of following instructions to the tee. The bracing will look different depending who built it. Yours probably looks different than mine.
I haven't had any big problems with the BMR k-member. I can't jack on it or it will bend (not maybe, it will). I can easily flex it by hand when it is not mounted in the car. What it comes down to in my opinion is the k-member should lend support to the unibody and I don't think BMR is doing a proper job of it. The free space it gives in the engine bay is fantastic!
I don't like the trans cross member I have but I can't find one I like, I think I may build my own cross member...
Alston subframe connectors were made to be used with stock transmission mounts. T56 needs support further back and the mounts compete with the same real estate as the Alston subframes. You could try a Hawks double-hump crossmember for more exhaust clearance but you're probably going to have to remove material around the Alston's, especially on passenger side.
When I put Alston's on my car I gave the shop a Hawks crossmember and a Holley Hooker crossmember and said cut them up any way you want. They didn't use either and said it would have been too much work. They instead made a slick little double-hump unit that mounts to the Alston subframes. My transmission doesn't carry the load of the torque arm though (which is a good thing).
yea I were designing subframe connectors for these cars they would bolt in to the stock trans cross member location (have a spacer if you are running a stock trans so the trans tail is right level. and lip over the frame so you can weld around that. Run back to the LCA mount and tie in so that the LCA bolts through the frame connector and the original mount with bracket designed to finish weld in place. Then as far up as you could in a slightly different plane Y off to the cars rear frame and connect to the connector (give more stuffiness by being in different planes)
Then from just in front of the trans mount area have a bar go out to the pinch weld.
Then for the K member I would do probably an H design with tie ins to the wonder bar.
Unfortunately I don't have tube bender and notching tools, my welder is beefy enough to do the welding though.
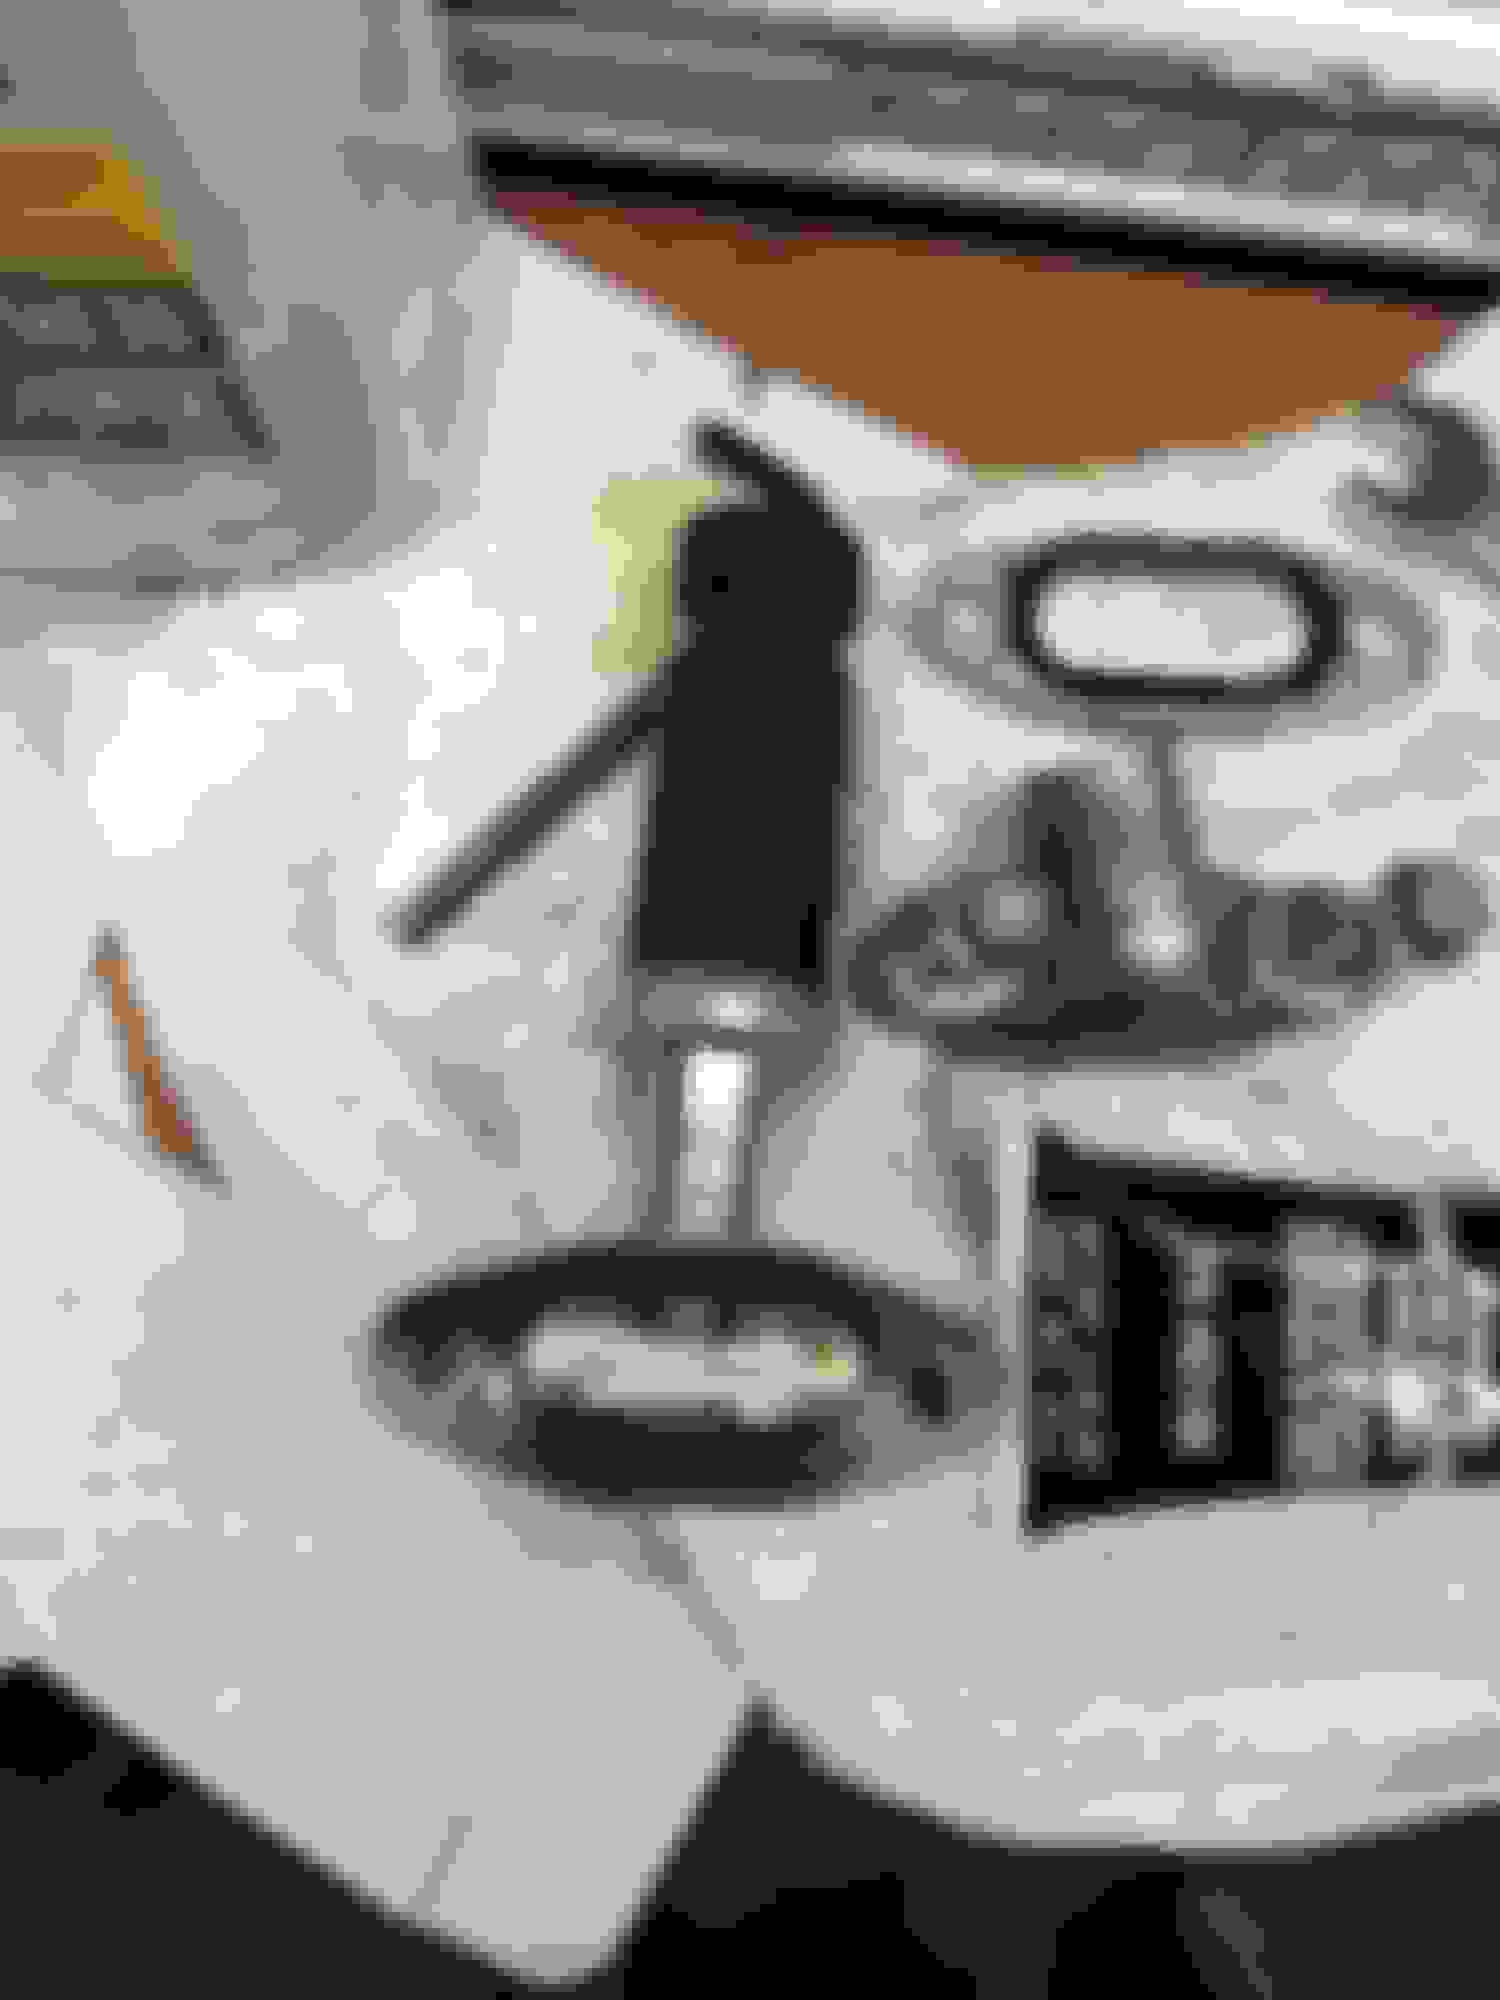
BTW I found the AC diagrams, the 207 pin outs so I think I have the info to finish the wiring if I can get my day job project done tonight. (everyone that reports to me finished their coding for the quarter at the same time and I'm finalizing all the integration )
Yes didn't get a chance to finish it but I did get the 89 oil sender mounted in an aftermarket plate by drilling and taping a hole 1/4 ntp. Also got pcm plugged up and hptuners talking to the pcm.
Brought it up to temp to verify fans come on. It holds 195-200 degrees with the 4th gen fans and thirdgen radiator. Only issue I see is the alternator isn't charging. May be the alternator may be the excitor wire.
I didn't have the alt plug fully snapped in after I put the alt back in after priming the oil pump. Alternator charges without issue... its easy enough to replace so I'll wait until it dies to replace it (It had to of gone under water based on the flood line but it is clean inside and doesn't make noise... I still think the insurance company miss classified the donor car I don't think the water line was much above the door seals)
I'm using the 4th gen brake and clutch pedal as the car was originally an auto. After beading the clutch I only have disengagement for the last inch or so of the clutch pedal. The pedal hits the stop before it hits the floor.
I'm thinking this isn't enough and I'm going to need to take the pedals out and adjust the bracket so that the pivot point is closer to the firewall (giving more travel range on the master cylinder) -- I haven't bled the brakes yet but I have a feeling they will need more travel as well.
Am I better off just buying a 3ed gen pedal assembly or taking a 1/4 inch off the bracket? Cutting out the jute padding from between the bracket and the firewall may give me enough change in the pivot angle.
Right now if I take the clutch rod off the pedal I have probably a 1/4-1/2 inch travel up before I hit the stop on the top from where the rod stops it. The pedals sit well and are just proud of the gas pedal so maybe I'm just being paranoid.
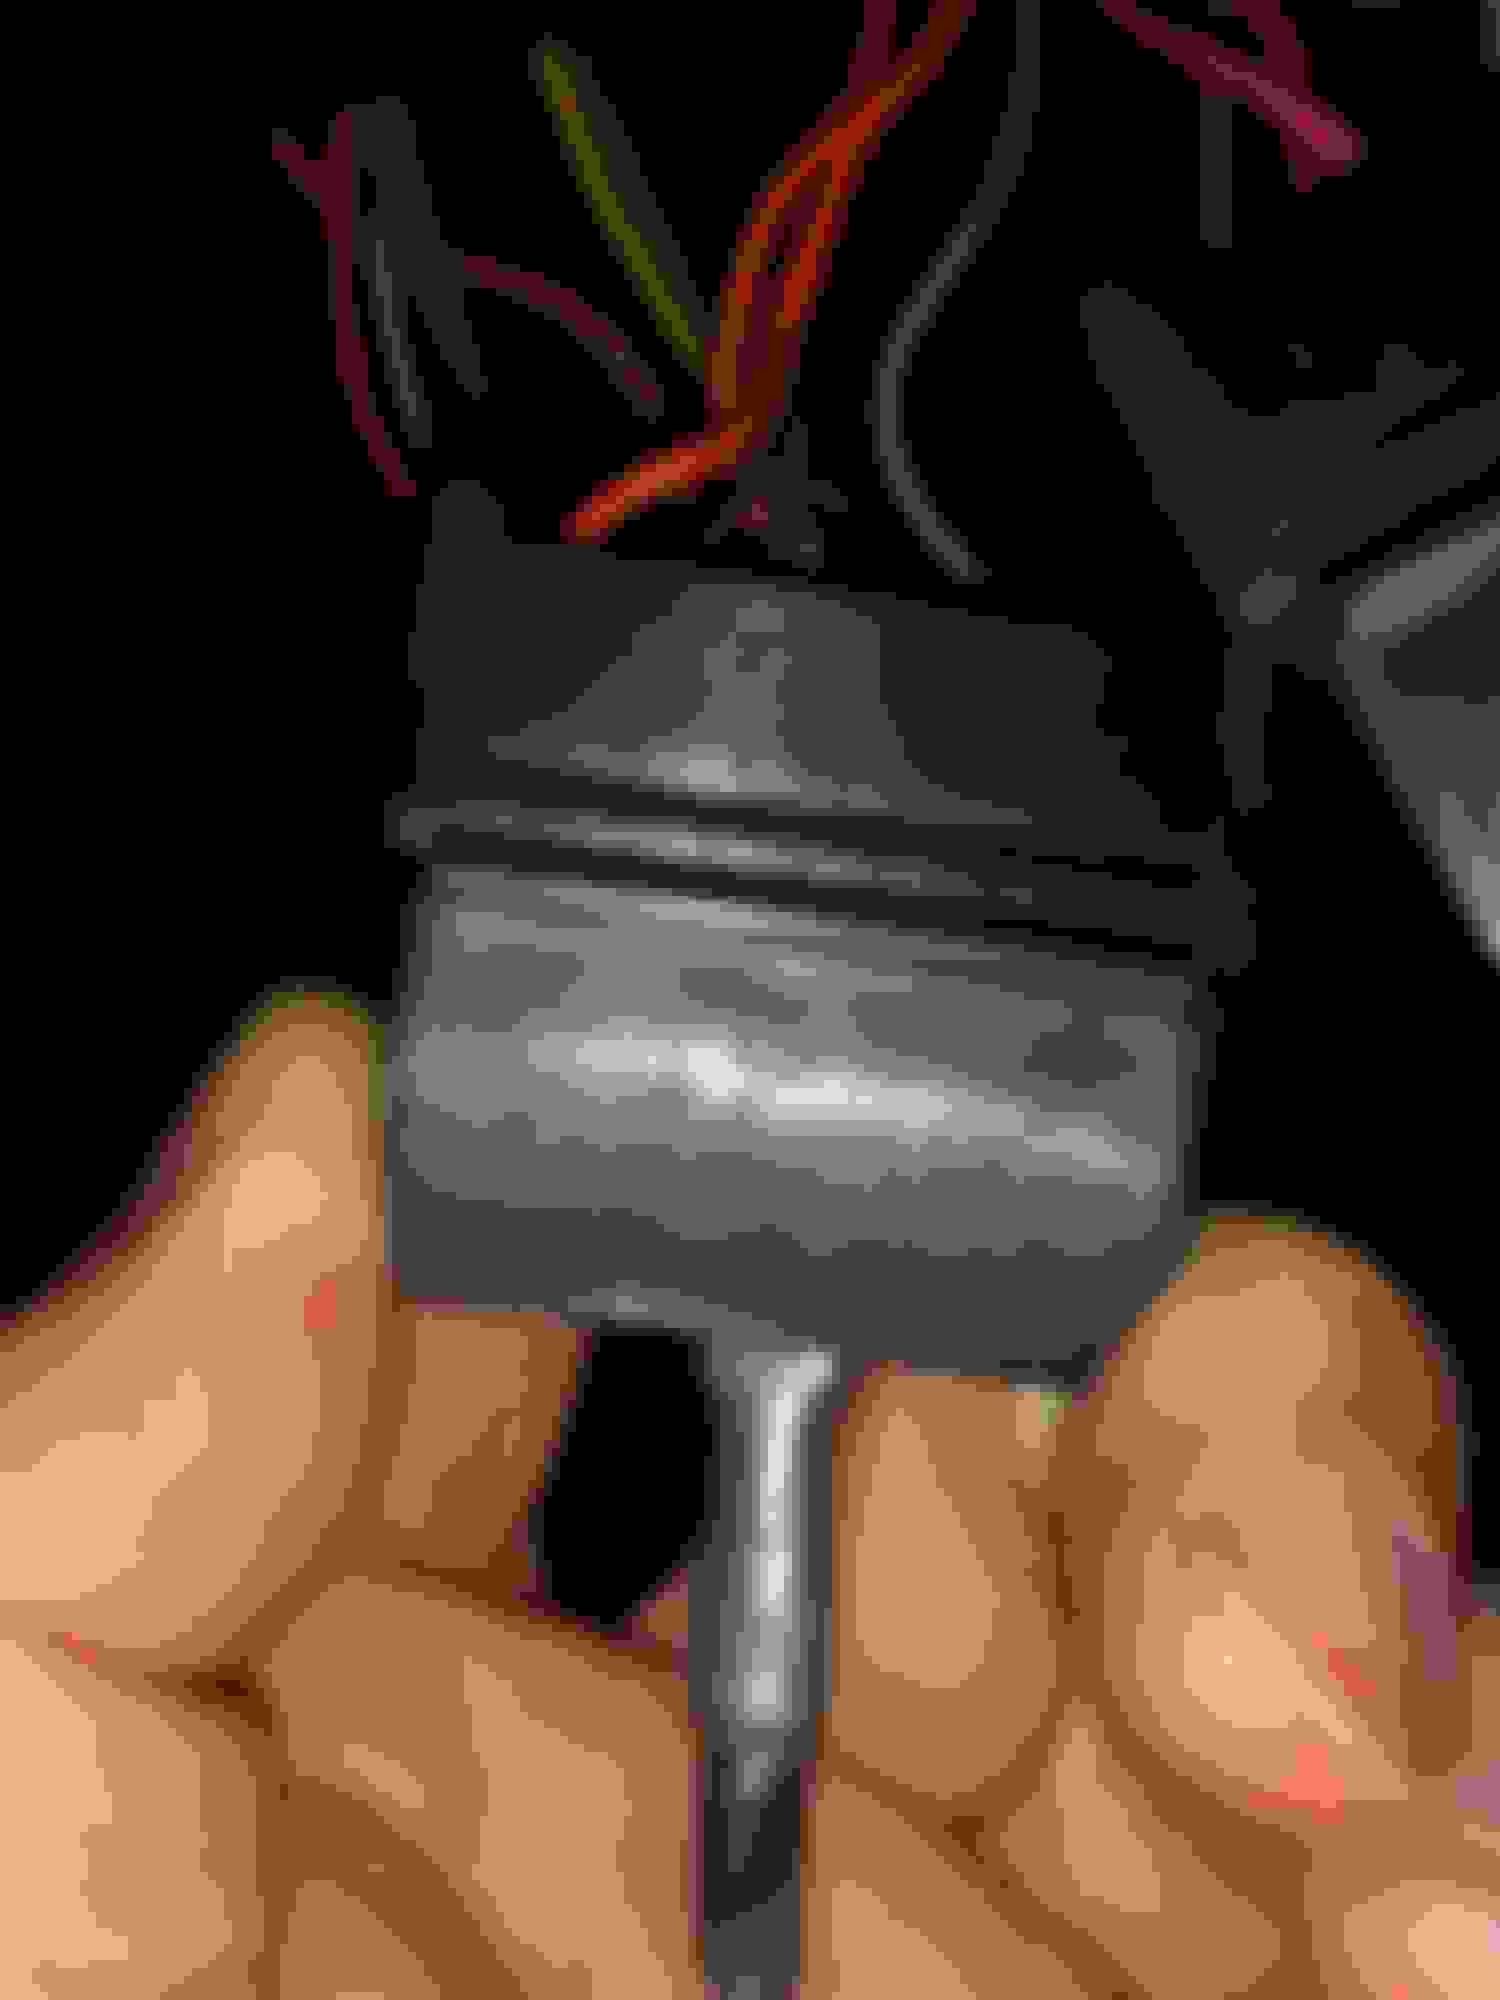
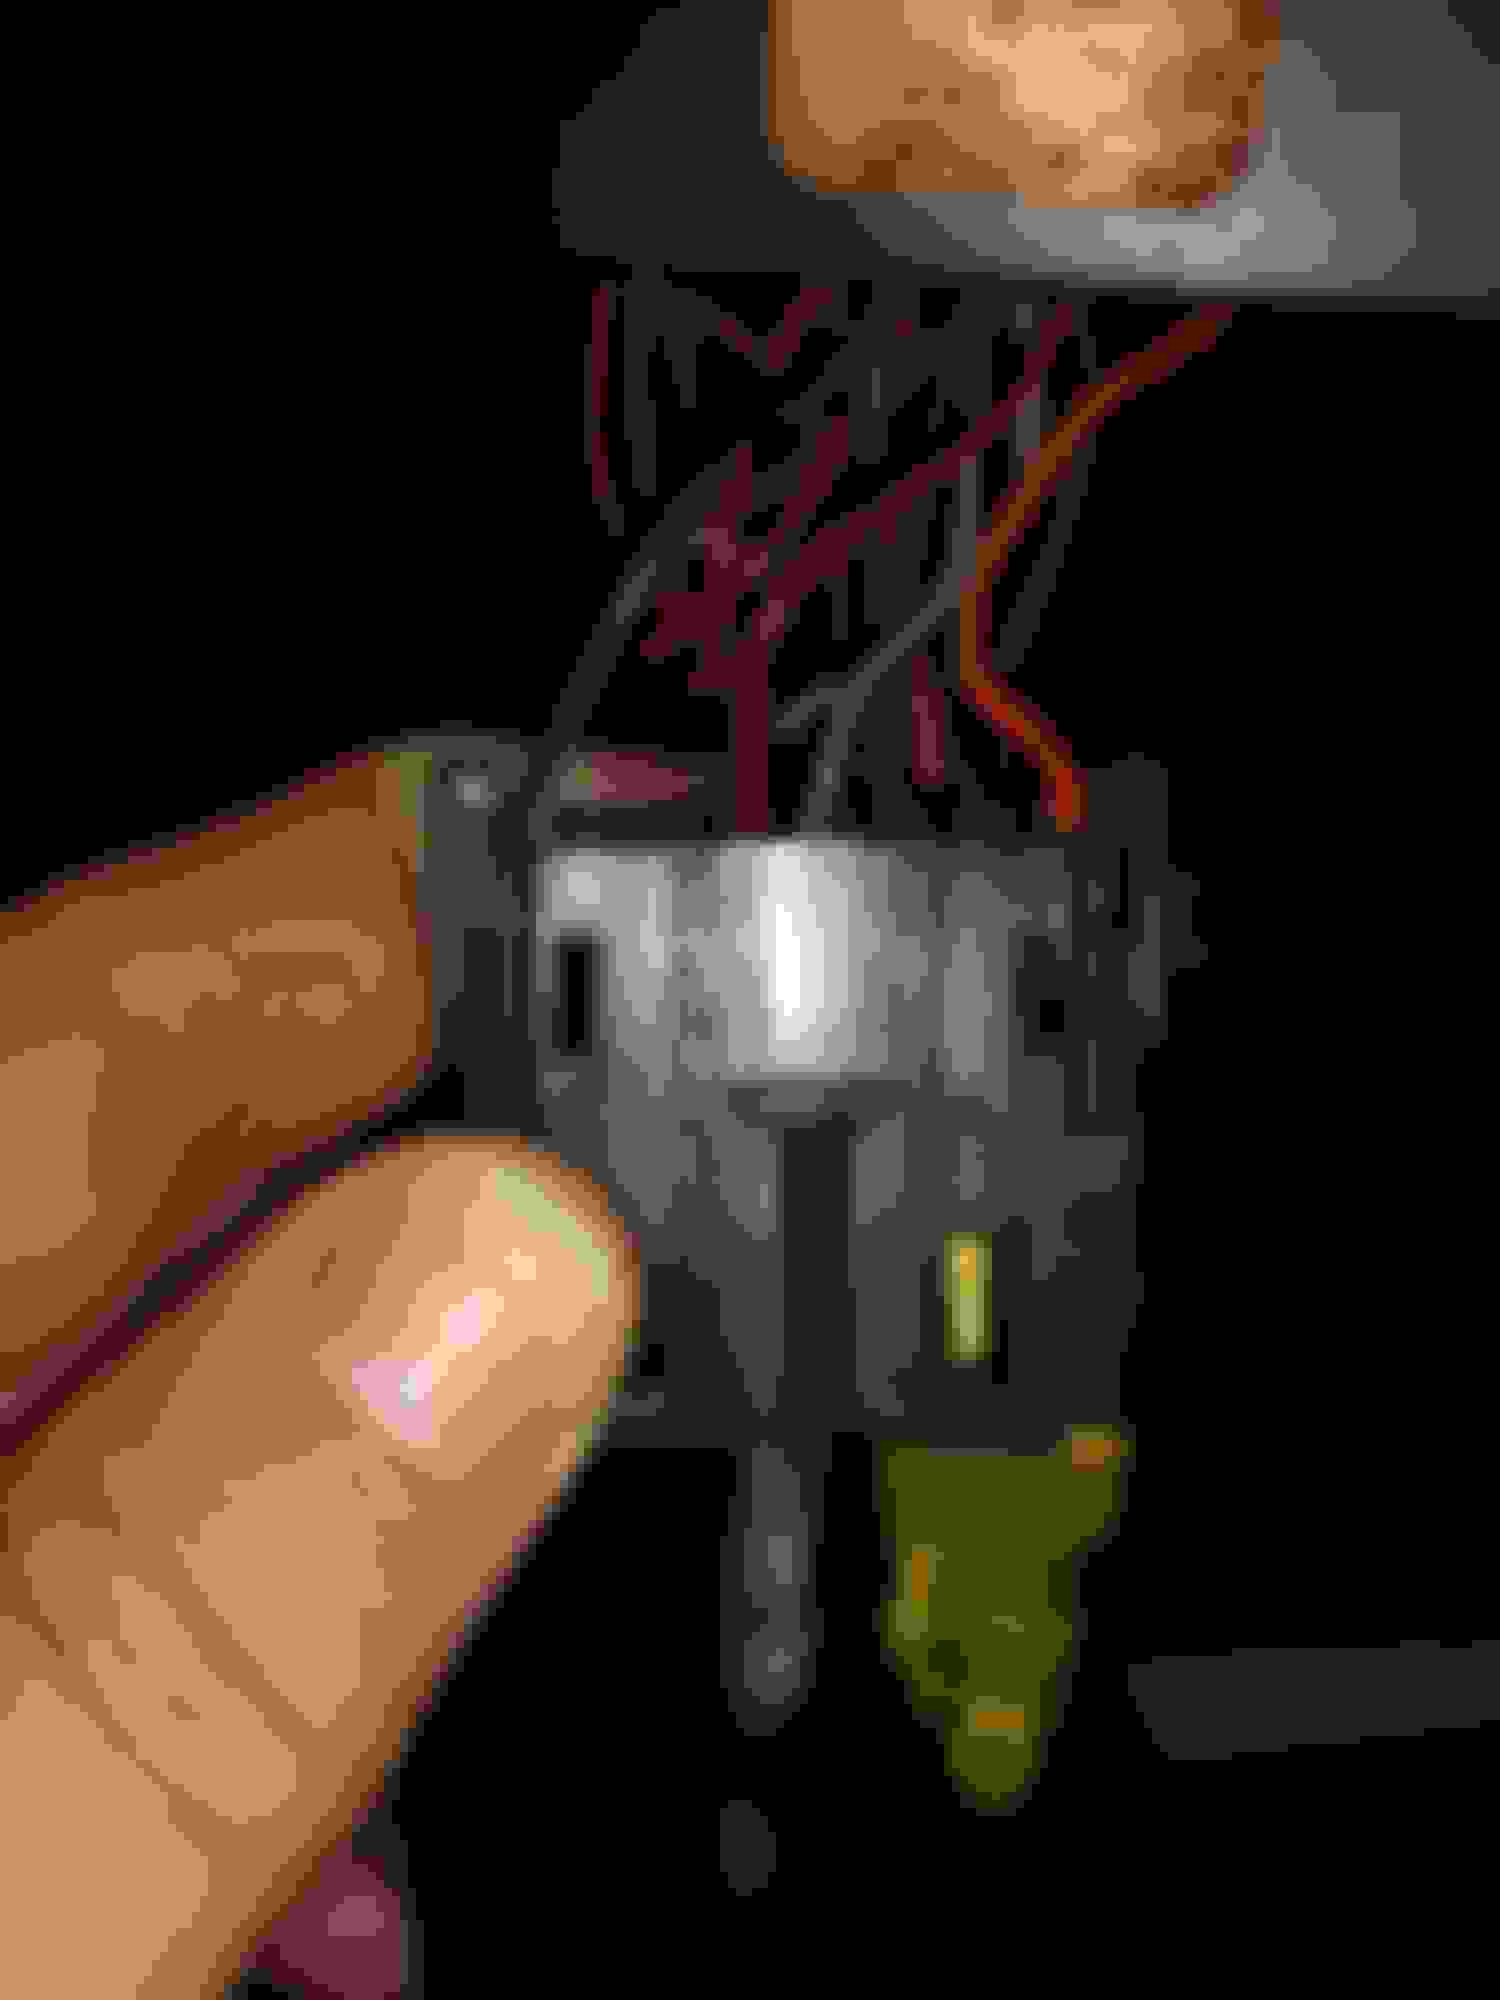
So looks like the only issue I have is the cam position sensor isn't picking up right... so need to test the wiring on that and or replace the sensor. It worked on the donor car so I don't think its internal damage or anything major. It may simply be the pigtail.
**EDIT** just looked yep the pig tail isn't plugged up LOL I had tucked it under the vacuum tube going to the brake booster and missed it. Can't believe it cranks and runs without that plugged up.
Last edited by Aviator857; Sep 6, 2018 at 11:50 AM.
I'm thinking about using the trans cooler ports in the radiator to cool the power steering. Does anyone know if it will withstand the low pressure return. The reason I'm thinking this is the metal loop line that runs under the radiator is getting pretty hot. Since I went to a manual and have an auto radiator it seems like a good option... otherwise I may end up adding a cooler to the power steering system.
I don't think I'd use it. If I really needed it (which isn't too likely unless in autocross) then I'd add in something made for it. I dug up the quote from a valuable TGO member
Originally Posted by Twin_Turbo
Bad idea to use the rad for a p.st. cooler.
I've had a quality (mocal) cooler burst from a mishap w/ a KRC power steering setup. For some reason yet still unkown I had a huge pressure spike through the cooler (which is on the low pressure side of the system, in the return line to the reservoir) and the cooler developed a leak. Last thing you want is for that to happen inside the radiator.
on a non engine note my dashpad cracked right before I started this because the review mirror fell off and hit it... I guess the glue finally aged out LOL So I splurged...
The crack with a horrid job of me trying to patch it. The splurge The one issue I have with it is this indention or cut beside the speaker... I've emailed them about options.
bottom looks like factory, my understanding is its from the GM molds, all the suppliers carry it but all are made by OER, its a licensed GM restro part. the speaker grills are held on by regular nuts not the sheet metal half nuts, but otherwise I didn't see a difference. Also looks like it has the metal rib for the screws to grab, I saw early complaints (from years ago) from people that it didn't have this, I guess they fixed it. I'll do a new post with the details later, that was just my post shipment inspection.
I bought one of those OER dash pads a couple years ago and returned it for refund. It was a pile of junk! All kinds of irregularities and dents in the top surface. Stood over an inch too high off the dash. They should be embarrassed to sell that kind of junk! But they're not. I've deleted the pictures otherwise I'd share them and your mouth would drop open.
Original GM molds is not a good thing. The molds wear out and can only make so many parts before the product is out of specification. Clearly those molds were worn out long ago.
There is some texture irregularities but it looks like they may have stepped up the game some on it. I was on the fence on having one of the companies that re finishes them do it, wrapping it myself in leather.
I was thinking a nice black suede with red double stitching in a few specific locations would look pretty nice. (I gave up on stock look a long time ago... I'd rather have the car I enjoy.
I've got it out in the hot work shop I noticed as it heated up it leveled out some... but I think I'm going to force them to exchange it.
QwkTrip just make sure your review mirror glue is good, if mine hadn't gotten hit by the mirror it wouldn't of cracked for a while.
I checked but didn't actually replace the plugs before putting it in. Turned out one of the ceramics was broke on two of them... I probably bumped them putting the engine back in and the gaps were way off (not sure why I didn't check that while the engine was on the stand... I had bought new plugs at the start of the project but wanted to make sure I could change them with the engine in... all but the passenger rear (cyl 8) ... to do that one I either have to drop the starter or the catalytic converter. I might be able to get creative with swivels but that starter is pretty easy to drop down.
Oh well at least now I can go rapidly full throttle without it bogging and logging misfires on cylinder 5 and 6. Never realized how sensitive the LS1 is to plugs. Right now I've got double platinum gaped at 50 it seems to like that. The plugs and wires on the engine were all AC delco, looked like maybe they had been changed once in the 90k miles on the donor at the dealer. They were gaped at greater than 60.. wow
really just posting this for knowledge if someone stumbles by this post... learn from my mistake
Last edited by Aviator857; Sep 14, 2018 at 08:33 PM.
Injector # 3 clicks. If I go in with the HP tuners software (scanner) and turn off this injector the noise goes away, if I put a dowel (using the dowel as a stethoscope) on the valve cover it sounds good but if I put the dowel on the injector I can hear it click. I'm assuming my only option is to replace the injector. Any suggestions on injectors for a stock ls1... maybe just replace the one with a new delco part?
Replaced the injector the clicking is gone (well ok you can hear the injectors some but they sound like injectors).
I'm sortof stuck on something though.
If I go from closed throttle to about 40% instantly (out of gear with no load) it bogs still. I thought I had fixed it as it went a way. Turns out it only shows up after the car sits 3+ days without running the engine.
I've ordered a new MAF sensor as I think it could be that.
What should be the reading on the MAF at about 40% throttle?
Like I said above It seems to do it after the car sits for 3+ days.
When it occurs it only occurs until I get the car up to 200F or so, after that it doesn't occur again until after the car sits for a few days.
When it is occurring I can unplug the MAF sensor and it doesn't occur.
I can then plug it back up and it does occur.
So I know its relying on the PE/VE etc tables without the MAF sensor unplugged and it seem to run super strong without the MAF sensor. Since its a bone stock LS1 I don't see a need to make the conversion over to speed density but I may if it still does it with the new MAF sensor.
Though unplugging the MAF forces the PCM into open loop... so it could be some other sensor.
I've replaced the TPS (it had a dead spot in it watching the % on HP tuners as I slowly moved through the arch)
I replaced the AIr intake temp sensor because well I dropped it when I was drilling the hole in the cold air intake to accept it.
I replaced the plugs.
I don't see anything on the monitors that jump out at me.
I suppose I could go ahead and replace the MAP and the two front O2's.
The only fault code I'm tripping is the evap purge valve isn't getting voltage and the MIL light isn't wired up, (I was waiting on extending the wires to put the PCM under the dash until I got this solved)
I'm running full emissions though I do currently have the A.I.R ports blocked off as I haven't decided where to mount the pump, but the EGR is hooked up and operating correctly... well I can step it open in hp scanner and it does what is commanded at any rate.
Since it only occurs after the car sits for a few days to me it says I'm burning off some oxidation on some sensor that is reforming... or possibly condensation.
I reloaded the Base tune with only VATS and SKIP shift disabled.
Thoughts so I don't keep throwing money at sensors?
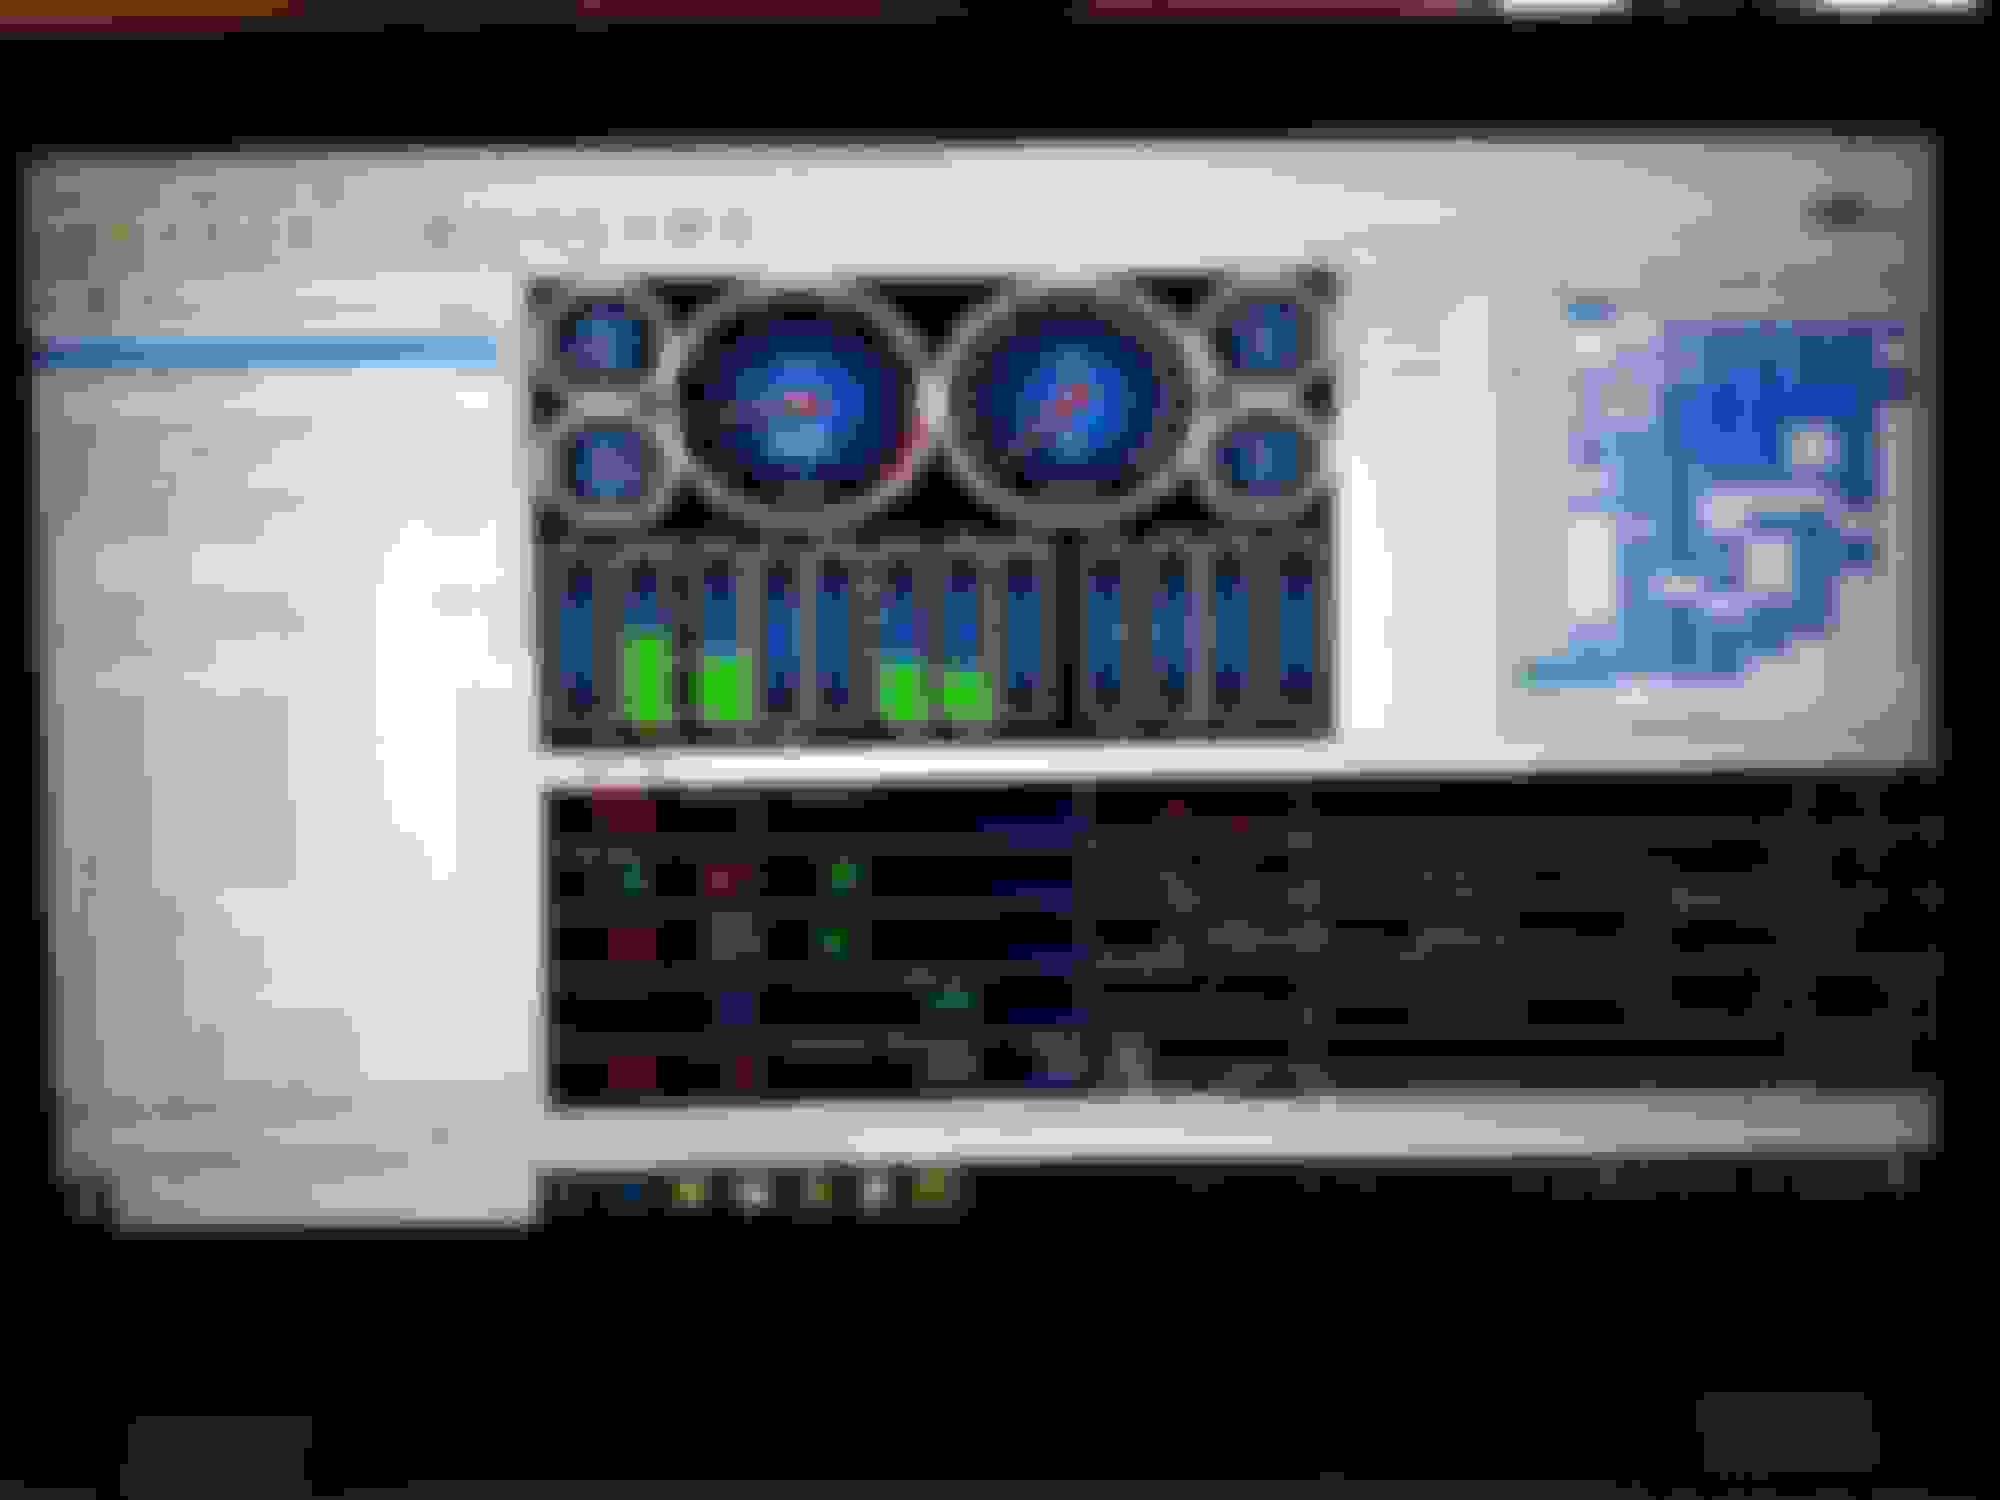
As an example look at this the throttle is 38% but I'm only turning 906 rpm... 3.24 lb/min seems low I've got a wider gap in the B1/B2 O2 sensor reading than I would like but they seem in range.
Example of it bogging.
Last edited by Aviator857; Sep 21, 2018 at 10:56 AM.
As an example look at this the throttle is 38% but I'm only turning 906 rpm... 3.24 lb/min seems low I've got a wider gap in the B1/B2 O2 sensor reading than I would like but they seem in range.
Example of it bogging.
Just a couple suggestions. Reset your tps and see if that changes your % to 0 when off the throttle. Also, what brand of tps do you have? I had issues with store brand ones, ie orielys, or autozone. Also log your idle air control motor and see what count it is at and adjust accordingly. You want the counts anywhere around 30-80 at idle when completely warm. The large swing is because it will change with a cam etc. i ditched my maf and tuned my old ls1 in speed density and it ran great. I had a lot of the same issues you stated. I think part of it was the brand of maf's i was trying. Hptuners 1bar sd is what i use and is nice to work with. Hope that helps some, good luck.
Sorry I didn't state that clearly, In that screen shot I had the throttle open and you should be seeing 3k or so RPMs not 906. The TPS works I had the throttle open to ~38%, it idles fine the IAC valve works as expected. The issue is if I blip the throttle from 0% to ~40% instead of seeing oh 3k-4k rpm, it bogs down and barely runs at ~900 rpms. If I slowly go on the throttle it works as expected. Either way the TPS as shown on hp scanner is reading the right percentage. If I disconnect the MAF and blip the throttle to ~40% it revs up like crazy.
I've replaced all sensors so far with AC delco, the MAF I couldn't find a AC delco so I ordered a duralast (autozone), it should be here today.
I tested the fuel pressure at lunch and there is no noticeable pressure drop when this occurs and the pressure is good so I don't think its a fuel delivery issue. (funny story I forgot I had a gauge and it was still in the sealed package in my tool box as I accidentally bought a multi port gauge when I was having fuel pump issues with the TBI years ago. The TBI gauge saw alot of use over the years.)
The only reason I replaced the TPS there was a spot where it dropped as you rotated the original through the arch, but the new one I can slowly (or quickly) open the throttle and the percentage counts up as one would expect.
Fedex just dropped off the new MAF so I installed it in real fast-- seems to have fixed the issue though again it may need to sit some for me to be sure -- I'm going to go ahead and extend the wiring this weekend either way so I can get the PCM out of the engine bay.
Almost sounds like its running lean during warmup. I'm not familar w/ the tables in the ls engines but possibly something w/ PE and if there are any temp modifiers.
So far it has been good with the new MAF. Drove it around the neighborhood today. Man it is quick to 25mph. Also installed the tick clutch Master, now my clutch woes are gone.
I've bleed my brakes with Evey technique known and they are still softer than I expected.
I have 4th gen master
Thirdgen booster.
4th gen front brakes
Willwood prop valve.
But I haven't done the drums yet out back.
So is it that I'm driving drums with a disk master?
They pump up hard with vo vacuum to the booster, but with vacuum it's super soft. Could it be the booster? Even before this swap I always thought the brakes were soft. Stops the car fine thy just feel soft.
Got the tachometer dialed in. Used 1k ohm resistor. I started with a 10k ohm but was only seeing 5v, 2k ohm was seeing 9.x and with 1k was seeing high 10v which the tach was happy with. Hp tuners set it to 3/3 on high/low... So 24 tooth relucter, 24/(3+3)= 4, v8 tach expects 4 pulses per rotation.
couple swap tips that apply to all reliable engine swaps
-get a wideband (didn't see one)
-compression test the engine if you get a chance and write the numbers down to the first decimal
-Tuning of the airflow model (with a wideband) is done with the maf and O2 sensors disconnected (please see Hptuner board for more info about tuning)
-pressure test the engine and crankcase if you get a chance (intake manifold to 10-15psi and crankcase to about ~1psi only)
The compression/pressure tests are necessary to confirm a leak free engine plant. You may be surprised how often these tests are neglected and how revealing they can be to problems you would normally never detect.
Started putting the front clip back on the car including putting the head lights back on the car...
The front bumper is just held on with a single bolt until I get the seams lined back up... I've always liked the contrast on the white/metallic grey on the front of the formula...
Took it for a test drive out of my neighborhood. Let's just say it's a entirely different car. The gearing and non functioning posi makes it hard to take off even moderately fast. Then again it may be the cheap 10 year old tires. 40 ish is 3000 ish rpm in second lol.
I think I've decided on a Ford 9" with something like 3.9 gears... I don't think I would be happy with highway crusie with 4.10.
Last edited by Aviator857; Nov 22, 2018 at 07:54 AM.
You're absolutely right! An engine upgrade changes the character of the car and it's a whole different driving experience. You're going to have fun with this new set up!
Well since I can't seem to take off without pealing out new tires will happen sooner than later.
I installed a new brake booster and cut the push rod and threaded it so that I could adjust pedal position. I have it now so I can heel toe the brake and gas. Brakes are now pretty good.
I modified a three piece airdam to fit the formula so cooling should be great.
I want to do a better rear end, then tires, and probably the 17x9 GTA wheels from hawks.
I probably also need to call the insurance company and increase my declared value on the collectors insurance... The policy uses that value not book value.
You must not have the lighted rear view. The wiring pigtail acts like a ding-a-ling string for the mirror, if the button were to fail.
Lol yeah it's the lighted mirror but the clip on the pig tail is broke so it only served to swing it towards the dash and then turned loose ... Or atleat l that's how I imagined it happen all I know is the mirror was in the floor and the dash was cracked one day... And the doors were locked.
Decided I didn't like the lower radiator hose everyone runs so I got a straight housing and d71852 hose. Now I have zero touching. Now if there was a way to route the header hoses better... Oh well.
And now I can put the idler arm bolt back in right as it will not be hitting the hose.
quick question on your tach experience, does your tach stay up with the engine rev if you really get on it taking off? the reason i ask is in my son's LS3 swap into his formula one of the bugs we haven't yet worked out is on the tach which normally functions fine, if he really lays into it from a stop the tach momentarily will lose it with the engine accelerating so fast and but then recover as he lets off the gas and be fine in any condition of operation other than this very fast engine rev... i don't have this same issue in my iroc and basically had been using a 5K pull up in both. i changed to ~2.5K in his but didn't change anything... it is a pulse OC type signal so i don't think the resistance is the issue. i verified with an aftermarket tach even with the 5K the signal is not changing... anyways just wondering what you have seen, i haven't got around to just swapping the tach to see if that is the issue. worse case if tach swapping results in same thing i will probably put a dakata box in as a buffer


 )
)