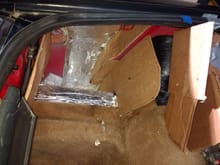
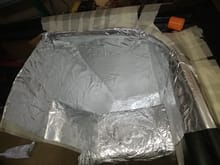
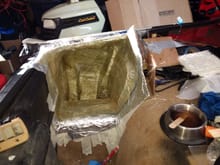
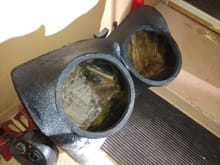
I used card board to build the basic framework for the molds. It also helps to control the shape of the back of the boxes so that they don't get stuck in the tight corners. Use flat pieces of cardboard from the lid seal to the back of the well wall to create an angled back on the box. Otherwise, the mold will be stuck in the car once it hardens.