When you click on links to various merchants on this site and make a purchase, this can result in this site earning a commission. Affiliate programs and affiliations include, but are not limited to, the eBay Partner Network.
haha even the 1/10 one is 1 .It would have been nice if those were km not miles but hey most people don't even know about that in Europe.Tons of american cars with 100,000miles sold as 100,000km.
The hardest one is when you get 100,000...its a psychological number.Its like when you turn 30...you are still young but sounds old
Haha, yes. People are always unsure of this. I bought my Firebird with the guys telling me those were miles, therefore having less "value". In the end those were km. Lucky me
In this case those are miles, though. And yes, it's like turning 30. Life is over until you realize it is not
Had to get my cup holder out of the car, AGAIN!
So my acetone solution did not help quite as well as it appeared, since the surfaces between the broken off part and the cup holder were not mating sufficiently.
On my last trip to the US I bought some JB Weld, so it was time to give it a try, then let it cure for 24 hours.
We'll see how it holds up now.
In the meantime some shop started selling JB Weld here in Germany.
They are selling the regular sized component tubes INDIVIDUALLY for the same price PER TUBE as the entire SET cost me in the US!!! Rip off!
I noticed something interesting too ,more and more shops sell american car parts in Europe.I think americans figured out some of us love their s***
Yes JB weld has the shipping included I think.I got some ATF fluid for my 300M (yes I daily an american car ) and they sell it in Germany but its twice more expensive than all other ATF fluids for sale just because its just sold in US I think.
Last edited by FirebirdUSX; 01-16-2017 at 02:42 AM.
Yes, they are, though the older ones have become quite expensive these days.
Those shops live from two types of people:
1: People too lazy or insecure to order stuff from overseas themselves
2: People needing stuff on short notice
You know, back in the days when the internet was this "new" thing... I know I wouldn't have bothered my phone to contact some US company to send me stuff, if a local shop had offered to do it for me.
These days I'm always comparing prices.
Right. If you require a very specific ATF, possibly unique to a certain brand of car, they will have a hard time ordering large quantities of it and having it take up expensive space in their warehouse and then hardly selling it.
Things aren't so bad for us as they have been for previous generations, eh?
I remember back in 2001 me and my father we ordered a rebuild kit for a 2.8 v6 Firebird (engine was having poor compression and yes I know in US people would just throw away that motor).I remember we used the internet ,we even had to buy the JCWhitney catalog ( i still have it ,it was $5 ) ,we printed prices ...it was an adventure to get parts from US back then.It was like christmas when the box with goodies came in 2 months later (took 2 months for some reason )
We fixed it during the 2002 summer.Fixing american cars back then was not easy ,remember the internet back then was not what it is today ,it was like reverse engineering alien technology...heck we had a Compaq Presario with Windows ME ,no wonder we had issues haha
Apparently Dropbox has indeed gone forward with removing the function of their "public" folder, so I'll have to relink ALL the pics in this thread...
Edit:
Well, that sucked! But I'm finally through re-editing all my posts in this thread. It did not help that the editor doesn't show any of the links.
I'm about to go after that electrical gremlin causing my right brake lights to intermittently flicker or go out while applying the brakes.
The only point at which I could "kind of force it" to happen was when I let my tilt steering column hit the top position while holding the release.
I went through all the related wires from the rear to the bottom of the column and checked if wiggling any of those or their connectors would cause it to happen -> nope, it didn't.
So I assume it's the turn signal switch (maybe the hazard switch), as nothing else than a turn signal signal breaks the brake light circuit for just one side.
My hope is that the plastic has started falling apart or the dark green wire inside is loose.
Indeed. It has been bugging me for quite a while now and I had trouble sleeping since the replacement part arrived.
Good news is, it is done and I have survived. More or less, lol
Time to get that write-up going.
The first thing to know about working with airbags/supplemental restraint systems (SIR) is: Disconnect the battery and go do some important stuff elsewhere for the next hour.
Even though the Service Manual does not advise this break, I for one want to make sure every last hidden control unit capacitor is empty before handling that kind of explosives.
I even let the key set to ignition after disconnecting the battery.
All this talk about the battery... let's get to it.
Look at all this corrosion. I noted that a while back and planned to talk some business while it is out of the car for "operation steering wheel".
And so I have found a love of wire wheels. Awesome tech!
For those of you wondering what kind of battery terminal this is and why there are four of them: In Europe we have these top-side terminals, so we add adapters for the US type wires.
There are four terminals, so you can turn the battery around and have +/- swapped if you want to use the battery in a different car with different polarity on the wires.
Another thing requiring my attention was the upper coolant hose. The lower one has been replaced a while back.
This one was leaking, not too much, but drops here and there, accumulating to a thick, possibly aggressive crust.
It seems that you can only order TBI hoses these days, so I gave that a try. Had to trim it slightly at the thermostat housing end, which could fit better IMO, but we'll see if the clamp manages to hold it tight.
After taking care of this business, it was time to move on to the SIR.
For the first time i actually "read" (instead of noticing) the writings on the inside of my fuse box cover.
It said something about pinching and dropping. I have circled one of two tabs in the upcoming picture.
Pinching them allows you to pull down the fuse box, thereby removing the need of getting in there upside down to identify fuses. Trying to secure the fuse box afterwards is so much of a pain in the rear, though, that you might as well just bend your spine and get your face in there.
My Service Manual states I should remove the SIR fuse, then disconnect the yellow connector near the base of the steering column.
These are the lock tabs which secure those SIR system connectors. The red one is from near the fuse box and can quite easily be pulled out to disconnect the SIR connector. The blue one is inside the steering wheel and sits tight, so I used needle pliers to release the tab.
Now the lord of flies himself.
There are four torx screws securing this timebomb from the back. They don't screw out completely, as they are secured by sheet metal washers inside the steering wheel.
Just blindly loosen all four and you can pull this unit toward you.
But wait... there's more!
Disconnect it before disposing of it, by removing the blue lock tab and opening the connector on its rear side.
Don't force anything, though.
By the way: The Service Manual advises to carry this thing like a Claymore mine. Point the front/opening side/soft side away from you, so the airbag can unfold freely in a worst case scenario.
Rather have the hard metal backside of it slam into your chest if it goes off.
I don't know... either way you lose, IMO.
That's why I placed it outside and out of reach of my car. Quickly. Not wasting any time.
Seriously. I'm afraid of these things. Keep in mind, that GM suggested replacing them every couple of years until they deemed that "unnecessary".
Yeah. Just take a look at those yellow insulations in the pics later on. No need for preventative replacements here.
This is the scenic view of the valley of death.
A 22mm Nut holds the steering wheel in place here. Note the horn buttons to both sides and the red wires joining in a single spot.
There is a spring attached to that splice and makes contact with a conductive part behind the lock plate.
You can also see the yellow connector for the airbag. All the thick yellow cables are usually SIR-related, btw.
CENTER the steering wheel first and bring your wheels in line first!
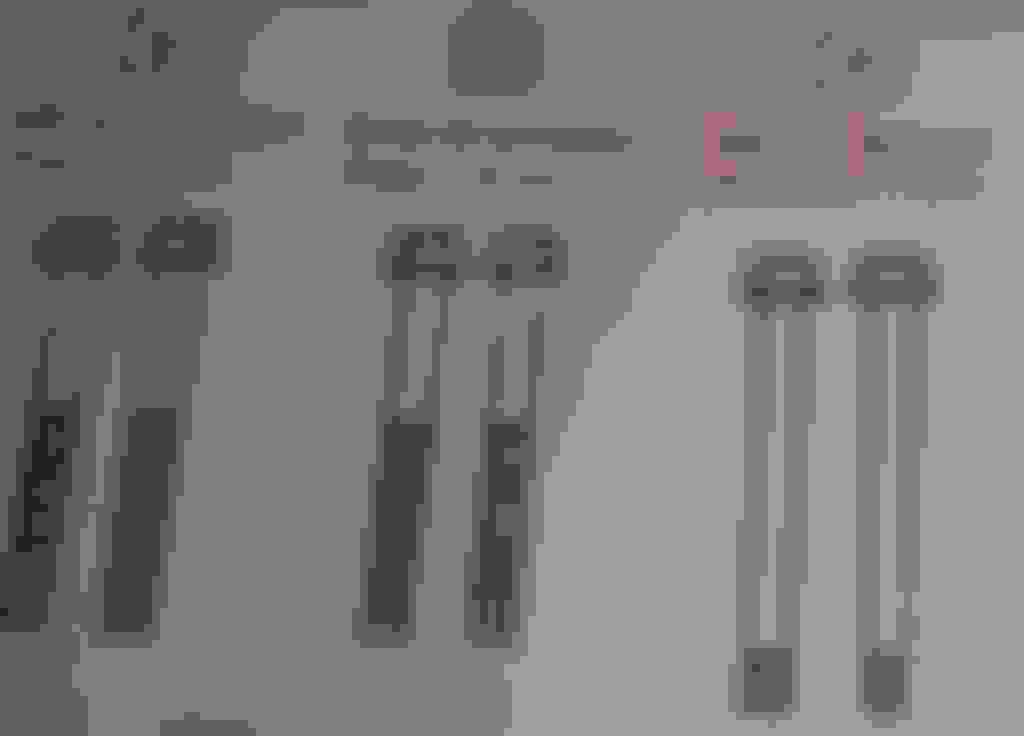
Remove the nut and insert two rods from your steering wheel puller set.
I bought mine in Germany and one of the bolt sets inside fit perfectly.
Don't forget to put the actual puller in between them, though.
These were the bolt sizes, btw. Though I don't know what they mean.
M8, ok. 1.25 being 1 1/4" ? Never mind. It worked.
Here's one with the puller. It's self-explanatory. Turn the center threaded thingy, which pushes up against those two bolts and down against the steering hub and the wheel pops off quite quickly.
There are markings of different sizes in the center hole. You'll find corresponding counterparts on the steering hub.
The steering hub and column provide assistance for alignment of several components contained within.
The first mark shows the center position when facing upwards (12 o'clock).
In second place comes a valley between the teeth. This matches the steering wheel's tooth pattern.
The final pattern is for the lock plate and contains two grooves for the rings securing the lockplate and SIR coil, respectively.
You'll need snap ring pliers for this one. Or you can fidget around with any other kind of tool, if you like the punishment. Keep in mind this ring sits in a groove and has to return there in the end.
Also, this is the reason I mentioned centering the steering wheel.
If you remove this coil while the wheel is off center, you can still reattach it later on, if the steering hub hasn't changed position.
In case you want to install a new coil, there is a coil centering procedure to be done. If you don't to that, some kind of string/band inside the coil will snap when turning the steering wheel full circle left or right.
I can't wait to see if I did this right. Haven't taken her out on the road yet.
Pull the coild out gently. The cord behind it will extend and you can let it dangle around from here on.
It will get in your way, but there's just no way around it.
Attach the magical lock spring compressor. You get one thingy to screw onto the steering hub (by hand, just to avoid turning the hub) a big c-clip and a nut.
Tighten the nut, thereby forcing the c-clip down onto the lockplate and compressing the invisible spring behind it.
Pull that loose wave washer up and out of the way.
Now have HOURS of fun with that snap ring. You can barely reach it after compressing the spring, which is done enough when it gets significantly harder to turn the aforementioned nut.
Geez, I have tried to use my big snap ring pliers, I have tried screw drivers, bare fingers... in the end only a combination of all those got me toward my goal of getting that ring up onto my compressor thingy.
Force the ring open, so it is large enough to exit its groove. Repeat at the SIR coil groove, if necessary.
Note the tooth pattern for later realignment.
Remove the lock plate.
Reveal the invisible spring hidden inside the slip ring for your horn buttons... and other stuff, I suppose.
Before we get our hands on the actual turn signal switch, we may want to remove the cover of our cruise control connector, plus the upper connector itself.
Without cruise control, the cover cannot be removed and there is no connector.
Depending on how far you want to go:
The tilt lever can be turned counterclockwise, but in my case was corroded tight with the assembly. I used pliers on the sucker and may now begin looking for a new one.
Evil tongues say you can pull the wiper lever straight out of the socket.
I was unworthy and failed this task by being too weak, apparently.
Don' forget to remove the hazard switch. Insert a phillips-tip screwdriver into the hazard **** and unscrew it.
Don't loose the spring inside the **** assembly.
And here it is. The Nightstalker. Carnotaurus. Godzilla. The Raptor Of Vengeance.
The TURN SIGNAL SWITCH!
You'll want to unscrew the wiper lever arm first. That would be a screw in the green rectangle, the red shape originating toward the left and a lot of grease on the arm.
Three more screws secure the assembly in place (red rectangles). To reach the upper and lower screws, you'll have to push the wiper lever up or down, or move the assembly by hand. It will click in place.
The iron rod in the upper left is your theft deterrent and moves into the lockplate when your ignition cylinder is in the "LOCK" position and the keys are removed.
Note the yellow SIR cable insulation crumbs in the bottom. Trustworthy, huh?
You'll want to crawl down beneath your steering wheel again now, because you forgot to disconnect the switch at the base of the steering column. That would be the obscenely long connector, the upper one in the picture, not the one with the generally purple wires.
The purple wirey one is for your wiper and washer operations assembly.
And ignore the seeming wire-hackjob further down. You won't have that or any of the labels hanging around there.
Look closely and you'll see a white-ish half-transparent plastic thingy.
That's a wire screen and mandatory for all the cables traversing the metal support frame of the steering column.
Note the tab. That would be on the passenger side. Try pinching the whole thing until you can pull it out inch by inch.
You will NOT get any of the connectors through the support while the shield is installed.
Enjoy the view while you're down there. You won't be bending your back anytime soon to get out of there anyway, lol.
If you want to remove your lock cylinder, you'll have to remove the buzzer switch first.
Insert a Paperclip or something beneath the clip and use Needle nose pliers to tug on the plastic.
Don't lose the clip. Refer to this pic if you need help on how it's supposed to look.
You can then loosen the lock cylinder screw and remove it.
The wires going to your lock cylinder are for your VATS. Be careful with them, as you cannot remove them from the cylinder.
And here is your headlight dimmer rod actuator. Note its position and where it sits EXACTLY.
I'll let you figure out how to best get the wiring of that turn signal switch out of there. It's a hassle and took me HOURS including further disassembly of the steering column, so I don't have any further pics.
haha that air bag far far away from the car is hilarious because that's what I'd do.Those things scare me ...its literally a bomb and you have to remember that US was one of the first countries that had them by law in cars and iirc the engineers back then said the law came to early as more tests were needed.
They are so "safe" they don't ship them by plane lol
Yep, that's just it. Creepy stuff. If it goes up in my face one day, I'll go with a regular bomb-free steering wheel.
By the way...
Apparently I haven't gone wrong with that SIR coil and it hasn't broken today, which is nice.
My SIR bulb in the dash does its 7 flashes when starting the ignition, which is also nice.
Only thing not working is the turn signal cancellation.
I have learned that the white thing with the spring behind it is in fact responsible for cancellation, but I can't figure out why it wouldn't cancel my right signal.
Left is cancelling just fine and the pic further up even shows the two protrusions responsible for cancelling being still there.
Ah, well... more research, perhaps a replacement part and then some time to waste and I'll open that thing up once more.
Fun
Meh, you don't h ave to worry about the bag once you take it out. I have one on the kitchen table that I keep moving around, they don't go off without a voltage applied to the terminals
The whole house is littered with car parts, literally every room in the house but the bathroom, parts behind the garage, on the side of the house and half the shed. The pile is FINALLY starting to get smaller now that the Firebird is almost done, that is until I start ordering parts for the Suburban 4wd conversion. I wish I didn't have to have a stupid job to get in the way of completing projects
I have 5 project cars, and if it wasn't already blatantly obvious, I am single
Here's a small update for you guys. We went to a local junk sale and look what I found.
The scales are approximately 1/64, 1/48 for the smaller ones and 1/10 on another Knight Rider rip-off.
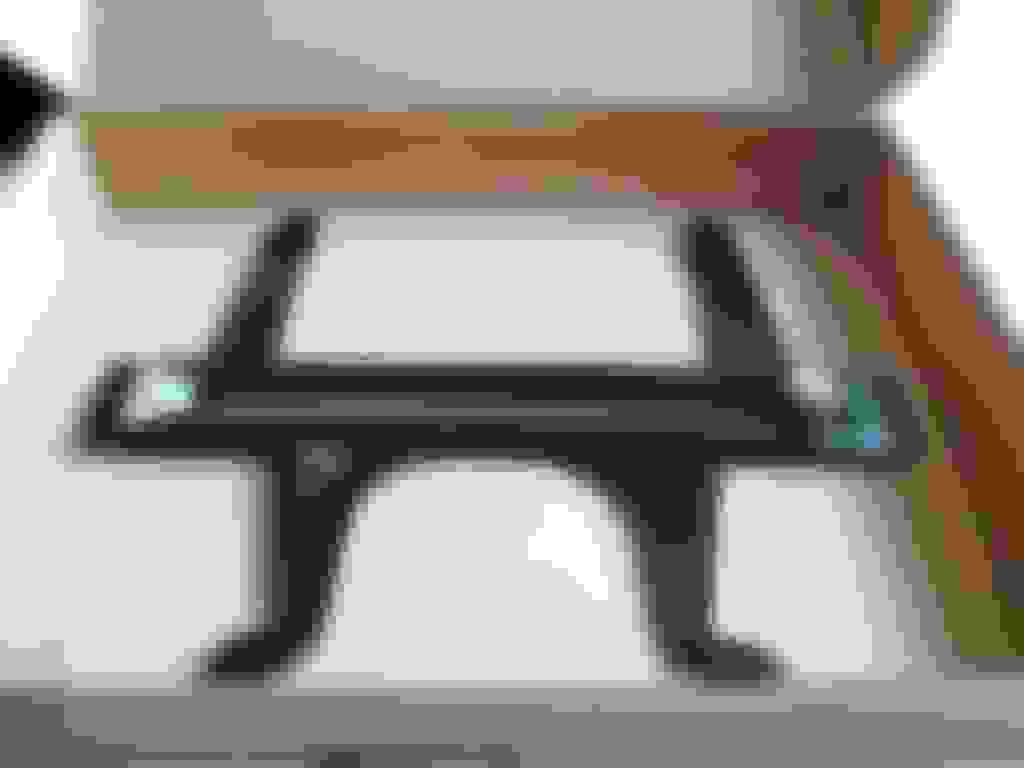
Here's a comparison between the last one I got and the new one.
The Camaro is roughly 47 cm (18 1/2") long.
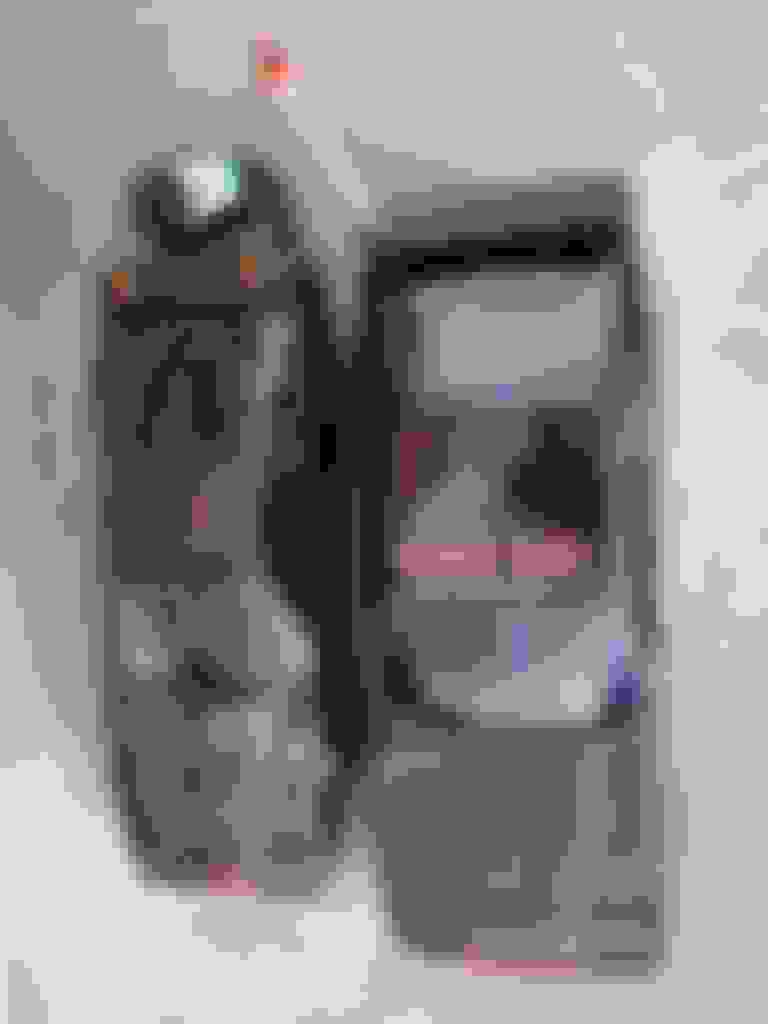
I removed some of the stickers and cleaned up the mess from 19 years of adhesive corrosion.
The remaining Sticker is covering up holes in the roof and there's a GTA tail light style sticker on the rear bumper, which sucks.
All the tech inside is similar to the other model's.
I had to take care of my drum brakes once more, but mainly because I'm an idiot.
Note: You don't adjust the e-brake from inside the drums, just the general brake shoe distance to the drum.
Nevertheless, I now own a J-<Number someting>-A tool my Service Manual kept referring to.
You take the inner diameter of your drum's friction surface like this, making sure to go across the center of the hub and so getting the widest measurement.
You'll quickly realize whether your drums are still round or already warped, as you'll have varying diameters in different spots.
241.5 mm (9 1/2") was my diameter on both drums.
The Service Manual said something about the brake shoe linings outer edge having to be 1.25 mm (0.050") less in diameter than the drums', so I set my tool accordingly and checked how it would fit around the brake shoes.
Now with new brake shoes you would have an even coating all around.
My used ones had all kinds of thickness, so I went diagonal and looked for the thickest spot, always crossing the hub's center with my tool.
Turns out they were set just ever so slightly to tight, so I backed off the adjuster wheel until I reached the right diameter.
To finalize the adjustment I drove into a side road and gave the car a couple of firm brakes in reverse and drive, listening for the click of the adjuster arm.
The e-brake is a different topic. I'll have to get the car up on a lift for that, because the bracket is in the transmission tunnel and I'll be needing my wheels to turn freely for the adjustment.
My drum brakes had seized once again, so I decided to go the extra mile and bought new brake shoes.
I learned something new yet again! For example, that the green and yellow springs each have their own purpose.
One type goes on the primary shoe, the other on the secondary.
Even gave the new guys the copper paste treatment and cleaned stuff up a little.
Plus, I decided to get a little "insurance". Just in case one of those fuel lines or fittings decides to corrode one day.
And just when you think you got everything up and running, the next thing dies.
Went out for a cruise, when I realized there was no cruise control anymore.
The day before it worked fine.
After a deep dive into the schematics in my Service Manual, I went ahead and measured voltages and resistance throughout the connector to the cruise control module.
It's right behind the ECM on the passenger side, which likes to fall out of its mount, by the way.
There's battery voltage coming in on the dark blue wire, while the engine is RUNNING and cruise control ist ON, whereas the isolation tests tell me to expect 0V there and to follow "Test A" in case of deviation.
My schematics tell me the "SET/COAST SWITCH" closes the circuit on that wire.
Since it is not stuck, and wildly pushing around on it doesn't change anything, I guess my lever is broken. Darn!
Anyway, here's "Test A":
-----
Check for shorts to voltage in the wires to ter-
minals G (BRN), A (GRY), M (GRY/BLK), L
(DK BLU) of the module (see schematic).
If the wires are good, replace the Multi-
Function Lever.
-----
Can anyone tell me how to check for shorts to voltage?
I understand how a short to ground works, but a short to voltage?
Just stuff it into some corner where you can immediately reach it. You'd bite your a$$ if something happened and that extinguisher still sat somewhere at home
I bet all my money (well, not really) on the cruise control/wiper lever, so I ordered a replacement unit from eBay.
It even arrived fairly quickly.
Removing the old one was pretty simple in the end. Just disconnect the fine wires going into the steering column and tug on the lever.
It took me less than 5 minutes to replace the unit! And it's even working! That's a first, lol!
Usually SOMETHING goes wrong and what takes 2 hours takes all day (...to get to LA, DynoDave will get this one ).
Well now. Most importantly:
The replacement unit came from STANDARD and the washer tab sleeve kinda sucks, because the tab is not solid.
You can remove the tiny locking washer from the new lever, slide the sleeve off and put the old sleeve on there.
The new lever feels slightly more rough than the stock unit, but it works and behaves the way it should.
Happy once more!
Last November I finally ordered a set of much needed outer window scraper seals.
I just never got around to replacing the old ones due to inclement weather conditions.
This is the first weekend I wouldn't freeze my fingers off and boy, do you need fingers for this one!
So this is how shabby the seals were. Rumor has it, that you cannot replace them without removing all the door guts.
Time to prove someone wrong!
You do have to lower the door glass to reach all the screws.
Number 4 from the left will give you headaches, believe me.
I used a small, flat 8mm open end wrench with the scraper seal screws.
Don't use the circular end of your wrench on #4. You'll curse yourself if you do, as you are hardly able to free it and the screw from the restricted space there.
Reaching the final screw requires removal of the door triangle. Peel off the splashguard foil to reach the two indicated screw locations.
Mark the washer positions to avoid having to readjust the triangle later on.
A wooden wedge will help you reaching all the small scraper seal screws.
Use it between the outer door shell and the rearward end of the window glass instead of constantly abusing your fingers.
Fiddling around in that tight area is hard enough as it is.
Your window glass will take a little bending, just don't overdo it. Move it just enough for #4 + your wrench to get out and back in.
The seal itself can be pulled out upwards after all screws are gone. Time to clean up the area.
I had to go in there with the heavy stuff that attacks paint if used too generously.
You can now finally detail that hard to reach area behind the rear view mirrors!
I bought Fairchild scraper seals, which are great as an item.
They have a metal interior, just like the originals, the rubber is soft but sturdy, the interior side is COMPLETELY covered with this feltlike material and the holes are placed evenly.
The worst part was yet to come, though...
Not all the holes in the door shell aligned with the new scraper seal holes. Some were placed lower than others, some a little more apart and so on.
So I went drilling.
And test fitting. And drilling. And test fitting. It just never seemed to fit, so in the end I enlarged ALL holes on the new scraper seal and that did the trick for me.
Looking fine so far. The passenger side will be up some other time.
I don't get how they could have had the guys at the factory place the selfcutting screws by hand.
AND MISS THE PRECUT HOLES WHILE DOING IT!
Well, at least it was doable without going through the troubles of removing the window mechanics and readjusting EVERYTHING in the end
Those are nice pieces, I ordered some as well. I guess I got super lucky because all the holes lined up except for one on the driver's side. I have yet to do the passenger side tho. I also ordered Fairchild door seals as well so I will be doing everything at the same time.
Dave, you're welcome! That's what we're all doing this for
George, I'm following your thread, so I'll keep an eye out for how those door seals are turning out.
You may have seen that I'm in desparate need of new door seals myself.
Aaand I haven't done my passenger side scraper seal yet, either. Go on, beat me to it
Lol! I'd like to do them by the end of the month. I had originally bought the side scrapers first because the driver's side was completely shot. I found the door panels a bit of a pain to remove so I decided to get the door seals and do the pass side one shot then do drivers.
I finally got around to doing the passenger side scraper seal.
This one was a LOT easier to do.
First off, this is the stuff dreams are made of, lol
Apparently I am growing out of the ape age by finally beginning to use tools instead of grunting at the door panels.
Never have I removed a door panel so quickly and without having to break my fingers trying to get torn out plastic pins out of the door.
This time I loosened one of the felt guides to move the glass around a bit more than last time, which helped a LOT, too.
And so it was done in far less time and looking good for the next 28 years (hopefully).
Guess what's going to be happening later this year.
Still waiting on Summit to get my order on the way, though. They''ve got it on hold because of some exhaust manifold bolts that'll arrive mid August... geez!
Well, at least I was able to replace that rotted weatherstrippping on my doors.
Using my panel and upholstery removal tools it was such an easy job to get the door panels off. So nice!
When I replaced my outer scraper seals, the door seals took a real beating. I couldn't live with that.
On my Firebird I had used SoffSeal, which was really soft, had no reinforcements around the screw holes, the pins tore out easily and the seals were a little too long all in all.
This time I went with Fairchild seals, which in fact have reinforced ends and the length is just about right.
I did have to pull a bit to get half of the pins into their holes, but that was no issue.
Of course there IS one issue.
The endings have sort of an angle, which means I'll have to get glue in there once the seals have settled a bit.
Also, I don't care all too much for that seam between the yardware and the vehicle specific end caps, but for now it's tight.
Sure looks nice, though, right?
Oh, I almost forgot. I snapped the hooks of one of my door handle caps, but since they're made from ABS, I figured I'll give acetone a try again. Let's see how it works out.
I am glad you reviewed the Fairchild seals. How did the doors close after you installed them? Did you have to slam the door, or did it close fairly easy after?
That's quite a stack of stuff. Looks like you have your winter plans all set.
New weather strips look good.
Thanks, Dave! It also feeeeels great!
Originally Posted by scooter
I am glad you reviewed the Fairchild seals. How did the doors close after you installed them? Did you have to slam the door, or did it close fairly easy after?
That's how our community keeps alive
Yes, I had to slam the doors shut, but this will return to normal after a while.
At least it did with the SoffSeals all those years back. Lol, I even removed the SoffSeals after my first attempt back then, thinking they simply didn't fit.
Got the advice that this is normal behavior right here on TGO, just like you did right now.
Passing knowledge on from one generation to the other...
Man... now I feel old, haha.
That's how our community keeps alive
Yes, I had to slam the doors shut, but this will return to normal after a while.
At least it did with the SoffSeals all those years back. Lol, I even removed the SoffSeals after my first attempt back then, thinking they simply didn't fit.
For sure it is.
I have yet to read about NOS GM being installed, but I am thinking that any seals will need to have the doors shut hard after. What kind of summer temps do you see? Maybe you can update at the end of summer to see if you still need to slam the door after they have been installed and heated for a while.


 07-25-2016, 03:09 PM