panel by panel painting
 07-08-2012, 11:13 PM
#1

panel by panel painting
im thinking about painting my FORMULA in sections but not all in the same day due to time and such. im thinking this will allow me also to concentrate more on the bodywork of the panel im painting and better chance of it being right.
BTW the car is bright red.
thoughts?
BTW the car is bright red.
thoughts?
 07-08-2012, 11:20 PM
#2
Supreme Member
iTrader: (5)
Join Date: Mar 2011
Location: Central Texas
Posts: 2,893
Likes: 0
Received 4 Likes
on
4 Posts
Car: GTA
Engine: 350 TPI
Transmission: 700R4
Axle/Gears: Aussie 9-bolt/3.27 posi
Re: panel by panel painting
With a good painter & protecting the painted panels from getting sun fade between pieces being painted, you'll be OK.
If your not using a standard mix color & if you can? Get all the paint mixed up then used as needed so that there is zero chance of any mismatch later.
If your not using a standard mix color & if you can? Get all the paint mixed up then used as needed so that there is zero chance of any mismatch later.
07-09-2012, 12:48 AM
#3
Re: panel by panel painting
car lives in a garage so sun fade shouldnt be an issue. what about humidity affecting the paint from session to session? someone mentioned the paint may be affected due to this, i dont see it if i get the paint in one batch like you mentioned.
07-09-2012, 02:49 AM
#4

Re: panel by panel painting
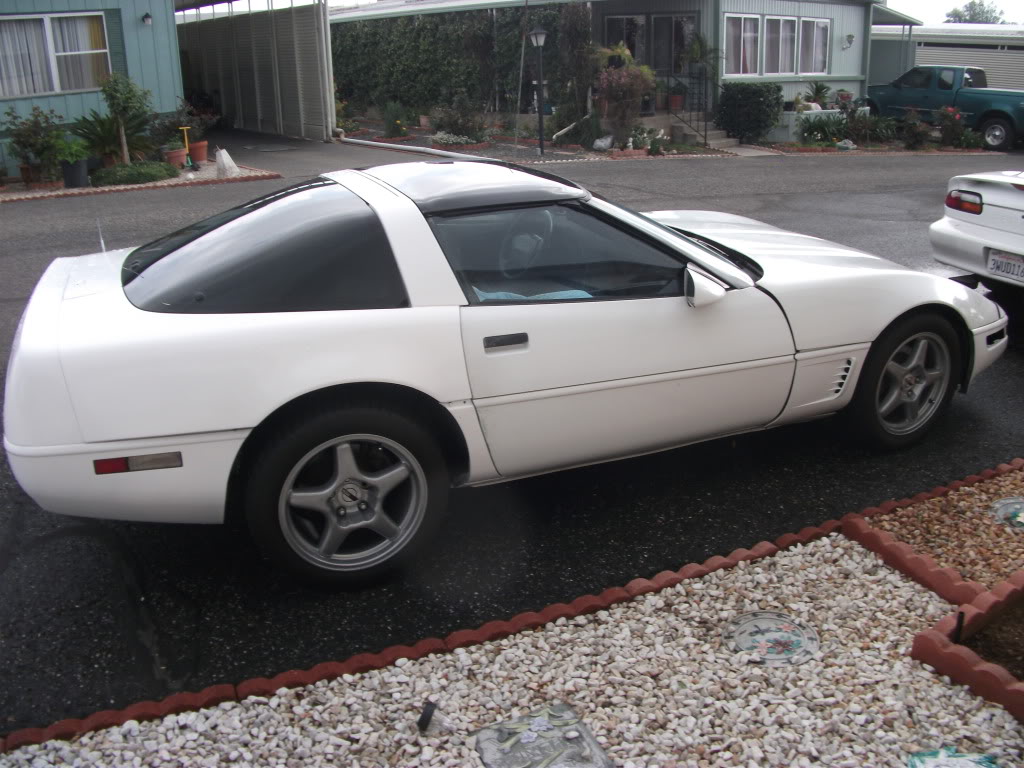
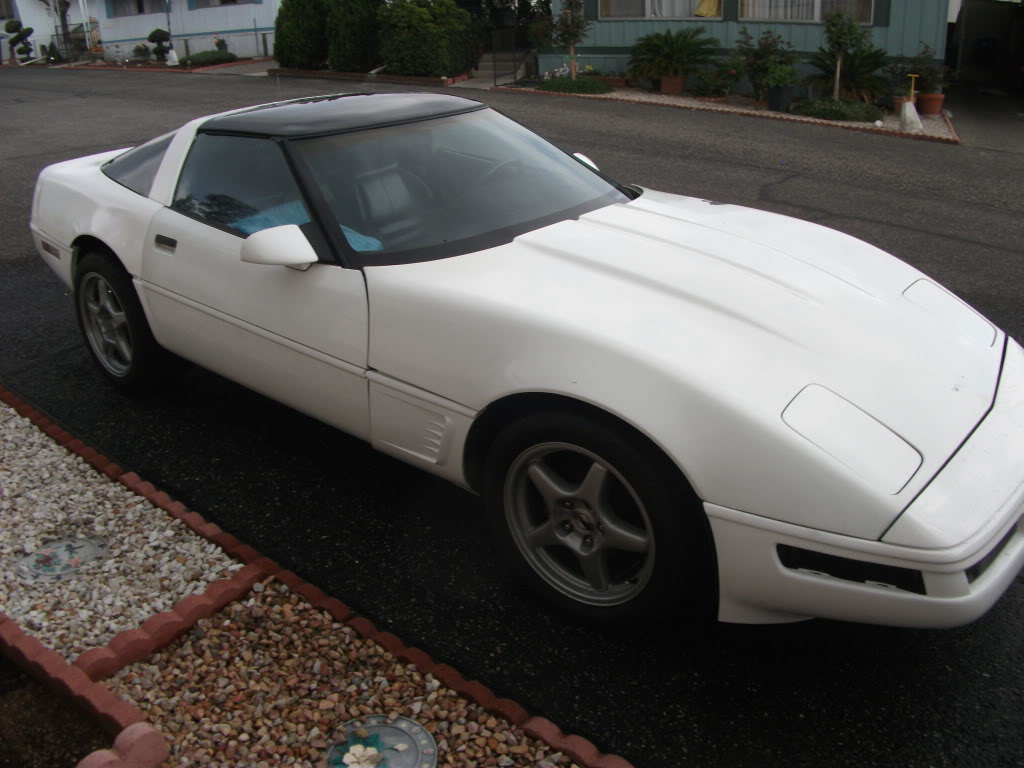
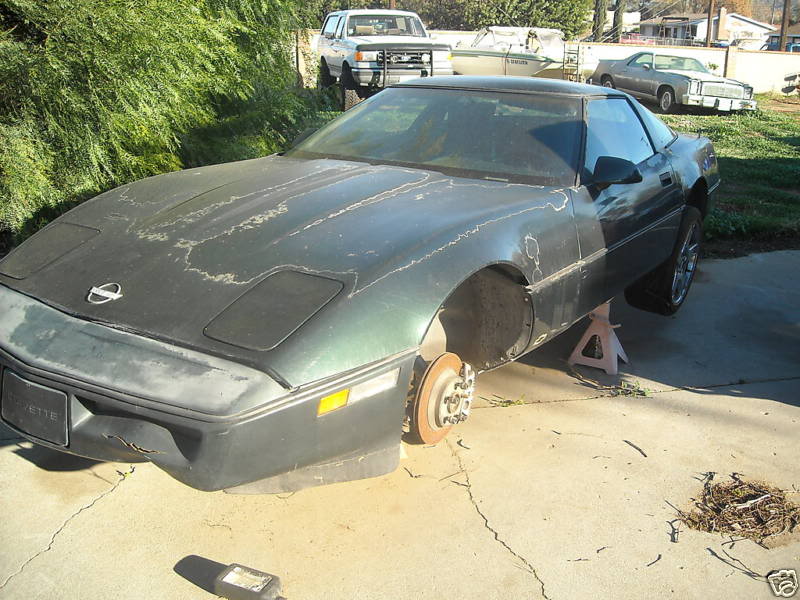
Im painting this 90 vette panel by panel. Basically shot the rear clip then front bumper soon going to do the doors and hood. Originally green, didnt even prime or nothing and been shootin in my driveway and back yard. The doors and hood were white replacement parts since original parts were all screwed up. Who knows how long the paint will last it is 24.95 a quart autozone paint haha ... But not worried about show paint since I am going to daily drive the car so it will eventually get a complete electron blue with silver GS stripe to match the rims.
Last edited by Jeffs82TA; 07-09-2012 at 02:56 AM.
07-22-2012, 08:43 PM
#5
Supreme Member


Re: panel by panel painting
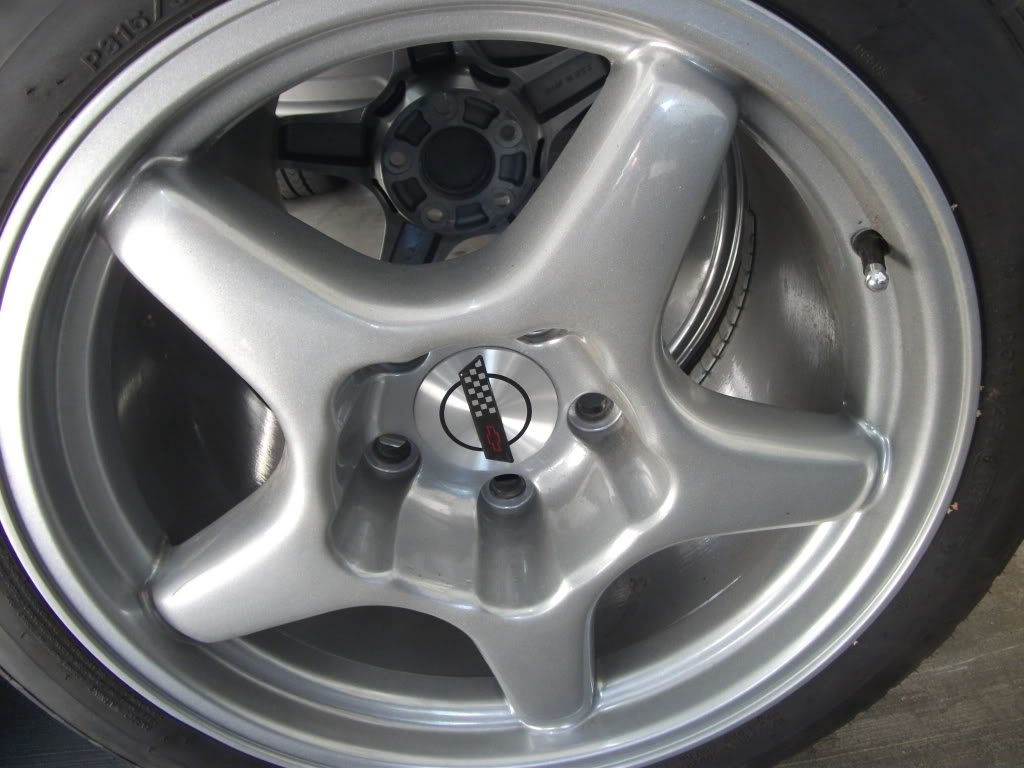
WOW, painted silver ZR1's? Nice choice! I can't tell you how sick I am of seeing chrome ZR1s or C5-C6 Z06s on every non-stock C4 I see. It's really nice to see that someone else noticed this and wants to stand out from the crowd.
The 1991-96 bumpers and 1995-96 fenders are okay too, if you're not gonna have the NASA dash, you might as well have the later body styling as well. I always thought it was kinda dumb that they completely changed the interior in 1990, but waited until 1991 to change the bumpers/fenders, and 1992 to put the LT1 in it.
Only thing I don't like (other than your bumper gaps) is that you did a color change from green. They only made 1,674 Polo Greens and just 589 Turquoise cars that year, so you've definitely lost some rarity there. I'm sure you're not the only one though, blues and greens are always the most popular colors to repaint red, black, or white. I'm just hoping the interior wasn't rattle-canned to black from Saddle...
07-22-2012, 08:55 PM
#6
Member

Re: panel by panel painting
im thinking about painting my FORMULA in sections but not all in the same day due to time and such. im thinking this will allow me also to concentrate more on the bodywork of the panel im painting and better chance of it being right.
BTW the car is bright red.
thoughts?
BTW the car is bright red.
thoughts?
07-22-2012, 08:56 PM
#7
Member
iTrader: (3)
Join Date: Jul 2008
Location: ND
Posts: 385
Likes: 0
Received 0 Likes
on
0 Posts
Car: 1986 Firebird
Engine: 6.0L LSX
Transmission: 4L60E
Axle/Gears: 3.73
Re: panel by panel painting
As long as you pay attention to recoat windows, you will be fine painting in pieces. As mentioned above, mix all the paint you need all at once and get a little more than you think you will need (in case of mistakes or running short).
This was painted in my garage and in pieces. So take your time and you can get good results.

This was painted in my garage and in pieces. So take your time and you can get good results.
Trending Topics
07-22-2012, 09:02 PM
#8
Member
Re: panel by panel painting
Lol, I assumed the car would be fully assembled. On that note, yes it can be done. I did it with all my ground effects, mirrors, headlight covers. Just duplicate the same process and number of coats.
07-22-2012, 09:18 PM
#9
Re: panel by panel painting
WOW, painted silver ZR1's? Nice choice! I can't tell you how sick I am of seeing chrome ZR1s or C5-C6 Z06s on every non-stock C4 I see. It's really nice to see that someone else noticed this and wants to stand out from the crowd.
The 1991-96 bumpers and 1995-96 fenders are okay too, if you're not gonna have the NASA dash, you might as well have the later body styling as well. I always thought it was kinda dumb that they completely changed the interior in 1990, but waited until 1991 to change the bumpers/fenders, and 1992 to put the LT1 in it.
Only thing I don't like (other than your bumper gaps) is that you did a color change from green. They only made 1,674 Polo Greens and just 589 Turquoise cars that year, so you've definitely lost some rarity there. I'm sure you're not the only one though, blues and greens are always the most popular colors to repaint red, black, or white. I'm just hoping the interior wasn't rattle-canned to black from Saddle...
The 1991-96 bumpers and 1995-96 fenders are okay too, if you're not gonna have the NASA dash, you might as well have the later body styling as well. I always thought it was kinda dumb that they completely changed the interior in 1990, but waited until 1991 to change the bumpers/fenders, and 1992 to put the LT1 in it.
Only thing I don't like (other than your bumper gaps) is that you did a color change from green. They only made 1,674 Polo Greens and just 589 Turquoise cars that year, so you've definitely lost some rarity there. I'm sure you're not the only one though, blues and greens are always the most popular colors to repaint red, black, or white. I'm just hoping the interior wasn't rattle-canned to black from Saddle...
Dont worry this polo green car was a basket case with 198,000 miles on it it so rarity isn't in this cars favor. The color change was done because all body parts but rear 1/4 panels were were damaged.
The bumper gaps and other gaps are only because those parts are not bolted up correctly they were just kinda layed on temporarily is all. They will be set to the correct gaps when I paint the hood and doors.
It never had a saddle interior, has factory RPO codes for polo green with black interior with sport seats.
how it was when I bought it and since have put in all new black carpet and seat covers. Car can easily be put back to original color combination and body panels easily but at 198,000 miles I decided making it how I like it was how it was going to be. No ground effects or spoilers will be added to it but I might add a black GS stripe kits to it to match the interior or silver gs stripe to match the rims.
 07-22-2012, 10:00 PM
#10
Re: panel by panel painting
the part im going to paint will be off the car and each part i do will be prepped, primed then painted.
mile 3, that looks great!!!
How are you going to mask the sections off? There might be a noticeable line with the basecoat, but definitely will be with the clearcoat. If there is going to be a temperature difference, you'll have to have the appropriate activators for the temp you will be painting in. But, if you are just priming it, then yes, you could do one panel at a time.
08-01-2012, 07:50 PM
#11
Junior Member

Join Date: Jul 2012
Location: Southwest Wisconsin
Posts: 15
Likes: 0
Received 0 Likes
on
0 Posts
Car: 1992 Camaro RS
Engine: three oh five
Transmission: 700 argh 4
Re: panel by panel painting
why take it panel by panel. take them all as far as primer then do it all at once. just saying, i paint cars all day everyday and i promise you the more practice you get doing the body and primer the more the stuff you first did will look like crap to you. so take your time and get everything in primer first then go over it all, once your satisfied with it, then paint it all at once then the car will look good and consistant
08-02-2012, 06:54 AM
#12
Senior Member
iTrader: (4)

Join Date: Mar 2010
Location: St. Louis
Posts: 595
Likes: 0
Received 1 Like
on
1 Post
Car: 91 Z28
Engine: 350 TPI
Transmission: 700R4
Axle/Gears: Stock
Re: panel by panel painting
Never cared for "panel painting". You'll get away with a color match better with a solid paint, but metallics are another ball game. The simple spray pattern of a metallic will make it appear as if it's a different color. Best to shoot it assembled.
08-07-2012, 05:58 PM
#13

Re: panel by panel painting
I'm doing true 1 panel-at-a-time rattlecan painting outside in the yard complete with bugs, dust and pollen! Don't have any other choice.
I let each section dry enough (because of the humidity I use a heat gun on it just after spraying) to cover and do another section. I use tape and old bedsheets to cover.
Not worried about differences due to Sun/humidity etc as it will all be sanded flat and then clear put on. MAYBE I'll even take it to a painter to get the clear put on!
The pic shows the first coat. Really looks good even tho very orange peeley. At this point there is still much to do especially the black graphics in the orange area.

Last edited by skido; 08-07-2012 at 06:06 PM.

Thread
Thread Starter
Forum
Replies
Last Post
Hotrodboba400
Firebirds for Sale
3
12-10-2019 07:07 PM