When you click on links to various merchants on this site and make a purchase, this can result in this site earning a commission. Affiliate programs and affiliations include, but are not limited to, the eBay Partner Network.
Coming along nicely.
Is the car supposed to sit that high? Just curious because mine seems a bit high as well...
The tires I put on were exactly one inch larger in diameter vs the old ones, this would raise the car a half inch. Plus I put in all new springs, bushings and shocks front and back. Here is a pic from my archives in 2014:
I purposely put stronger springs in mine to lift it up. CT roads SUCK. 84 TA with ground effects. Can't even get the jack in from the front unless I lift the car with my back as I roll the jack under.
I had the same issue with my car before the restore, I have a pair of those drive up ramps, and needed a set of ramp shims to allow use.
Post a picture of one whole side of the car - straight on. I want to see how the wheels look on this bad boy!
The building post hid the front wheel preventing a straight on shot, then I remembered that I now have a shifter and neutral "rollability"! Here you go: I measure 10.5 inches from the bottom of the horizontal frame (mid drivers door) to the ground. When I sit my 200 lbs on the driver seat, the back comes down about an inch. I still have to install alt, ac comp, PS pump, oil, radiator, H2O, hood, bumper, etc, so front should come down some too.
Oh and a battery...
Last edited by stuartswede; 06-01-2021 at 06:39 AM.
I guarantee your roads are not worse than ours. They raised our Sales Tax to "fix the roads", and then re-did all the curbs & sidewalks INSTEAD. So the roads are still a mess. That's Government for ya. SMH...
How can that be? My cousins moved there and they said that Colorado has more money than they know what to do with it, because of the marajuana.
Maybe everyone is stoned and they can't figure out the difference between a road and a sidewalk?
Completed fab of fuel return line, and install. Connected up the O2 sensor, and tucked away from headers. Connected starter wires, and tucked away from headers. Connected knock sensor and tucked away from headers. Ran hot line from Alpine amplifier and tucked away from headers. Installed evaporator and housing. Installed fan. Sorting out and positioning wiring bundles. Ordered some more loom. Removed distributor in preparation of oil system priming. Ordered priming tool. Tried my HVAC fan and it didn't come on. Is there a ground wire for it? Also connected up my vacuum line to internal duct doors, mine was so brittle, it broke and there was only a couple inches at the firewall, had do run a separate line visible above.
Hit the HVAC fan a couple times. They can get stuck from sitting. Worked for me anyway. (and yes, it has a ground wire).
Where is your O2 sensor with those headers?
Thanks TL, I am not seeing a ground wire or anything on the fan, and have no continuity to ground from the fan case, will figure it out, and will try shocking it too. The O2 sensor is right at the exit of the drivers side header.
The black wire in the picture that's not covered by the loom material. Is the Ground. There is a metal tab on the housing that the connector goes on...
Thanks! Looks like I lost that ground tab in the translation. Yours looks super clean BTW
I was looking to replace my AC condenser, and no-one, I mean No-one has one. I've been looking for weeks. So decided to pressure check my old one and no leaks. cleaned it up and will be going back in. Saved 200 bucks. Sudz are from cleaning solutions Water pump in! Wut are you? Help TL Same question? I was delinquent in tagging. Wipers operational!!! Notice the gold accents? Crank pulley in And water pump pulley Coming together Can anyone tell me what this is? Seems to be related to the EGR with vacuum tubes and an electric plug in. I cant find any replacements on rock auto etc, and I need a new one. Looks like a vacuum leak waiting to happen. Also, my headers seem to disrupt the right-most (missing) bracket for the AC compressor. Any help on a modification would be appreciated! The OEM bracket clashes with the #1 header. Thanks
The square connector with 4 cavities is for the 700R4. The next picture with the two single connectors are for the distributor cap. The other thing with the torn rubber is for the EGR
As Scooter mentioned it�s for the EGR, it�s the EGR solenoid and they are discontinued IIRC correctly for our cars. You can go with a corvette one from a Corvette parts place and pay over $70 or get one from a mid 90s Cadillac and splice the correct pigtail and it will cost a lot less.
Used an old stud and cut down a sleeve to position bracket close to where it used to sit in space. Whizzed off the bracket for header clearance. Should do the job
Except I scratched the paint off my number 1 header! Dho!
Last edited by stuartswede; 06-05-2021 at 08:01 AM.
WOW,
Thanks TLS, I am flattered. That is definitely the gold color I am trying to concoct, very nice! Seeking to aspire to that level. What is OP? Andy's son? It was also a popular brand of shorts in Florida 30 years ago.
Happy Sunday,
To make a short story long, I have been searching frantically for my PS pump bracket, shown below
What a chum bucket greasy kid stuff POS. Anyhow I could not locate, think I may have accidentally returned with core. Went to local junk yard wading thru 8 inch puddles, looking for a GM 305, no luck. Bet that 87 GTA had the right bracket!! Right TLS, Just sayin' Found this on line, and plugged the dam, along with one of the OEM brackets!! Mounted the rest of the non-bracket challenged hardware Just waiting on the radiator...
Last edited by stuartswede; 06-06-2021 at 06:37 PM.
Those aftermarket PS brackets are a much simpler setup. Plus they are not intertwined with the AC brackets.
I always hated how the pump sat at an angle. I hope they work well for you.
Can you post a pic of the PS pump to steering box clearance?
Those aftermarket PS brackets are a much simpler setup. Plus they are not intertwined with the AC brackets.
I always hated how the pump sat at an angle. I hope they work well for you.
Can you post a pic of the PS pump to steering box clearance?
Waiting for my radiator to come UPS, got a few things done. Installed the era correct shifter plate! Makes TLS happy. Installed my new multi switch with delay wipers, however, the plug was for 3 wire cruise control and this one is 4 wire. Where is that "easy button"? Just like when you try to influence your golf shot in flight, the ball never listens... Pressure washed the nose, found some unexpected corrosion All is not lost, I found a used replacement on Ebay for less than 70 bucks! It's on the way. This guy showed up just after noon! Looks real functional. Pleased with the quality, but they didn't send any installation instructions. There is a relay, sensing unit, fuse and wire fittings but nothing showing what goes where. Where is that easy button? I found some instructions on line for a different brand, but the wire colors were different. I contacted the seller for some help. Made up a couple of clamps to secure everything, Sweet!! 6061 T6 Aluminum, welds are impressive. If you are wondering what the bag is for, it is my insulation for the hot wires and my battery charger leads. I bought a new battery today, as well as R134 refrigerant from Walmart. Feel like I am carrying my bride across the threshold, there is going to be a fire in the hole tomorrow! Just say'n
I got the new radiator last Monday afternoon, spent most of Tuesday morning hooking up electrical and mechanical, realized that the trans cooling connections were not 1/2 - 20 that they should have been but something smaller. Was going to pack up and send back, but like the radiator overall and was tired of waiting to fire up this engine, so I ordered an aux trans oil cooler and installed yesterday.
I added the comp cams additive and Lucas high zinc break in oil, and primed the system with the tool for about 15 minutes. Got very high reading on oil pressure 50- 60 psi, but figured was cheating with the drill. Tried to start but realized my fuel pump relay was not energizing the fuel pump for 2 seconds as it had been doing every time I turned the key on during this restore period. Went and bought a new relay this morning, but no dice. Also my dash gauges seemed screwy, checked the fuse and it was blown. Checked my voltage at the Alternator post, and was only 5.7 volts, should be battery voltage 12.4 volts or so. Explains why fuse blown, 2X amperage. Went and bought a new battery cable and pigtail, installed, fuel pump and relay operating nominal. Sprung a big fuel leak from cracked and old hose over the rear axle, fixed that, still no start. I know I installed the distributor following oil prime pointing at number one cylinder at TDC on compression stroke, because I marked carefully. I did get one and only one veroooom where it fired up on probably 6 or 8 cylinders, but that was all. Looking at the throttle bodies while starting, looks like fuel flow rate is at WOT. Should be just a mist with the butterflies closed right? but it looks like WOT when I hit the start key. I checked the throttle position sensor, with extension wires, supposed to be .35 - .45 volts between the bottom 2 wires. I checked and reset, but still looks like it is flowing WOT with butterfly closed. Help.
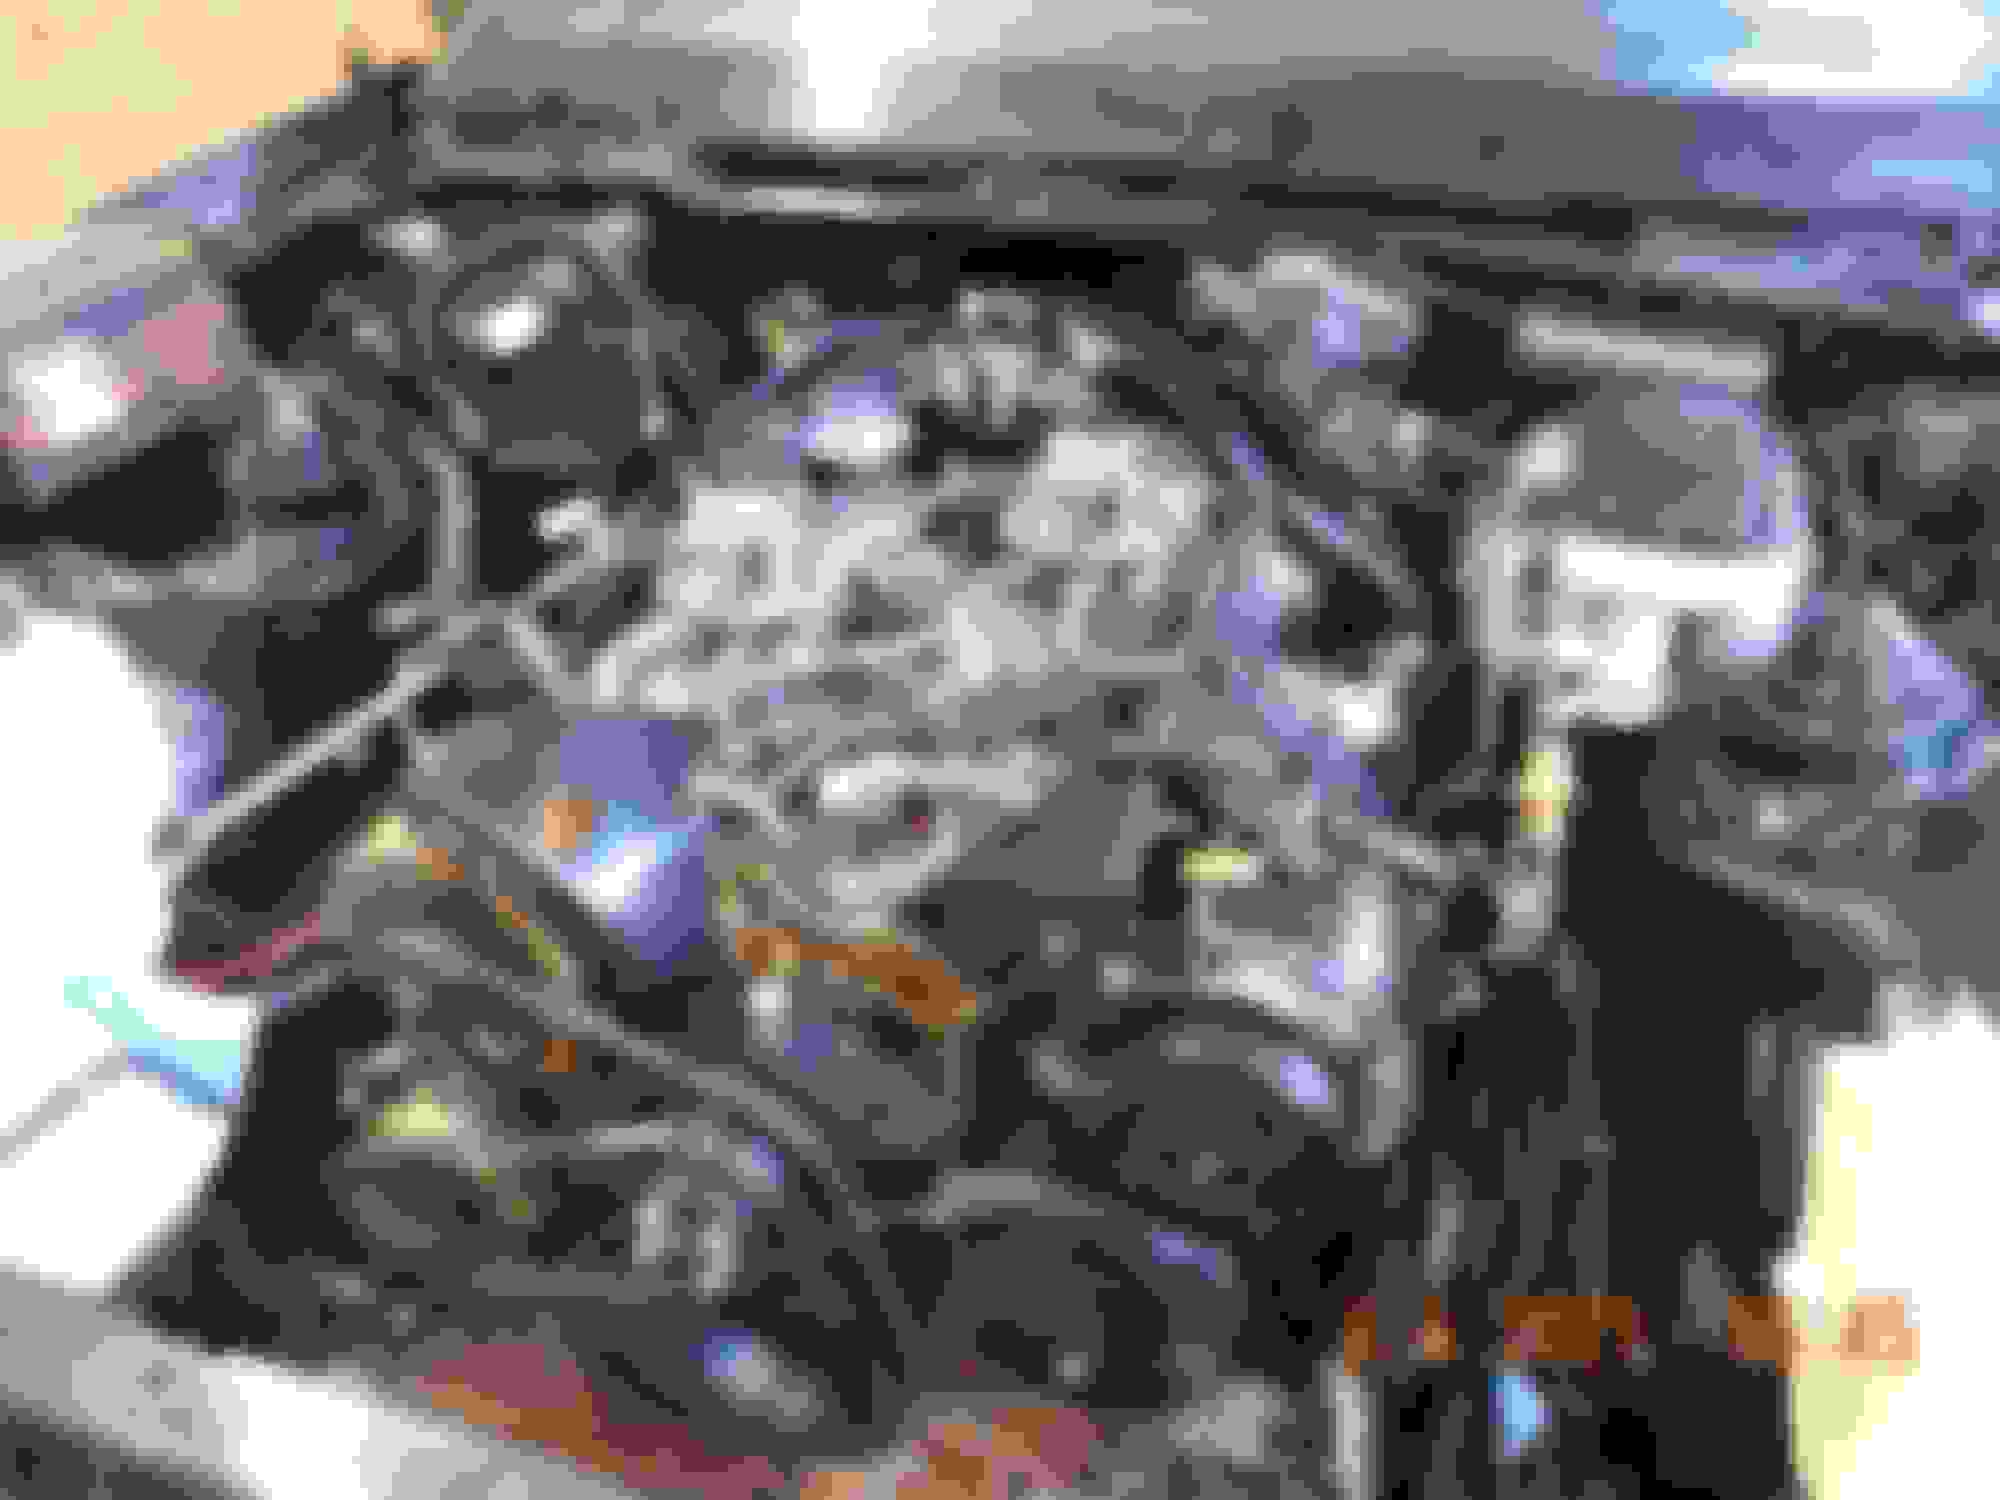
Tried to take a photo of the TB flow at start. It is like full on the whole time, zoom in and look. I also got gas leaking out of my Y-pipe slip connection during this episode. Too much fuel, any help will be appreciated
If you have that much fuel leaking out, then DO NOT CRANK the engine. You can hydro-lock it and bend connecting rods.
Step 1 - remove all of the spark plugs so the cylinders can dry out. Leave them out while troubleshooting the fuel problem.
ONLY when you are satisfied that you are no longer dumping fuel into the intake should you re-install the spark plugs.
And get that PCV valve connected. You need that to suck out all the blowby vapors during your initial break-in run.
Last edited by NoEmissions84TA; 06-10-2021 at 07:35 PM.
Will do, thanks, but why would I be dumping all of that fuel in the first place?
I don't know the CFI system, but I do know engines.
You need to slow down and regroup. Otherwise you will be starting over.
You have done so much great work so far. Don't blow it now!
Electrically disconnect those throttle bodies to test if your fuel pump is just pushing fuel past the injectors, or if there is a signal telling them to be open.
Only turn the key to ON during testing - NOT CRANK!
Last edited by NoEmissions84TA; 06-10-2021 at 08:00 PM.
Thanks everyone for the input. NoEm's caution was well placed, (and received). Fuel, like water is in-compressible, so something else has to give. I was wondering why the big fuel dump on start, and reasoned that if the MAP sensor was bad, the ECM would see no drop in pressure with cranking, and think the throttle was way-open, resulting in the big fuel supply. So I went and bought a new MAP sensor this morning and new vacuum hose. No difference. Then I pulled the fuel pump fuse, so no fuel, hooked up my timing light and triggered with a clamp pointing to the drivers seat, verified spark signal, yay! Then poured about 5 tablespoons of gas into each TBI, and cranked with no fuel pump fuse. Engine started and ran for around 15 seconds - alleluia!!! It sounded REAL good. I repeated this half a dozen times to set the timing. Then I thought hey, try it with the fuel pump fuse installed and enabled, maybe the ECM "learned" something. Hot diddly dad gum, it started and ran perfect, just like my highlander, but more like a wild beast. No tach tho, but used my multi-meter to monitor rpm, ran the 2000-2500 cam wear in for 30 minutes, ran perfect. Stopped and re-started a couple of times just to make sure I was not dreaming, and it cranked up on what seemed like less than a full RPM. Perfect, idling around 500 RPM, exhaust not too loud, just right. Hooked up PCV temporarily, and added my new goose-neck, sits a little higher than OEM, and you can point it wherever you want. Gets the hose off the bracket, looks a lot better.
Yes, I need a smaller clamp.
I was messing around with my HVAC trying to get the dampers to shift around since I finally have vacuum, I assume that is what operates the dampers, and the engine sputtered and died! Oh no! I also threw a trouble code, MAP high voltage. Then I realized I probably ran out of gas. I had added a couple of gallons yesterday from my 5 gal can. So refilled, and and disconnected the battery to clear the code. Wouldn't you know, the dang fuel dump condition returned!! NO!!! Did the pouring gas in the TBI thing again several times but can't get back to the happy place. Dang!
I have another ECM, but cannot remember why I have it. If I replaced the old one, then this is the old one...and the current one is acting up.
Also thanks everyone for the compliments on my engine compartment, hard to admire when it is misbehaving, however, just like kids...
Thanks for any input.
BTW, I have power steering!!!
Last edited by stuartswede; 06-11-2021 at 06:56 PM.
Congrats on getting the engine started and cam broke in. Sorry to hear the fuel issue returned. Wish I could offer advice to fix. Hope you get it sorted out soon.
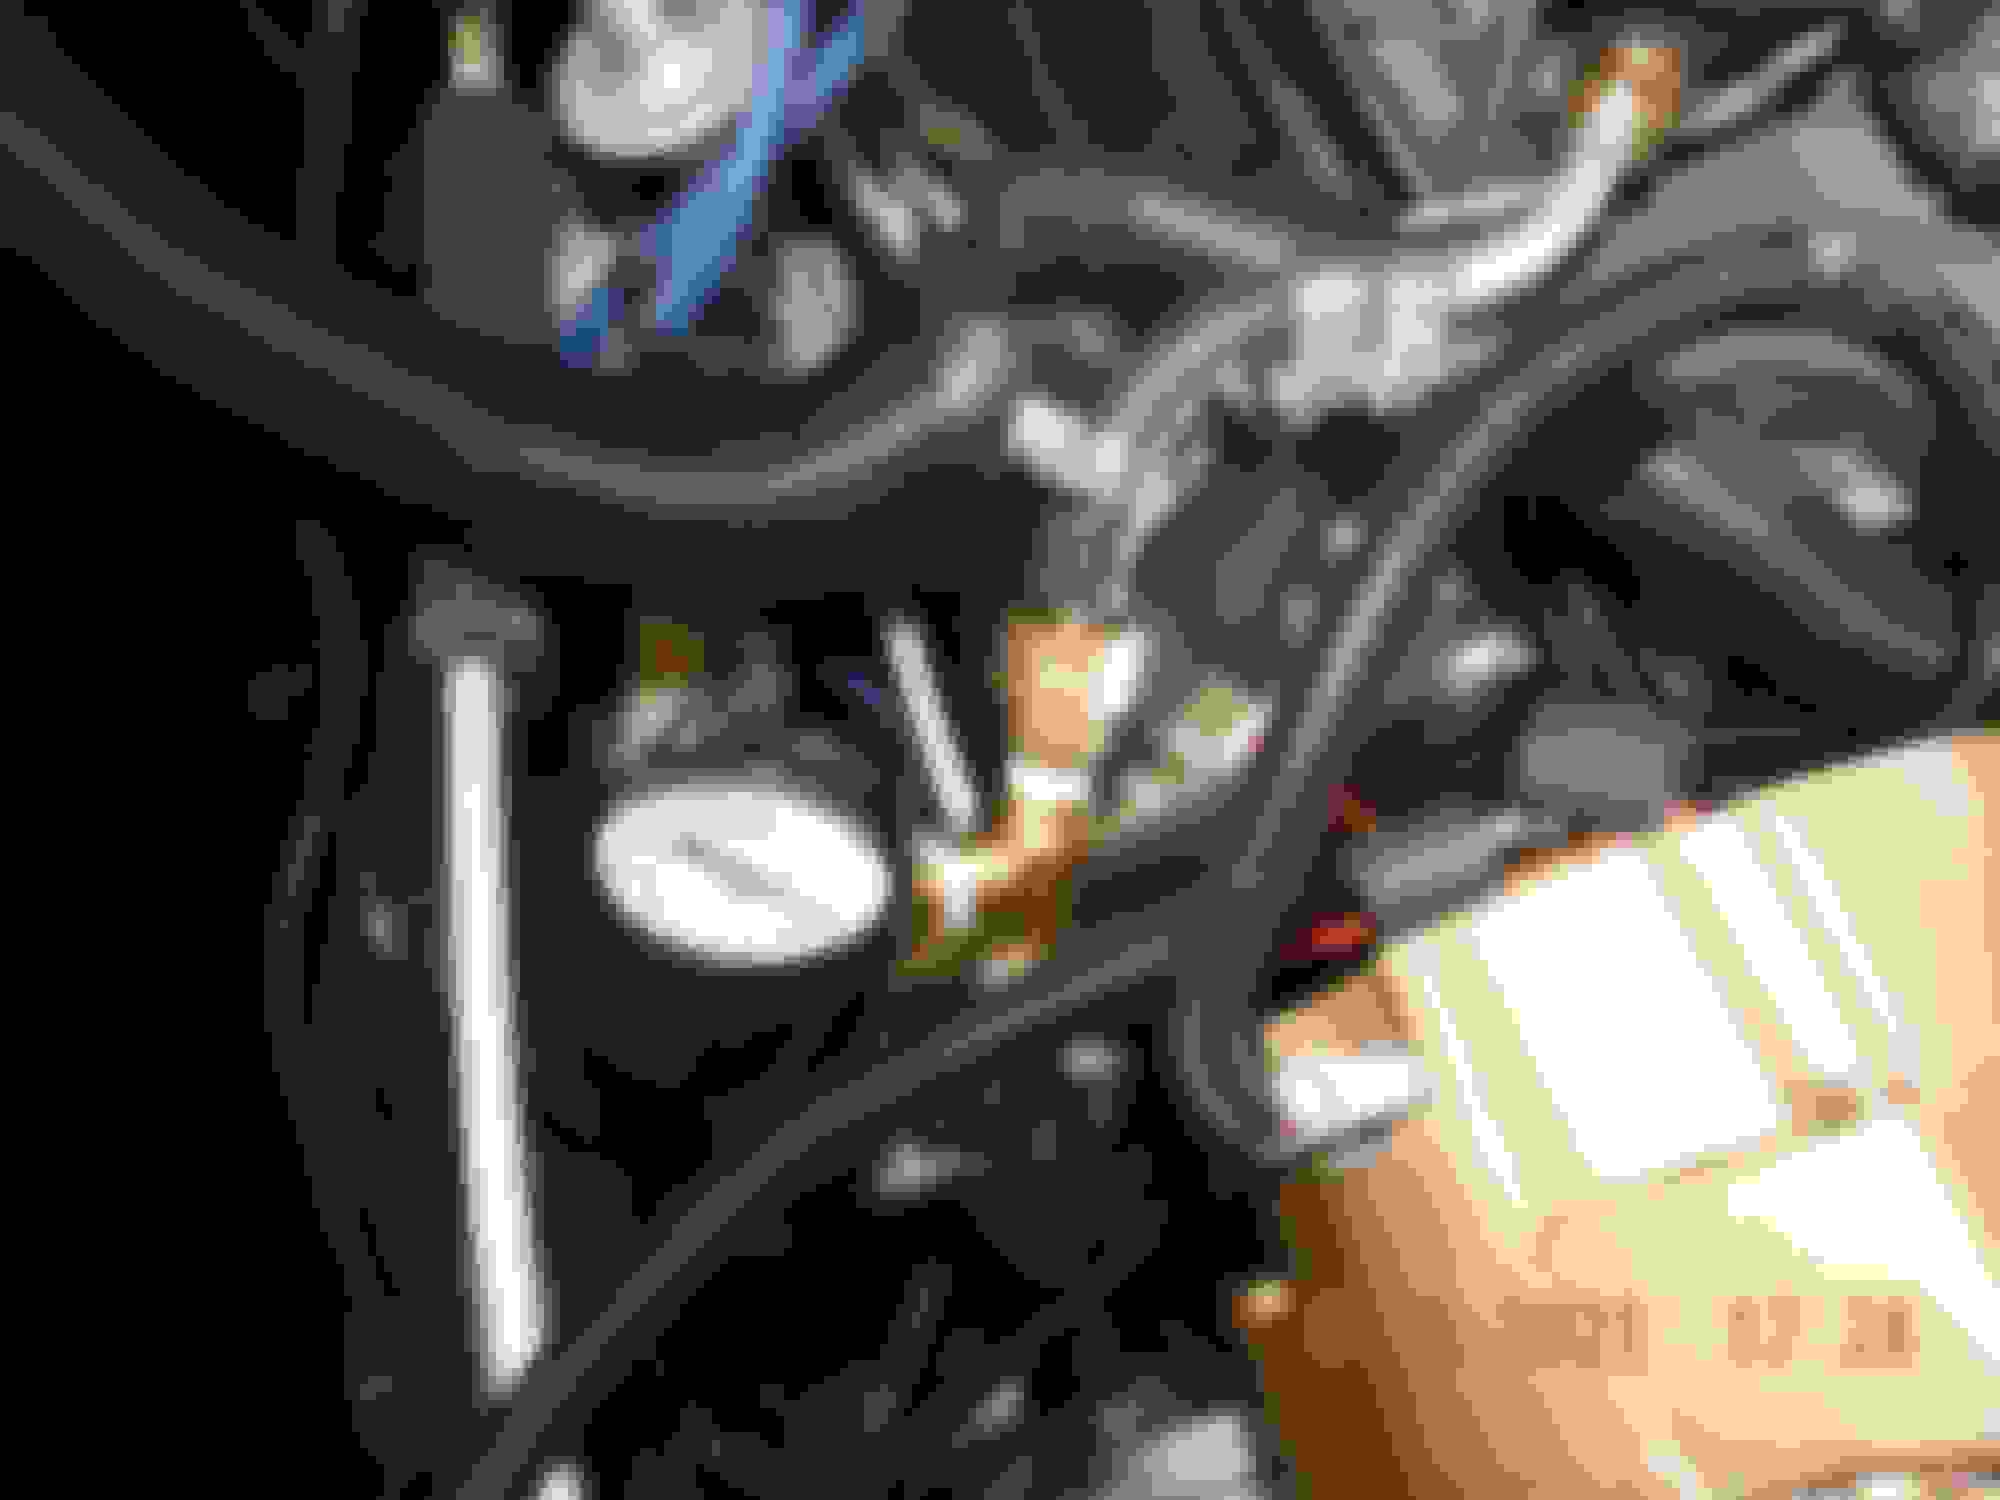
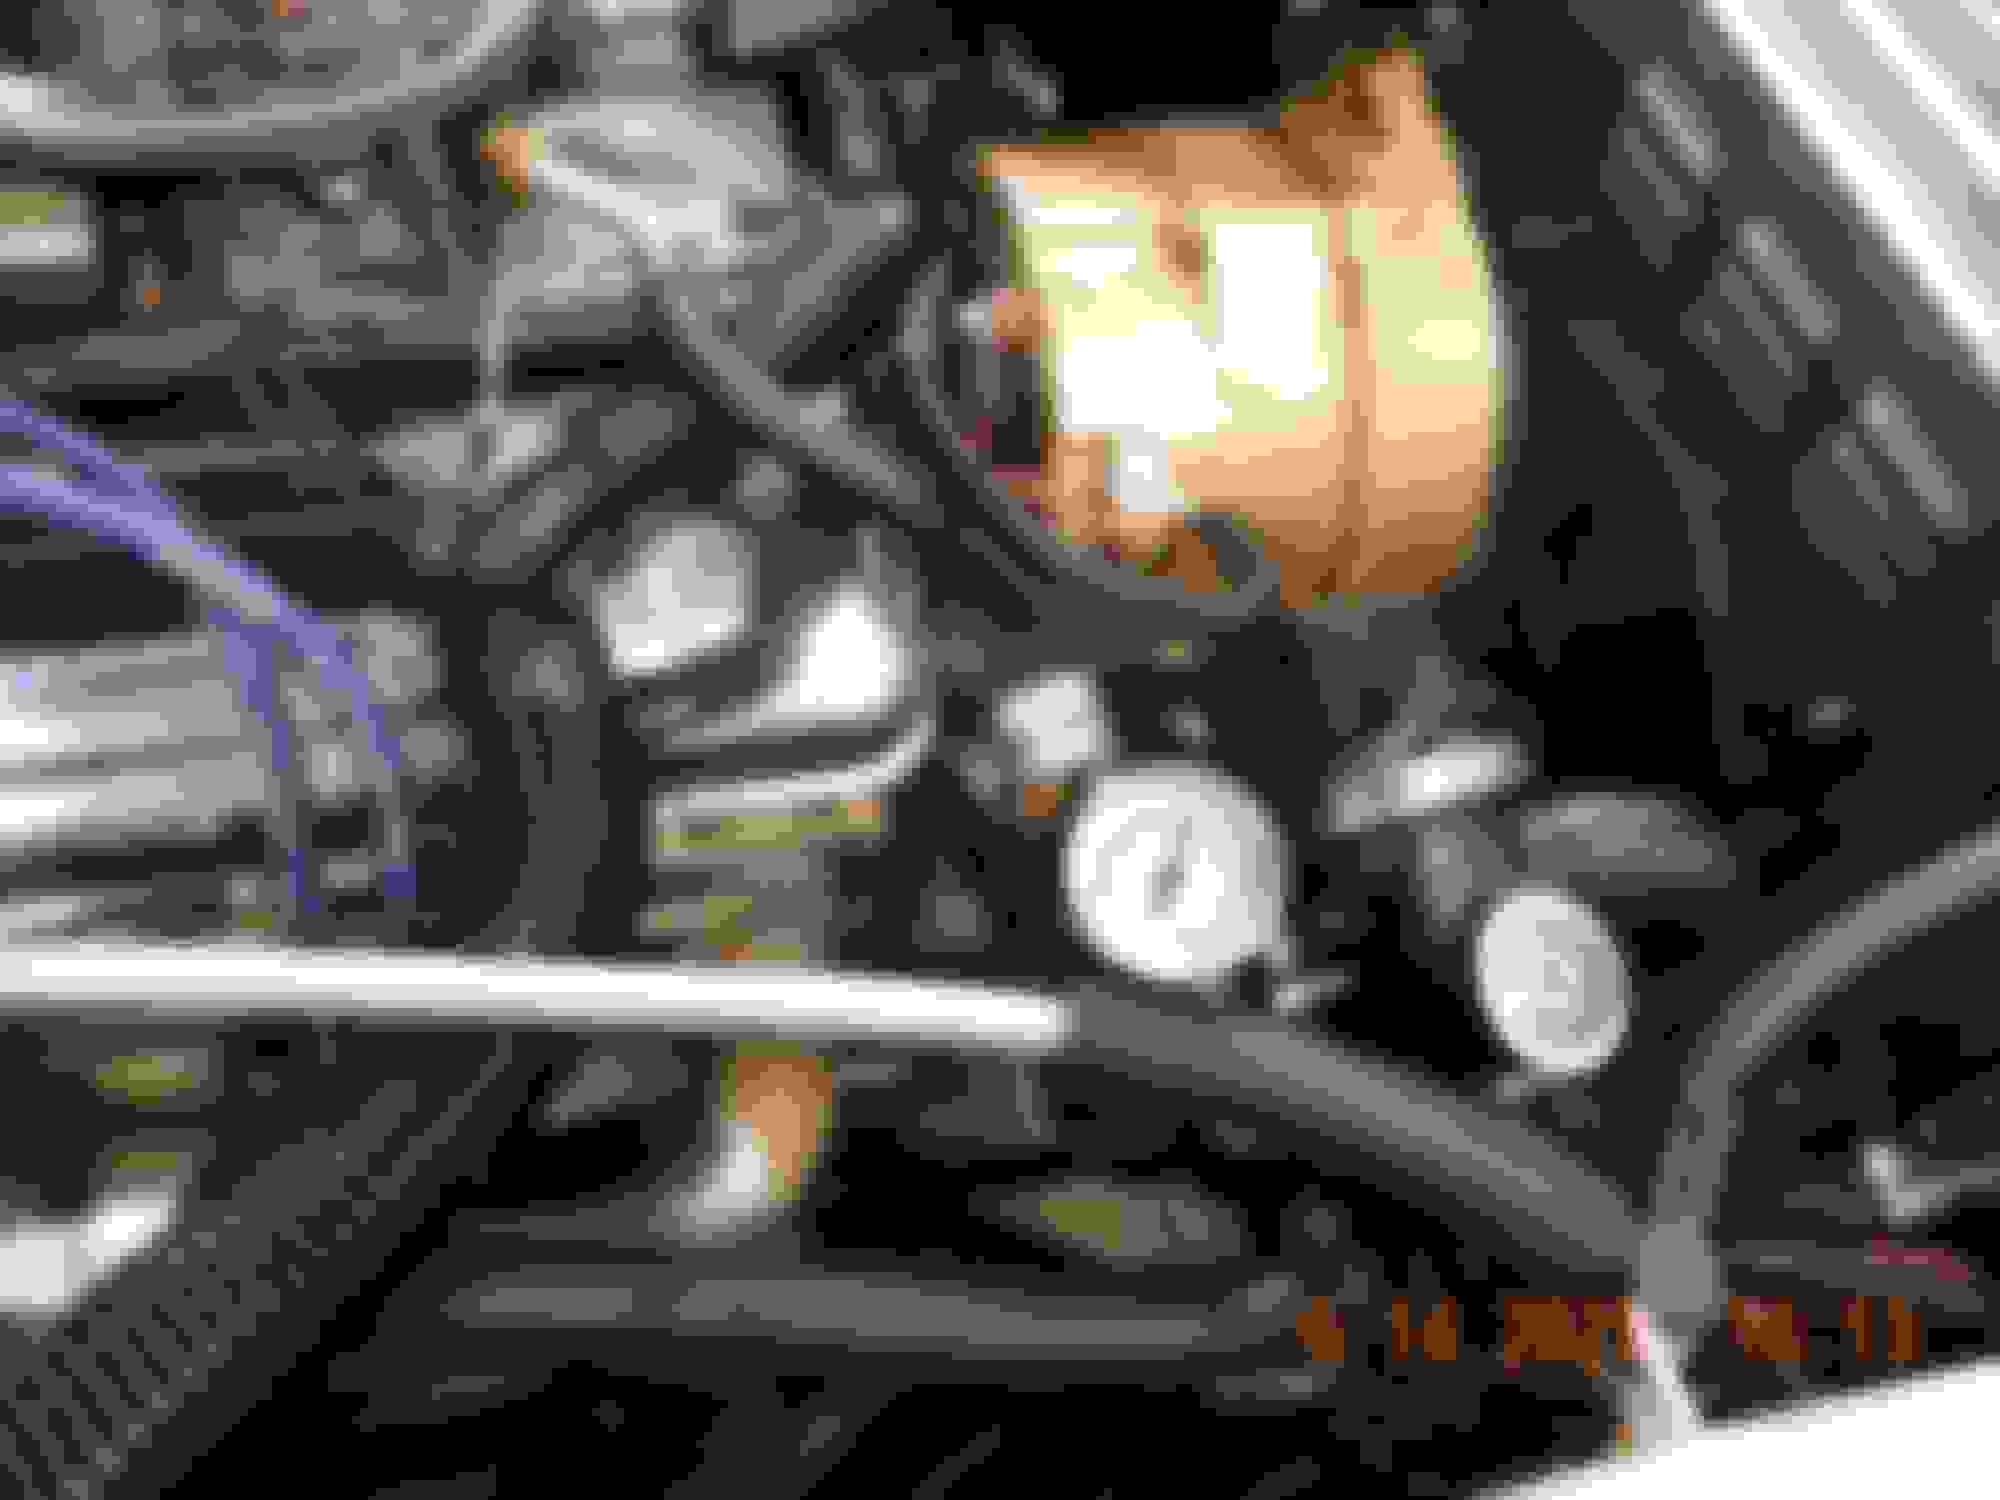
Thinking that the fuel dump issue was ECM related, I solicited the help of Street Lethal, who is a renowned expert on all things performance and control. He interrogated my issue and recognized that I had added a higher flow fuel pump (upon recommendation) without beefing up the TBIs ability to handle the increased pressures. I plumbed up a pressure gauge just before the first throttle body, and sure enough it was reading almost 20 psi, well above the 12-13 psi in the stock system. Prime and crank just under 20 psi
I ordered a pressure regulator that should come tomorrow allowing adjustment to 12-13 psi before the TBI, should solve the problem. Hat tip to Street Lethal, my hero!!!
Tidied up the loom, and applied the 303 Aerospace treatment. Amazing stuff, check out the radiator hose and the windshield wiper motor plastic, rubbed in 8 hours ago, and still looks moist and happy! Thanks for tuning in!
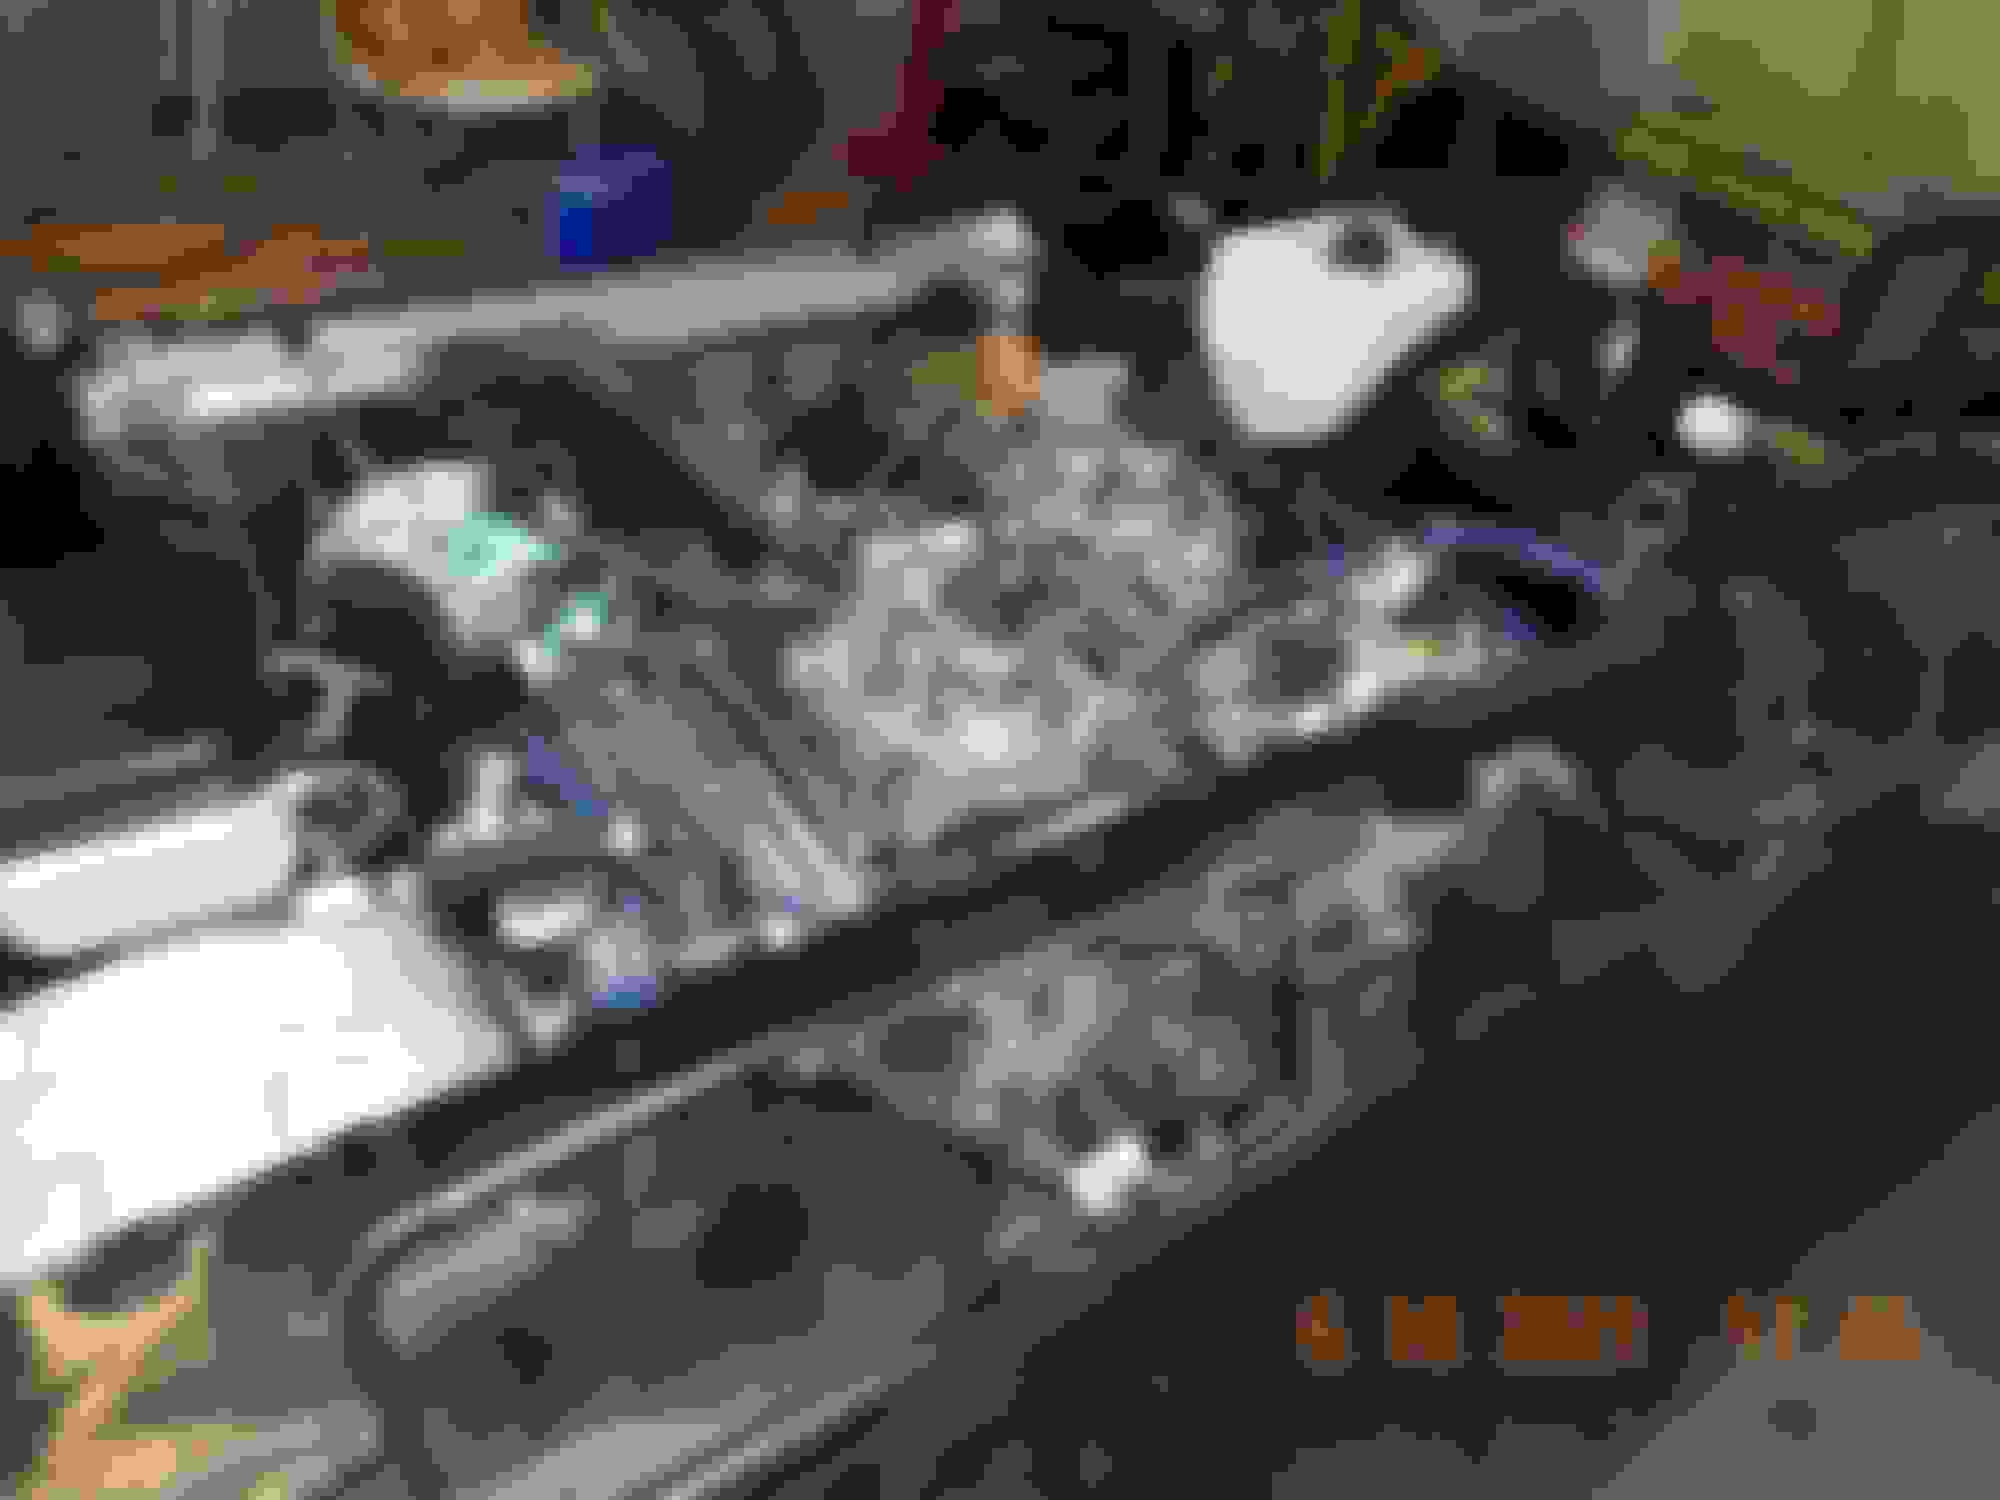
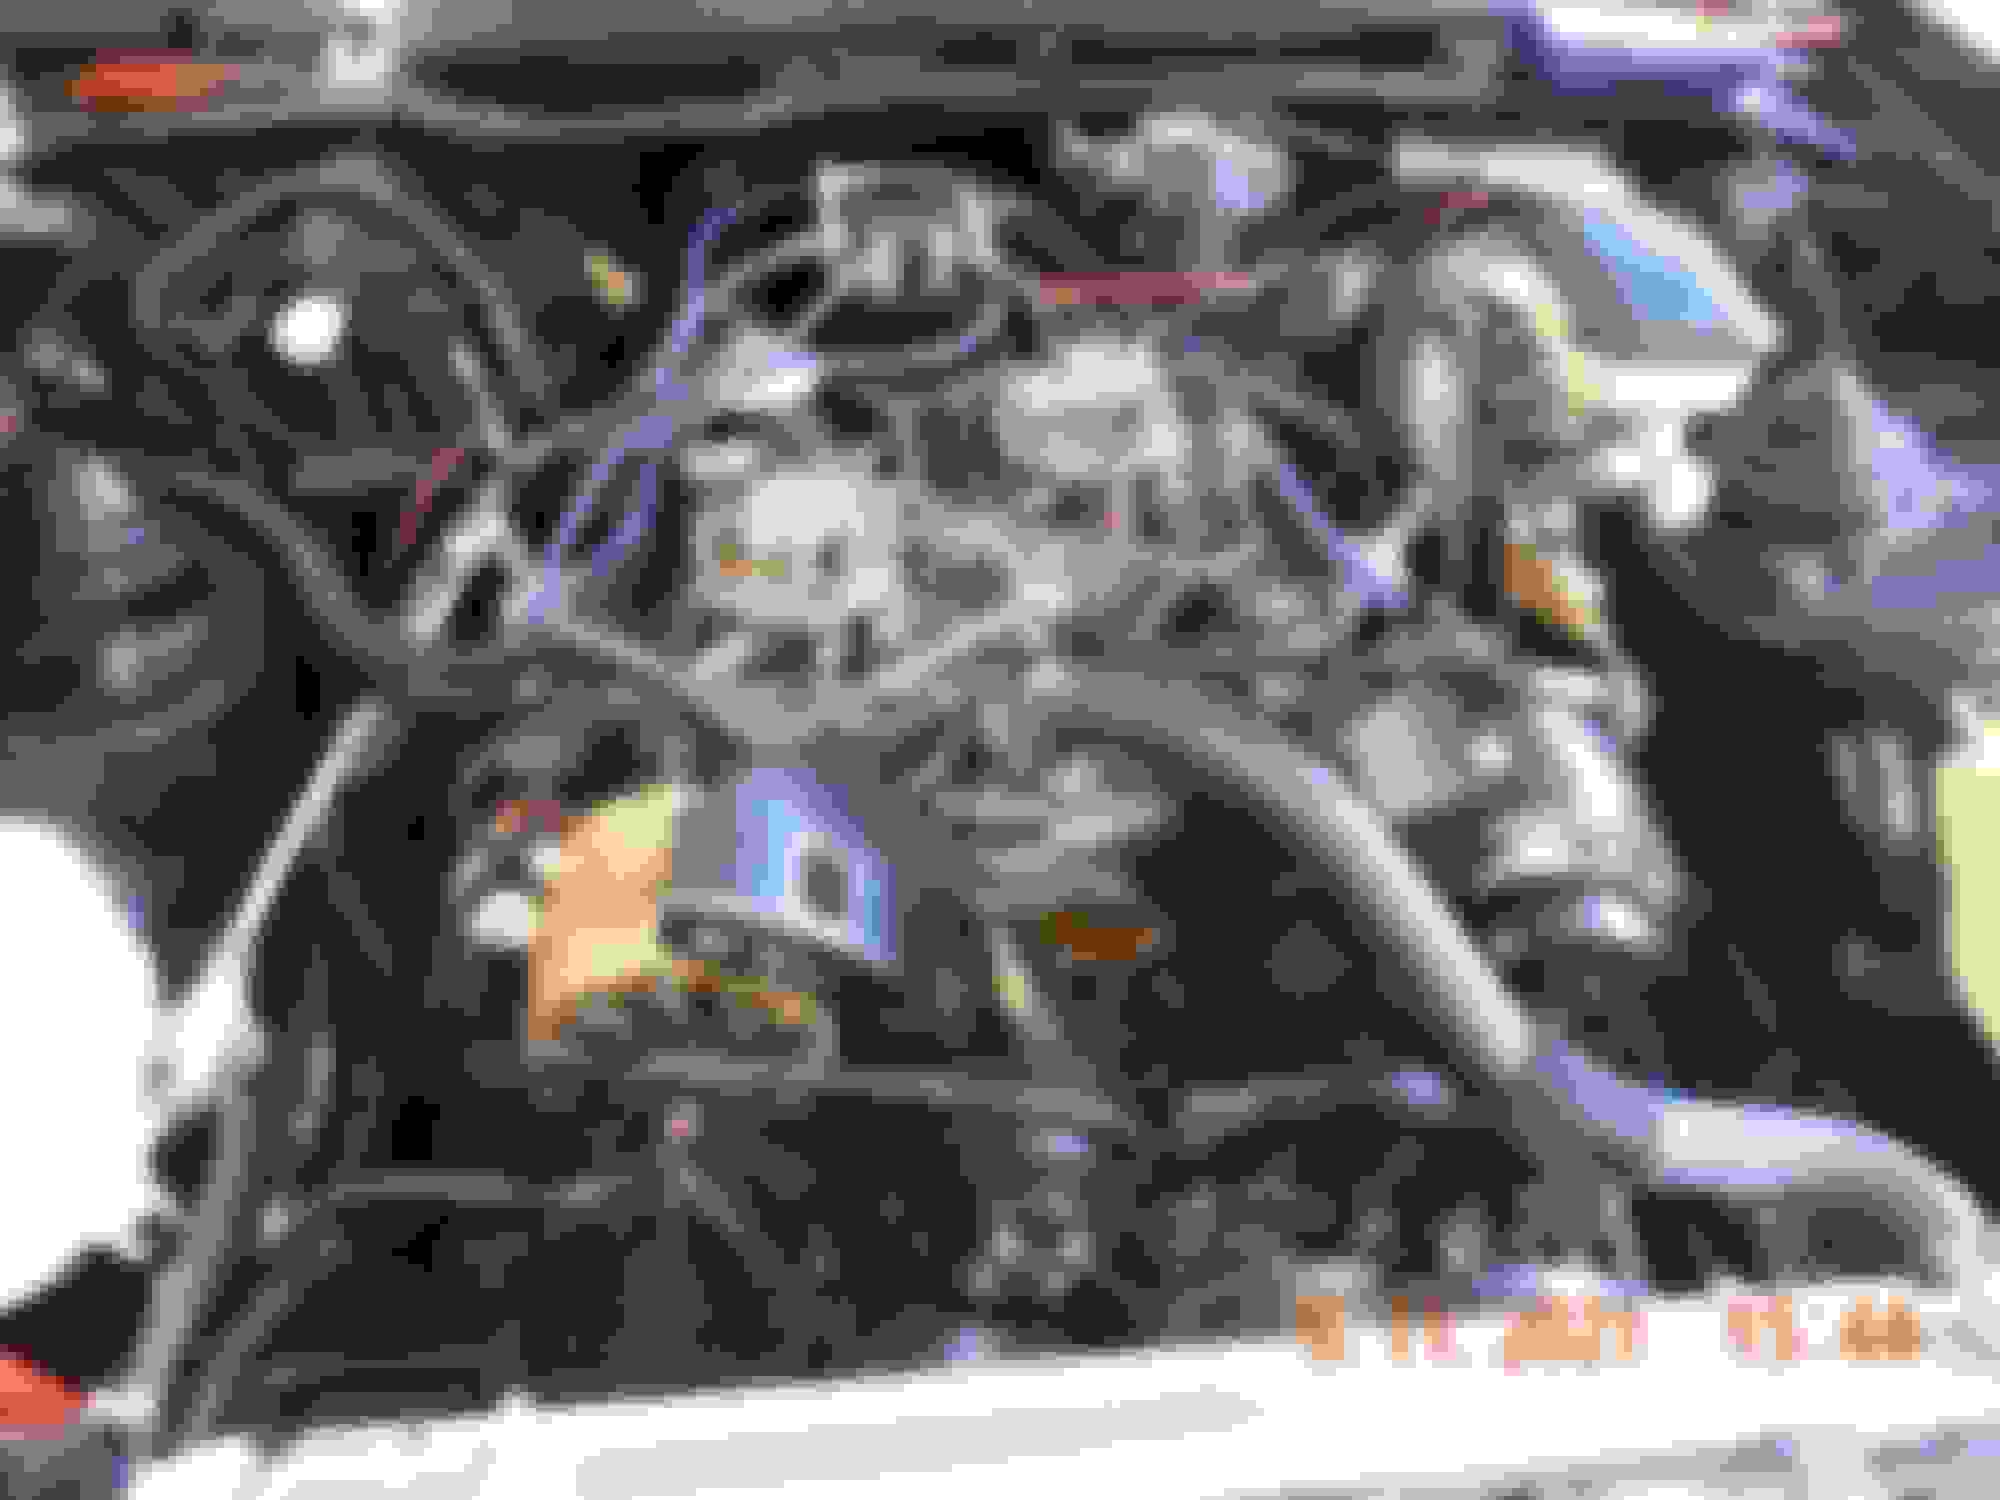
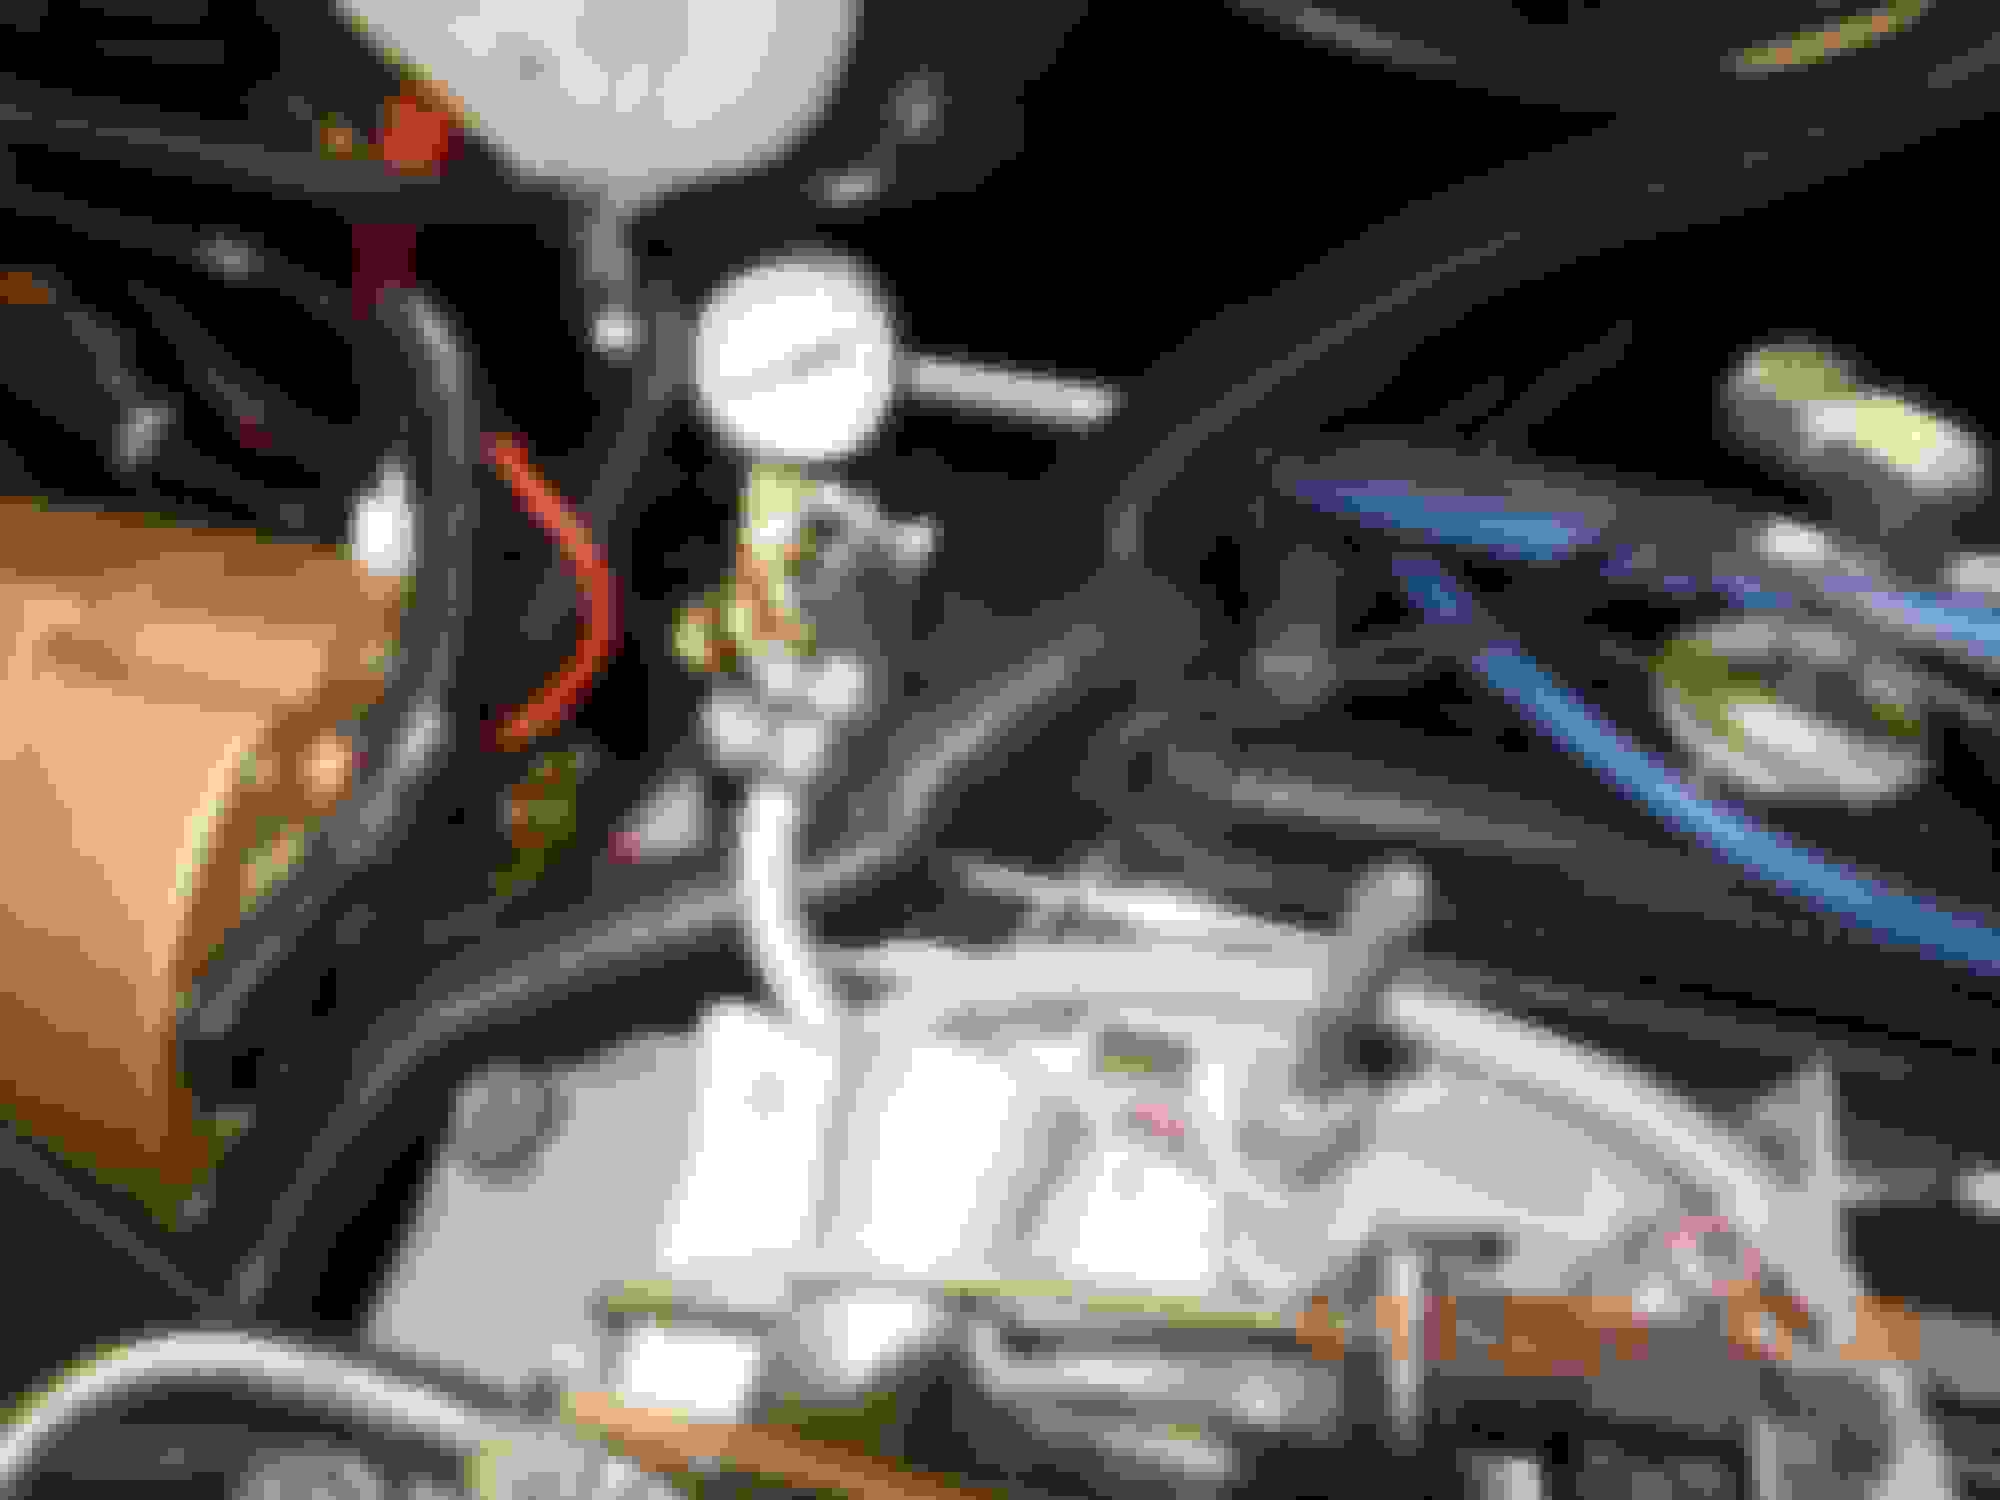
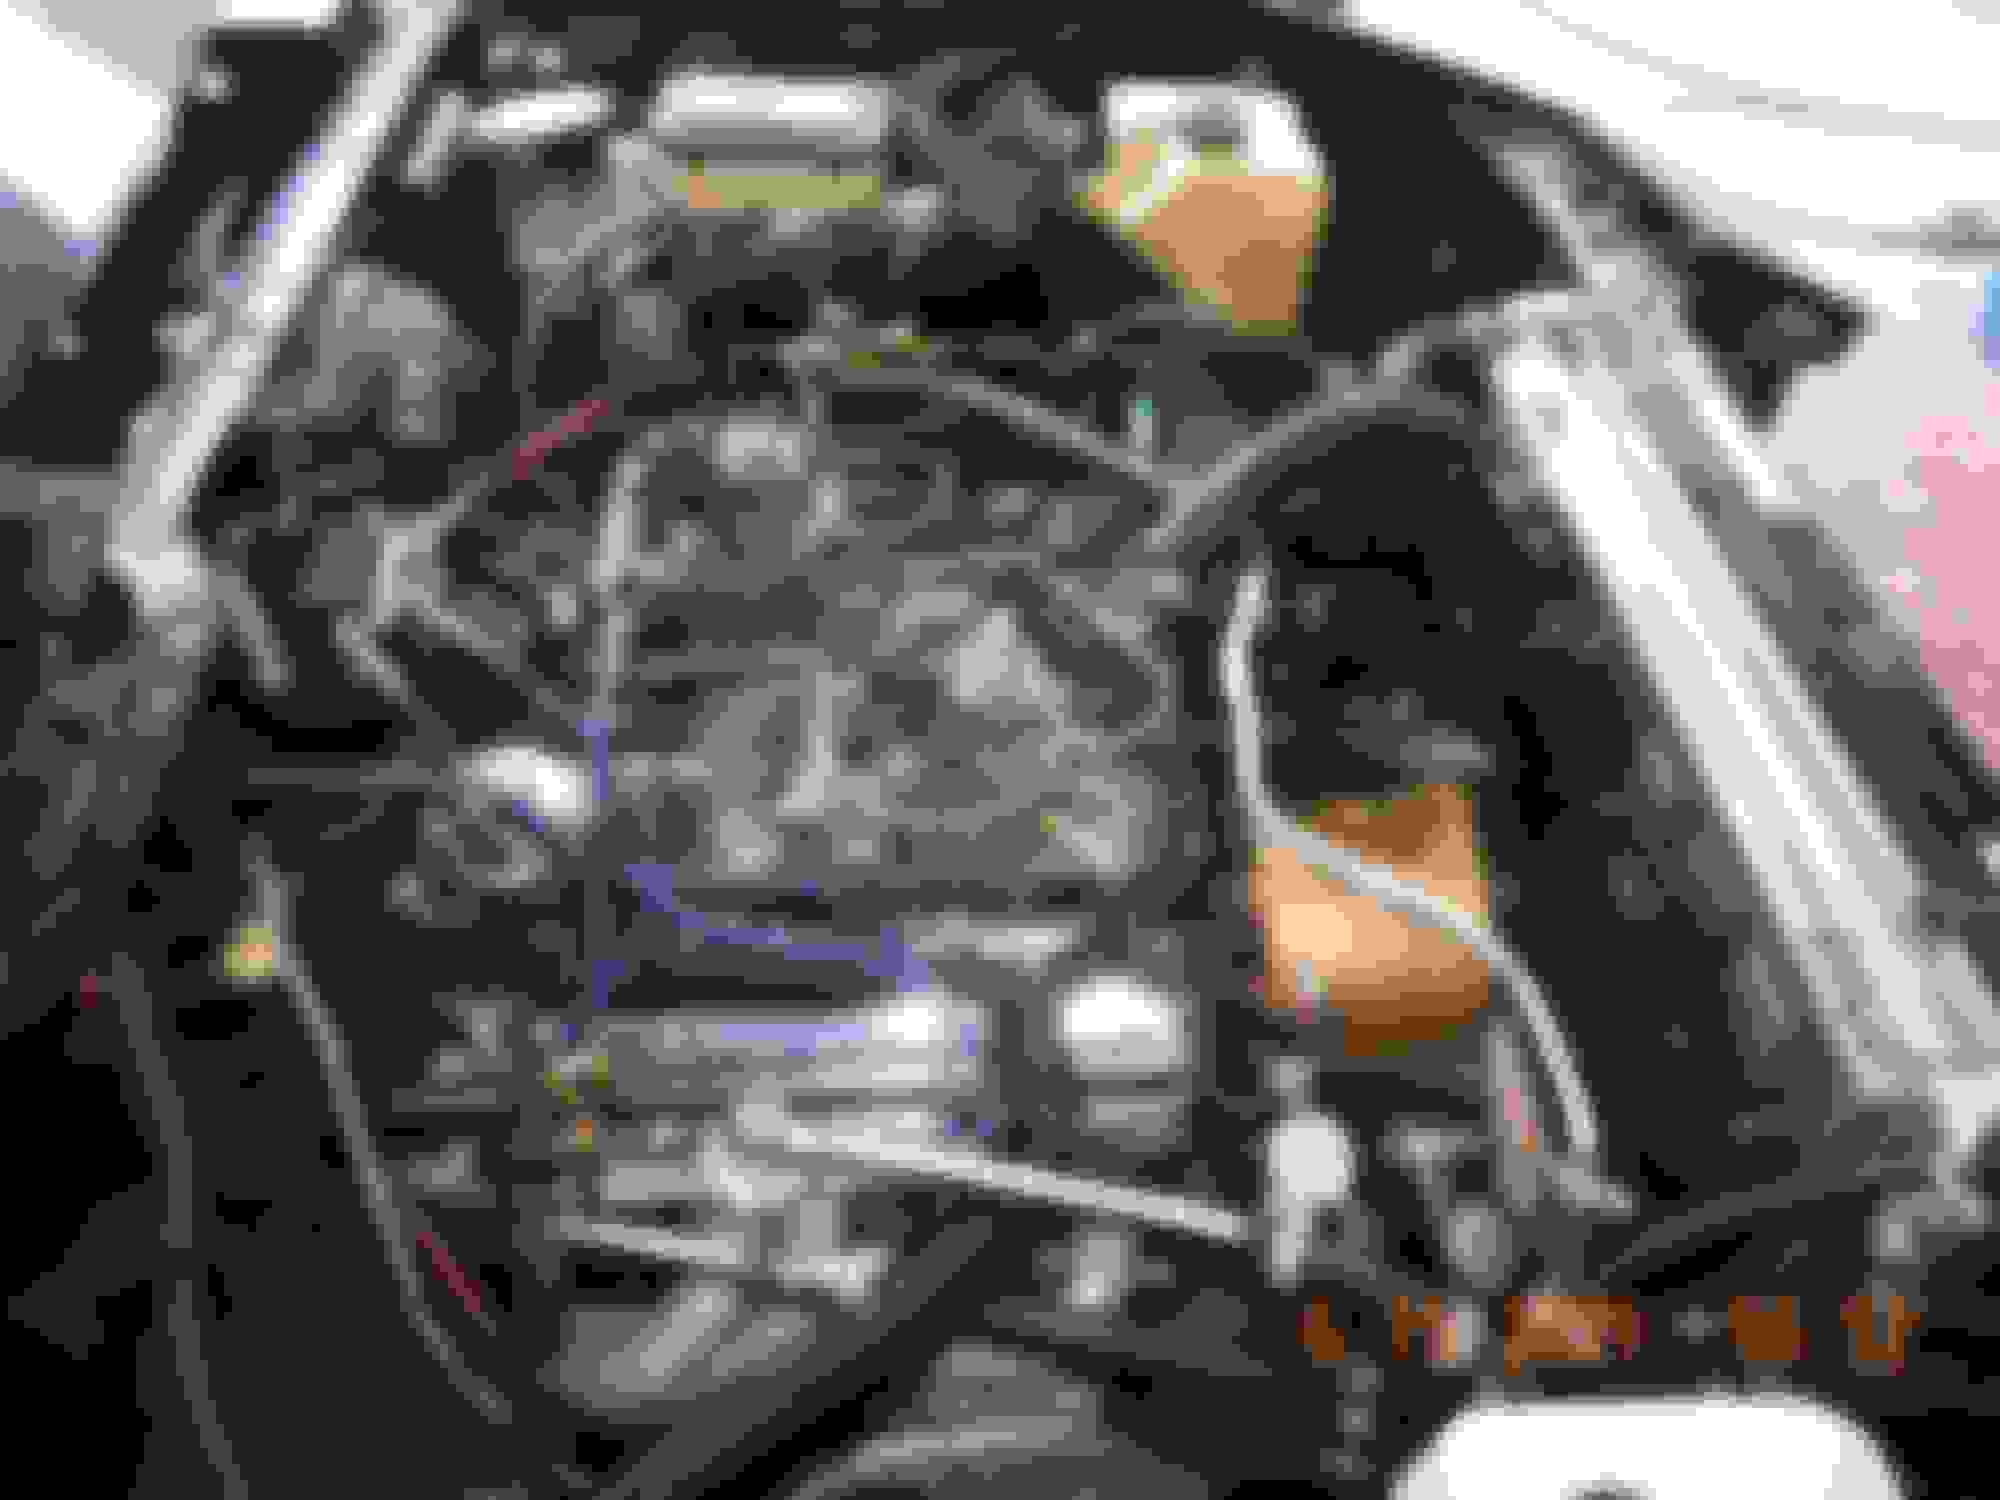
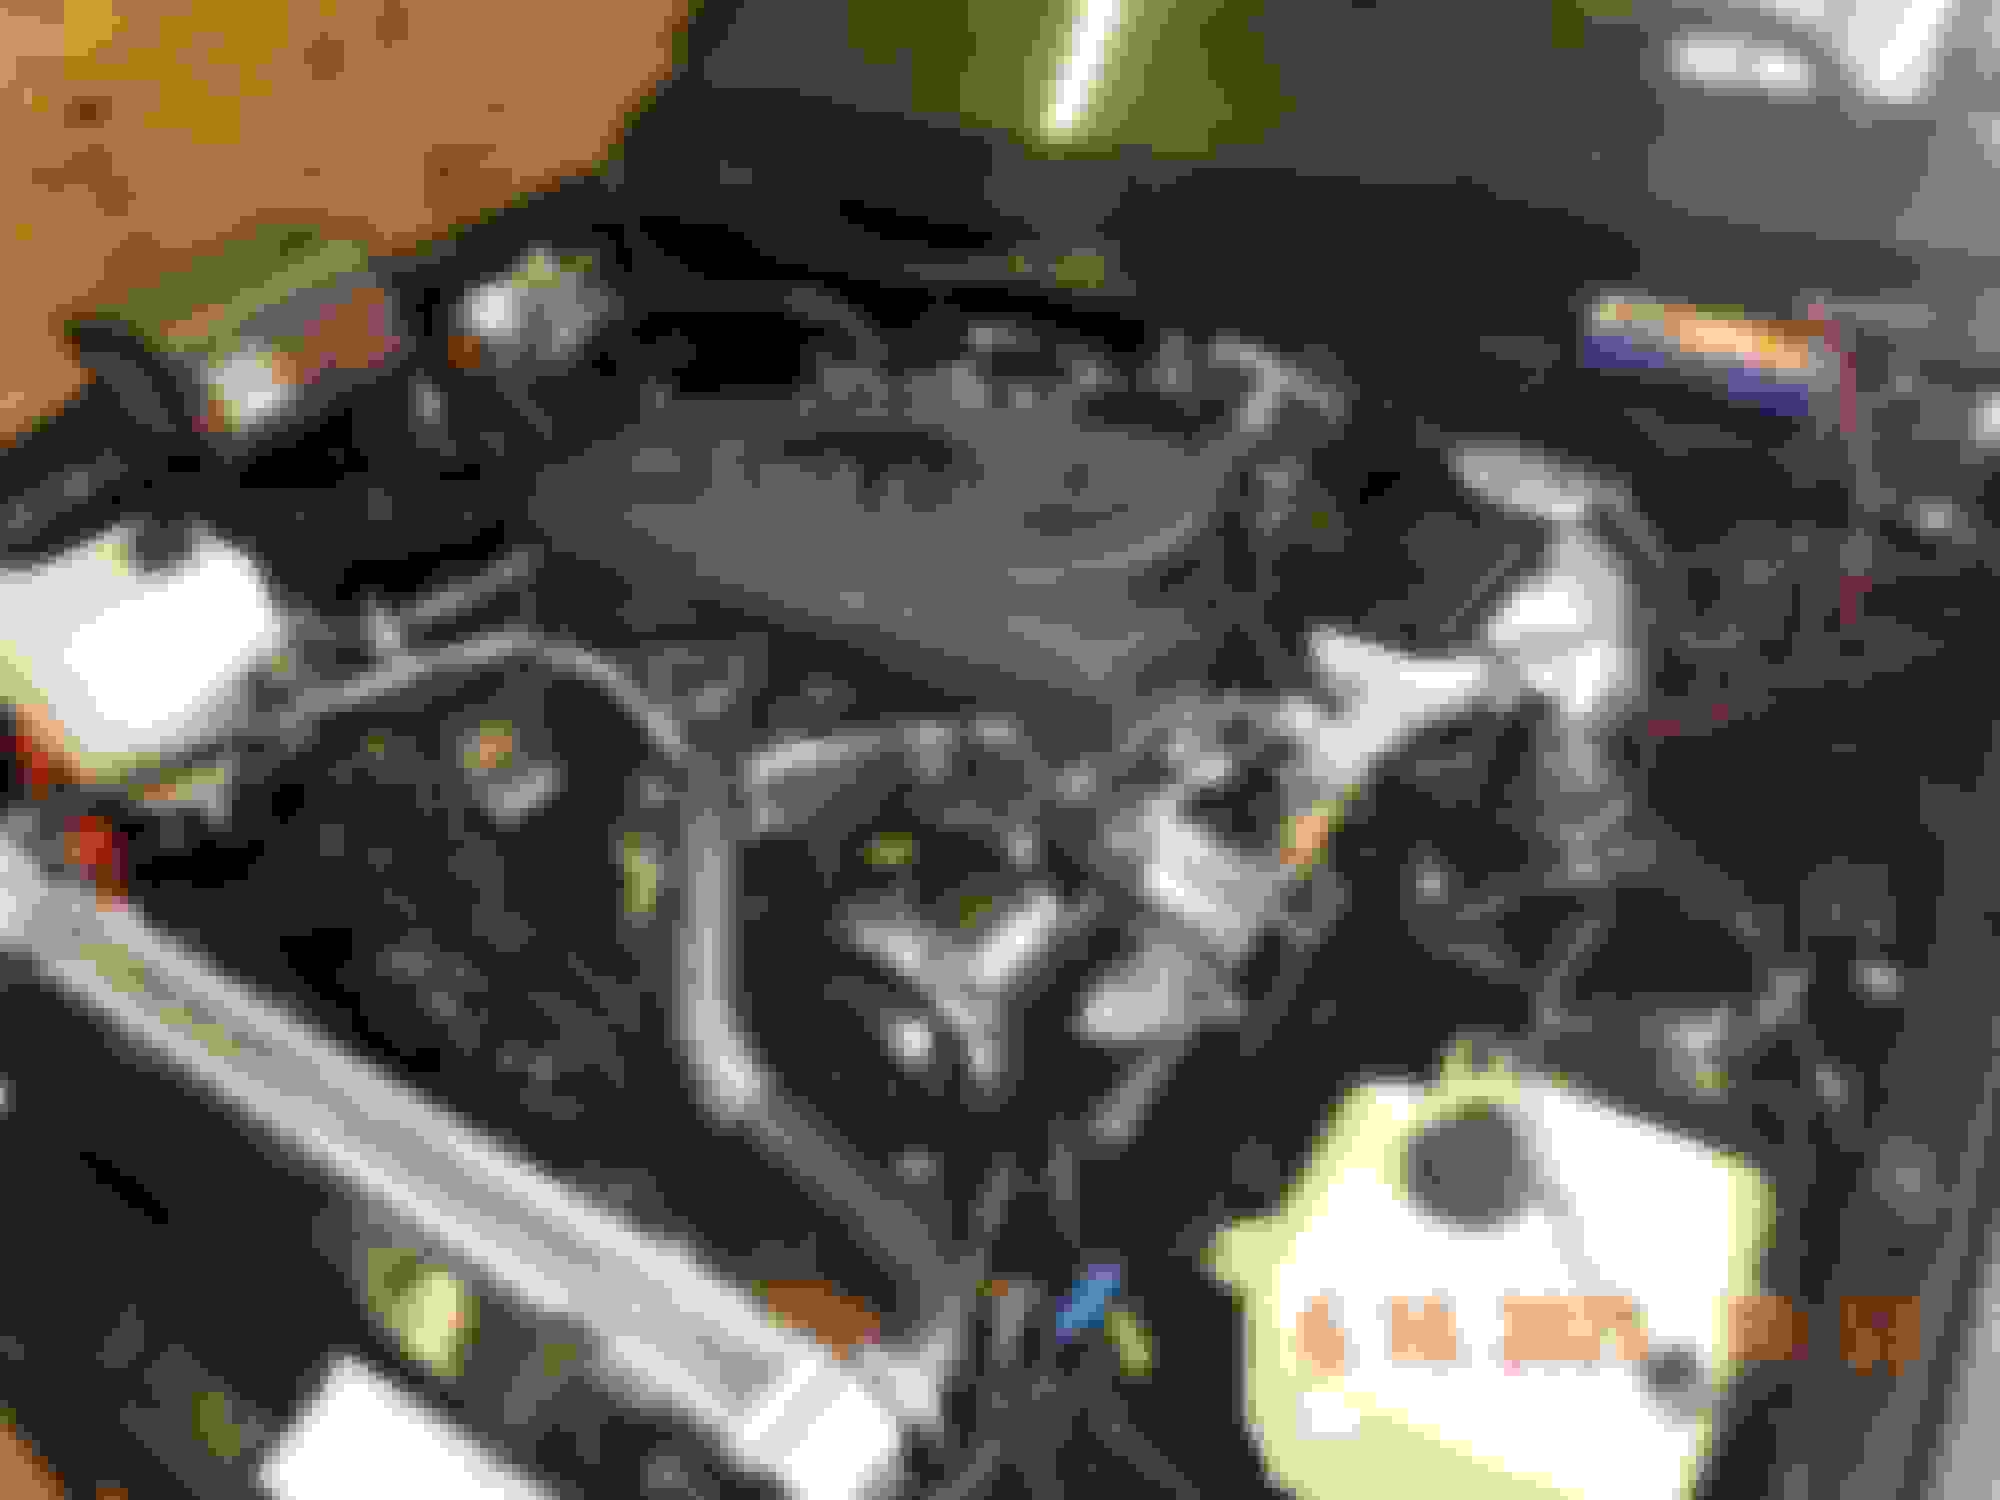
Well I got a cheap regulator and installed it right where I had the pressure gauge yesterday, and backed it all the way out, on my air compressor, that would be the lowest pressure. I set it to 13 on the prime cycle, and it still flooded the TBIs. There were no instructions and only negative reviews, so I felt I had been had. Then I ran the adjustment all the way in, or close to it, and the engine started and ran with the gauge reading 80 psi?????? I backed off a little to see the effect, and now reads around 67 psi. What does this mean? Good news is the engine is self sustaining and sounds awesome, bad news is I cannot explain what is going on. I will probably order a Holley or other brand name regulator. Following photos are with the engine running at idle, fat, dumb, and happy, kinda like me!
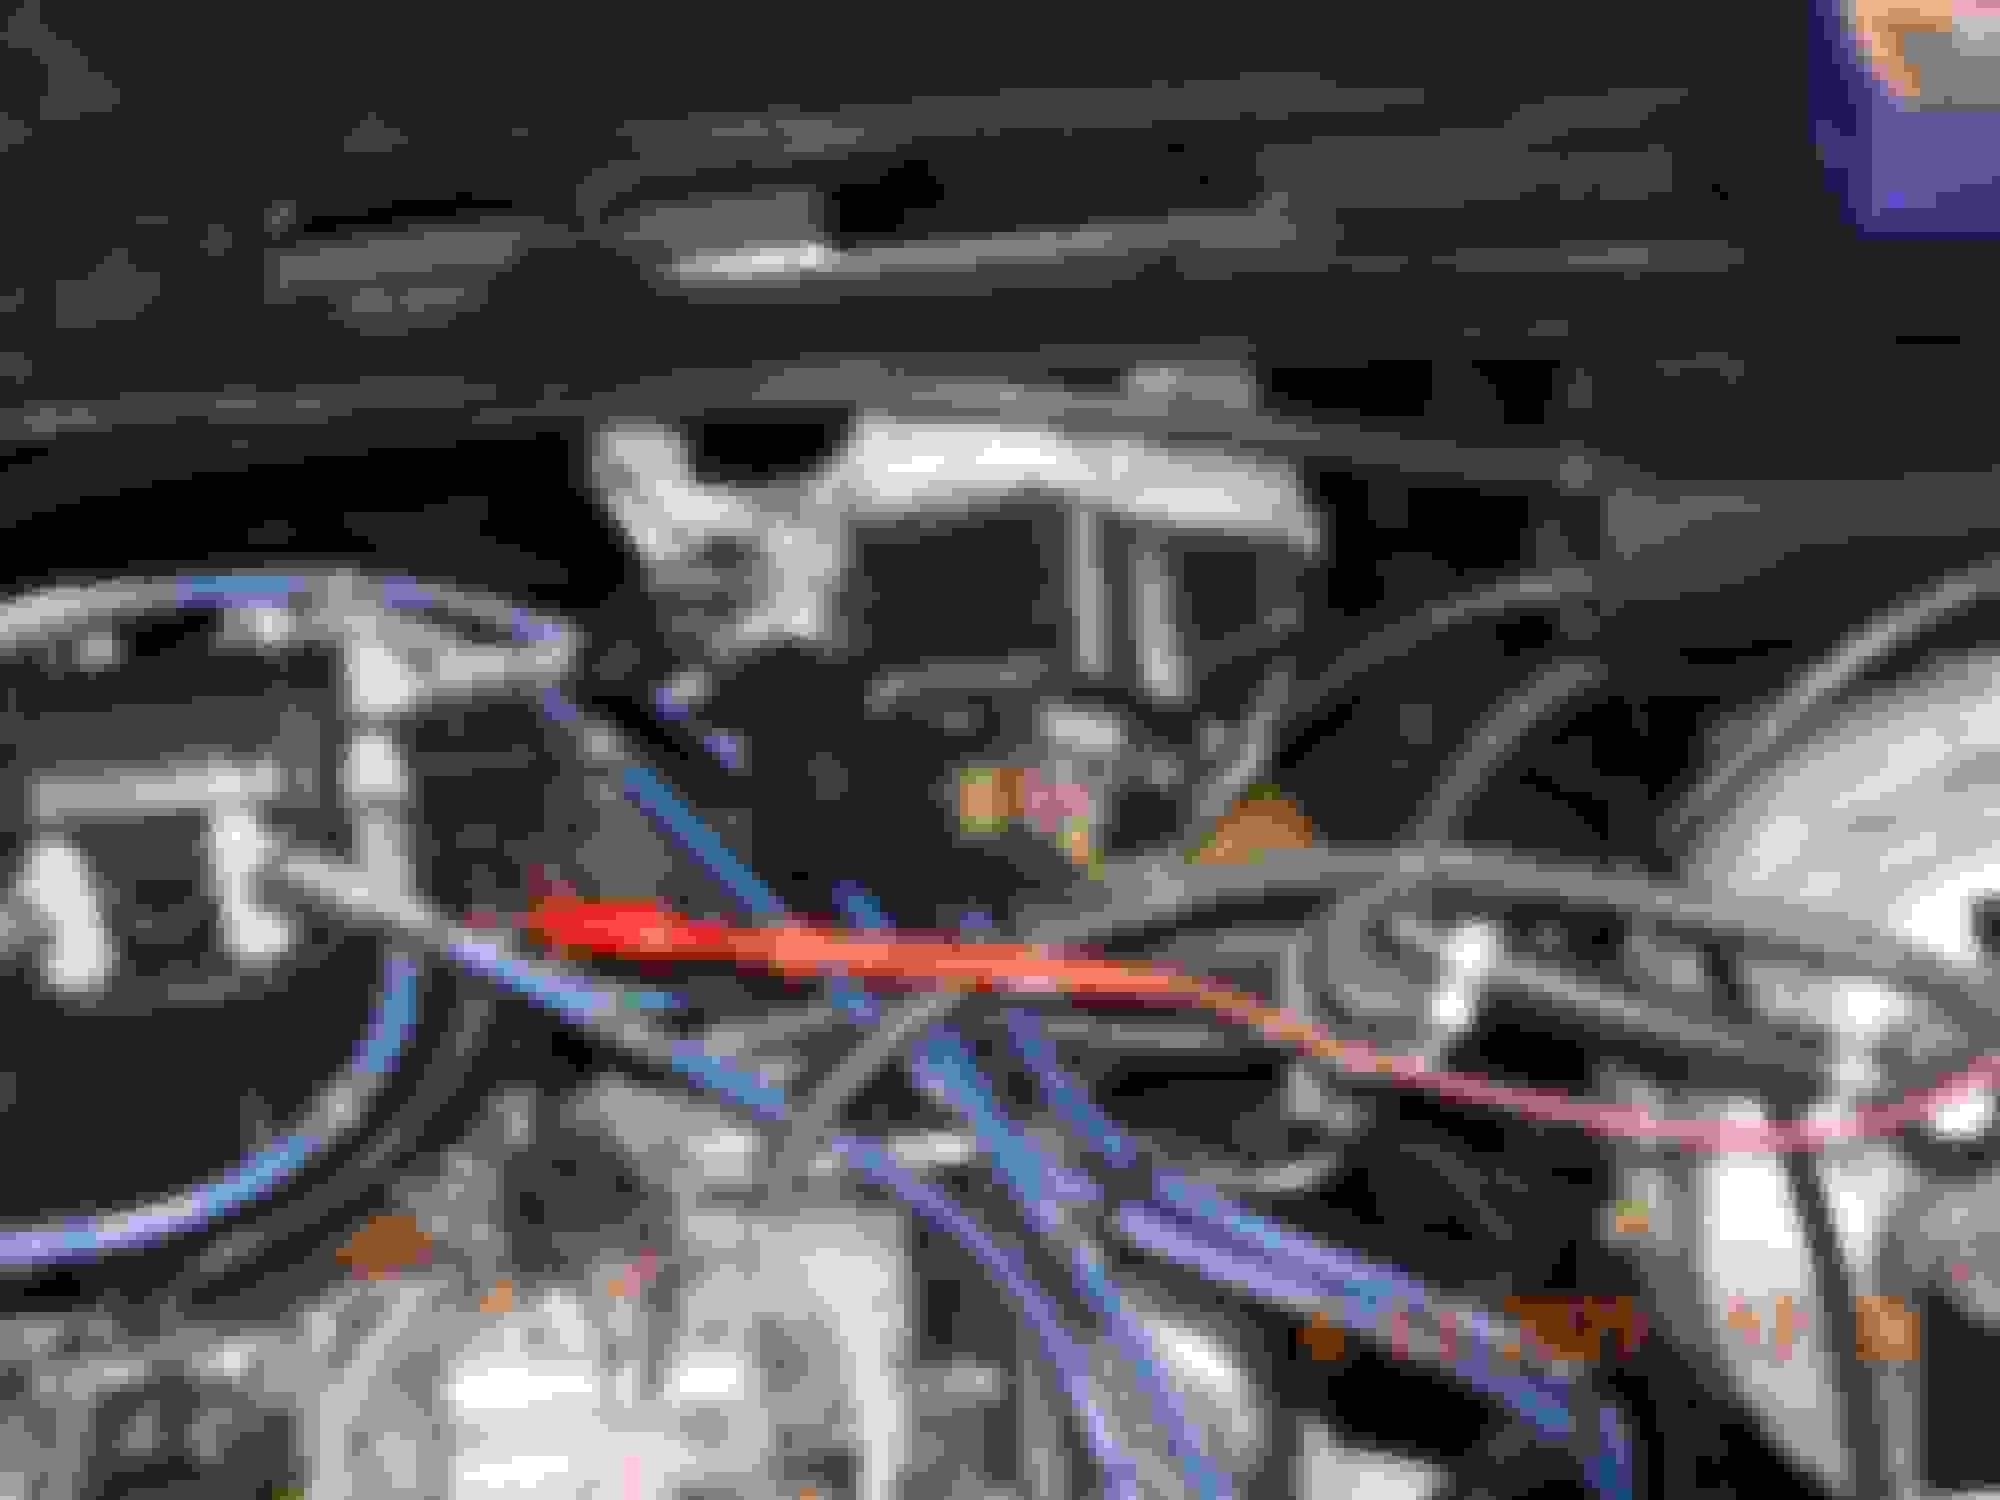
Got the passenger side air system cleaned up and positioned. Moved forward to maximize distance from headers. Need to pick up 1.25 inch hose clamps tomorrow. By the way, loving the 303 aerospace stuff, look at the air valves and hoses, they are old! Here is the outlet of the regulator reading around 67 psi (the divisions are 4 psi for some weird reason) It was running under 20 yesterday with no regulator. Must be that the regulator raises pressure but lowers the flow. I need to sort out the optimum setting.
Is that pressure gauge reading between the pump and regulator or between the regulator and the throttle bodies? Also, does that regulator require a return line?
I'm not too familiar with the fuel system for the CFI motors. Was there originally a regulator in the system and did it have a return line back to the tank?
I am guessing the gauge is reading between the pump and regulator because I had almost 20 psi upstream of the TBI before I put in the extra regulator. I needed 13 psi for proper operation. The original CFI system has a regulator built into the first TBI and a return to the tank downstream of the 2nd TBI. I am going to plumb in my other gauge and attempt to understand.
I am guessing the gauge is reading between the pump and regulator because I had almost 20 psi upstream of the TBI before I put in the extra regulator. I needed 13 psi for proper operation. The original CFI system has a regulator built into the first TBI and a return to the tank downstream of the 2nd TBI. I am going to plumb in my other gauge and attempt to understand.
OK, I see. Does the new regulator have a return port? Sounds like you are dead-heading the pump. That will kill the pump sooner than later.
When you were only running on the regulator in the throttle body and getting 20psi, I suspect the fuel return line is too small to handle the higher volume of the bigger pump, so the regulator can't do what it needs to. What did you put in for a pump?
No return port on this one. Someone recommended the 255 LPH, so that is what I put in. Just did some research and found that the stock one was 100 LPH. Maybe something a little less drastic would be apropos.
Last edited by stuartswede; 06-15-2021 at 07:27 AM.
Someone recommended the 255 LPH, so that is what I put in. Just did some research and found that the stock one was 100 LPH. Maybe something a little less drastic would be apropos.
All of the 255LPH pumps I have seen are rated at 40psi. They will work at 10-20psi, but will flow more like 275LPH at that pressure and will have a significant amount of bypass flow back to the tank. That's almost 3 times the original pump's flow and the CFI fuel return system likely can't handle it.
Stinks to have to change the pump now, but I suspect that's what needs to be done. Maybe one of the CFI guys are reading this and can chime in.
I plumbed in my gauge just upstream of the fwd TBI, and it is rock solid at 13 psi. I reduced the regulator pressure from 67 down to around 60 where the TBI regulator just started to move up to around 13.5 psi, just to remove as much dead head as possible on the fuel pump, and not be restricting available fuel flow. I will have to see how it goes once I can open it up on a test drive. Street lethal suggested a 190 LPH pump as an alternative.
Removed my auxiliary pressure gage at the TBI inlet after verifying proper pressure. Completed air system plumbing.
Timing at idle it was approximately 6 deg BTDC, tightened down distributor. My idle rpm is around 900, and vacuum was at 13.5. Sounds really happy and feels like it wants to be UN-leashed. I have insurance and a tag, thinking of bolting on the fenders and nose, install lights and go for a ride. Then remembered that my windshield is not glued down, waiting till after paint, dang! Patience is a virtue, but is sometimes hard to exercise.
Thanks TL,
Not sure how to adjust idle speed, would like slower. One thread said to adjust torx on IAC, but cannot find any. Could not find consensus on where to put advance. Looking for advice.
Not sure how to adjust idle speed, would like slower. One thread said to adjust torx on IAC, but cannot find any. Could not find consensus on where to put advance. Looking for advice.
Found this video for you...4:23 shows where the torx adjustment screw is.
Thanks so much IROC, I found that video and a couple for the tuning and syncing the CFI this morning. I found my 20 torx, and it was still covered, and the syncing bolt on the other throttle body is still welded in place, after 38 years. I am resetting my timing and then will play with the idle speed and sync this afternoon.
Set my timing at 12 degrees BTDC, installed the air cleaner, just for a photo op
Created a water manometer to set and sync the throttle body's. Looks like it should work pretty good. Closer look, should be happy with results!
Last edited by stuartswede; 06-17-2021 at 05:34 AM.
Thanks TL, that's what sold us on the house, I never tire of the view. It's a classic Florida oak hammock with a creek meandering thru that dumps out to the intercoastal waterway, and no backyard busybody neighbors.
Hey Resipsa,
I guess GSD could have more than one meaning. I am trying to get s*** (stuff) done!, but also have a German shepherd dog. I've had 3 others, and Nuke is the best of them all.
Since I am running the electric radiator fans, I got a 100 amp Powermaster alternator (just because this brand looks really cool). Also had to get a new slider bracket as my old alternator mounted slightly different, so obviously had to get a chrome blingy one. Looking better every day.

 06-01-2021, 06:25 AM