When you click on links to various merchants on this site and make a purchase, this can result in this site earning a commission. Affiliate programs and affiliations include, but are not limited to, the eBay Partner Network.
Re: R22 to r134 conversion. here goes, all factory
Ran across this info today: GM Bulletin #02-01-39-004B, dated Nov 16, 2005 New PAG Oil to be used in 2006 and prior vehicles. (attached below)
All General Motors vehicles built with R-134a refrigerant systems shall now be serviced with GM Universal PAG Oil (excluding vehicles equipped with an R4 or A6 compressor). R4 and A6 compressors with R-134a refrigerant systems shall use PAG OIL, GM P/N 12356151 (A/C Delco part number 15-118) (in Canada, use P/N 10953486). Important: The PAG oil referenced in this bulletin is formulated with specific additive packages that meet General Motors specifications and use of another oil may void the A/C systems warranty. Use this new PAG oil when servicing the A/C system on the vehicles listed above. Oil packaged in an 8 oz tube should be installed using A/C Oil Injector, J 45037. Refer to the HVAC Section of Service Information for detailed information on Oil Balancing and Capacities.
Subject: New PAG Oil Released
Models: 2006 and Prior GM Passenger Cars and Trucks (Including Saturn)
2003-2006 HUMMER H2
2006 HUMMER H3
2005-2006 Saab 9-7X
Built With R-134a Refrigeration System
All Air Conditioning Compressor Types (Excluding R4 and A6 Type Compressors)
R4 and A6 compressors with R-134a refrigerant systems shall use PAG OIL, GM P/N 12356151 (A/C Delco part number 15-118) (in Canada, use P/N 10953486).
GM Universal PAG Oil Part Numbers:
P/N Description Quantity
12378526 U.S. Part Number 6 pack of 8 oz. cartridges
88900060 Canadian / Saturn Part Number 6 pack of 8 oz. cartridges
88901445/10-5026 AC Delco Part Number 8 pack of 8 oz. cartridges
"Additionally, General Motors issues Bulletin # 02-01-39-004B replacing PAG 150 oil with a lower viscocity oil. Thus, TechChoice now indicates PAG 46 (P46D) oil for those vehicles."
(always wondered why Sofakingdom recommends lower viscosity PAG) although I can't find info on what A/C Delco part number 15-118 is.
Last edited by LiquidBlue; Jul 8, 2019 at 09:39 AM.
And what does that have to do with this thread? So what? Stop sidetracking other people's threads to cry about the sand in your vagina.
Instead of following me around the forum like I didn't ever call your mom back, why don't you try contributing your wealth of knowledge. At least I'm trying to help.
Re: R22 to r134 conversion. here goes, all factory
All I use even in factory R134a cars is R152a. Head pressure is lower, the initial pull down is far quicker, the a/c gets colder faster and idle performance is far better than with R134a.
Would not waste my time with that variable orifice. Throw it in the trash can and get either a Red (.057") or Orange (0.62") Ford tube.
Re: R22 to r134 conversion. here goes, all factory
Just that nearly 30 years in with 134a, the EPA dictates that now the cans have to have a self sealing valve, is bollocks.
We had R12 service ports and tools, and some a-hole, tree hugger, hippy, buffoon, decided that 1/4 turn unscrewing a flare fitting in which the schrader valves were partially open, was letting too much CFCs attack the Ozone Layer... So we had to get these stupid conversion adapters, and quick disconnect charging hoses. And now after all this time some dimwit decides that last bit of 134A left in the can, that escapes when the piercing style tapper is unscrewed, is the Devil's refrigerant, it's melting the ice caps, global warming, dogs and cats living together! Think of the spoiled, entitled, sexually confused children! It's the dumbest thing since reality tv 'stars'. The EPA needs to GFItself.
From now on, I'll just use the side-puncture can tapper, it leaks less anyway. Just a bit inconvenient when you just want to grab the short charge hose out of the toolbox and throw a can into a borderline system, because the threads on the old charge hose aren't the same as the side-tapper, so all the hoses and valves gotta come out of their handy case...
mine ended up leaking - might be worth replacing before starting, one less thing to give you trouble.
FLUSHING
See above
also flush the A/C hard lines that bolt to body
EVAPORATOR
Clean coils if dirty
Make certain your evaporator housing and evaporator are well sealed, both inside and outside. Don't want hot air slipping past the housing or the condenser. There is lots of opportunity for this to be a point of failure.
CONDENSER
Make certain all condenser fins are straight and open so air can flow thru condenser, otherwise condenser doesn't have a chance to cool down hot coolant before returning to evaporator (I have read r134a is more efficient than r12, however, since it operates at higher temps, condenser is KEY to getting things to work as you expect)
Give condenser a good cleaning to remove dust/road dirt that could rob it of its cooling powers
Make certain condenser has good 1" x 3/4" foam insulation between vertical edges of condenser and body. Don't want air slipping thru this gap, needs to be forced thru condenser.
FRESH AIR FLOW
make sure all fans are operating as they should
all front end baffles are in place, these direct correct airflow over condenser and radiator.
getting good fresh air flow over that condenser is key
HOSES/LINES
If in doubt, replace a/c line rubber hoses - there are companies out there that will rebuild yours using the factory parts.
OIL
Add oil per compressor manufacture specs : AC Delco recommends 8 oz split into 4 areas: evap, accumulator, condenser, compressor
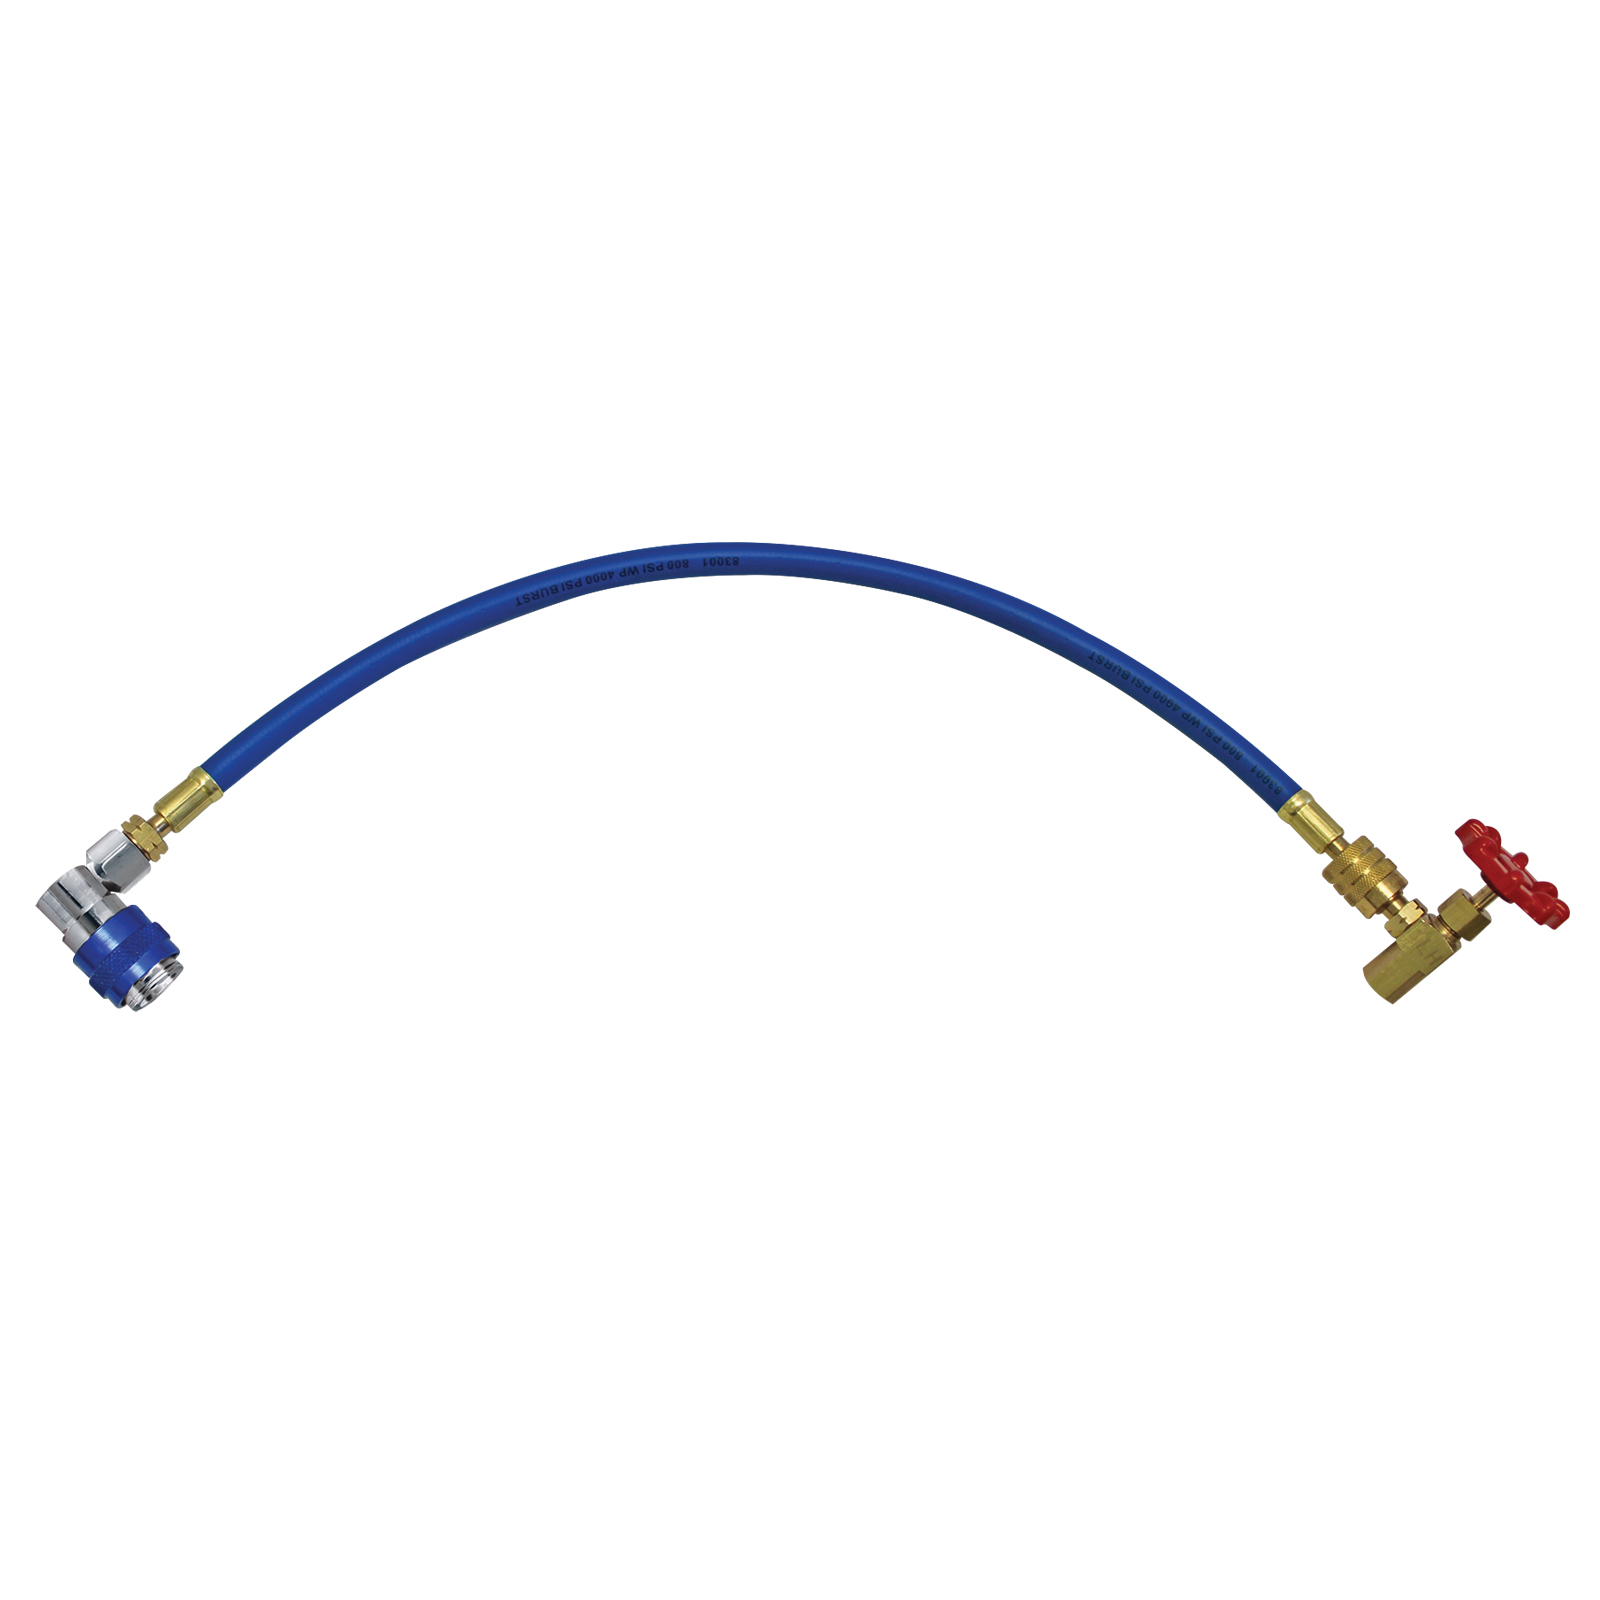
a good r134a can tap - don't skimp on cheap ones, they can blow off the can from the high pressures
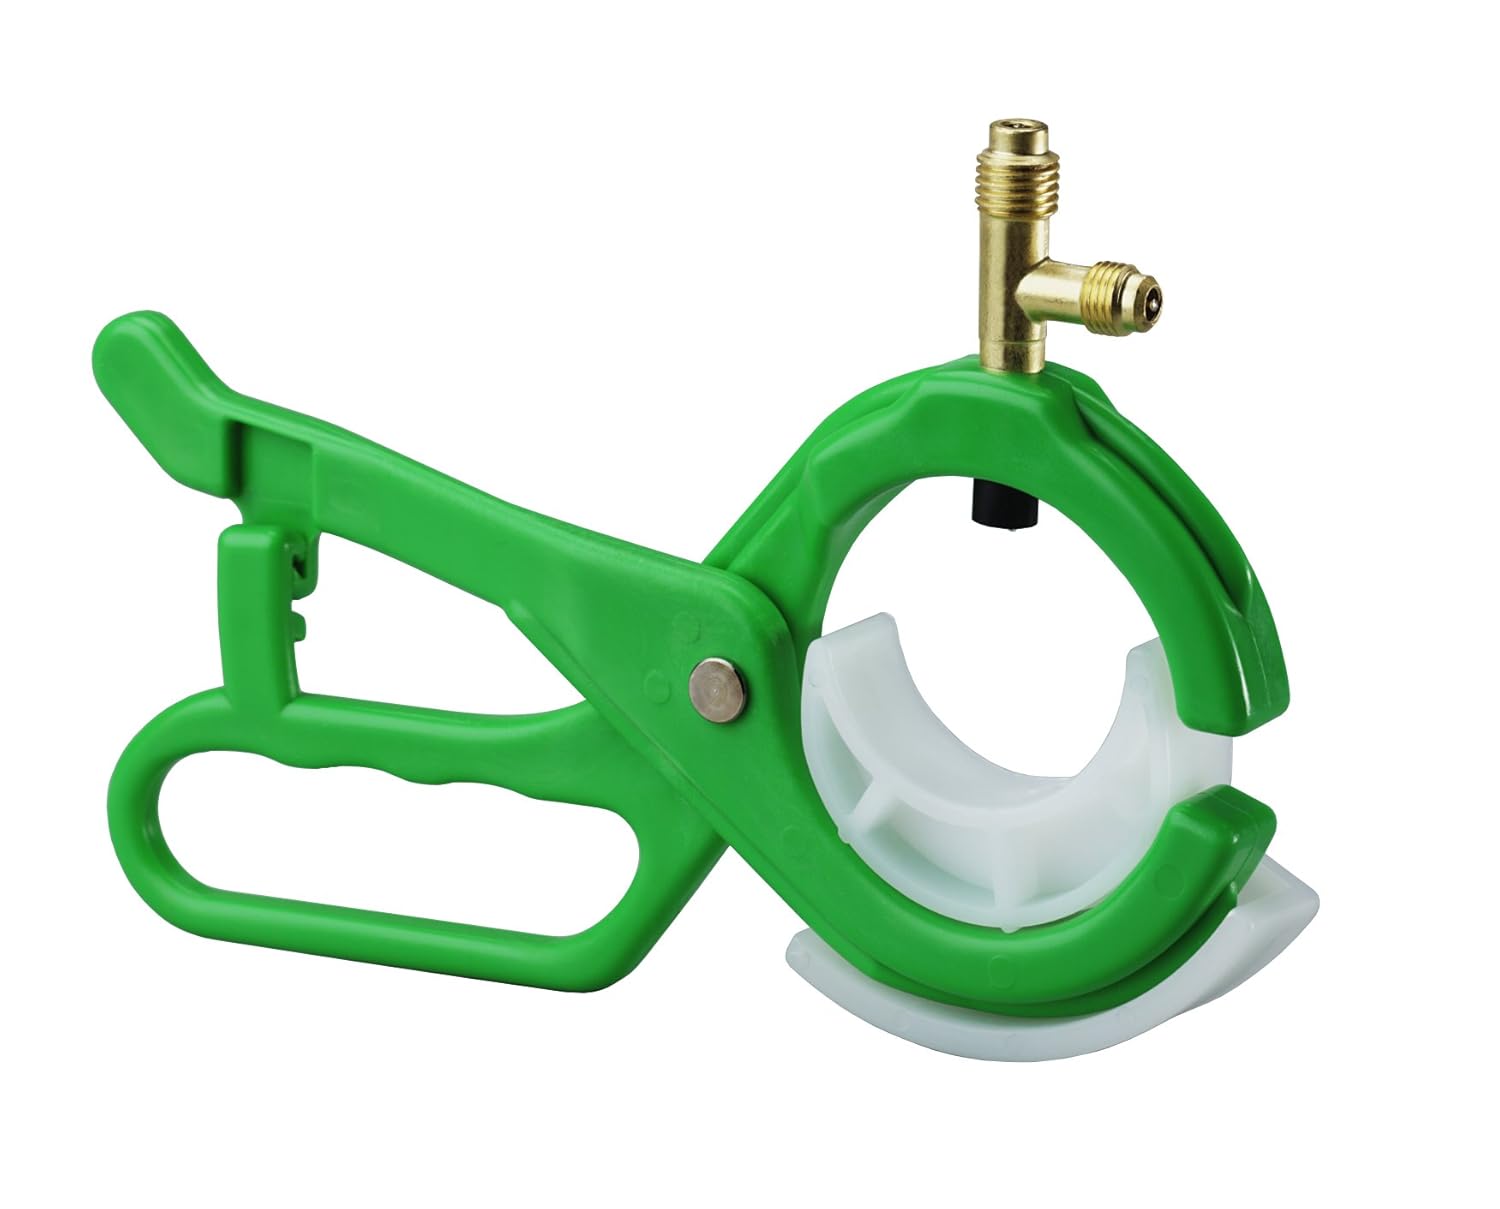
cutoff valve to put at end of vacuum hose - once vacuum is achieved, use it to maintain vacuum in yellow hose while switching from vacuum pump to r134a can
Re: R22 to r134 conversion. here goes, all factory
factory evap/water pump and new compressor back on. skipped some steps in the record will come back and fill them in when a real pc is available. test fit accumulator today, it’s Four Seasons. too small diameter for factory clamp. any suggestions on a accum that fits properly for r134?
Re: R22 to r134 conversion. here goes, all factory
update on conversion. will let photos speak flushing the hard lines where to add oil a look inside where high press safety cutoff wii be inserted and the new switch 16 oz per pound of r12 = 36 oz of r12 r134a should be roughly 85% or 32 oz the syringe really makes like easy another 30ml added after this shot self adjusting orfice inserted
Last edited by LiquidBlue; Jul 13, 2019 at 10:53 AM.
Re: R22 to r134 conversion. here goes, all factory
Originally Posted by LiquidBlue
factory evap/water pump and new compressor back on. skipped some steps in the record will come back and fill them in when a real pc is available. test fit accumulator today, it’s Four Seasons. too small diameter for factory clamp. any suggestions on a accum that fits properly for r134?
I ditched the factory clamp. If you tighten the accumulator fittings down then it doesn't go anywhere. Looks better without it too. I'm running custom made a/c lines though so your results may differ.
Re: R22 to r134 conversion. here goes, all factory
next steps. fired up engine today, but ran out of time for a/c charge. hopefully tomorrow. has not been on for over 2 decades. fingers crossed.
condenser ready for install, bent fins now open. when installed, noticed passenger side insulation has a few air gaps. driver side good. torque values. cute describes that torque wrench correctly add small insulation to account for accumulator diameter that is too small for clamp carefully, and gently clamp so it doesn’t twist during torque sequence accumulator secured ready for some r134a
Last edited by LiquidBlue; Jul 15, 2019 at 10:58 PM.
Re: R22 to r134 conversion. here goes, all factory
The crows foot wrench is a neat way to get a torque wrench on there. It can change the torque values a bit but hopefully negligibly.
Good luck on the charge!
But for the frequency of use it's expensive. Perhaps better to recalculate the actual torque the crows foot dimensions change things if one was concerned with being highly accurate.
Re: R22 to r134 conversion. here goes, all factory
Was all set to run yesterday and ran into several road blocks. What a disappointment.....
1st, discovered can't put high pressure gauge on high pressure port
2nd, cheap chinese junk r134a can tap blew off during charge, glad I decided to wear safety glasses and gloves - going back ASAP and getting replaced with a MASTERCOOL 85510 R134A Can Tap
3rd, discovered high pressure schrader valve is leaking: Part Number is gm 10027604, 15-5375
Our Part # ES3035 R12 AUTO A/C HIGH SIDE ADAPTER Adapts R-12 Automotive High-Side fittings (3/16" Male SAE high side service ports on newer (1977 & up) R12) model vehicles to 1/4" Male SAE to allow for High Side monitoring with standard 1/4" hoses!. Schrader valve is installed on the 1/4" Male side and a depressor is installed for the 3/16" side!!
Re: R22 to r134 conversion. here goes, all factory
Here is the new high pressure service port schraeder valve. on left, compared with factory on right. note the threads seem a bit off, went in snug, will know once the can tap arrives. holding a nice 30 hg vacuum so far tho. (part # was Four Seasons 26777 - cap & Valve Air Conditioning System Seal Kit)
Re: R22 to r134 conversion. here goes, all factory
FINALLY, got all the parts needed to do this job. Everything went smooth today, a/c worked right away, then stopped. Car has been in storage for 25 years, so I wasn't shocked, but still disappointed. After some testing, and letting things sit for a while, I thought maybe it was over-charged. removed a little r134a out of the system, and it started working. think the high pressure safety switch had kicked in. hey, its works. not 100% confident I'm out of the woods yet, but happy with results so far. Added about 2.5 to 2.75 12 oz cans of r134a. Think the mistake I made was not letting it settle and also the charts above are confusing as to exactly what pressures should be achieved.
Here goes pics with explanations The shut-off valve so vacuum can be maintained when switching from vac pump to can high pressure adapter - 3/16 female to 1/4 " male (hoses are 1/4") vacuumed down where it should be can hooked up and ready to charge charged up, may have been over charged at this point nice and cold middle top vent reading nice temp running MAX a/c at idle - book calls to test at 2000 rpm - still need to learn how to fine tune all of this running regular a/c at idle, notice pressure change pressure at rest, about right for 95 degrees and 50% humidity.
Last edited by LiquidBlue; Jul 22, 2019 at 10:29 PM.
Re: R22 to r134 conversion. here goes, all factory
Finally got a chance to road test the a/c yesterday. was doing an a/c check out and a sway bar bushing pre-install comparison. a/c was blowing cold, couldn't tell it wasn't r12. it was 100 degrees, windows closed. ICE COLD I TELL YOU! then she stopped cold and went warm. engine had climbed up to very hot, then I realized I hadn't topped off the coolant overflow tank. went home, hoping the computer had shut down the a/c due to engine temps. fired it up last night just before turning in for some grub after engine had all day to cool off and still no a/c. haven't had time to see what is going on, was dealing with the bushing installation and other issues. damn the devil !! hopefully today will get to the bottom of it. (hope it aint that damn hose I didn't replace, or maybe I do, who knows......
Re: R22 to r134 conversion. here goes, all factory
fixed an electrical connection today and road test again at high noon, austin tx. glass ttops, windows closed, this baby is cold. still haven’t given it a full on road test but things are looking bright. i’m beginning to believe r134a conversion can be done with great results. singing that Monkeys song about now
Re: R22 to r134 conversion. here goes, all factory
Originally Posted by LiquidBlue
fixed an electrical connection today and road test again at high noon, austin tx. glass ttops, windows closed, this baby is cold. still haven�t given it a full on road test but things are looking bright. i�m beginning to believe r134a conversion can be done with great results. singing that Monkeys song about now
I'm SUCH a believer , I still have the 45 I bought , what , about 50 years ago ?
Re: R22 to r134 conversion. here goes, all factory
A bit of a thread necro, but how's it holding up? I'm on the verge of doing my own and looking for courage, lol. Excellent writeup, by the way. It's nice to have such a well laid out process.
Re: R22 to r134 conversion. here goes, all factory
Originally Posted by LiquidBlue
...
Get High Pressure Safety switch that mounts on Compressor if you don't have one already ...
I can't seem to find any listings regarding this switch. Is there a number or different name I should search with? Or should I use the one on my current R12 compressor?
Re: R22 to r134 conversion. here goes, all factory
The hi-press on the compressor just shuts off a/c if press. gets too high. I think the R12 one works just fine. There may even be 2 hi-press switch (one also on Accumulator) and on some systems, only one - not certain on this. However, nothing worse than getting your a/c up to snuff, and then a switch or something else goes out. you have to evac all the r134a and start over after installing the new part. Some of the a/c switches are listed under electrical switch and relay, rather than a/c, don't forget to look there.
Re: R22 to r134 conversion. here goes, all factory
The photo you posted looks like it. Do they carry it? Otherwise I'd check with specialty a/c suppliers or the junk yards or ask Firebird Dude, he is parting out cars. You might get better response if you start a separate post with that title.
Re: R22 to r134 conversion. here goes, all factory
A little test I ran yesterday ( a few years after this write-up). Was trying to determine how the a/c behaves at start up. conditions were about 95 outside, super high humidity, any more and it would rain.
The test was to start the engine at cold start, run at idle speed and measure a/c center vent temp (inside at the back, not the grill)
Car in garage, hood open
Upon engine ignition, the vent temps were about 90F.
As the a/c started cooling, you could watch the thermometer rapidly descend.
It took a while to get to max temp, the a/c had to circulate enough to cool down all the vents that it travels thru in addition the the evaporator, which was also likely at 90F.
At maximum vent cool point, vent read 33.3F, and engine coolant temp was approximately 160F - that tells you how long this process takes.
After max vent cool point reached, it never returns. This is probably because the condenser is getting heated up by the engine and radiator and loses its ability to cool the r134a
Once this point is reached, it settles in at 40ish F. I suspect if I was driving down the road, it would do better because of airflow over condenser and radiator.
I came back later to test again, after cutting grass, pulling weeds and washing other car to see what happened
At this point, I was lucky to get down to 35.7F
Then I turned the engine off, restarted, and it was at 50F. Can't explain why, probably coolant very hot after stopping engine and maybe some other weird things going on.
Here is some photo documentation
1st photo - engine coolant temp at max cool
2nd photo - max cool
3rd photo - thermometer used, and how close I was to vent grill to get back of vent. was switching between top and bottom vent
Last edited by LiquidBlue; Sep 11, 2022 at 09:16 AM.
Re: R22 to r134 conversion. here goes, all factory
A few more shots after the engine started warming up. You can watch the a/c in action as the vent get warmer, and cooler as it lets freshly compressed r134 onto the evaporator.
Re: R22 to r134 conversion. here goes, all factory
Wow those are nice vent temps. Would you attribute your lower than average vent temps to the Variable Orifice Tube? In San Antonio, in 90 degree weather with the new Ford Blue 0.67" fixed orifice tube, new R4 compressor, evaporator, liquid line, O-rings, receiver/drier and the factory condenser with dual fans jumpered to both come on, I would say my vent temps were right around 45 degrees. Was the condenser you put in the R-134a crossflow style condenser or the factory R-12 unit?
My dad's 86 IROC needs to be repaired again so I'm thinking of updating his to a different Orifice tube and I'm not sure which one I want to use. The Ford Blue did seem to help at idle on my 87 IROC but as I said, the best I got was 45 degrees.
Re: R22 to r134 conversion. here goes, all factory
Originally Posted by Lucid
Wow those are nice vent temps. Would you attribute your lower than average vent temps to the Variable Orifice Tube? In San Antonio, in 90 degree weather with the new Ford Blue 0.67" fixed orifice tube, new R4 compressor, evaporator, liquid line, O-rings, receiver/drier and the factory condenser with dual fans jumpered to both come on, I would say my vent temps were right around 45 degrees. Was the condenser you put in the R-134a crossflow style condenser or the factory R-12 unit?
My dad's 86 IROC needs to be repaired again so I'm thinking of updating his to a different Orifice tube and I'm not sure which one I want to use. The Ford Blue did seem to help at idle on my 87 IROC but as I said, the best I got was 45 degrees.
You need to adjust the cycling switch cutout pressure to cycle the compressor at about 20 psi or buy a switch already pre-calibrated for R134a. Adjusting the cycling switch generally will not change your idle cooling, but will improve coling rolling down the highway. A microtube parallel flow condensor change helps the most at idle and slow vehicle speeds with little difference at highway speeds. I have used both the Red and Orange Ford tubes with similar results. Both cool better than the White or Blue tubes in Texas heat and humidity. My 1983 G20 van with dual evaporators would get down into the 30s at the vent with a stock system converted to R134a and the cycling switch adjusted, but lacked cooling around town and at slow speeds. A parallel flow condensor, add on pusher fan, orifice tube change to a red ford, and a R134a specific rear expansion valve drastically helped idle cooling when I was still using R134a. Make sure that you retrofit a high pressure cut-off switch to the system, R134a can drive the head pressures high enough to open the 440 psi relief valve in some conditions. On my 1983 Van, I used the GM add on pusher used on the 93-95ish 454 vans. It was available new for a resonable price. On a F-car you are going to have to devise your own setup. I would think a 14 or 16" pusher could be added without too much difficulty. I included the GM diagram to illustrate how GM added them as I refuse to use those aftermarket zip tie style mounts that will cause condensor failure in a short period of time.
Re: R22 to r134 conversion. here goes, all factory
Originally Posted by Lucid
Wow those are nice vent temps. Would you attribute your lower than average vent temps to the Variable Orifice Tube? In San Antonio, in 90 degree weather with the new Ford Blue 0.67" fixed orifice tube, new R4 compressor, evaporator, liquid line, O-rings, receiver/drier and the factory condenser with dual fans jumpered to both come on, I would say my vent temps were right around 45 degrees. Was the condenser you put in the R-134a crossflow style condenser or the factory R-12 unit?
My dad's 86 IROC needs to be repaired again so I'm thinking of updating his to a different Orifice tube and I'm not sure which one I want to use. The Ford Blue did seem to help at idle on my 87 IROC but as I said, the best I got was 45 degrees.
Its all factory except for compressor (new factory), orifice, and switch. I cleaned everything, inside and out, flushed many times, and made sure there was good airflow properly directed thru condenser with all air dams and other plastic under car designed to get airflow up in there and also by applying 1" thick foam insulation at condenser side gaps so air forced to flow thru condenser, not around, same spot where factory insulation is located. Duplicated the factory insulation that was there, but was old, hard and needed replaced. Doesn't really matter anyway,I always drive with T-Tops off, and the factory fan doesn't really get much cooling to us, or heating for that matter, but better than nothing. that is the way it always was, even with R12. have considered putting in a better fan for more air power!
Re: R22 to r134 conversion. here goes, all factory
Originally Posted by Fast355
You need to adjust the cycling switch cutout pressure to cycle the compressor at about 20 psi or buy a switch already pre-calibrated for R134a. Adjusting the cycling switch generally will not change your idle cooling, but will improve coling rolling down the highway. A microtube parallel flow condensor change helps the most at idle and slow vehicle speeds with little difference at highway speeds. I have used both the Red and Orange Ford tubes with similar results. Both cool better than the White or Blue tubes in Texas heat and humidity. My 1983 G20 van with dual evaporators would get down into the 30s at the vent with a stock system converted to R134a and the cycling switch adjusted, but lacked cooling around town and at slow speeds. A parallel flow condensor, add on pusher fan, orifice tube change to a red ford, and a R134a specific rear expansion valve drastically helped idle cooling when I was still using R134a. Make sure that you retrofit a high pressure cut-off switch to the system, R134a can drive the head pressures high enough to open the 440 psi relief valve in some conditions. On my 1983 Van, I used the GM add on pusher used on the 93-95ish 454 vans. It was available new for a resonable price. On a F-car you are going to have to devise your own setup. I would think a 14 or 16" pusher could be added without too much difficulty. I included the GM diagram to illustrate how GM added them as I refuse to use those aftermarket zip tie style mounts that will cause condensor failure in a short period of time.
I installed a factory dual fan setup to replace the dinky factory single fan. It's an LG4 so grounding the relay isn't ECM controlled like on TPI so I put in a Hayden thermostatic fan control relay with a thermal probe that goes into the radiator fins. One of the fans isn't working so I ordered two replacement VDO fan motors and a new Hayden fan control with dual relays this time. I should have installed the dual relay from the start. I think I wired it so that the factory radiator fan relay controlled one of the motors but those things are crap. It has a wire that runs to the cycling switch so that when you turn on the A/C it overrides the thermostatic settings and kicks on both fans full blast. It worked really great for awhile, dual fans is where it's at for our F bodies. Even with tuning my 86 TPI car and adjusting the fan settings and running a cooler thermostat, there would be a point at steady state that the factory system couldn't dissipate heat fast enough. I put dual fans from an Intrepid in and did some custom relays with the ECM providing the ground and relay control for both fans (this was before I knew about LT1/LS1 fans). It worked so well that I converted my dad's car to dual fans.
I did notice that when I initially installed the GM White orifice tube the cooling at idle was horrible. These blower motors are too weak to push sufficient air. That's why I experimented with the Ford Blue orifice tube that ReidFlemming suggested years ago. It did help with cooling at idle/low speeds. I wish we all had a chart from someone who has a recovery system to catalog the benefits and cons of each orifice tube in our cars. I heard that you can lose high speed cooling with the Ford Red, which is why I went conservative with the Blue. I think I will buy both and make a decision when I open up the system again.
Originally Posted by LiquidBlue
Its all factory except for compressor (new factory), orifice, and switch. I cleaned everything, inside and out, flushed many times, and made sure there was good airflow properly directed thru condenser with all air dams and other plastic under car designed to get airflow up in there and also by applying 1" thick foam insulation at condenser side gaps so air forced to flow thru condenser, not around, same spot where factory insulation is located. Duplicated the factory insulation that was there, but was old, hard and needed replaced. Doesn't really matter anyway,I always drive with T-Tops off, and the factory fan doesn't really get much cooling to us, or heating for that matter, but better than nothing. that is the way it always was, even with R12. have considered putting in a better fan for more air power!
I may have to do the same and buy some foam insulation. That stuff is long gone from our F-bodies. That's really impressive from such an old system. I remember when my dad's car was R-12, it blew ice cold even with the stock single fan. His car always had better A/C. I think I am going to go with a fixed orifice tube and redo the foam and probably find the leak he says it has. I think it might be from the original R-12 hoses or the liquid line. Probably time for a accumulator/orifice tube swap anyway. Thanks for the info!
Re: R22 to r134 conversion. here goes, all factory
I have messed with several GM systems. Typically speaking the smaller the orifice tube the better the cooling at idle and around town. I have not noticed any highway cooling loss, but perhaps a little more cycling at high speeds. System cycles often regardless of the orifice tube size at highway speeds because the vent temps can get into the mid 30s even on a 105F day. The system has to cycle to prevent the front evaporator from turning into a solid block of ice.
To give you an idea, my 97 Express has an upgrade microtube parallel flow condenser, sanden SD7H15, variable front orifice (decided to play with one again) and an expansion valve in the rear unit. It was 100F and 57% humidity yesterday afternoon when I left work and it was 4 PM so the sun was still shining nice and hot. The interior of the van was ~140�F when I jumped into it. I rolled the windows down, turned the ac on, outside air and high fan speed. I drove away on the city streets. I use low-speed on the rear blower to add a bit of evaporator capacity even with no passengers in the rear as it just cools the van off better that way. I do the same on my 2011 Pathfinder with rear air. Within a mile the vents were down to 50�F and I closed the windows and switched to recirculate. After another mile and 3 traffic lights later, the vents were about 42�F. At that point I jumped on the highway and drove 10 miles at 45-60 mph in traffic. After about 2 miles at highway speed the vents were down to 35F and I could feel the compressor cycling every minute or so. The interior was very comfortable at that point. When I arrived at my destination and jumped out that 118�F heat index was like jumping out into an oven. That system is R152a though.
I put a 97 Express blower and resistor in the 83 and 87 van and it blows a lot better.
Couple questions for you on quoted above,
Are the replacement pressure switches for compressor & ACC different than original factory ones? I don't see any listed on Rock Auto.
Do you think there are better options than the white orifice tube?
Are there instructions with the compressor that will explain where and how much oil to add?
I'm only able to clean & replace parts on this car. It will have to be taken to a shop to be vacuum/charged. I plan to replace with new R4 comp, condenser, rubber lines, and a kit that comes with the correct ACC-Orings-PAG 150 and schrader valves.
Re: R22 to r134 conversion. here goes, all factory
I saw a thread around here concerning the availability of the switch. I'd google for that and see what you can find. All your questions are covered in this thread, even the different types of orifices, that was covered by someone else pretty late in this thread. The one I used works great for my purposes, which is warmer climate cruising in mostly open roads with T-Tops off. If I can't drive it w/o T-tops off, I don't drive it. I'd read thru this thread carefully, because there may be other things you had not thought of that you will run across in this thread. And those things can make the difference between a successful r134a conversion.