When you click on links to various merchants on this site and make a purchase, this can result in this site earning a commission. Affiliate programs and affiliations include, but are not limited to, the eBay Partner Network.
Yesterday I found out my brake proportioning valve sprung a leak, luckily I caught it early and didn�t lose brakes. So it looks like you can�t get a stock replacement (which I really didn�t want seeing as how I had a stiffer spring than stock to help the rear disc brakes) and a used one is well over a $100 for a subpar part. So I wound up ordering the Wilwood adjustable for like $80 from Summit and will have a shop install next week hopefully. I really am looking forward to better rear stopping power, the spring upgrade was OK but this should be much better.
That�s exactly what I thought, I got the idea and the stronger spring part number on the forum but this is the first I�ve heard of a problem associated with it. Also, I didn�t even go with the strongest spring but one of the milder ones. But now it�s just a good excuse to upgrade to a better performing part, I couldn�t believe how weak the back discs were on this car when I got it.
Finally had a chance today to try to dial in the rear brakes with the new Wilwood proportioning valve and man are they much more responsive than before. I may tweak it a bit more but it feels a lot better than previous and I don�t have the rear brakes lock when I jam it so I should be safe.
Just wanted to throw this out there, I was trying to find a way to play music from my phone to the Pioneer CD player in the GTA without doing a lot of wiring and found a easy way. I found a FM Bluetooth transmitter on Amazon for like $24 from Victsing (its definitely typical Amazon Chinese) but it fits well in the Firebird cigarette lighter and has a function to automatically find a vacant radio station to transmit which is convenient. It's super easy to set up on a smart phone and now I have Spotify, Sirius XM, and Amazon music in my GTA. I also had to clean up my contacts in the cigarette lighter base (a little rusty/corroded) and twist the base around a bit to allow the transmitter to lock in the side mounts of the lighter base and not be loose. Also remove the fuse before trying to clean up the lighter base and adjust, no need to blow a fuse or get electrocuted. If you don't have it secured in tight it can loosen when you hit bumps and the transmitter loses power and you are greeted with a loud blast of static so definitely make sure its properly seated. I drove 50 miles through Vermont roads which are not the best and had no issues and did not even have to find a different FM channel. It's not a perfect solution but works for me and I just wanted to share if anyone is interested.
For the Camaro guys there was a Nulaxy FM transmitter that looked like it would fit well with their set up (more compact with less movement etc).
Last edited by Reddragon88gta; Nov 22, 2020 at 12:16 PM.
Have a few new projects I am planning for the GTA in the cold months. First I finally bit the bullet and ordered the Hawks rear hatch hinges to repair mine...I previously tried adjusting the hatch without success in a another thread and wanted to try the hinges before tearing apart and resealing the deck lid (My �overbite� is only 1/4 a inch on each side and if you look at the top of the glass it appears the hinges are bent)
Also hopefully going to send out my original GTA steering wheel out to get recovered at Dallas Custom steering wheel, heard good reviews and could not get Chuck Pelton or Alex Babineau to do it.
Lastly I have all the supplies to refinish the aluminum lips on my cross lace rims. Planning on doing a lot of hand sanding and then polish to get that high shine. Read a few threads about it and want to give it a shot.
Had the hinges and a few other odds and ends delivered today from Hawks. Hopefully later today or tomorrow I can update after installing the new hinges.
So the hinges did not cure my overhang...so I finally last night and today took the deck lid off, cleaned up the old glue, resealed with 3M windshield urethane( not easy with a manual gun lol) and am now going to give it a few days to cure up. Once it cures I will re-install the struts. I�m pretty happy with the results so far but remember to be patient and let it cure before installing the struts, those things are very strong and mine are not old so I�m going to give it a few days.
Here are some pictures:
Driver side before Passenger side before
Passenger side after Driver side after
Last edited by Reddragon88gta; Feb 27, 2024 at 08:19 AM.
Lol thanks, I couldn�t take it anymore and last night was my second try and I decided there hopefully won�t be a third after re-sealing the deck lid. It�s really not a terrible job either, a little time consuming and I worry if I used enough eurethane but damn it was tough to lay that down with a manual gun.
Some of the guys who had these cars new say they came like that with the overbite and others said they were perfectly lined up so it depended on car. The aerowing spoilers on the Firebirds seem to be worse because of the extra weight but the cause of the issue is a hotly contested debate...but as Rkeats said many of these cars have the overbite.
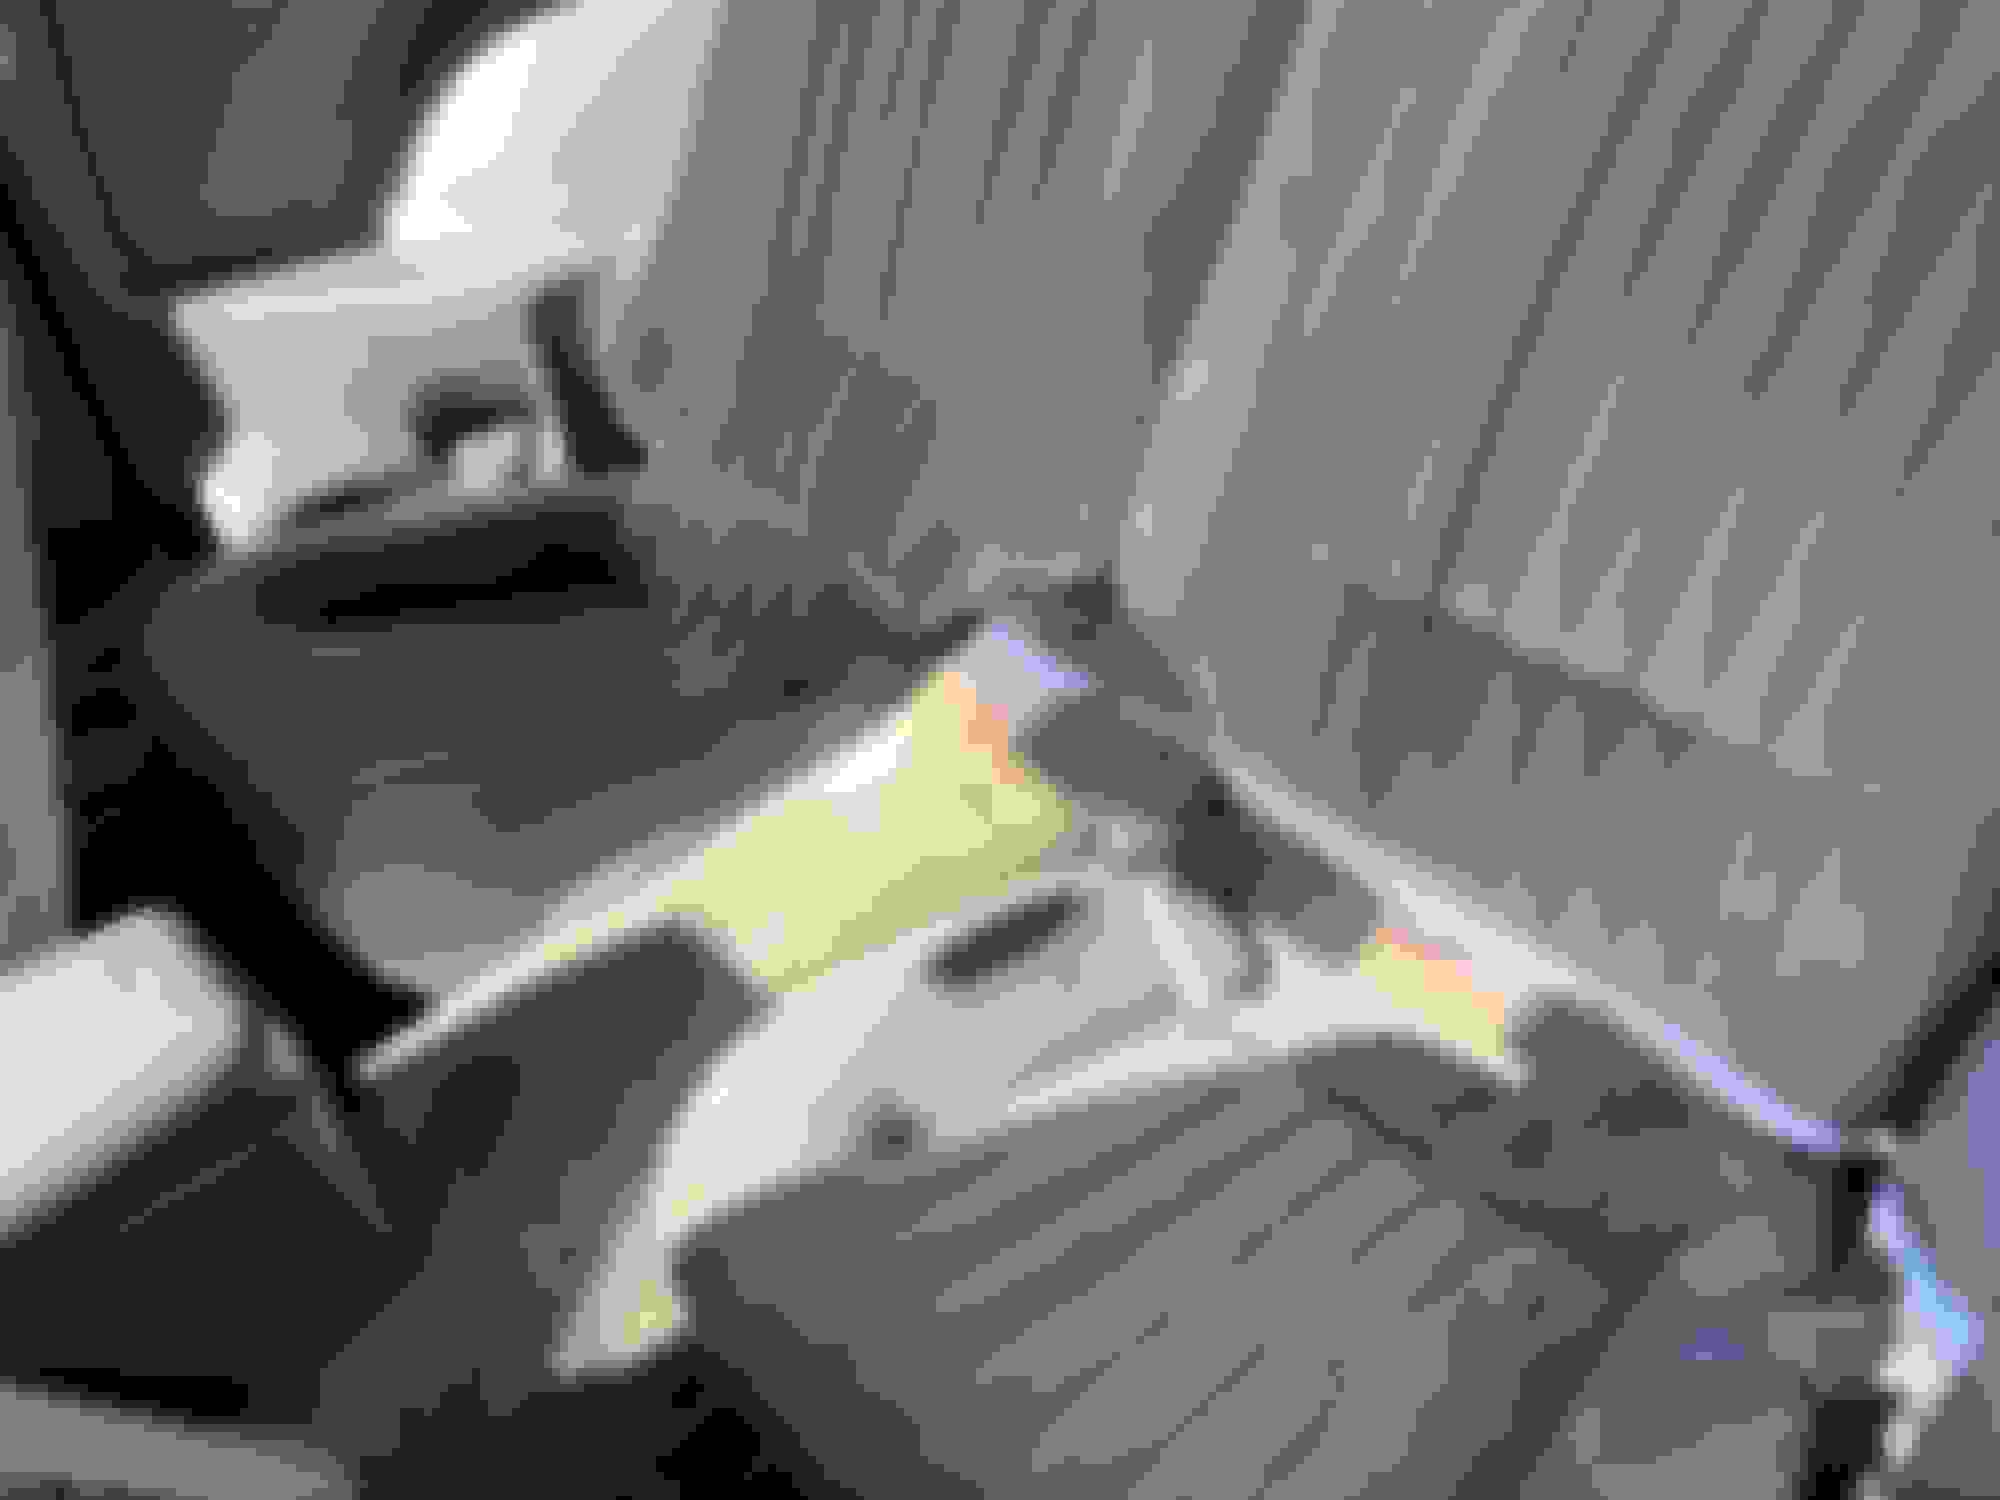
So an update on the hatch battle, after re-installing the struts the power of them pushed out my deck a bit so it was no longer perfect. Real bummer but I had no more or very little at best to go anyway when I lined it up before re-sealing. So I tried making up the gap at the hinge to glass which didn�t help. Picked up a tad on the body to hatch with the wife pushing it and me tightening the 4 hinge bolts. These helped but still not close enough for me.
However, I found what may be a new solution to this problem. I purchased the $9.99 shim kit at harbor freight (the shims did nothing when on the body to hinge btw) so out of desperation I finally tried shimming the rear hatch pull down motor and it actually worked to pick up just enough to satisfy my OCD. If you have a small overbite it might be worth a shot.
It worked pretty good IMO and I took this as far as I can without shattering the glass. I mostly shimmed the top 2 bolts and I picked up a nice amount of clearance. Before shimming pull down motor Before shimming pull down motor
After shimming After shimming
The lesson here is if your only a touch out of alignment you can pick up a bit by shimming they hatch pull down. I�ve yet to see anyone try this but it works. Only hitch is if you put too many shims on you can�t close the hatch, so there is a sweet spot. Hope this helps someone.
When I replaced my deck lid, I spent an obnoxious amount of time trying to push everything inward enough to get my hatch to line up, and just couldn't get it. When I first mounted the deck lid, it was so far out that I couldn't even close it. I loosened everything including the glass and pushed it all forwards - I don't understand how it can't line up flush
It�s not fun and risky to top it off. I�m done flirting with shattering that expensive piece of glass. The only thing I did not try was hogging out the inner bolt holes on the hatch. I�m pretty sure that would�ve done the trick to finish it off and it wouldn�t require a lot of hogging but I just didn�t want to permanently alter that.
I shimmed all 3 of the bolts and it seems to have the hatch close further in towards the front. I was surprised it did anything but it helps and so far doesn�t seem to hurt anything, I�ve ran it a few times with no bad noises or grinding.
So where is the "give" in this system? It's not in the glass itself, it's not in the hinges as they are bolted to the body, and it's not the body itself.
So is that hatch motor flexing the urethane between the glass and body panel (whatever the proper name for that little foot deep panel is)?
I�ve been messing with this for like a week off and on and am about at my wits end. So I resealed the glass to deck lid with 3M windshield urethane, had it perfect and let it cure for nearly 3 days with struts removed. I re-attach the struts and instant overhang. Remove the struts it�s flush with the quarters...I then get a touch of adjustment at body to hinge( hinges are new btw) and a bit at the glass up top but did not push it. Finally just messing around before putting it back together I try shimming the pull down motor and I saw a improvement so tried a few more and got it to where it is.
i don�t think there is any give in the deck lid, because I loosened up the deck lid to to glass to try to push it further in to get it flush again after the first time but it didn�t give anything when I shoved it with all I had...
Does that panel not attach to the glass through over-sized holes? Could this be the area that is moving? Perhaps some crescent shaped plugs to fill the excess space and prevent movement?
So I assume that if you close the glass just short of engaging the latch, that you can there will be overhang? If so, is it possible to mark the panel to glass relationship with a grease pencil, tape, or similar temporary method, then latch it, and see if it moves?
I have one other theory but I don�t know if it will hold water but at this point I�m grasping at straws lol. When I replaced my hatch struts when I first got the car I went with the strongest strong arm hatch struts, they are rated at 140lbs pressure as opposed to 120lbs for the other strut...I have seen several threads where members stated they had hatch overhang after replacing struts with new. The ones currently on the car are so strong I can�t compress them when off the car.
Also a final update on the hatch alignment, I found a used set of factory hatch struts cheap on eBay and after install it closed the gap even more.
Back to flush Close enough
The only thing I did not mess with is taking the hatch right off and removing the sealer in the hinge to body area. Really don�t want to flirt with water leaks etc. strictly for cosmetics and there is not much to gain. This is a reminder to also get the proper strength hatch struts when you replace them, I went with strongest I could and they were too much.
Just got the refinished steering wheel back from Dallas custom steering wheel and it looks and feels great. Donald had a fast turn around time and the quality seems excellent. I highly recommend them for our steering wheels, he even had a restored 88� GTA wheel for sale.
I probably have over 6 hours into this wheel but man the results were worth it. I started all wet with 220 (took forever) then 400, 600, 800, 1000, 1500 and 2000. Then I hit it with the Mothers mag polish on the drill mini ball.
Before
The picture is terrible but it shines like a mirror after 2 passes with the power ball.
Now onto the rest. The most time consuming part is using the 220 to get the clear coat off. Also spent a large amount of time picking brake dust where the laces meet the lip. The rest should go quicker hopefully.
I also picked up some sealant to finish the rims, should be here Friday. I heard about it from member Thainglo who purchased it on his recent wheel project and it comes well reviewed. Hopefully it keeps them looking good.
Finished the rims up yesterday, they turned out pretty good and way better than before. I also will update how that Wolfgang metal sealant holds up over the winter in my unheated garage over hibernation.
Last edited by Reddragon88gta; Nov 12, 2020 at 06:56 AM.
Finished the rims up yesterday, they turned out pretty good and way better than before. I also will update how that Wolfgang metal sealant holds up over the winter in my unheated garage over hibernation.
They look awesome. Yes, please advise how you like the Wolfgang sealant. It's a lot cheaper than shineseal.
I might next summer go over the rims again in spots, even going up to 2000 grit I still had some sanding scratches after polishing. I spent at least 4 hours a wheel and more on the first one. That being said they are a vast improvement over what they were and the scratches aren�t noticeable until you really get up close with a light.
I appreciate that, it was a lot of work but definitely worth it. Bob88gta did the same procedure for his and they turned out great so I gave it a shot.
Yes, the 220 took it off pretty well but just took some time. The only tricky spots were on the wheel lip near the bead, where the cross lace meet the lip and of course near the valve stem.
I was leery of using aluminum stripper because the centers were in nice shape and didn�t want to risk ruining them or get it on the tires.
Also while I was in there I decided to paint the rear sway bar and the springs, it should really pop when I put it back together. After a quick sand, self etching primer and true value satin black rattle can they look much better.
I finally today got everything painted and drying except the axle, I�ve scraped off most of the flaky rust and am waiting until I have a whole day to unleash the POR 15 3 step process...
POR 15 was applied today in my garage with a few heaters going, laid down 2 coats after letting it sit for a couple of hours to tack up and it seems to be good. Had a few very small spots on the diff cover where it didn�t want to stick(pretty sure the degreaser didn�t clean it good enough) but the rest looks good. I followed the 3 step process so hopefully it cures nice and doesn�t peel.
Last edited by Reddragon88gta; Dec 20, 2020 at 12:19 PM.
It is impressive stuff, it really helped make that area look much better and protect it. I had a few runs on the side closest to the propane heater but other than that it went on pretty good. I was worried it would be too cold but I guess I was wrong.
Also in case anyone is curious how much is needed to cover the rear axle it took about 1.5 cans of the tiny 14oz cans. I was lucky to have an extra on hand. The first coat takes a lot more than the second coat which went faster.
Spent yesterday installing my Spohn poly end links and greaseable poly bushings. The end links were more of a pain than the rears but it all went together pretty good. The only issue was the
Spohn brackets were a bit tricky to get lined up right but I think they will work out great. Wish the snow was gone to test on it but will have to wait for the spring.
Have another update on my build, I found a used TPIS big mouth intake on here and ordered new AS&M runners that will hopefully ship this month. This should be a nice boost for my L98 and will hopefully get this installed in the coming months before summer. I�m not going with heads or cam swap and I really like the idea of an old school TPI build on my summer cruiser.
Needed a bit of work and a ton of cleaning but it turned out nice
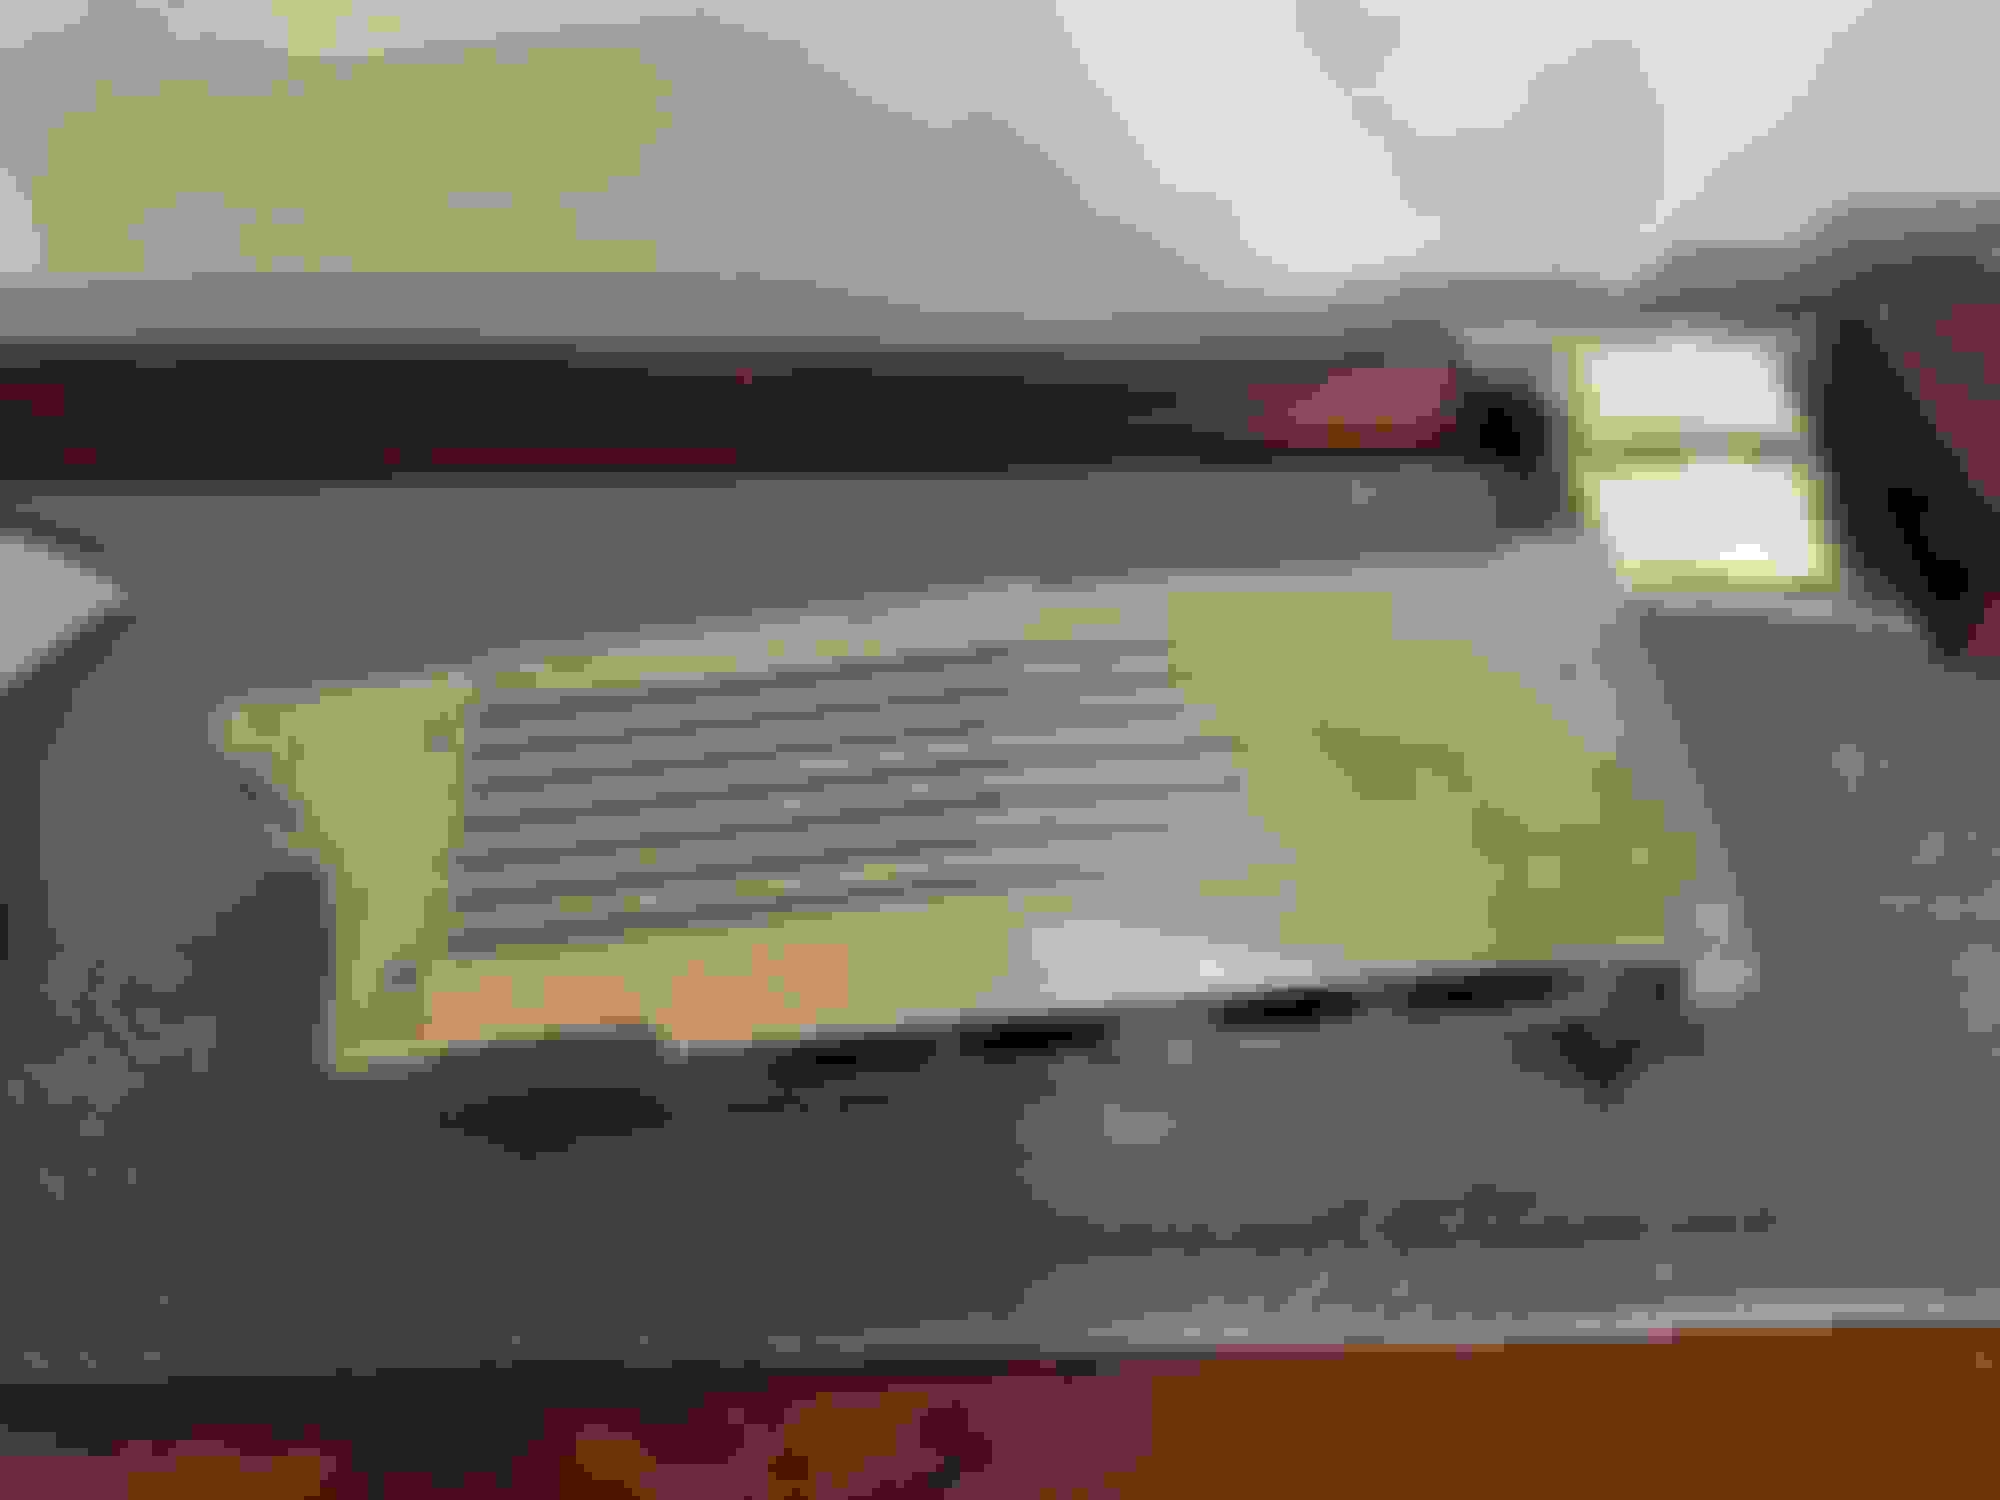
This past week I received my new runners from Arizona Speed & Marine and they look great. I took the time today to gasket match them to a plenum I picked up off eBay. Took a few hours but it was well worth it. I used a carbide bit set and sanding drum kit to do the work. A big shout out to Vinny R, he has a great write up of when he did his TPI breathe project and I referenced it quite a bit.
Before I ported the runners I used a marker to shade the areas that needed to be shaved. TB area was already ported and done right. Before Before After After The carbide bit set, the bit I used still looks new.