When you click on links to various merchants on this site and make a purchase, this can result in this site earning a commission. Affiliate programs and affiliations include, but are not limited to, the eBay Partner Network.
As old as those plugs may appear, the electrodes actually look pretty damn good. A steady and even burn across the board. I mean unless you wiped them down thoroughly before the picture, I don't see any evidence of valve seal issues, and if there is, it's a very light issue. I just wrapped up my E85 tune using the EBL, if you have access to E85 over in East Windsor (most of the stations I know of are up North), we can have you going back and forth from pump gas to E85 when you're ready. So far, I will not be returning to pump gas anytime soon lol. I'm loving E85...
Came across your thread when searching for 'how to paint headlight housing'. You are doing amazing work on that IROC, that blue is amazing! Looks like you are one of our paint experts on thirdgen.org.
Long story short, I'm finding and fixing everything in my front that raddles and makes noise. In doing so pulled out the headlights and before I put them back I wanted to touch them up a bit.
Wondering what product to use on these headlight casings? Was thinking
but do I need to also hit it with a rust converter or reformer beforehand.
Any recommendations on what product I should use on these? Your advise is appreciated...
Last edited by 1985_IROC; Apr 2, 2021 at 04:39 PM.
Came across your thread when searching for 'how to paint headlight housing'. You are doing amazing work on that IROC, that blue is amazing! Looks like you are one of our paint experts on thirdgen.org.
Long story short, I'm finding and fixing everything in my front that raddles and makes noise. In doing so pulled out the headlights and before I put them back I wanted to touch them up a bit.
Wondering what product to use on these headlight casings? Was thinking VHT Engine Enamel SP139 GM Satin Black 11 oz Spray but do I need to also hit it with a rust converter or reformer beforehand.
Any recommendations on what product I should use on these? Your advise is appreciated...
Hi there, I am actually painting those same parts on my car tomorrow. I use SEM TRIM BLACK. It comes in a spray can, and looks just like they did from the factory. You can use the same paint on the t-top edge trim, hatch trim, door handles, and lock cylinders. All ya gotta do is rough up those parts with a red scotch brite pad, spray a light coat of SEM ETCH PRIMER (also in a spray can), and a couple coats of the TRIM BLACK.
Hi there, I am actually painting those same parts on my car tomorrow. I use SEM TRIM BLACK. It comes in a spray can, and looks just like they did from the factory. You can use the same paint on the t-top edge trim, hatch trim, door handles, and lock cylinders. All ya gotta do is rough up those parts with a red scotch brite pad, spray a light coat of SEM ETCH PRIMER (also in a spray can), and a couple coats of the TRIM BLACK.
Perfect time to ask you @dagwood, and appreciate your guidance. I was a bit concerned on how much heat those would need to withstand, but doesn’t sound like this is a concern. I know you said SEM TRIM BLACK, assume #1, but have to ask for clarity:
The first one. The can looks different now, but it just says trim black. Zoom in on this pic and you can see I had a can laying inside my engine compartment
The first one. The can looks different now, but it just says trim black. Zoom in on this pic and you can see I had a can laying inside my engine compartment
Noice, wish I could read the paint number off that can, but it’s hidden by the fender. Funny when I saw this picture on on the thread, I had to look twice since I could not figure out what was on the paint just behind the front wheel. Then I realized it was the reflection of your tools on the ground. Nice finish 😉
Noice, wish I could read the paint number off that can, but it�s hidden by the fender. Funny when I saw this picture on on the thread, I had to look twice since I could not figure out what was on the paint just behind the front wheel. Then I realized it was the reflection of your tools on the ground. Nice finish 😉
I can post the number from the can tomorrow for ya. I'm also gonna paint my wiper arms with it.
And thanks for the compliment on the finish! It has a nice mirror shine
Keep getting diverted from what I�m supposed to be doing, but the Hella lights came in and want to get this out of the way...
All painted ready to get installed.
@Street Lethal Also installed the heated O2 sensor. No check engine light, so all good...will work on the MAP sensor next. Sorry so slow, our spring soccer league just kicked in and I coach my son�s team. Practice on Tuesday/Thursday with games on Saturday�s. Busy schedule 🤪
@Street Lethal Also installed the heated O2 sensor. No check engine light, so all good...will work on the MAP sensor next. Sorry so slow, our spring soccer league just kicked in and I coach my son�s team. Practice on Tuesday/Thursday with games on Saturday�s. Busy schedule.
Good work.... the engine will enter Closed Loop much quicker now that the O2 sensor is getting heated on its' own and not relying on exhaust temperature. Most times w/headers, the engine will slip in and out of Closed Loop, even when fully warmed up, due to a single wire O2 sensor. Weather seems to be getting nice, yesterday we finally seen 75*F, bout damn time if you ask me lol...
A lot of what you'll read is parroted from one person to another in relation with MAF's being needed or being better. Truth be told, is we're only metering fuel with air. That's all it comes down to. Two identical engines, though they will not breath the same. The slightest difference in casting will change the amount of air entering into the engine, you can CNC port all you want, but no two cylinders will read exactly the same, and if they do, it's a fluke. MAF tables, MAP tables, they are all the same in the end, just different approaches in metering the fuel to a given amount of air. The newer tech will handle multiple data,,, but at a price. Some opt to construct their own; 0411 etc, and it works just fine, but you would need to add a few things to get it to work. Lots of options out there. The EBL keeps it simple though, use the stock harness, albeit a few slight changes, use the stock HEI, no cam or crank sensor to worry about, and tune for as much boost and alky as you need. I remember a guy back in the day tuning a stock '7148 (Grand National ECM) to low nines. No hiccups. It was there when I realized it's more about the tuner him or herself, not the system.
@Street Lethal I�m going to get started on installing the MAP sensor. Need to order more wire which I found online at (https://4rcustomswire.com/). They have the same colors for the pigtail I purchased (ICT Billet MAP Sensor 3 Wire - 3...
Those wires are normally between 20 - 22 ga. To be sure, just bring the small pigtail harness to a local auto store and size it up. I would say 20 - 22 ga, no thinner...
Working on replacement heater core this rainy day. Got the old one out fairly easy, good thing I have a lot of crafty tools. The top bolt of the case was the most challenging. Any suggestions on the type of insulation foam for the dampers/blenders?
Last edited by 1985_IROC; Apr 11, 2021 at 01:33 PM.
Those wires are normally between 20 - 22 ga. To be sure, just bring the small pigtail harness to a local auto store and size it up. I would say 20 - 22 ga, no thinner...
- Rob
Yeah this was my dilemma...on Bob�s website the pins say for wire size 18 - 16 AWG or 22 - 20 AWG (http://www.dynamicefi.com/ConnTerminal.php) When I stripped one of the wires of the pigtail, I used 16 setting and the wires fit perfectly. Understand that txl shielding is thinner, but my stripper says 16 🤷🏻♂️
I�ll research a bit more as I�m torn between 18 & 20 now, but those two shouldn�t matter that much.
Last edited by 1985_IROC; Apr 11, 2021 at 01:21 PM.
Those cribs are an awesome idea! How long did you make them??
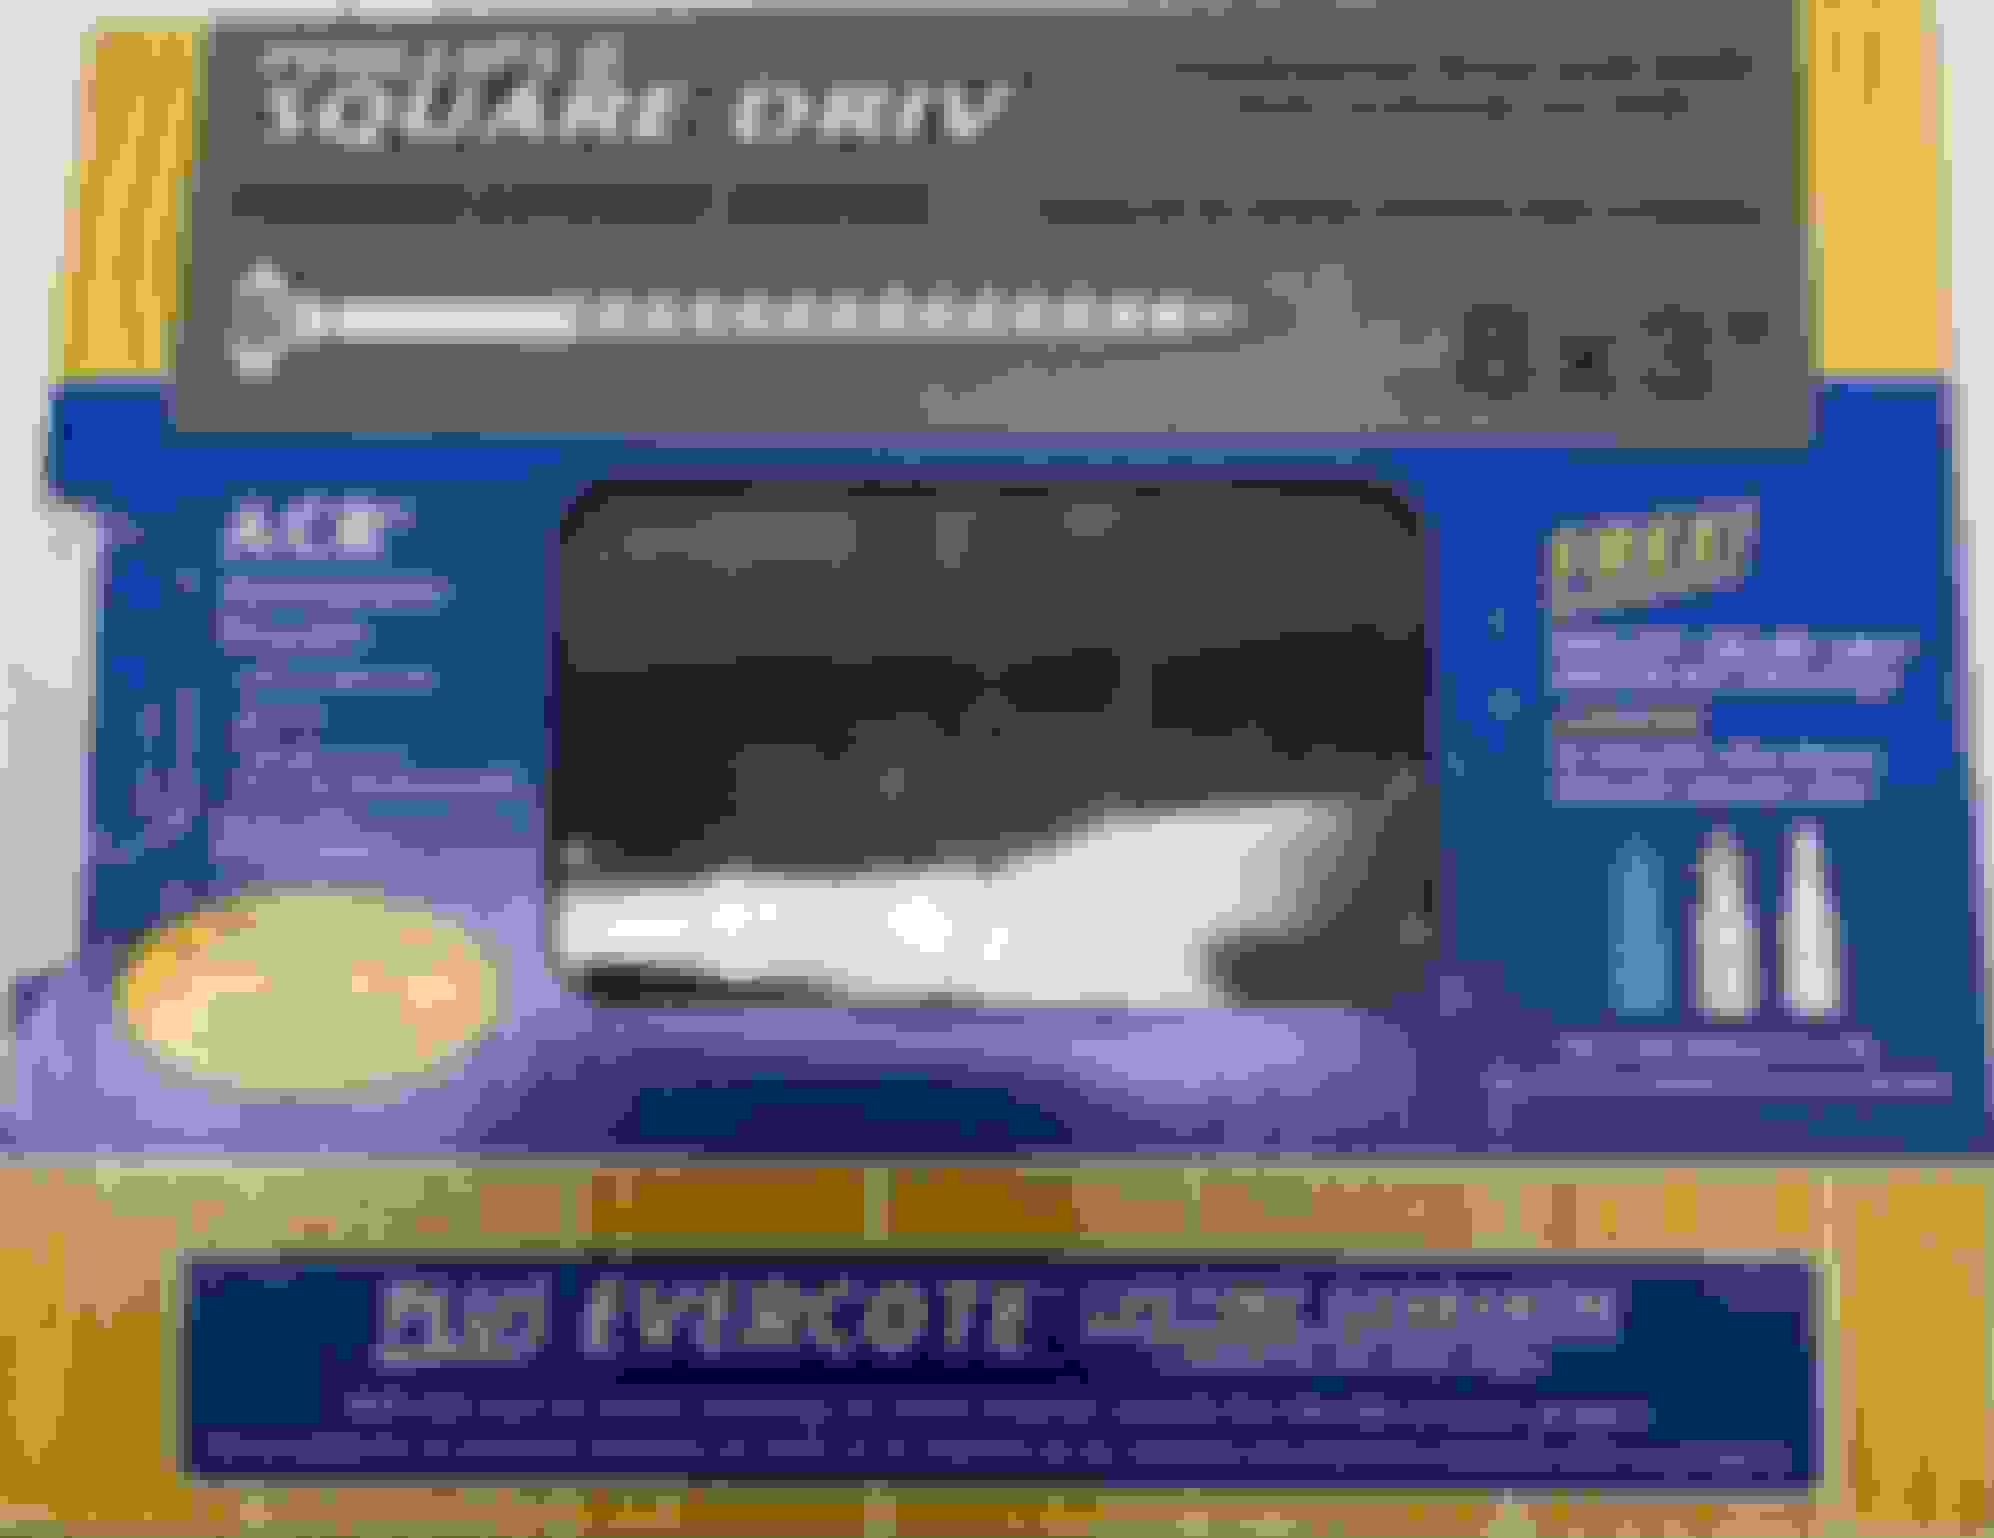
Thanks I went with the stronger 2x4, not the cheap pine. Like a dollar more for the better stuff. 21�l x 12�w x. As far as how high to go, that�s your choice, just don�t buy too much at the improvement store like I did. Once I started jacking the car up, I was like �ok� high enough for now. And pre-drill before you screw. Used a 5lbs box of 8x3� screws.
Last edited by 1985_IROC; Apr 11, 2021 at 02:21 PM.
Yeah this was my dilemma...on Bob’s website the pins say for wire size 18 - 16 AWG or 22 - 20 AWG (http://www.dynamicefi.com/ConnTerminal.php) When I stripped one of the wires of the pigtail, I used 16 setting and the wires fit perfectly. Understand that txl shielding is thinner, but my stripper says 16 🤷🏻♂️
I’ll research a bit more as I’m torn between 18 & 20 now, but those two shouldn’t matter that much.
Yeah, the earlier stock wire size will range from 18 - 22ga, but nowadays manufacturers are known to go as thin as 26ga for sensor wiring, which I don't agree with. My system utilizes the stock MAP sensor wiring, but the pigtail that you ordered (#lWPMAP10) looked thinner than mine, Either will work well in this case. Just be sure to crimp, solder and shrink wrap with all of your sensor wiring.
Originally Posted by 1985_IROC
Working on replacement heater core this rainy day.
Don't even want to move today. We were invited to the newly owned Bally's over in AC last night, so we went and they matched us what we are over at Caesar's. Got back at like four in the morning, and after driving the wife's truck to and fro, I don't even want to look at my cars today, let alone work on them lol...
Yeah this was my dilemma...on Bob�s website the pins say for wire size 18 - 16 AWG or 22 - 20 AWG (http://www.dynamicefi.com/ConnTerminal.php) When I stripped one of the wires of the pigtail, I used 16 setting and the wires fit perfectly. Understand that txl shielding is thinner, but my stripper says 16 🤷🏻♂️
I�ll research a bit more as I�m torn between 18 & 20 now, but those two shouldn�t matter that much.
I run into that sometimes with the gauge wire not matching the terminal. I like putting the larger wire in the smaller terminal because I FEEL like it is a better crimp that way, but if you get real scientific about it, that probably is wrong. There are actual measurements for crimping terminals, but that doesn't matter to us as the owner.
Alternatively, if you put a smaller wire in the terminal than it calls for, strip off just a hair more than double the amount of insulation you really need and double the wire over and it will take the additional space to make the larger gauge terminal
Englishtown Raceway Park Swap Meet this weekend... 4/16/ 4/17 & 4/18.
Atco Dragway Test n Tune & Tuner Car Show... 4/18
Figured I'd give Raceway Park another chance after they broke everyone's heart lol... need two GTA fenders and a hood (don't ask lol). Also headed to Atco Dragway for a little bit on Sunday if anyone wants to come down and run.
Thanks I went with the stronger 2x4, not the cheap pine. Like a dollar more for the better stuff. 21�l x 12�w x. As far as how high to go, that�s your choice, just don�t buy too much at the improvement store like I did. Once I started jacking the car up, I was like �ok� high enough for now. And pre-drill before you screw. Used a 5lbs box of 8x3� screws.
Nice work, I recently made a set that's a little bit taller and narrower, one of the best "tools" I've ever made. I used a 5lb box of these self-drilling saberdrive 2.5 inch wood screws https://www.fastenerconnection.com/p...nds/saberdrive, saved me a lot of time so I didn't have to drill and no split ends!
Man that heater core replacement was a b*tch, couldn't get the replacement in correctly...had to improvise and make it work without the holding brackets. Should be fine �\_ (ツ)_/�
The aluminum replacement cores suck, they don't fit correctly and you don't get the same amount of heat out of them. I have 3 factory heater cores now I am going to have re-cored
When my heater started leaking, I just bypassed it. Take that I told him! Cant remember ever missing it here in south-central Florida. IROC, you are scaring me a little, I could eat off your garage floor, and the towels you laid your tools and parts on were immaculate. Those are not "garage rags". My garage was never that clean, even when it was brand new. You even radius-ed the corners on your 2 X 4 jack stand material. Impressive but a little scary.
When my heater started leaking, I just bypassed it. Take that I told him! Cant remember ever missing it here in south-central Florida. IROC, you are scaring me a little, I could eat off your garage floor, and the towels you laid your tools and parts on were immaculate. Those are not "garage rags". My garage was never that clean, even when it was brand new. You even radius-ed the corners on your 2 X 4 jack stand material. Impressive but a little scary.
You�re scaring me at how much you noticed from the picture. 🤣. And yeah my heater core has been bypassed for two years...want to drive in spring and fall in NJ.
🙄 I disconnected my AC clutch wire to put new looming on, and don�t remember which way to reattach it (not sure if it actually matters). But if it does which terminal should the green wire get plugged on to #1 or #2? I question this because when I was replacing the heater core and moving the blenders, the AC kicked in and I noticed a more than expected click/snap sound. Assume that is the clutch engaging, but disconnected to be safe.