When you click on links to various merchants on this site and make a purchase, this can result in this site earning a commission. Affiliate programs and affiliations include, but are not limited to, the eBay Partner Network.
I wanted to go higher with mine as well, but I felt if I went any higher I'd have to connect all four stilts together to make them a frame or they would wooble or worst case buckle. These things put the car (measuring from the bottom floor) about 16" off the ground. This is a pretty good all-around height for everything. You can creeper under it, you can still do inside work or sand the roof; but that's just me.[/QUOT
I would use a 12 ton jack stand. Cut the head off the top of the ratchet bar and weld that bolt plate right on the top. Juts a crazy thought anyway,
You probably could fab the SFC's yourself....add extra support for the jack points.
I seriously love this thread and how you have literally saved your car from an almost certain junkyard death! There's not too many of these cars left anymore, and it is nice to see people who love them and want to restore them to their former glory!
This is awesome. My wife just replcaed my motor & trans in my 87 base camaro for my 40th birthday. The cam went about 18yrs ago & the car was sitting in my grandmothers garage until a few months ago. I wish I had your talent to do all the metal fab work, but the car is still in decent condition and I plan on slowly working the restoration(paint, interior, electrical, etc). I live in Delaware also & would love to check this out in person sometime.
Small world man! That's an awesome birthday gift as well. You're more then welcome to slide on down to Sussex sometime. Id like to see you're project as well. PM me or gmail me and we can set it up
Alright guys.. I am currently blasting the frame, sealing with POR15 and seam sealing the cars joints in preparation for paint. Pictures will be coming but I don't like doing teasers, I want to be able to post the whole progress of a set task. Patience, lol
Sorry for the radio silence but between painting my soon to be here son's room and work I have had zero time. But here she is, all the sand blasting is done and she is officially RUST FREE. All problem areas have been coated it POR15, but instead of brushing that crap on I thinned it down and sprayed it... came out great. Seam sealer is next then lots of priming and sanding.
I was always wondering about thinning out tho por15 and spraying it and how it sprayed. Looks like it laid down pretty good.
(edit) Yeah, sand blasting is fun for about 10 sec. I laid a huge tarp down and set up a screening deal, so when I needed more sand, I would pour it across the screen to filter out big stuff, and soon be shooting the same sand again. You will have sand (black beauty) in your car forever. Stuff gets everywhere.
Oh yeah... I will be vacuuming and blowing the nooks and crannies of this thing forever prior to paint. But if you take the POR15 and lay it down, let it dry for days, then you can scuff it up in preparation for primer. Stuff is expensive but totally worth it.
Yeah, don't get it on your skin.. Not coming off for a week. Also, when you use it make sure you keep the lid valley clean because of its not, that lid WILL NOT come off.
Great work, man. I just blasted my engine bay today and I've got a quart of por15 I bought for my floorpans. Will epoxy stick to the por15? Have you done this before?
POR15 is expoxy on steroids, lol. If you let the POR15 dry so it's nice and hard, scuff it up, you can do whatever you need to it. Bondo on top, seam seal, top coat, primers... Preparation is what's key.
Not really had time... My son decided he wanted to be born 3 weeks early so the car has been put on the back burner for the time being; probably will be a few weeks of radio silence
Okguys, sorry for the hold up in progress reports. I'm a new dad and my son hasbeen taking up the majority of my time. That being said I have finally had achance to get out the shop and get back on the IROC. Presently,all underside work is done. The entire car is sealed with POR-15 and althoughshe is still on the stilts I build last year (geez time flies) I have taken thefront suspension and rear suspension parts to be blasted and powder coatedgloss black. Once they come back (hopefully 2 weeks) the engine bay/ front ofthe car will get her first taste of color:-) Iam looking for some input though... #1 - I have recently acquired a 91 Firebird5 Speed car, the thought process was to skew from the 700R and convert to 5speed. Opinions?? #2- My car has the beefy 9 bolt rear but only the 2.77 gears. I recently acquiredanother 9 bolt but housing 3.27's to perk up the IROC. I'm thinking the 305 TPIwith the 5 speed and 3.27 gears should be pretty lively. #3- Obviously since I've skewed on the rear and tranny, maybe even the engine bythe time it's all said and done I am out of originality. That being said I amalmost to color time and need to make a decision... Original Bright Red or mypersonal favorite change her over to Bright Blue? Thoughts??? Hereare some pics of the current process....
Ok so... Someone broke the truck, so some genius decided to pry out the key lock
After a new panels is welded in and primed, this was a bit tricky to make sure the key tumbler would se correctly
What a mess. The struts were done, the bushing in the A Arms are shot and all the bearings for the tie rod ends are spent. All is getting replaced.
Prior to powder coating everything they gotta be blasted in the cabinet and bushing pressed out. I think I'm gonna go with all rubber instead of Poly.
All blasted.
Dust shields are getting powedercoated too, after they come out of the blasting cabinet
All cleaned up. Anyone doing a restoration, a nice blasting cabinet is PRICELESS!!!
12 LED lights, 9000cfm fan, piped in air with desiccant filtration, added a wall with entry door/ sight window
Down-Draft ceiling filter bank. They swing out of the ceiling to replace the filters.
The other hold up on this project was building a paint booth... I have approached the point of body work and painting, which I Do myself but was spending a ton on renting booths SO... I have an old storage room with a concrete floor and decided it was perfect to convert over.
What do you guys think for an at home setup?
This is great. Amazing work and makes be feel like I can save my car too.
Are you using Goodmark panels for everything or did you use any NOS? I'm trying to figure out if its worth it to track down NOS or just buy aftermarket.
This is great. Amazing work and makes be feel like I can save my car too.
Are you using Goodmark panels for everything or did you use any NOS? I'm trying to figure out if its worth it to track down NOS or just buy aftermarket.
Thank you
I've used a mixture. When I can I cut panels from one of the parts cars I have. For example, some of the floors were from a good parts car; but the drivers floor was from Goodmark. The floor pan fit like a glove, you can see it further up in the feed. That being said I also bought a quarter panel to replace the passenger side, it fit decent but the lip of the flare where it rolls under could be stamped better. This lips has a factory line that is not a crisp as the original, I plan on adjusting this with a hammer/ dolly and some plastic.
NOS stuff is OUT OF THIS WORLD expensive, but you get what you pay for. If this car was a little more rare or I was doing a complete number's matching resto I may have sprung for that caliber of part.
Wicked paint booth for a home set up. I just set up some tarps, blow air in with a bank of box fans through a filter and crack the bottom of the door a bit, works decent but yours should be great!
I am getting started on my 91 GTA to replace all the floor pans and thought it was going to be impossible but I feel inspired!
I went with the goodmark panels which I think was cost effective when you ad in fab time.
I am getting started on my 91 GTA to replace all the floor pans and thought it was going to be impossible but I feel inspired!
I went with the goodmark panels which I think was cost effective when you ad in fab time.
Man, my dad taught me.. It's like eating an elephant; one bite at a time. It's a ton of work, but once it's done it's so rewarding. I have countless hours in this car so far. Is it a 69 COPO worth 100 grand, no. BUT! I have personally seen the reaction when people see these things done and done right. It's priceless man. Take you time and you won't get overwhelmed. This thing was a basket case and honestly I think many would've scrapped it when they hit the floor and rockers, but beyond that, it's easy.
Alright ladies and gentlemen, I'm back. I apologize for the long pause in the project. Between money and time I have been slacking in the IROC restoration department.
However, Here we are. UPDATES!!!
-The suspension is all back from Powder Coating. Waiting on the front end rebuild kit to arrive to start that.
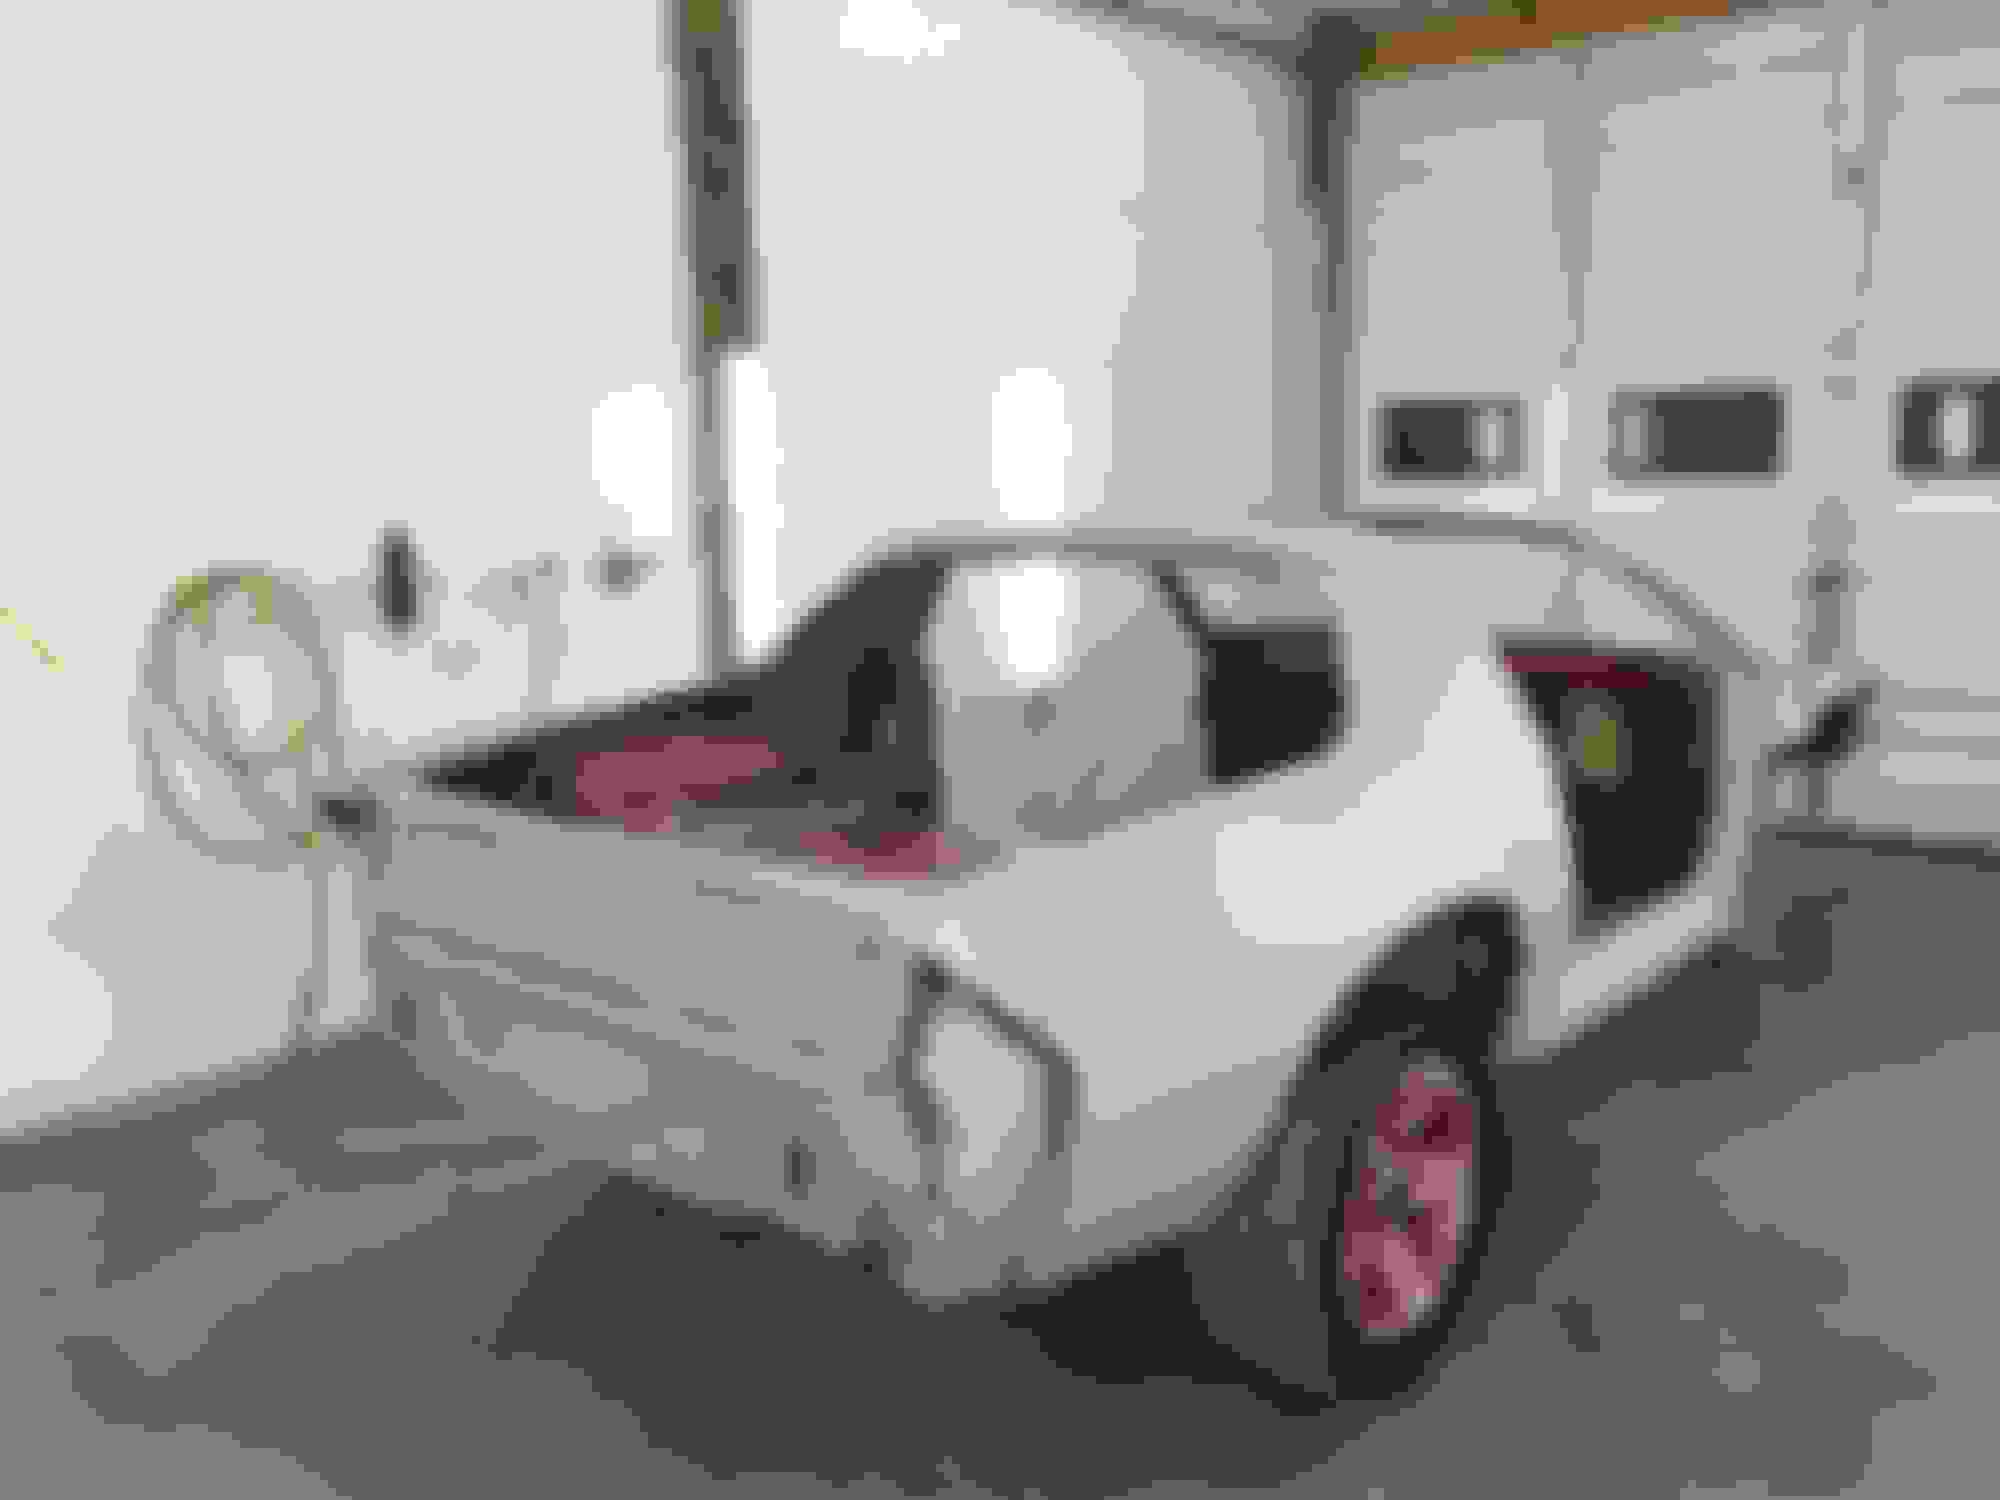
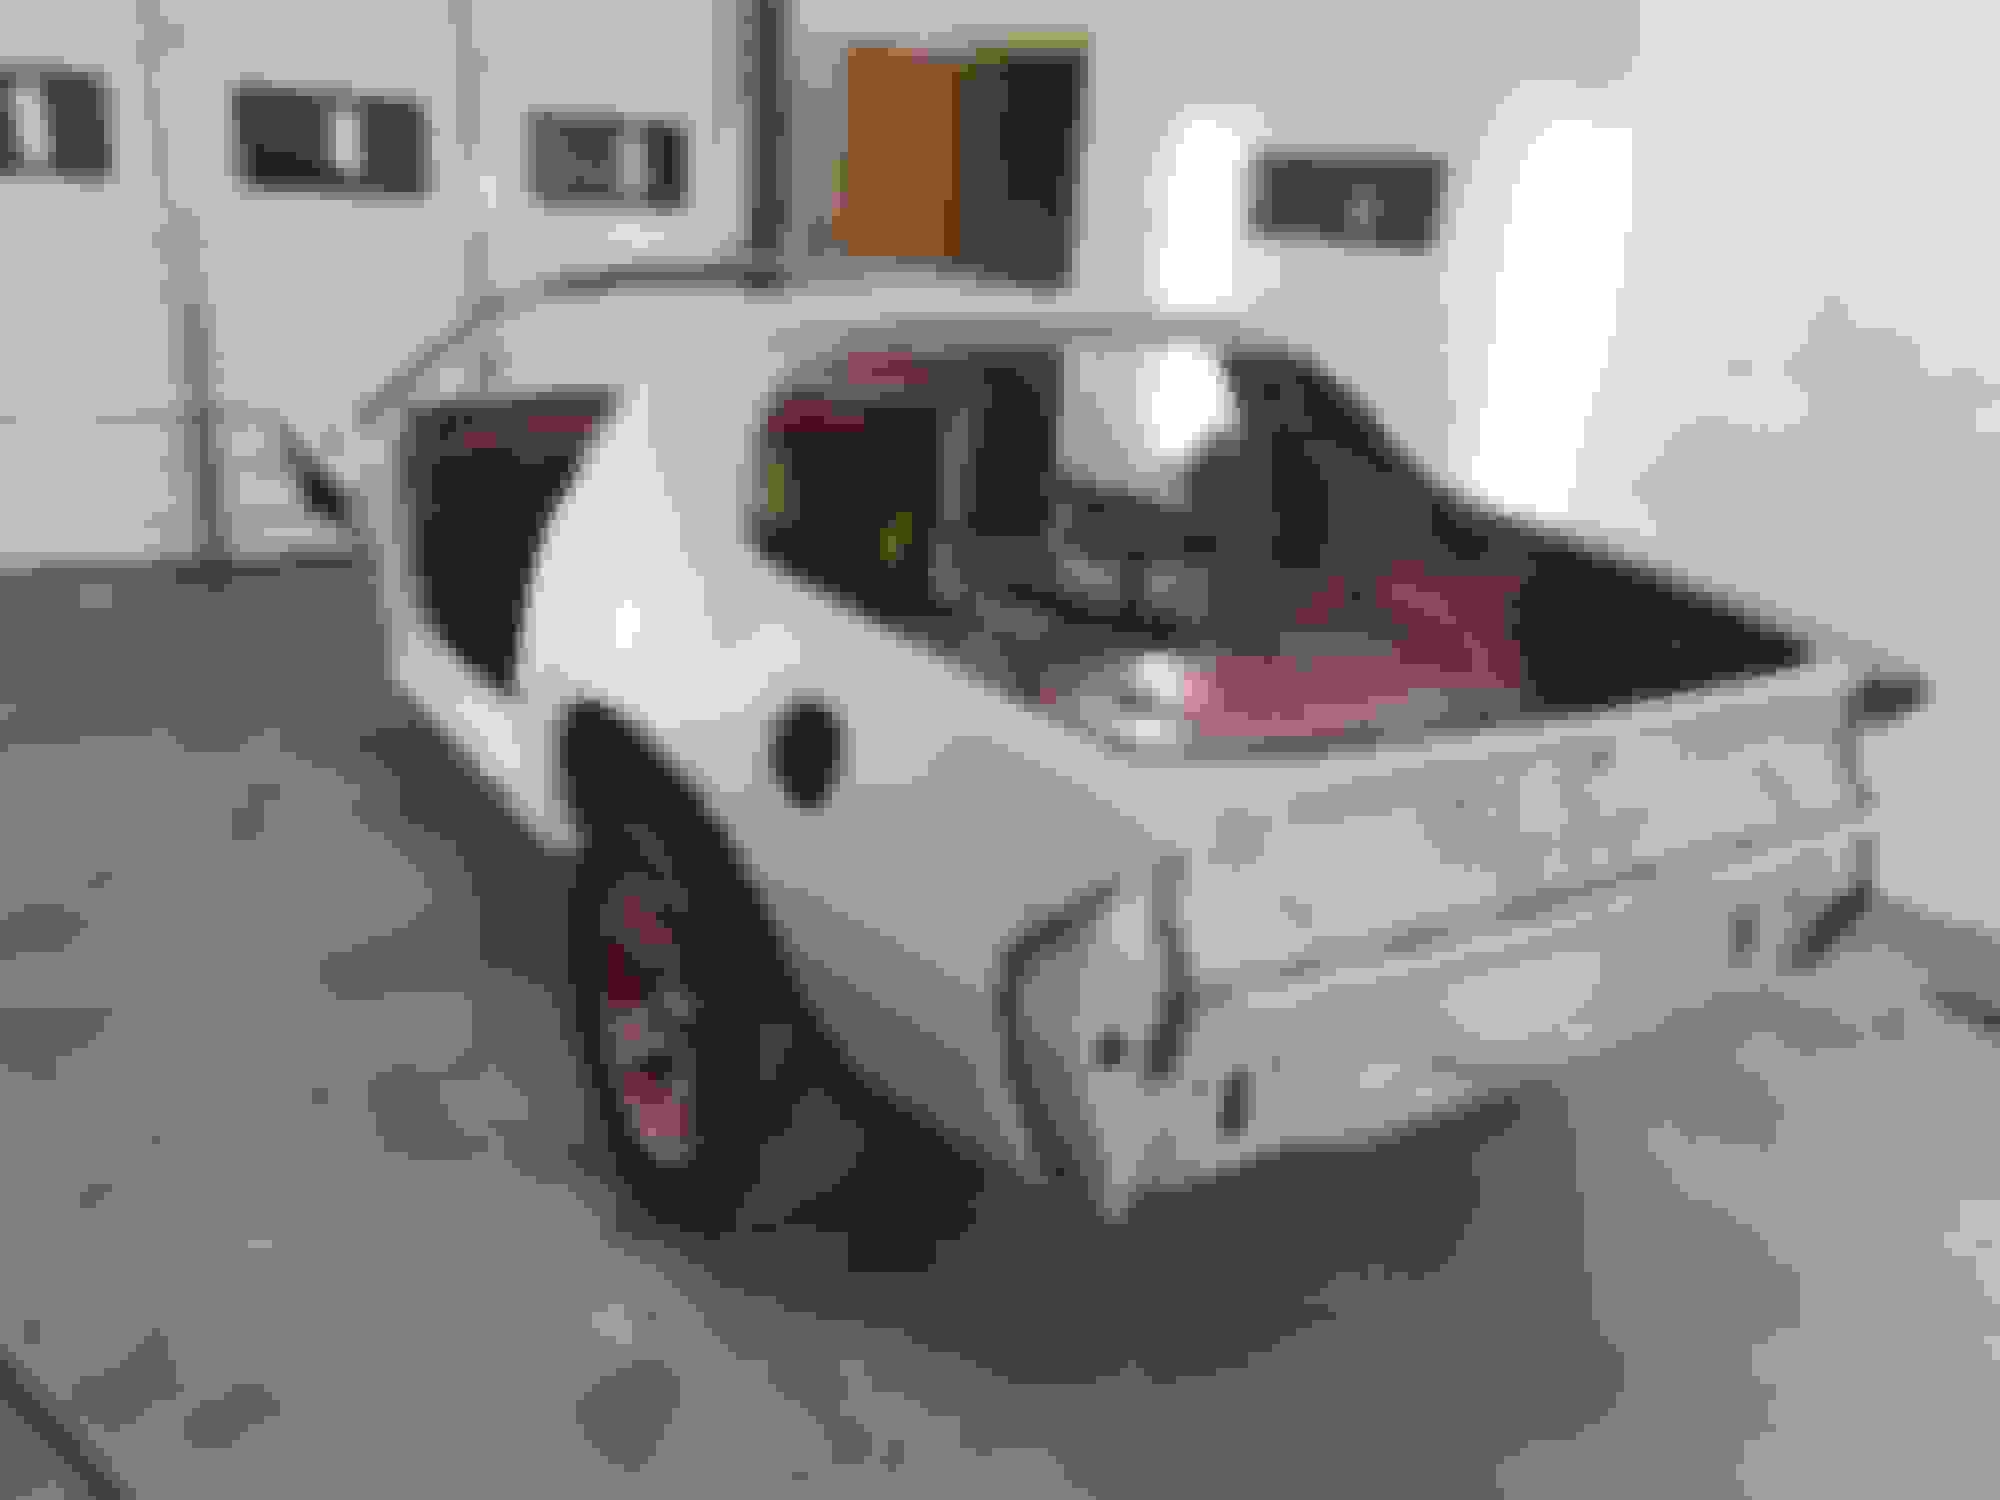
- The car is rolled over to the paint booth and prepping for jams/ engine bay color before the rear/ k-member go back.
- Below you will see two pictures. After much thought I have decided to take a detour from a factory numbers matching 305/ 700R car. I have a 1991 Firebird with 5 speed in it I purchased for parts. I removed all the 5 speed set-up and converting baby boy over to a slush box and 350. Will retain the TPI for originality at sight. Like a sleeper of sorts.
***Purists, I apologize. I was back and forth with doing this but ultimately I gave in.
STAY TUNED!! Should get real picture heavy in the next months as we progress.
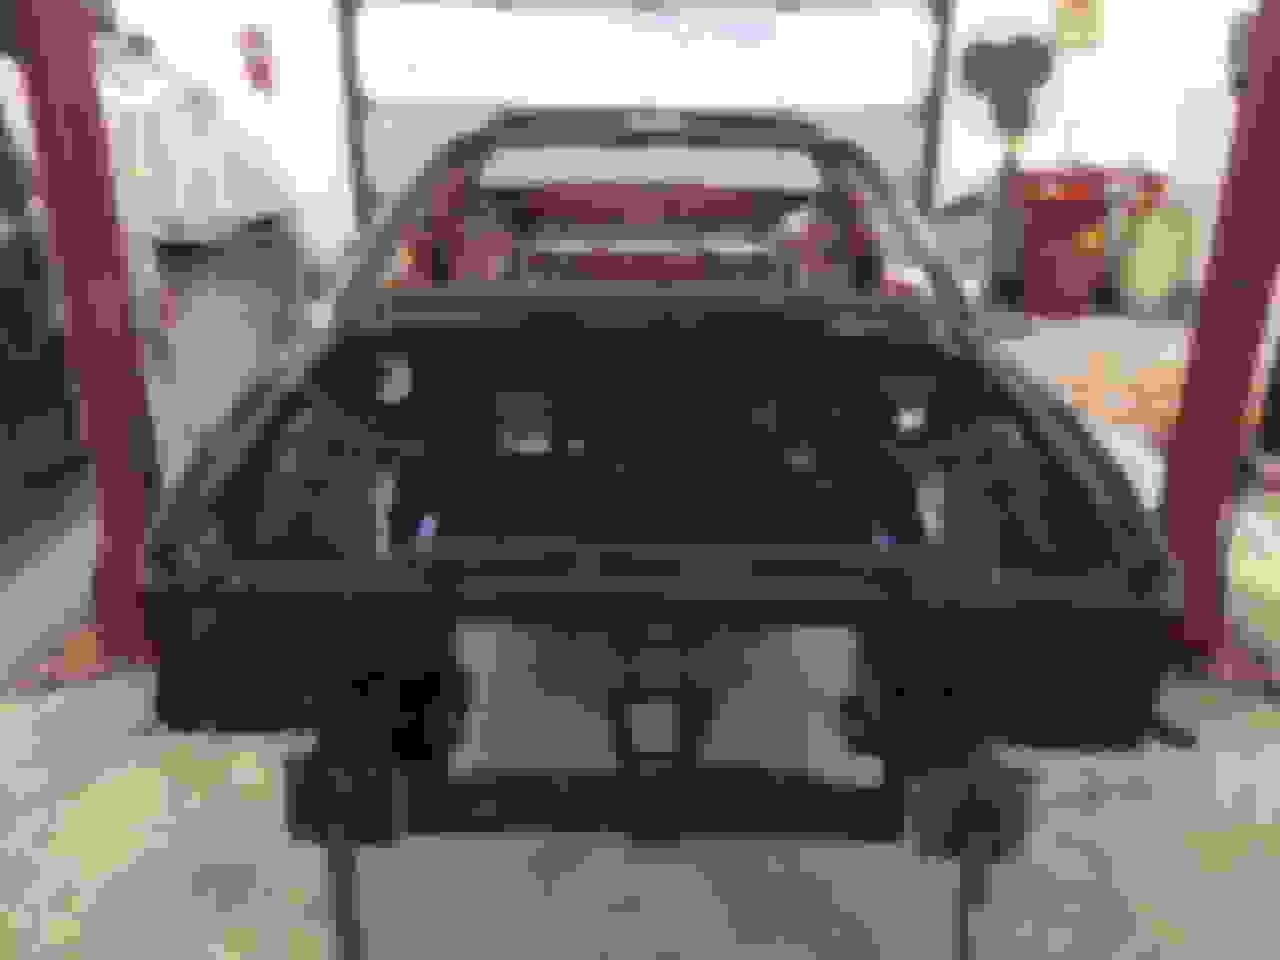
I did two coats of Base color and 4 coats of clear. I thought it turned out great for my first time shooting paint. I was nervous as hell after putting in so much work to clean up the engine bay. It was amazing how bad the original engine bay was soak rag in acetone and you could wipe the red right off. Now to get the rest of the car to match engine bay.
I heard that TORN. It's a great feeling to look back and know I've taken a basket case and made it back into something. I'm scared to death to throw the color on this thing... I have years in reaching this point. I was going to donthe entire car single stage for ease but I think base clear is definitely the way to go with a wet sand and buff after. I expect to have baby girl in color before Spring... fingers crossed
I have an 87 Iroc convertible that could use paint and a new top. In reading your posts I see that you do work on "customers" cars. If you do work on other peoples cars, Id be interested in showing you what I have/need.
Great work and definitely subed! Im just starting my own restoration with very similar rust areas as well and this thread is very inspirational, i will be posting my progress as well! Feel free to check it out https://www.thirdgen.org/forums/body...rust-help.html
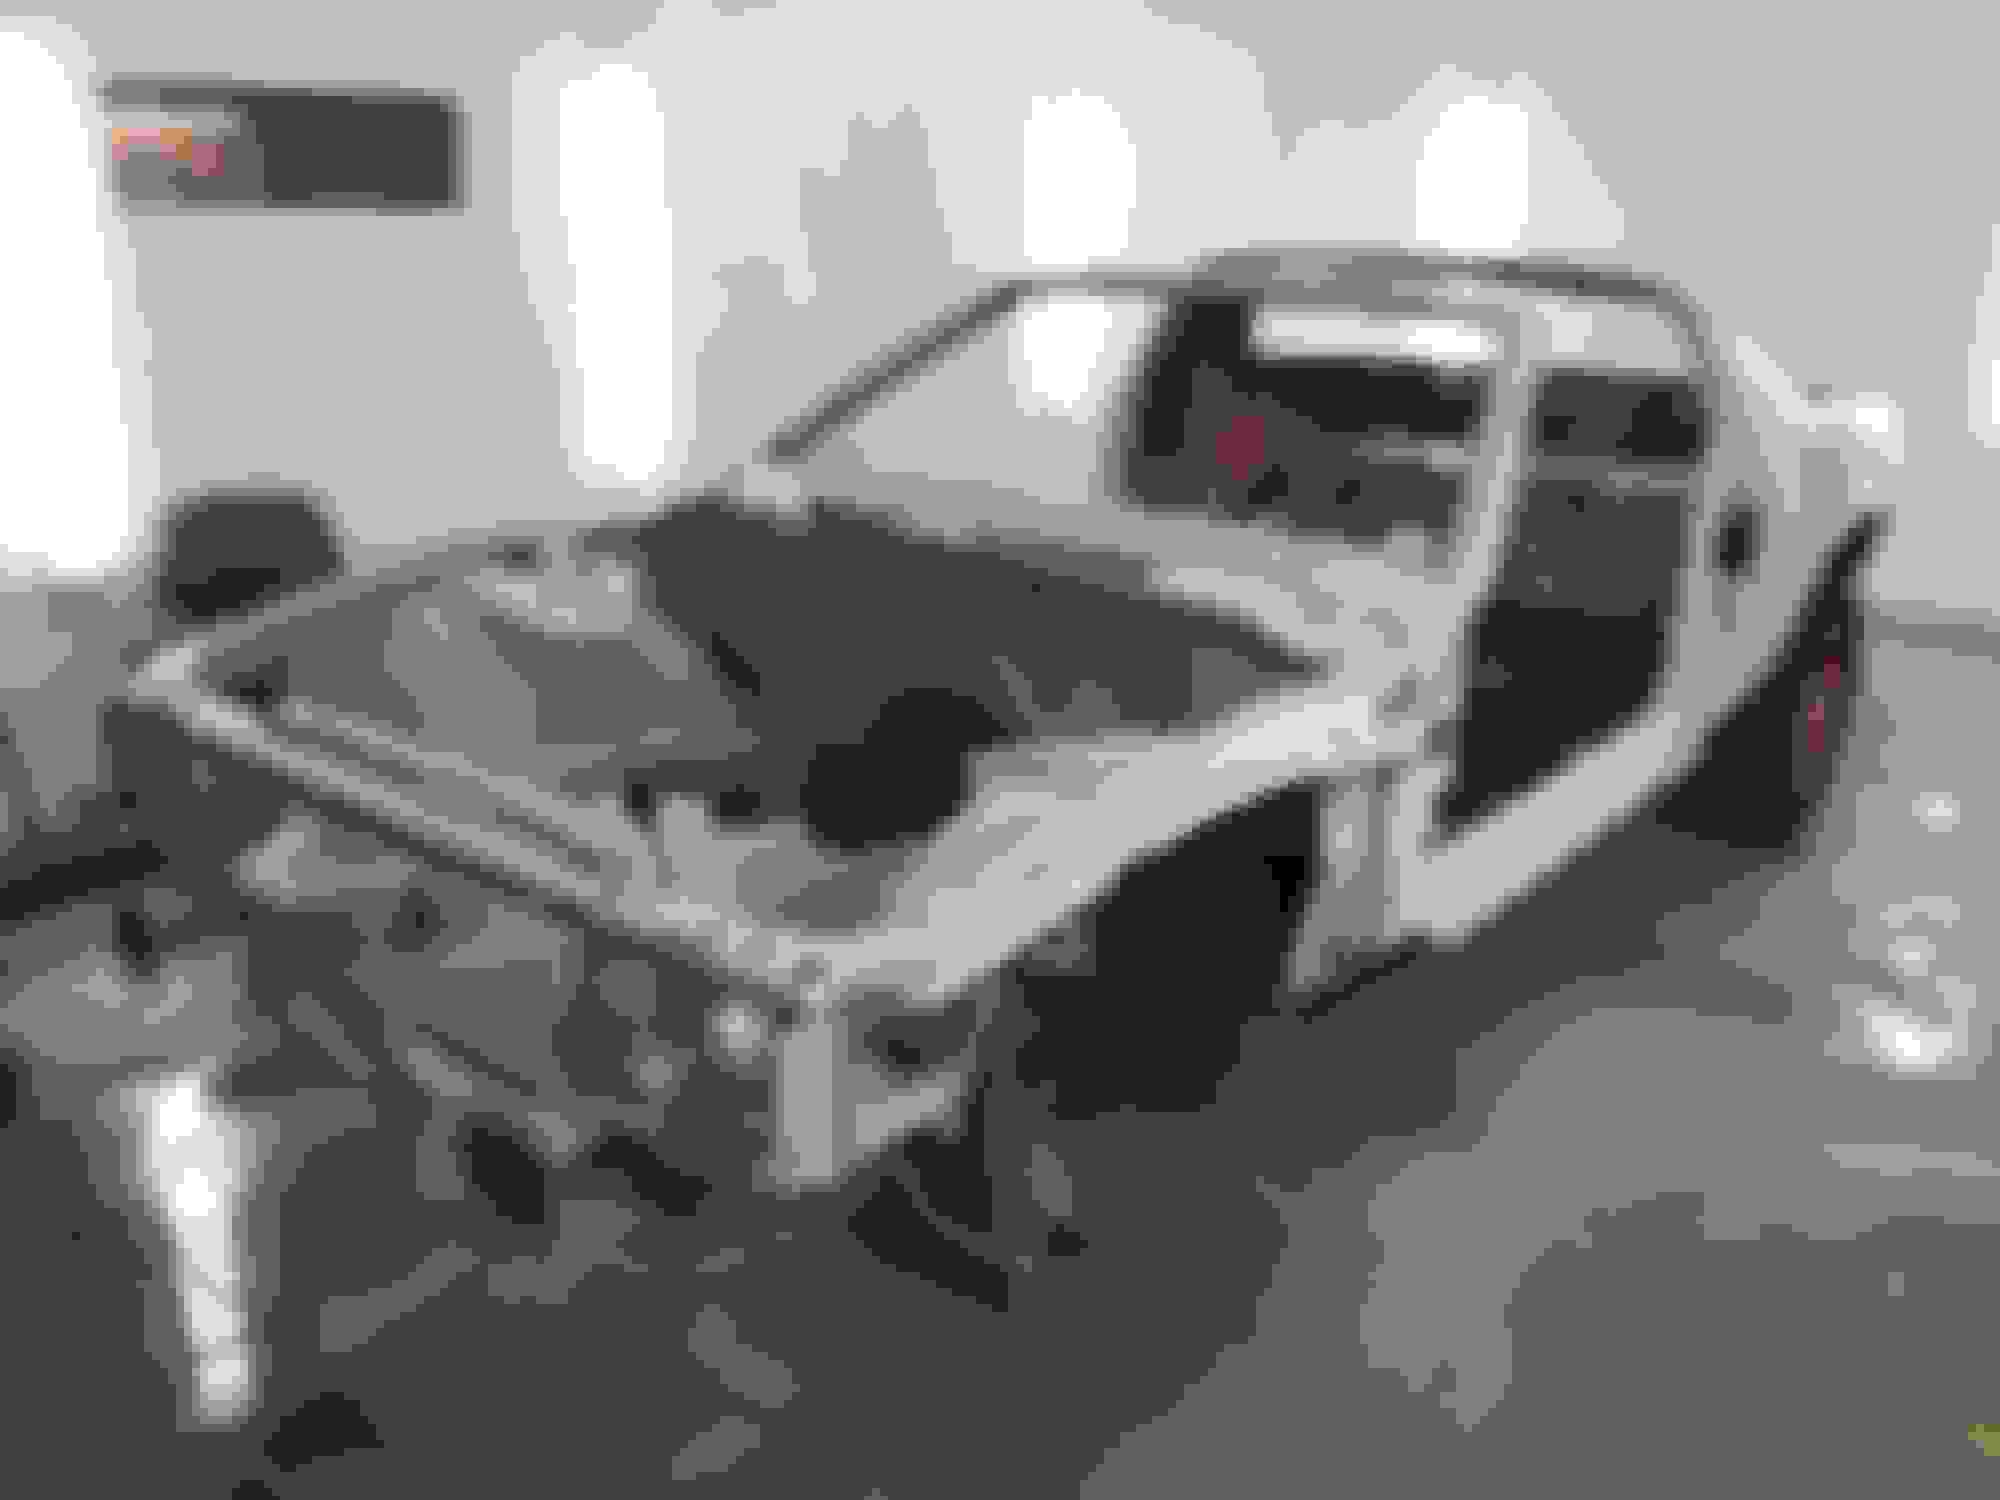
Alright guys... First, yes I�m still alive. Two, no I did not give up on the car. Money and time ran out, but we are back up and running. Progress report: the car is all body worked and will be painted tomorrow. It�s been primed and blocked for the last month to get it laser straight. I�m a little biased but I must say this thing is slick. The engine has been ordered and once she�s cut in it�ll be rolled back to the shop to put the engine, trans, wiring, etc all back in before final paint. CHANGE: it�s not going to be Bright Red (the original color). I decided if it�s down to bare bones I might as well paint it the color I want since it�s not going to be original engine or trans anymore anyway. So! Here�s the most recent pictures of it, let hear some feedback. Booth all hosed out. Car power washed and seam sealed Last day in primer


 Great fun following your progress!