When you click on links to various merchants on this site and make a purchase, this can result in this site earning a commission. Affiliate programs and affiliations include, but are not limited to, the eBay Partner Network.
My first post of my car other than looking for parts. I picked up my GTA August of 2021. Immediately I tore into the car to make it they way I want it. The first thing I found was a massive no no for me. A previous owner had butchered the trunk floor to get to the fuel pump. That is were my idea of keeping the car original went out the window.
I have fixed the hole, upgraded suspension, went with c5 brakes and a 02 Camaro ss brake booster and master cylinder, auto to manual swap, new carpet, refreshed the interior, and now working on the engine and transmission. Unfortunately I have had to put the car in storage for now as I’m trying to sell my house.
Fuel tank back in Heat shields wire wheeled and painted Rear end back in the car BMR lowering springs. Rear c5 conversion I had custom made e brake cables made to work with the c5 upgrade
Test fitting dyno dons headers. I also have his custom y pipes that wil flow into a 3� cat back exhaust. Getting ready to pull the motor. Going with afr 195 heads, super l98 cam, 1.6 rocker arms, ASM runners, and accel high flow intake. Slp cold air intake will also be installed. Astro steering shaft installed Headliner from a 92 firebird. I�m going to reinforce it with fiber glass then recover it. Nasty looking clutch pedals 🤮 Cleaned up, painted, and new pads Clutch master cylinder hole drilled Reinforcement plate Pedals some what installed. Plate welded to the firewall
New t-top bag I found from a 88 Camaro. The owner of the Camaro removed it when he bought the car new. It had been stored away all these years New floor mats Taking the car to storage last month. I�m trying to sell my house before getting married in march.
I have not done that yet. I have a section of the tunnel from a manual car that I will use as template to cut out my tunnel. I will also use the piece that I cut out of the firewall for the clutch master cylinder to plug the hole where the automatic shift cable went trough the floor. I hope to get back to work on the car this summer. It all depends on how fast my house sells.
I sold my house and moved into the new one! Car is still in storage for now. In the meantime I�ve managed to get the k-member powder coated and I personally rebuilt the WC T5. Back from powder coat How it looked
New cluster gear, syncros, bearings, races, 2nd gear, reverse idler gear, shift fork pads, 1-2 and 3-4 selector. Also replaced the stamped steel cluster gear bearing race retainer with a solid steel retainer from 5speed.com.
From: Franklin, KY near Beech Bend Raceway, Corvette Plant and Museum.
Car: 1992 Pontiac Firebird
Engine: 5.0L L03 TBI
Transmission: 700R4
Axle/Gears: 2.73
Re: 89 GTA refresh
Anyone that would cut a hole like that into a 3rd gen should be shot in the back of the head and kicked into a ditch to rot. Just plum laziness. It's not that hard to do it the right way.
Car is out of storage and in our new home. Test fitting factory louvers to see what needs to be customized on the wing, louvers, or both for them to fit up against the glass.
After a year of being in the new house I am finally able to start working on the car again. I�ve gotten all the pieces together for the uq7 stereo upgrade I want to do. New speakers came from a fiero website, wiring, switches, and amps from two different optioned uq7 cars. The boxes I got from Brett Thomas. Wiring sitting on the back glass. Also I found two original headliners. I�m going to use the one that is in the best shape and reinforce it with fiberglass before recovering it. I was not a fan of the plastic aftermarket headliner I got from hawks.
I also tore down the 350 in preparation to have it bored to a 355. I�ll be running the little chubbs cam from tpis, afr 195 heads, accel intake, AS&M runners, 52mm tb, and 0411 ecm upgrade with harness from efi connections.
Here are a few pics of the intake setup. I�m going with the first tpi fuel rails as it will be easier to run rear feed and return lines with a remote mounted fpr. Had to clearance the front of the fuel rails to fit the plenum. Also had to clearance the rail for the pcv tube to fit without rubbing. Had to make .4� spaces under the fuel rails as recommended by first tpi. The 355 Jim Hall built last October Hoping to get similar results as I�m basically building this exact motor.
I didn�t die today from flying springs! Got the k-member and a-arms out. Have some cleaning up of the engine bay before the powder coated k-member goes in.
I also got a set of 3:45 gears out of an 87 GTA at the local junk yard to replace my 3:27 gears. Out with the old rusty stuff Don�t mind my kiddie pool I use to catch the dirty water when I clean the underside and engine bay. Had to call it a day as we got over 14 inches of snow in two days. Shiny refreshed k-member ready to go in. 3:45�s
Very nice progress, that kmember looks incredible, I am assuming they media blasted it? what did you roughly pay for that job if you dont mind me asking? I am currently debating if I want to paint mine with chassis paint or take it to get it powder coated
I used a combination of rattle can bed liner in areas that would see the most debris strikes and satin black rattle can from autozone. I first cleaned everything with simple green and a green scotch pad then went to town.
I forgot to post this back in sep of 22. I rebuilt my automatic steering column to a manual column using a few parts from an 85 f-body. No modifications were needed to put the key release lever, push rod, and plastic collar on my column. I did however have to slightly grind down a plastic tab on the inside of the automatic collar to get it to fit on the 85 column that I later sold.
On a side note a piece of pool noodle from the dollar tree works great for the foam spacer that disintegrates at the bottom of the steering shaft just before the bearing.
I�ll have to get a pic of the functioning key release when I put the column back in the car.
Before and after pics of power steering box. I had it rebuilt and detailed by powersteering.com. Was $438 plus shipping to get it there. Took about a week and a half to get it back.
No clue as my motor is out and torn apart. The tax man took all of my engine building funds so I'll have to wait a little longer to see how it works out.
Haven�t had much progress on the car since my last update. However this week I managed to fix the rusty drivers side battery tray, install the steering gear and TDS steering brace, along with cutting the hole in the trans tunnel for my auto to manual conversion. Factory support brace Hole for the 5 speed cut Plug ready to weld in Everything welded in and undercoated. The weld on the plug looks far better then the welds on the hacked trap door attempt by po that I fixed. I�m slowly getting the hang of welding with no prior experience before this project. Por-15 then rattle can
That looks really good to me. I think I might need to re-visit my trans tunnel cut, I just cut a hole barely big enough for the shift tower to poke through. I don't have the support ring, so nothing for the rubber boot to bolt to, so I get a lot of hot air coming up through there. Part of that might also be that the shifter hole in the boot doesn't really fit my set up, so air can get past anyway.
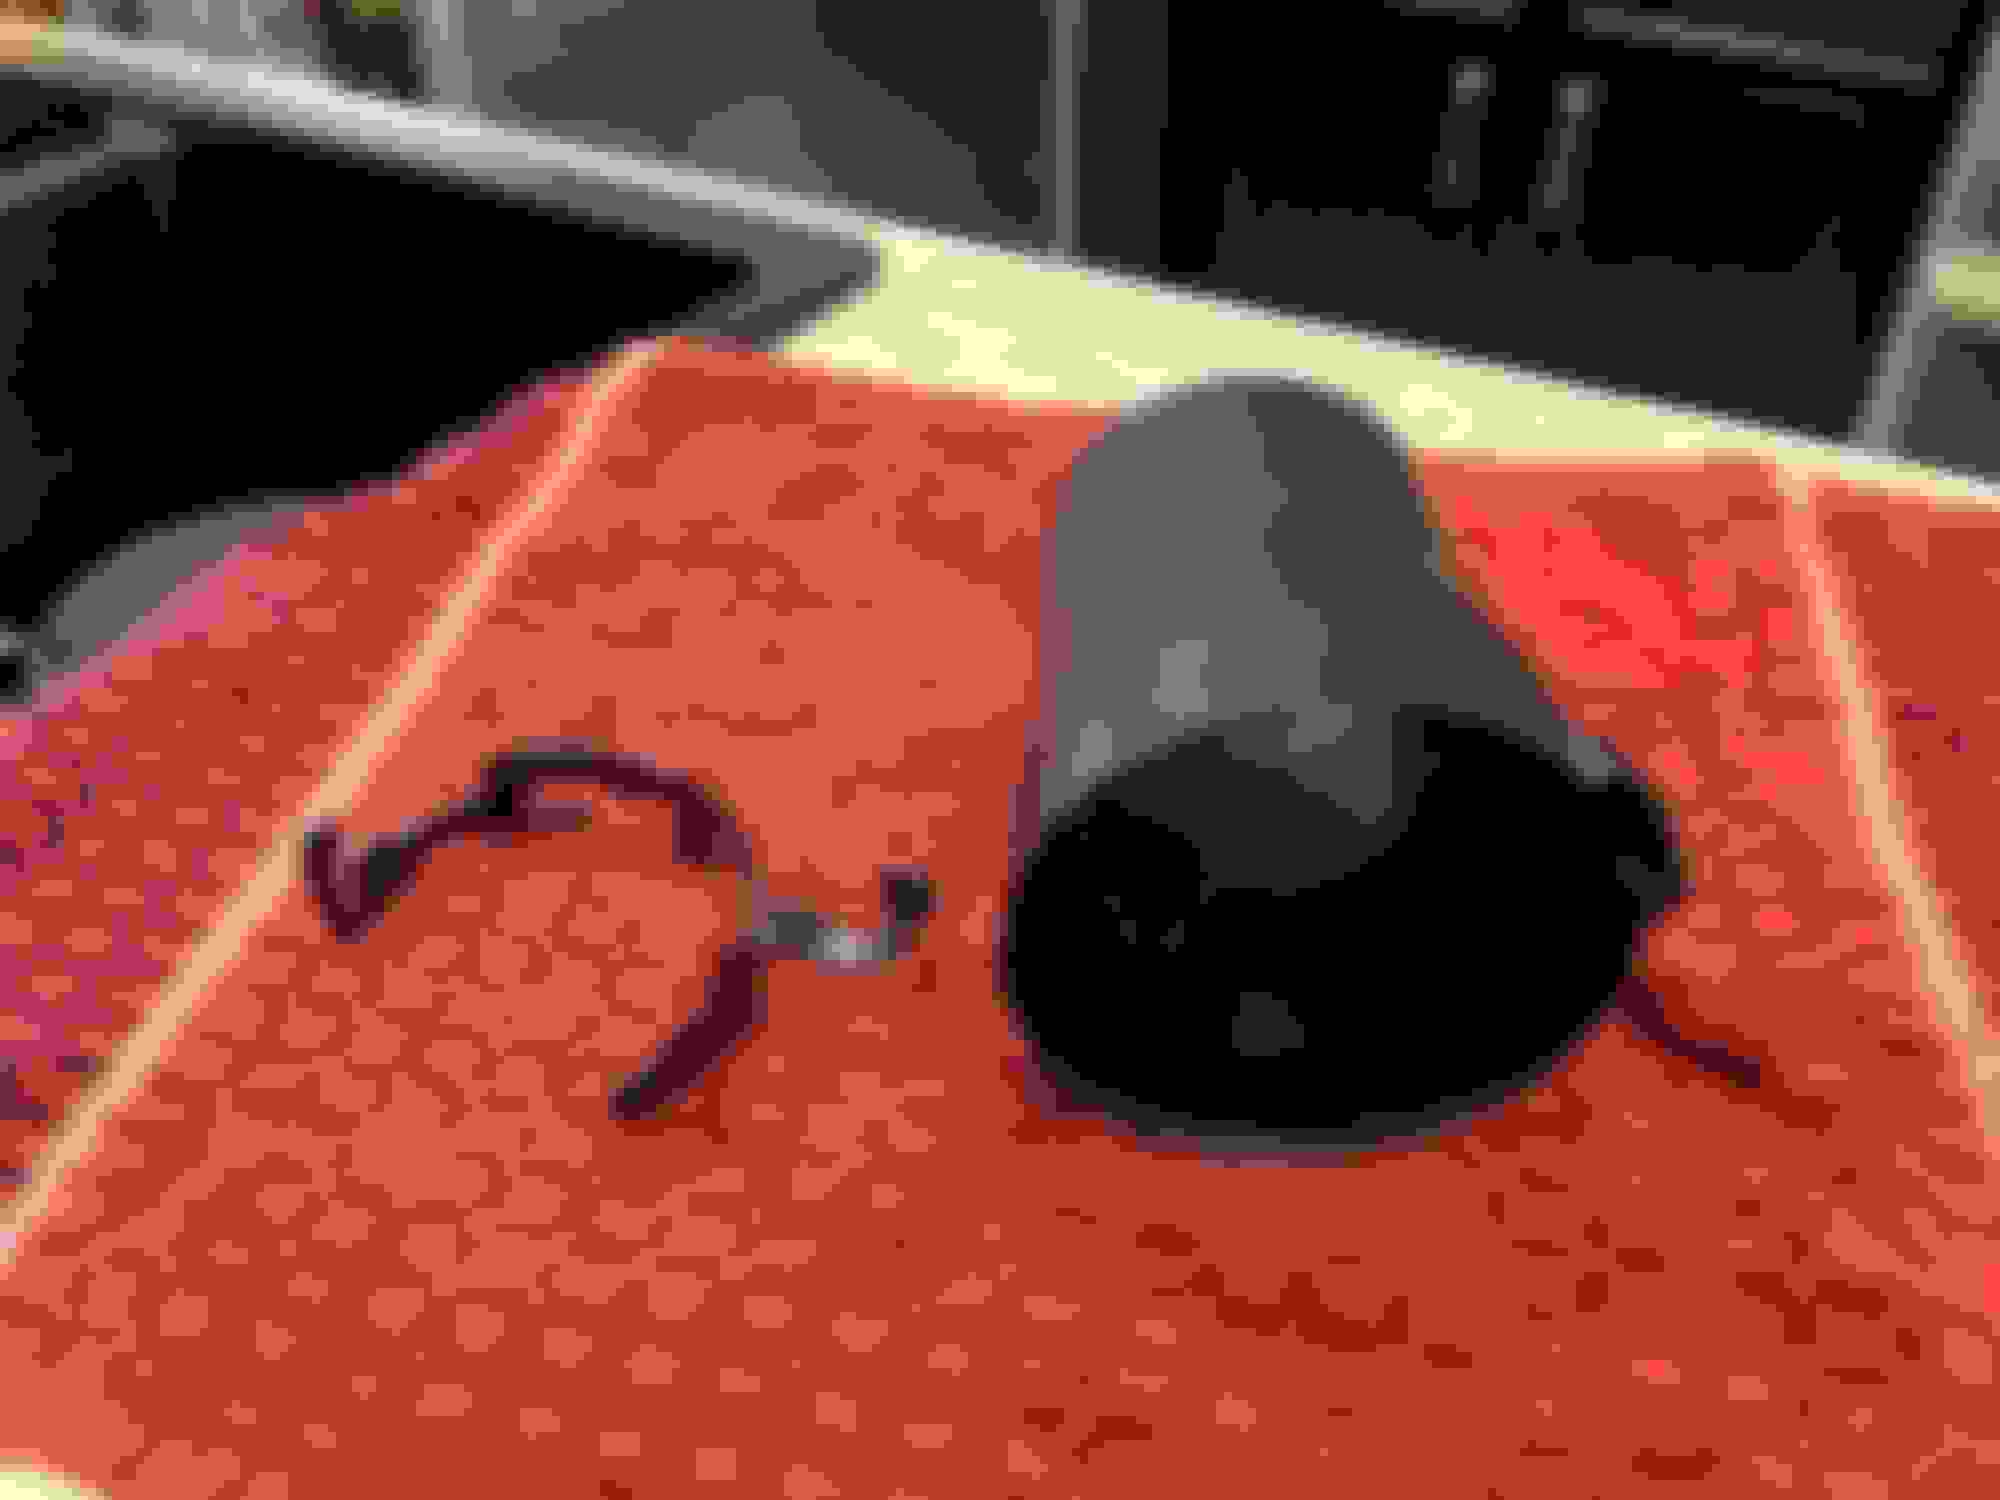
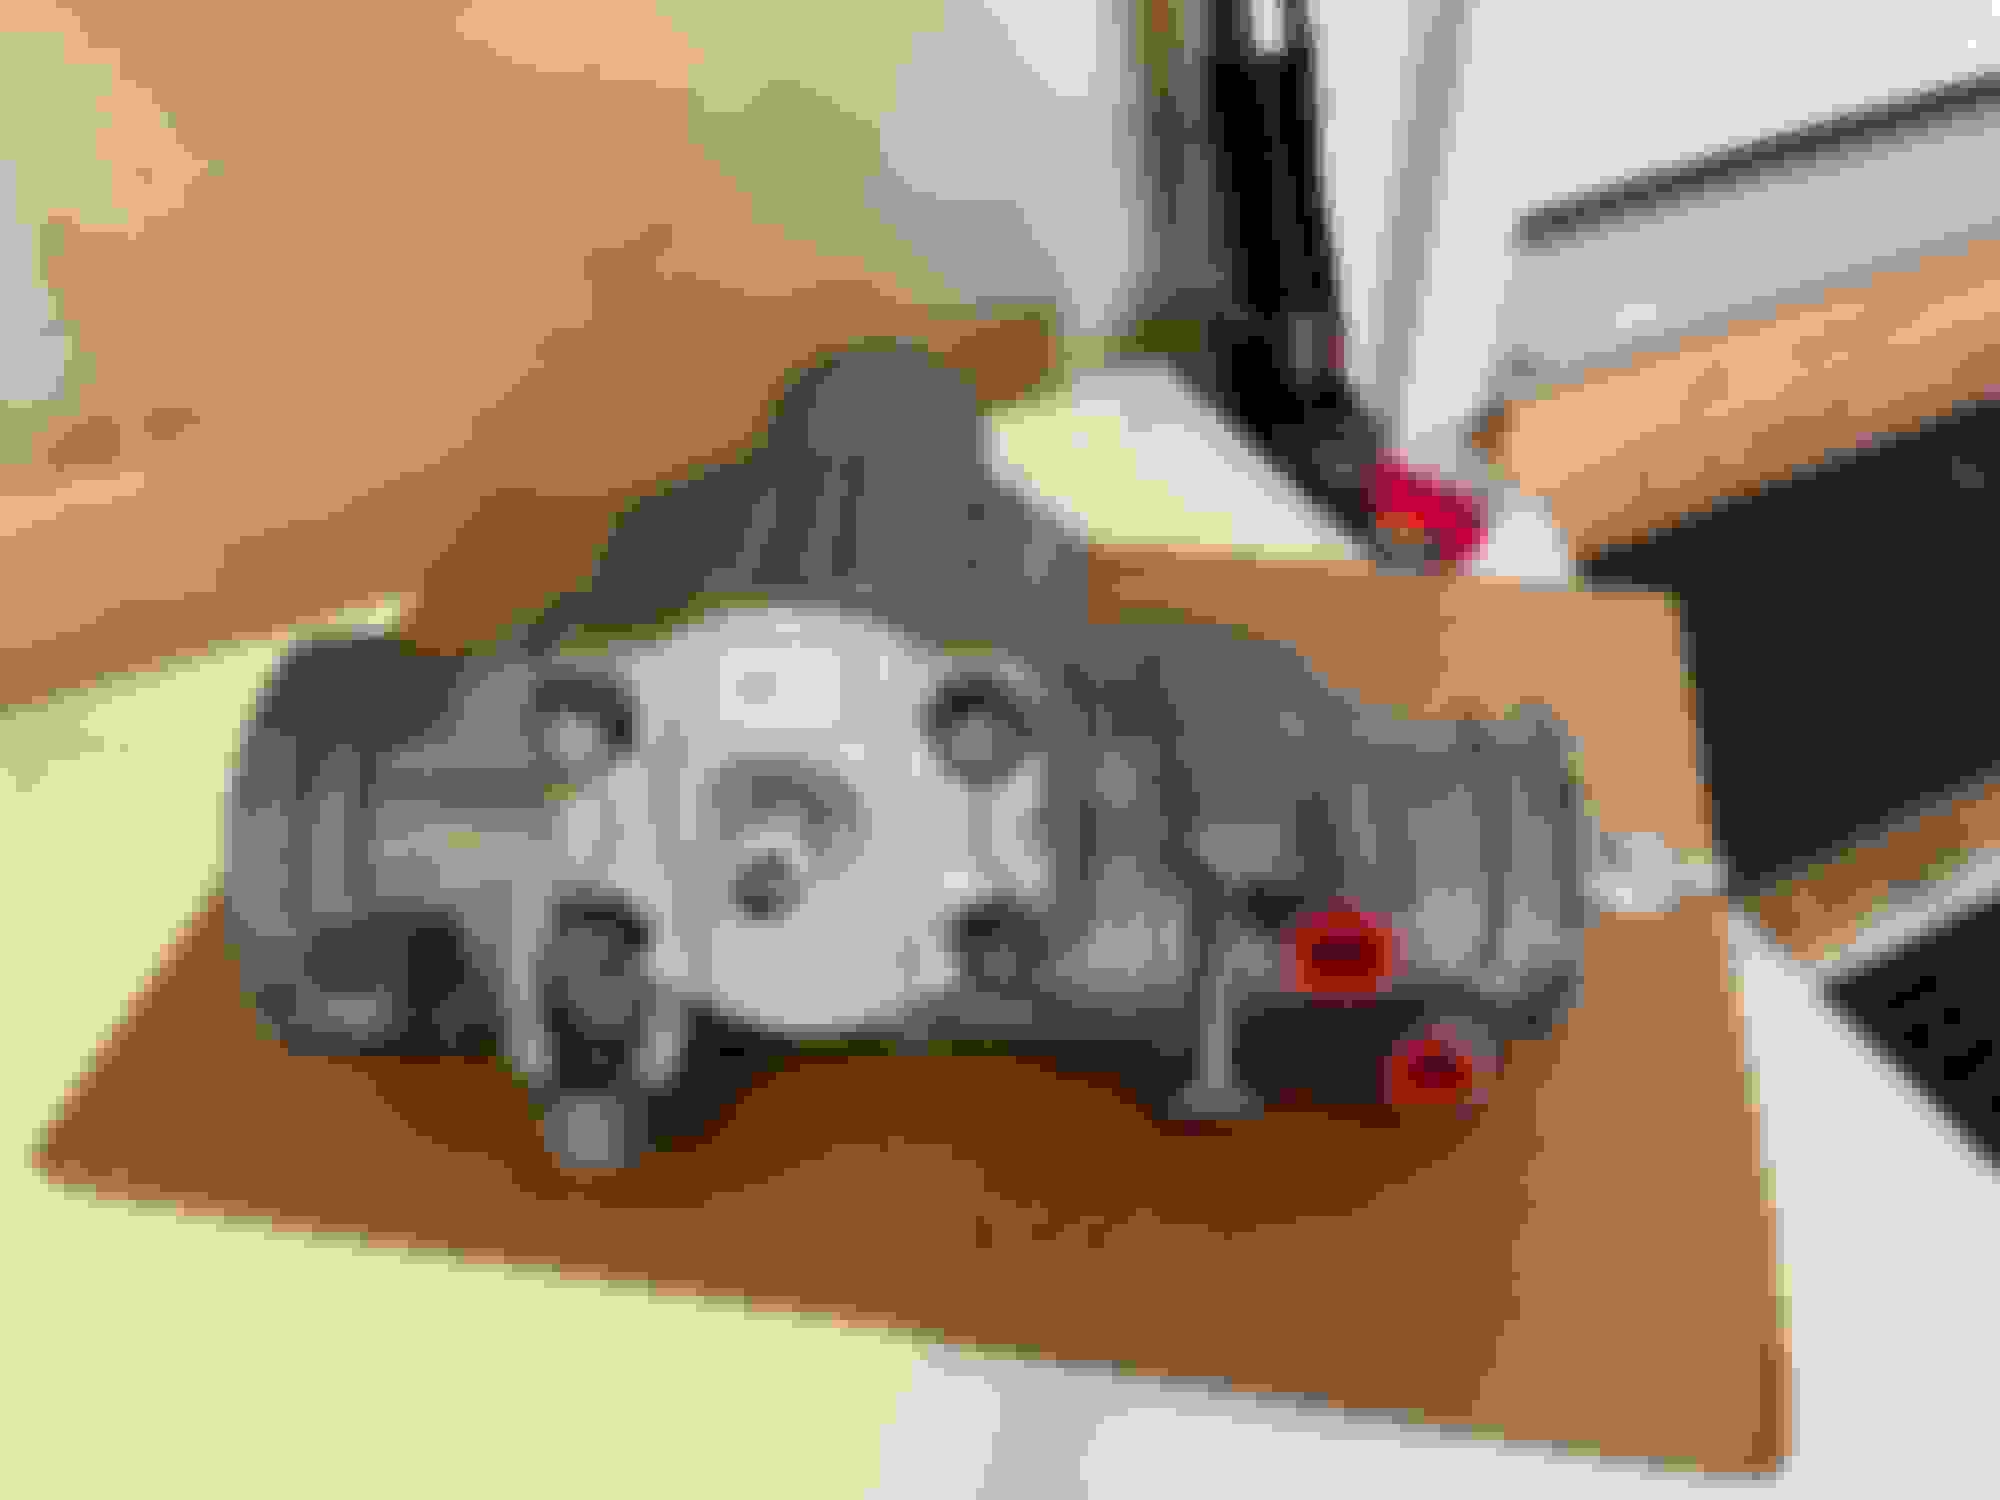
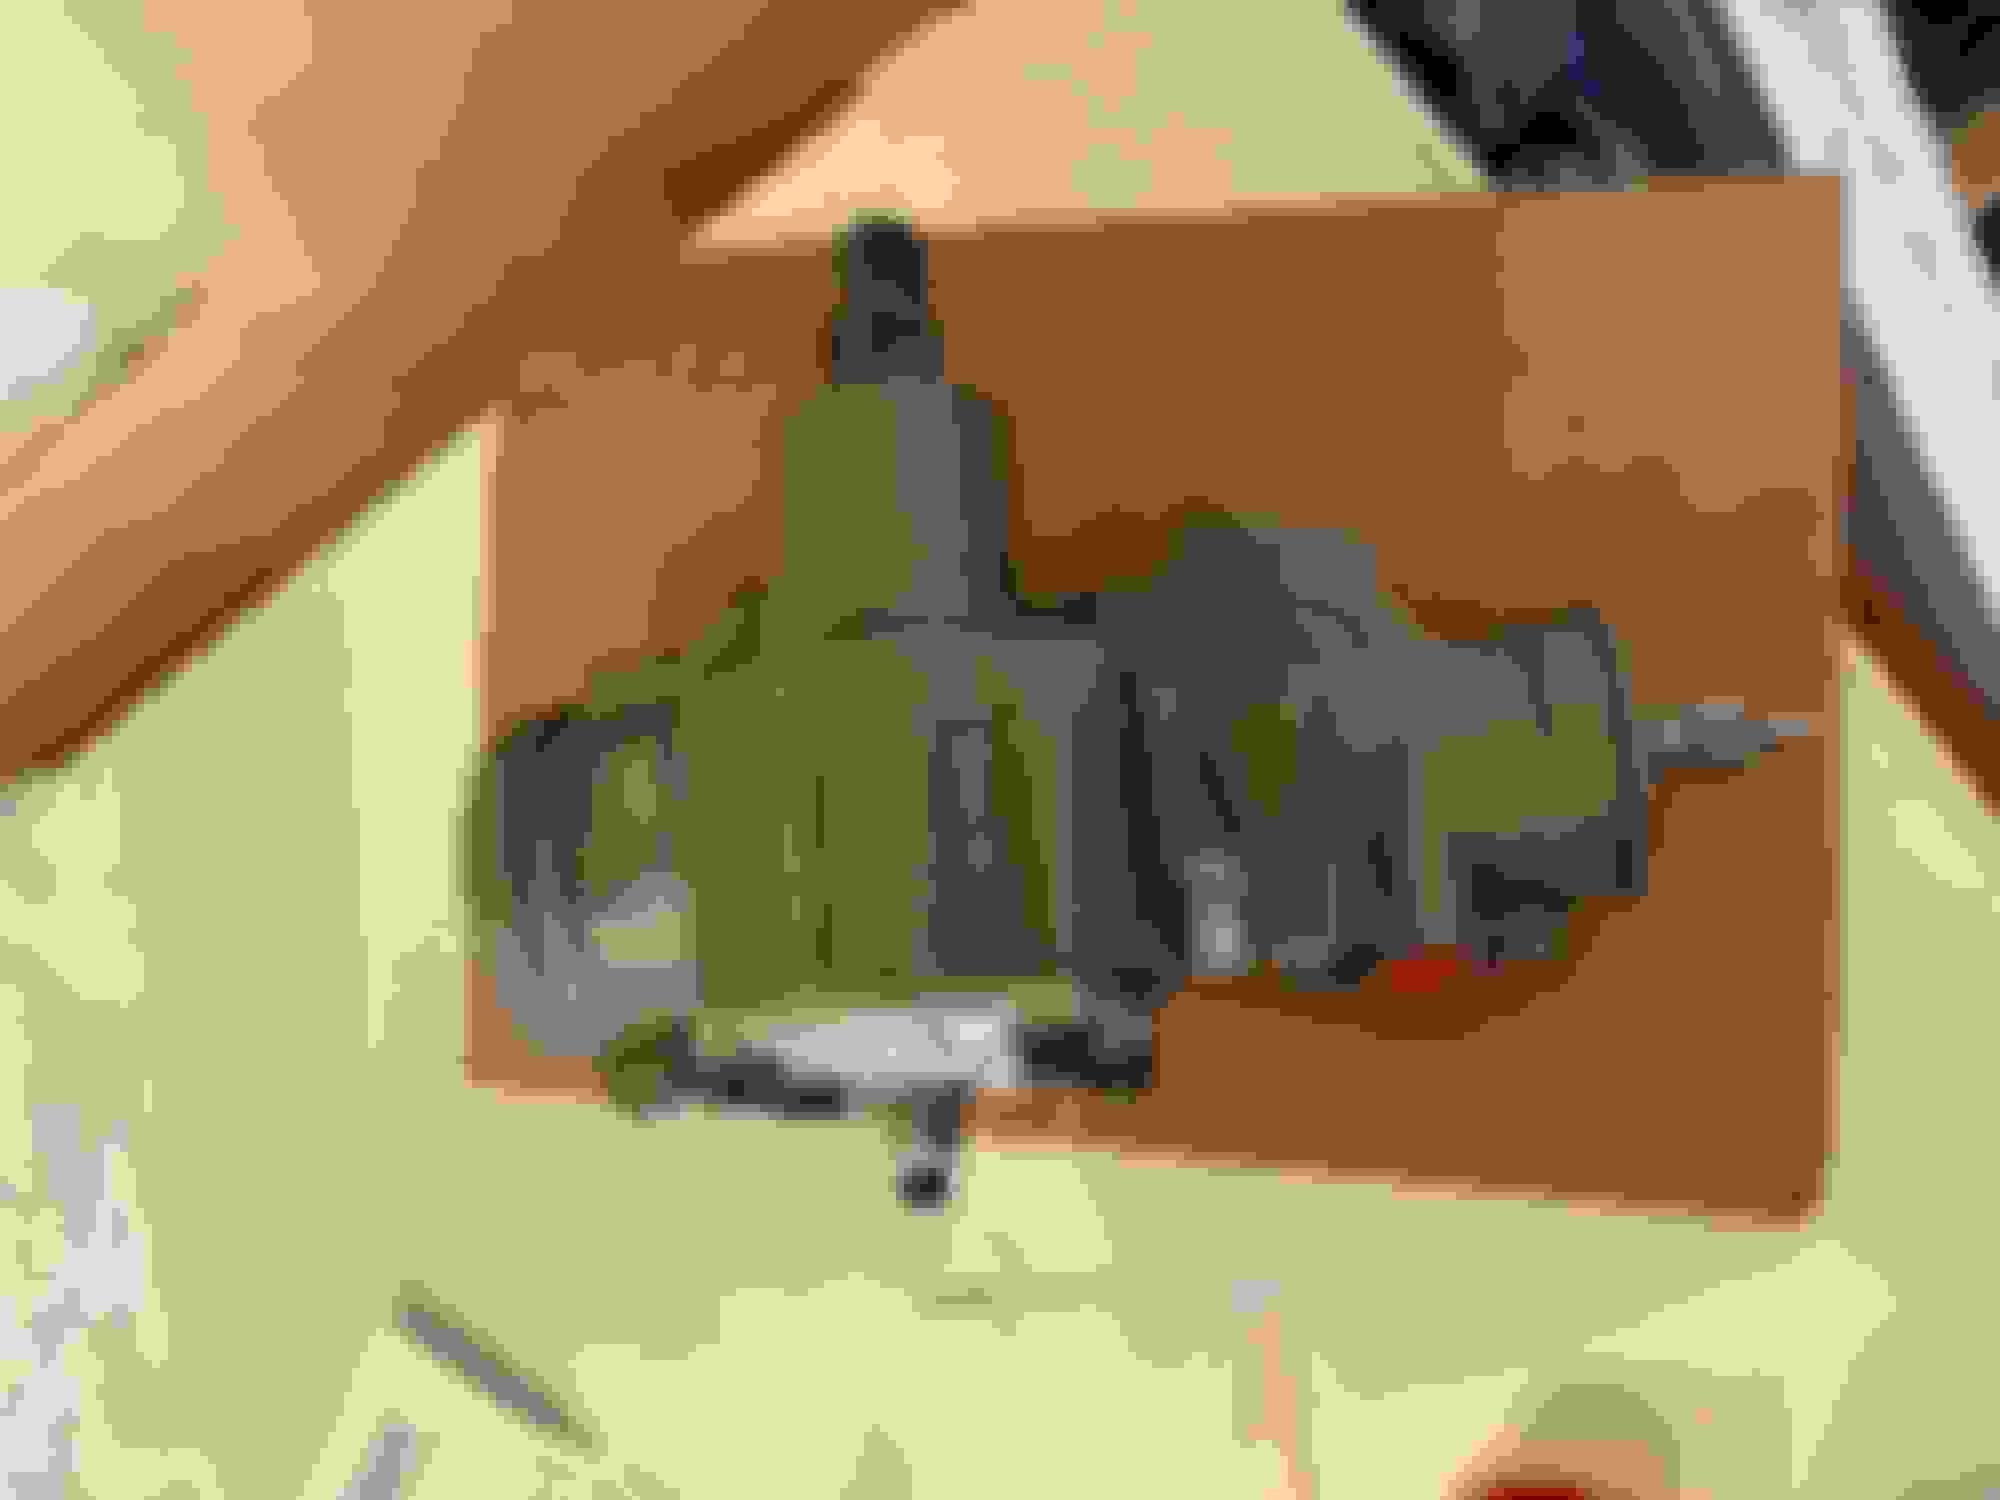
Got the 4th gen master cylinder and booster cleaned up and painted. What a pain in the *** it was making the question mark lines to the proportioning valve. I should have bent them more like the factory 3rd gen ones. I may redo them before installing into the car.
The 3rd gen lines did not line up correctly with the master cylinder. I made new ones using the 3rd gen fittings. I had to enlarge the original fittings on the 1/4� line to fit over the new line. The 3/16� fittings slid right on the new line with ease.
Pulled the old engine harness and started labeling the new harness for my 0411 swap. Will be routed the same way as the factory harness. To include using a spare body pass through thingy (for the life of me I can�t think of the name of it right now) from an 87 in the junk yard.
Finally started gasket matching the plenum to the new rubberized gaskets.
You can see the 3rd gen lines still in the proportioning valve here. New lines finished and installed. Clutch fluid reservoir bracket installed as well. Not happy with the paint on the bracket. May have it powder coated when I get my a-arms and sway bars coated. New 0411 wiring harness from efi connections
Took the dash out of the car again to replace the new aluminum heater core with a nos core I got from Brett Thomas. While it’s out I replaced the automatic cruise control harness with a manual harness. That way I did not have to splice any wires for the clutch cruise switch. I will have to splice in the clutch neutral safety switch wiring since my car did not have the connector in the dash harness for it (maybe because it is a 350 car???).
Managed to paint the engine bay and install the 4th gen booster and clutch master cylinder as well.
I also scored a 4th gen tank. Now the question is what fuel pump to run. I’m keeping the tpi system and not sure if I should get the l98 255lph pump or the ls 255 lph. I’ve already taken the in tank fpr out of the bucket as I will be using an external fpr with my first tpi fuel rails. Any help would be appreciated.
I haven�t done much to the car since my last post. My suburban decided to experience a dod lifter failure at the end of January. Hopefully I�ll get the motor back next week from the machine shop so I can drive the suburban again.
it went from a simple dod delete to a full rebuild once I saw the cam and crank bearings were toast.
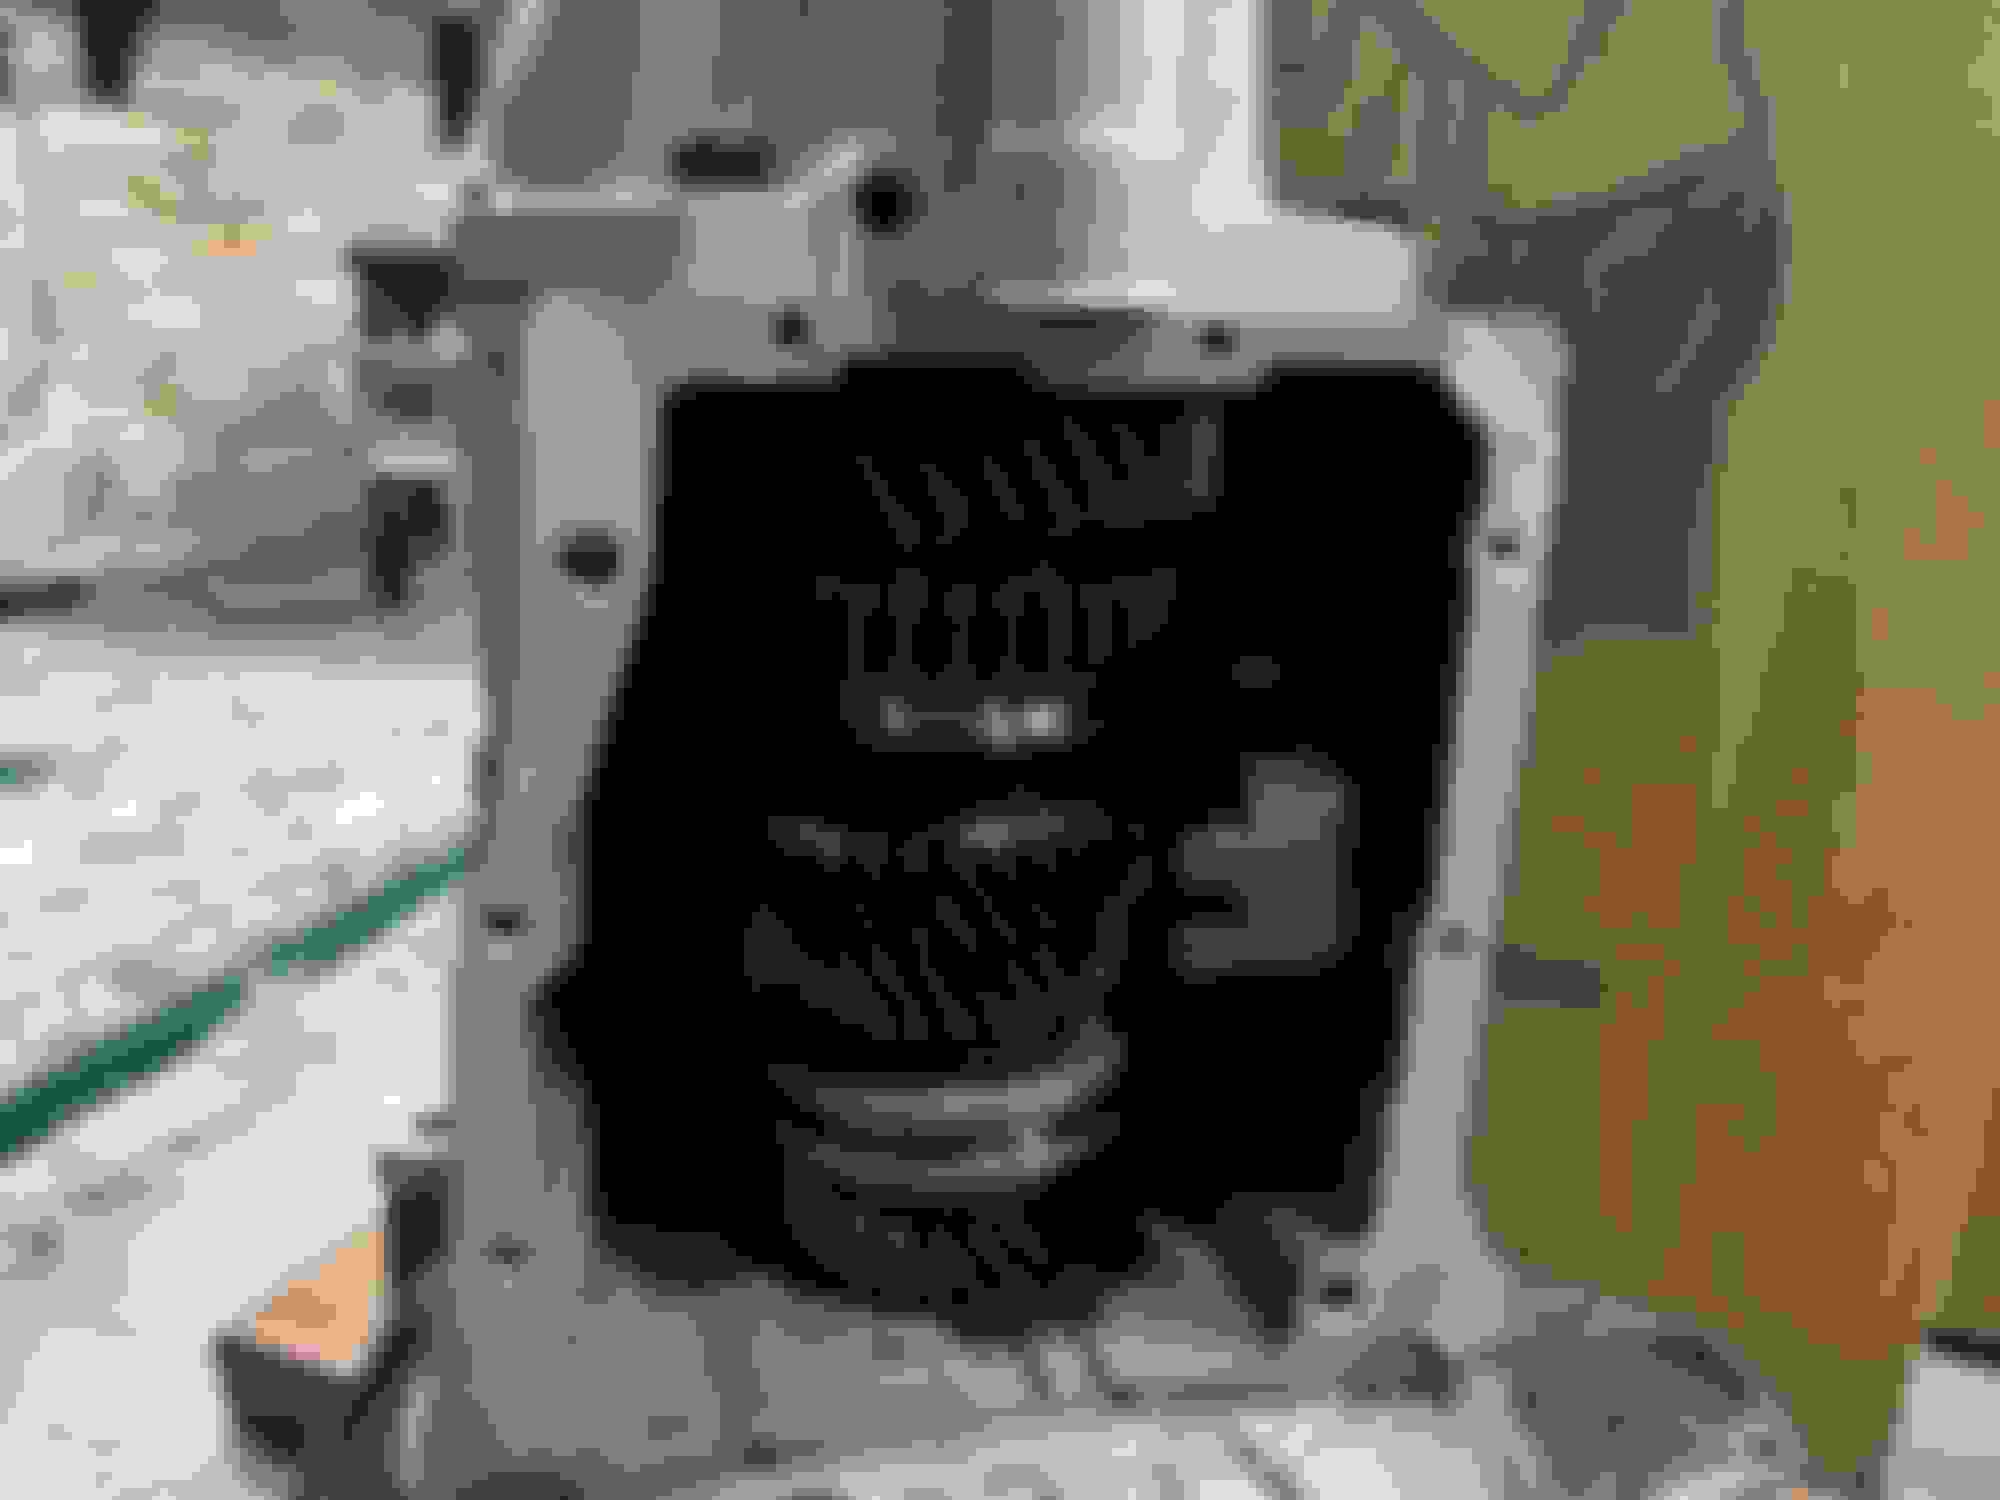
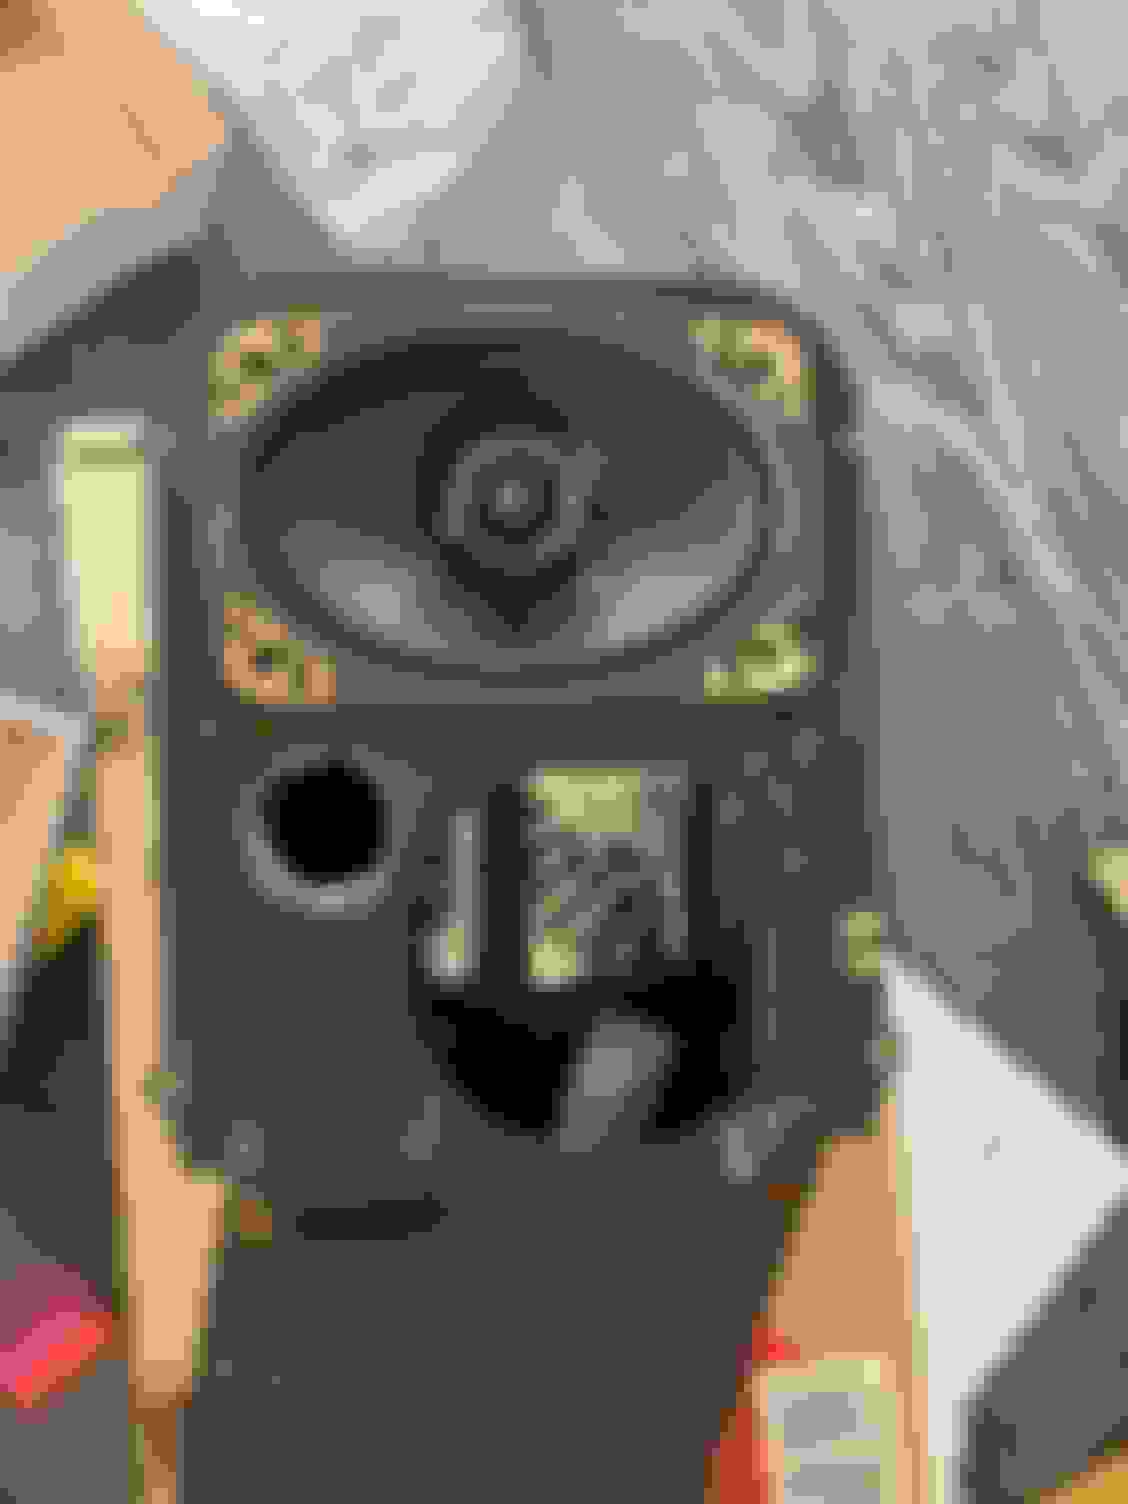
On a side note I did get 4th gen fuel tank and 255lph pump ready to install in the car. I�m dreading dropping the old tank again so I�ve been dragging my feet. HVAC box reinstalled on the firewall. I also reloomed the wiring harnesses in the engine bay. 4th gen fuel tank bulkhead connector that will be replacing the 3rd gen connector for the fuel tank upgrade. I want a fully functional 4th gen setup. Evap system along with the fuel tank pressure sensor to go along with the 0411 ecm. New 255lph pump installed into the fuel bucket along with a new 0-90 ohm sender card. Racetronix fuel pump hot wire kit and tank ready to be installed.
Let�s try posting this for the third time. Fuel tank still needs to be installed but I did get some more done on the front end. Progress has been very slow the past year. From getting my suburban running again to my son wrecking his 2014 ford fusion the last snow storm we hard back in March.
I�ve got a parallel flow condenser, pro forge steering components, sway bar, spohn control arms, and BMR springs installed.
New condenser and old radiator installed. I used the expanding foam strip that you can get from HD to seal in between the two. Factory power steering cooler cleaned and painted. Hardware for the power steering cooler. Bumper upper mounting bracket painted with sem trim black. Bump stop mounts for the hood painted as well. Had the original sway bar powder coated and installed the steering linkage parts.
What a pain in the butt to install the springs. Ended up removing the control arms and using it in the equation to compress the springs. Reinstalled the control arms with springs not fully seated in the pocket of the cross member. A ratchet strap attached to a coil and to a point on the opposite side of the cross member helped to get them seated correctly. The springs popped right into place as I was undoing the spring compressor.