LOG IN
REGISTER
Forums
Tech Boards
Aftermarket Product Review
Aftermarket Vendor Review
Auto Detailing and Appearance
Body
Interior
Car Audio
Carburetors
Cooling
Convertibles
DIY PROM
DFI and ECM
Electronics
Exhaust
History / Originality
Engine Swap
Fabrication
Tech / General Engine
TPI
TBI
Alternative Port EFI Intakes
Power Adders
Transmissions and Drivetrain
Suspension and Chassis
Brakes
Wheels and Tires
V6
FAQ Board
Racing Boards
Organized Drag Racing and Autocross
Theoretical and Street Racing
Regional Boards
Mid-Atlantic Region
North East Region
South East Region
South West Region
Mid-West Region
Pacific Northwest Region
Northern Great Plains and Rocky Mountains
NW Indiana and South Chicago Suburbs
South Central Region
Northern California
Southern California Area
Canadian Region
Third Gen Association of Ontario
European Region
Pacific Region
Third Gen Expo
Site Boards
Problems / Help / Suggestions / Comments
Signature Pictures and PhotoShop Requests
Memorial Board
Group Purchase Board
Group Purchases
Classified Boards
Sponsored Vendors
Cars for Sale
Cars Wanted
Parts for Sale
Parts Wanted
LSX and LTX Parts
Miscellaneous Third Gen Items!
Classified Ads Feedback Board
News
Marketplace
Vendor Directory
Become a Vendor
New Posts
Tools
Car Payment Calculator
Tire Rim Calculator
Vin Decoder
Recalls
Members List
Live Feed
How-Tos
Gallery
Tech Data
Camaro
1982 Camaro
1983 Camaro
1984 Camaro
1985 Camaro
1986 Camaro
1987 Camaro
1988 Camaro
1989 Camaro
1990 Camaro
1991 Camaro
1992 Camaro
Firebird
1982 Firebird
1983 Firebird
1984 Firebird
1985 Firebird
1986 Firebird
1987 Firebird
1988 Firebird
1989 Firebird
1990 Firebird
1991 Firebird
1992 Firebird
Media
Sales Articles
Magazine Articles
View Dark Mode
Please register or login to enable Dark Mode.
Log In
Register
Threads
Google
Threads
Posts
Advanced
Dark Mode
Please register or login to enable Dark Mode.
Log In
Forgot your Password?
By logging into your account, you agree to our
Terms of Use
and
Privacy Policy
, and to the use of cookies as described therein.
or
Login with Facebook
Recent
Commented
Albums
My Pictures
My Post Pictures
thainglo
October 30, 2019
451
0
Sort:
Most Recent
Default
Most Recent
0
2021/10/17 13:26:56
thainglo
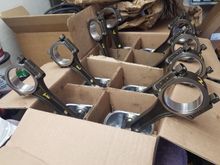
Bearings and rings all installed
0
2021/10/17 13:25:55
thainglo
Using the Workmate I saved from the scrap pile as a rod vise to loosen the nuts torqued down at the machine shop. New top and grease in the right places makes it work like new!
0
2021/10/17 13:24:07
thainglo
0
2021/10/14 17:25:13
thainglo
Fifth journal on other side of spec at 0.003". I'll take it!
0
2021/10/12 14:40:17
thainglo
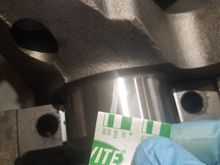
Front four bearings had 0.002" clearances, right at minimum side of specification
0
2021/10/12 14:39:36
thainglo
Crank in and caps all torqued down. Also mounted up oil pump, as it can apparently affect the clearances.
0
2021/10/12 14:38:45
thainglo
0
2021/10/05 15:35:50
thainglo
A low-profile jack supported the weight and allowed me to slide the hoist out from under the stand.
0
2021/09/29 12:36:03
thainglo
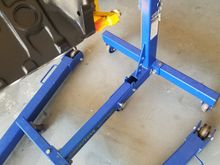
Well, damn. Front support legs too wide on the stand. Nice.
0
2021/09/29 12:35:19
thainglo
All looking good at this point...
0
2021/09/29 12:34:48
thainglo
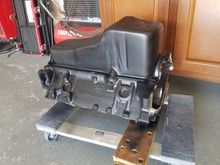
Those little Harbor Freight furniture dollies come in handy for all sorts of projects. I think I've used mine for just about everything EXCEPT moving furniture.
0
2021/09/29 12:29:33
thainglo
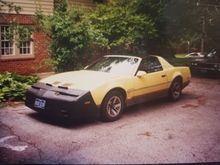
Picture from around 93, I'm guessing. Even had a bra on this one!
0
2021/09/23 10:02:41
thainglo
0
2021/09/22 15:47:17
thainglo
All mounted in.
0
2021/09/04 12:17:36
thainglo
Test fitting the box after the spare tire brace is removed.
0
2021/09/04 12:13:35
thainglo
Box built and ready to cut out the subwoofer hole
0
2021/09/04 12:13:03
thainglo
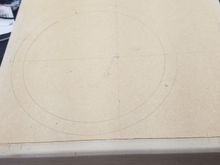
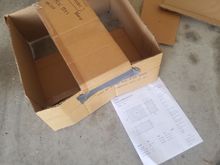
CAD - Cardboard Aided Design
0
2021/09/04 12:12:38
thainglo
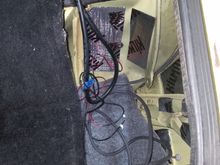
The mess of wires. Plenty of power cable, not so much on the speaker wires.
0
2021/09/04 12:09:04
thainglo
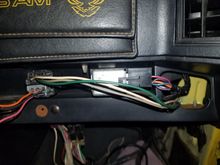
Speaker wires tucked into the console area. I used an adapter between the factory radio and car harness so I wouldn't need to splice directly into those wires.
0
2021/09/04 12:07:50
thainglo
View from the kick panel side.
0
2021/09/04 12:05:09
thainglo
Had to drill a hole for the power line to enter the cabin. Nicely sized for the grommet.
0
2021/09/04 12:04:24
thainglo
Power wire runs along the headlight harness to the passenger side fender
0
2021/09/04 12:03:40
thainglo
0
2021/09/02 12:12:17
thainglo
Orange = battery voltage, spliced into lower footwell light. Black = ground, screwed to dash assembly. Pink = head unit signal wire.
0
2021/09/02 12:08:20
thainglo
Silver box is the rear defrost relay, the antenna relay is on the left.
0
2021/09/02 12:03:41
thainglo
Here is the unit installed into the fender area. The yellow bracket that the gray brace bolts to is what I thought I would need to pull the fender to attach. Fortunately, same bracket is used on the solid mast antenna.
0
2021/09/02 11:57:25
thainglo
Only special tool required is this antenna wrench, ordered from Amazon. Around $12, made spinning the retaining nuts on and off very easy.
0
2021/09/02 11:56:33
thainglo
All reassembled and the platform cranked up to the top.
0
2021/07/29 08:43:10
thainglo
Used a Dremel with cutoff wheel to make a slot for my screwdriver. In my opinion, a hacksaw would probably make a better cut in this application.
0
2021/07/29 08:42:16
thainglo
The bolt removed from the platform that the spring perches on.
0
2021/07/29 08:41:45
thainglo
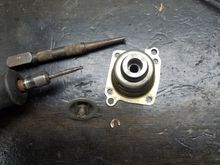
Picture of the little grinding bit I used to remove the last of the weld. I then used a nail punch to gently hammer out the bolt.
0
2021/07/29 08:40:48
thainglo
The four T15 bolts to remove the regulator housing. I have also started to drill out the weld that GM put on at the factory.
0
2021/07/29 08:35:01
thainglo
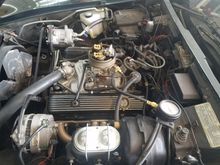
The setup on my 78 C3 Vette. The 8 screws to remove the top housing are right in the center. Unclip the two injector clips and remove the rubber isolators. The three bolts on the rear of the TBI housing are longer than the five front bolts.
0
2021/07/29 08:33:37
thainglo
0
2021/07/29 03:12:00
thainglo
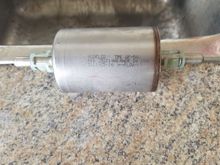
AC Delco GF580 is my part number on the filter.
0
2021/07/28 14:59:37
thainglo
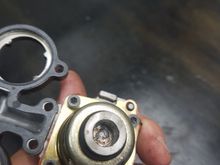
My mangled adjustable fuel pressure regulator. Turns ok but has to be totally disassembled.
0
2021/07/27 15:43:37
thainglo
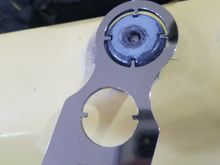
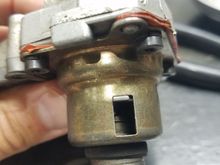
With the tab about halfway in the opening, still just 10psi. Originally was very close to the bottom.
0
2021/07/27 15:43:30
thainglo
0
2021/07/27 11:57:06
thainglo
Finished and ready for U-Joints and installation.
0
2021/07/19 14:51:33
thainglo
First
Page
4 of 12
Last
Go To
Page
1
2
3
4
5
6
7
...
12
4 of 12
Go To
GO
Go to page
of 12
pages
1
2
3
4
5
6
7
...
12