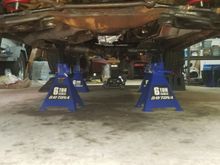
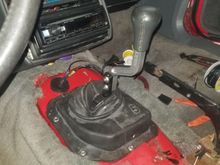
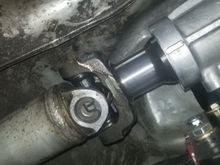
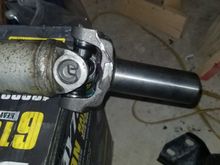
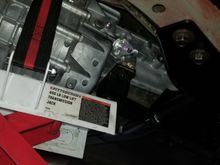
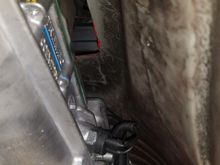
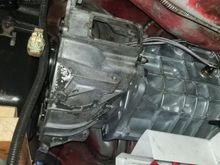
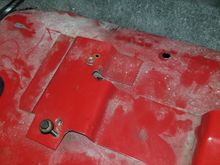
Here, you can kinda see where the front two shifter bolts tuck under the front of the trans tunnel.... looking at it, there MAY be clearance to remove the 10mm bolts with the trans in, but they are pretty dang long... I'm certainly going to try to do so before I lower it for my new shifter. Dang it!