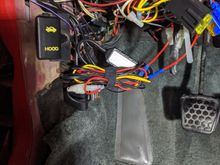
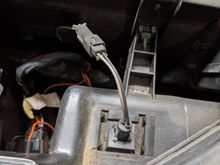
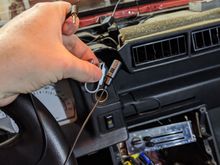
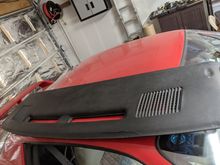
Next up, I have to do some routing of wires in the dash and a-pillar, this required I remove my dash. It has a couple cracks against the front glass, but overall considering the age of the car, its in great shape. Note the slight dimple from the triple gauge pillar.