When you click on links to various merchants on this site and make a purchase, this can result in this site earning a commission. Affiliate programs and affiliations include, but are not limited to, the eBay Partner Network.
Greetings All, Thought I would share the nearly 19 year saga of a 1988 IROCZ build. WARNING! No LSx content here. It's all "old school". However, everything you are about to see is "new" as in, it has never been used. There are a few "no longer available" items. Thought I would start by telling the background of the car then share what's been done so far. Once I get you caught up I'll try to share regular progress. The 3rdGen.org community has been a great resource for me and I appreciate your help.
Last edited by rurnt88; 12-21-2020 at 09:27 AM.
Reason: corrections
This is my 2nd IROC, I had an "85, yellow w/tan interior. Bought it with 27k-ish miles on it in '88. This one I purchased in "02 with 68k miles on it and a custom silver/Lt.gray Deluxe interior, half leather & half Madrid fabric. It's also a "DX3, decal delete" car. And it is a rear defroster and fog lights delete car. (This is a car ordered for the Arizona heat. It was not uncommon for owners of 3rd Gens to remove everything in front of the radiator that might impede airflow.) It was originally a 5.0L with T5 & 4-wheel disc brakes. It's a G92, G80, GM3, 9-bolt with 3.45 gears. That was replaced with a 10-bolt and 3.73 Posi by the POV.
When I towed the car home, I discovered numerous mechanical & electrical problems. The BOSE unit did not work, neither did the fuel pump. After I replaced the fuel pump & repaired the wiring on the relay, the car would start and run but the cat was plugged. And the cooling fan switch had been replaced with a cooling temp. sender so the main fan would not turn on. I replaced the cat, grounded the fan and took it in for emissions. Fail! Did a leak down test and found the 5.0 not within spec so, I took the chance on a 68k mile car and had a valve job done. But before I put it back together, I noticed the T5 leaking fluid. My "good deal" suddenly seemed not so good. So... I bought a new ZZ4 short block and an "Aftermarket" T56 to replace the leaking T5. Then decided not to trust the 10-bolt behind a 5.7L and bought a Ford 9-inch rear end. For the "Aftermarket" T56 to work, an integrated TA & trans mount was needed. If you recall, the "Aftermarket" T56 are Viper based with an adapter plate that fits the T5 bell housing & custom tail section that changed the mount (a Turbo 400 will work), moved the shifter forward 1 5/8" and allowed a speedometer cable to be used. The skip shift function is eliminated but reverse lockout solenoid remains. One advertisement from the time said this: "Tremec #1386-000-011, "T5 Replacement". Application: 1994 LT1 Camaro." It's rated at 450ft/lb. has a 2.97 1st and 0.62 6th.
To complete the short block, Trick Flow 195 heads and Roller Rocker Arms are used. TPIS ZZ9 roller cam & 6-qt oil pan. Followed that with a complete MSD Ignition system with the 6AL, Billet distributor, coil & 8.5mm wires. A complete, TPIS Big Mouth/Big Tube, 52mm TB, intake system was added. Next, a complete Edelbrock TES exhaust system. At this point I decided things weren't shiny enough so, I bought a complete MARCH Ultra Accessory drive. Well that looked so good I decided to have the intake polished. That turned out nice but, the fasteners were not up to par so, I replaced everything on the engine with shiny stainless ARP fasteners. whew! There's no project run away here!
Last edited by rurnt88; 10-16-2022 at 06:29 PM.
Reason: corrections
I'm just tossing this out there since your engine sounds like it should be pretty stout, I suggest you ditch the edelbrock exhaust. Those heads deserve a larger 1 3/4 primary tube at minimum, long tubes at an optimum. Edelbrock exhaust sucks for the rest of that combination. Take it or leave it.
Your car is wicked cool btw.
Thanks aliceempire! You are right about the Edelbrocks and the Y-pipe is even worse. I bought these new back when there wasn't much else affordable. If I can get another picture to load I'll show you what they look like now...
Here we go.
I cut the A.I.R. tubes off and will use these as break-in headers. I'm thinking of getting the DynoDon headers when I can.
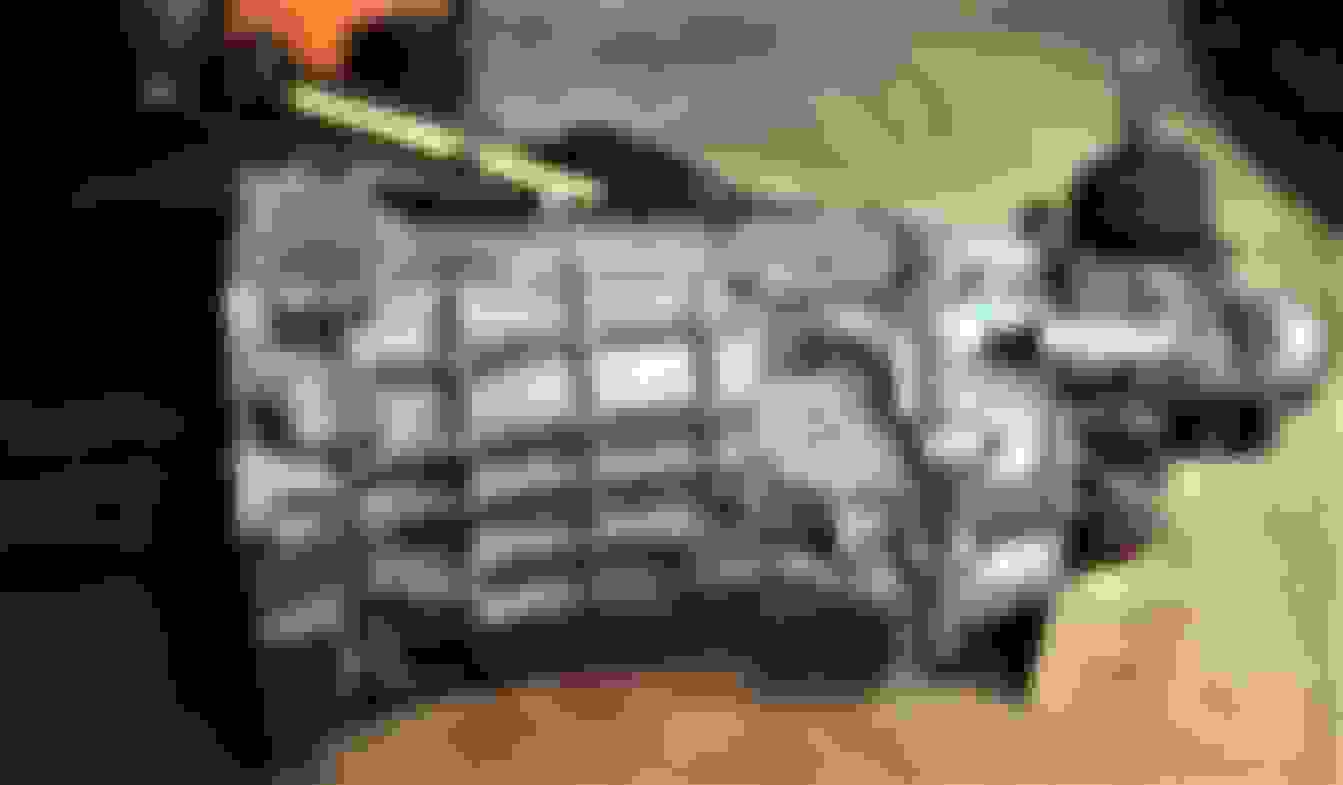
A.I.R. tubes removed from headers. Nov 9, 2009; Motor was pulled back out not long after this for engine bay modifications. Pure Choice braided fuel lines, MARCH remote PS reservoir on right, BeCool radiator, MSD6AL left.
Last edited by rurnt88; 12-18-2021 at 03:23 PM.
Reason: corrections
Race Craft, Road Race, 2-inch Drop Spindles, Spohn adjustable chromoly A-arms, and Koni struts. Not shown are J&M Hot Parts Caster/Camber plates. The Stainless Steel brake brackets I bought from a TGO member. Pictures taken sometime in 2013.
Last edited by rurnt88; 12-18-2021 at 03:27 PM.
Reason: information
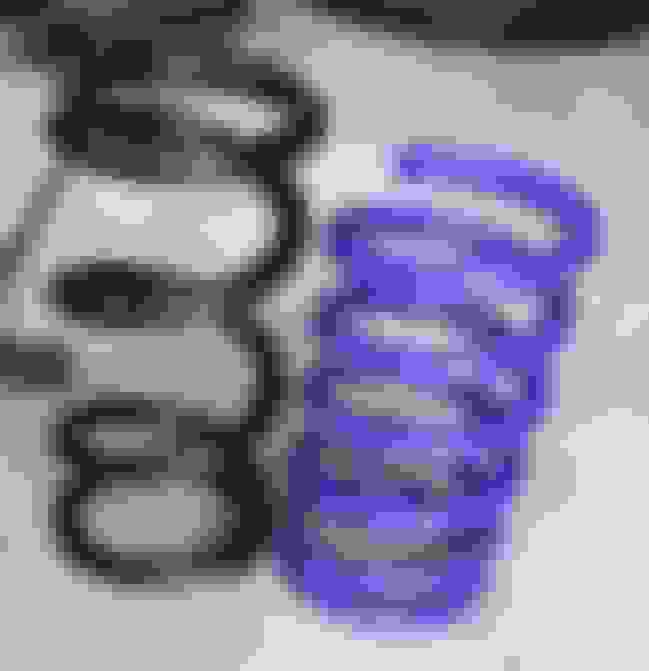
Wilwood 6-piston Billet Narrow Superlite calipers for 13" Dia. x 1.1" thick rotors (C4-HD). The .470" spacers that go between the bracket & spindle are missing in this photo. Also, the purple Tru-Coil 850lb springs shown above, were replaced with these Hyper-Coil 1000lb Springs.
KORE3 7075 Aluminum Road Racing Hubs (stock height). I tried to buy the Wilwood two piece rotor & hat kit for the C4-HD upgrade, but they quit selling it. These are Cryo treated Stop-Tech rotors that will work just fine.
The calipers have more than the Wilwood recommended minimum of .080 clearance. This tire is so old it barely holds air!
Last edited by rurnt88; 12-18-2021 at 03:32 PM.
Reason: verbiage
Here is the Aftermarket T56 without the adapter or T5 bell-housing. Driver side has the speed-o cable port & Rev. lockout solenoid Passenger side has the backup lights connector
Last edited by rurnt88; 12-17-2020 at 04:51 PM.
Reason: verbiage
The Clutch Master Cylinder is a Centric #136.62011. It is aluminum and has a 1" bore for use with the RAM HRB.
-3AN O-ring fitting installed for MC to HRB braided stainless line. Russell #640281
Moving on to Intake Mods;
After cutting the hose extensions off the I.A.C. housing, I sent it, the A.F.P.R. and the fuel feed rail to my son who arranged to have the I.A.C. hot water passages welded up. Also a -6AN male, weld bung, was added to the F.P.R. and the fuel rail input port was tapped for 1/4" NPT. Thanks Jase!
The factory fuel lines are being modified to move them from the areas of hot exhaust. They will be routed thru the trans tunnel and attached to the back of the fuel rails using EARL's Ultra Pro Fittings, hose & tube nuts
Last edited by rurnt88; 12-18-2021 at 04:09 PM.
Reason: Clarification
The suspension system is a work in progress. In the Spring of this year I replaced springs. Removed 850lb x 9 1/2" tall Tru-Coils in front and swapped in 11" tall x 1000lb Hyper-Coils.
In the back the factory springs were replaced with 12" tall x 250lb Hyper-Coils. The Hyper-Coils are what they call "Stock Appearing."
These "fender gap" pics are of the car without running gear or interior. Or even all the body work:-) It will undoubtedly sit lower when all that weight is added. To compensate, weight-jacks have been installed in front and an adjustable spring spacer will be used in back once I know what is needed. 26.75 fender height w/Hyper-Coils and without motor Stance with Hyper-Coils front & rear.
Here is the SPOHN #322 integrated transmission mount and Torque Arm for the Aftermarket T56 mentioned in the introduction. The polyurethane bushing has since been replaced with a Del-Sphere rod end.
Cross-member with weight-jack plates & jacks screws during modification phase. Beaucoup holes were filled, seams welded, everything smoothed, motor mount nuts welded in place and the locating pins reinforced. One fell off when I removed the cross-member, the other I removed by hand. Cross-member powder coated, frame rails drilled & reinforced for weight jack bolts and engine bay in black primer.
There's a 1350 conversion U-joints at both ends. One for the Ford 9-inch the other for the Spicer yoke. The Aftermarket T56 came with the Spicer yoke & one 1350 U-joint. This stock length drive shaft had to be shortened to fit behind the Aftermarket T56. By now you can see that committing to the "Aftermarket T56" required a few dedicated components. For a stock type install, the transmission mount & shortened drive shaft are all that's needed. If you add a 9-inch Ford and/or hydraulic actuator, you'll need more things to make it work. 3.5" dia. aluminum propeller shaft by Inland Empire. Shortened & balanced to fit the Aftermarket T56 by a circle track specialty house many years ago.
When I smoothed the firewall I removed the A/C bump inside the car. This required a floor for the rain gutter to be fabricated as that was removed with the bump. A directional water spout and drain were also fabricated. I more or less matched the Driver side drain. I planned to delete the antenna anyway, which made doing it this way possible. Hammer formed rain gutter welded in place Down spout & drain fabricated Intermediate stage of welding it back together. The lower cowl was opened up for under dash welding access
Last edited by rurnt88; 12-18-2021 at 04:23 PM.
Reason: Information
The reason for all the work? A Vintage Air HVAC system. Here the 4-Way bulkhead connector is being fitted.
This is how I "imagine" it will fit. Mounting brackets have to be sorted out. Tried it with the console in place and there is plenty of room.
Next the dash was test fit, and there is plenty of room. No picture, but I put the console & dash together and checked for clearance. No clearance problems so far.
Last edited by rurnt88; 12-18-2021 at 04:29 PM.
Reason: clarification
Moving on to indoor projects, the Interior was in need of a lot of work. I found a good used dash pad and leather wrapped E-brake handle. Some rubber cushions for the cargo hatch rest on the back panel. And a "pawl" for the hatch lock. Cleaned everything good. Replaced the plastic lens on the instrument panel with a reproduction. Replaced the window switches & door plates with reproduction parts. Replaced all the dash lights with LED's. Also, the missing green plastic circles for the turn signals. Acquired all 3 missing, under dash, "close out" panels. Found the retainer brackets for the convenience center and the fuse block. And a replacement fuse block. The original had most of the labels rubbed off. That's the highlights. Anyone who has tackled one of these interiors knows there are a thousand little thing to do to make it right.
Console closeup after cleaning & treating with plastic restorer. That's a reproduction shifter plate. Also, a 6-speed shift pattern decal.
The cushion was a reupholstered piece from HAWKS. Kinda lumpy. A previous owner had hot-knifed the area around the console mounting screws to get it out. I removed the screws with vice-grips and still need to repair the floor. As with many of these lowers the inner structure had pulled apart. I used fiberglass mesh & epoxy to put it back together. It's nice & solid now and you can't see the repairs from the outside. If it wasn't for the RPO codes in the thing I would have replaced it.
Last edited by rurnt88; 12-18-2021 at 04:37 PM.
Reason: Clarity
What you are looking at is a weeks worth of work. The missing convenience center bracket is installed. The damaged fuse block has been replaced. Every wire and connector was de-pinned from the original - very clean & rust free - fuse block and installed in the replacement block after it was cleaned. The advantage to buying a known good harness is any wires previously cut can be replaced with factory originals. For example, on this car the courtesy lamps harness had been cut up for some reason, but were intact on the replacement harness. I also took the time to remove unnecessary and/or unwanted wiring, such as the cruise control harness. The fog lights wiring was taken from the repair harness and new plugs were sourced just in case I come across a usable pair of original fog lights someday.
This used dash pad had been treated with something prior to shipping that stuck to it's wrapping and left discolored patches as you can see. I cleaned it good and treated it with Meguires maybe three times, letting it dry between coats. It looks pretty good now though I don't have a recent picture of it.
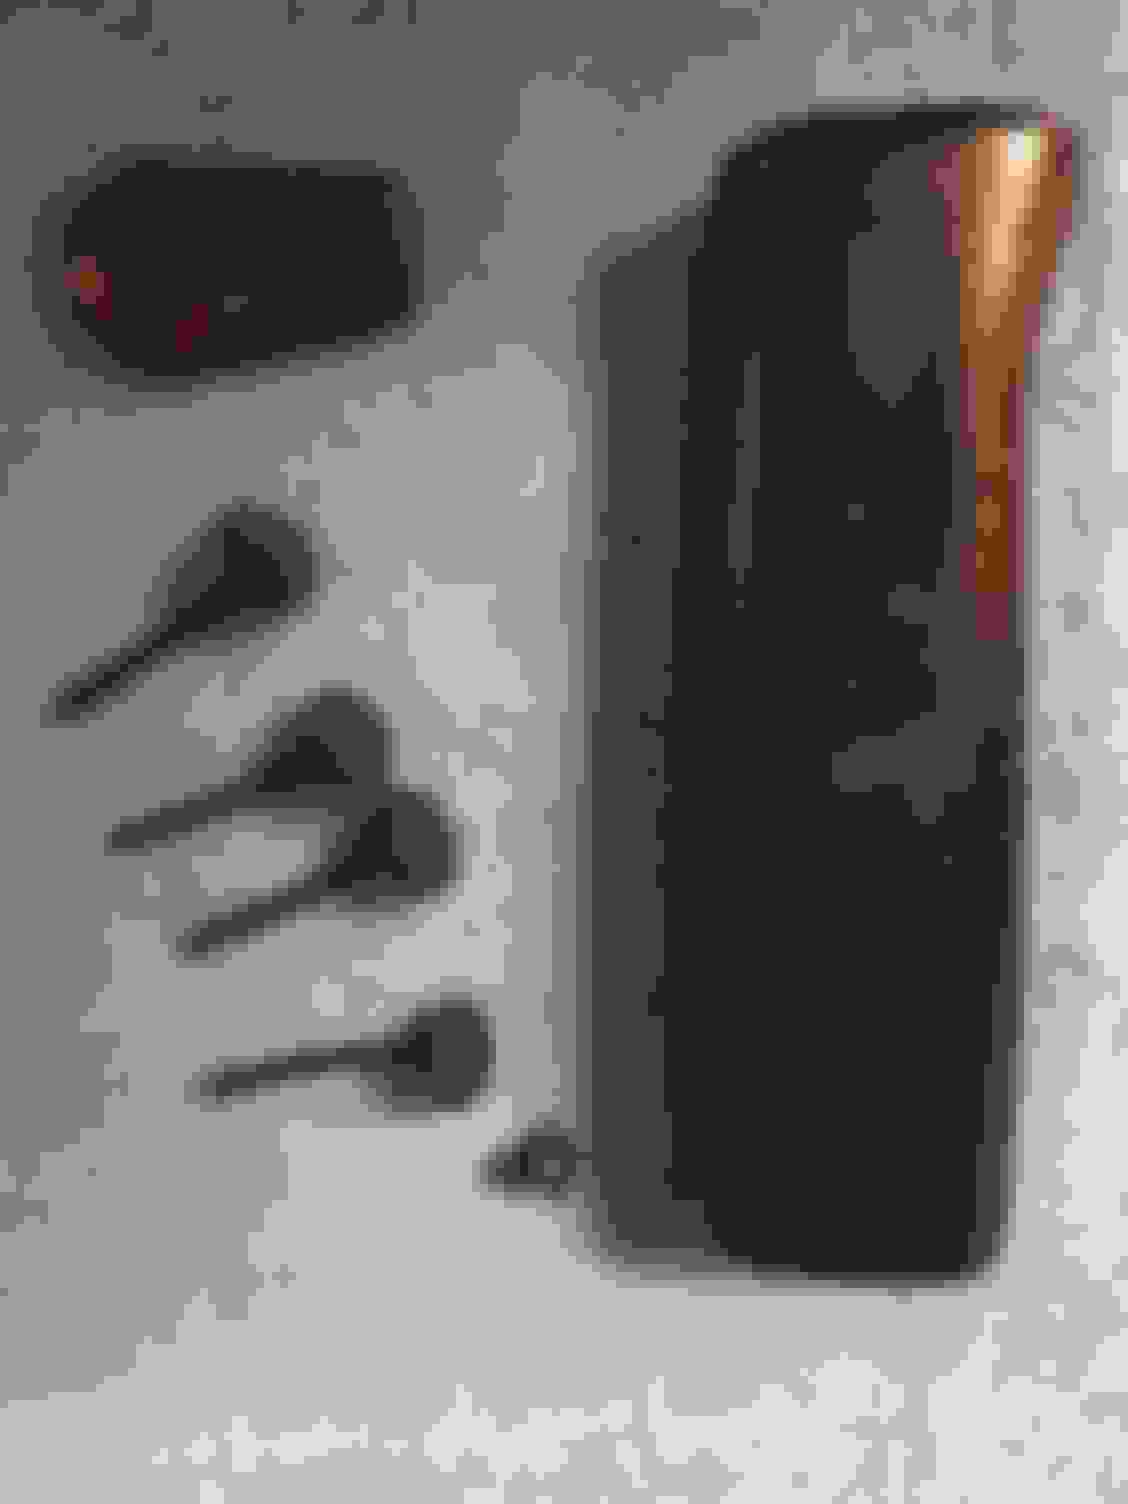
Below are the used leather e-Brake handle with attaching screw, cargo hatch bumpers and rear cover, lock pawl all sourced from a member.
Here's the Trans put together. The Reverse Lockout pigtail arrived today so I put it on. The rear seal for the driveshaft is torn and needs replaced. It's been in and out of the car too many times without checking for lube. I have a new seal for it
Used rust converter then painted the dash brace and headlight trim. Does anything look worse than rust in the interior?
These rear plastics had carpet on them as part of the Deluxe Interior. Adhesive residue was a bear to remove. I used everything I had, lacquer thinner, acetone, Naphtha, denatured alcohol, a scrapper, goo gone, a Scotch-brite, a putty knife, it was brutal. They needed to be smooth so patterns could be pulled from them.
Carpet patterns made from painters tape.
Other interior parts, some new, some used.
Last edited by rurnt88; 12-18-2020 at 06:15 PM.
Reason: corrections
I think these were discontinued in 87 but I always wanted one so. . . This came to me rough. Amazingly, all the wheels work and the felt was in the map light. I sourced a better dome light cover and map light lens. Then following various write ups on TGO, repaired the dome light socket area as the connectors had melted the plastic. LED's replaced the original dome & map lights to fix the problem. It came with a Camaro flashlight but it could not be saved. The batteries had exploded long ago and done irreparable damage. The one in the picture is just an empty case. I located a replacement in Canada that also needed work but cleaned up nice as can be seen working in the pictures. It has a new bulb but these were never very bright.
I'll post the engine bay progress to date and that will pretty much be it for past progress. I tried to install a set of rear hatch hinges and exploded the glass. I will be turning my efforts toward that for now. It's funny but, I have had those hinges on a wish list for years. Careful what you wish for. Anyway, first up is the firewall mods followed by inner fenders then frame rails. So much work has gone into this that recording it all here is unreasonable. First firewall panel installed First firewall panel drilled for plug welds
Second firewall panel
Last edited by rurnt88; 12-18-2021 at 04:56 PM.
Reason: Clarification
Changes of this magnitude take time Another reinforcement plate for a total of 3 at the firewall, plus, inner fender close out panel more welding headlight area smoothed Test fit of passenger side closeout panel. It was refined a bit before welding starting to look better battery tray delete
Starting with tape patterns as usual Cutting panels from patterns Weld thru primer on both side Driver side before hammer forming bottom to frame rail Test fit of cross member Passenger side before hammer forming with one piece missing Test fit
Thanks! I probably won't show it but the wheel well areas have all been cleaned up as well.
I had some health issues a couple years ago and am just now getting back to the project.
The engine bay needs to be finished up and repainted. And that's at the top of the list. Though painting may wait until Spring.
In another thread I have been working through why the hatch glass exploded when I installed a set of Hawks hinges. It seems to have morphed into an inquiry as to how stock hinges bend. And some seem to think that it's a non-issue, you know, "If it ain't broke, don't fix it". Which I agree with. Still doesn't answer "why" my glass broke, so that's where my energy will be directed in the short term.
 12-16-2020, 01:13 PM