
1989 G92 IROC Resto

Thread Starter
Senior Member
Joined: Jun 2010
Posts: 731
Likes: 1
From: Austin, TX
Car: 1989 G92 IROC-Z
Engine: 5 Liter 305
Transmission: T5
Axle/Gears: 3.45
1989 G92 IROC Resto
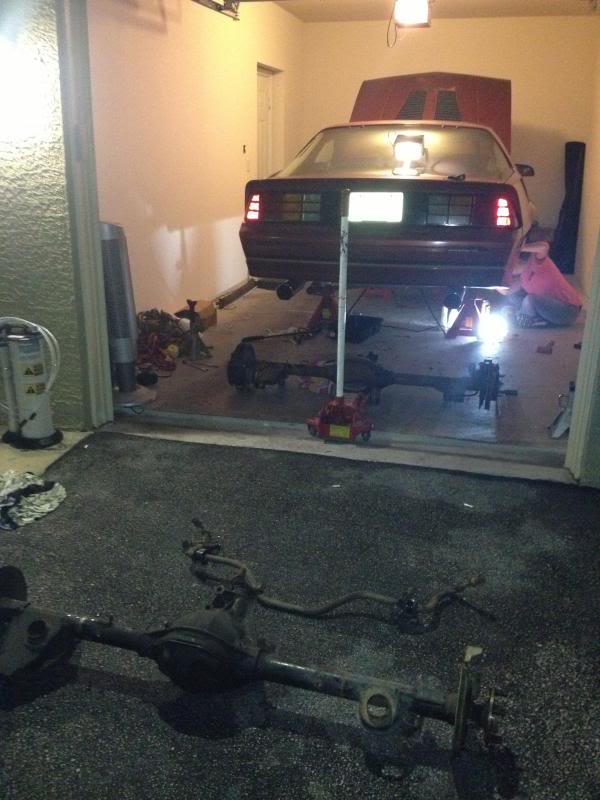
So over the past couple months I have been busy removing the suspension, rear end, drivetrain etc and then the time consuming part...removing the undercoating. The whole idea is to get the under body of the car in nice shape for a solid nice looking foundation to build on. I am doing the undercarriage in 2 stages, the firewall back and then the engine bay/front end. Replacing the rear end, steering components, suspension and adding subframe connectors while it's apart.
I do however have a few questions concerning the application of DTM epoxy.
It's said that the DuPont� 2510S�/2540S�/2570S�/2580CR�/2590S� Epoxy DTM is sprayable using an HVLP gun. From the looks of HVLP, it appears to be gravity fed which in my case will not be usable considering I am going to be pretty much spraying the car from underneath.
Has anyone used this and what were your methods?
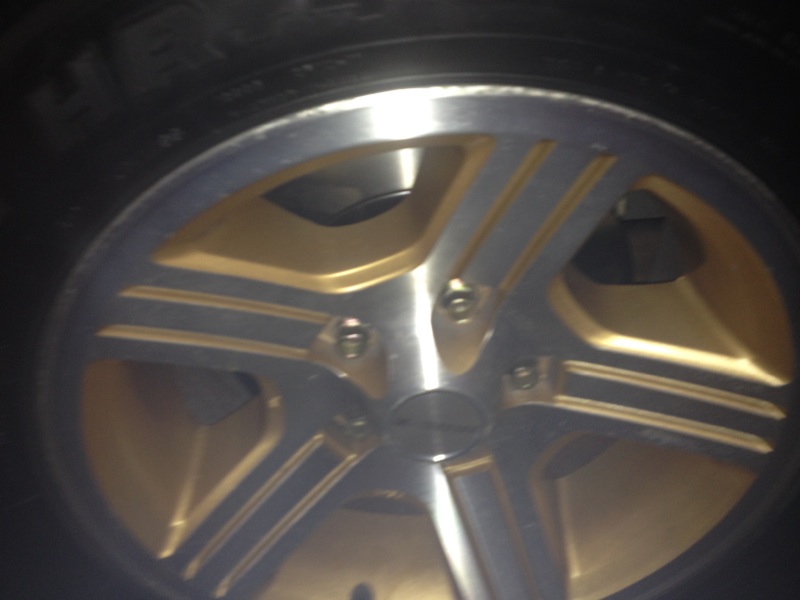
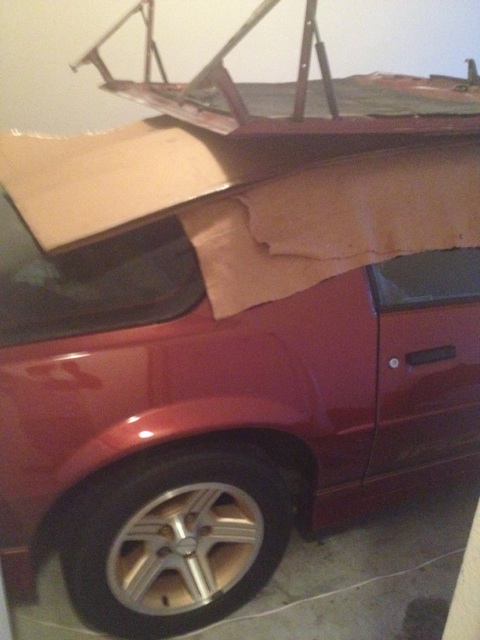
These are some in-progress shots via 4S iPhone.
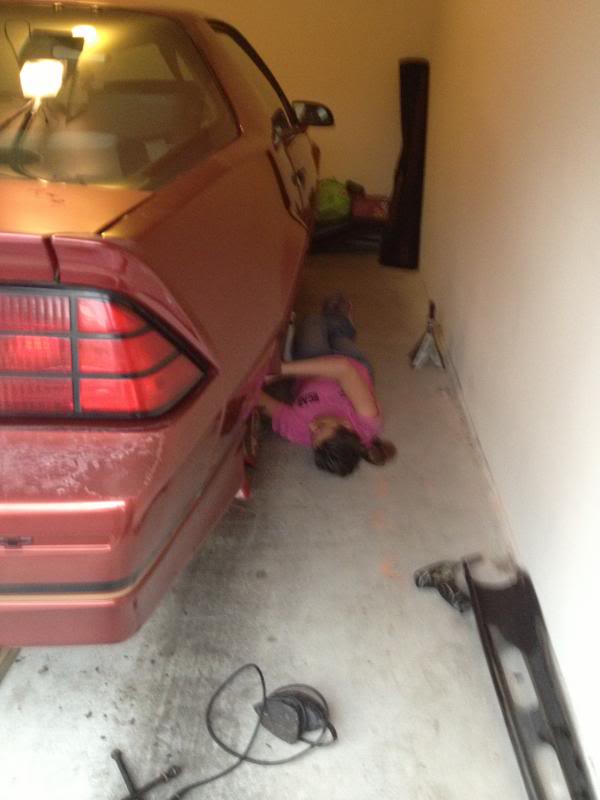
My GF helping out
I do however have a few questions concerning the application of DTM epoxy.
It's said that the DuPont� 2510S�/2540S�/2570S�/2580CR�/2590S� Epoxy DTM is sprayable using an HVLP gun. From the looks of HVLP, it appears to be gravity fed which in my case will not be usable considering I am going to be pretty much spraying the car from underneath.
Has anyone used this and what were your methods?
These are some in-progress shots via 4S iPhone.


My GF helping out


Thread Starter
Senior Member
Joined: Jun 2010
Posts: 731
Likes: 1
From: Austin, TX
Car: 1989 G92 IROC-Z
Engine: 5 Liter 305
Transmission: T5
Axle/Gears: 3.45
Re: 1989 G92 IROC Resto
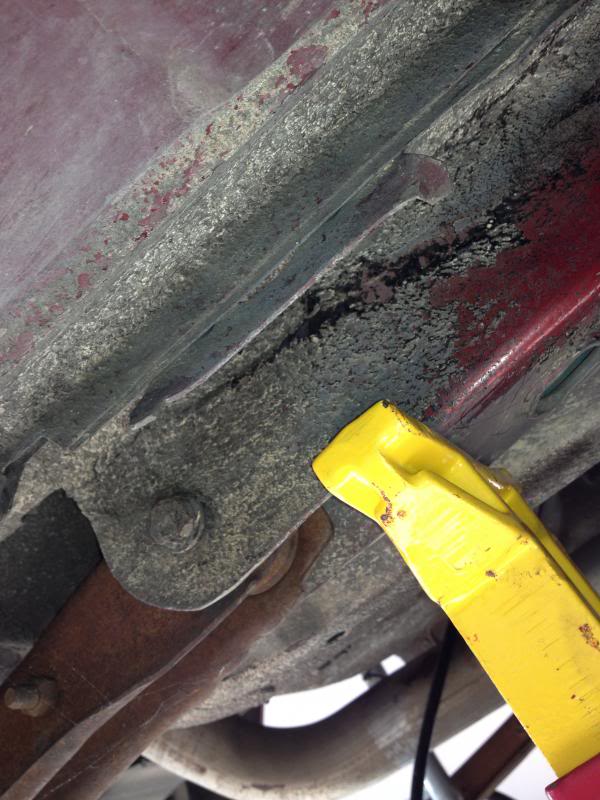
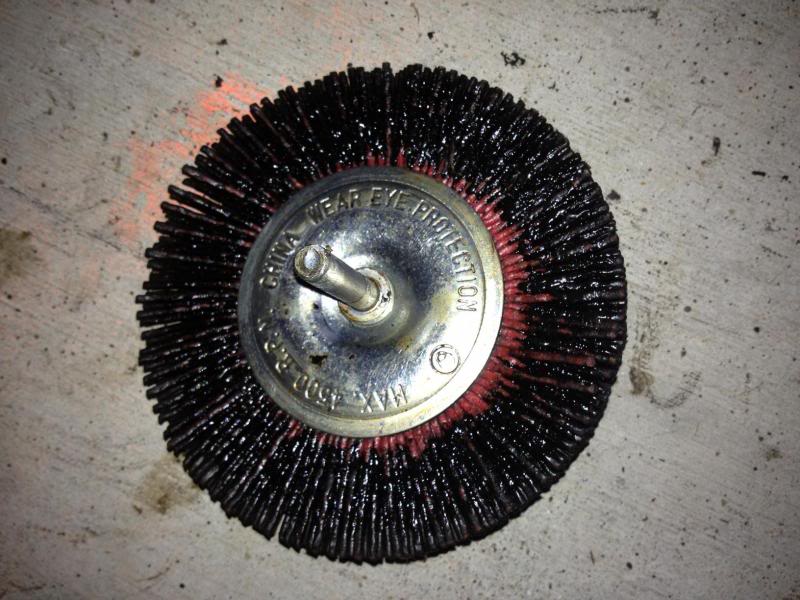
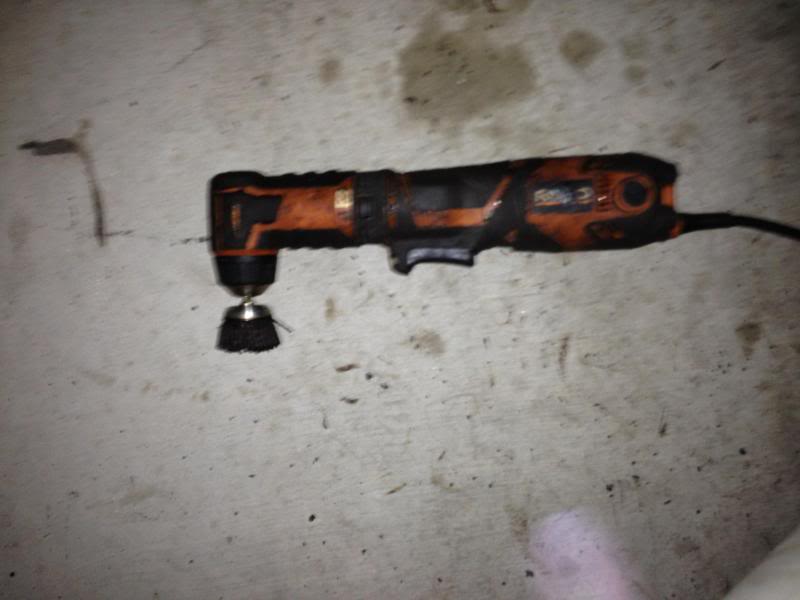
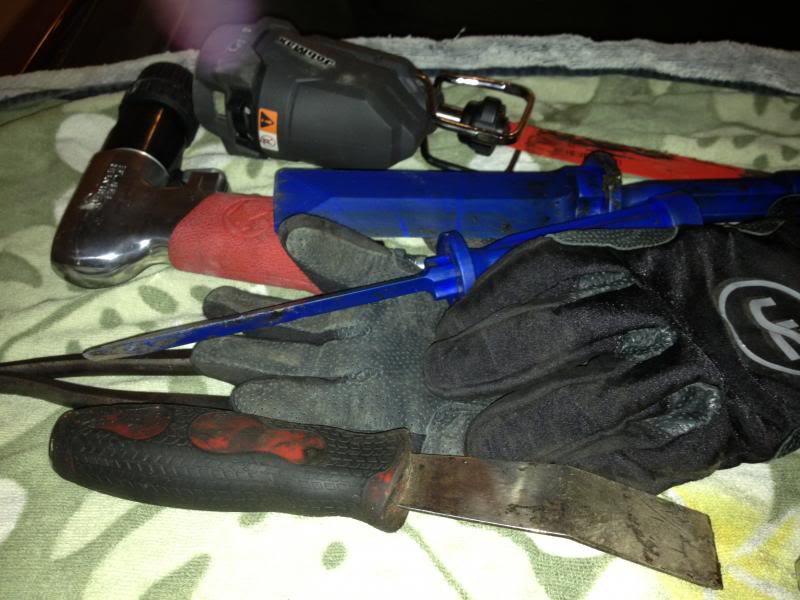
The tools of the job have been a wide assortment since not one tool will do the whole job. It's been a combination of things that make this possible. The best idea I came up with was nylon brushes on a multi-tool. It helps get the tight areas and is awesome for not tearing up the galvanized metal.  Use that with some AutoZone Deagreaser.
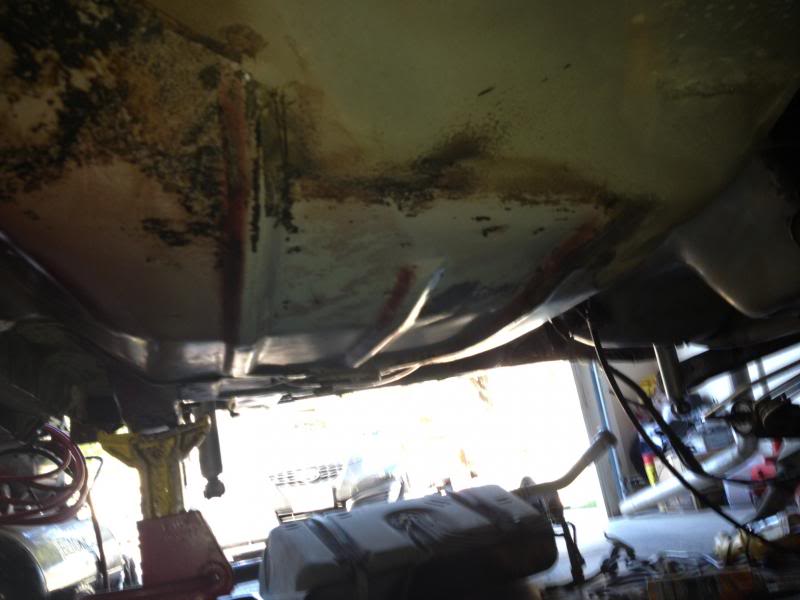
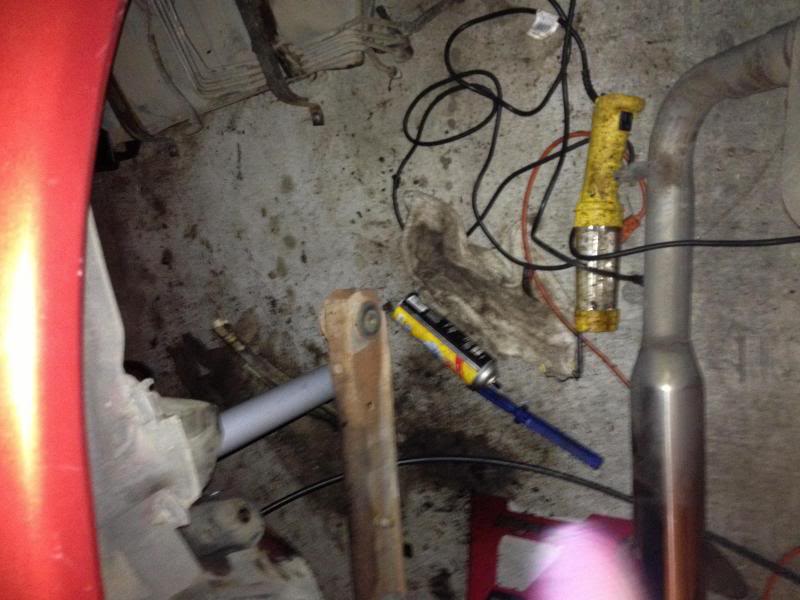
SOME of the MESS!
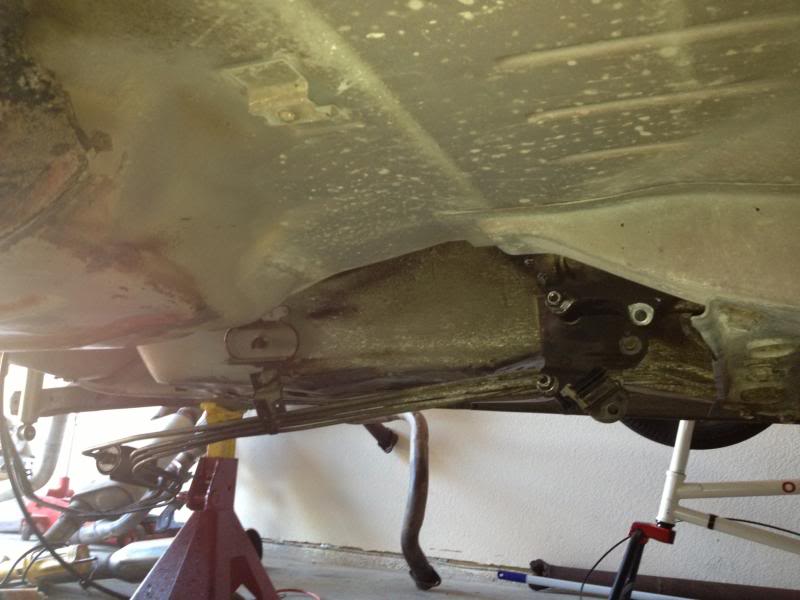
Here's where the car is at now.

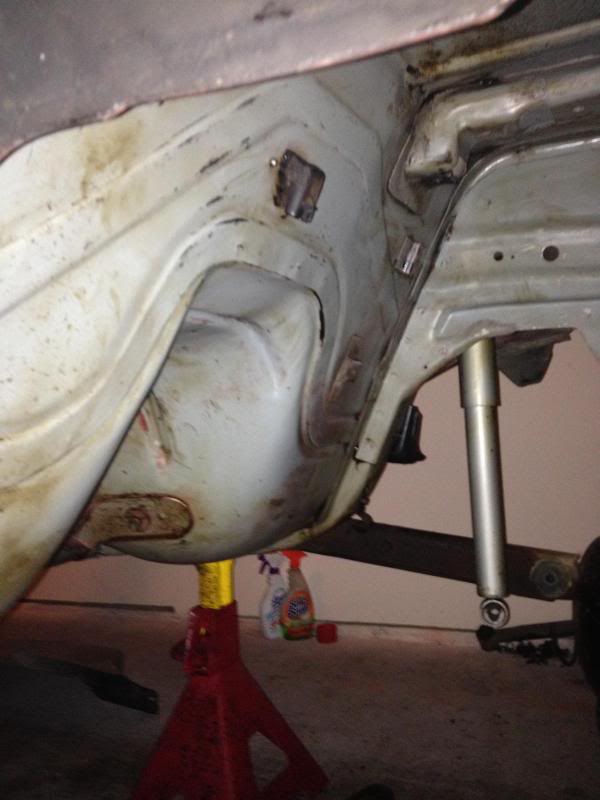

Finding out someone went curb surfing! Ugh!
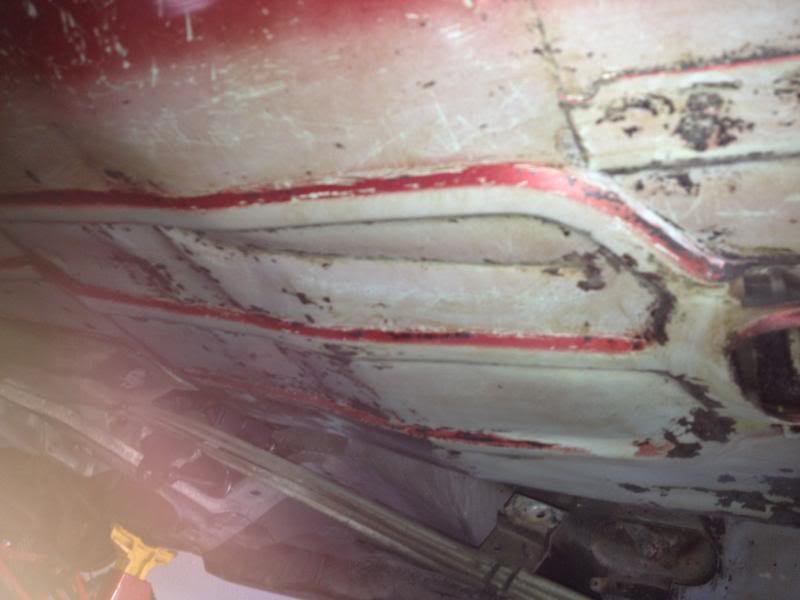
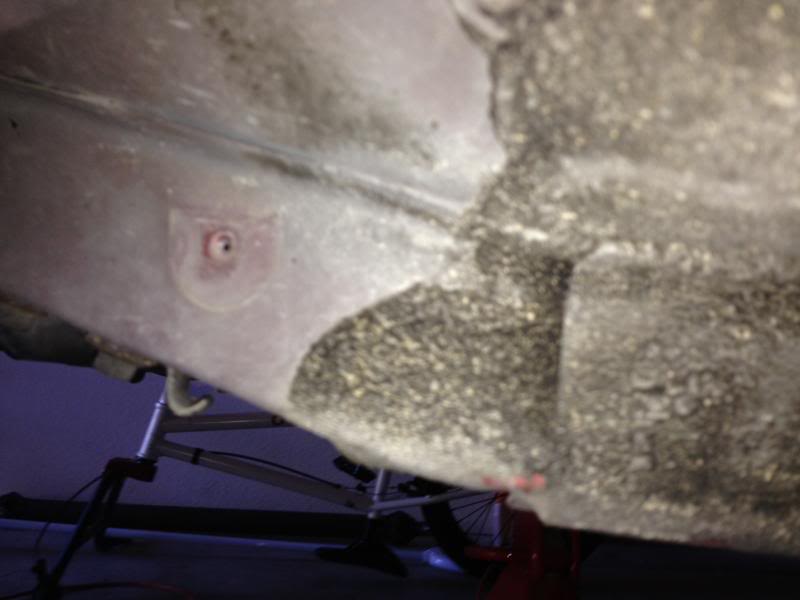
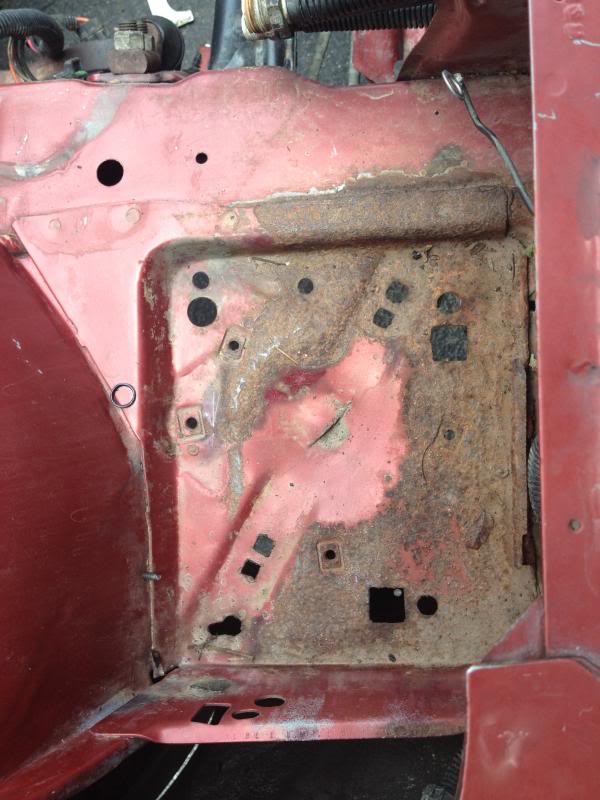
This is on the drivers side rear seat floor pan. I will be taking care of these dents before reapplying the sealer.
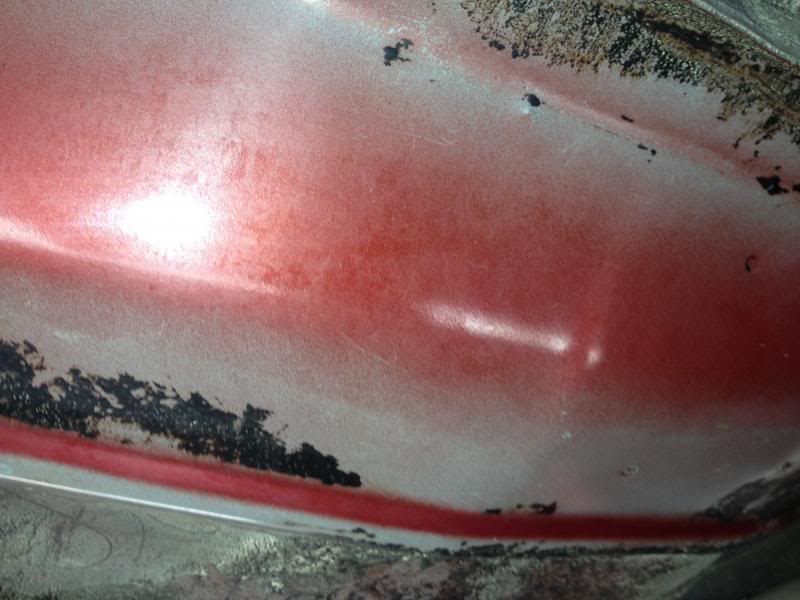
Considering the car is from Billings, Montana. I'd say that it's in awesome shape as far as rust goes. There are only a couple small surface rust areas from the curb ordeal. Everything else is degreaser which will be cleaned off with acetone in preparation for media blasting and then, epoxy and paint.
Use that with some AutoZone Deagreaser. 


SOME of the MESS!

Here's where the car is at now.


Finding out someone went curb surfing! Ugh!

This is on the drivers side rear seat floor pan. I will be taking care of these dents before reapplying the sealer.
Considering the car is from Billings, Montana. I'd say that it's in awesome shape as far as rust goes. There are only a couple small surface rust areas from the curb ordeal. Everything else is degreaser which will be cleaned off with acetone in preparation for media blasting and then, epoxy and paint.


Thread Starter
Senior Member
Joined: Jun 2010
Posts: 731
Likes: 1
From: Austin, TX
Car: 1989 G92 IROC-Z
Engine: 5 Liter 305
Transmission: T5
Axle/Gears: 3.45
Re: 1989 G92 IROC Resto
Something like this? http://3mcollision.com/products/featured-products/pps.
With a "bag" inside it... I think that should do the trick.
With a "bag" inside it... I think that should do the trick.


Supreme Member
Joined: Apr 2011
Posts: 1,051
Likes: 0
From: Huntsville, AL
Car: 89 Black IROC-Z convertible
Engine: 305 TBI
Transmission: Auto
Re: 1989 G92 IROC Resto
I'd like to see how this finishes up too. Kudos to the GF for helping out. Enjoy the help now... it doesn't last.
Here's where someone used Gunk Gel Degreaser to do the underside. Maybe it will save you some time and labor
https://www.thirdgen.org/forums/conv...92-z03-12.html
Good luck with the project.
Here's where someone used Gunk Gel Degreaser to do the underside. Maybe it will save you some time and labor
https://www.thirdgen.org/forums/conv...92-z03-12.html
Good luck with the project.
Thread Starter
Senior Member
Joined: Jun 2010
Posts: 731
Likes: 1
From: Austin, TX
Car: 1989 G92 IROC-Z
Engine: 5 Liter 305
Transmission: T5
Axle/Gears: 3.45
Re: 1989 G92 IROC Resto
I'd like to see how this finishes up too. Kudos to the GF for helping out. Enjoy the help now... it doesn't last.
Here's where someone used Gunk Gel Degreaser to do the underside. Maybe it will save you some time and labor
https://www.thirdgen.org/forums/conv...92-z03-12.html
Good luck with the project.
Here's where someone used Gunk Gel Degreaser to do the underside. Maybe it will save you some time and labor
https://www.thirdgen.org/forums/conv...92-z03-12.html
Good luck with the project.
I think the stuff on my car would laugh at a pressure washer. It was an inch thick in some places. Hard as a rock in others.

Trending Topics
Thread Starter
Senior Member
Joined: Jun 2010
Posts: 731
Likes: 1
From: Austin, TX
Car: 1989 G92 IROC-Z
Engine: 5 Liter 305
Transmission: T5
Axle/Gears: 3.45
Re: 1989 G92 IROC Resto
Update: After talking with a professional I trust, and the amount of equipment I would have to buy to make the job right... I have decided to let the pro's take care of the body work.
I was sort of expecting this, but I was really hesitant to let my car go to a body shop where excessive bondo could be used, and other shortcuts may possibly be taken. So a friend I work with brought me to a place and introduced me to the owner of a shop in Taylor, TX called Jeff's Resurrections.
Needless to say I was blown away by the quality and detail that the shop invests in their projects and with the owner being a Concours judge in many events across the country, I am sure the IROC is going to be in good hands. In the shop they had a 70 Challenger, a 70 Superbird (yeah!), a 50's Vette with an LSX swap and a lot of other nice projects around. The guy does awesome work and yes, it's expensive but I only live once and I want the car to be right. We are scheduled to start work in December.
Here is the website for the shop, if you want to see what a top notch restoration shop looks like and is all about.
http://www.jeffsresurrections.com/je....com/Home.html
Last edited by TxTtopZ; Jun 8, 2014 at 09:10 PM.
Thread Starter
Senior Member
Joined: Jun 2010
Posts: 731
Likes: 1
From: Austin, TX
Car: 1989 G92 IROC-Z
Engine: 5 Liter 305
Transmission: T5
Axle/Gears: 3.45
Re: 1989 G92 IROC Resto
Sorry for the long wait...
The last word was to bring the IROC in December and start the restoration on the floors of the car. I was going to only "partially" do the bottom since the engine and trans were in there... but due to circumstances on both parts, we had to wait.
So in the meantime, I went ahead and pulled the engine and trans out of the car so the vehicle will be completely ready... All that is lacking is some interior stuff which won't take long to come out. As for the scheduling right now, the body guy and I have spoken on a few occasions and we are in agreement the time has come, so now it's on me to get this car ready ASAP.
Here are a few progress shots...
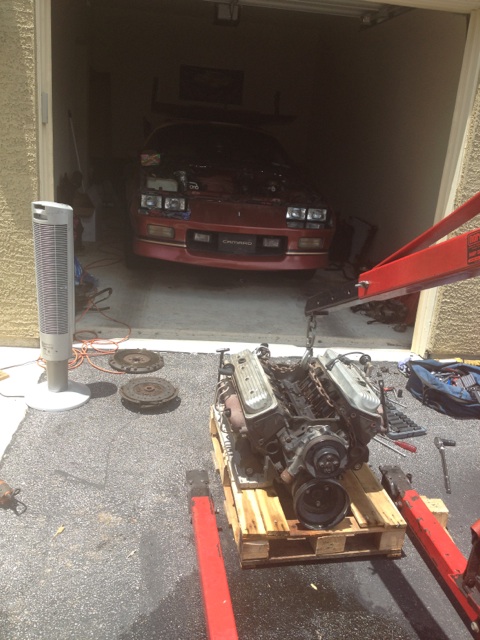
Engine out, sitting on a free homemade engine crate that I "fabbed" up from a couple free old crates (thanks HEB!) - Did I mention it was free?
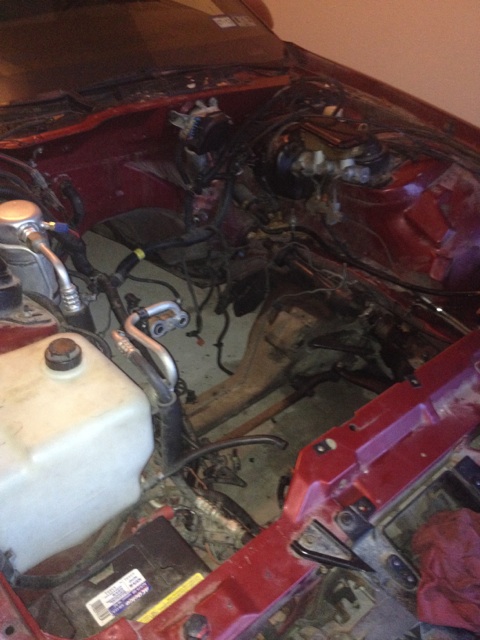
Now It's on to some simple green and cleaning up the engine bay, as well as removing the wiring harness, wiper module, booster, HVAC components etc.
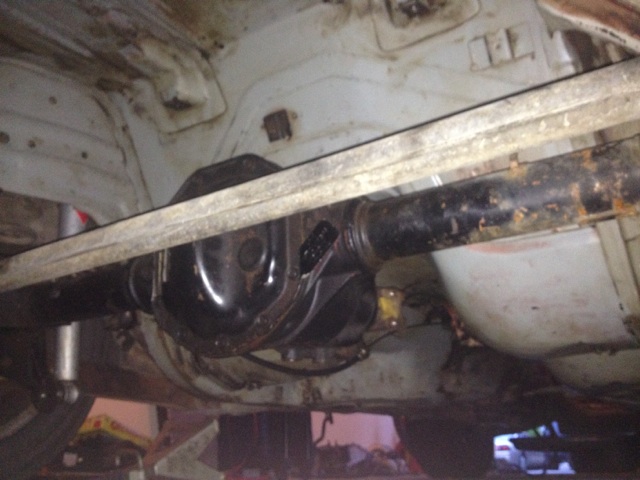
Here's the 9 bolt I bought from Mark Maderash with 40,XXX miles on it... I will go through it anyway after the floors are done along with the rear suspension. I still need to clean all that grease off the floors but I figured its not hurting anything while it sits so why bother...
New GM rotors for the PBR rear brakes (also new from GM)...
I REALLY need a bigger garage!
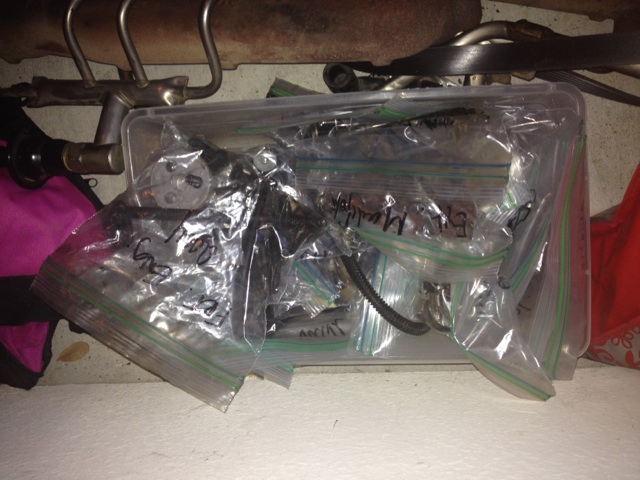
Since I won't remember where all the hardware goes, I labeled everything neatly into zip-locs, this is container #2 which contains engine bay fasteners.
All in all the progress is slow but steady. I'm actually proud to have the patience to wait and buy the stuff I want instead of just scrambling and scraping to get the thing done.
Next update should be in a week or two when I get the interior out and take a look at what stays and what goes... or needs replacement. The interior is pretty clean and well kept save for the headliner and the drivers seat... so far.
The last word was to bring the IROC in December and start the restoration on the floors of the car. I was going to only "partially" do the bottom since the engine and trans were in there... but due to circumstances on both parts, we had to wait.
So in the meantime, I went ahead and pulled the engine and trans out of the car so the vehicle will be completely ready... All that is lacking is some interior stuff which won't take long to come out. As for the scheduling right now, the body guy and I have spoken on a few occasions and we are in agreement the time has come, so now it's on me to get this car ready ASAP.
Here are a few progress shots...

Engine out, sitting on a free homemade engine crate that I "fabbed" up from a couple free old crates (thanks HEB!) - Did I mention it was free?
Now It's on to some simple green and cleaning up the engine bay, as well as removing the wiring harness, wiper module, booster, HVAC components etc.

Here's the 9 bolt I bought from Mark Maderash with 40,XXX miles on it... I will go through it anyway after the floors are done along with the rear suspension. I still need to clean all that grease off the floors but I figured its not hurting anything while it sits so why bother...

New GM rotors for the PBR rear brakes (also new from GM)...

I REALLY need a bigger garage!

Since I won't remember where all the hardware goes, I labeled everything neatly into zip-locs, this is container #2 which contains engine bay fasteners.

All in all the progress is slow but steady. I'm actually proud to have the patience to wait and buy the stuff I want instead of just scrambling and scraping to get the thing done.
Next update should be in a week or two when I get the interior out and take a look at what stays and what goes... or needs replacement. The interior is pretty clean and well kept save for the headliner and the drivers seat... so far.


Thread Starter
Senior Member
Joined: Jun 2010
Posts: 731
Likes: 1
From: Austin, TX
Car: 1989 G92 IROC-Z
Engine: 5 Liter 305
Transmission: T5
Axle/Gears: 3.45
Re: 1989 G92 IROC Resto
More progress was made these past couple weekends.... I got the engine bay cleaned using some child labor, soapy water and simple green. It was Father's Day and my 2 little girls said they wanted to help so I told them to go get into some old clothes, plopped them in the engine bay and gave them some scrubbers. I wasn't expecting it to last too long but they actually had fun and spent almost 2 hours scrubbing! I just wish I could get that much effort from them when they clean their room!!

The engine bay came out pretty clean! The worst thing I found was the battery tray which showed some pretty serious signs of corrosion. I will have to see if my body guy can repair that one or if I have to get another one. I have a lead on one for $35.
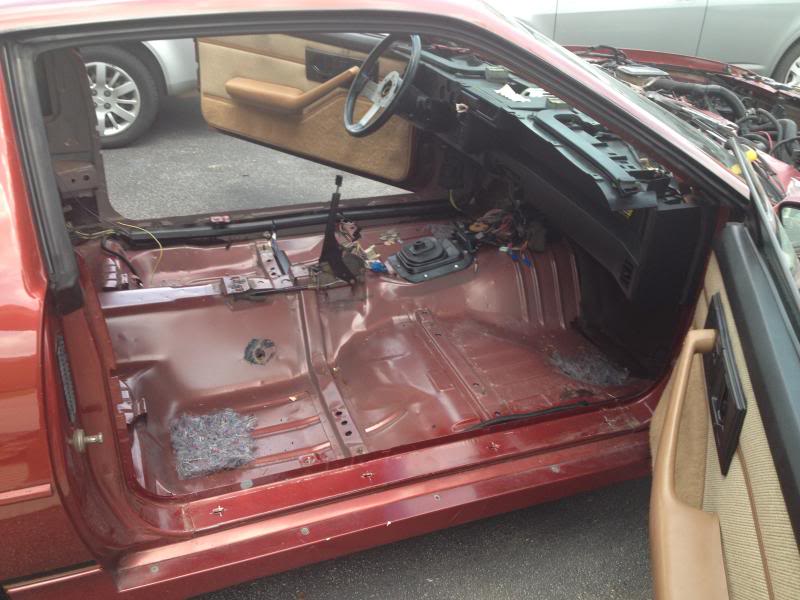
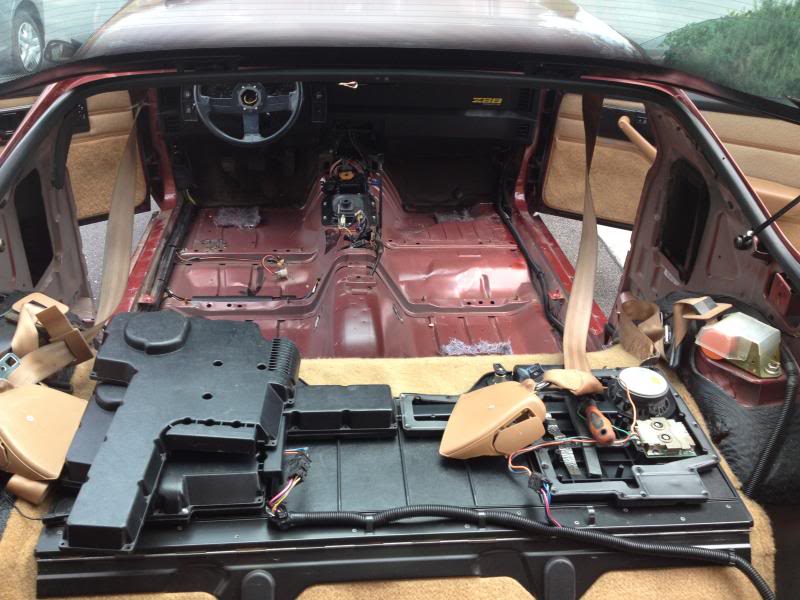
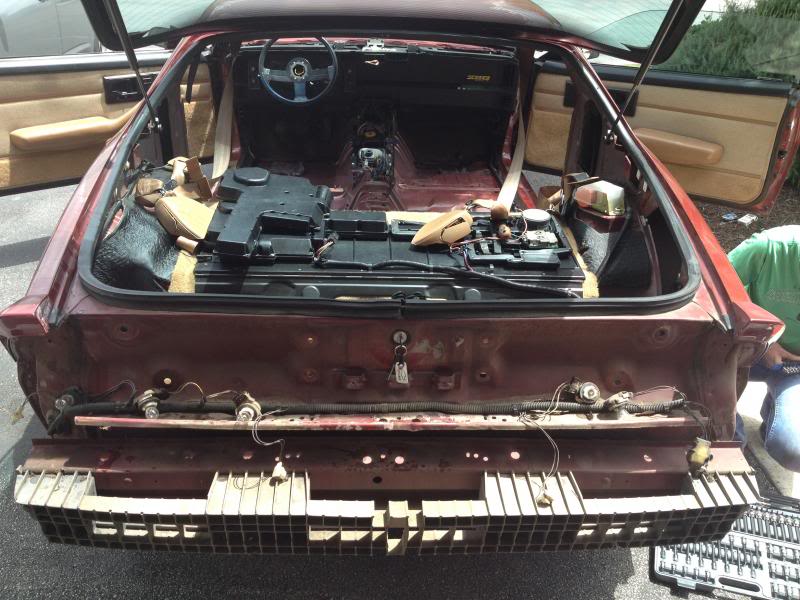
Yesterday I spent most of the day removing the interior. It all came out well with no broken pieces. The B pillar trim is somewhat scratched up from years of use so I will have to see if I can locate some new ones.
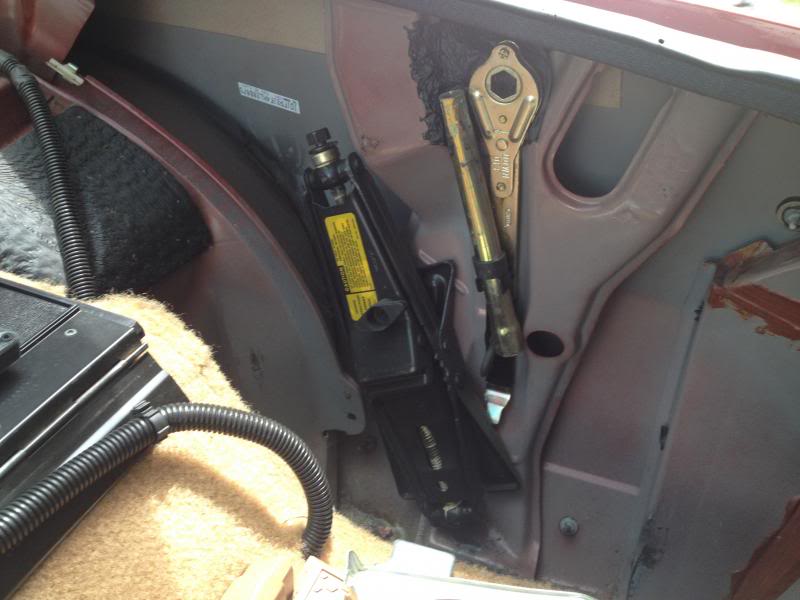
Amazingly, the factory jack and tire tools were still intact along with the space saver spare and air can. They look like they never have been used.
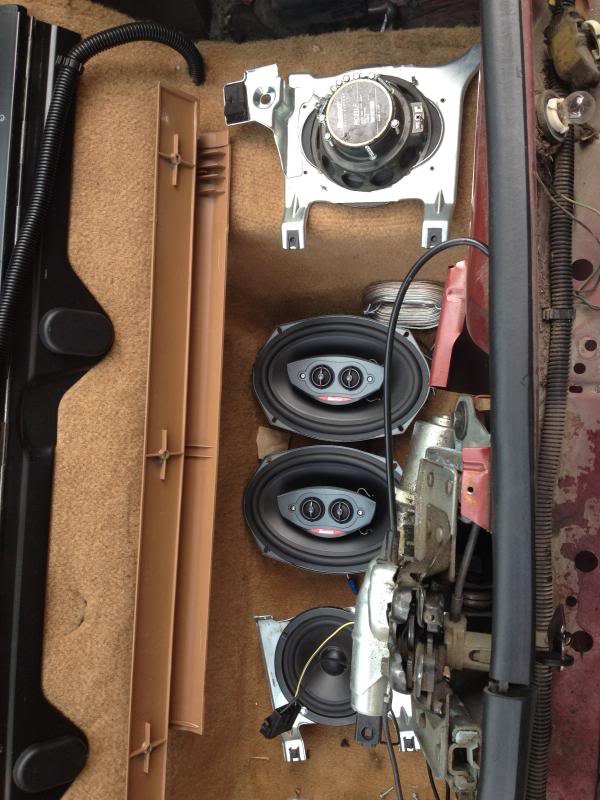
Apparently the previous owner did some audio upgrades. Boston Acoustic speakers front and rear with some dash speaker modifications. Not sure if they make that much of a difference not being in a sealed enclosure so I may spring for some unmodified mounting plates for under the dash.
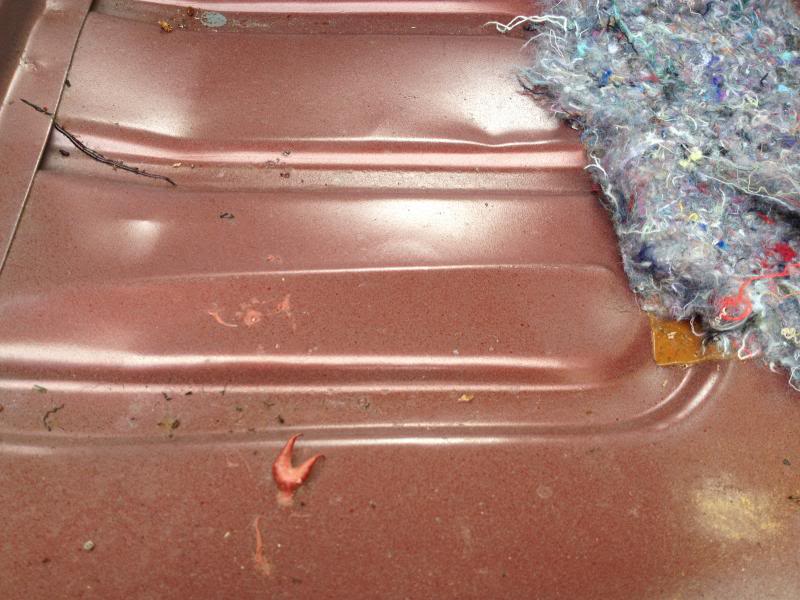
Here is some of the same floor pan damage as seen from inside the car. I am not sure if we are going to need another left side floor pan or if he can get it right without one... We're about to find out.
Pretty busy Saturday.

The engine bay came out pretty clean! The worst thing I found was the battery tray which showed some pretty serious signs of corrosion. I will have to see if my body guy can repair that one or if I have to get another one. I have a lead on one for $35.

Yesterday I spent most of the day removing the interior. It all came out well with no broken pieces. The B pillar trim is somewhat scratched up from years of use so I will have to see if I can locate some new ones.


Amazingly, the factory jack and tire tools were still intact along with the space saver spare and air can. They look like they never have been used.

Apparently the previous owner did some audio upgrades. Boston Acoustic speakers front and rear with some dash speaker modifications. Not sure if they make that much of a difference not being in a sealed enclosure so I may spring for some unmodified mounting plates for under the dash.

Here is some of the same floor pan damage as seen from inside the car. I am not sure if we are going to need another left side floor pan or if he can get it right without one... We're about to find out.

Pretty busy Saturday.

Thread
Thread Starter
Forum
Replies
Last Post
Roblyons
Interior Parts Wanted
3
Aug 30, 2015 12:07 PM
mustangman65_79
Body
3
Aug 11, 2015 03:17 PM