
Complete Audio Build - try #2


Thread Starter
Supreme Member
iTrader: (2)
Joined: May 2002
Posts: 4,449
Likes: 8
From: Everett, WA
Car: 87' IROC
Engine: L98
Transmission: T56
Re: Complete Audio Build - try #2
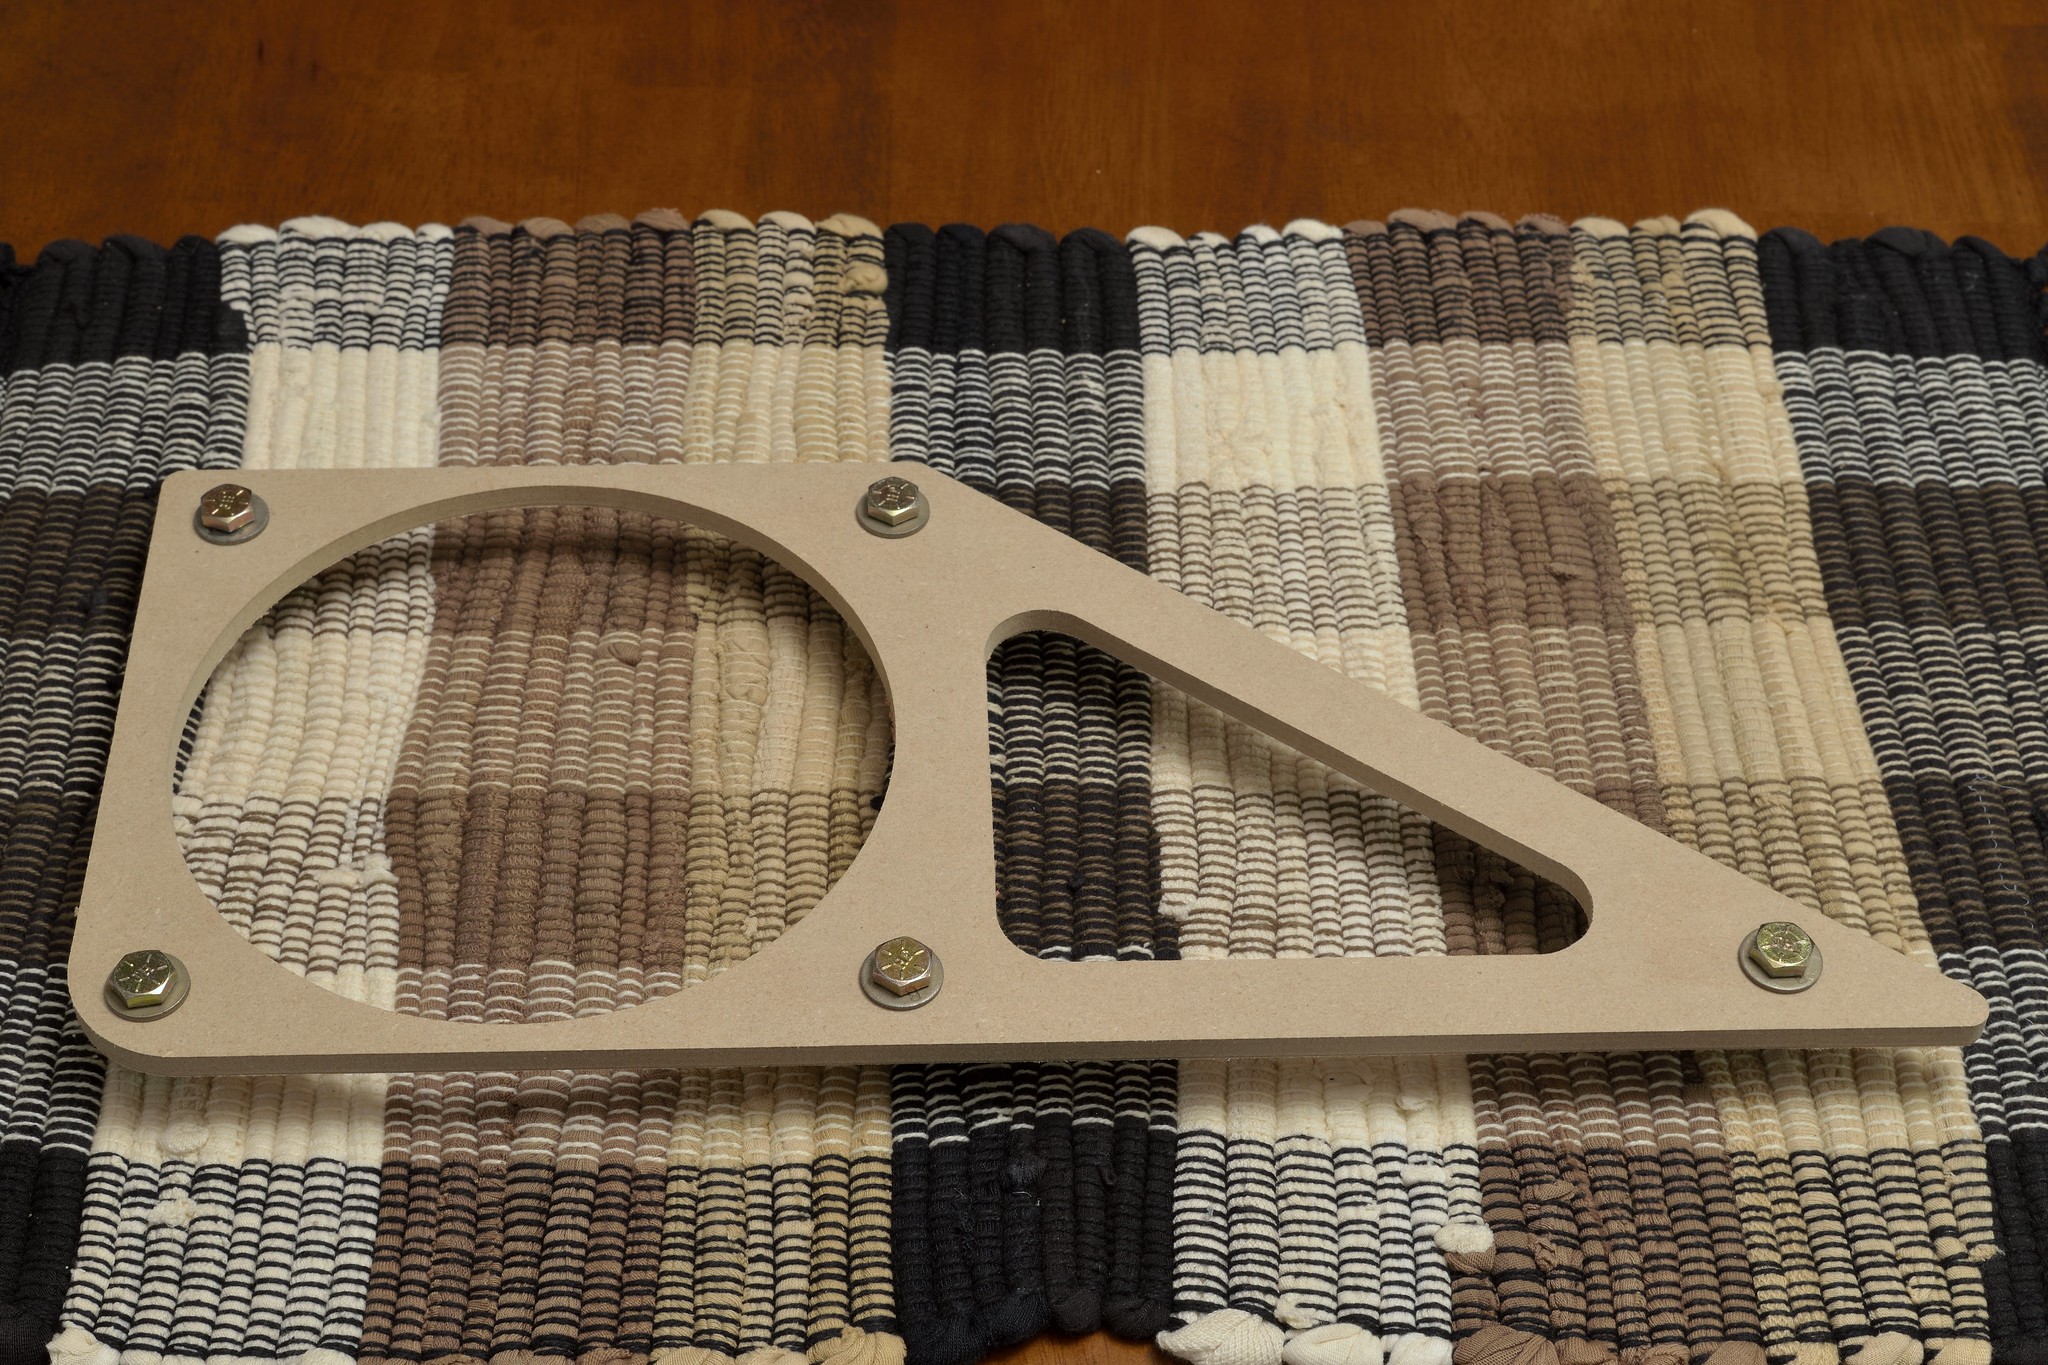
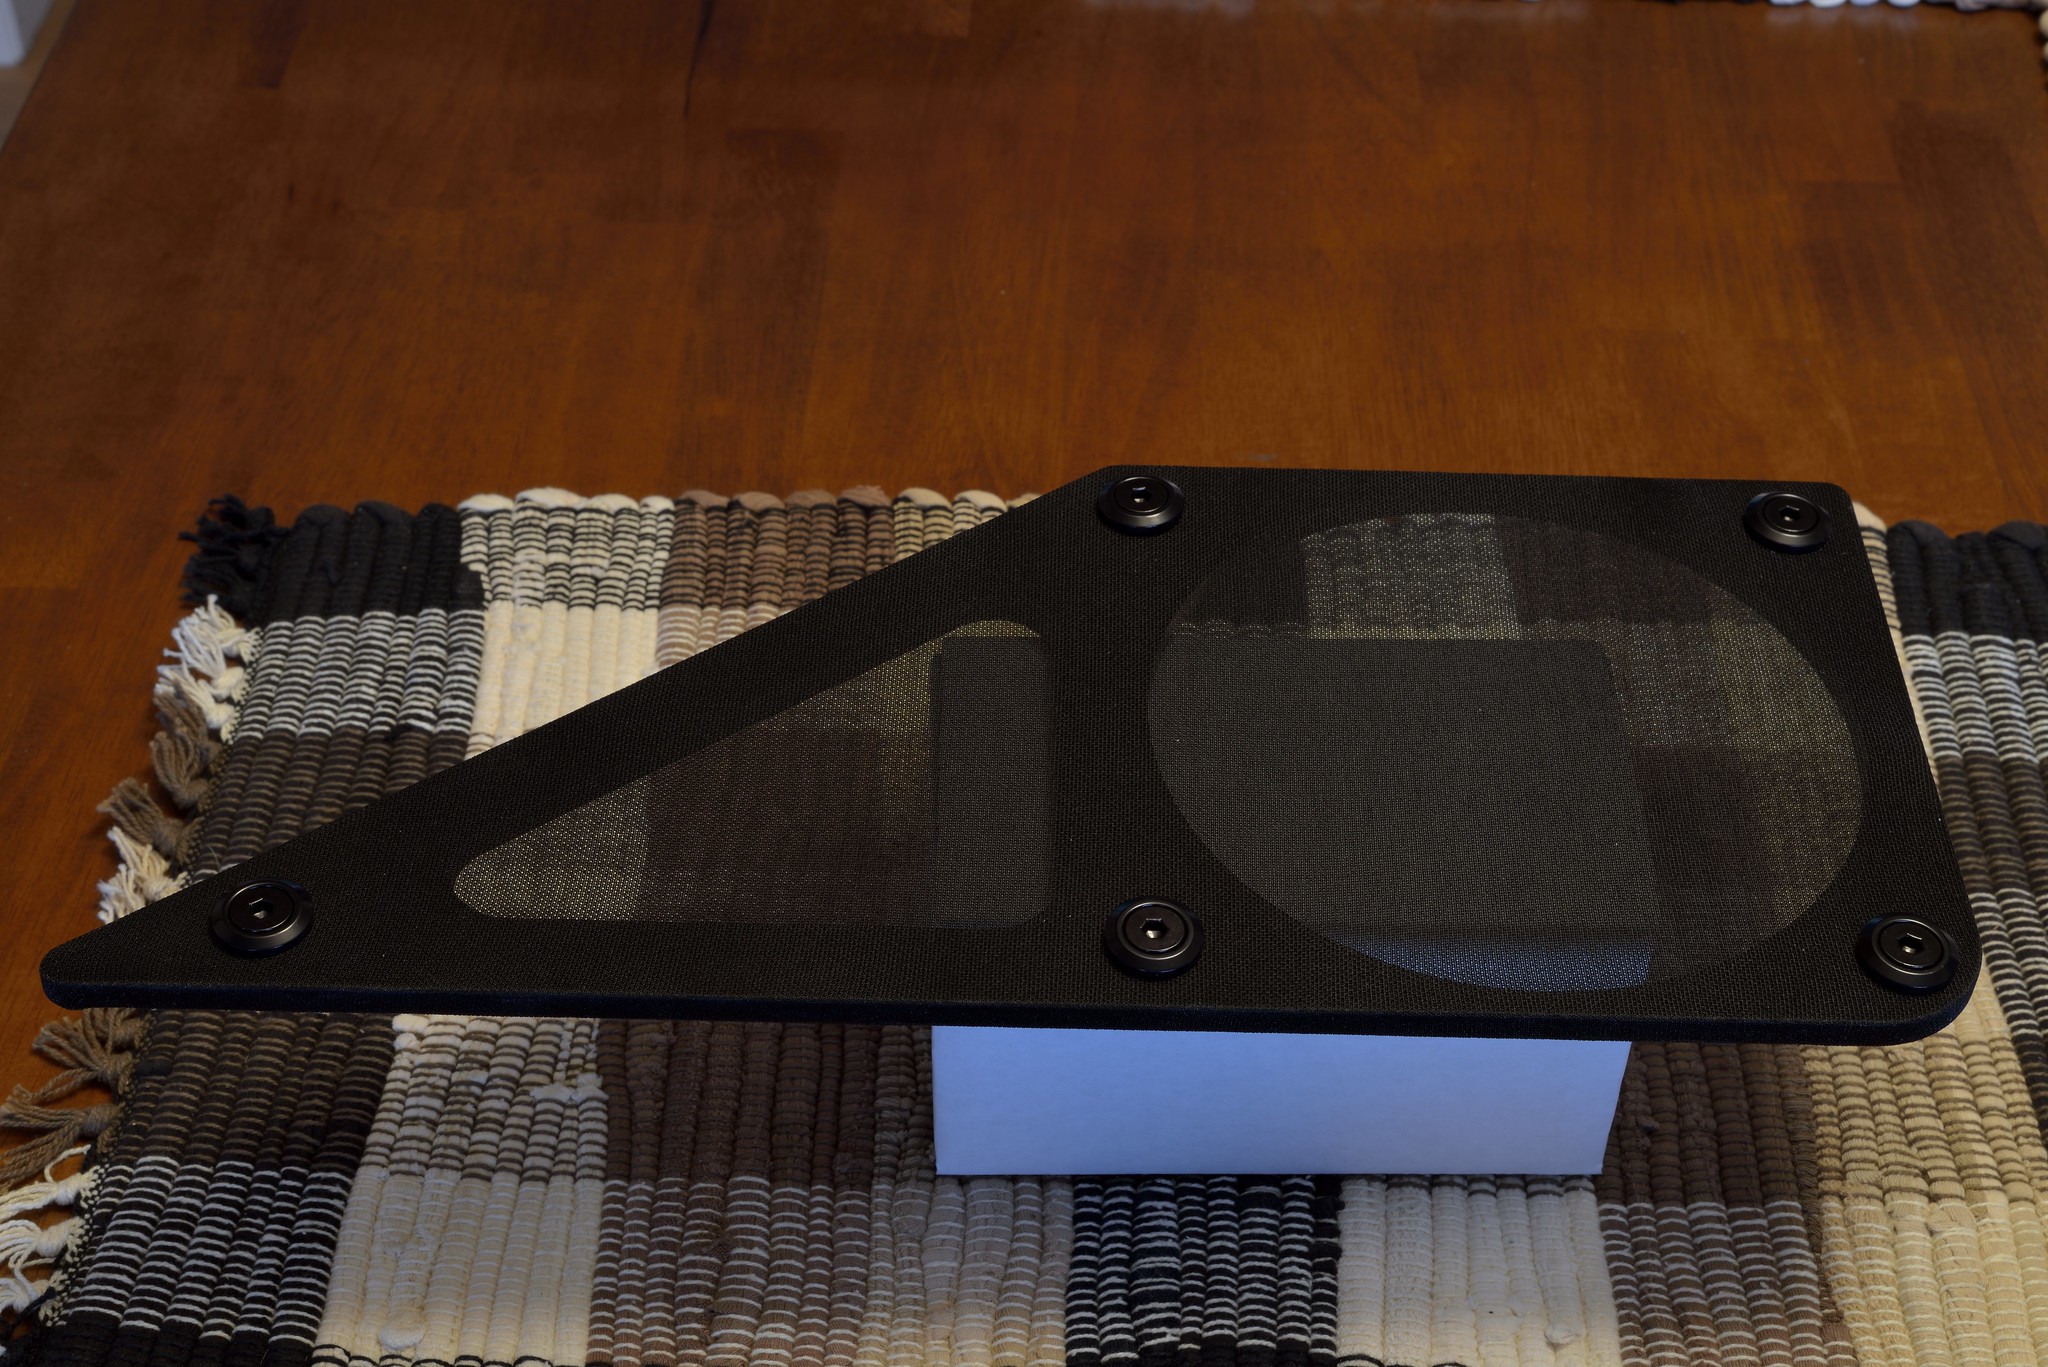
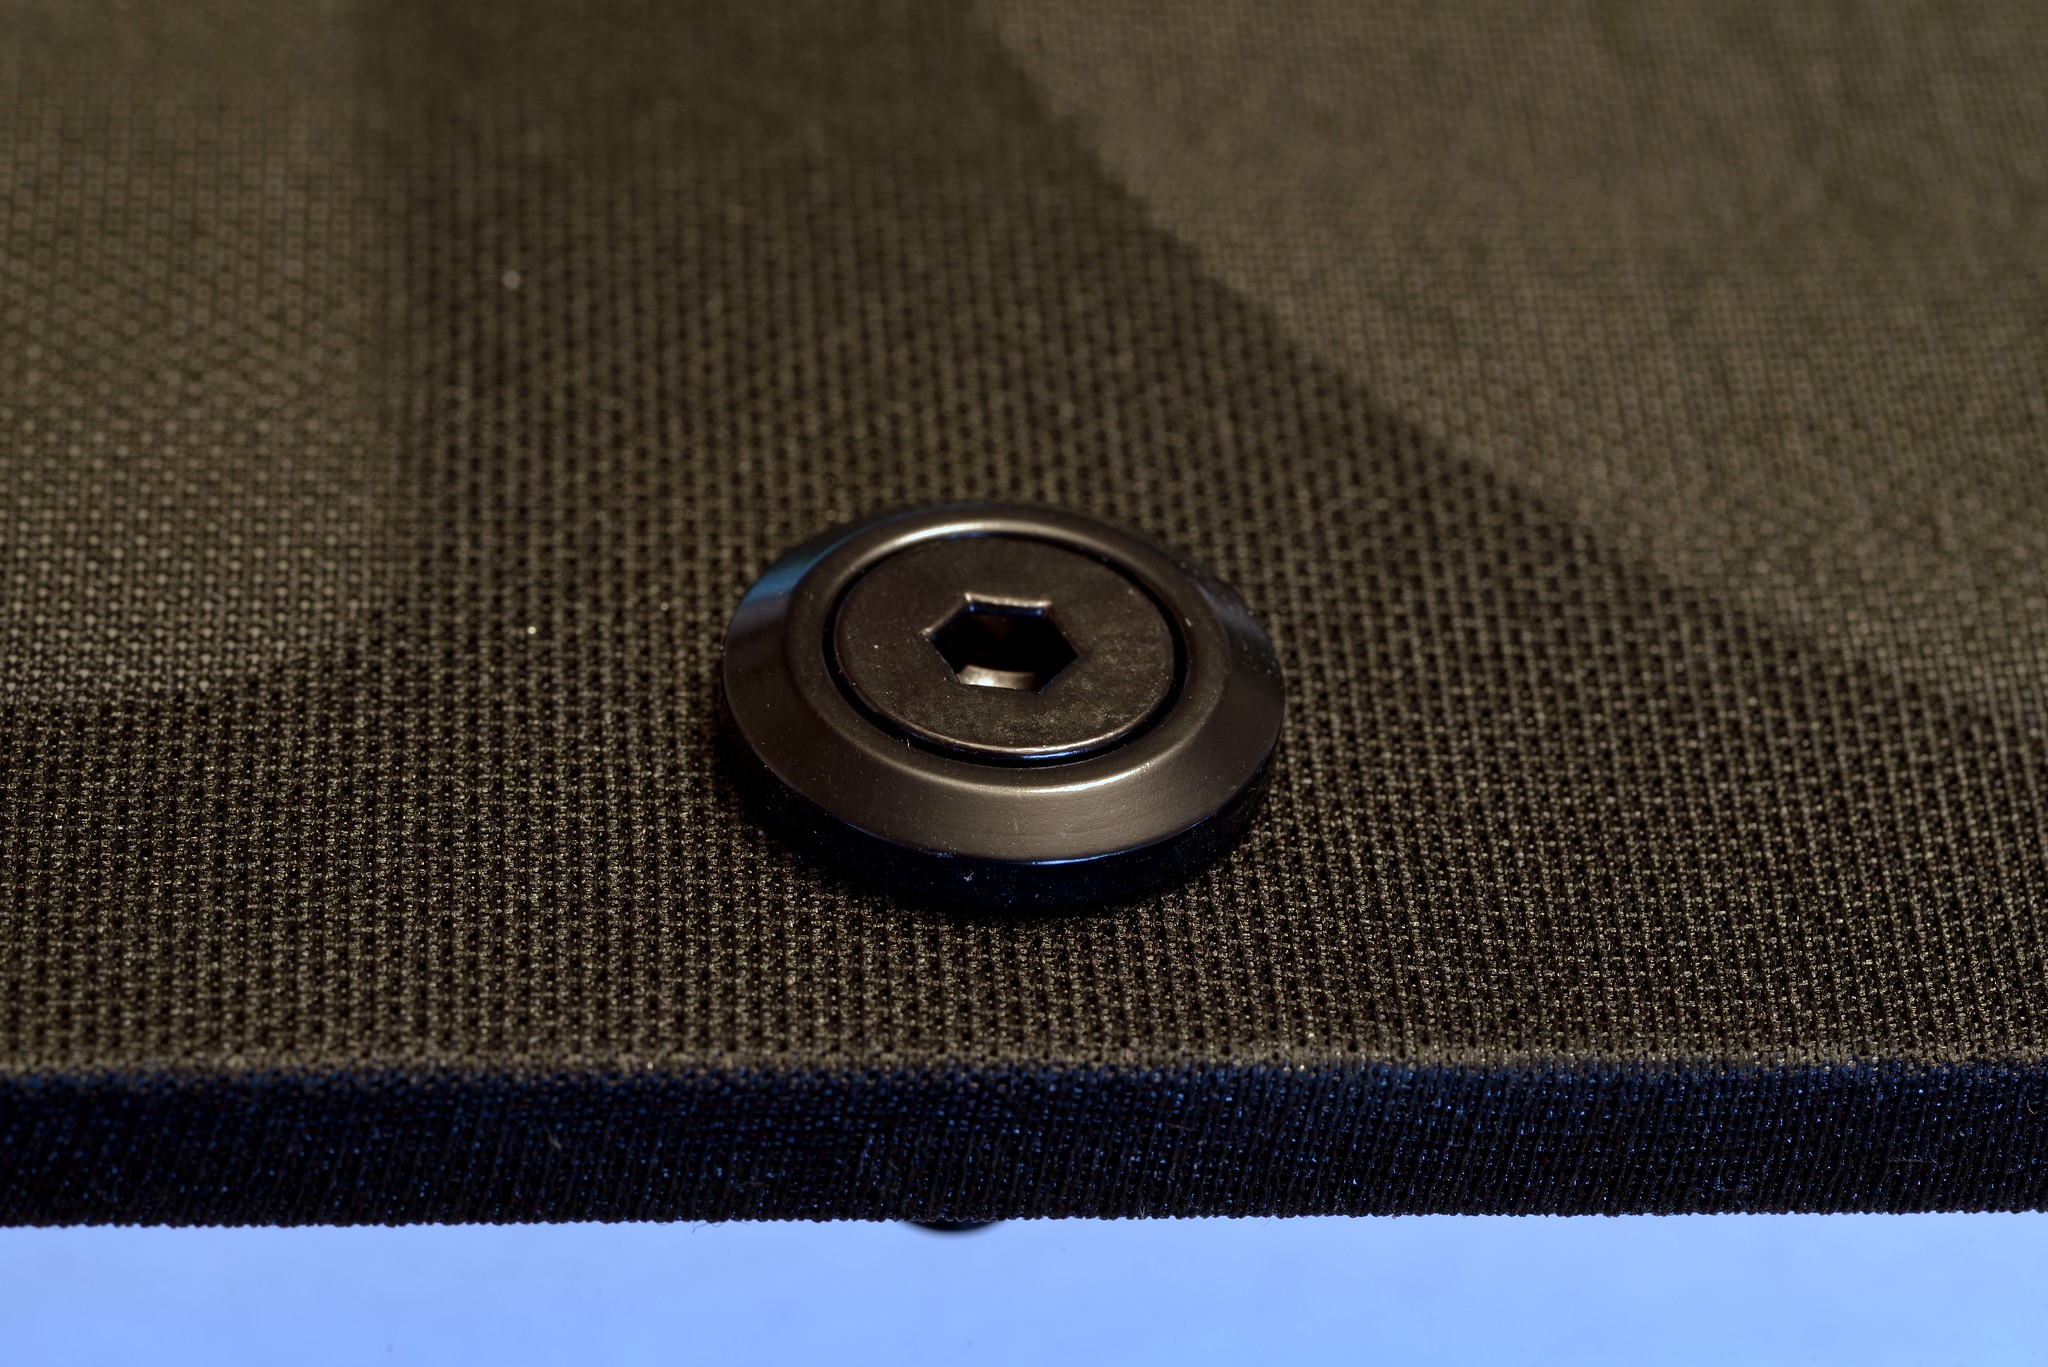
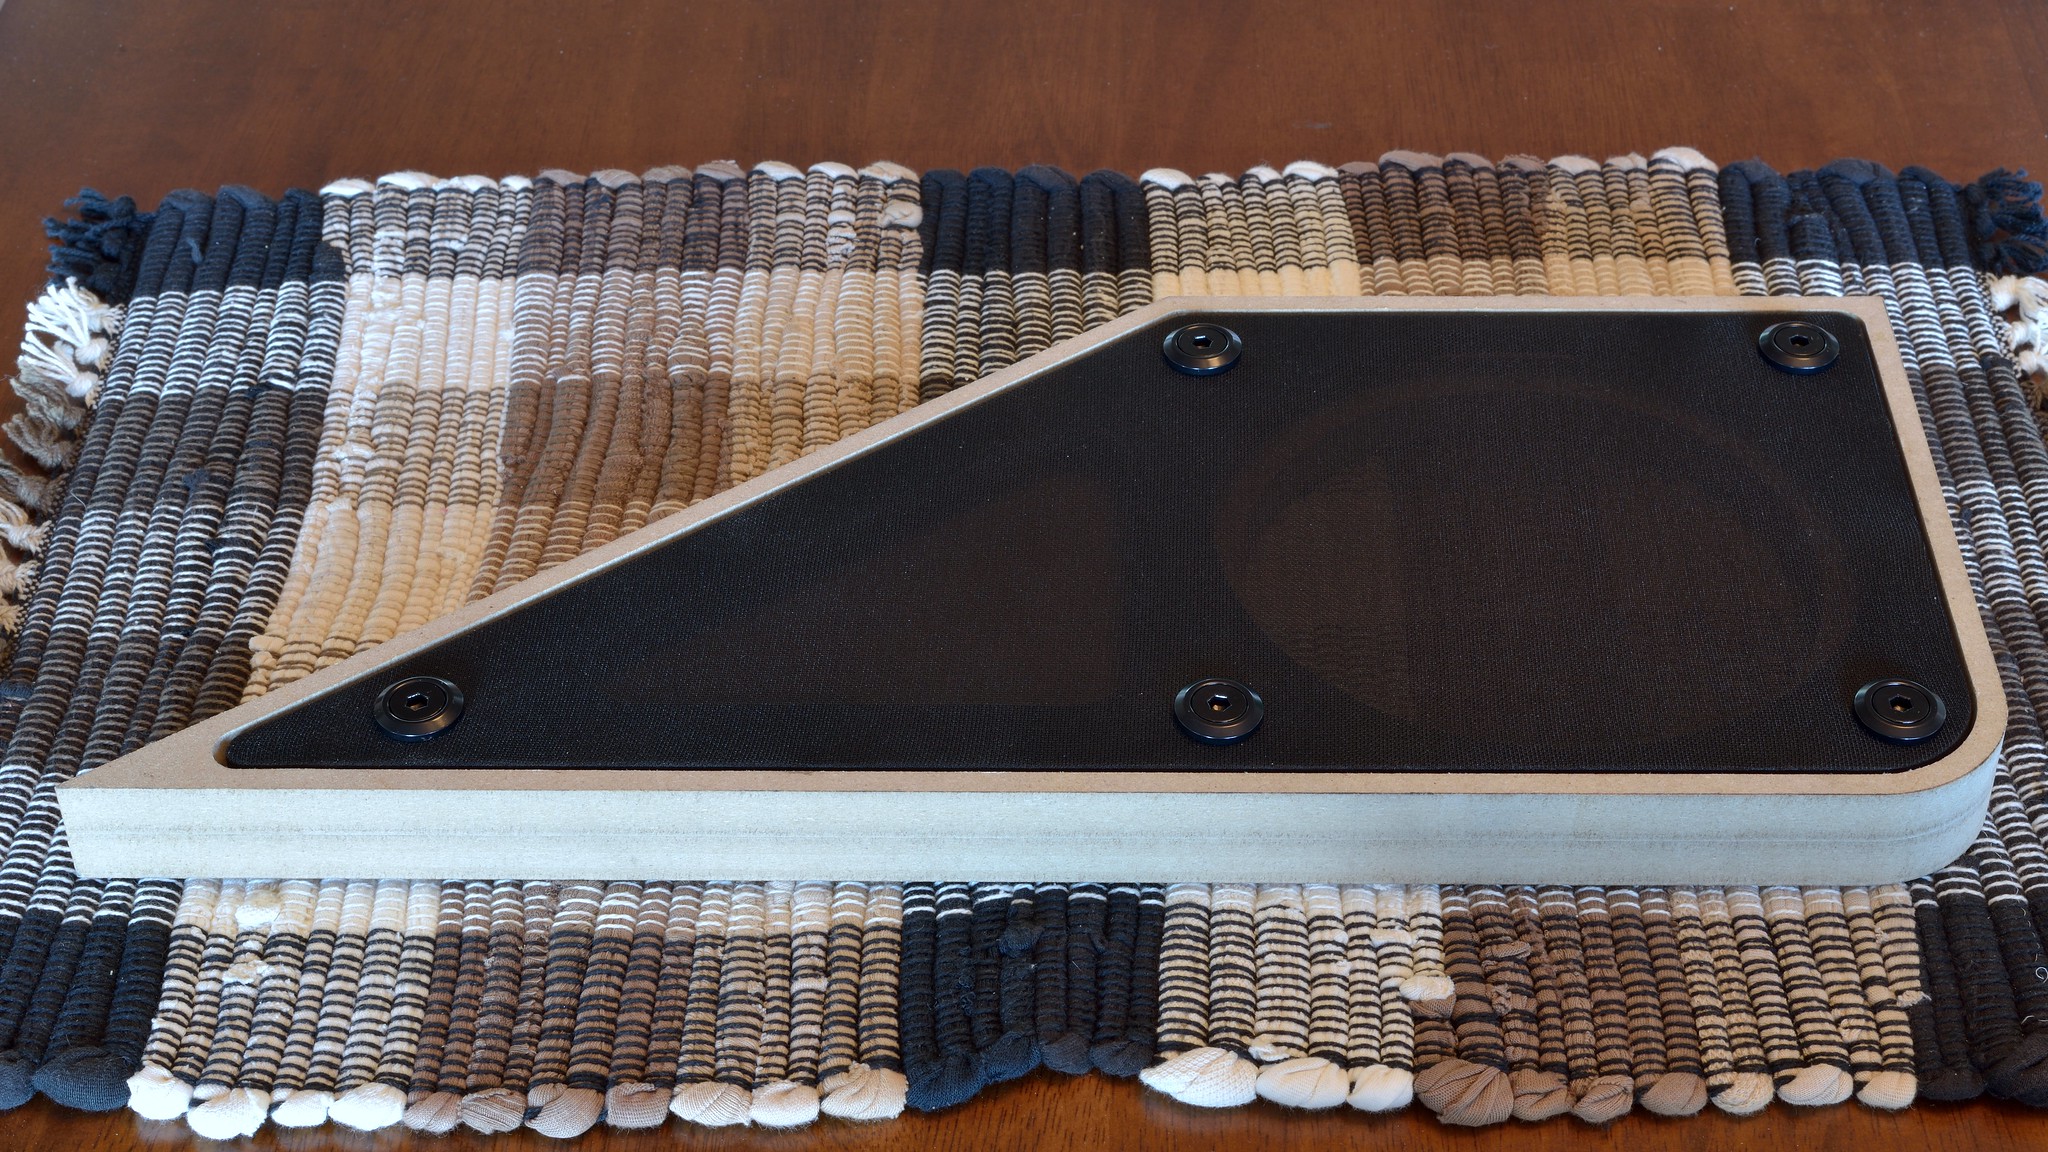
I worked on the grill frames a bit. I decided to go with exposed hardware to hold the grill on. I was originally going to go with more traditional grill fasteners like on home speakers, but then I realized my gaps are so tight that it would be tough to get a grip on the grill to remove it. Plus these will fit right in with the Camaro interior fasteners.

Here is a picture with just some hardware I had laying around.
And the back side. There are mdf spacers here to keep the grill off the speaker and flush with the top surface of the pod.
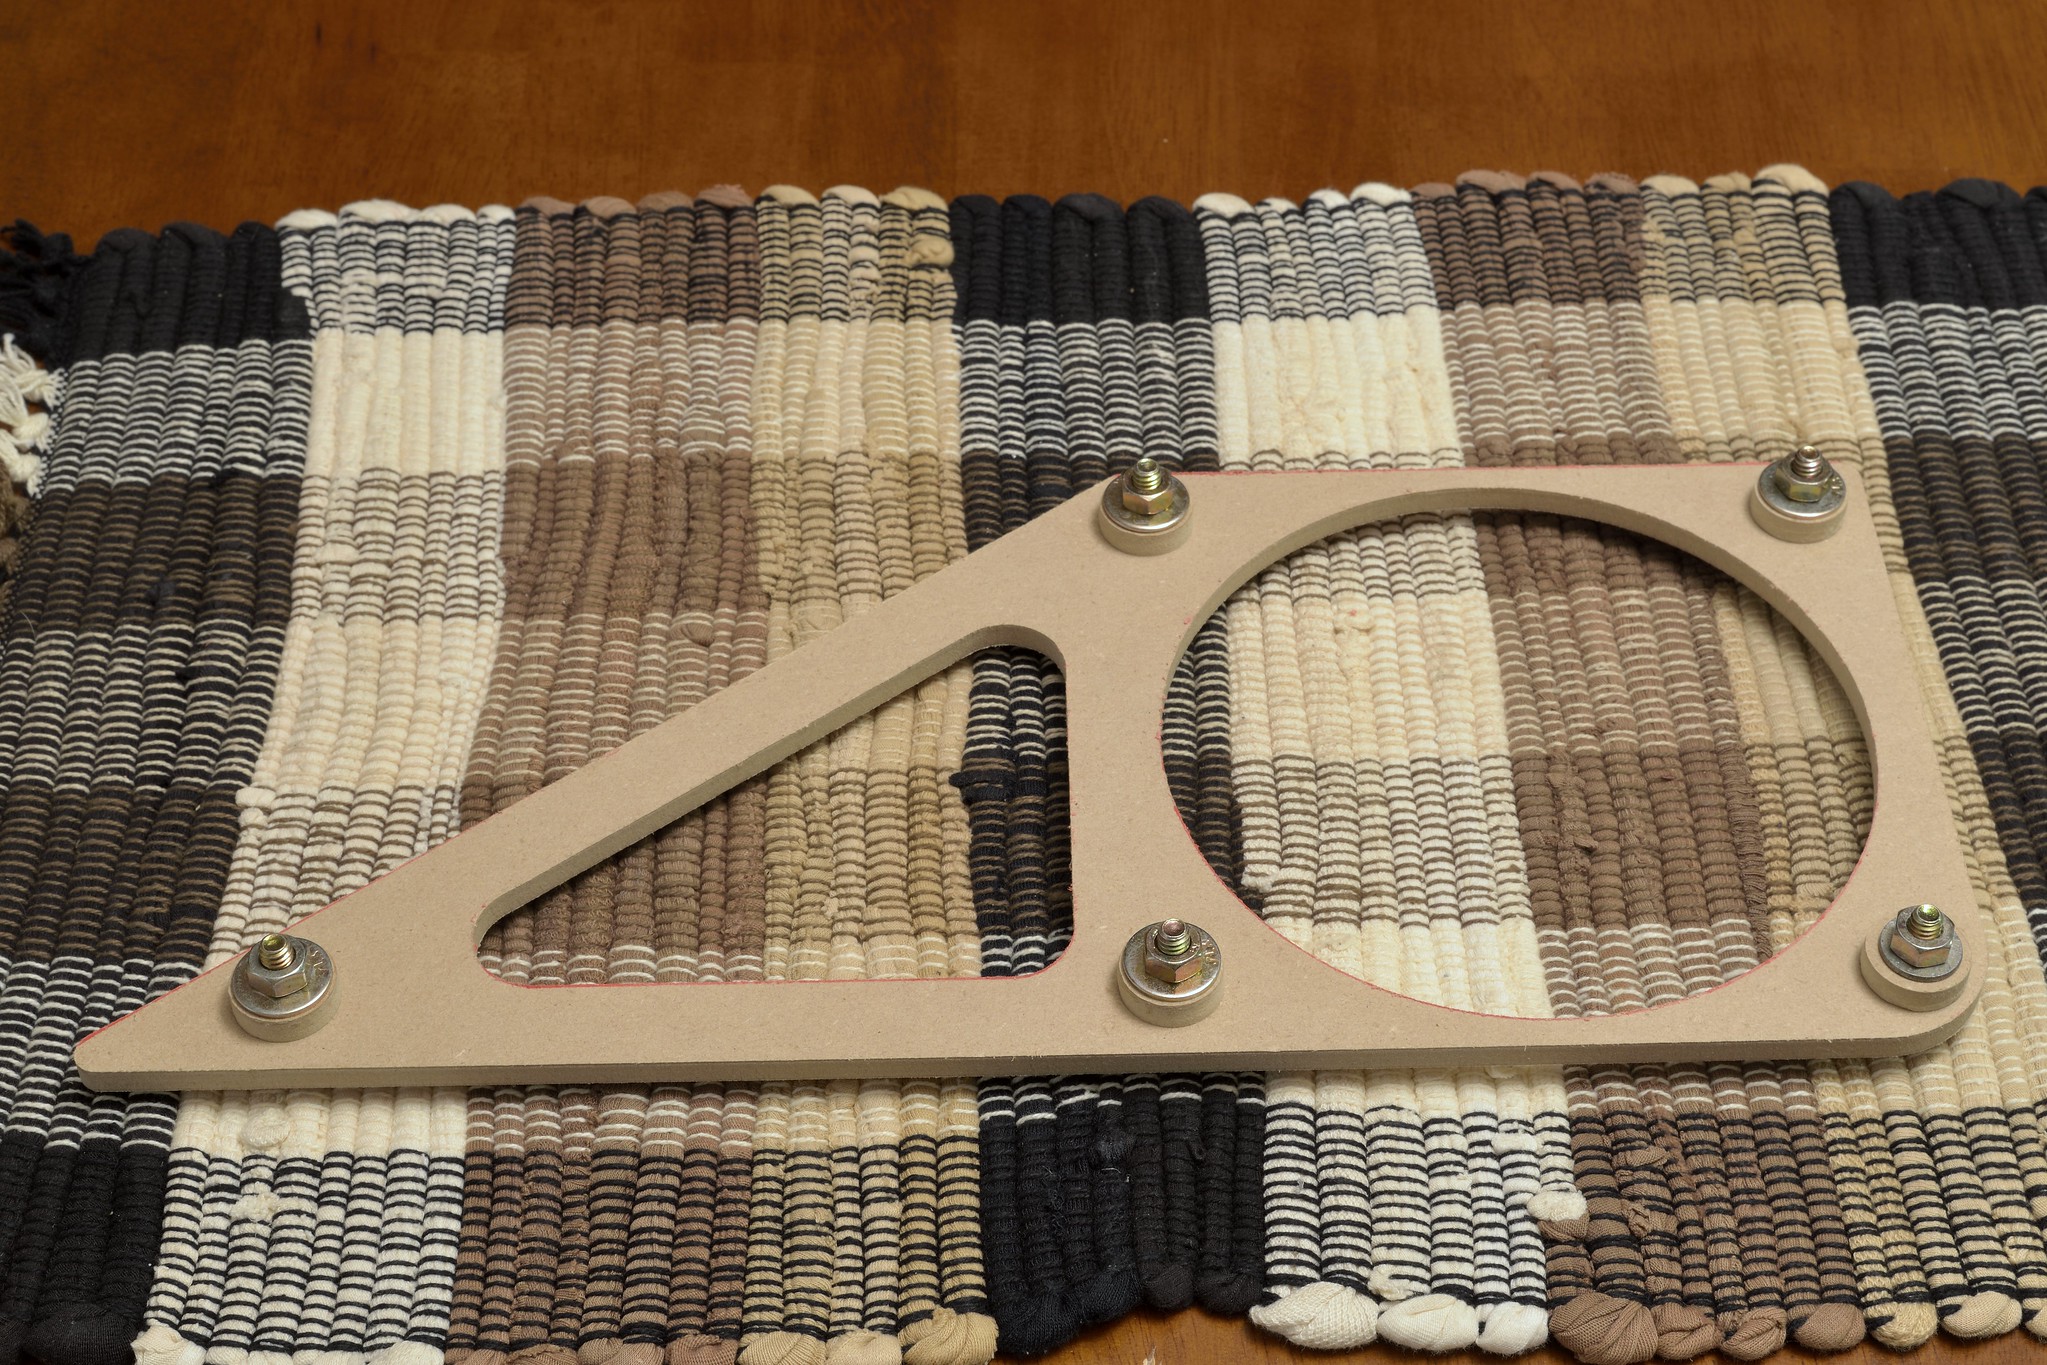
Here is a picture with just some hardware I had laying around.
And the back side. There are mdf spacers here to keep the grill off the speaker and flush with the top surface of the pod.
Thread Starter
Supreme Member
iTrader: (2)
Joined: May 2002
Posts: 4,449
Likes: 8
From: Everett, WA
Car: 87' IROC
Engine: L98
Transmission: T56
Re: Complete Audio Build - try #2
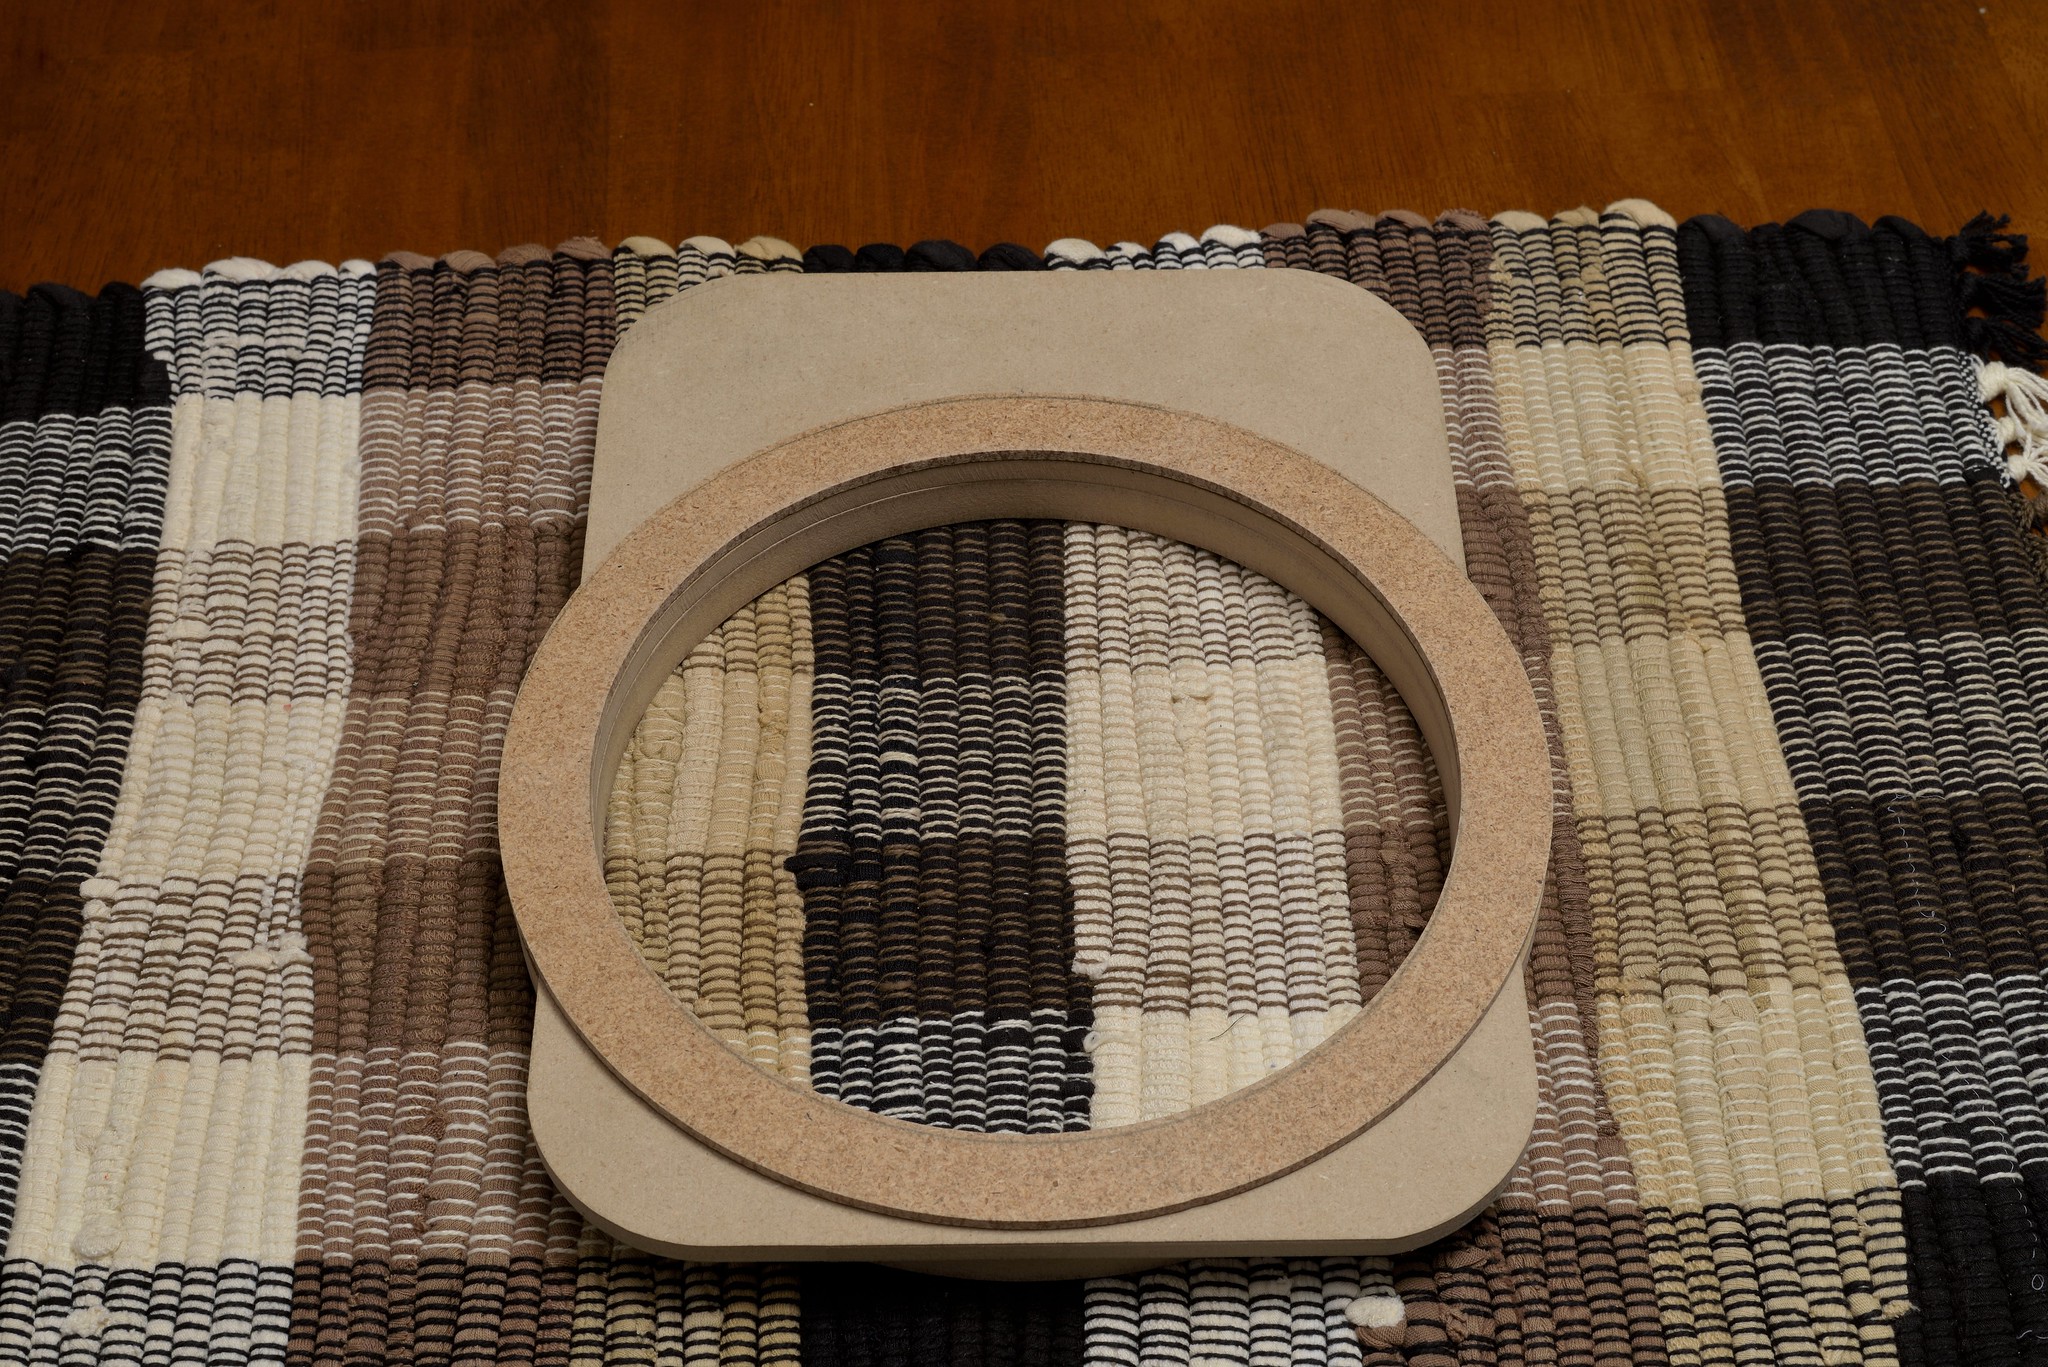
Grill frame is coming along. Hardware looks good.
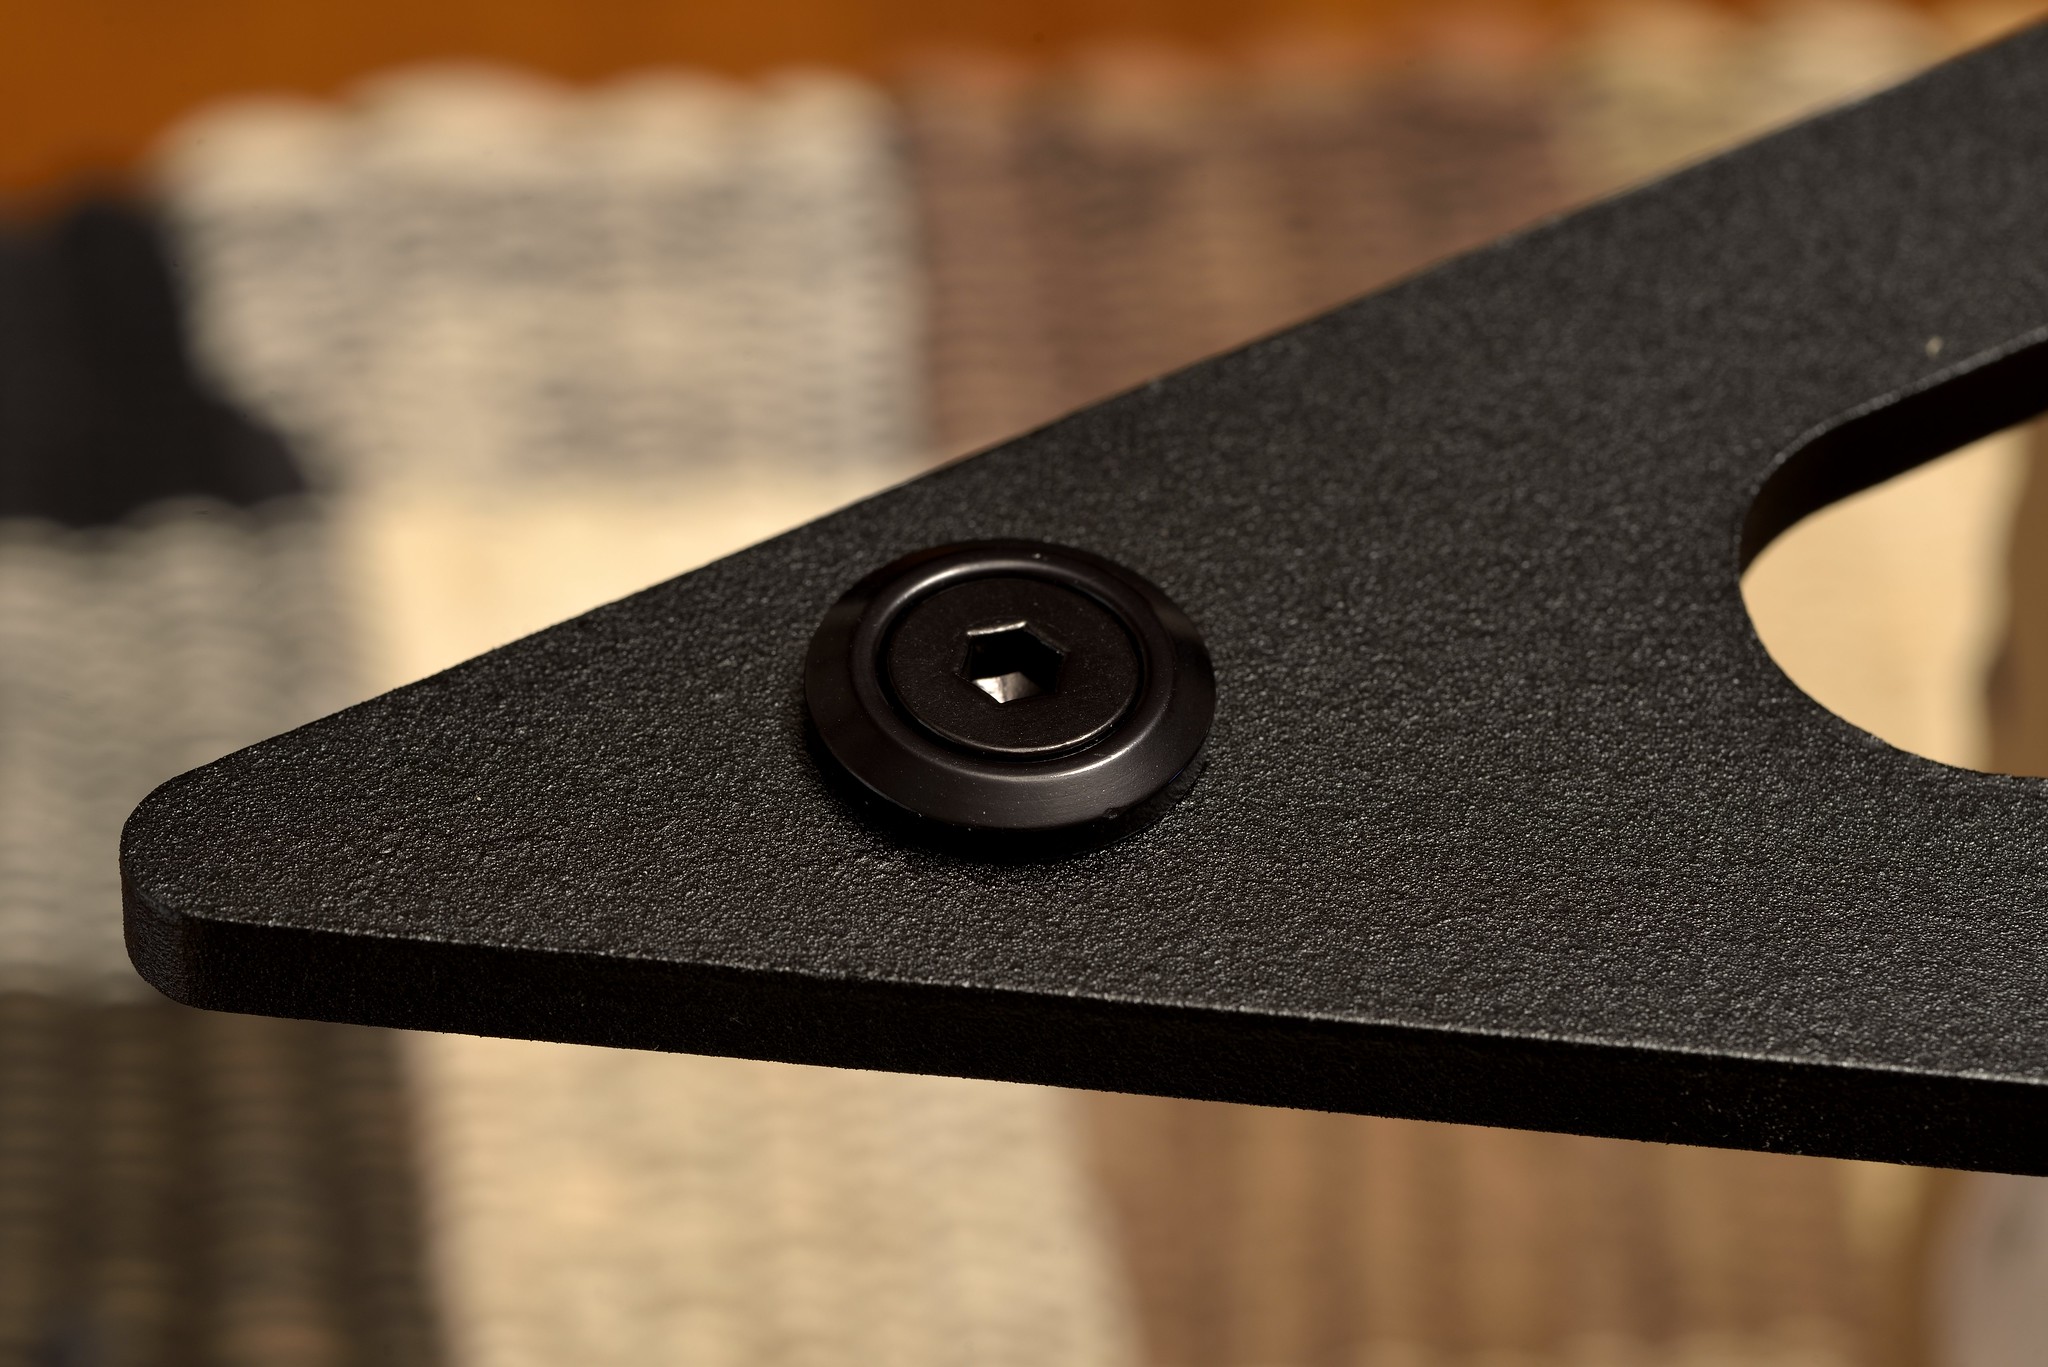
I also got the threaded inserts installed for the driver and the grill.
I also got the threaded inserts installed for the driver and the grill.


Joined: Oct 2006
Posts: 3,041
Likes: 8
From: West of Toronto
Car: 89 IROC
Engine: 305 TPI / ZZ4 cam
Transmission: Stage 2 700R4, LS1 driveshaft
Axle/Gears: Strange 3.42 w/ Auburn

Thread Starter
Supreme Member
iTrader: (2)
Joined: May 2002
Posts: 4,449
Likes: 8
From: Everett, WA
Car: 87' IROC
Engine: L98
Transmission: T56
Thread Starter
Supreme Member
iTrader: (2)
Joined: May 2002
Posts: 4,449
Likes: 8
From: Everett, WA
Car: 87' IROC
Engine: L98
Transmission: T56
Re: Complete Audio Build - try #2
I got one of the grills done.
I first stretched the fabric over the frame and stapled to the back.
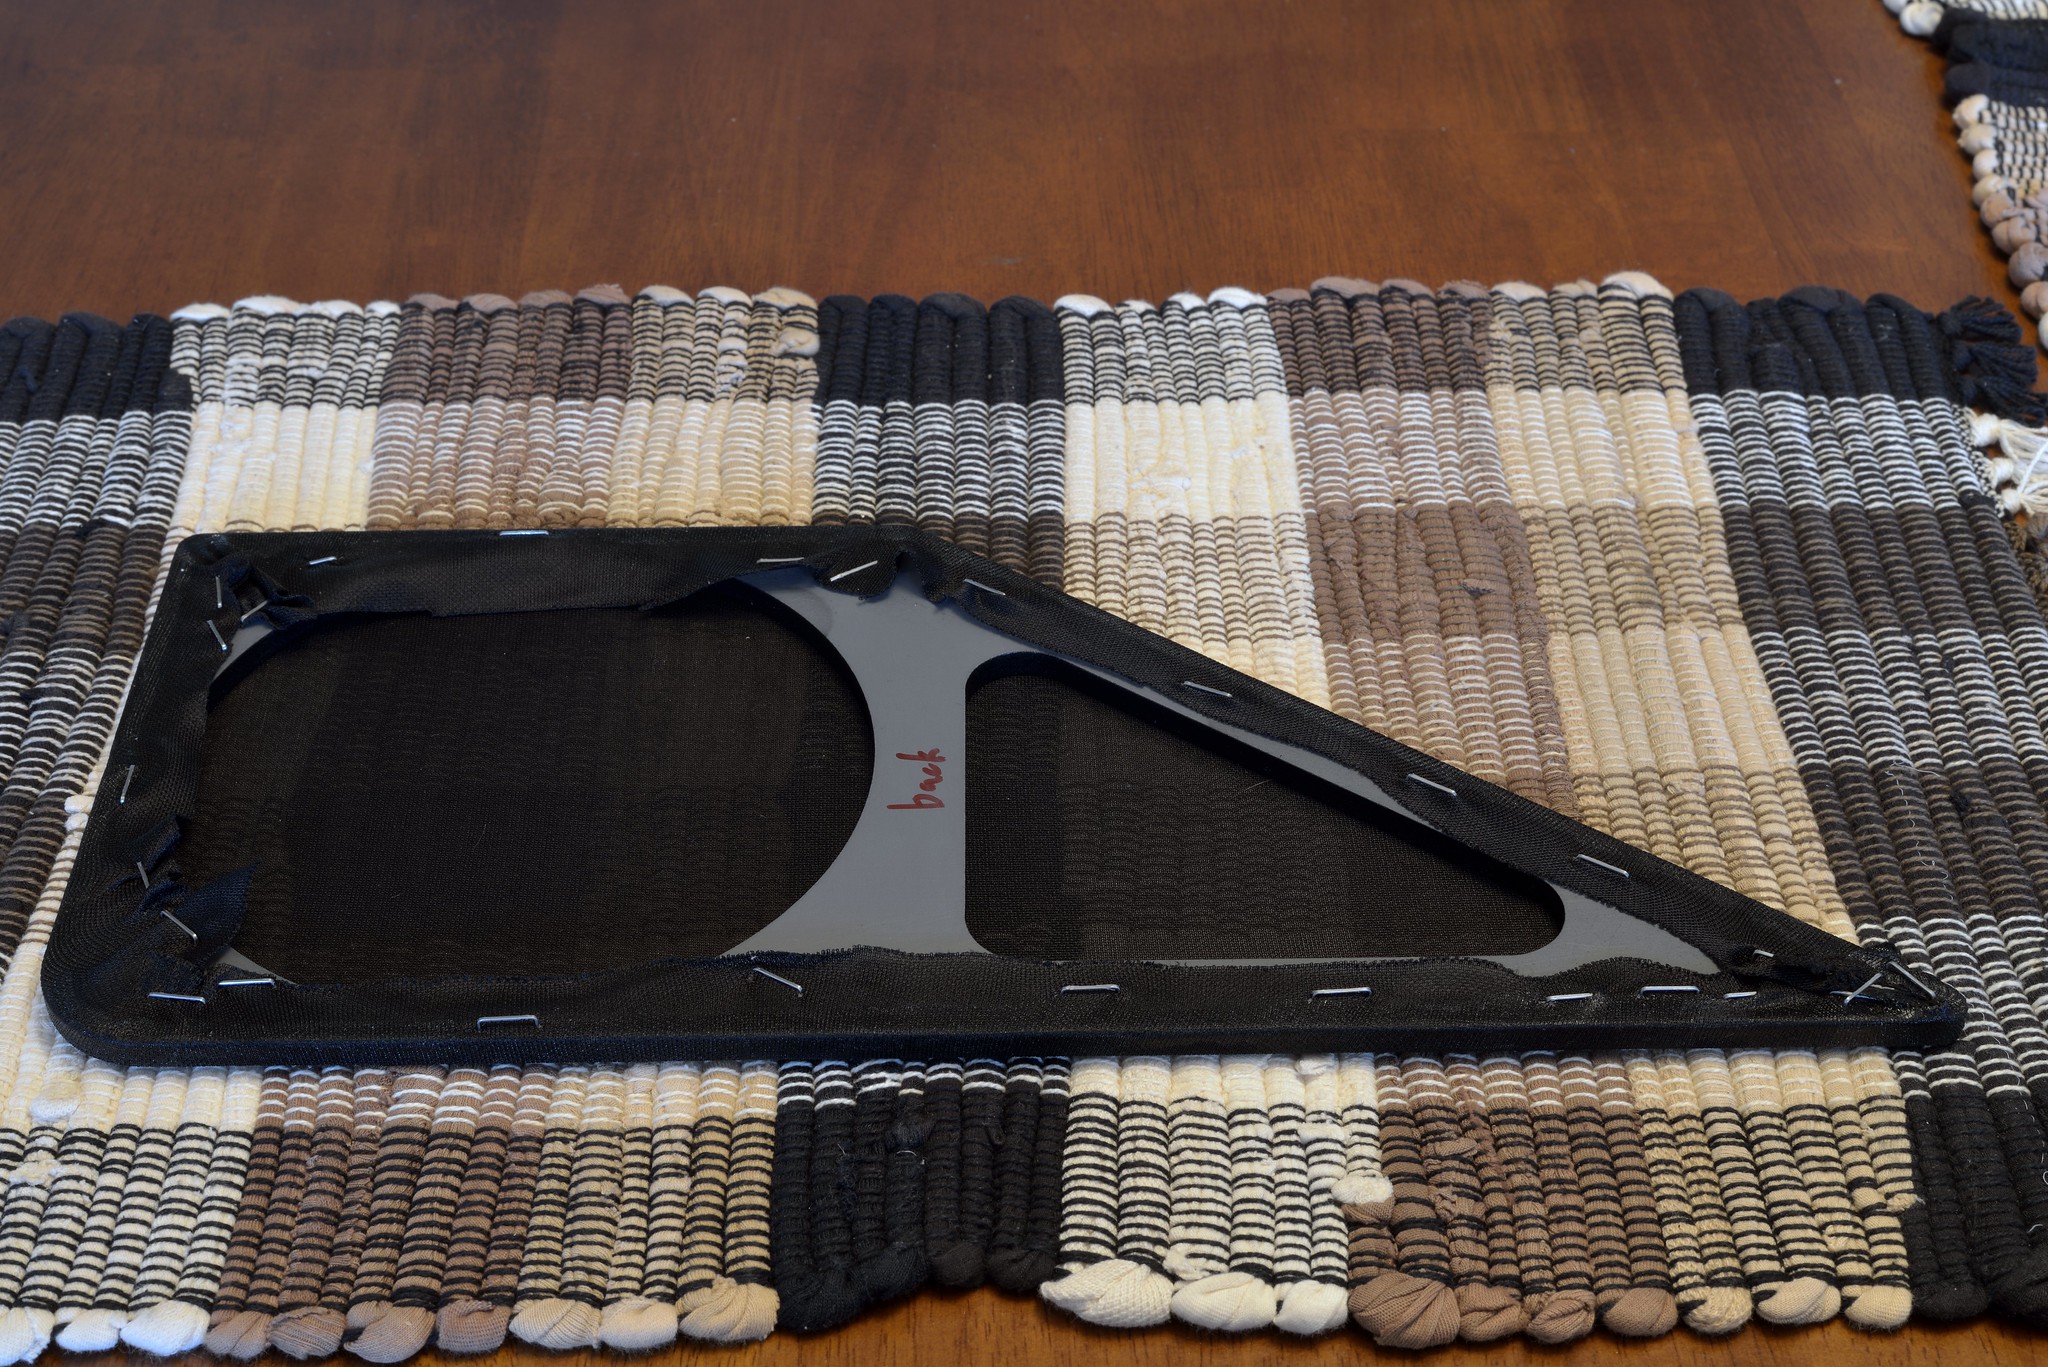
Then I ran a bead of CA glue along the edge. Then I removed the staples and cut back the excess fabric. I also ran a bead of CA glue along the side edge for some extra insurance.
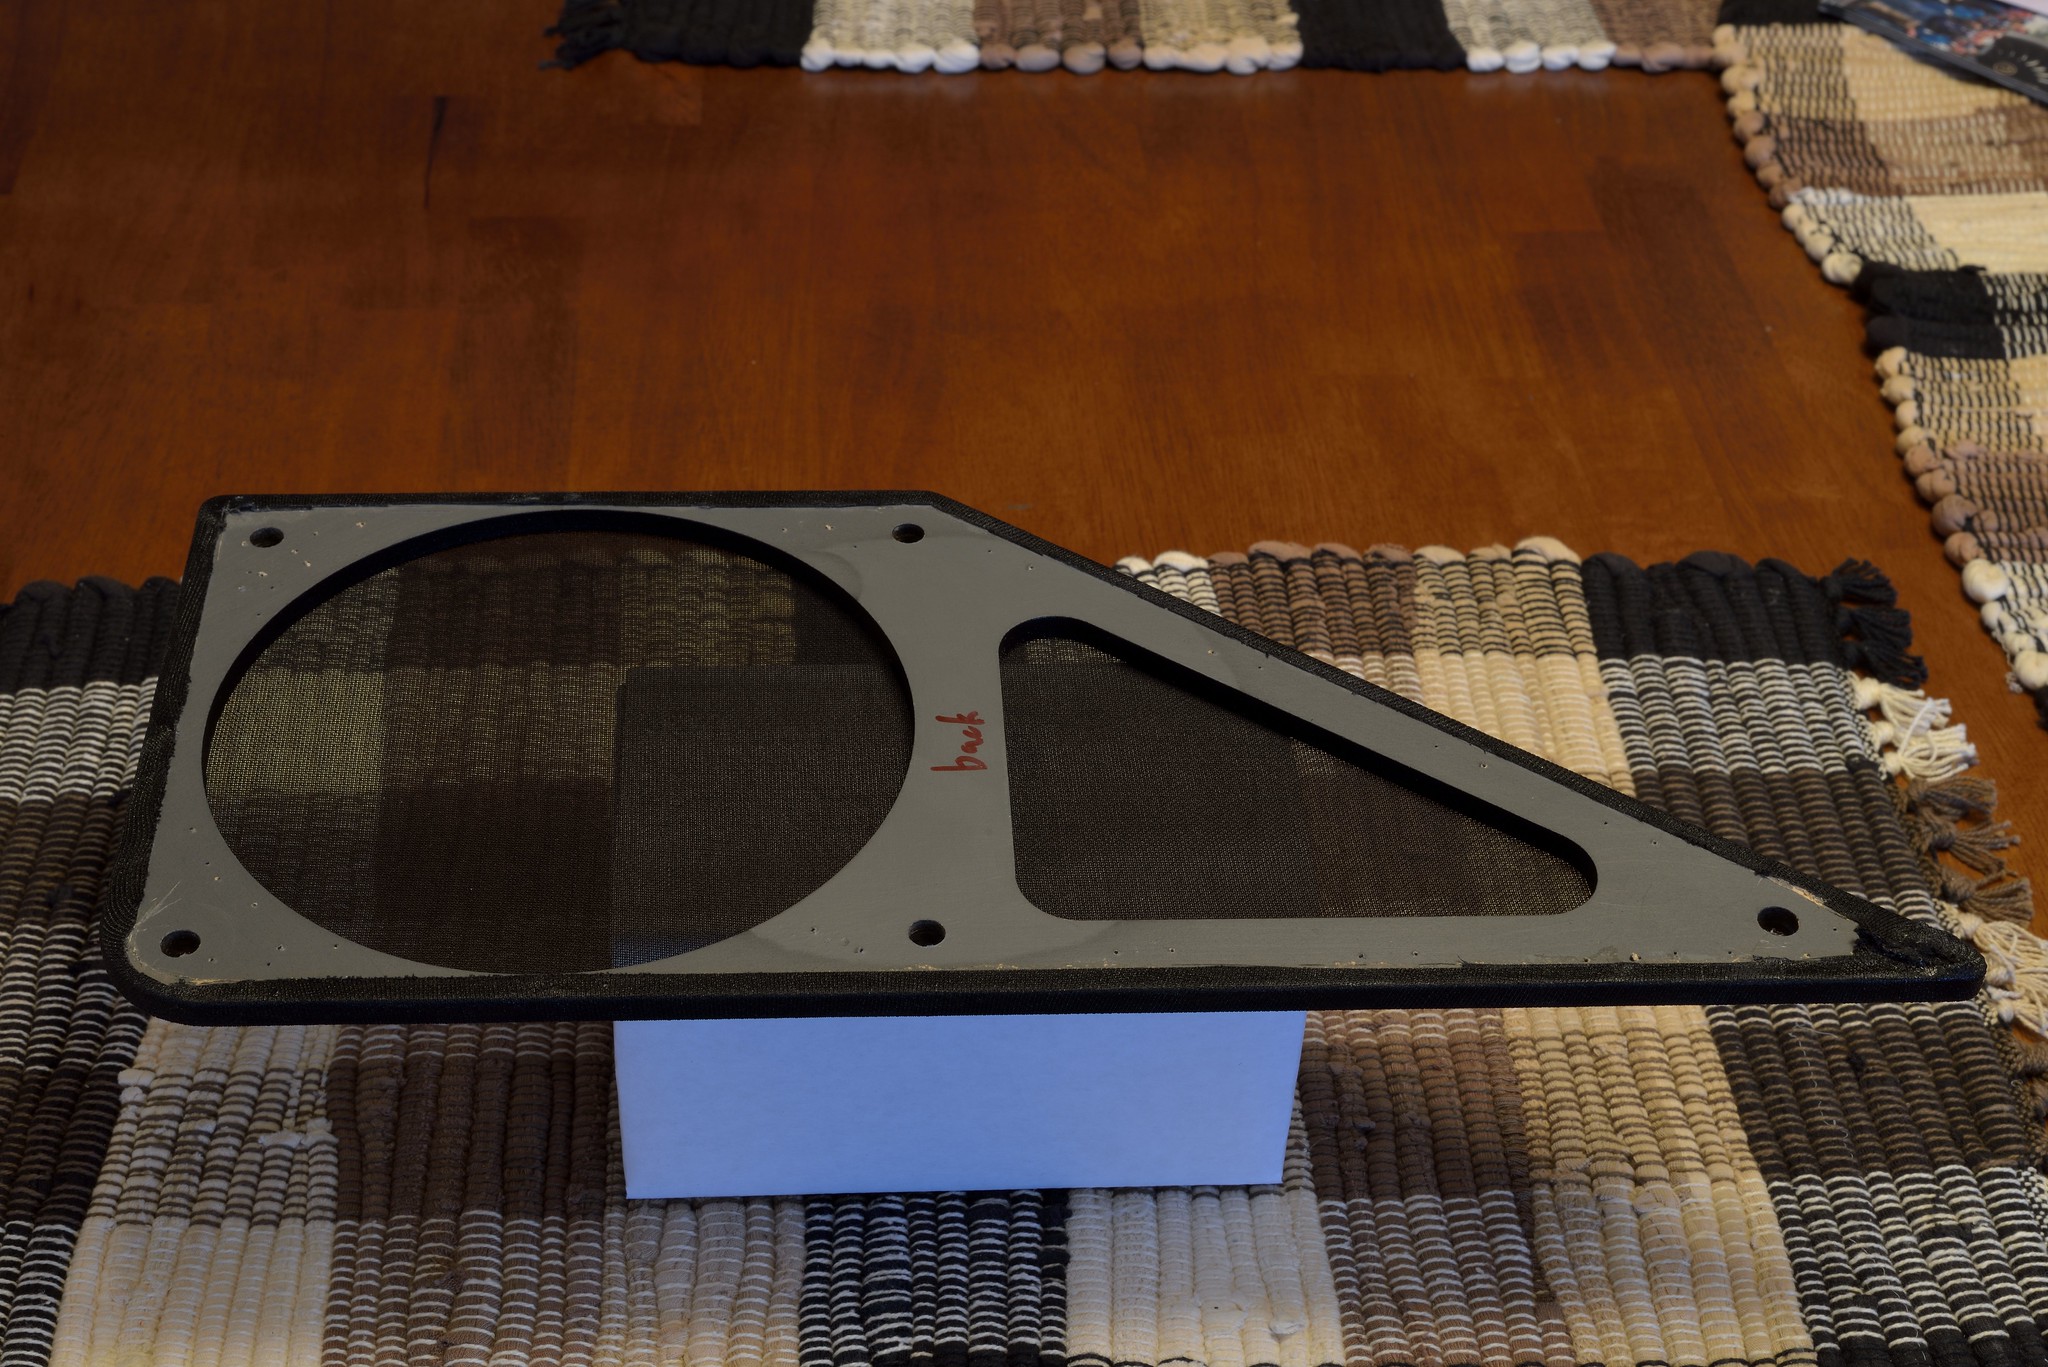
Then I put some more CA glue around each fastener hole to stiffen the fabric. Then I used a step bit by hand to "drill" out fabric from over the holes.
I first stretched the fabric over the frame and stapled to the back.
Then I ran a bead of CA glue along the edge. Then I removed the staples and cut back the excess fabric. I also ran a bead of CA glue along the side edge for some extra insurance.
Then I put some more CA glue around each fastener hole to stiffen the fabric. Then I used a step bit by hand to "drill" out fabric from over the holes.

Thread Starter
Supreme Member
iTrader: (2)
Joined: May 2002
Posts: 4,449
Likes: 8
From: Everett, WA
Car: 87' IROC
Engine: L98
Transmission: T56
Re: Complete Audio Build - try #2
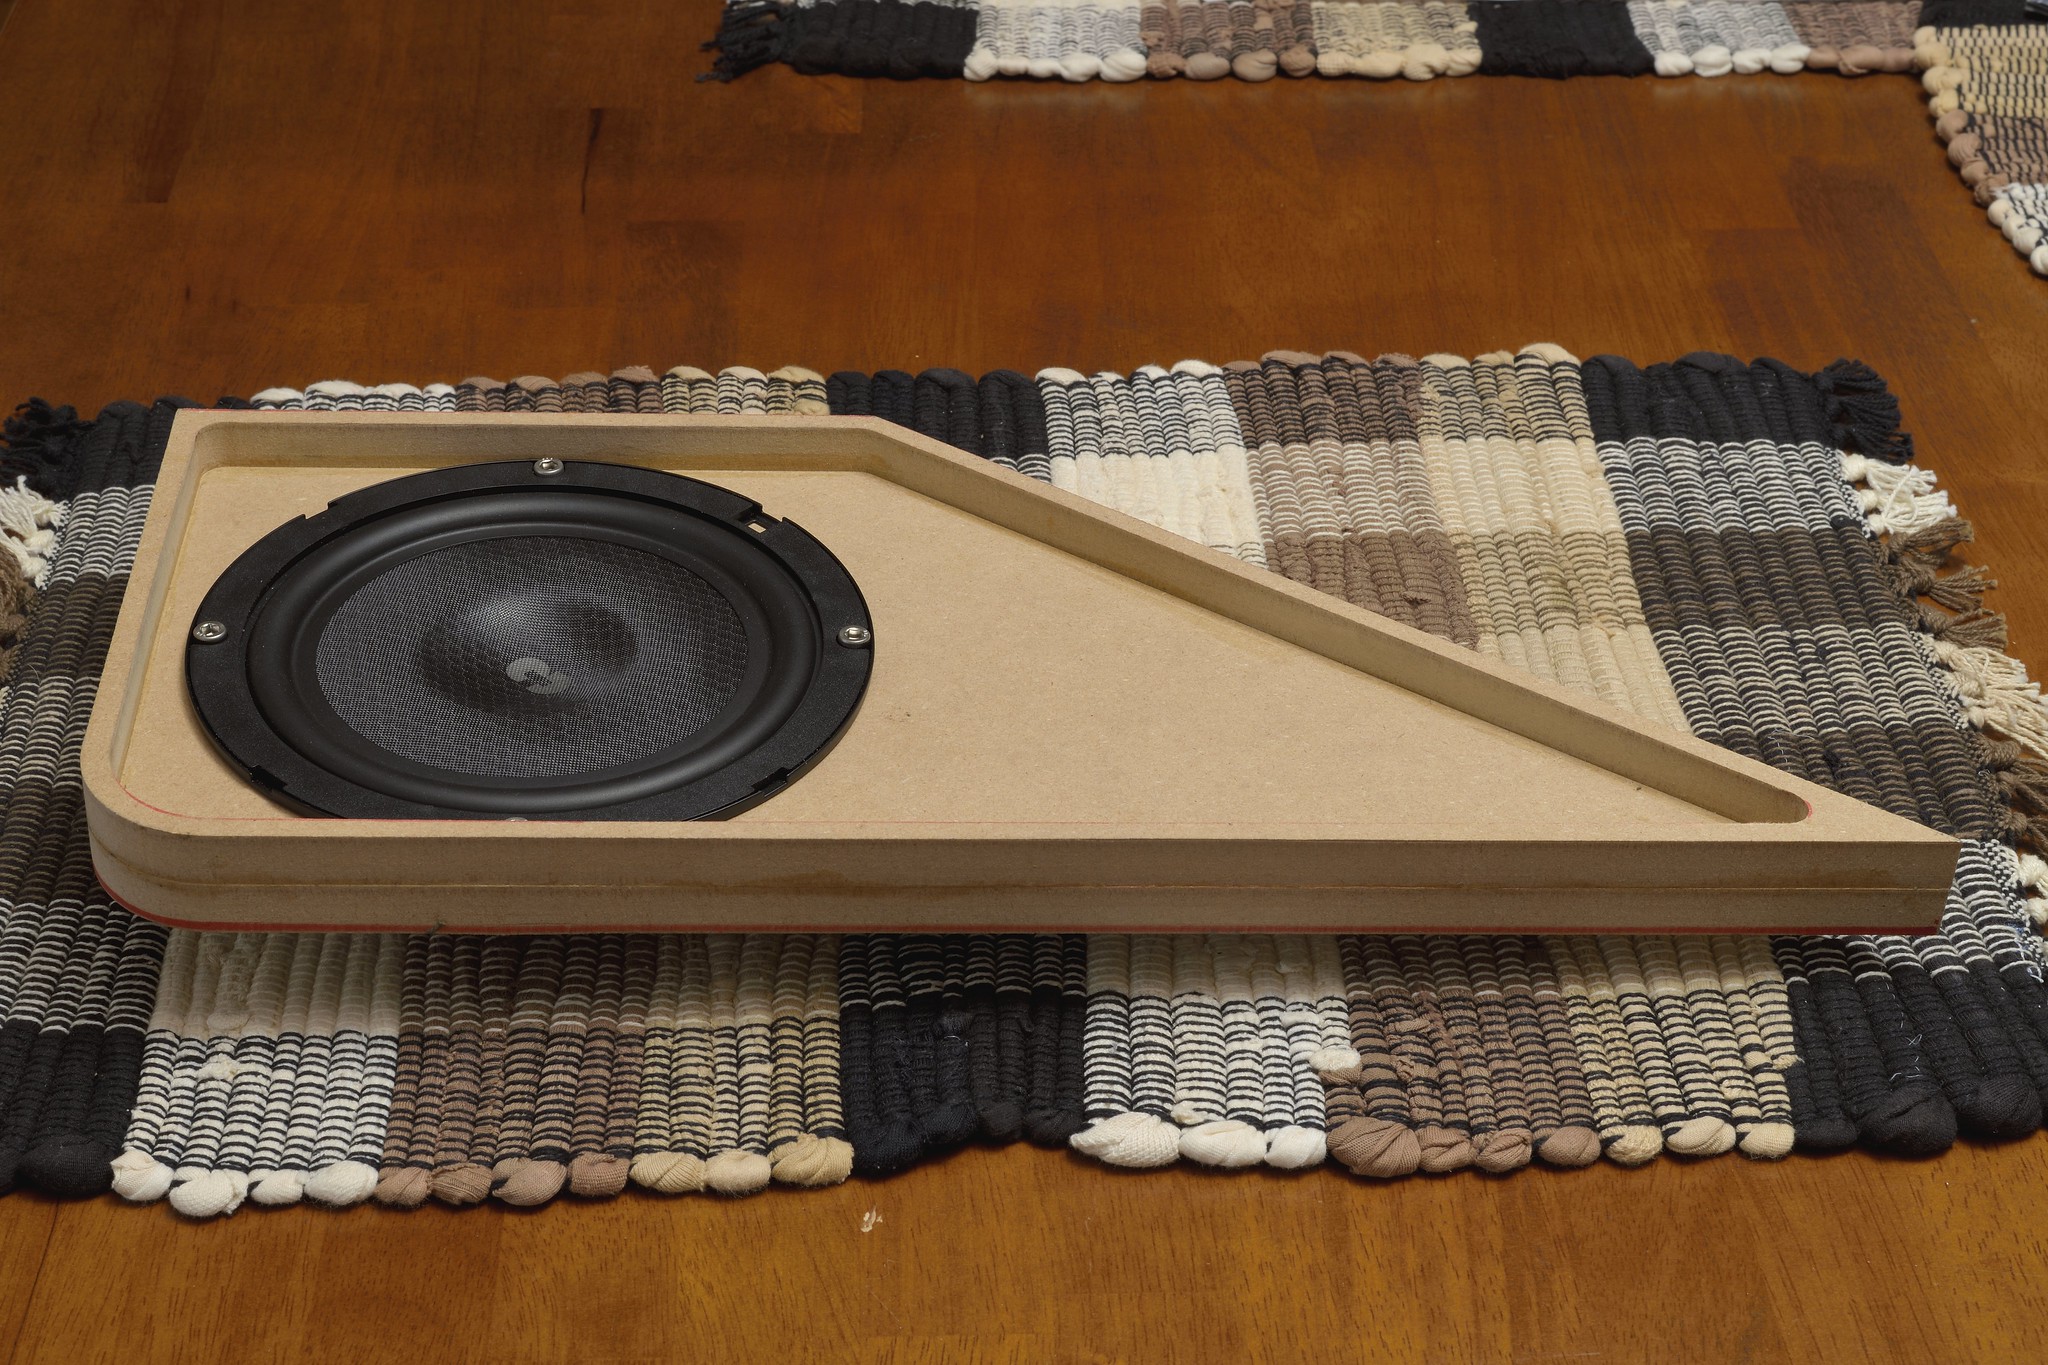
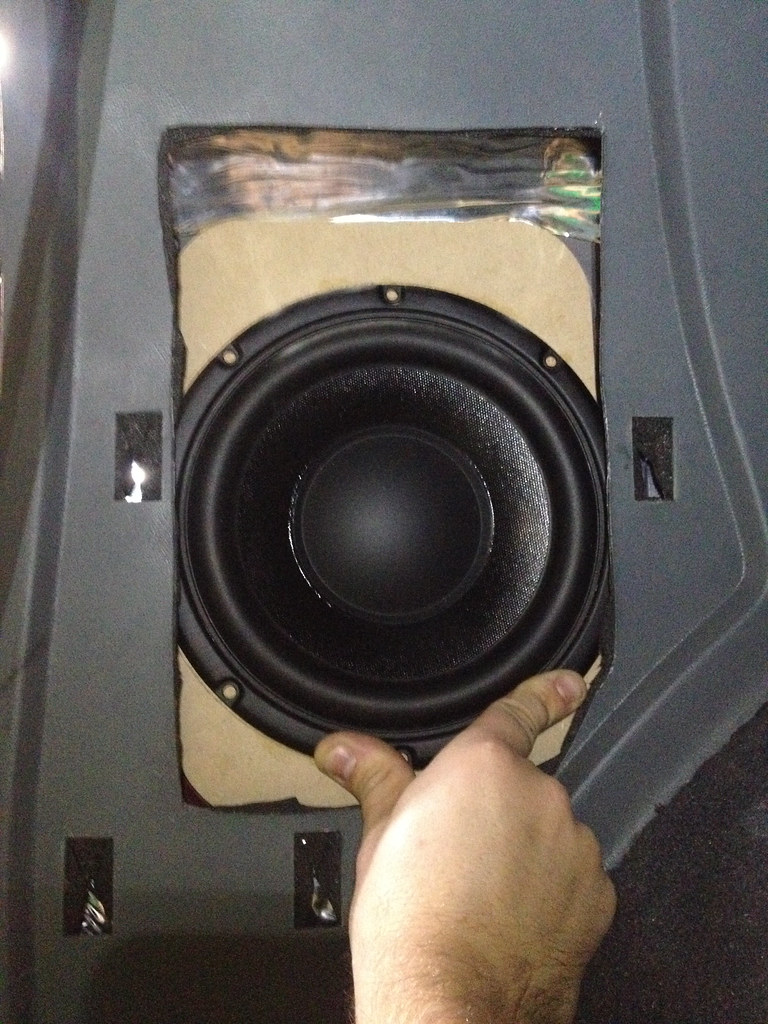
I decided to take a little break from the door pods and start working on getting the 8" subs installed in the rear sail panels. I found that if I space the speakers 3/8" out from the factory metal, I can actually fit the speaker without trimming the metal. Good stuff. A factory style grill should just work without hitting the speaker.

Junior Member
Joined: Nov 2014
Posts: 15
Likes: 1
From: memphis, tn
Car: red 1985 z28 camaro
Engine: 5.7 edelbrock
Transmission: 700r4
Axle/Gears: 3:73
Re: Complete Audio Build - try #2
Having trouble with my radio install. Gauge cluster and tail lights not working after. .

Joined: Jan 2009
Posts: 887
Likes: 17
From: Golden, CO
Car: 87 IROC
Engine: L31 350
Transmission: T56
Axle/Gears: 4.10 D44
Re: Complete Audio Build - try #2
Thread Starter
Supreme Member
iTrader: (2)
Joined: May 2002
Posts: 4,449
Likes: 8
From: Everett, WA
Car: 87' IROC
Engine: L98
Transmission: T56
Re: Complete Audio Build - try #2
Apologies for the crappy picture. But the speaker fits great with no metal cutting. Next I need to install some rivnuts in the factory metal to attach the baffle to the car.

Thread
Thread Starter
Forum
Replies
Last Post
Terrell351
Engine/Drivetrain/Suspension Parts for Sale
5
Jun 13, 2021 01:13 PM