When you click on links to various merchants on this site and make a purchase, this can result in this site earning a commission. Affiliate programs and affiliations include, but are not limited to, the eBay Partner Network.
do you have a link or a few pics? when i had my wheels/tires on, i could barely fit a finger between the control arm and tire. i'm always open to new ideas or ways of doing things.
I'm not saying the control arm doesn't need work, my car is minutubbed and I has SPOHN build be a set of custom offset control arms to clear the wheel and tire. However the shock mount is still in the stock location and has plenty if clearance to everything. I know you shortened the axle a lot and now the brackets are un different places, but I don't see why you wouldn't be able to put a new mount on the axle for the shock and use to factory top mount hole.
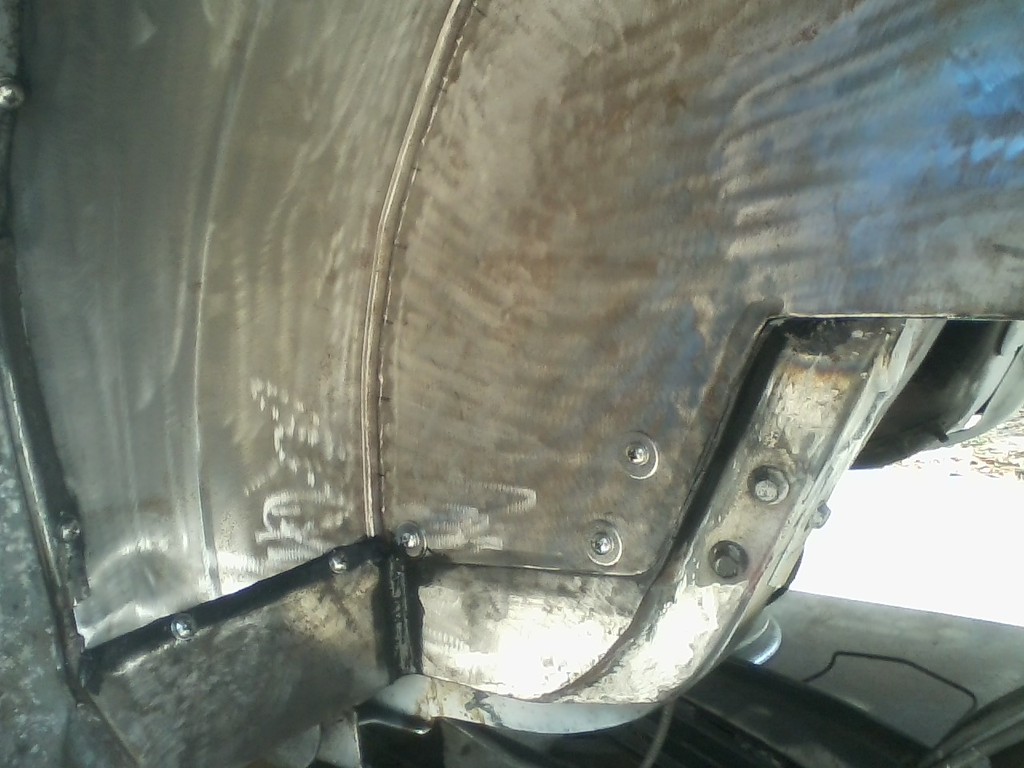
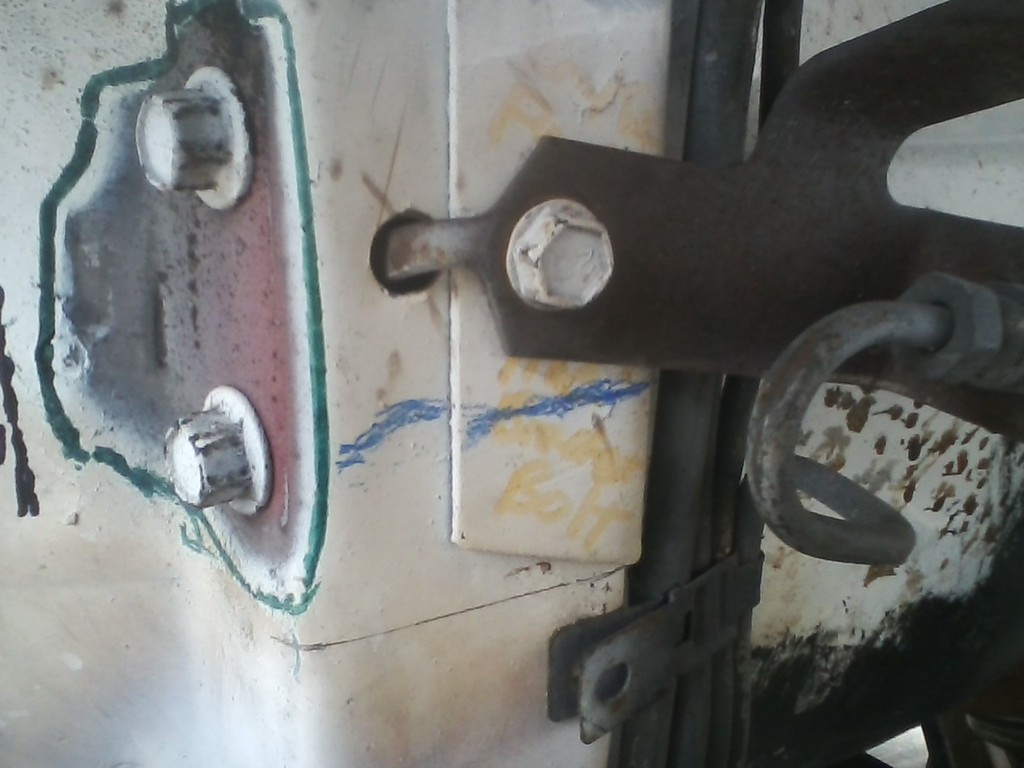
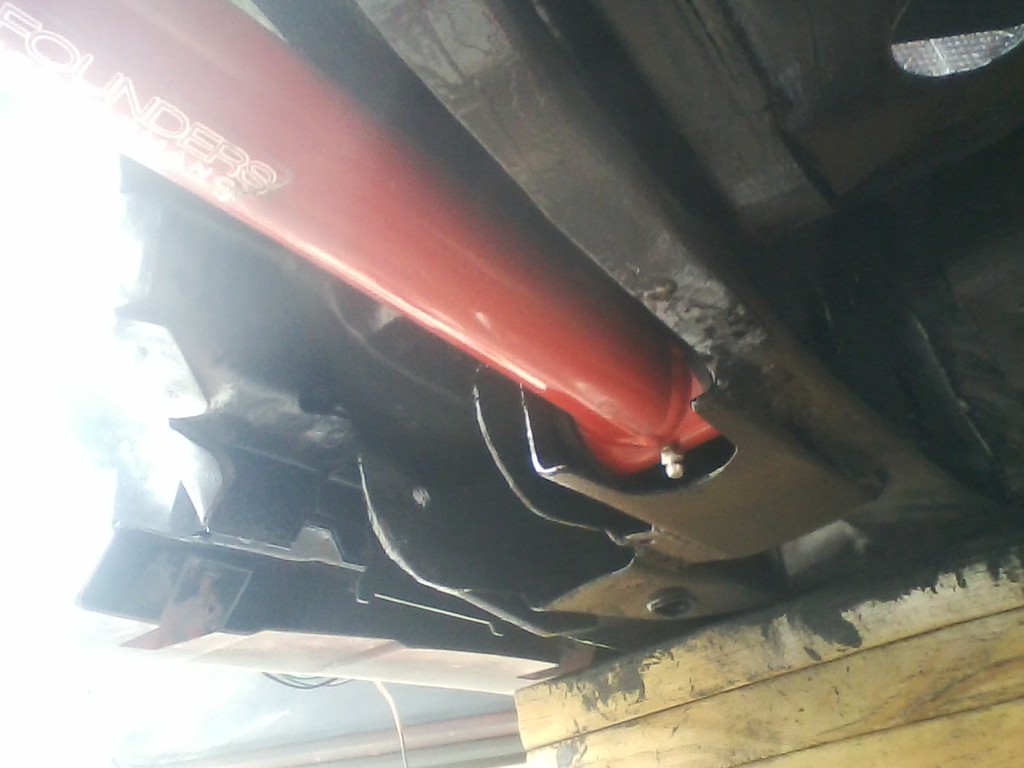
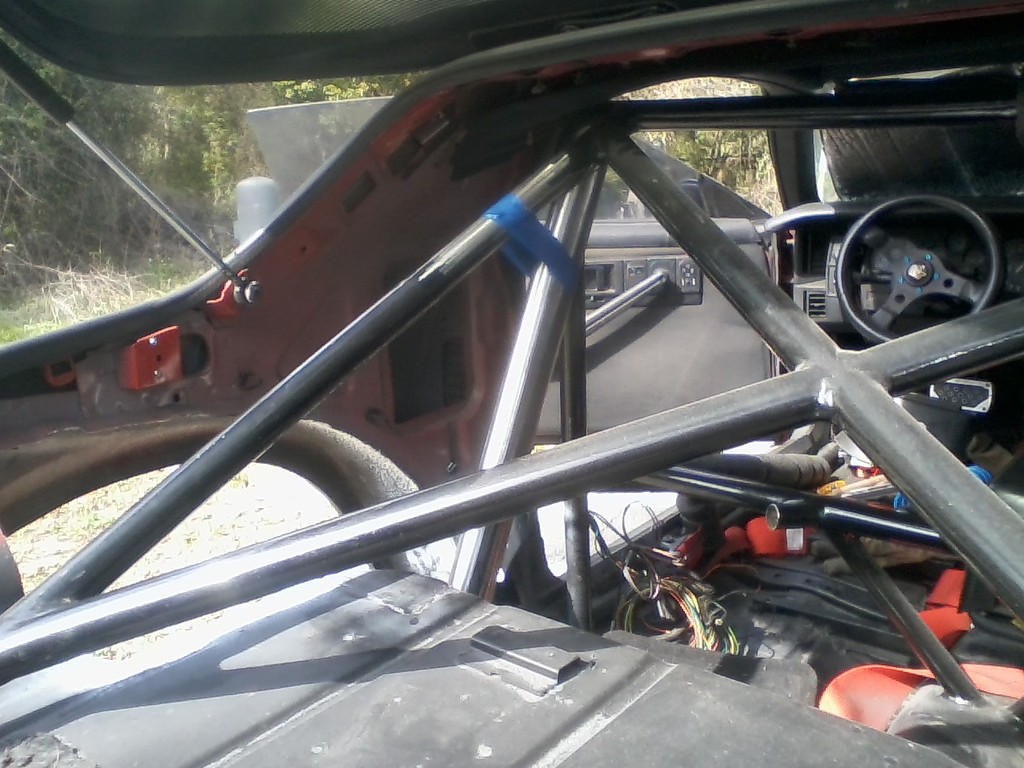
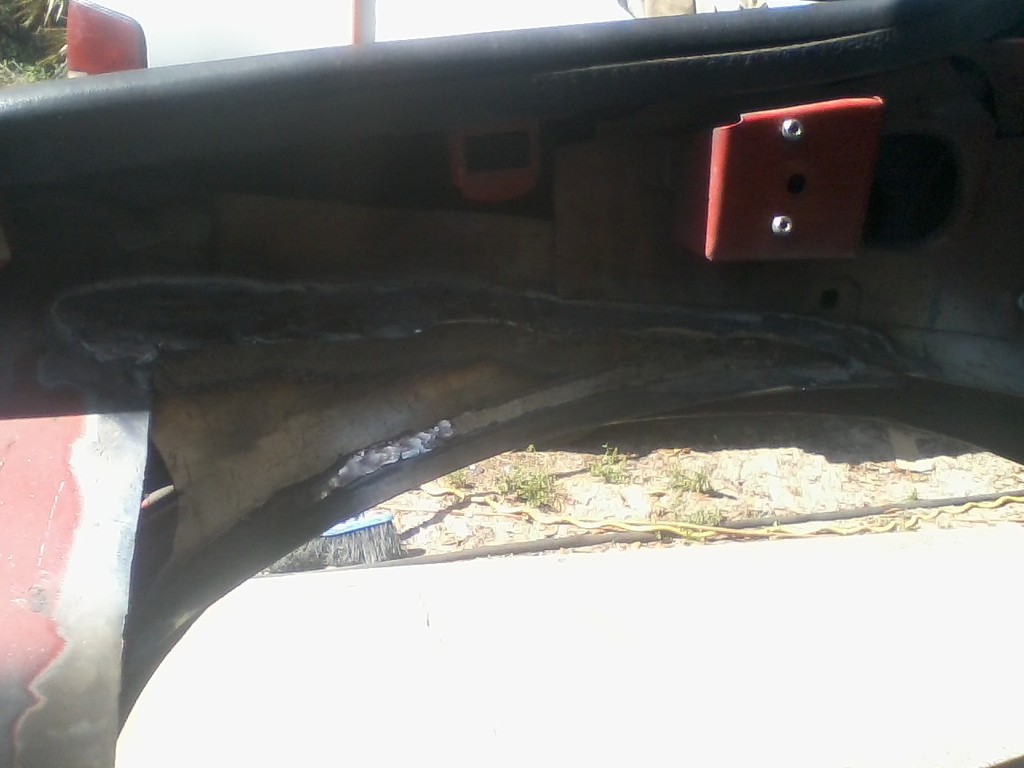
Is the passenger side panhard mount in the way of the tire?
I'm not saying the control arm doesn't need work, my car is minutubbed and I has SPOHN build be a set of custom offset control arms to clear the wheel and tire. However the shock mount is still in the stock location and has plenty if clearance to everything. I know you shortened the axle a lot and now the brackets are un different places, but I don't see why you wouldn't be able to put a new mount on the axle for the shock and use to factory top mount hole.
Is the passenger side panhard mount in the way of the tire?
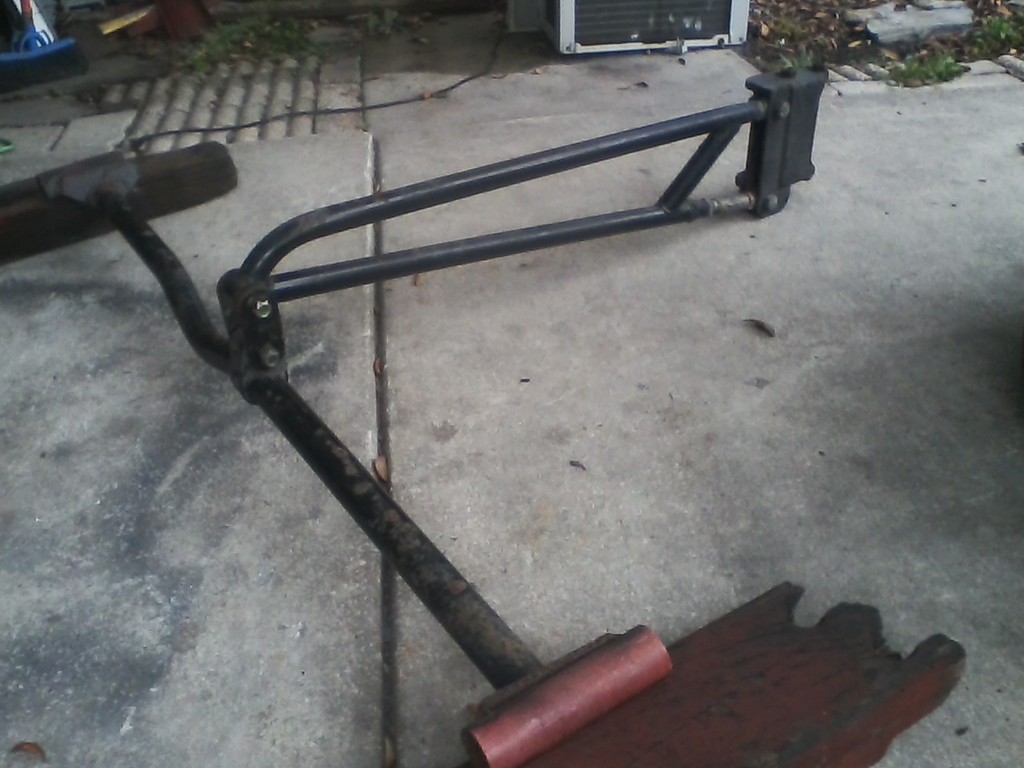
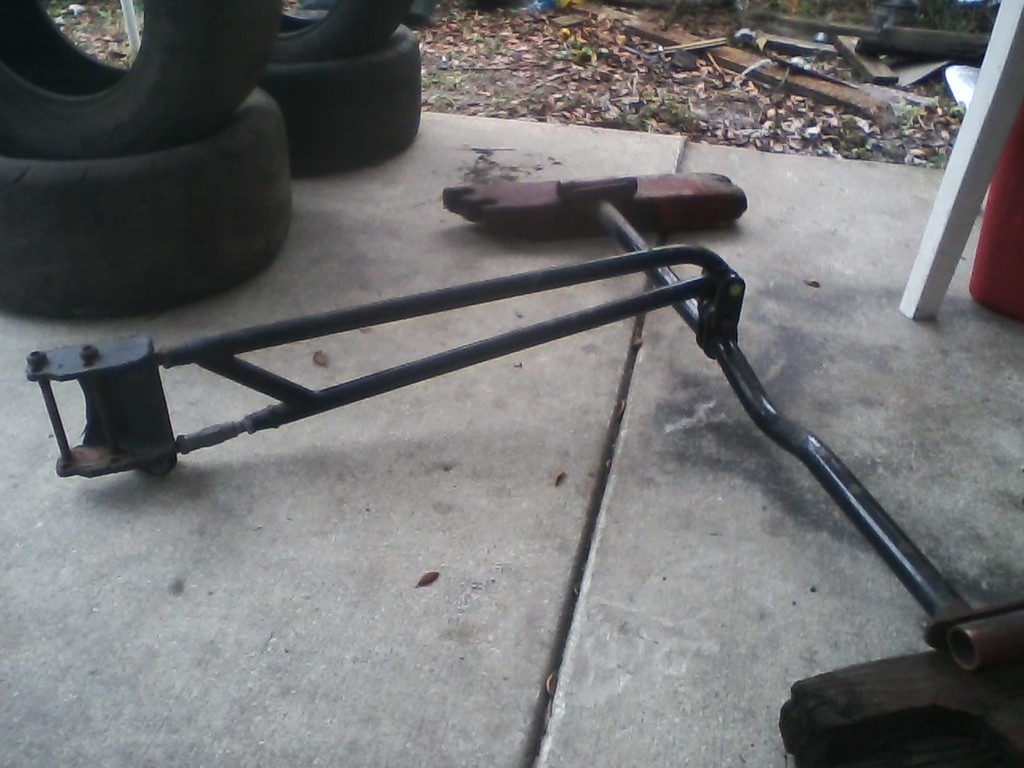
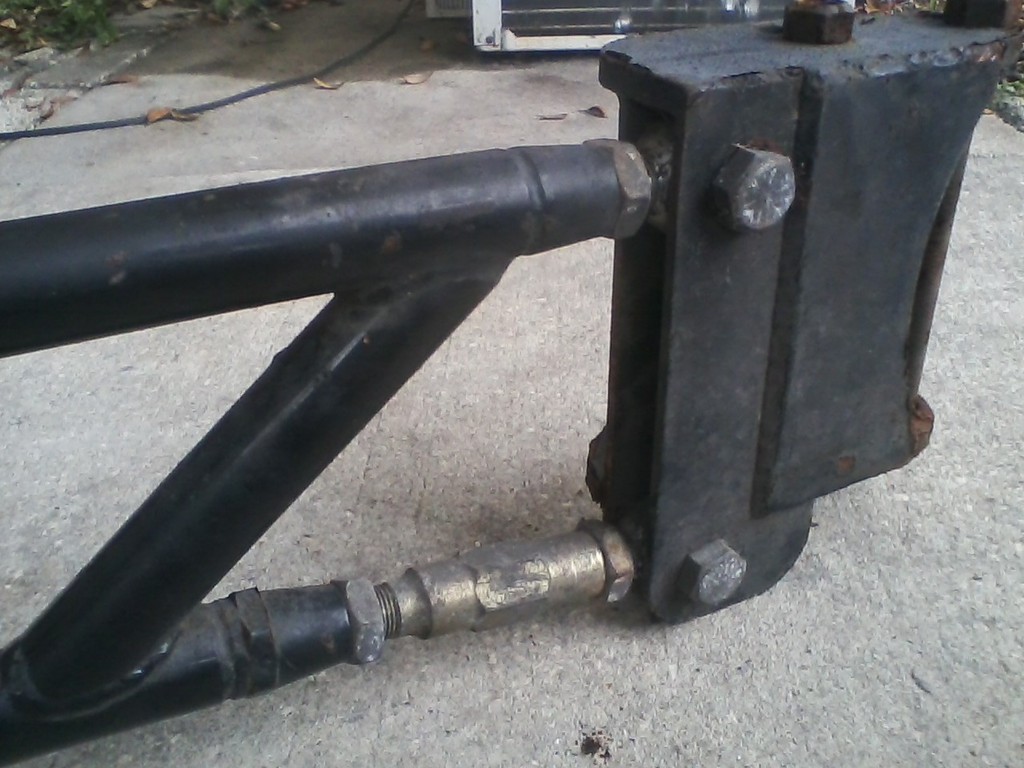
I think i might have seen pics of your control arms a while back? we're they black, square tube? IIRC, they came out real nice.
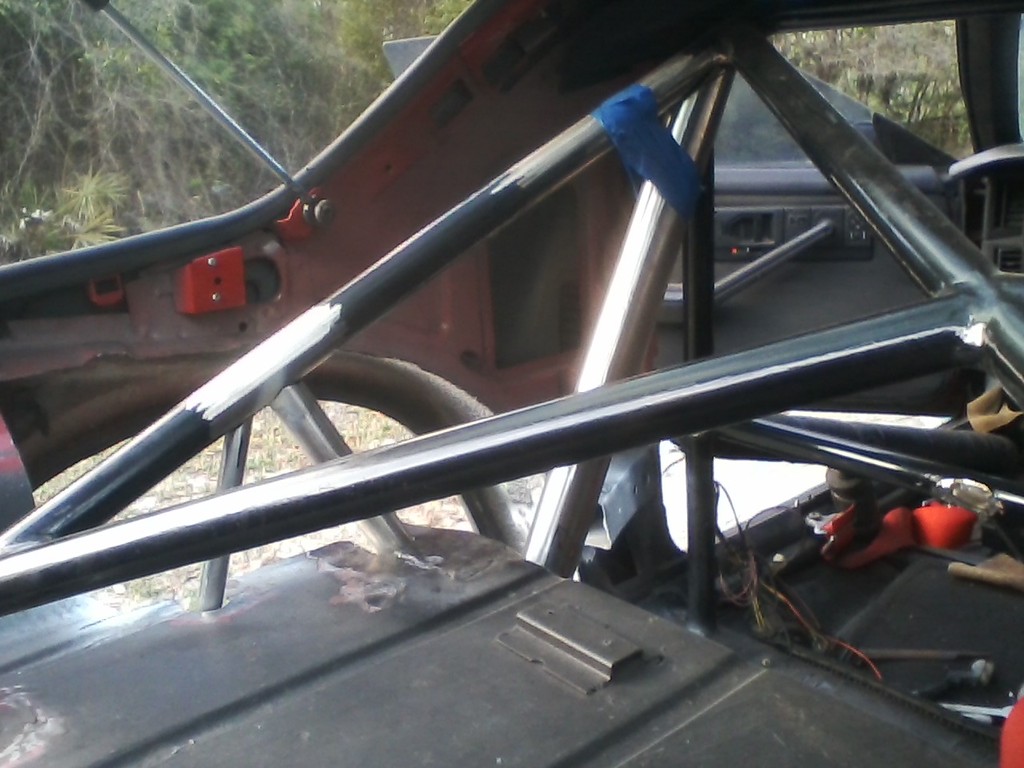
yes, the panhard mount is going to get moved in also. i'll probably make my own adjustable bar? it doesnt look that complicated.
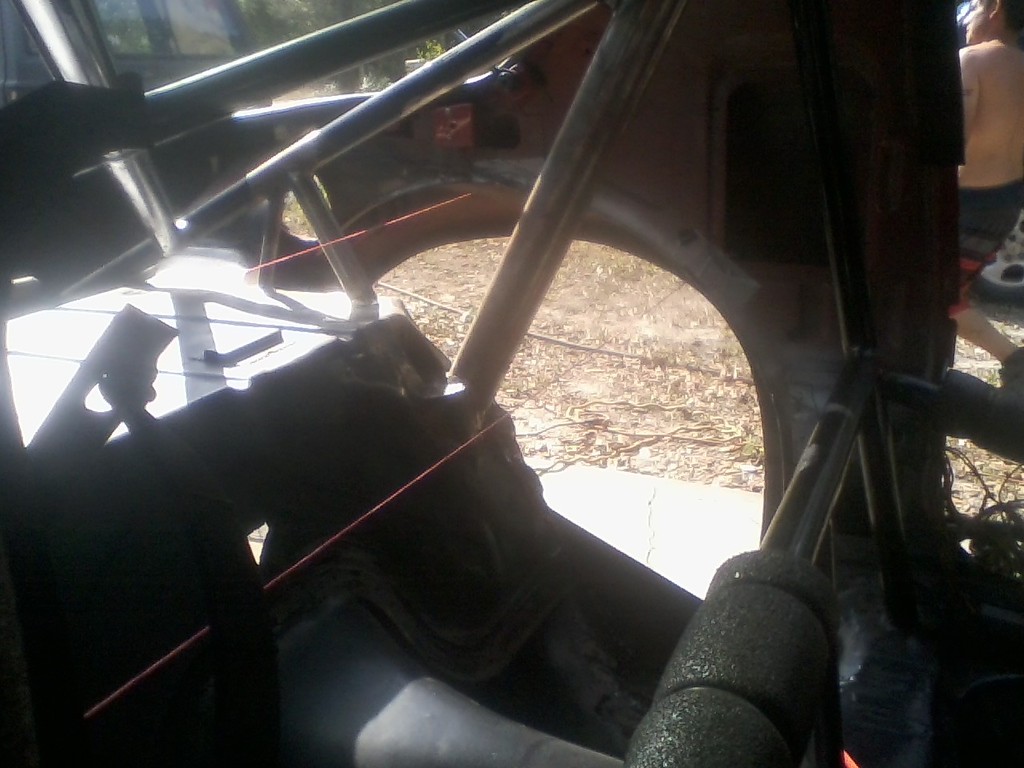
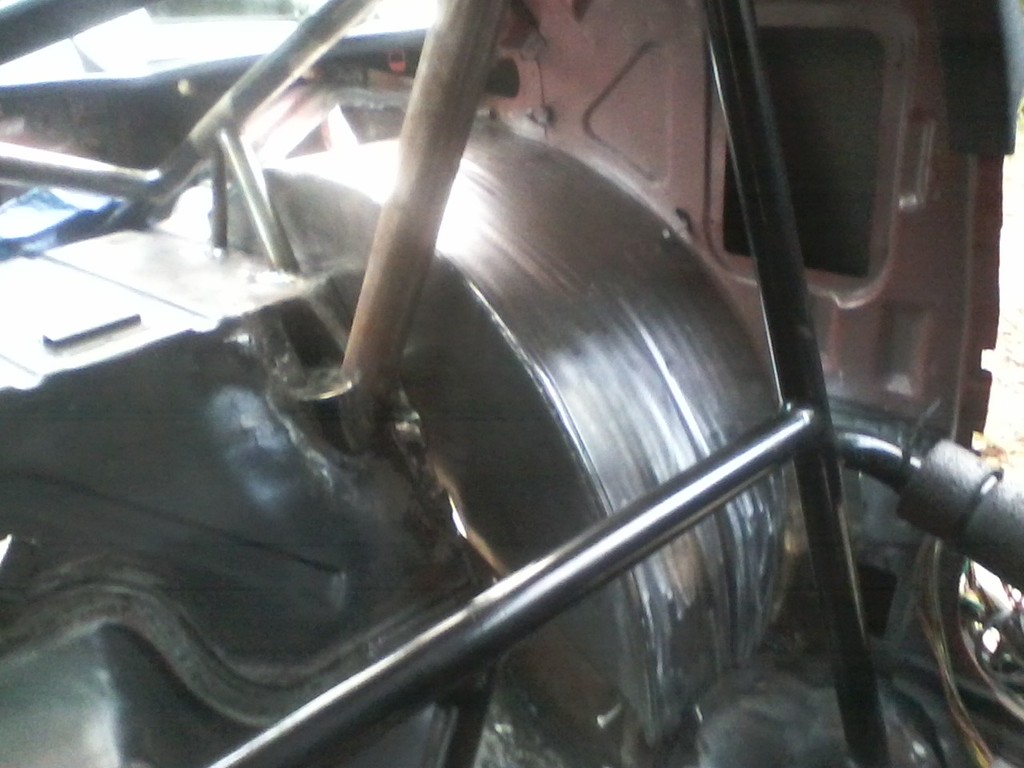
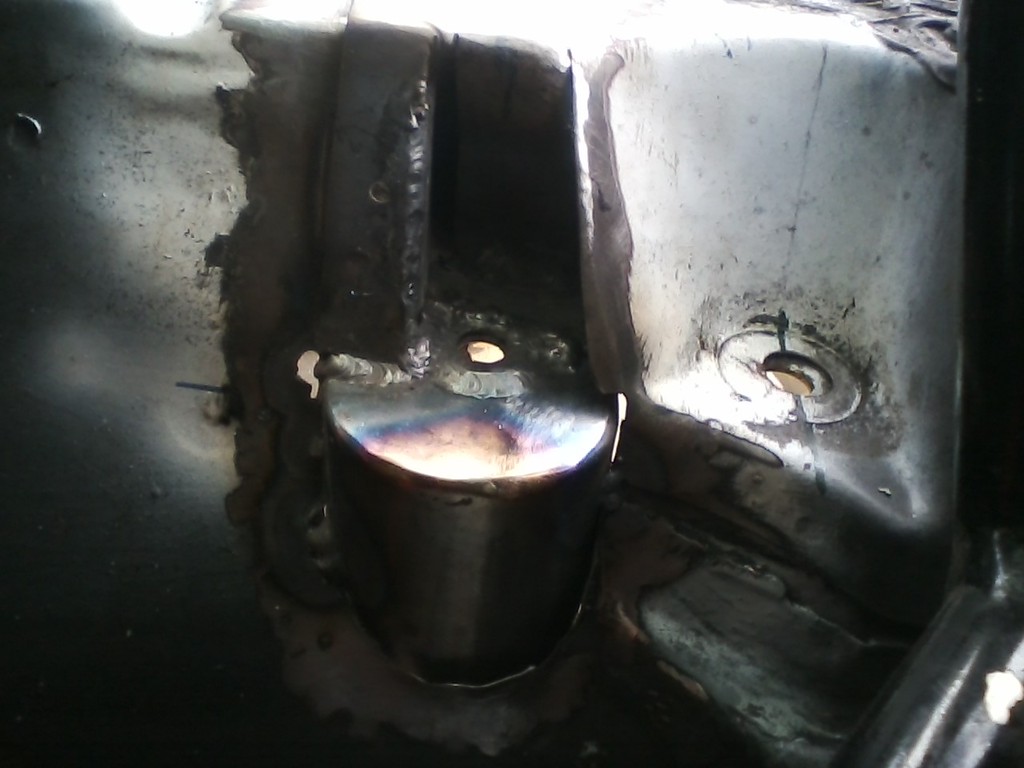
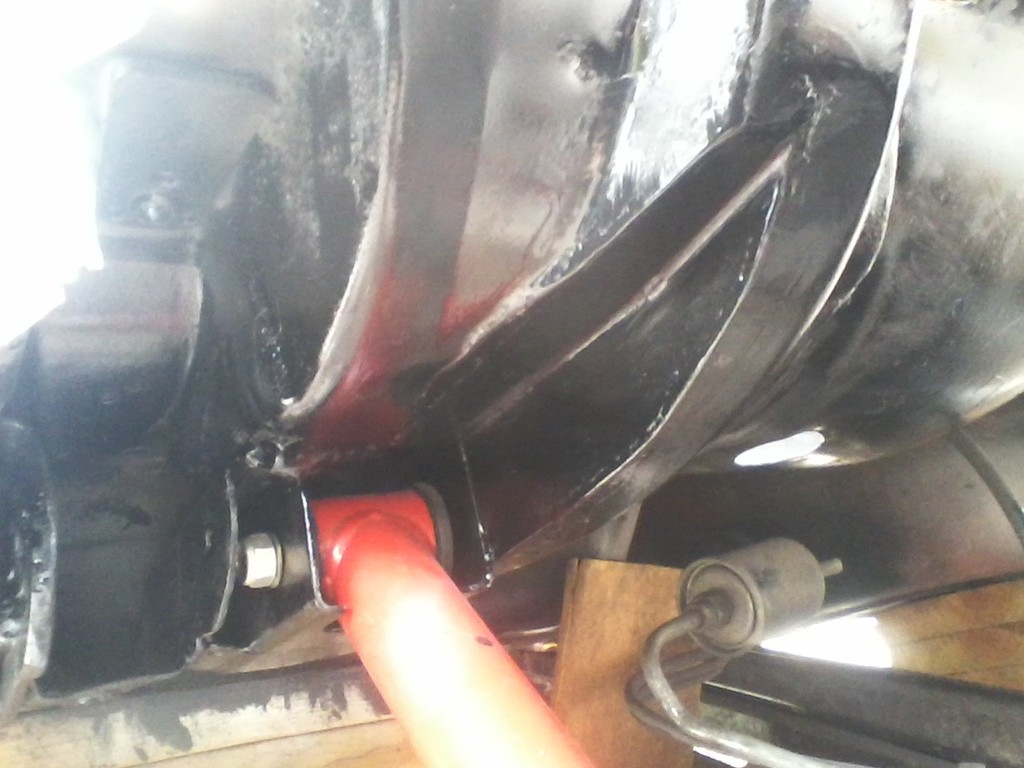
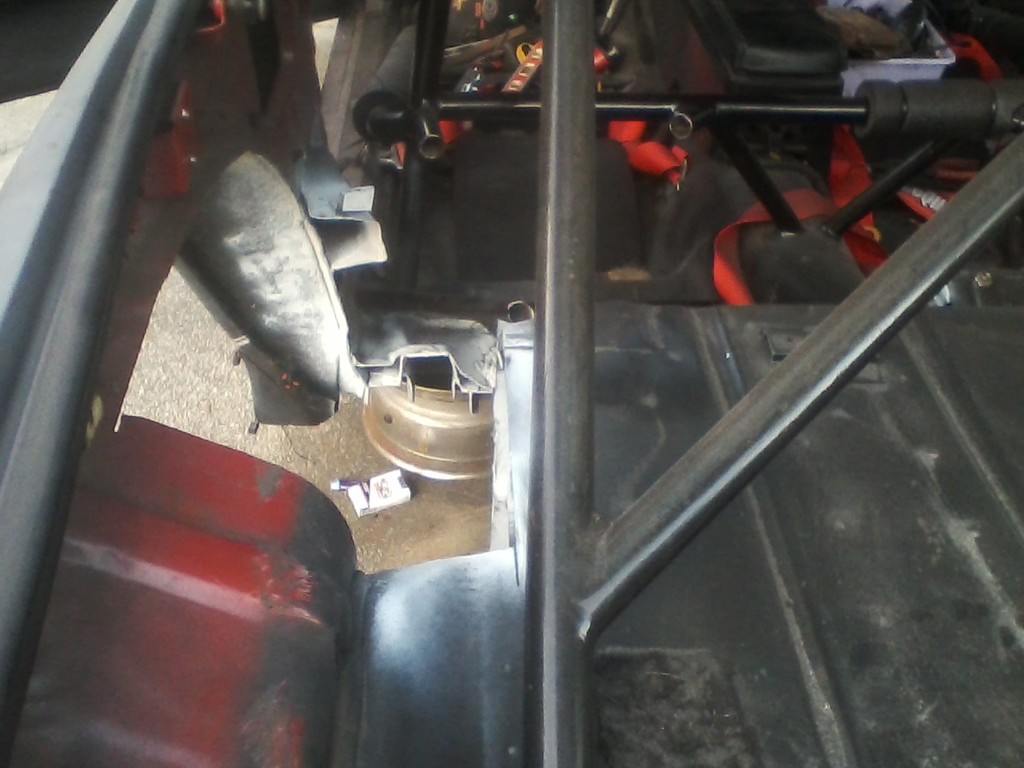
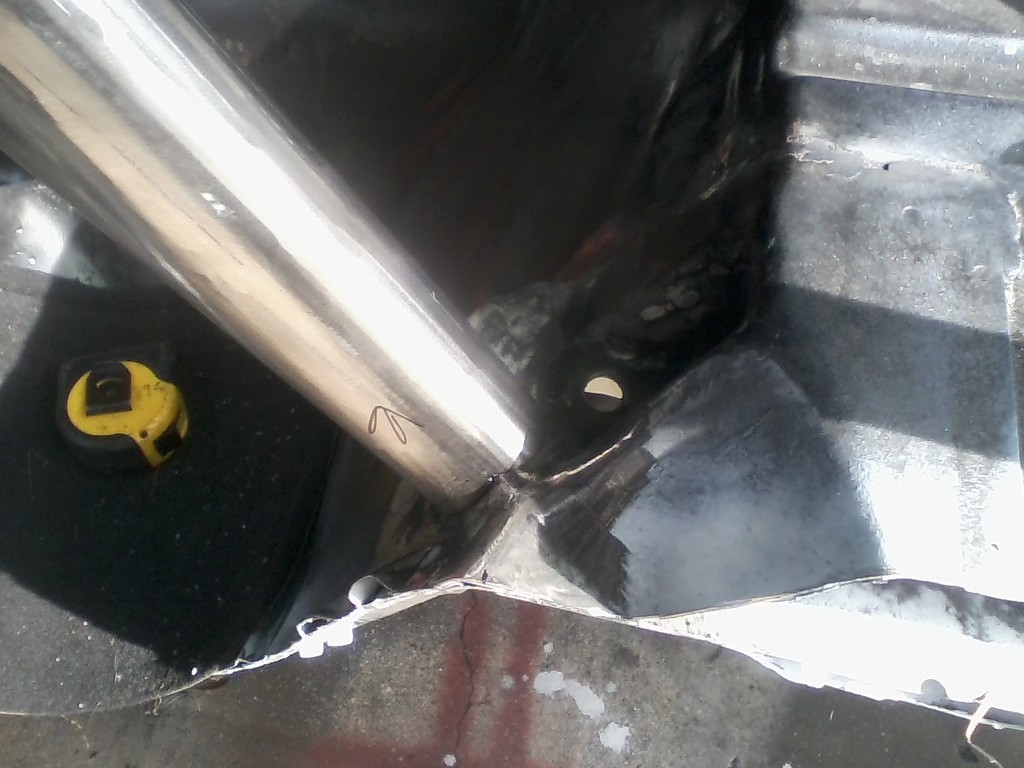
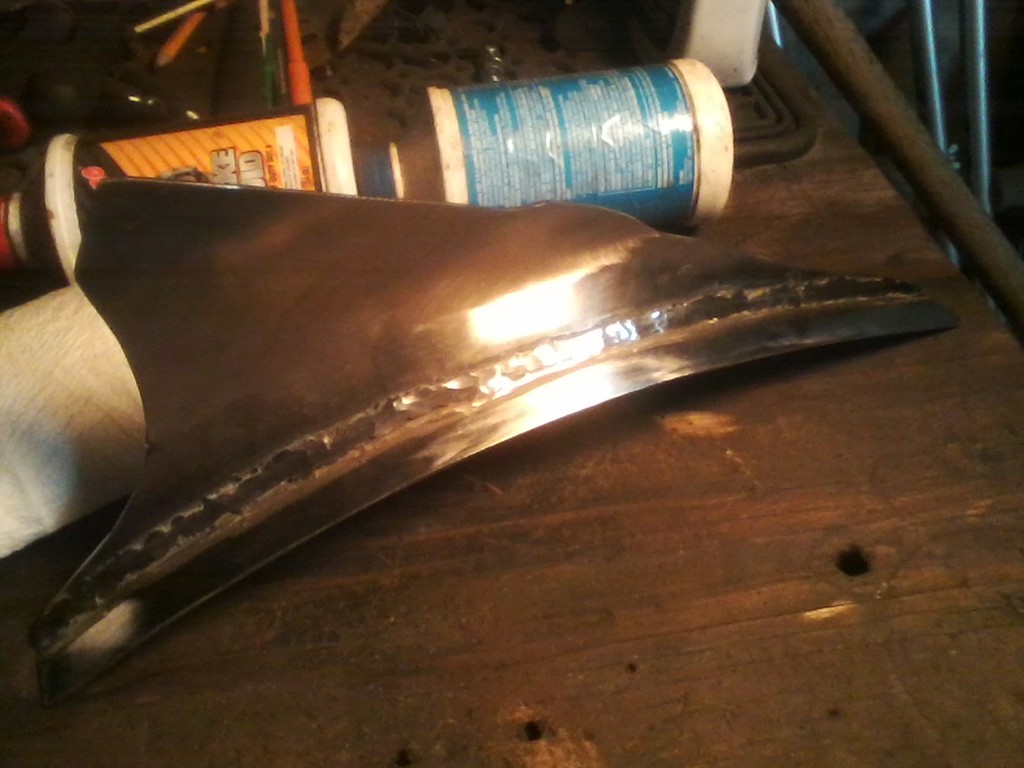
heres a rough cut of what will be the shock mount area. some final cutting, trimming, tacking, test fitting, and i think it should be a go for finish welding. i'll be adding other bracing, etc., to beef everything up.
got the drivers side tacked in place, did some welding, and ran out of argon. i might just stick or mig the rest of it? but thought it might give an idea of how its coming along. slowly i must admit.
thank you.
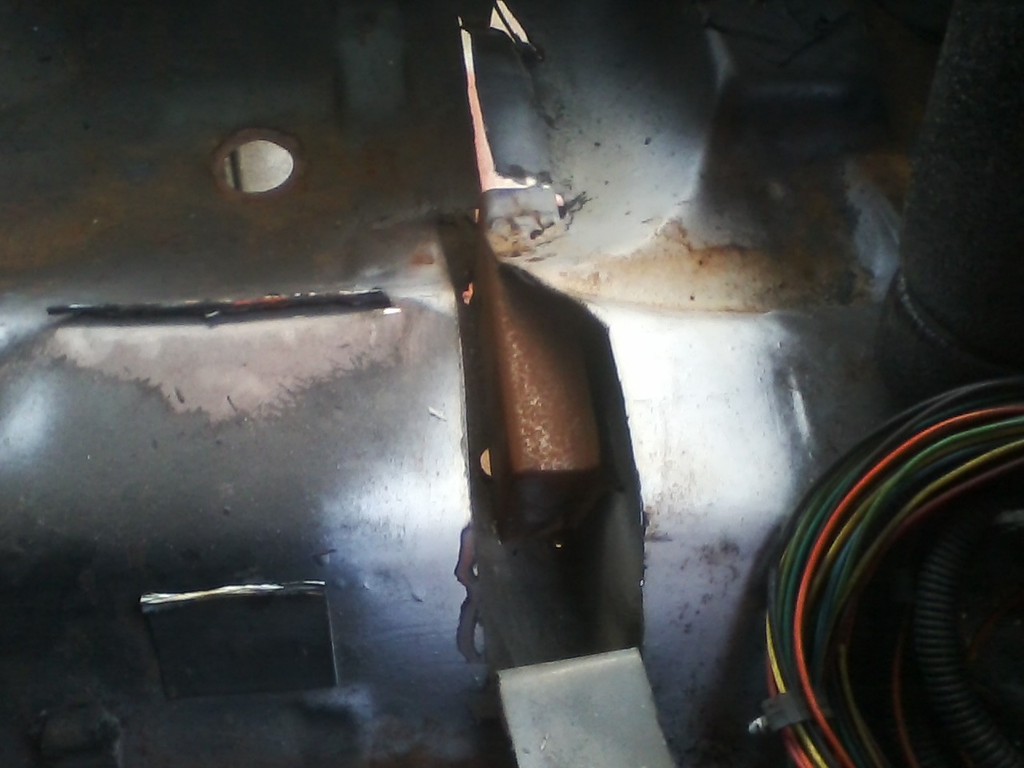
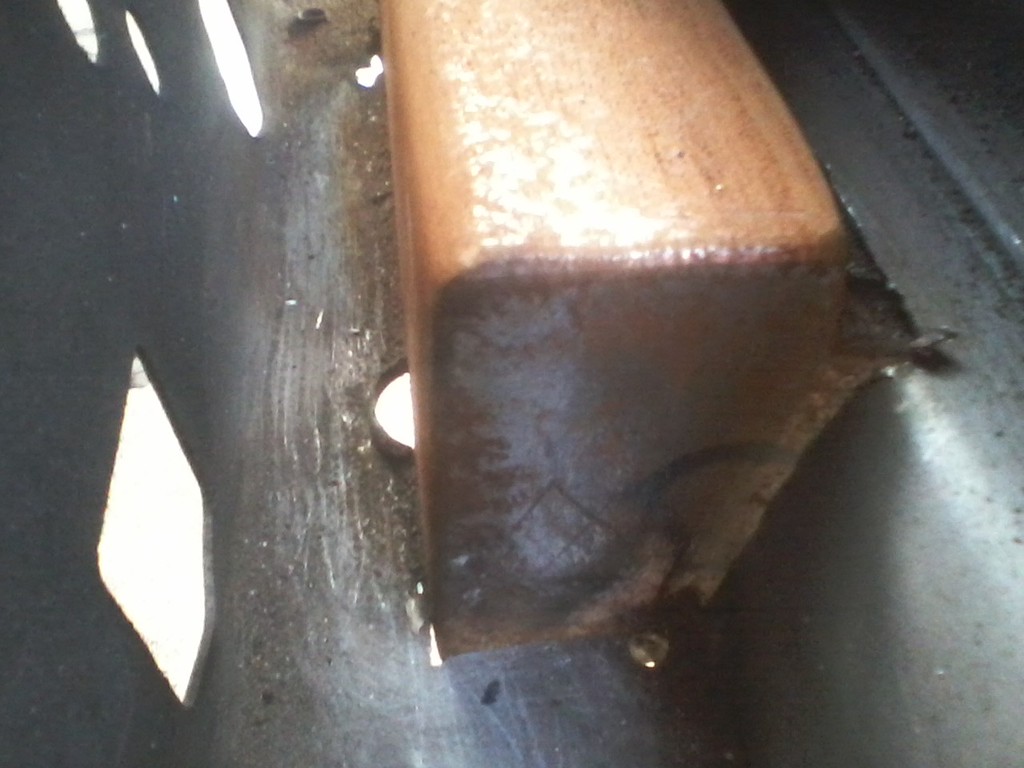
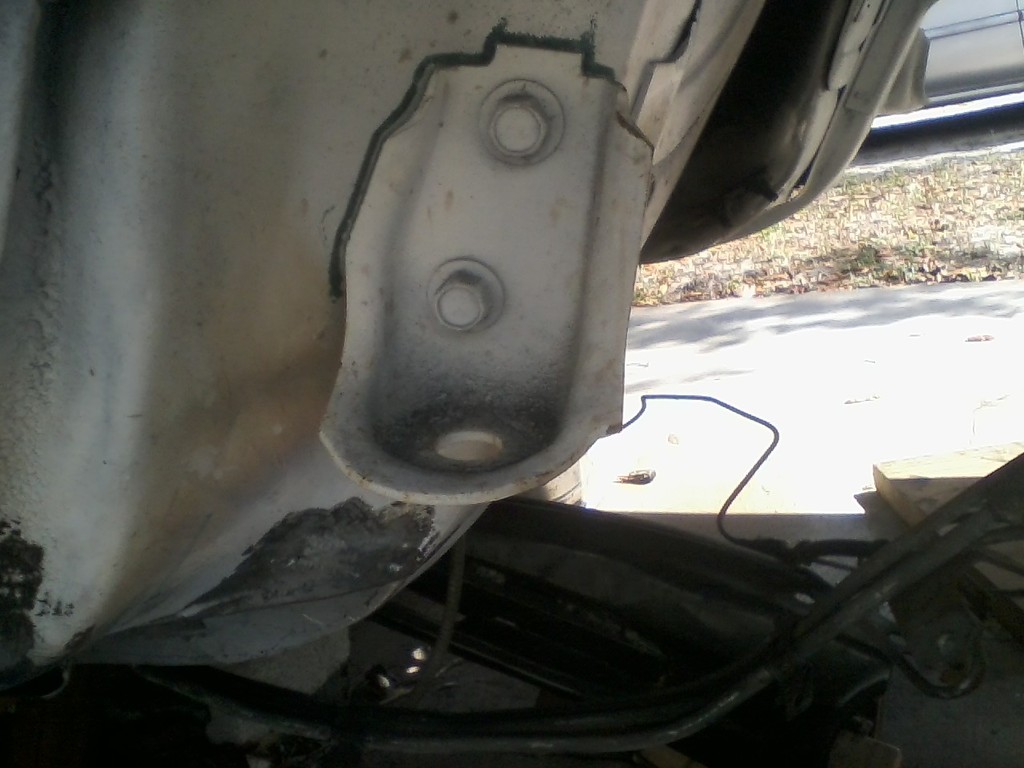
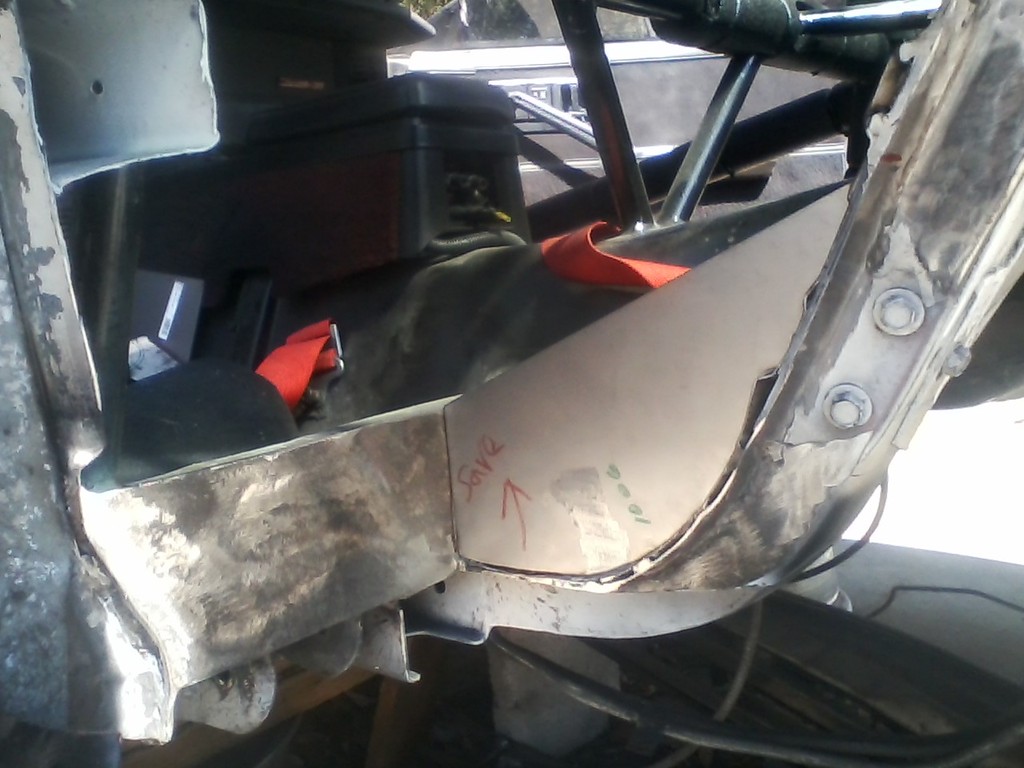
ran into a little snafu. i was going to move the sway bar mount in 4", but noticed the brake and fuel line bracket in the way. i think i'll wait til i get further along. maybe a good idea will come along?
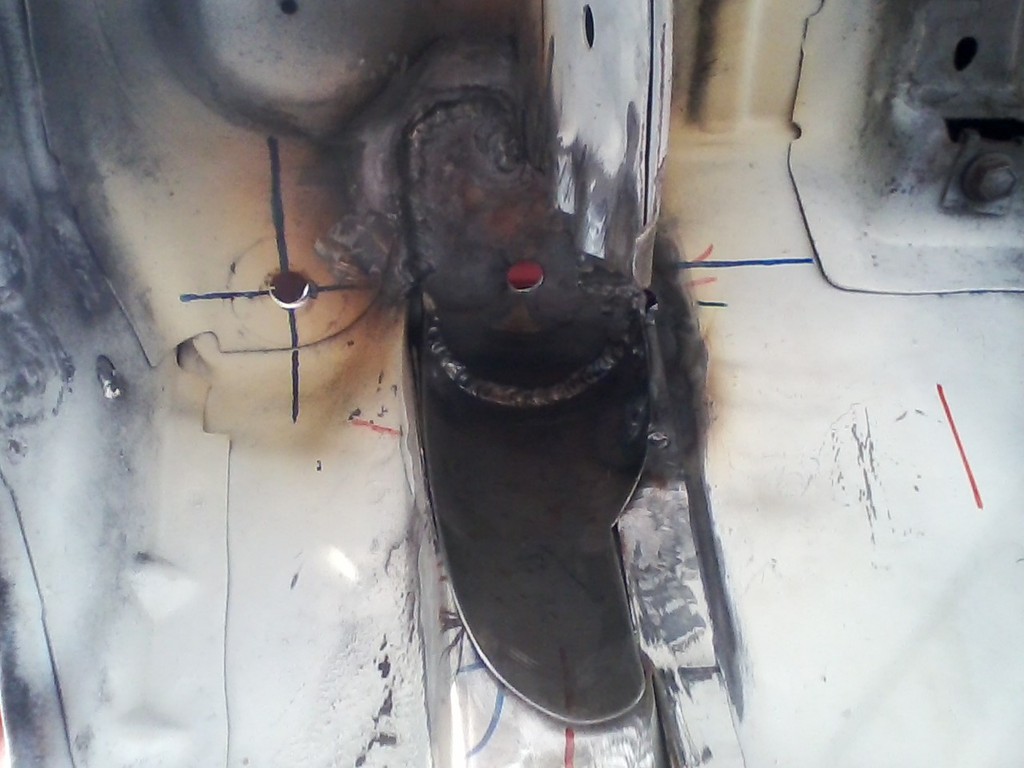
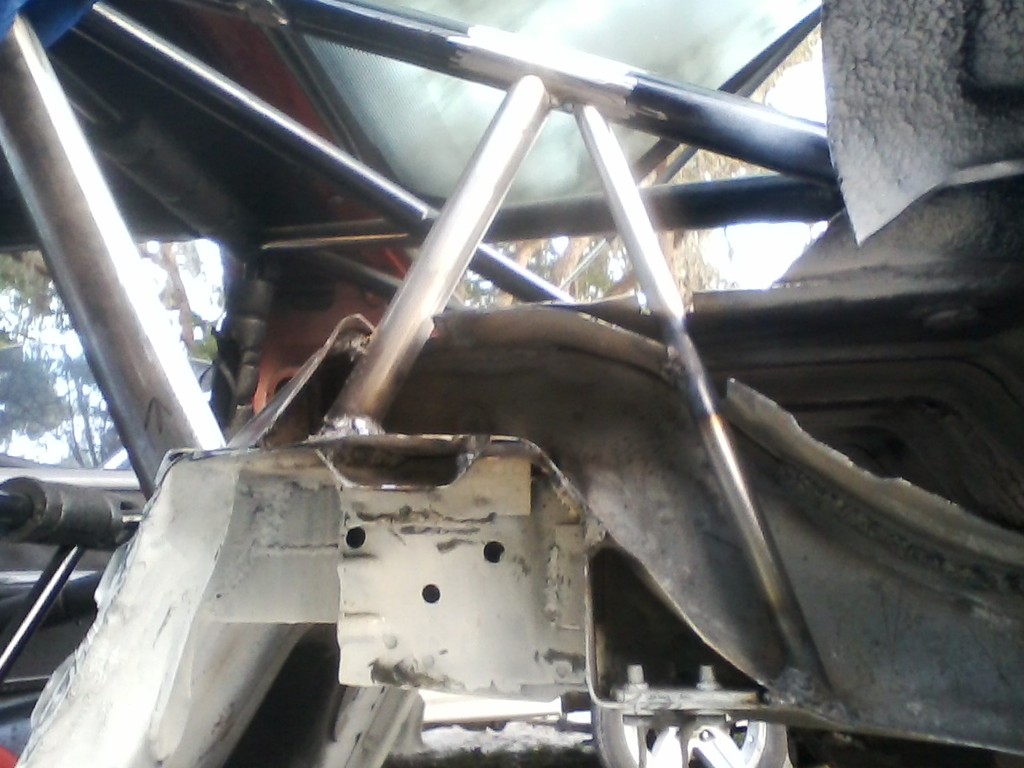
picture of the drivers side control arm temporarily installed.
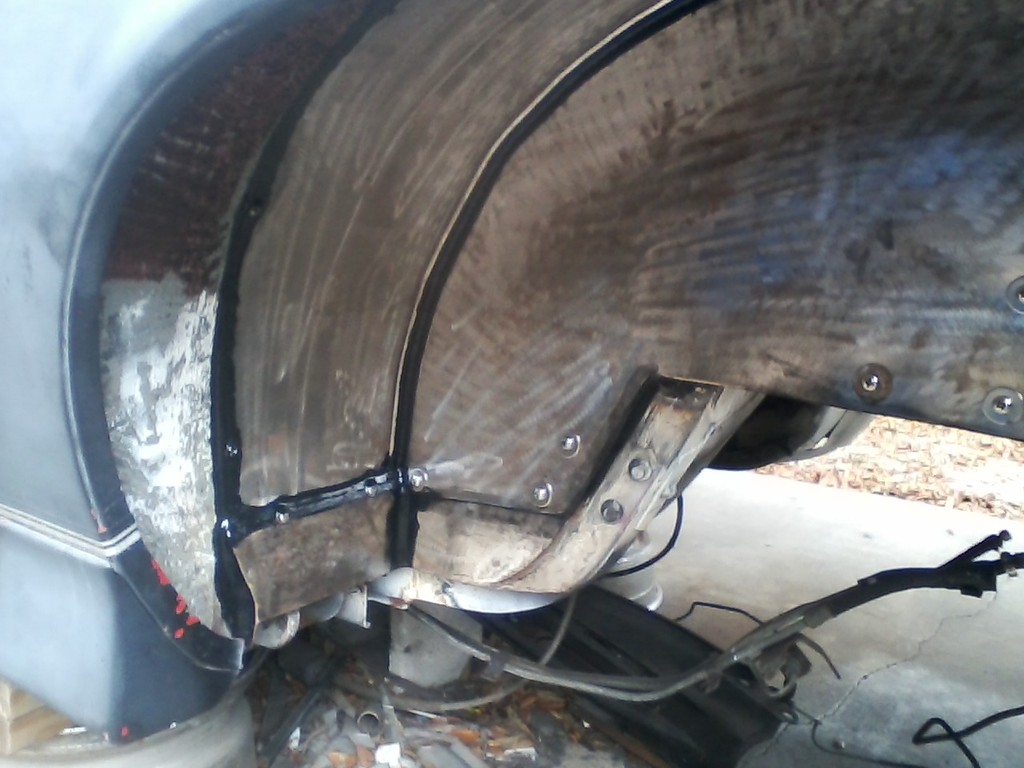
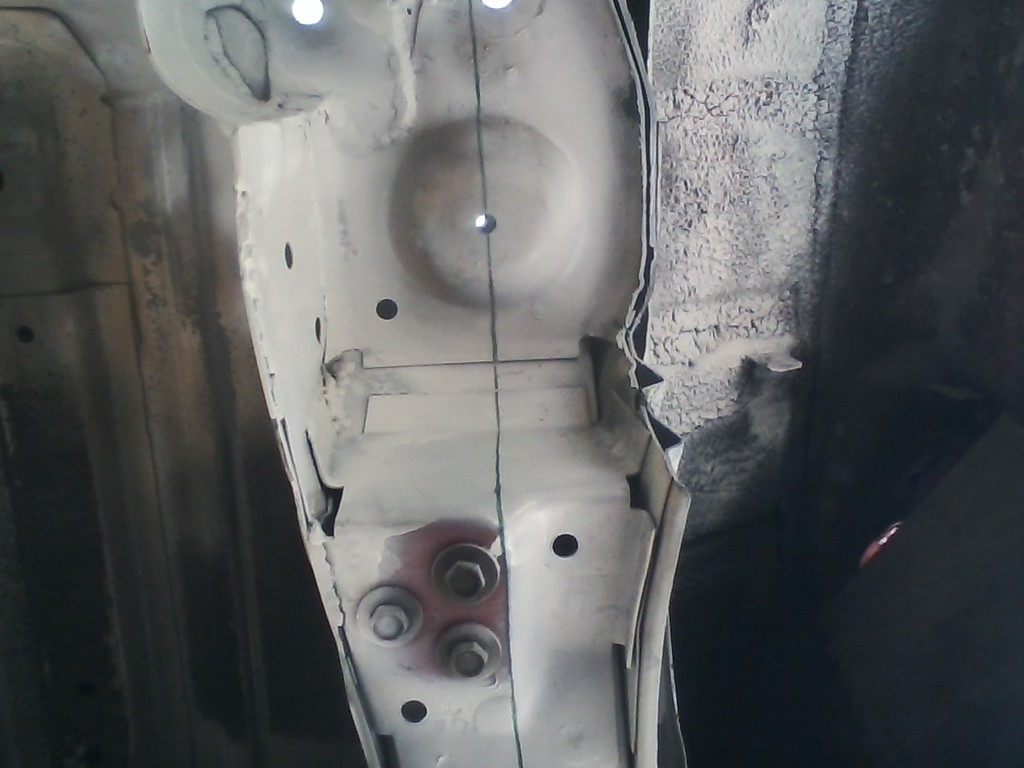
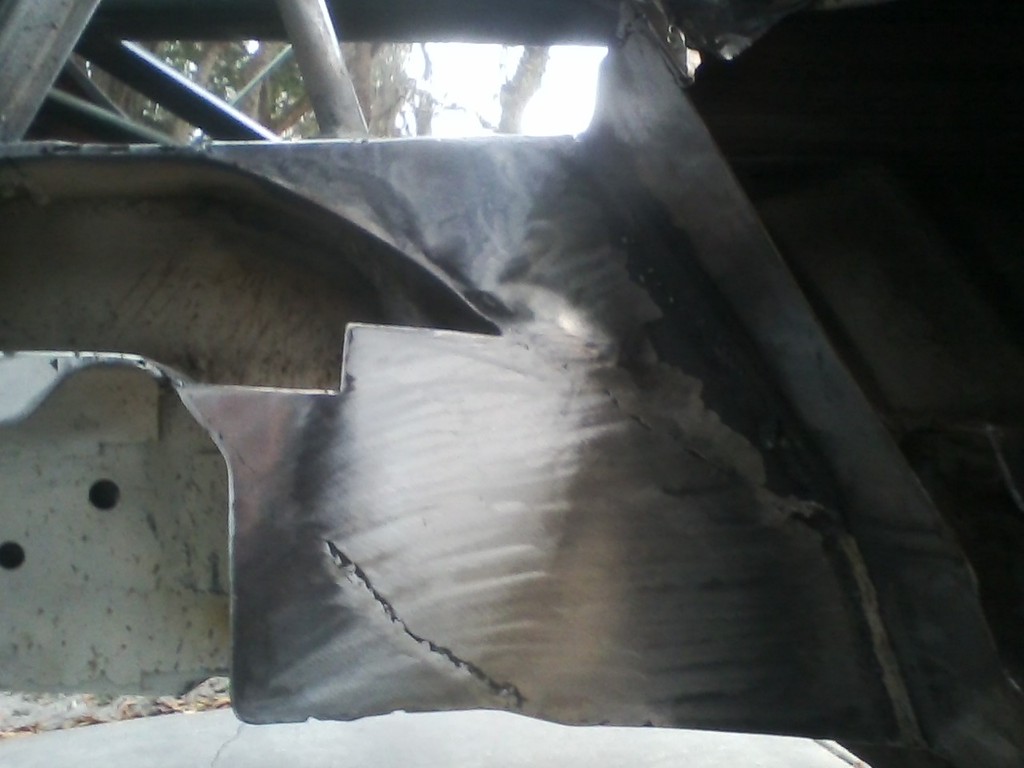
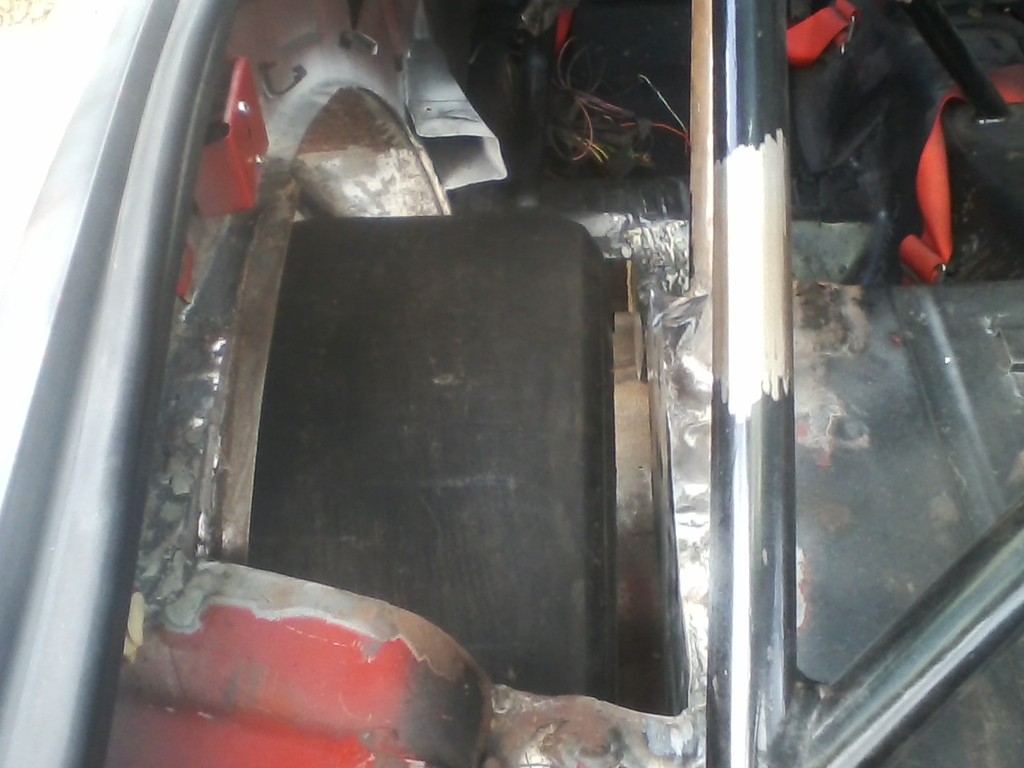
here you can see where i had to cut/notch an area in the subframe rail for the control arm to have clearance to move up and down. just cut and welded a piece of angle in.
another shot of the difference from stock location.
added a little filler piece to the corogated inside frame part. i'll be bracing from there to the shock mount area before cutting the outside frame area.
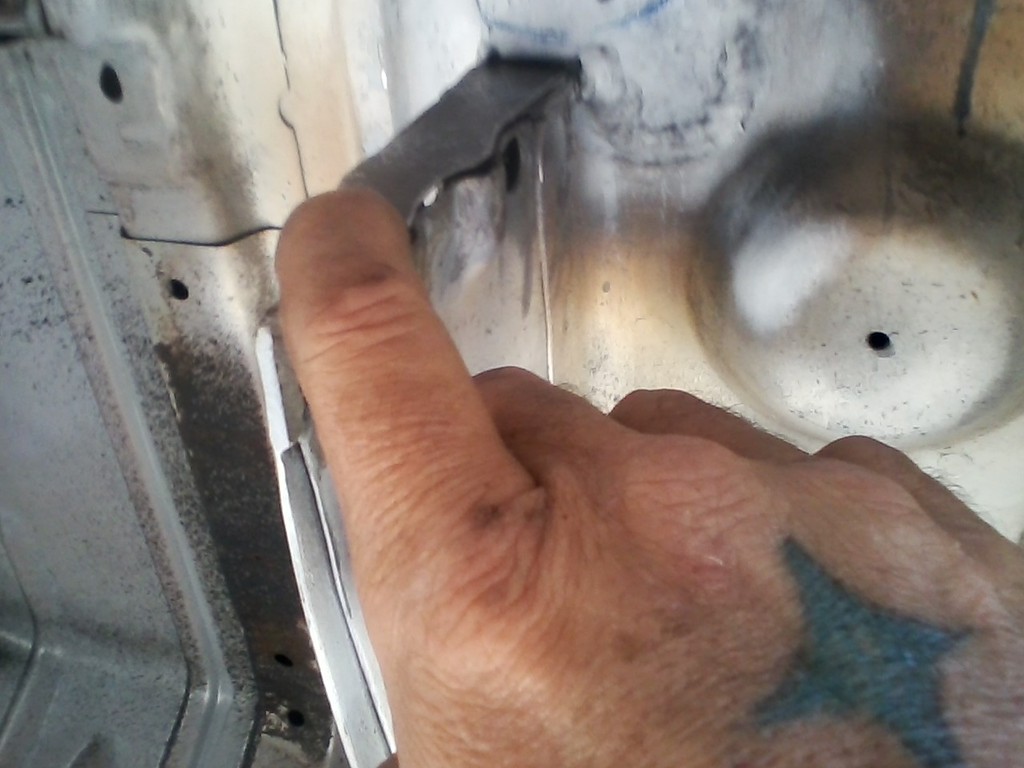
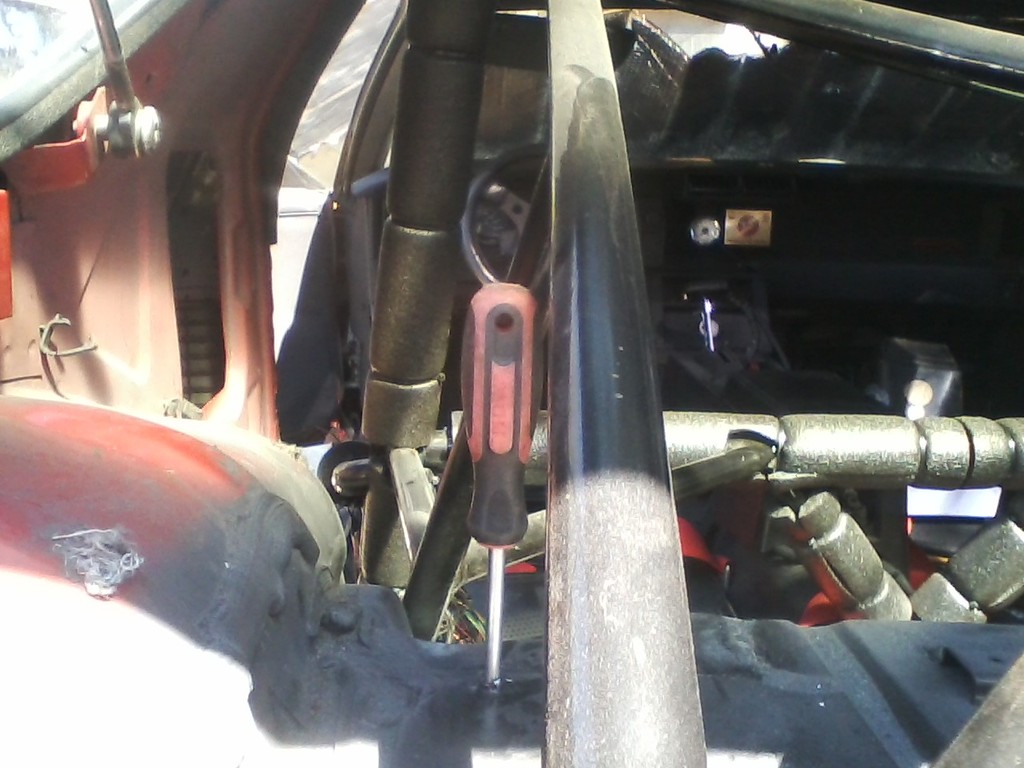
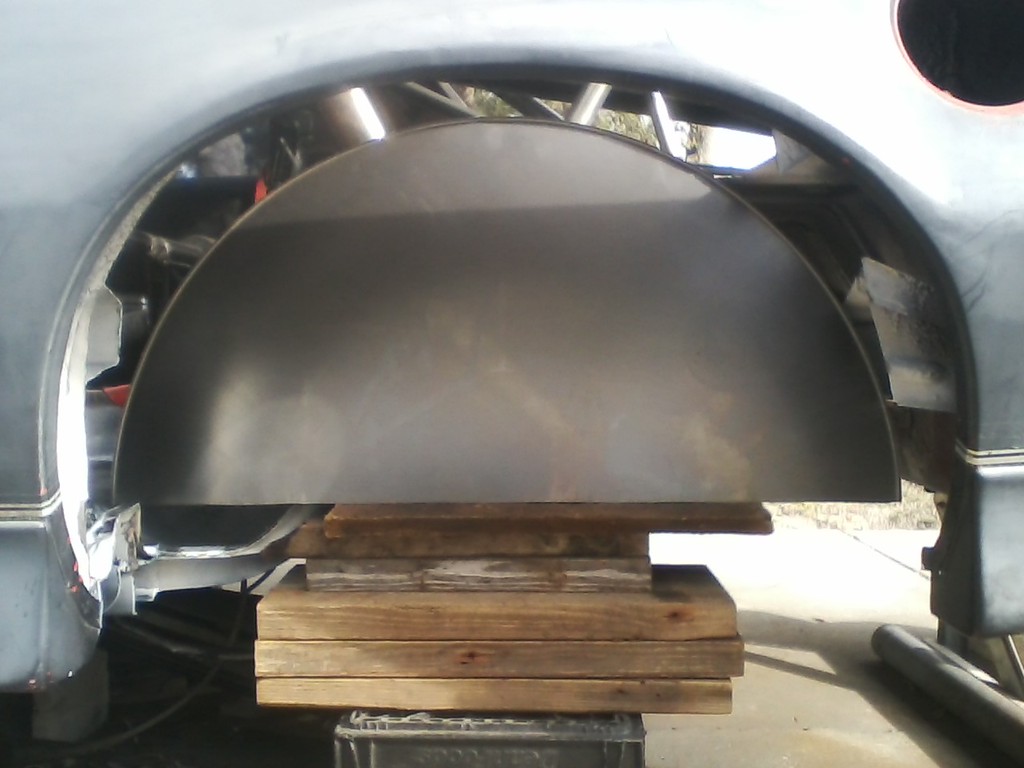
drilled a hole straight up from the center on the coilspring mount. this is where i plan to cut for the edge of the tub. the screwdriver is where the hole came through.
while not directly related to the tub job, i got a great deal on a used BMR adjustable arm. looks like an older design, and it needs cleaned up, cut and re-welded, but i thought it was a deal for $150.
i appreciate the inspiration Skinny. it helps!
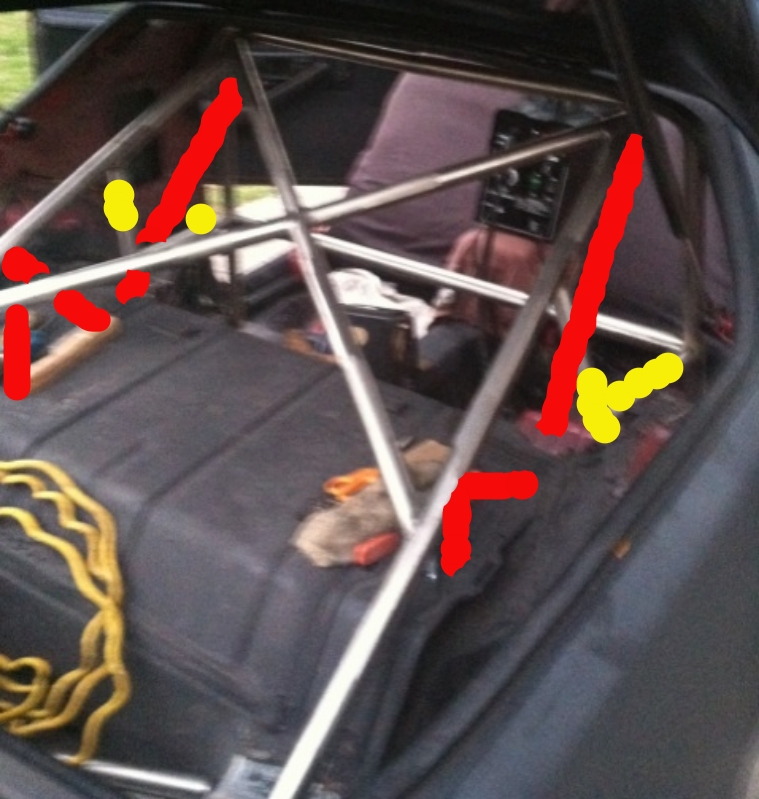
got thinking about really adding some strength to the coilover area. in the pics below the yellow pipes are getting cut out and the red getting put in.
I'm feeling confident that it will have plenty of strength now. really thought oval pipe/tubing added a nice touch from the shock mount to the hoop area. went with a few different size pipes to break it up a bit. used a crappy flux-mig inside the frame rail since nobody will ever see it after its boxed. i'm going to add a few filler plates up top around the pipe. i'll TIG what can be seen.
yes, i've had to sharpen the tungsten MANY times unfortunetly. kinda frustrating. i bought 2 more pieces so i can change them when the tip gets bad, then sharpen them all at once.
the machine isnt bad for thicker material, but tricky on thin stuff with no pedal, on/off switch, or high frequency start. kinda wish i would have bought a better machine, but this one has paid for itself a few times already with side work.
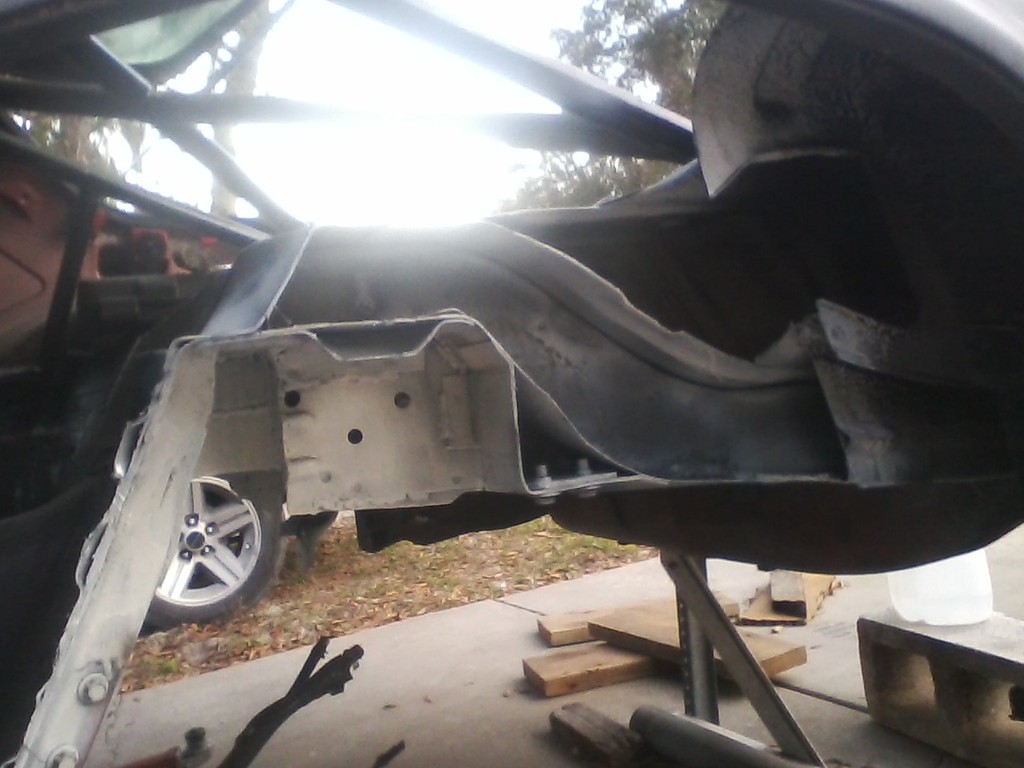
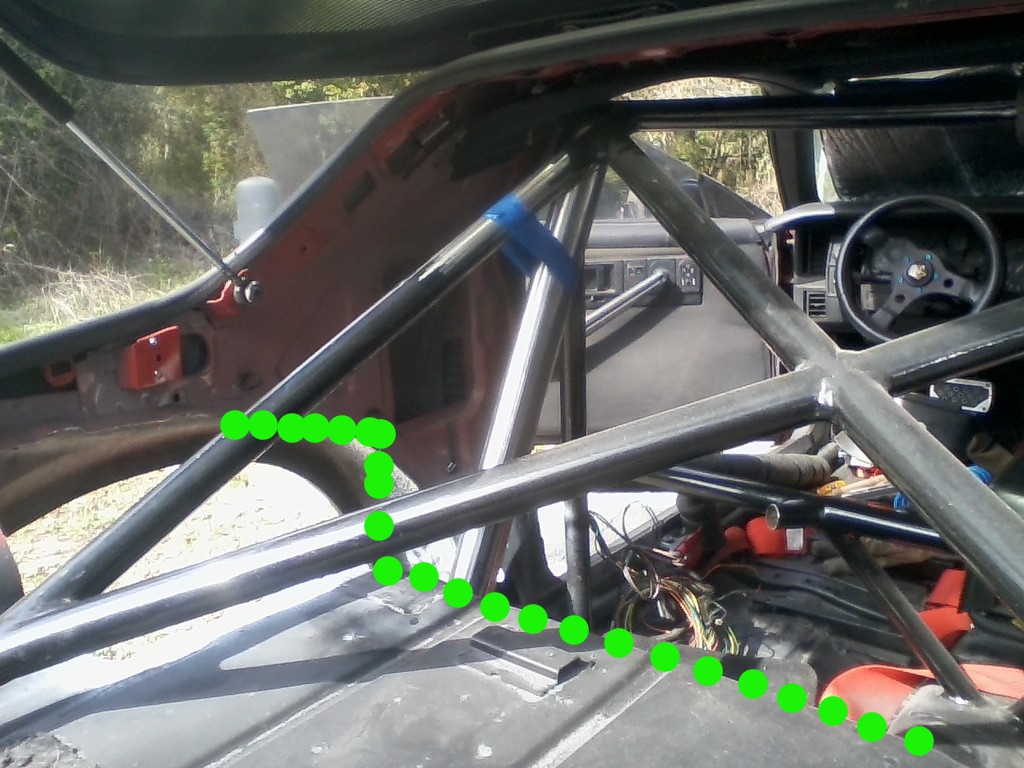
just a little update as i've had some time to mess with it. ran into another issue, (remember i've never tubbed a car before). i put the inner tub in place and noticed the rear opening in the hatch area is flat, from about the center back.
not easily seen in this pic.
but in this pic you might be able to notice? the green line is the axle center line.
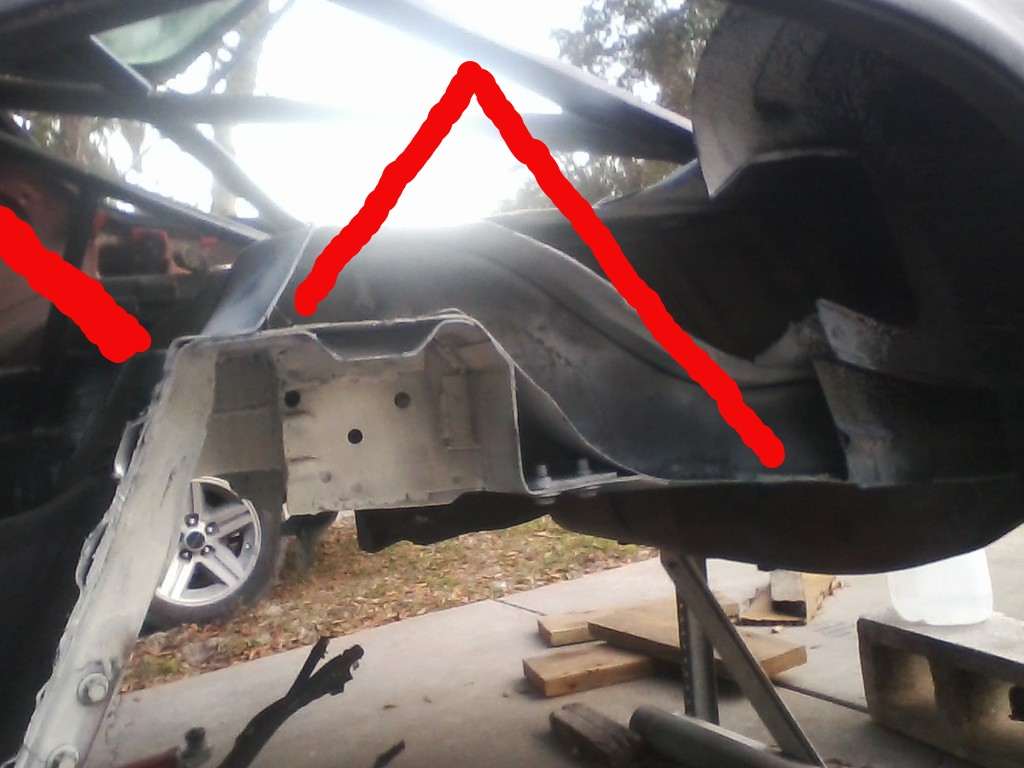
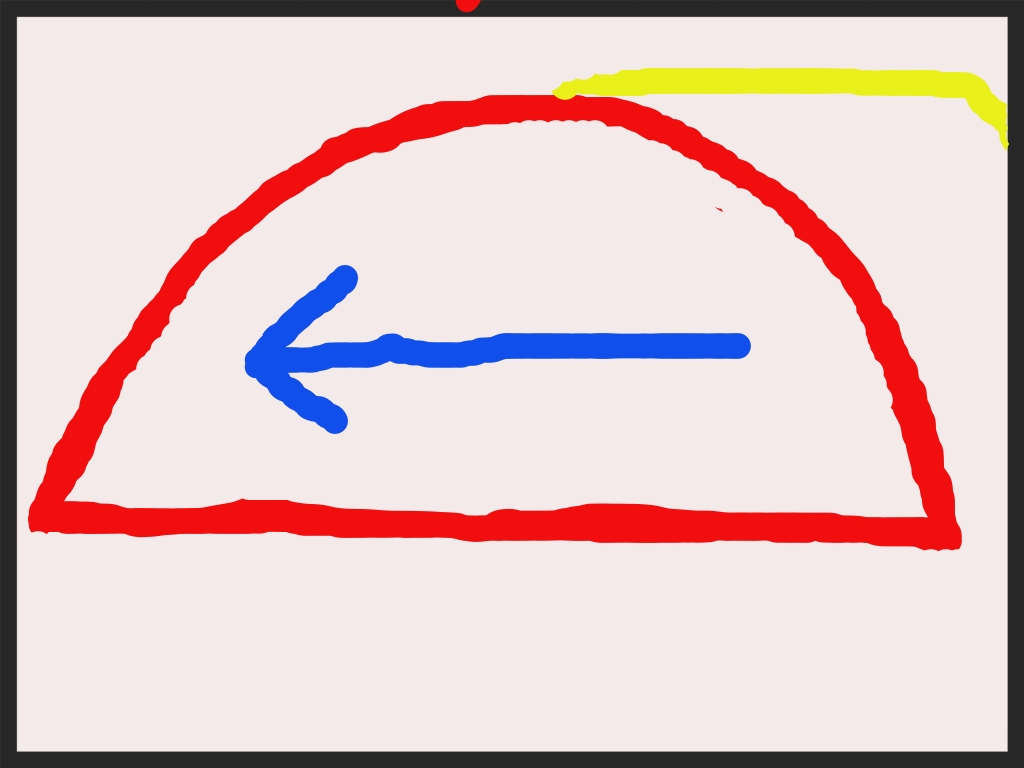
really hi-tech drawing showing the issue in yellow.
25 year exp welder. That explains how you got such beautiful welds from a cheap
HF tig welder. I'm impressed. It just goes to show that the best equipment does not mean S*** if the operator has no experience. Great job.
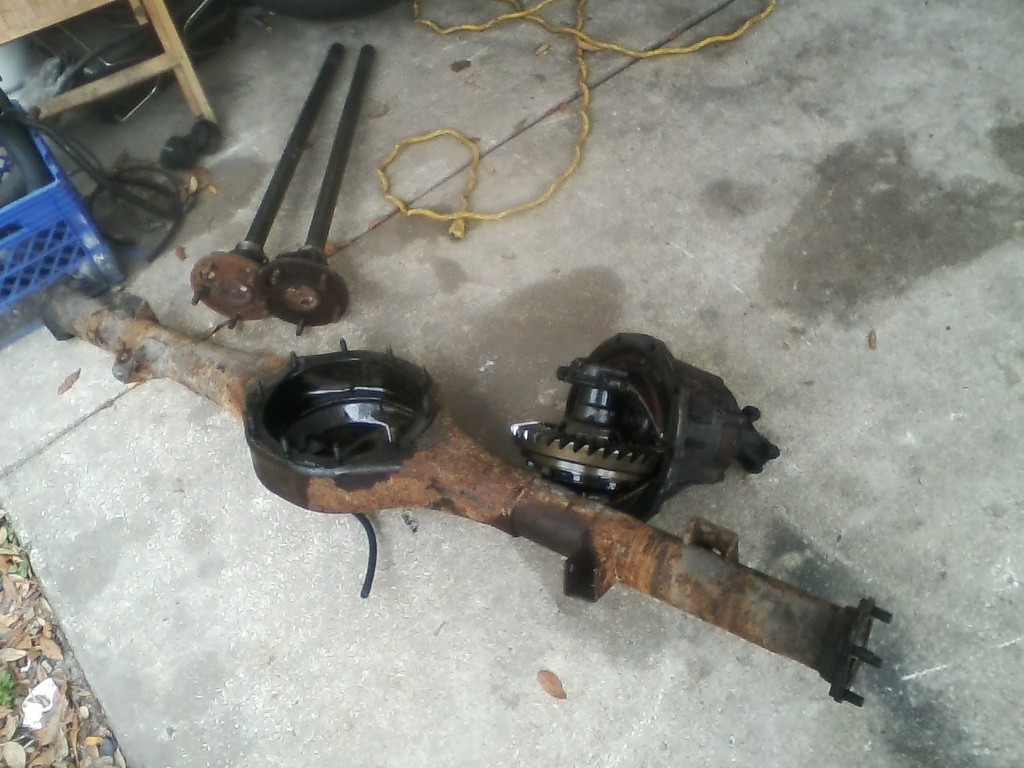
I think you should have run a bead where the axle tubes meet the center section, though.
BTW, I got a call back from Auburn Gear today. I asked what was the weak link in a 7.5" rear, because I thought about upgrading to 28 spline axles. They told me that the weak link was the small side gears in the differential, and the small 10 tooth pinion (I have 4.10s).
So, you already know this, but all of this work is only going to help explode your 10 bolt faster. Damn impressive fabrication skills, though.
thank you. i sort of wish i would have run a bead around the axle tubes, but thought it might warp beyond control? i guess i still can. i'm in no hurry, just a project.
i've been running 3.73 gear on a 2 series carrier. kinda hoping the thicker gear set will hold up better?
as luck would have it, a buddy gave me a 9". it will need work of course. i guess i'll mess with that after the tub job is done?
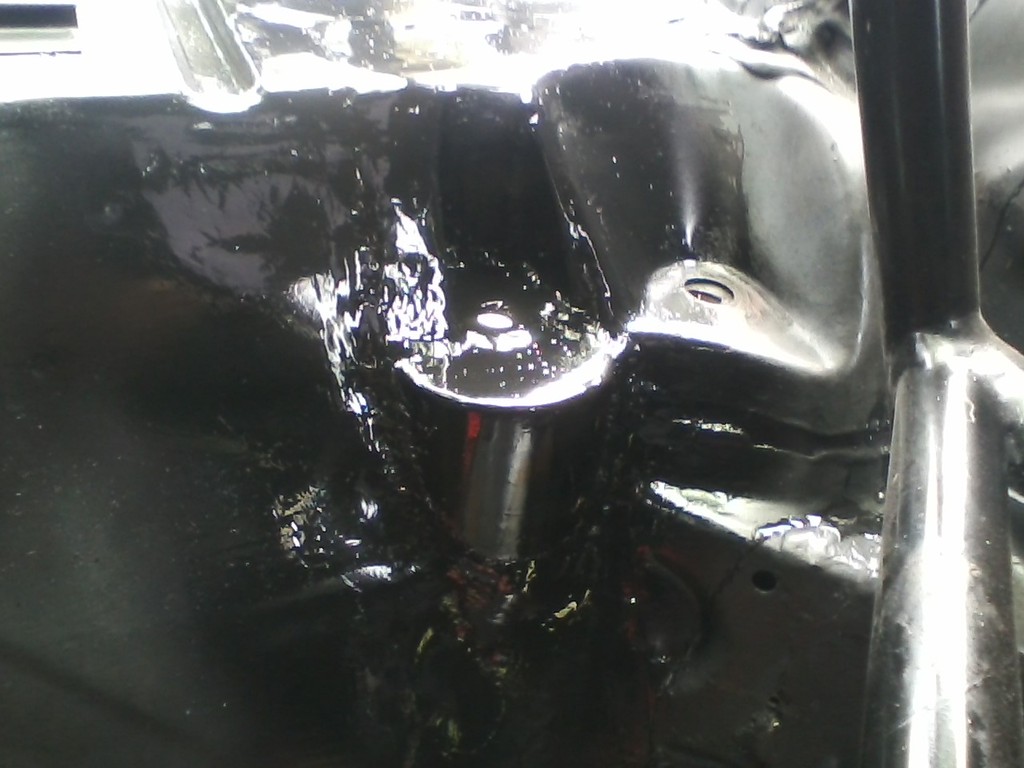
still plating/boxing the frame area in little by little. some areas i was able to weld on the back side also. i used a big piece of glass to true my cuts up before welding in any plates.
not worried about pretty as the tub will cover most work. just want it strong and true.
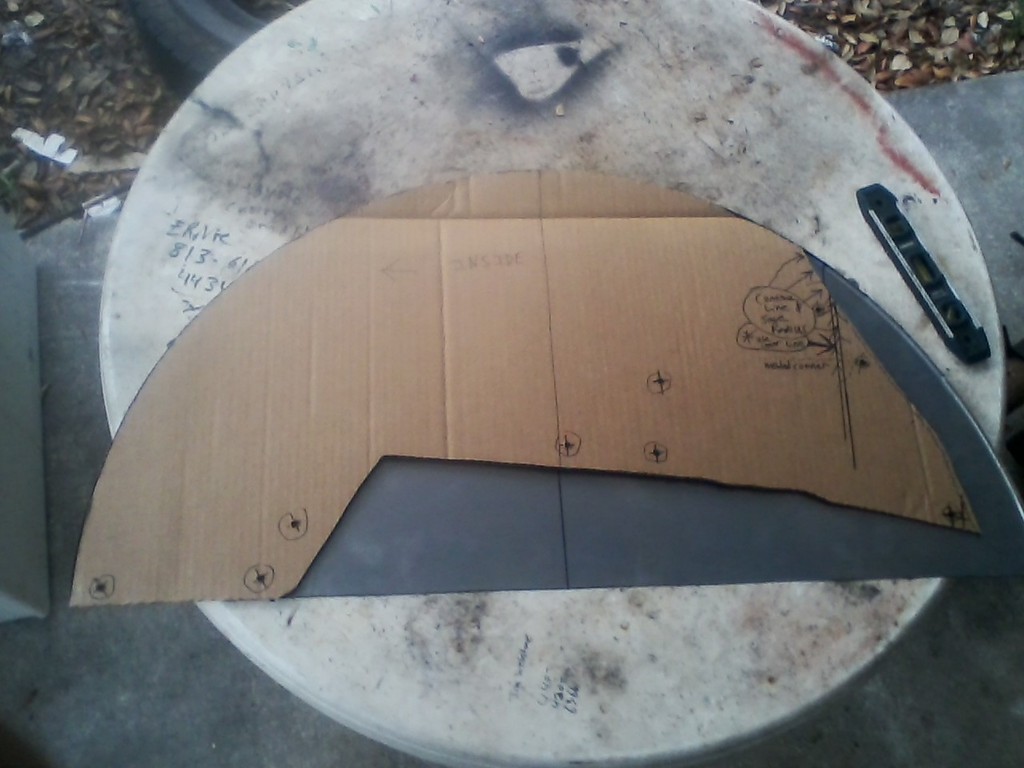
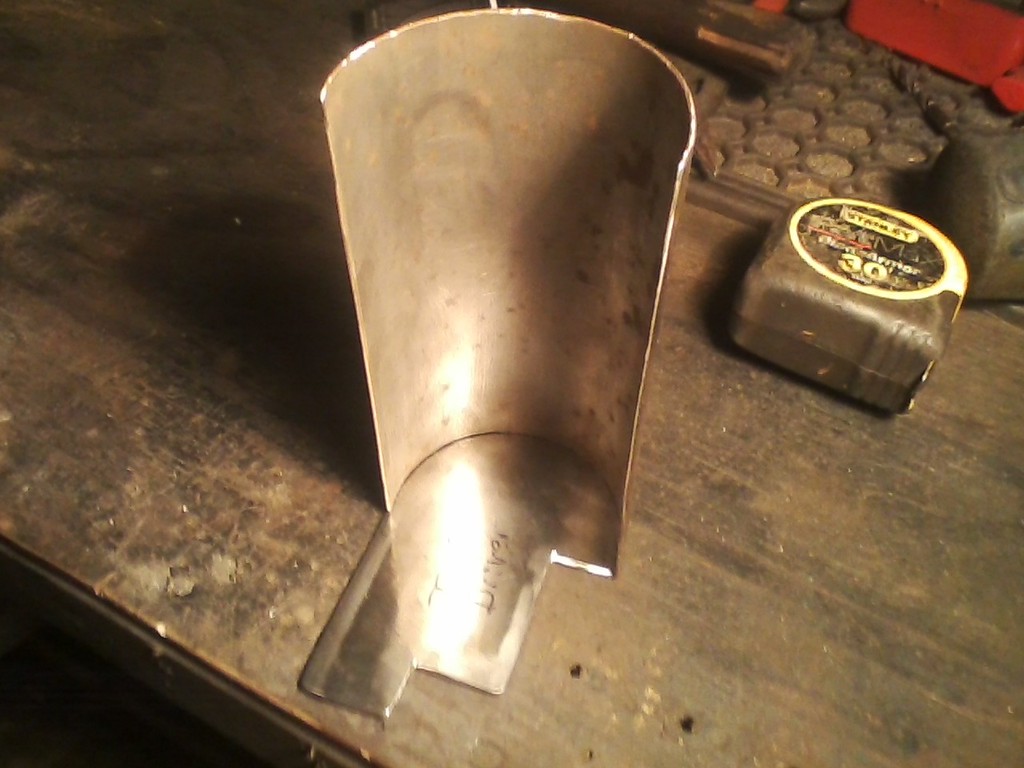
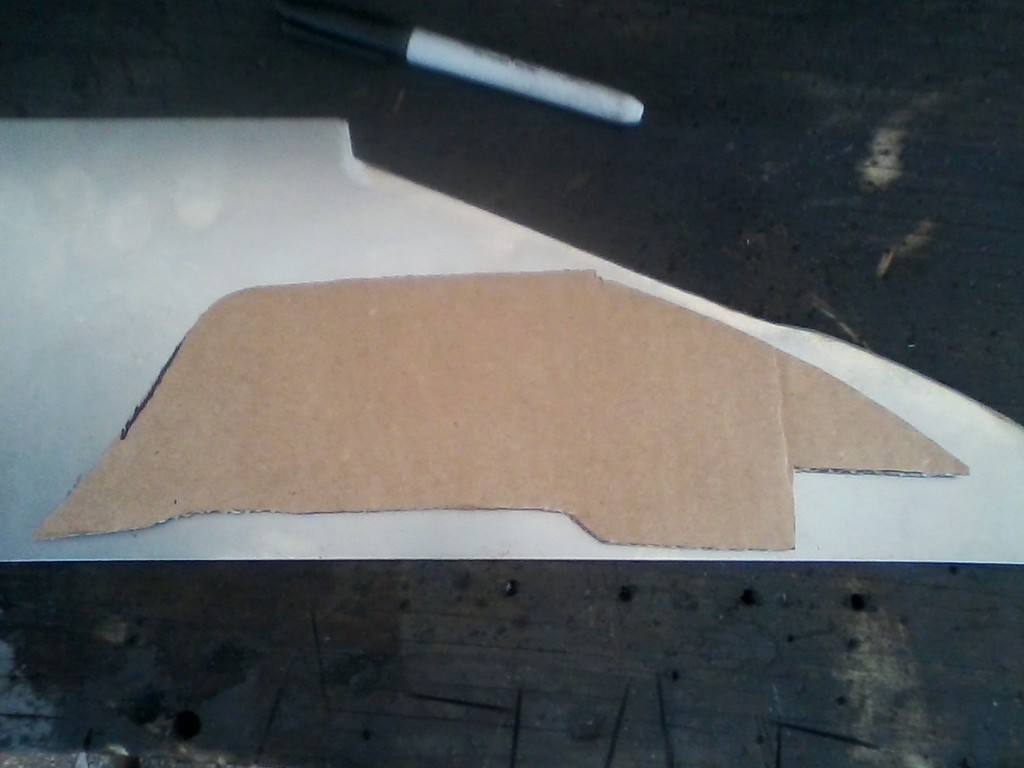
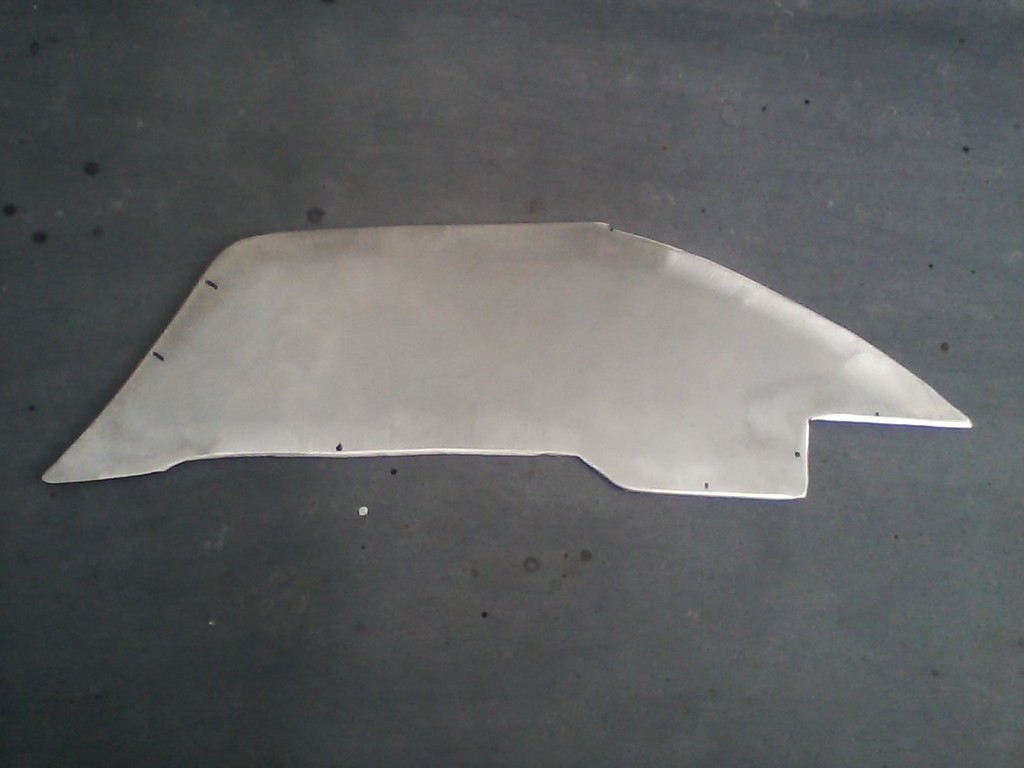
basically been cutting pieces of cardboard to fit, then transfer to sheetmetal when the pattern fits.
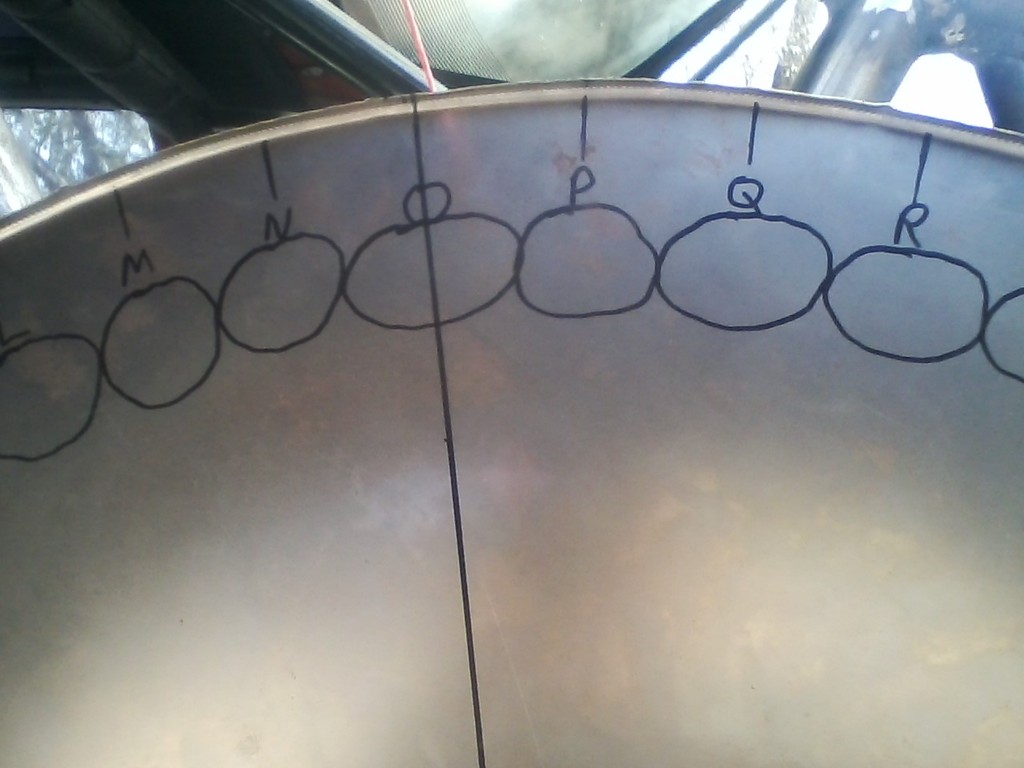
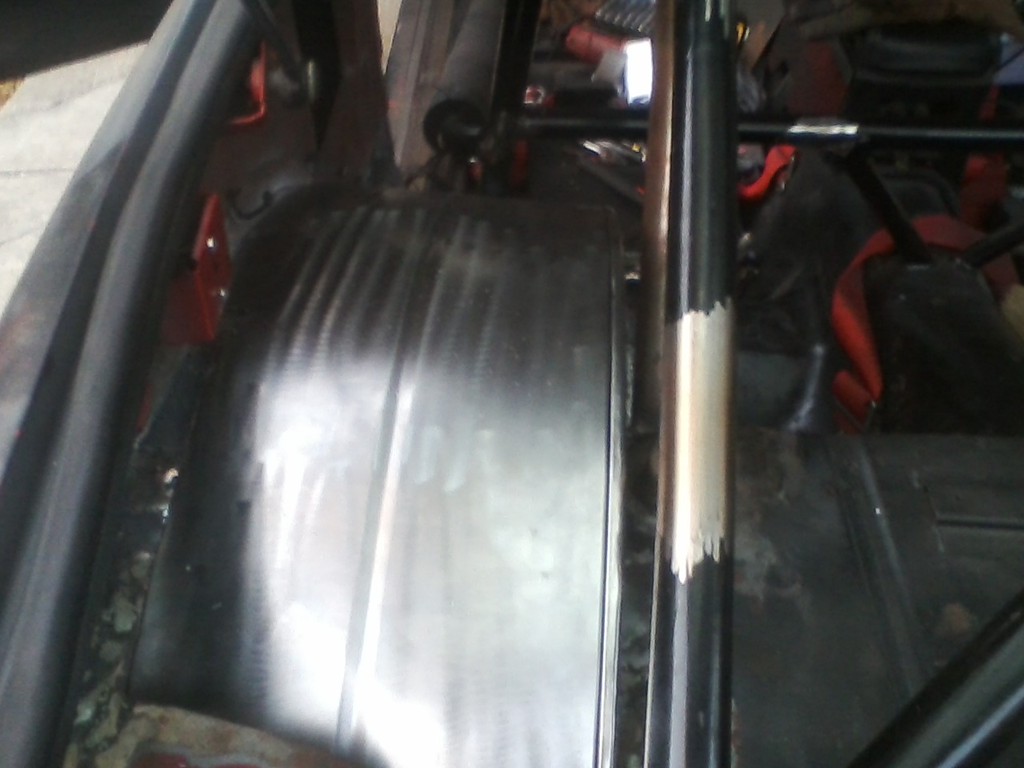
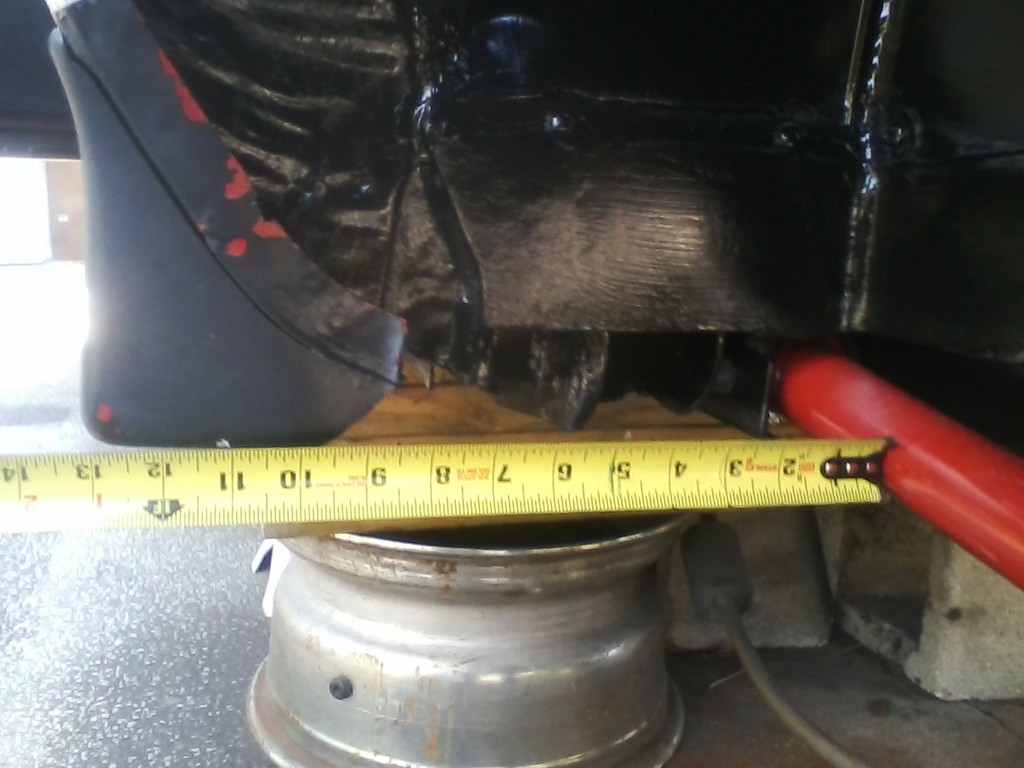
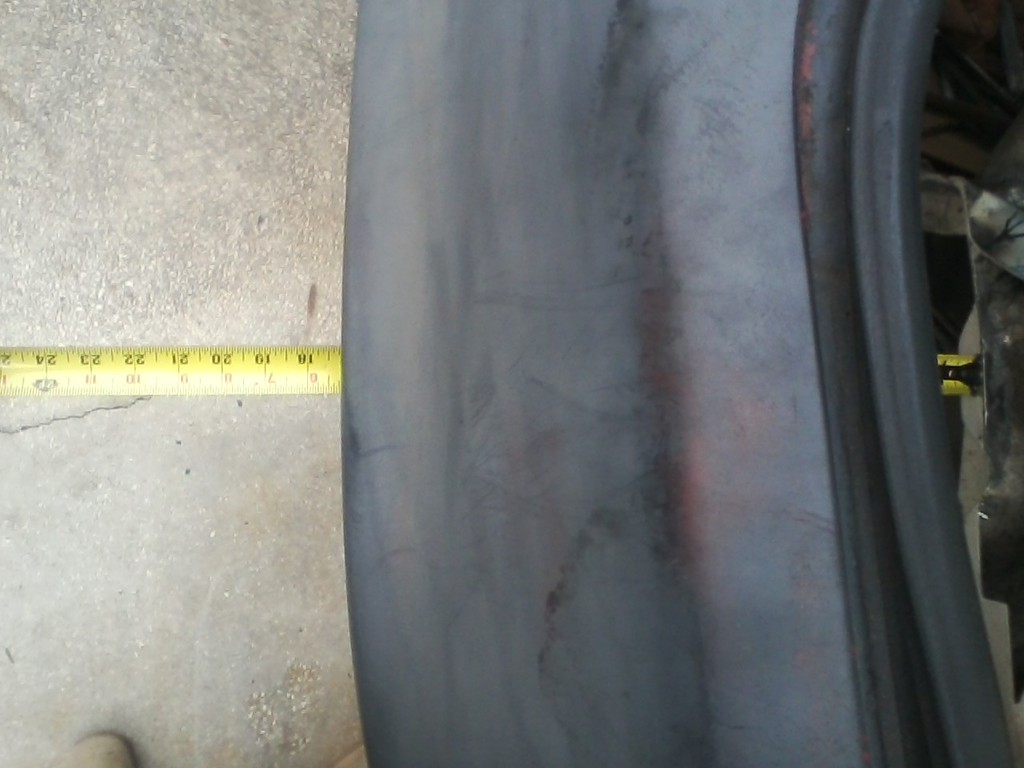
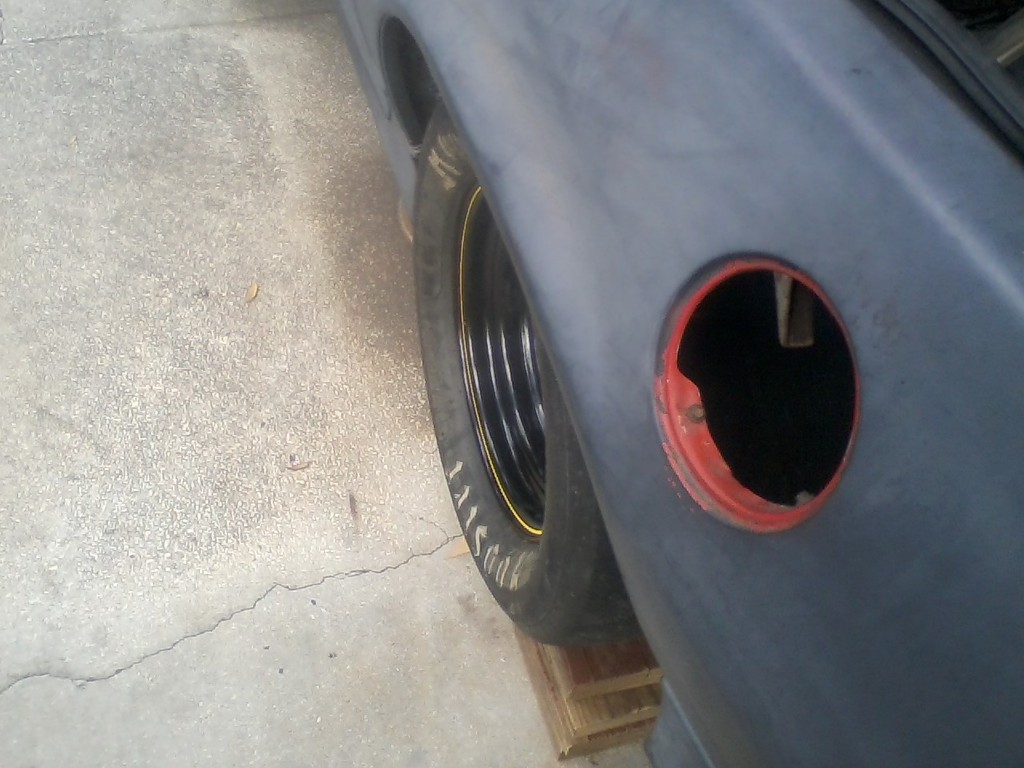
so how wide of a tire can i ran after all this crazy work might be the question? i took this pic the other day looking straight down, from frame area to outside of wheel opening.
25 year exp welder. That explains how you got such beautiful welds from a cheap
HF tig welder. I'm impressed. It just goes to show that the best equipment does not mean S*** if the operator has no experience. Great job.
I think you should have run a bead where the axle tubes meet the center section, though.
BTW, I got a call back from Auburn Gear today. I asked what was the weak link in a 7.5" rear, because I thought about upgrading to 28 spline axles. They told me that the weak link was the small side gears in the differential, and the small 10 tooth pinion (I have 4.10s).
So, you already know this, but all of this work is only going to help explode your 10 bolt faster. Damn impressive fabrication skills, though.
I test auburn gear differentials for auburn gear they seem to let go around 500 foot pounds of torque. In my opinion makes for a good street rod rear end maybe a G car but will not live long in a drag car.
then one of my sons helped me with assembling the tub/pittsburgh seam. it had to go in from underneath. we set it in place for another test fit and i got a few pics. i've got to pull it back out for some minor trimming, but thought it looked ok.
the gap pulls in tight. its just lightly sitting there.
It's looking great. I'm anxiously awaiting your report on the Axle bearings when it gets on the road. I would love to be able to make a jig and weld axle tubes if yours lives happily.
No major updates. I am curious to see how the bearings do also and if it rides nice and smooth.
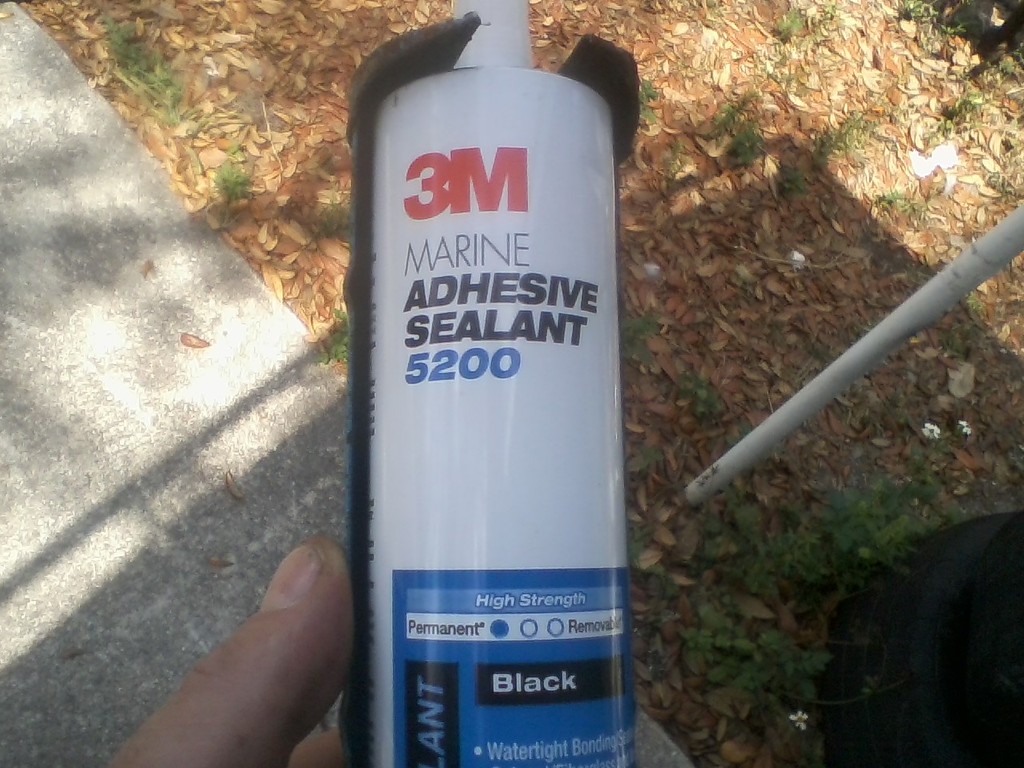
i did some finish trimming on the tub. then bought some 3m, 5200 marine grade caulk for final install. if anybody else has used this stuff before, i'm sure they can testify how strong it is. i basically thru-bolted the tub it.
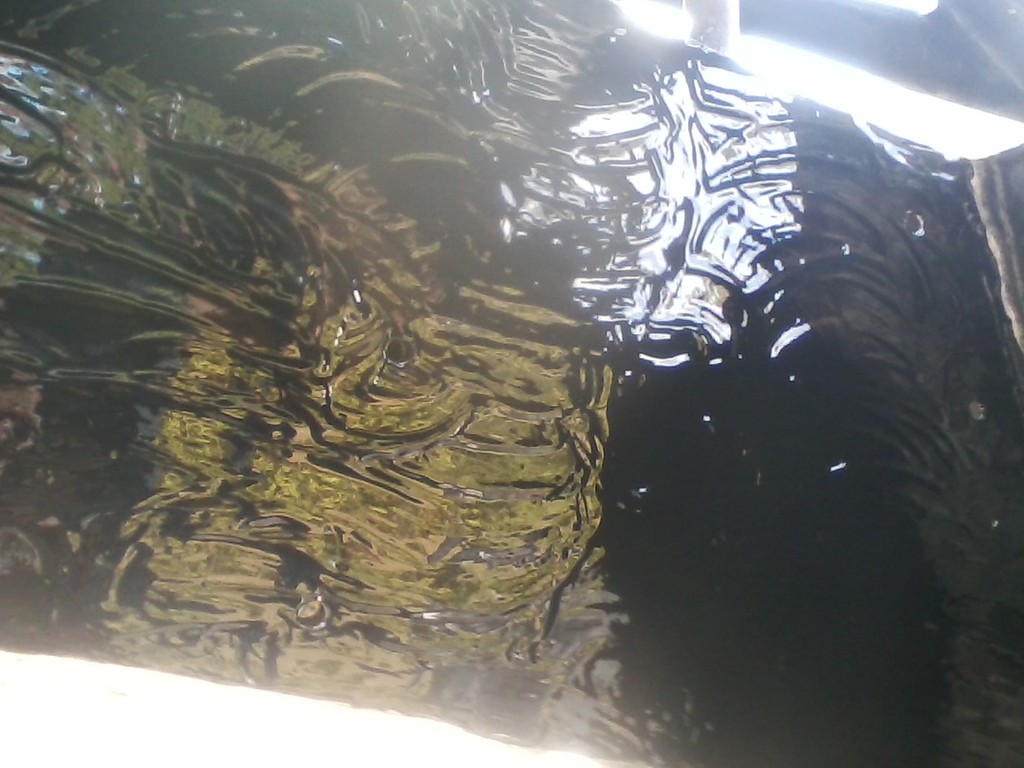
started brush painting the bare metal with some gloss black rustoleum since everything kept getting surface rust behind me. unfortunatly i used some old paint i had laying around and i think it looks horrible. i'll probably lightly sand it and put another coat on of a fresh can i bought. then move on to the other side. been very busy with other projects, life, work, etc, all the un-important, non-3rd gen related things.
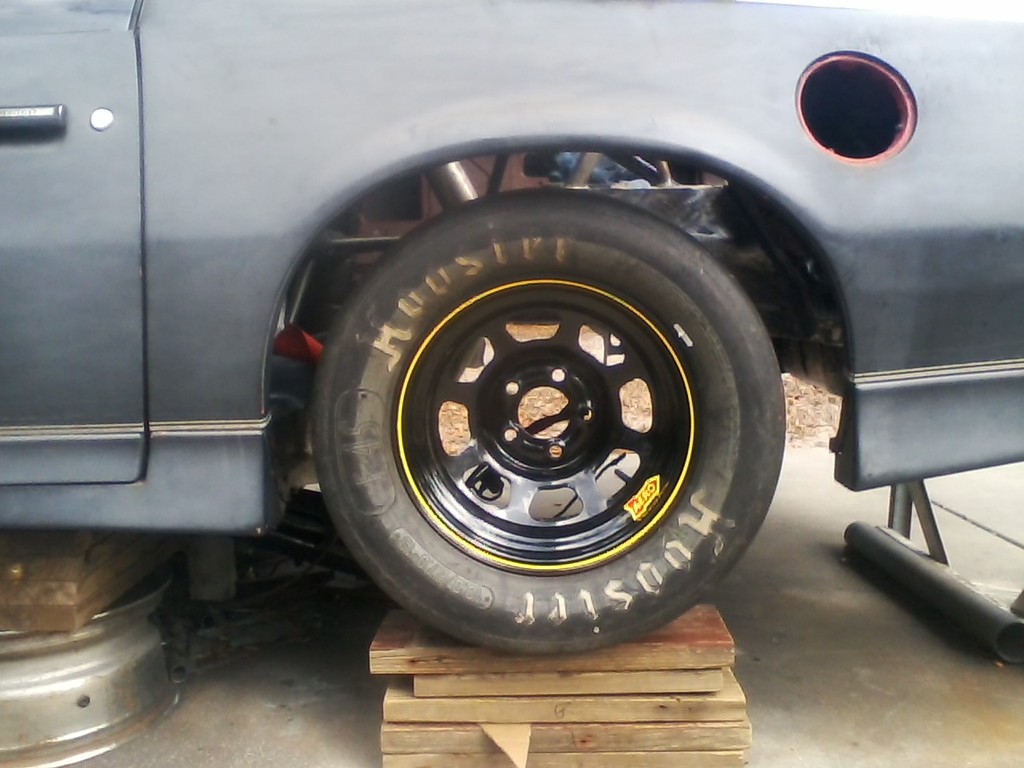
took a measurement from control arm to out side of body. kinda wish i would have took this measurement before i started to see how much i gained.
i was gonna add some pics but my photobucket account got locked for money. i'll figure out how to add pics again eventually.
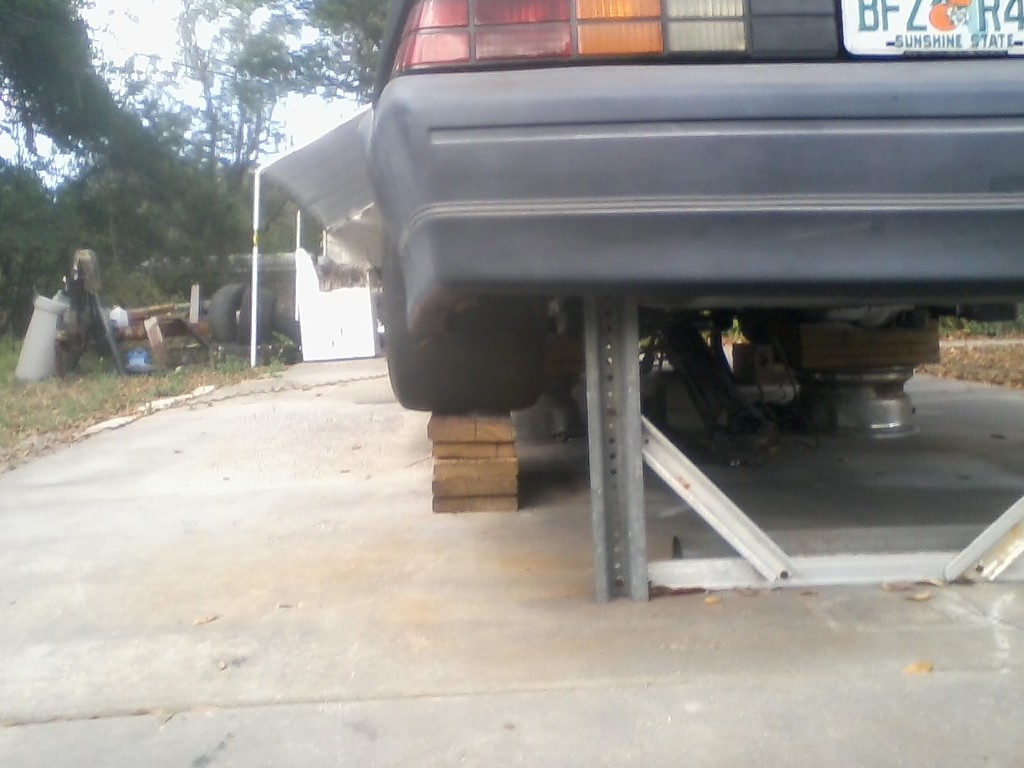
i have managed to pic up and assemble some parts in the past few months. went with a set of sportsman pro, 29x15.5x15's. they fit perfect. got an adjustable panhard bar. put a true trac in the rear with an aluminum cover with the carrier cap braces. have finished some welding on the passenger side. working on moving the sway bar mounts and narrowing the bar itself. got some different coilovers, etc. can't wait til its done.
...i'll figure out how to add pics again eventually.
I don't bother with photobucket or any picture hosting service. I keep my pics on my PC and upload them from there. Seems to work.
(Not sure what the point of the hosting service is anyway...)


 looking good!