When you click on links to various merchants on this site and make a purchase, this can result in this site earning a commission. Affiliate programs and affiliations include, but are not limited to, the eBay Partner Network.
LTX and LSXPutting LT1s, LS1s, and their variants into Third Gens is becoming more popular. This board is for those who are doing and have done the swaps so they can discuss all of their technical aspects including repairs, swap info, and performance upgrades.
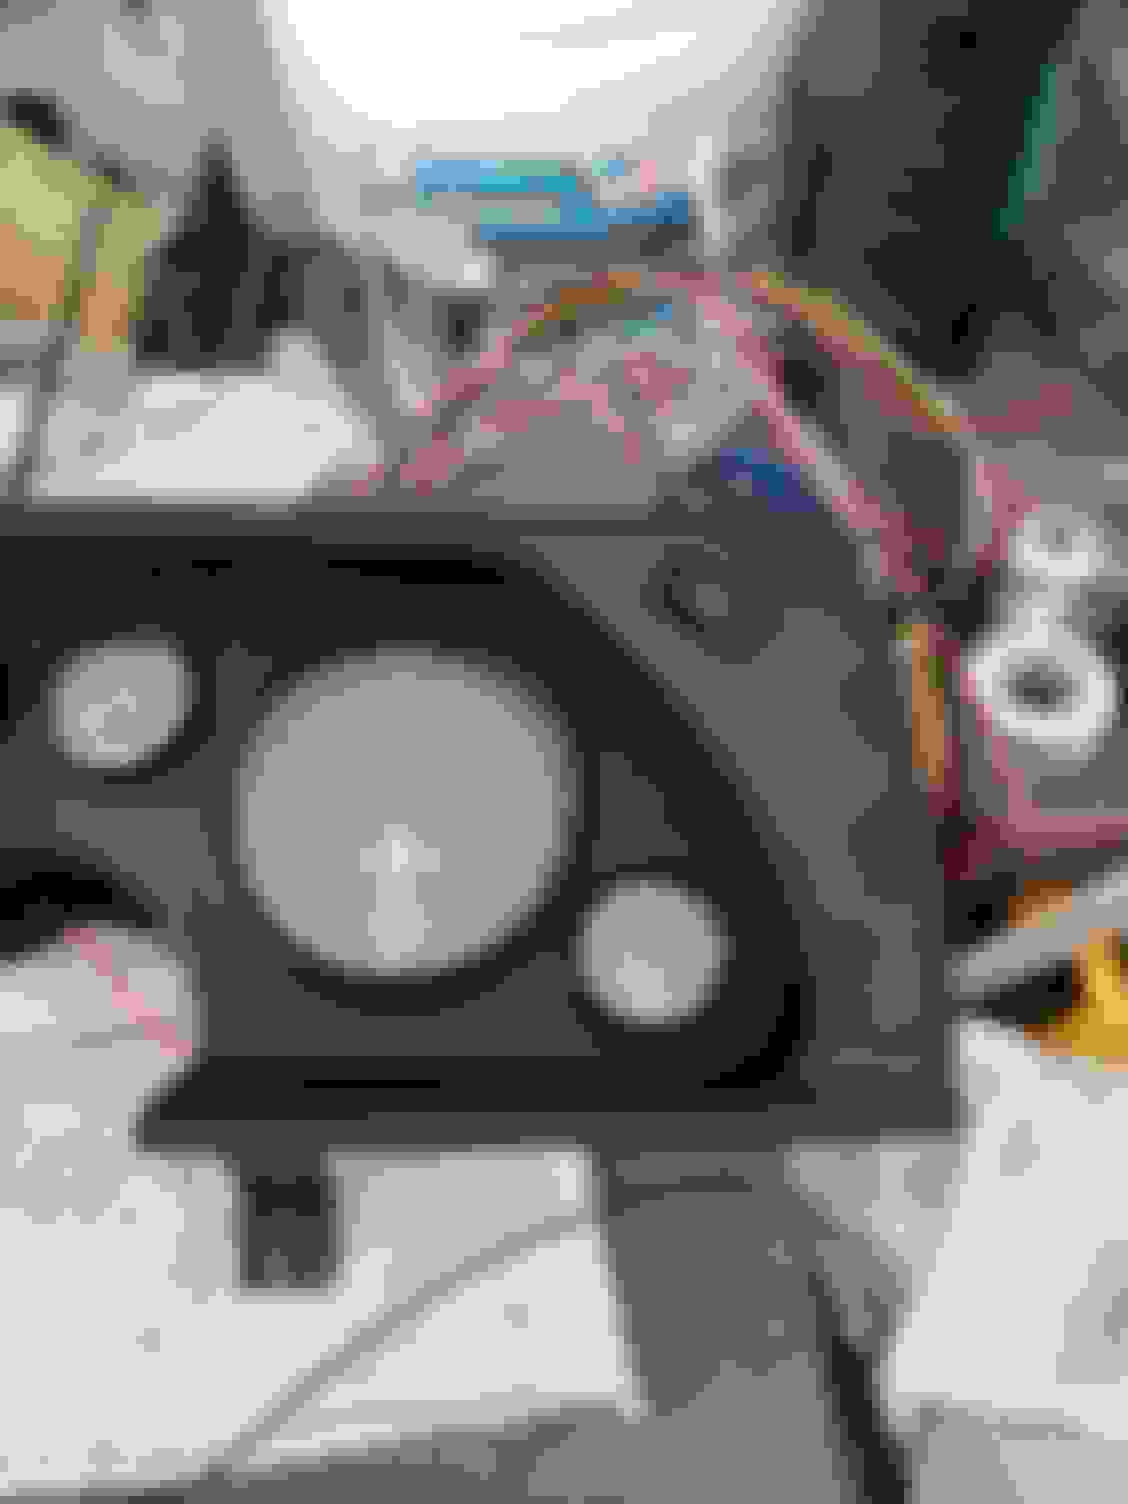
On the upper right side the old air re-circulation door was mounted with 4 screws it a trapezoidal shape this let the cabin air back into the blower fan and blocked off the cowl vent when on recirc. you need to install a block off plate to seal the cowl off from the cabin. I made mine out of 3/16 aluminum and reused the gasket off of the old recir door. In this picture I'm holding it upside down. If you look at my pictures I have it covered in sound deadener and my PCM is mounted to it
Looks like I will have to take the dash back out to put a patch over that cowl gap (shout out to 355SS). I also cannot get the fuse block to bolt in with the dash in place. My man hands are too large and there are too many wires weighing it down.
I dug through the old HVAC set-up and I cannot find that feature that matches what I need to patch. I looked at the stuff under the dash as well as the giant HVAC/blower fan that resides on the firewall.
355SS, you wouldn't have a picture of that OEM feature would you?
I was going to look for it last night but had too many things gong on. i used the gasket as a template and then reused it to seal up the plate I made
I found both so I should be good to go. I bought all my AC lines so hopefully I wont have to ever pull the dash again. Which means I will be pulling the dash 34 more times.
I bought a spare headlight chassis harness and stole most of the wires out of it to extend my harness. I finally have it routed to the C100 and just need to plug it in once I take the dash out and get the fuse block installed (along with the C100 from the inside. I was going to run it through the fender frame rail but decided to go the way DSE went.
This was a PITA to cut, solder and heat shrink, but it was worth it in the end.
I will run the fan signal wires, and relocated windshield fluid pump wires down the other fender.
The ridge in the fender will cover this perfectly.
Fan fuses tucked under the bumper rail in case I never need to get at them. The two loose wires are for the fender lamp.
Well the dash is back out and the patch panel is in place. I also fabbed up my AC lines and I'll get them crimped this week. I could not get my #10 AC fittings into the #10 Parker AC line. I bought everything from Vintage Air but their #10 hose has an 1/2" ID. I need 5/8" for #10. Anyone have anything similar?
Patch panel reusing the OEM gasket. Dryer put in place. Under dash AC lines.
Couple more updates here. I was able to get my AC lines crimped at a local semi refrigeration service facility. I forgot how rigid AC hoses are. I got them installed under the dash but it was a royal PITA. The lines under the dash along with the engine bay connections are causing the firewall to bow a little and distorting the top line on my bulkhead. I'll have to see if I can relieve that some because I don't like the way it looks. If I had to do it all over again I would have ran the AC lines through the fender and or through the wheelhouse.
I also figured out how to run my RPM cutoff switch for the AC compressor. Sanden says the SD7's can run to 9k RPM, but typical front accessories ratios hit that RPM when the engine is around 4 to 5k. I looked at many different window switches for nitrous control and they all had their limitations. I snooped around on Holley and found that they recommend the NOS RPM controller. So I ended up going with that. I will be able to wire the AC switch from the VA unit to the NOS controller, and then the controller to the trinary switch. The nice thing about the NOS controller is that I can take the tach signal right from the E38 ECM and wire it directly to it.
I've also been laying out my battery wiring. I will be running 1/0 gage from the battery to under the dash and 2gage to the starter from a junction. I will run another 2ga from the alternator back to the battery, all wired with an engine kill switch.
I made a few brackets for the DSE battery box. I have it mounted in place but will clean this area out and get some dynamat in there.
My AC Delco BCI Group 78 AGM battery should be here this week.
I went against my own judgment and cut an access panel for the fuel tank. (Flame suit on). I used the DSE trap door kit and welded and seam sealed it in. After a big struggle I was finally able to get the aeromotive tank in place. Seriously, I hate installing tanks in these cars. A two piece neck would solve a lot of issues. I had to make a small cut to the sheet metal inside the filler neck area for it to finally clear. I scratched it up but no one will be able to see it. Will try and run my fuel lines this week. I know I cut into the crumple zone, but I am hoping with a 4 point cage combined with the beef of the DSE subframes the back end shouldn't accordion that bad. And lets be honest, I have a higher change of killing myself in this stupid missile I am building. I restored a Corvair once and drove the heck out of it. I should have a few lives left!
The dash is finally in and my wiring is much more organized and well thought out. I did break off one of my VA ducts during the install but I refuse to take the dash out again to fix it. I think I can get my arms in there to get it back in place.
I have been spending a lot of time wiring up my gages and tapping into the gage cluster power and ground circuits. I have also tapped into the turn signal and bright indicators as well. After doing all of this I realized I never ran power back to the fuse block and or ignition switch. Oops. I should be able to tap into the A4 and G5 C100 wires under the dash and route them to a junction.
Made a bracket that ties into the OEM HVAC mounts. I used LS1 Solutions to flash me a basic LS3 tube on an E38 ECM. This should allow me to fire the car and get it to the dyno. Not sure why classic industries placed the mount for the rear defrost at this funky angle, but it works and is sturdy. I made a tiny little ABS bezel to clean up the cut I had to make. Rear view of the switch mount
Another issue I ran into was my Edelbrock TBI strut tower brace. QA1 now owns the manufacturing of it and is identical to the Edelbrock unit. My FAST intake is too close to the firewall and I could not run my MAP sensor back there. I was forced to put it at the front of the intake but the STB comes into contact with it. I have two of these STB's so I took my old one and cut the front bar and pieced some tubing in place to telescope out the front bar. I started welding it up but my welder is garbage and I will take it someplace where they can tig it.
Interference, and shimming it changed the mounting geometry too much. For the test fit I used my 20 year old STB to cut it and telescope out the front to take it past the intake manifold. The sliders will be replaced with 1.25" tubing and will look seamless after powdercoating.
Although I have a lead on an older TPI Edelbrock 3 pt brace which may work and be cheaper than working on this TBI one. The TBI one is a better built unit being fully welded. I already have the mount holes drilled through the strut towers (from 20 years ago) so I am reluctant to go with the DSE unit and have to drill more holes, making it look horrid.
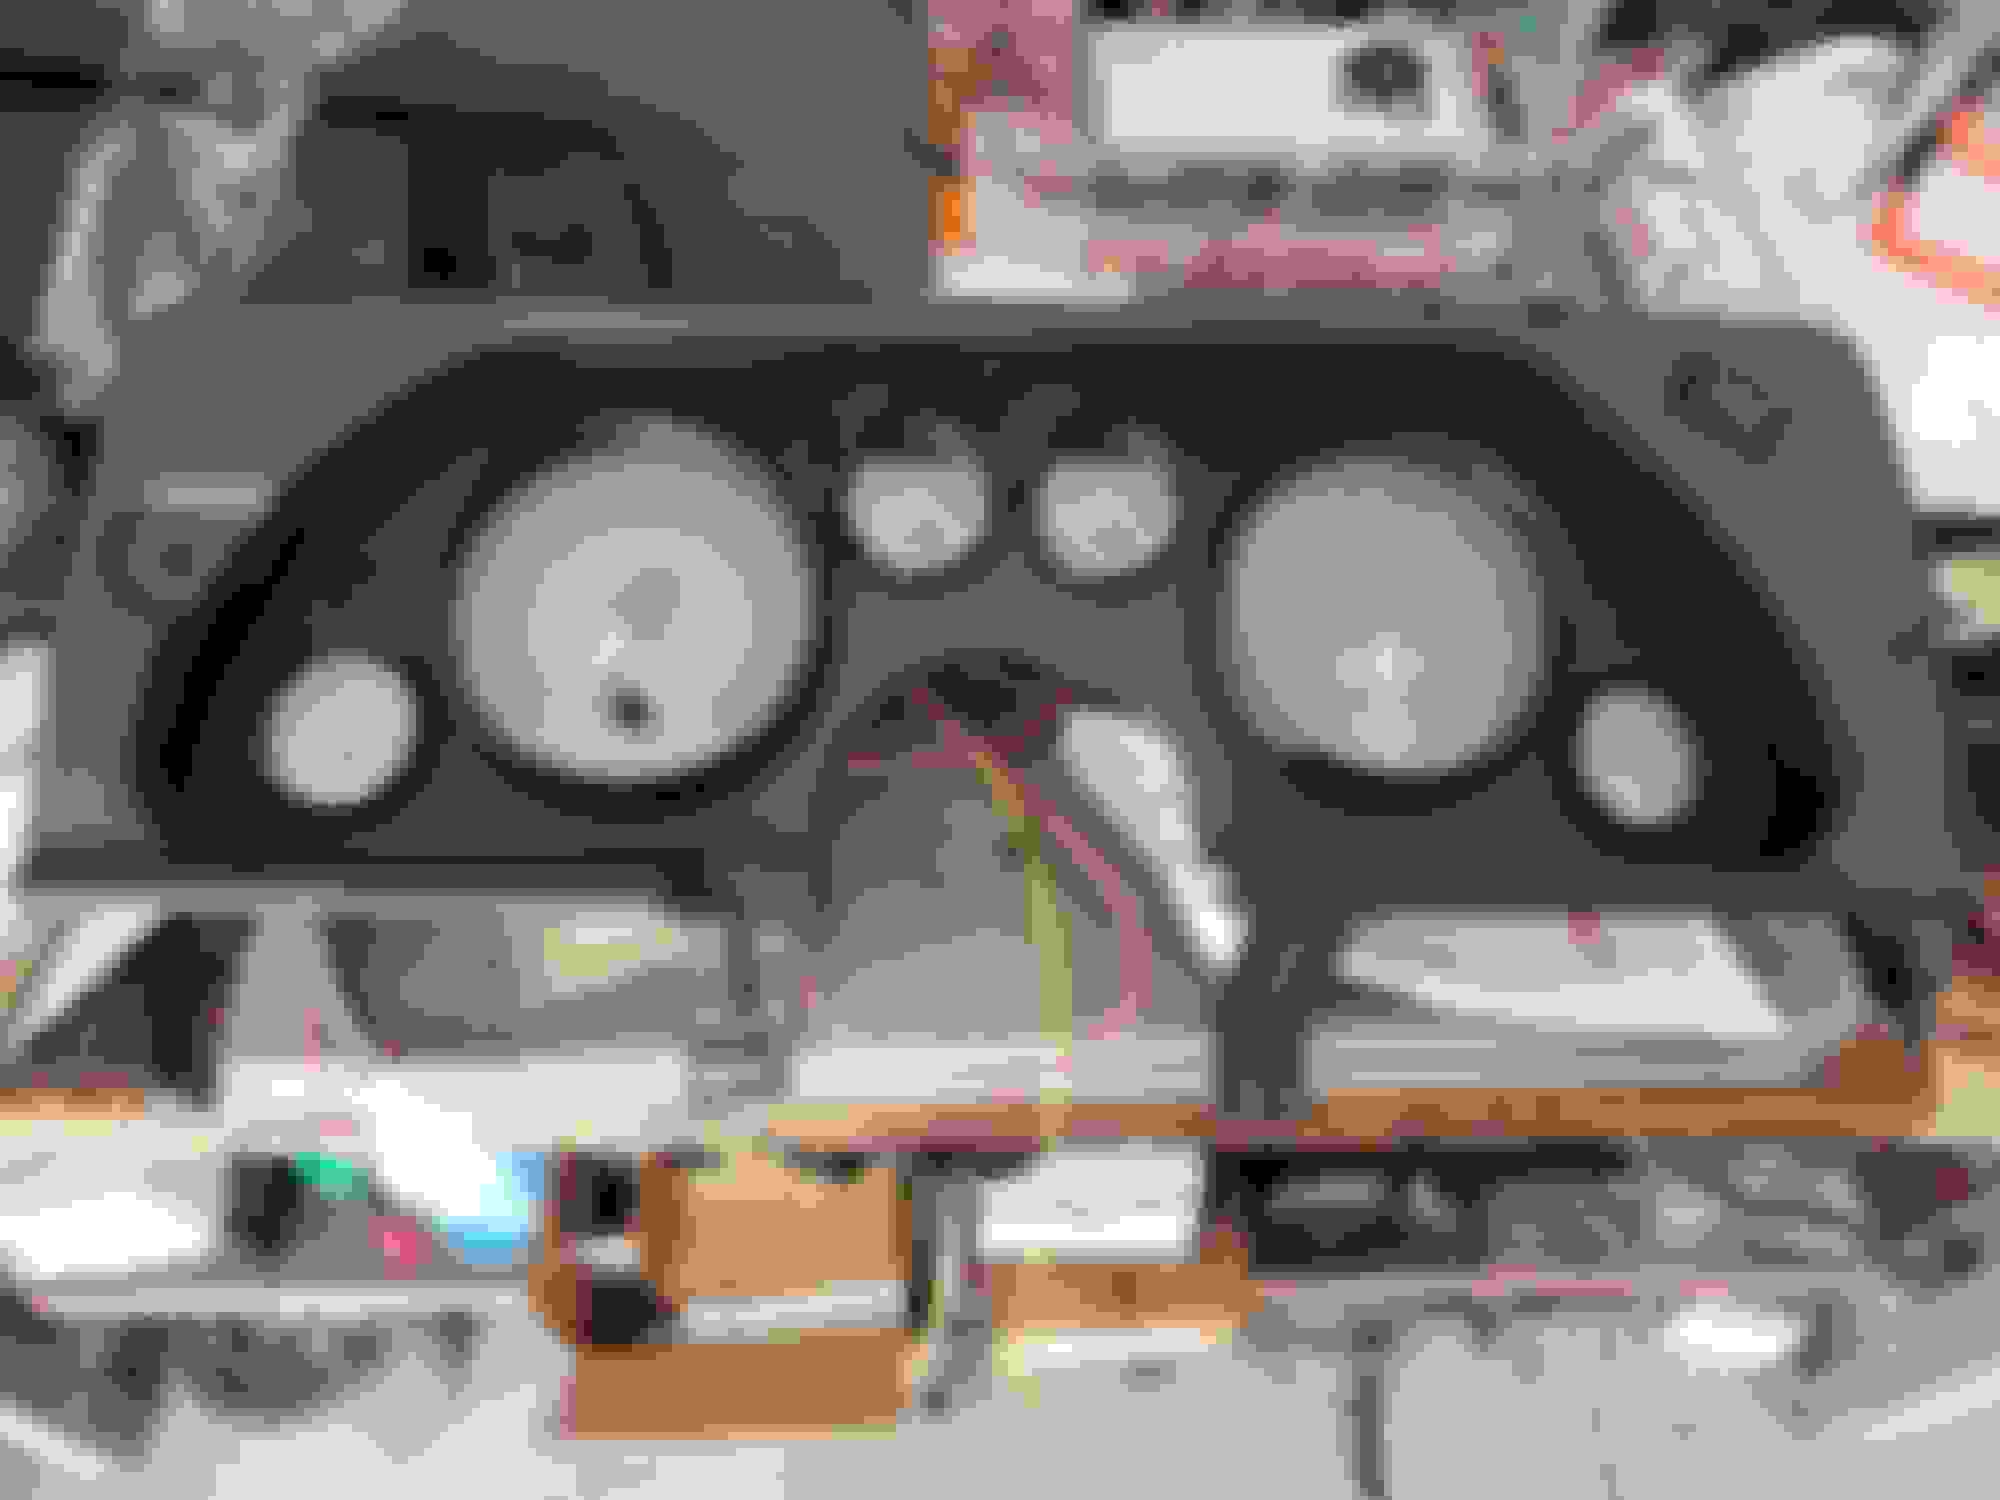
Thanks. They should turn out well and be different than what others have used. The wiring looks complicated but the autometer harnesses make it pretty easy. The only problem I will have is coming up with a new switch for the headlights. This cluster doesnt have enough room to fit in the giant OEM dimmer switch and ****. I doubt i'll run a dimmer as i have never dimmed the lights in any car i've driven, and will likely just have a 3 way switch for parking lamps and headlights.
Last edited by ShiftyCapone; 09-25-2020 at 07:55 PM.
Yes, I should have some too. I am still going at a snails pace as I have been traveling for business so much. I will make a post this weekend and hopefully include some new photos.
Great build! I can't believe I hadn't seen it yet, I just read the whole thread. I really like the matte paint in the engine bay and your attention to detail in the build. Looking forward to seeing you finish.
The last time I made an update I was trying to modify an old Edelbrock 3pt STB to clear my manifold/Throttle body. Lets just say I gave up garage welding with 110 and sold it. Luckily, a fellow TGO member was selling an Edelbrock TPI 3pt STB, which I honestly didn't think ever existed. I was worried that it wouldn't match up with the holes already drilled for the TBI version but it lined up perfectly. In hindsight, I would have welded up the old mounting holes and went with the new DSE 3 pt brace. None the less, I am happy how it turned out.
I also paused on the dash and gage installation as I had a "snafu" with an generic 3 way light switch that burned up the interior lights circuit in my dash harness. This required me to pull everything back apart and separate every single circuit in the dash wiring. I cleaned out and unpinned all the unused portions and replaced the burnt circuit. I ended up taking the steering column and harness and mocking it up in my basement to trace every circuit. I "borrowed" a low amp 12v battery from my kids toys to power the assembly so I could properly plan for 12v leads, grounds and 12v key on leads. I ended up going with a 3rd gen firebird light switch and rewiring it to the Camaro harness. This took a ton of trial and error since there aren't wiring diagrams anywhere for the firebird light switch. In the end, it works, albeit on my test bed, just like the factory. I changed my turn signal relay to a no load relay for the new LED markers but they still don't want to blink. I am starting to think an aftermarket gage cluster was a bad idea. I'll stick with it though because I am so close. I just don't want anymore dash fires. Thank god I installed the battery cutoff switch.
I also dialed in my cold air setup using spectre tubing. I mocked it up and had a shop TIG it together before having is powdercoated. My intention is to run a filter in front of the driver side tire encapsulated by some sort of a box (TBD). Based on others builds it seems as if my filter may be too small. I used the basic IC Engine air filter norm of filter area = (Disp * max RPM)/20,839. We'll see come dyno time.
Excuse the dust, and the giant nerd loser lurking in the pic.
I am back under the car now installing the fuel and brake lines. I am using Raceflux lines and their fiberglass heat sheath covering. Very easy to work with and supposedly the same performance as PTFE. I will have pictures of that later. I installed the Founders panhard rod relocation kit which for the most part fit "ok" albeit with a little massaging on the driver side level. I had to grind off a little Sheetmetal overlap for the brace mount to sit flush. I was disappointed that the kit didn't come with a new panhard rod, so for now I will reuse the ugly 20+ year old spohn unit. All of this will be replaced with a fabricated 9" at some point so I am more focused on getting it drivable and only using parts that will transfer over. I also realized I lost the rear sway bar so I have the DSE rear bar kit on order. I am also about to put in a stock LS1 driveshaft (again will be replaced with a proper shaft come 9" time) and founders torque arm.
This is the small area I had to grind off to get the body side mount of the upper panhard rod to sit flat.
For condensation I am using a drain tube that comes out of the system, and runs through a hole at the bottom of my firewall. Or are you saying the evaporator itself gets wet?
I am saying that *my* accumulator/receiver/dryer gets very wet when running, but I am still using the stock style system under the hood with just the ls1 compressor. I also notice the same thing on my '04 Dodge ram 3500
It is good to know the the evap core has its own drain like the factory one does. Gotta get that humidity out of the air somehow!
Uhg, I hope that doesn't happen. Right now I don't have a plan to remove condensation and or any dripping from the accumulator. Might have to rig something up so the carpet stays dry.
what about using a cheap funnel with a hose attached to run the water to wherever you want it to go
I guess I will see how bad it gets first. I can always reach up under the dash and fab a drip pan of some sort. I guess I never realized accumulators did this.
Checked a few more things off my list. Got the tank heat shield installed along with the DSE rear sway bar. Also realized I had to swap yokes on the LS1 driveshaft for the the Magnum spline count.
I am also in the process of installing the Founders torque arm. It is a really nice piece, but it isn't without criticism. I initially bought it because it had solid reviews and was a decent amount cheaper than the UMI version. I also was willing to gamble since long term I am not sure what torque arm I will be running when the 9" eventually makes its way into the car.
Cons:
No instructions, but I figured it out, but was really looking for some general set-up guidelines.
No hardware: This was a pain, so I ordered the UMI/BMR torque arm hardware kit only to realize that the founders system uses the OEM sized hardware. Namely, the larger 9/16 bolts won't work. I had to order 14MM X 2 X 190mm hardware to replace my long gone stock bolts. This should be plenty strong and if I break these bolts I have larger problems.
Pros:
Very good welds and overall construction
Includes Energy Suspension Torque Arm Bushing (The UMI does not).
Brackets fit perfectly over the soon to be broken 10bolt.
Holley Universal Vent, had to neck it down from the Aeromotive 3/8" vent to the Holley 5/16". I'll have to find a 3/8 vent.
You vs the yoke she told you not to worry about.
DSE Sway Bar installed, heat shield in, and repurposed ugly sportline springs and Spohn panhard rod. All will change once the 10bolt dies. Which will be at mile 1.
Well this is my standard 2 month update. The founders torque arm is in and the pinion angle set. My -6 fuel lines are run as well as my brake lines. I ended up using redhorse performance AN brake lines. They were a bit pricey but I loved the flexibility to route them around my tubular front end. I started using OEM replacement lines from Inline Tube and they just didn't fit around all my aftermarket stuff. I jacked all my fuel lines in fiberglass heat shield from RaceFlux. After using five or so brands of AN fittings I really like the RaceFlux line. Their lines are very flexible and shipping is free regardless of the order size.
I have been working like a madman trying to get this thing ready for Hot Rod Power Tour so I am a little light on pictures. I decided to run a staggered tire size until I find the right balance that this car will want. I opted for Bridgestone RE71R tires, 265/35/19 up front and 305/30/19 rear. With my tubs I will easily be able to narrow my long term rear end to tuck the rears in more. I need to get more pics of the fit, but with the car on its own weight I am very happy with the stance.
I thought I had a better pic but I don't. Fenders clear my wiring nicely.
Coming together Slapped some grid taillights in along with my battery kill switch
I will blow the whole car apart for final paint once it is on the road tuned, and dialed in.
Looking good! Seems like it's coming together nicely.
Will the rear plastics fit over the mini tubs?
As of now, I don't know. That is a future problem, ha. I honestly think they will for the most part, with the exception being at the ends. Electrically the car is back together, and it was so nice to see the taillights light up and the rear hatch finally close. However, my starter would not bump over which I believe I have a loose wire at the PSI conversion ignition relay. Also, my right LED blinker stays on all the time, so could be a bad bulb or weak ground. I also figured out a better way to mount this bezel into the dash. I used small #6 speed nuts along the top flange and transferred holes through the dash. Its now screwed in versus clipped in. Way more secure. It feels good having these in. This was a nightmare to do.
My other issue is getting my brake light switch to stay put. I screw it in but the brake pedal pops it back out. Any idea if you can replace those metal seats? I also know I will have an issue come alignment time with the camber plate hitting my master cylinder. I think I can put a flat on the side of the UMI piece and weld it back up without limiting its adjustment.
my starter would not bump over which I believe I have a loose wire at the PSI conversion ignition relay
Have you retained the VATS? I recently had the same issue with a friend�s 89 with an LT5 swap. If you still have the original ECU connectors, there is a dark blue wire for the injectors enable that needs a simple ground in order to activate the starter relay. If this does not apply to you, then you can disregard my post.
I do still have Vats and the only wire I removed was a blue wire that went to the security light on the factory gages. The aftermarket harness should work independently of the OEM vats though? This is a good place to start.
I do still have Vats and the only wire I removed was a blue wire that went to the security light on the factory gages. The aftermarket harness should work independently of the OEM vats though? This is a good place to start.
That is correct, the aftermarket ECU will be independent of the VATS, but the VATS module still wants to see a signal from the injectors enable relay before it will enable the starter relay. We were having the same issue and simple put a ring post on the dark blue pigtail and bolted it to the firewall and the engine now cranks.
That is correct, the aftermarket ECU will be independent of the VATS, but the VATS module still wants to see a signal from the injectors enable relay before it will enable the starter relay. We were having the same issue and simple put a ring post on the dark blue pigtail and bolted it to the firewall and the engine now cranks.
Interesting. My ignition relay is part of the PSI harness but luckly i left the blue wire there in case i needed it back. I'll ground it anyways.
Interesting. My ignition relay is part of the PSI harness but luckly i left the blue wire there in case i needed it back. I'll ground it anyways.
The "ignition" relay is part of the ECU function, the "starter" relay is part of the VATS system and it is located inside the drivers side kick panel. the VATS module under the dash has several relay triggers that it wants verified before it will enable the starter, one of which is the "injector enable" which is the dark blue wire to the ECU. Ground that wire and it will fool the VATS into thinking everything is present. The blue wire we speak of should be in a black 2 part connector (A & B), pin B3 or B4 (it's the only blue one), verify that it is the "right" blue wire before grounding the wire you have. I hope I'm not overstepping here, just trying to help.
The "ignition" relay is part of the ECU function, the "starter" relay is part of the VATS system and it is located inside the drivers side kick panel. the VATS module under the dash has several relay triggers that it wants verified before it will enable the starter, one of which is the "injector enable" which is the dark blue wire to the ECU. Ground that wire and it will fool the VATS into thinking everything is present. The blue wire we speak of should be in a black 2 part connector (A & B), pin B3 or B4 (it's the only blue one), verify that it is the "right" blue wire before grounding the wire you have. I hope I'm not overstepping here, just trying to help.
You are not overstepping at all. I greatly appreciate this info, and frankly I am not sure if I ever would have figured out the blue wire trick. What you are saying makes complete sense now and I forgot about the starter relay under the kick panel. When I get back into town I will check my vats box to make sure I left the blue wire in. I may have de-pinned it but will put it back in if I did.
So close but not quite yet! I found a broken terminal on the back of the fuel relay on the PSI harness so I buttoned that up along with repining the blue wire on the passkey box. I grounded it as mentioned above. I also noticed I didn't have the key lock wire connected to the main harness. That was what was missing. So, I now have pump prime and ignition. The new problem, the LS3 starter I am using doesn't seem to be engaging with the RPS flywheel. I am not sure what the issue is but when I turn the key I can hear a loud mechanical grinding/dithering noise. I really need to crawl under there and watch the gear as someone turns the key. I have a tech help request in with RPS to see if there is a starter that works better. I did have to grind on the bellhousing (4th gen) a lot for the starter to seat and I am not convinced the two are compatible. I have a hair of a gap between the starter and the front plane of the bellhousing. I don't "think" that is enough to cause engagement issues, but maybe. I also hand cranked the engine over a bit to make sure there wasn't something bound up. I am going to try a CTSV LS6 starter to see if that fits better. What a bummer.
I have often found that when the Battery Voltage is slightly low:
The Starter-Motor Solenoid does not always move the Plunger/ Lever far enough...
to allow the Pinion-Gear to engage the Flywheel Teeth deep enough, for a clean and proper engagement.
...and when that happens, noise and gouging/ grinding of the Teeth can be found (on both components) in short time.
After Building hundreds of Power-Train Systems (through my Shop/ Business)...
I feel that a very high quality, over-powered Starter-Motor is almost always worth the expense.
Especially for Racing Vehicles and "Car-Show" Vehicles that often sit for extended periods of time.
I always told my Customers to NOT cheap-out on a Starter-Motor.
Spend the money on a high quality Starter-Motor that is intended for a higher Compression Ratio, and Engine Displacement...
than the Vehicle actually has.
It will keep you happy, regarding an easier time starting the Engine.
You still planning to be at Hot Rod Power Tour? I've seen the stop locations but have you seen the route map yet?
Yeah, its close to home this year but my chances are fading. I had my trickle charger on but maybe there is a draw somewhere. I will eventually upgrade starters, maybe sooner than later if I cant get this LS3 unit to work. Any recommendations? Battery has been relocated to the rear and I am running 1/0 up to a junction and a 2ga from there to the starter. Shouldn't been to much power drop. 880 cold cranking amp Delphi AGM battety. I'll top the battery off againg and give it another shot. I'll try a LS6 ctsv starter tomorrow. Then its time for aftermarket.
Battery was 11.8 volts to I topped it off yet no dice. If life would stop getting in the way i'd get that LS6 starter in there. Hopefully this weekend. I am not 100% sure this LS3 unit is compatible. May try to shim it, but its a SWAG since I can't actually see what the starter gear is trying to do.
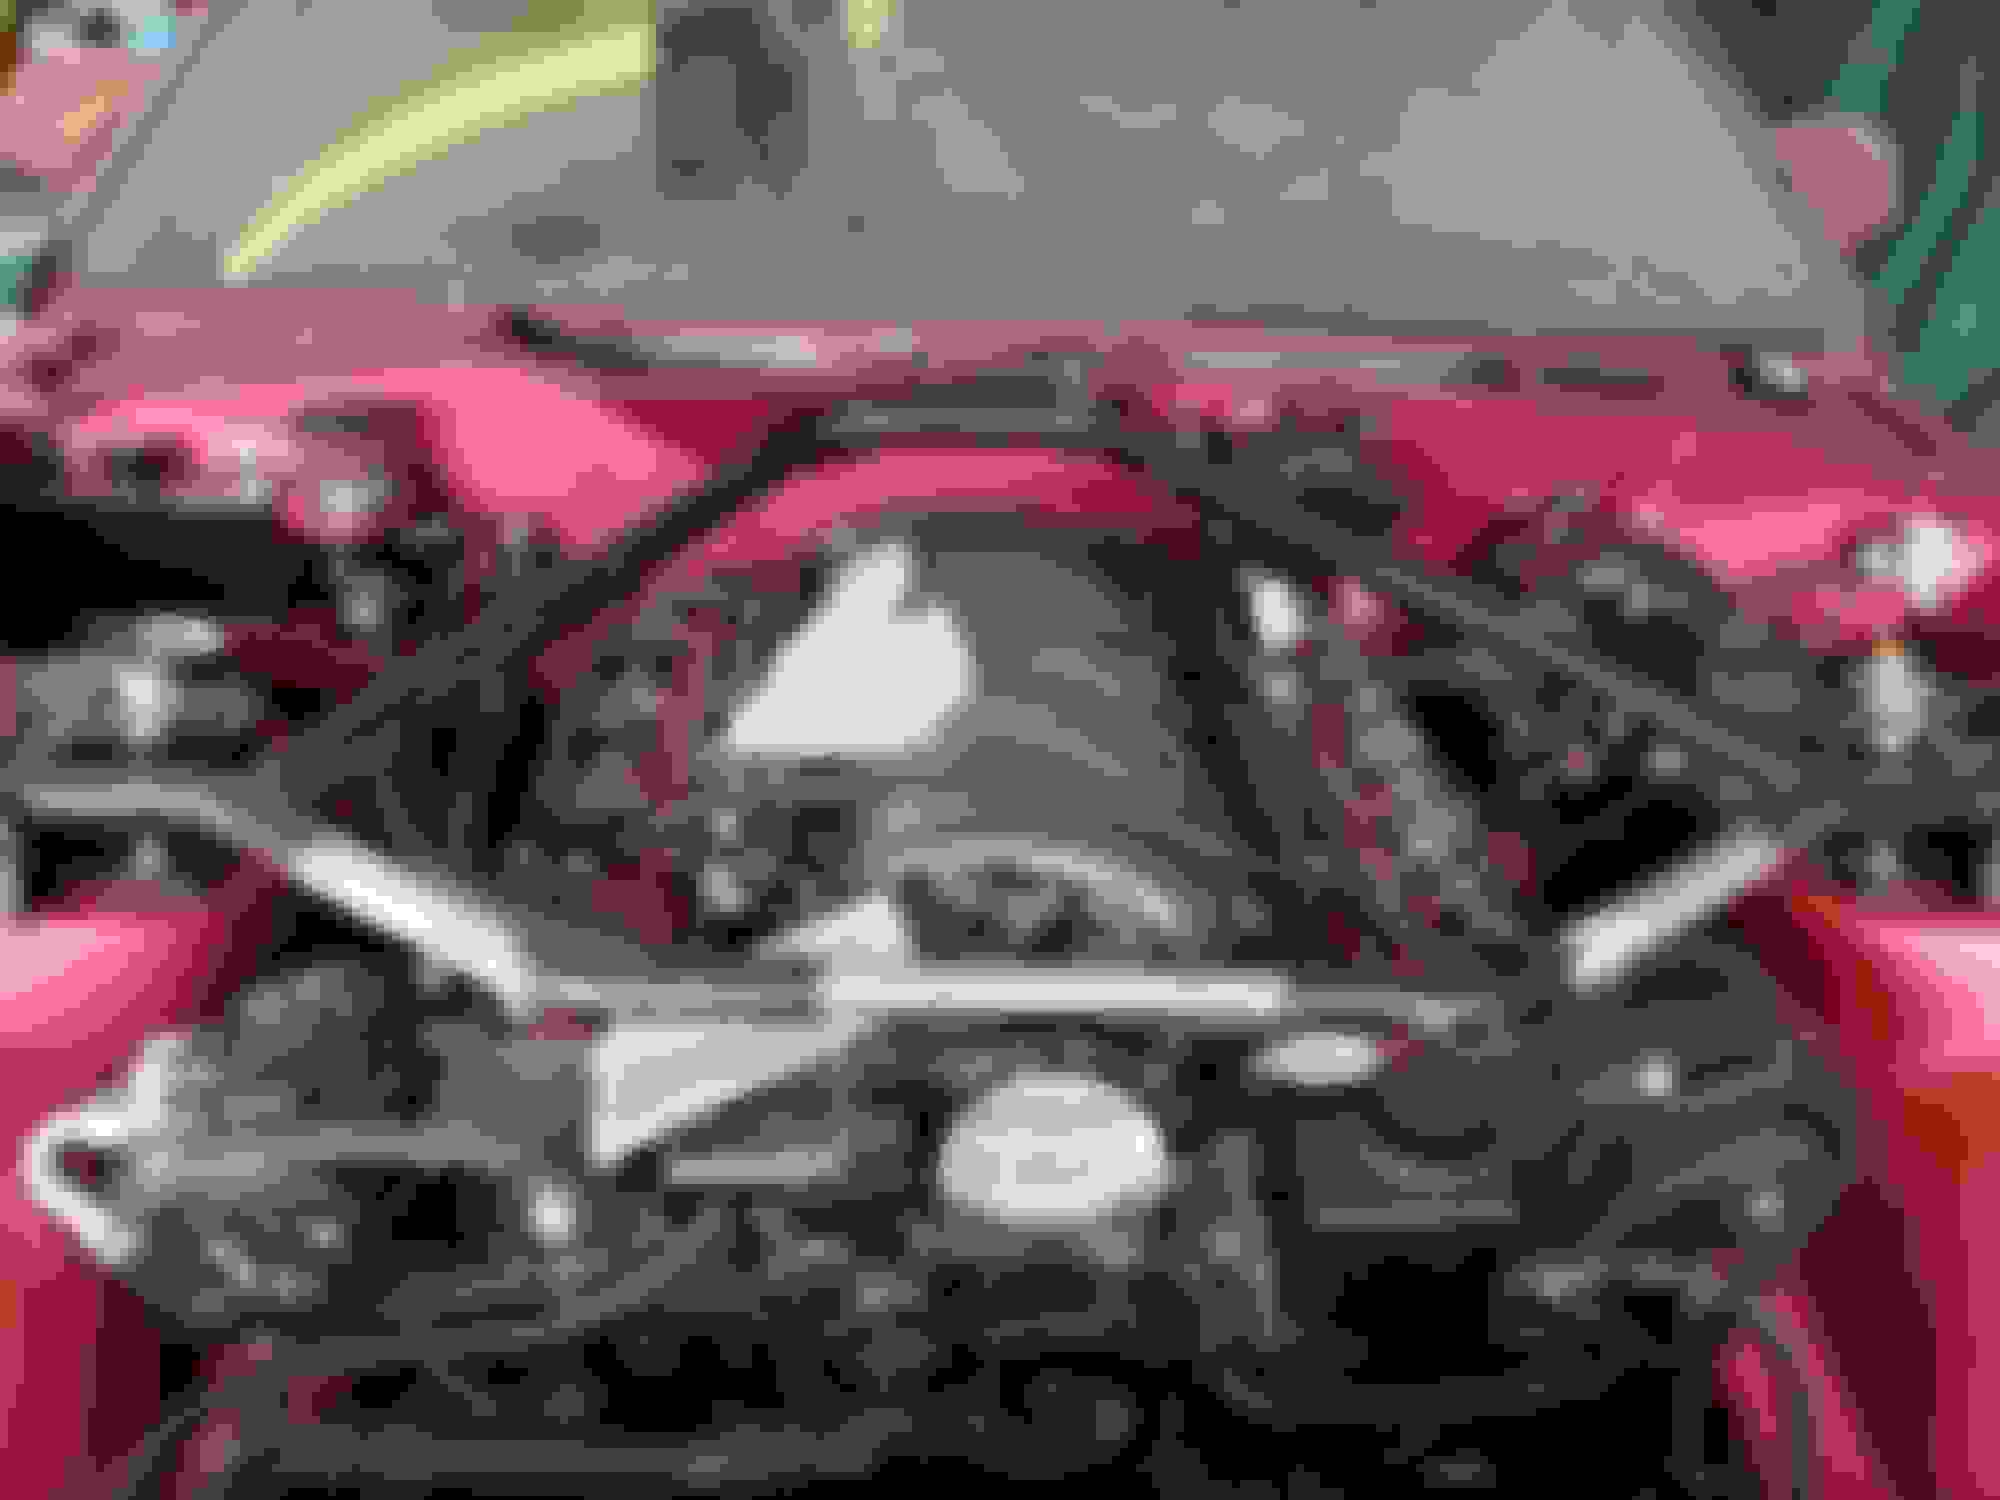
Read thru your build thread and Wow! Very nice work and your attention to detail is amazing. That engine compartment is a thing of beauty…shame to have to cover any of it up, lol. Keep moving forward…as they say, it takes 150% effort to finish the last 10%. The end result will be worth every minute!
Read thru your build thread and Wow! Very nice work and your attention to detail is amazing. That engine compartment is a thing of beauty�shame to have to cover any of it up, lol. Keep moving forward�as they say, it takes 150% effort to finish the last 10%. The end result will be worth every minute!
Its been a long road for sure but my end goal remains the same. Looks like my power tour ride is going to be my family suburban dad machine again.
 06-24-2020, 10:38 AM