When you click on links to various merchants on this site and make a purchase, this can result in this site earning a commission. Affiliate programs and affiliations include, but are not limited to, the eBay Partner Network.
I've been meaning to start this thread for a long time (12 years to be more precise) to document the restoration of my 1989 GTA. I will start with some background of my history with the car and a description of the restoration work so far. Since I have a lot of catching up to do, it will take me some time to upload photos and descriptions of the work over the last 12 years. Once I am caught up, the goal is to continue to update this thread periodically until the car is completed. So, here we go.
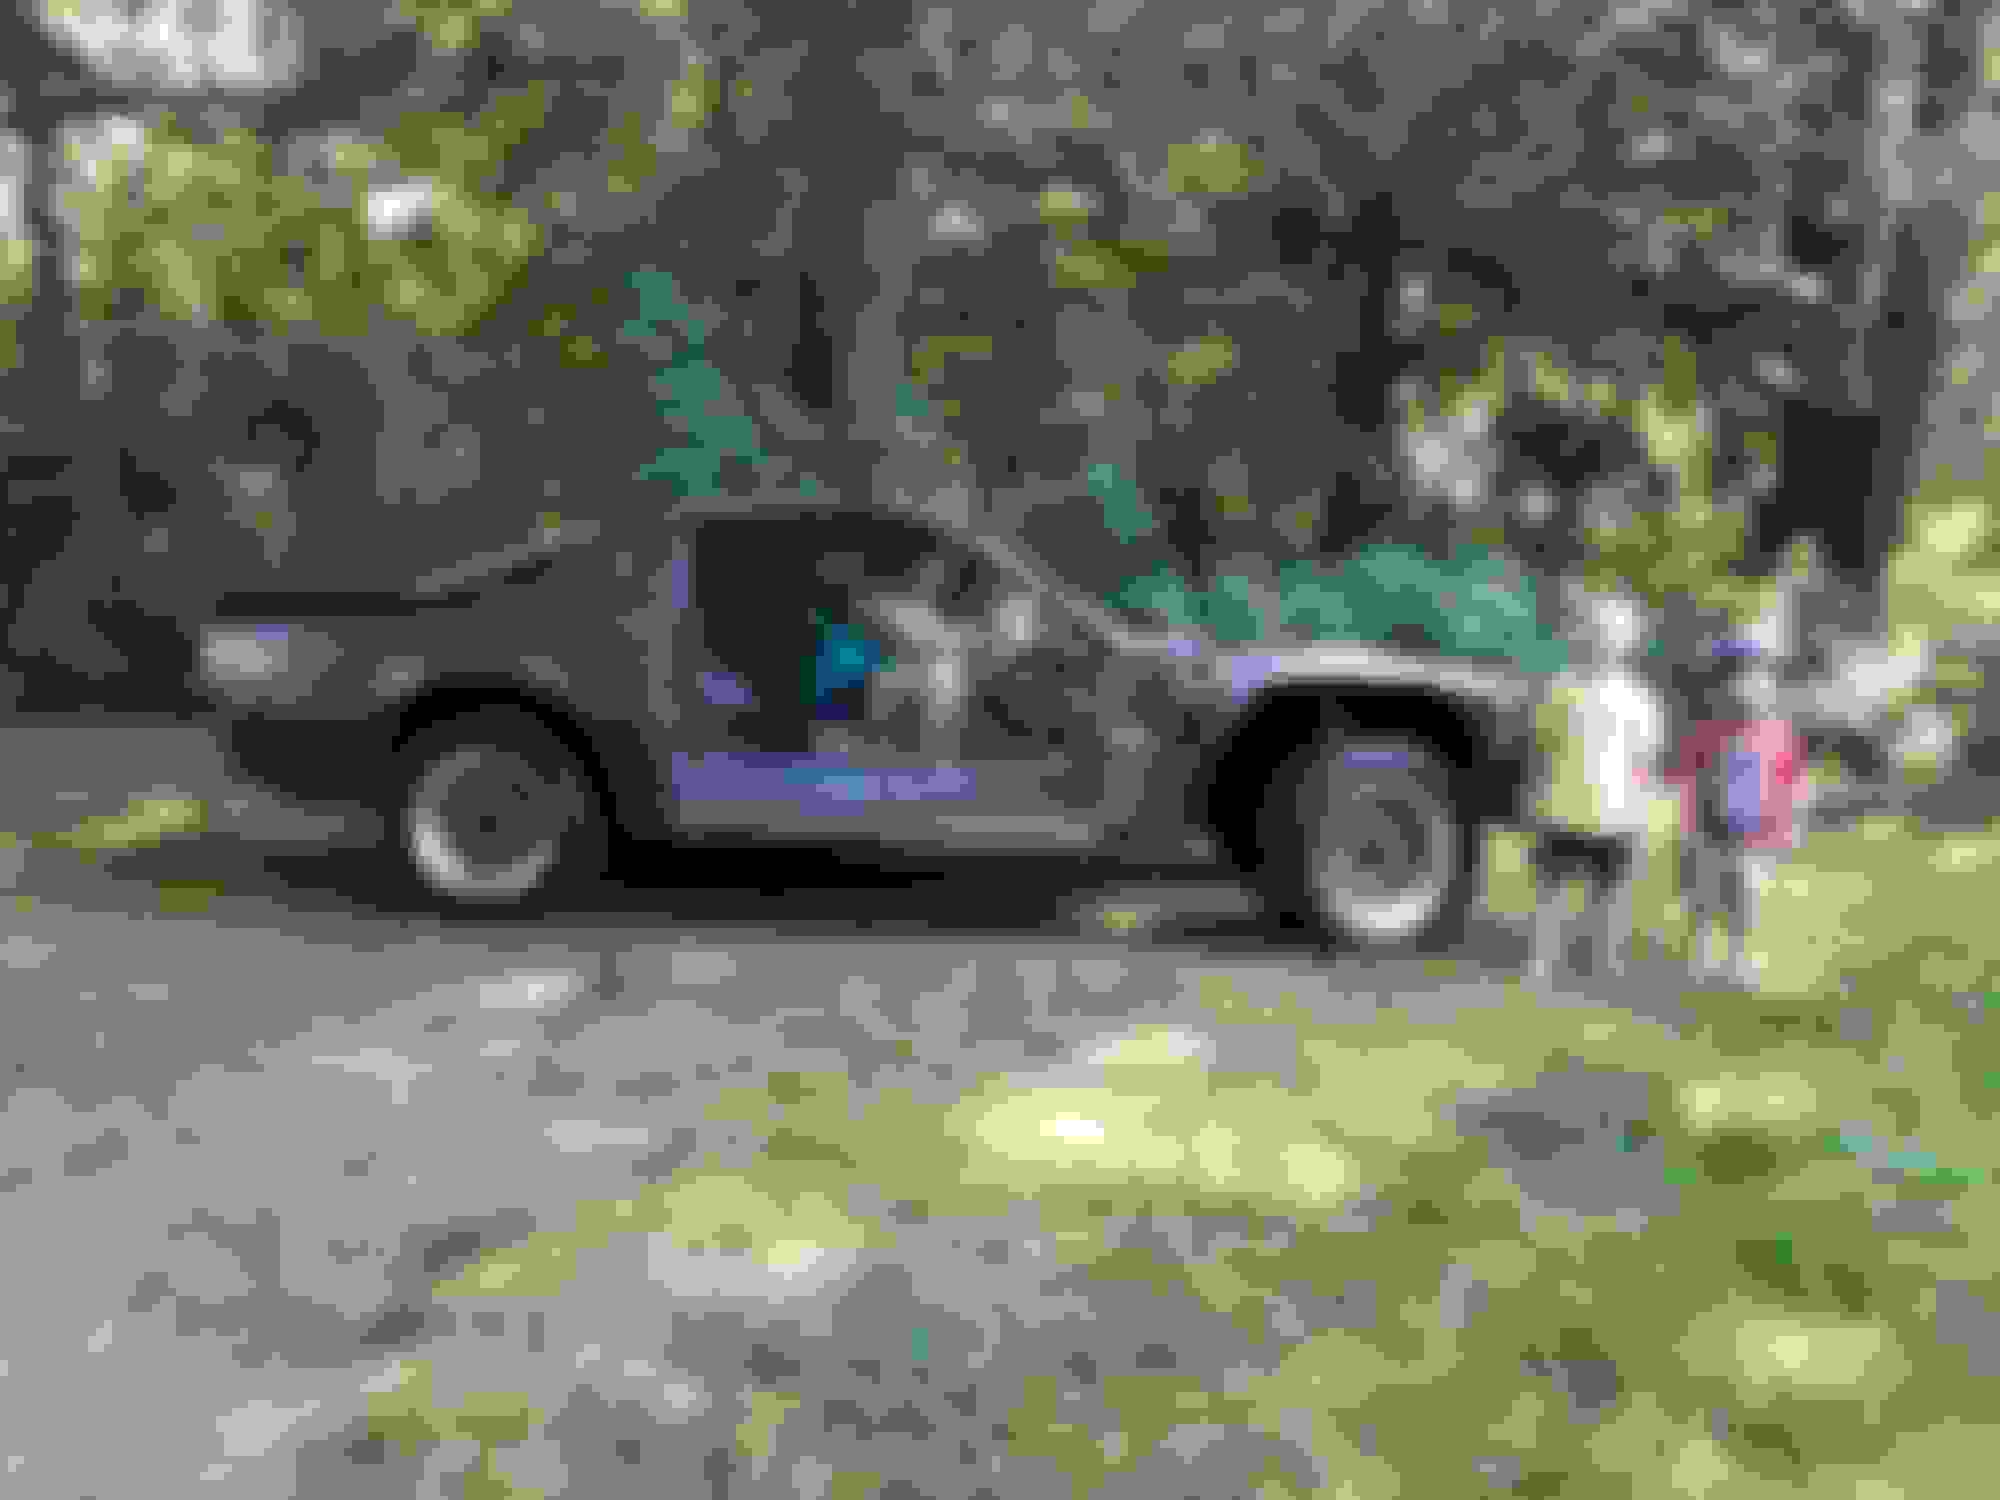
The car is a 1989 Trans am GTA that I bought in 1999 after my 1986 IROC-Z was rear ended and totaled. I was a senior in high school at the time and my now wife, who I met in 1998 came with me to test drive it and buy it. It is Gunmetal Gray with gray cloth interior, hardtop, 350/auto, 3.27 rear, dual cat. Back in 1999, I paid $3,800 with 104,000miles on it and typical GM peeling paint. I had the car painted right after I bought it and drove it daily until 2002 when I bought a brand new S10 for my daily driver. The car was then a sunny day fun car until 2006.
In May of 2006, the first day I drove it that year after winter storage, a headgasket let go. It failed catastrophically and with no prior warning. I was driving on a backroad, slowing down for a stop sign when it happened. I came to a stop and the motor was idling very rough. I made it through the intersection with a huge cloud of steam from the tailpipes, pulled to the side of the road, shut it down and that's the last time it ran. I had the car towed home, put it in the garage with a cover on it and it sat untouched for 2 years.
The project started as a motor replacement, but morphed into a complete nut and bolt restoration. I had originally pulled the nose, hood and fenders before pulling the motor to avoid damaging the paint. That is when I found rust in the front rocker corners. As I started fixing the rust, I kept taking the car apart a little more at a time and finding more rust. That eventually led to taking the entire car apart down to the bare shell. There was rust in the rockers, floorboards, firewall, wheelwells (front and rear), battery tray and behind the rear bumper. Had I known how much hidden rust the car had, I would not have taken on the project. In the end though, it will be a nice car that I can be proud to say I built.
With any project, you need both time and money. Often, you have one or the other, but not both and this project has been no exception. Over the past 12 years, there have been times where I was able to get a lot of work done, and then long periods of time where I didn't touch it due to other priorities (family, house, work, etc.). No complaints, as I have a great life, but that's just the way it is. I have found that my favorite time to work on it is for a couple of hours at night after the kids have gone to bed. Its a great way to decompress from the day.
Before taking on this project, I was a reasonably good DIY/Shadetree mechanic, but no prior experience with car restoration or rust/metal work. I researched, taught myself, purchased the necessary tools and proceeded one step at a time. Overall, nothing about the project has been all that hard, just tedious, time consuming and at times very dirty. It takes perseverance and drive to see the project through. The metalwork was the worst, and seemed to go on forever and was discouraging at times. The hump is after the metalwork is done and primer/paint starts going on, then reassembly is fun and rewarding. It's tough to get to that point though.
As the car sits today, it is a rolling shell. The metalwork is done, underbody and engine bay painted, suspension is all new or rebuilt and powdercoated or painted. New gas tank & fuel pump, fuel and brake lines. Next is motor/trans, then body panels, paint, trim and interior. The project is intended to be a relatively stock restoration, with some well chosen, appropriate and tasteful upgrades that do not take away from what the car is.
I will post subsequent threads with photos and descriptions of the progress as I have time. Please bear with me as I get caught up and thanks for looking.
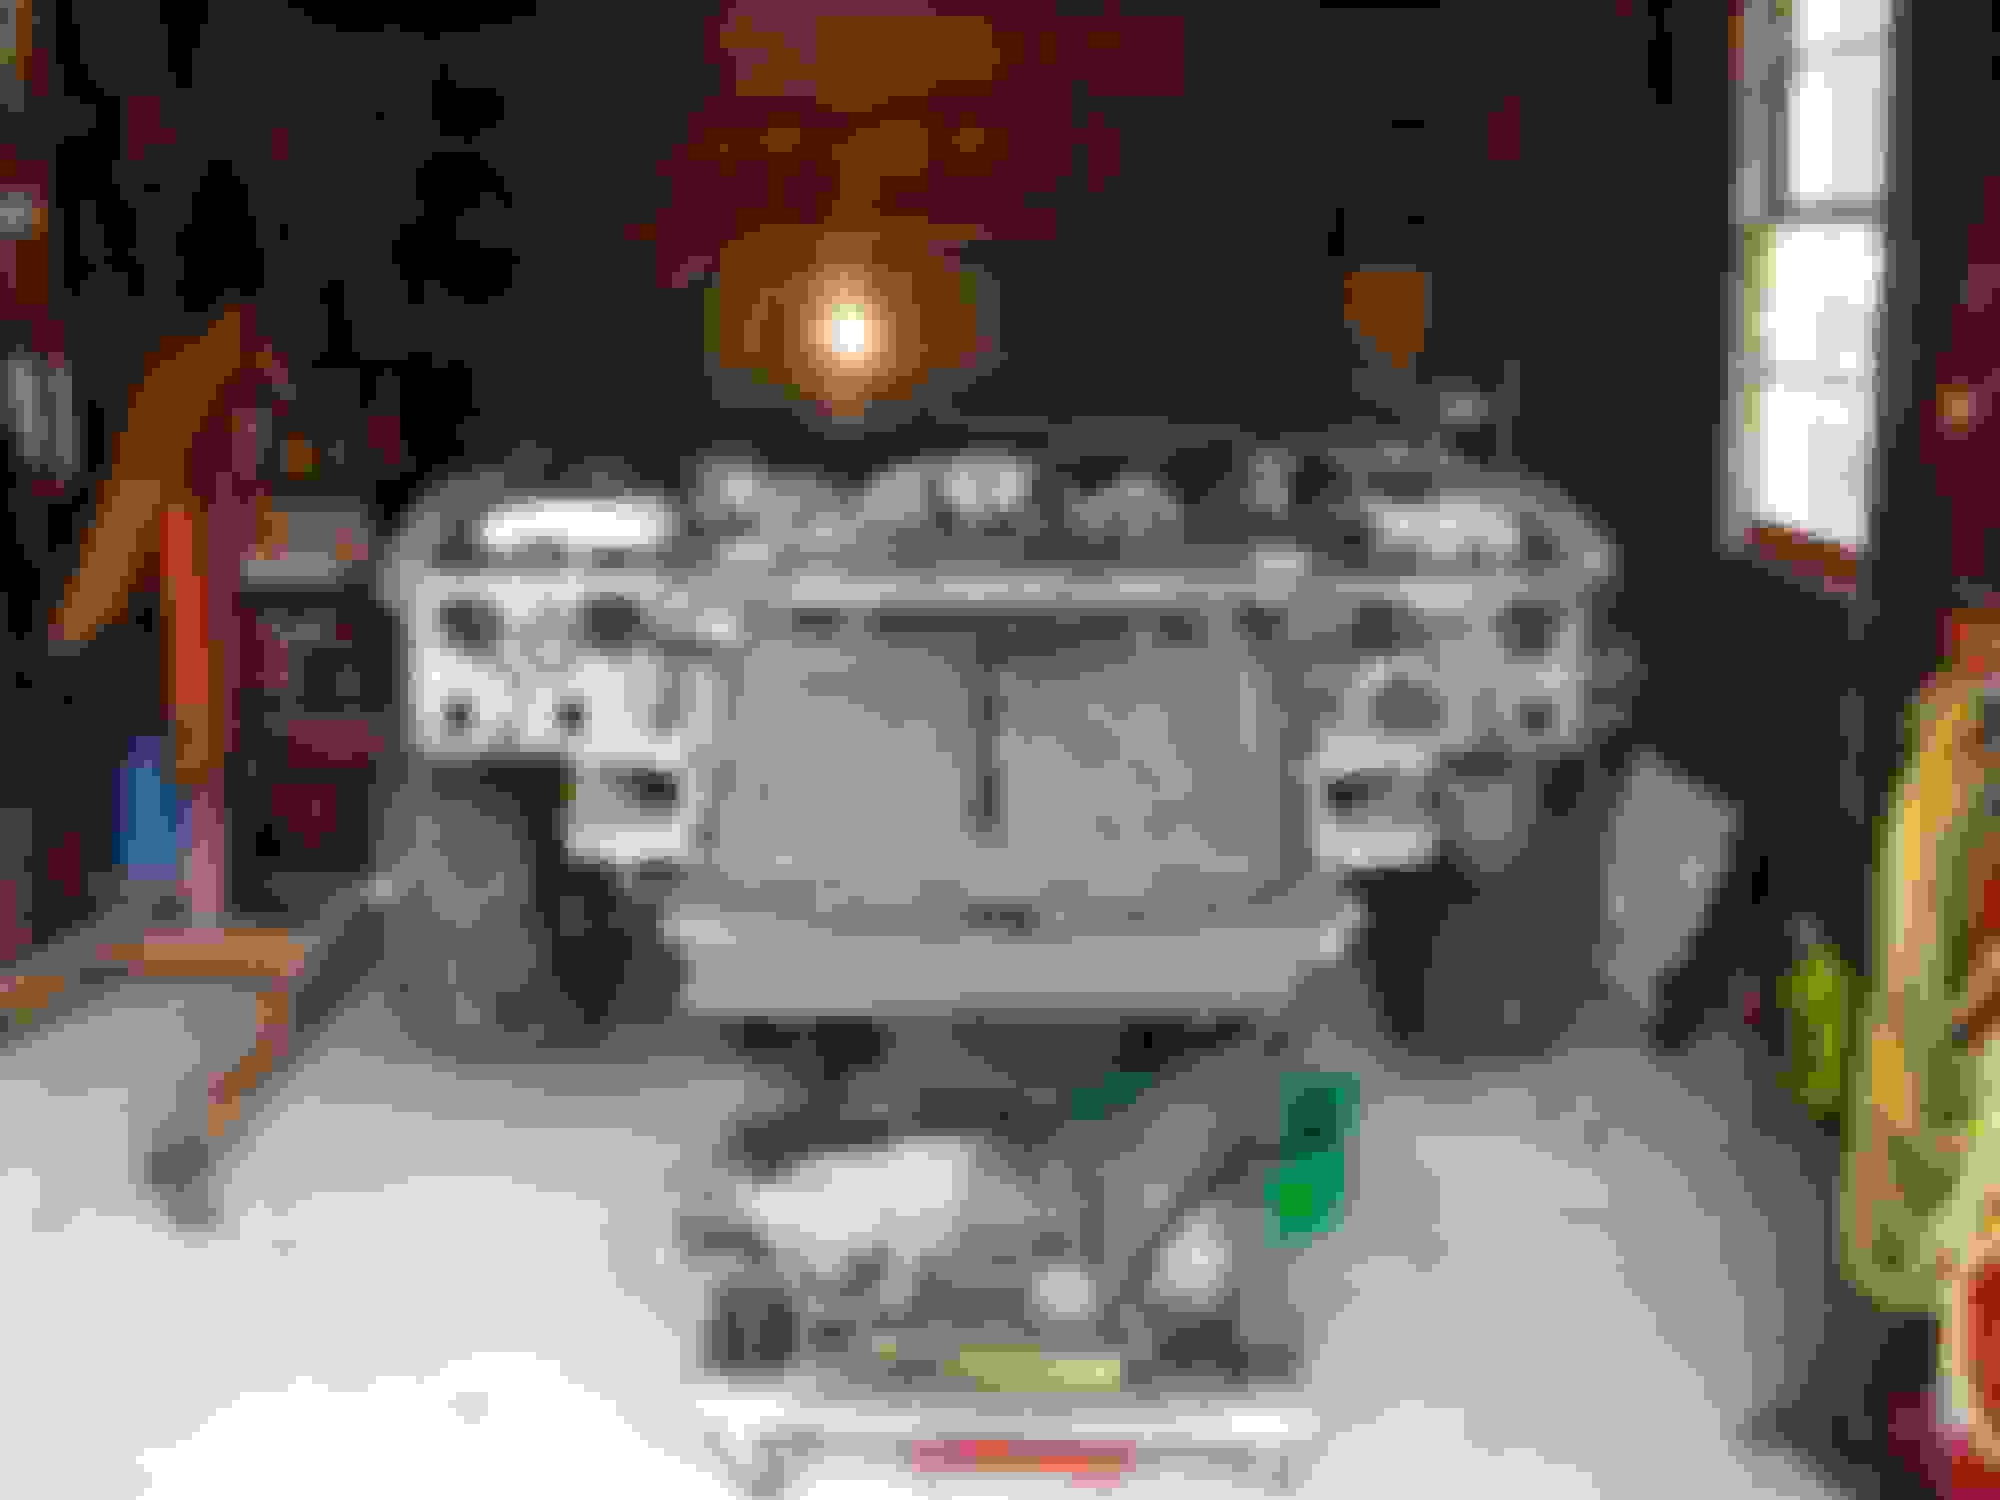
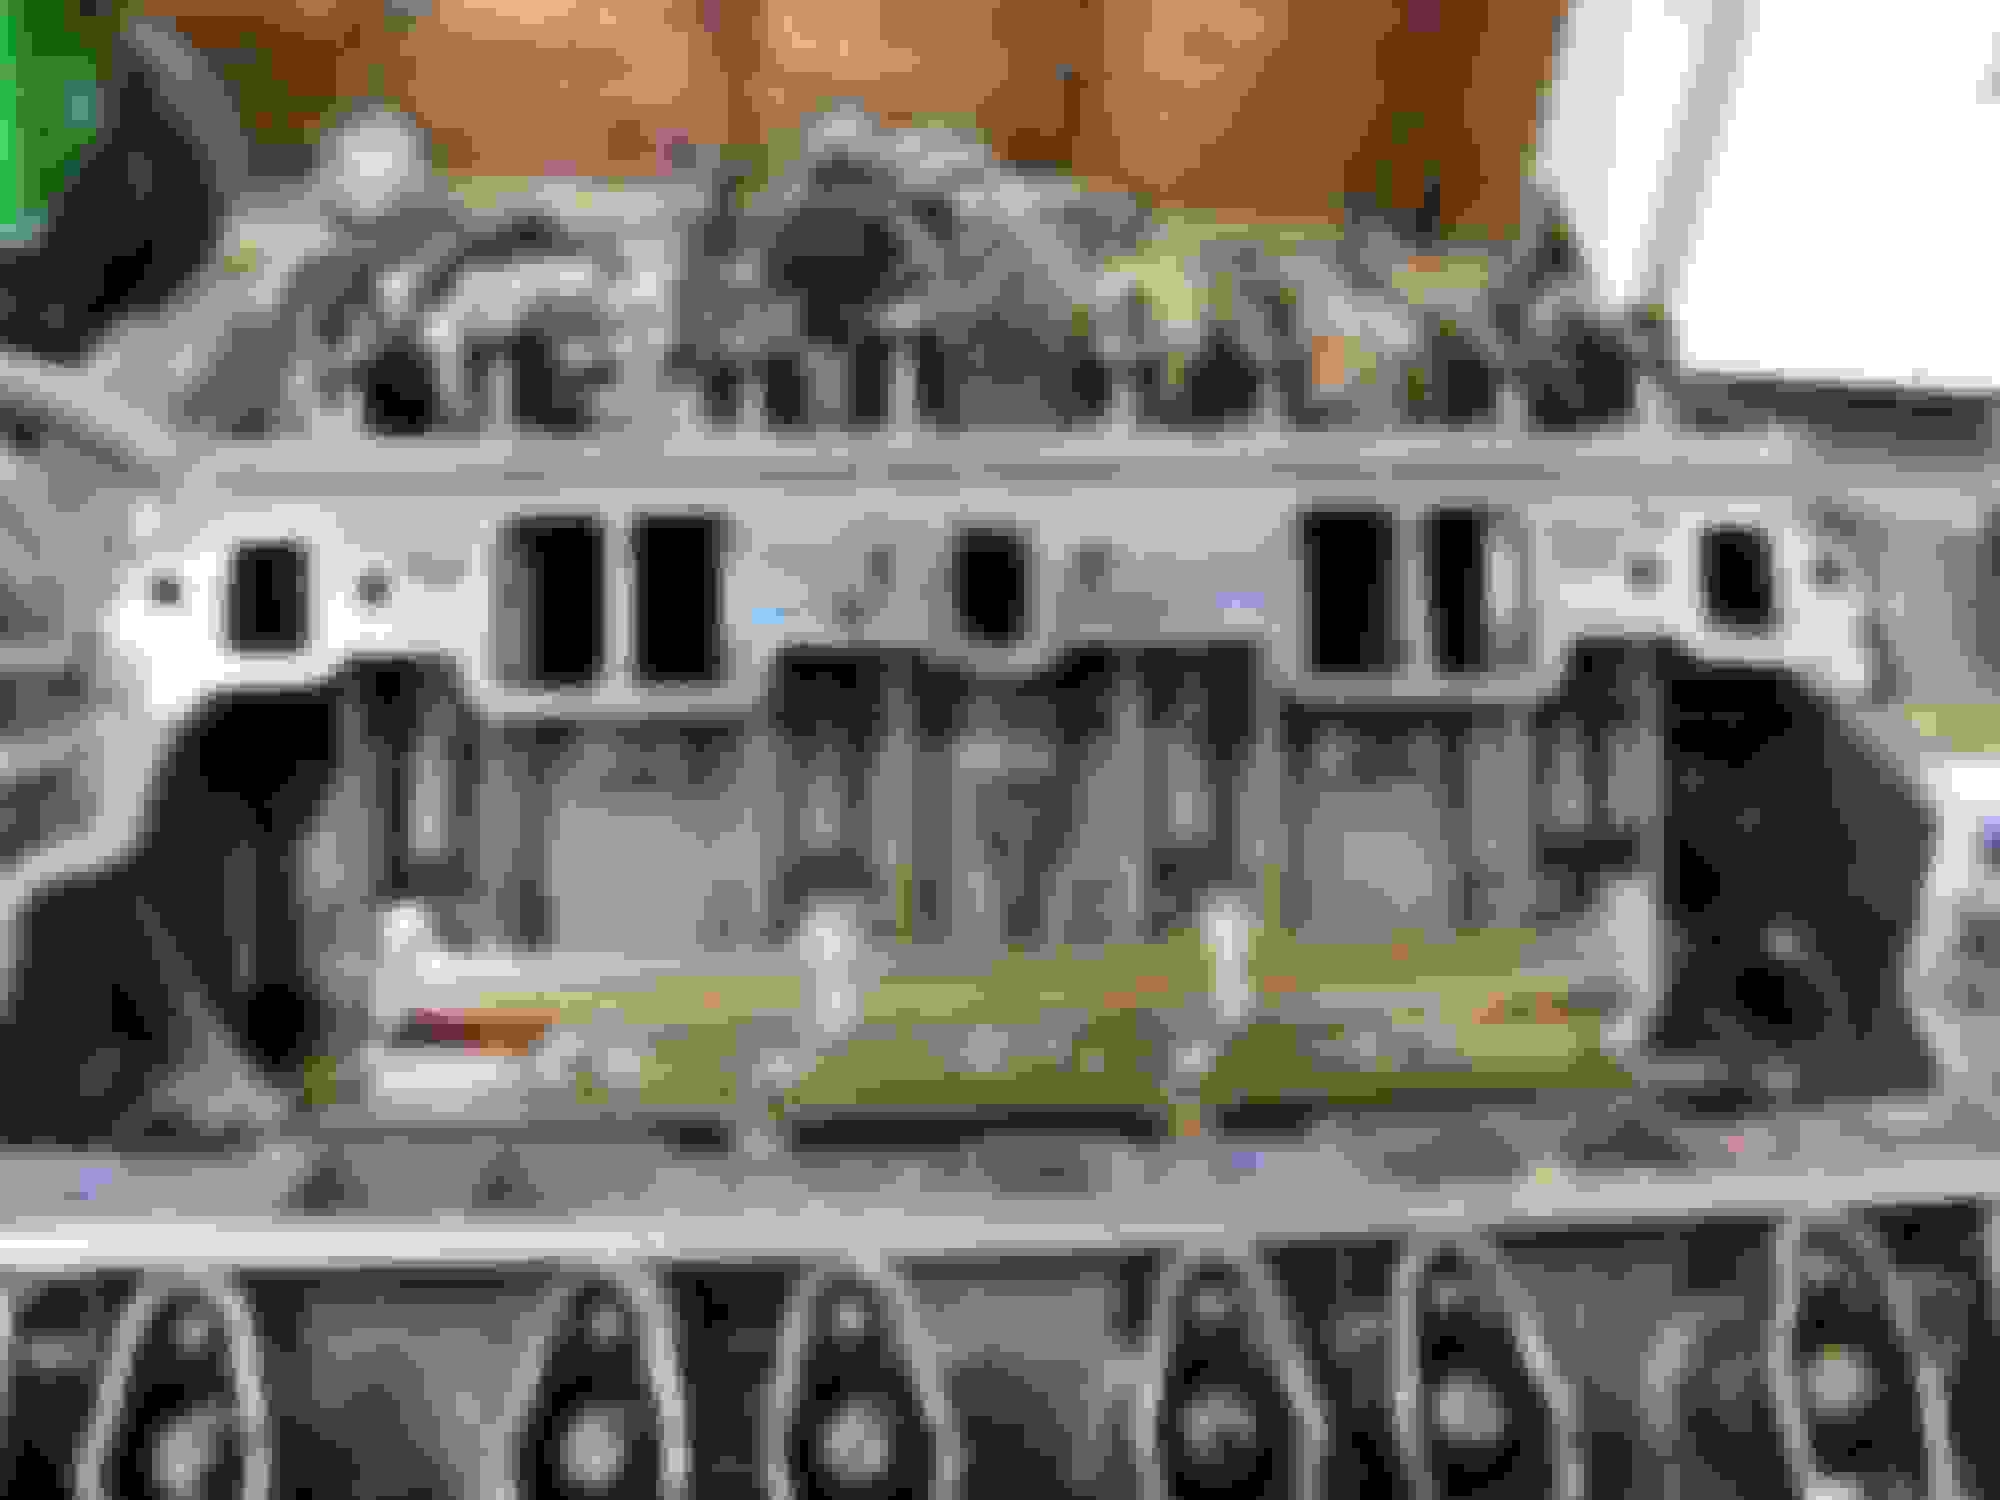
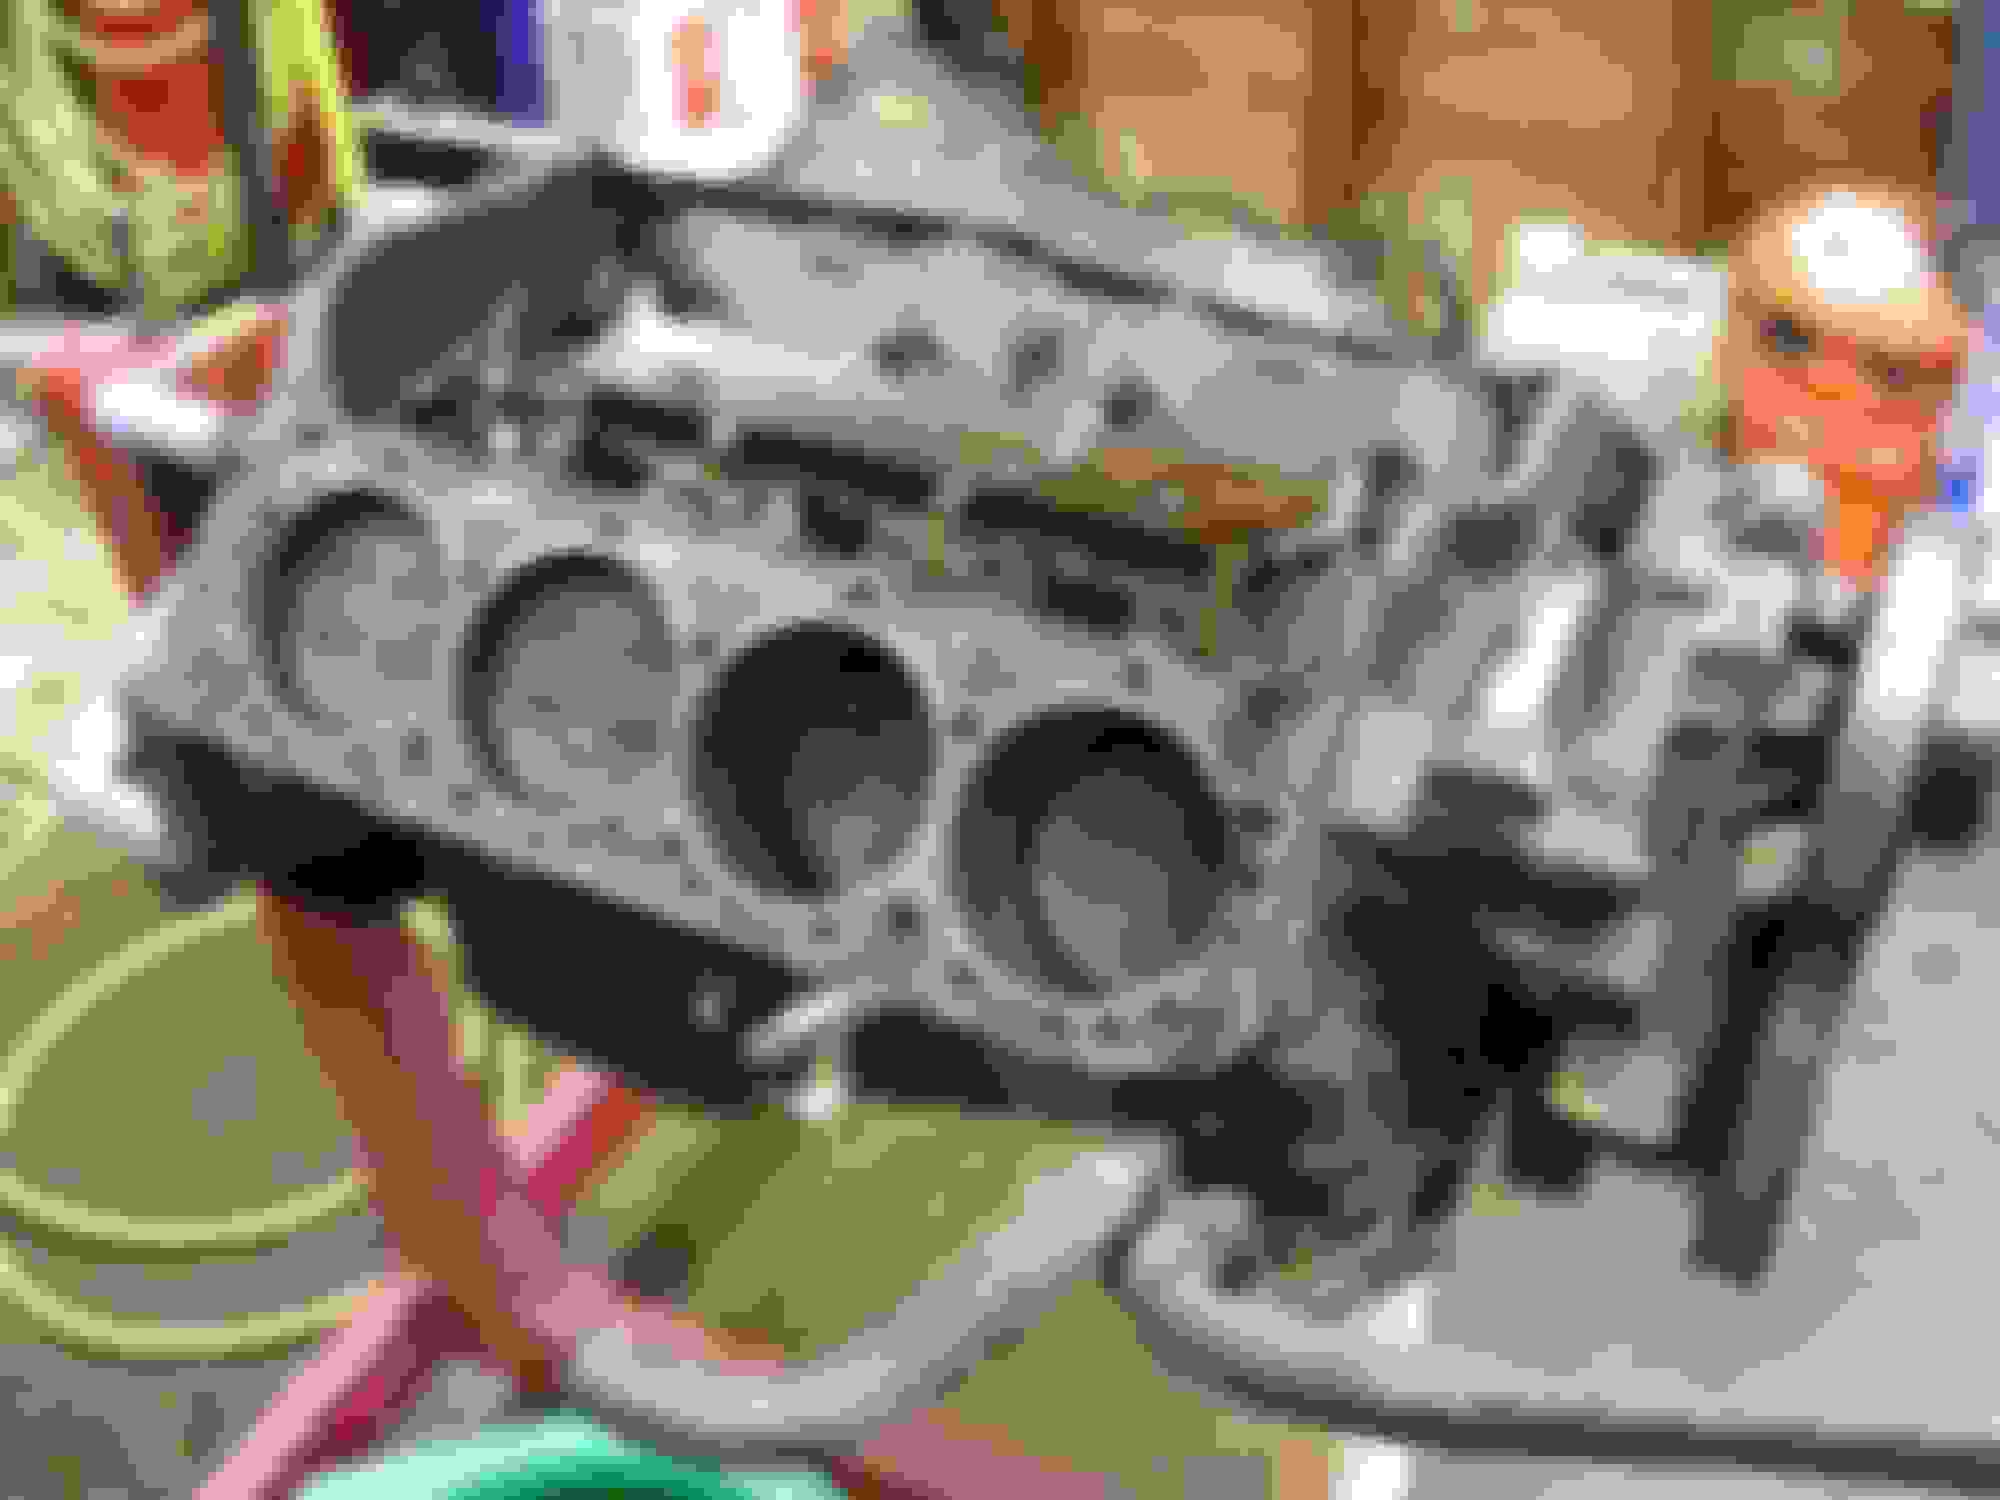
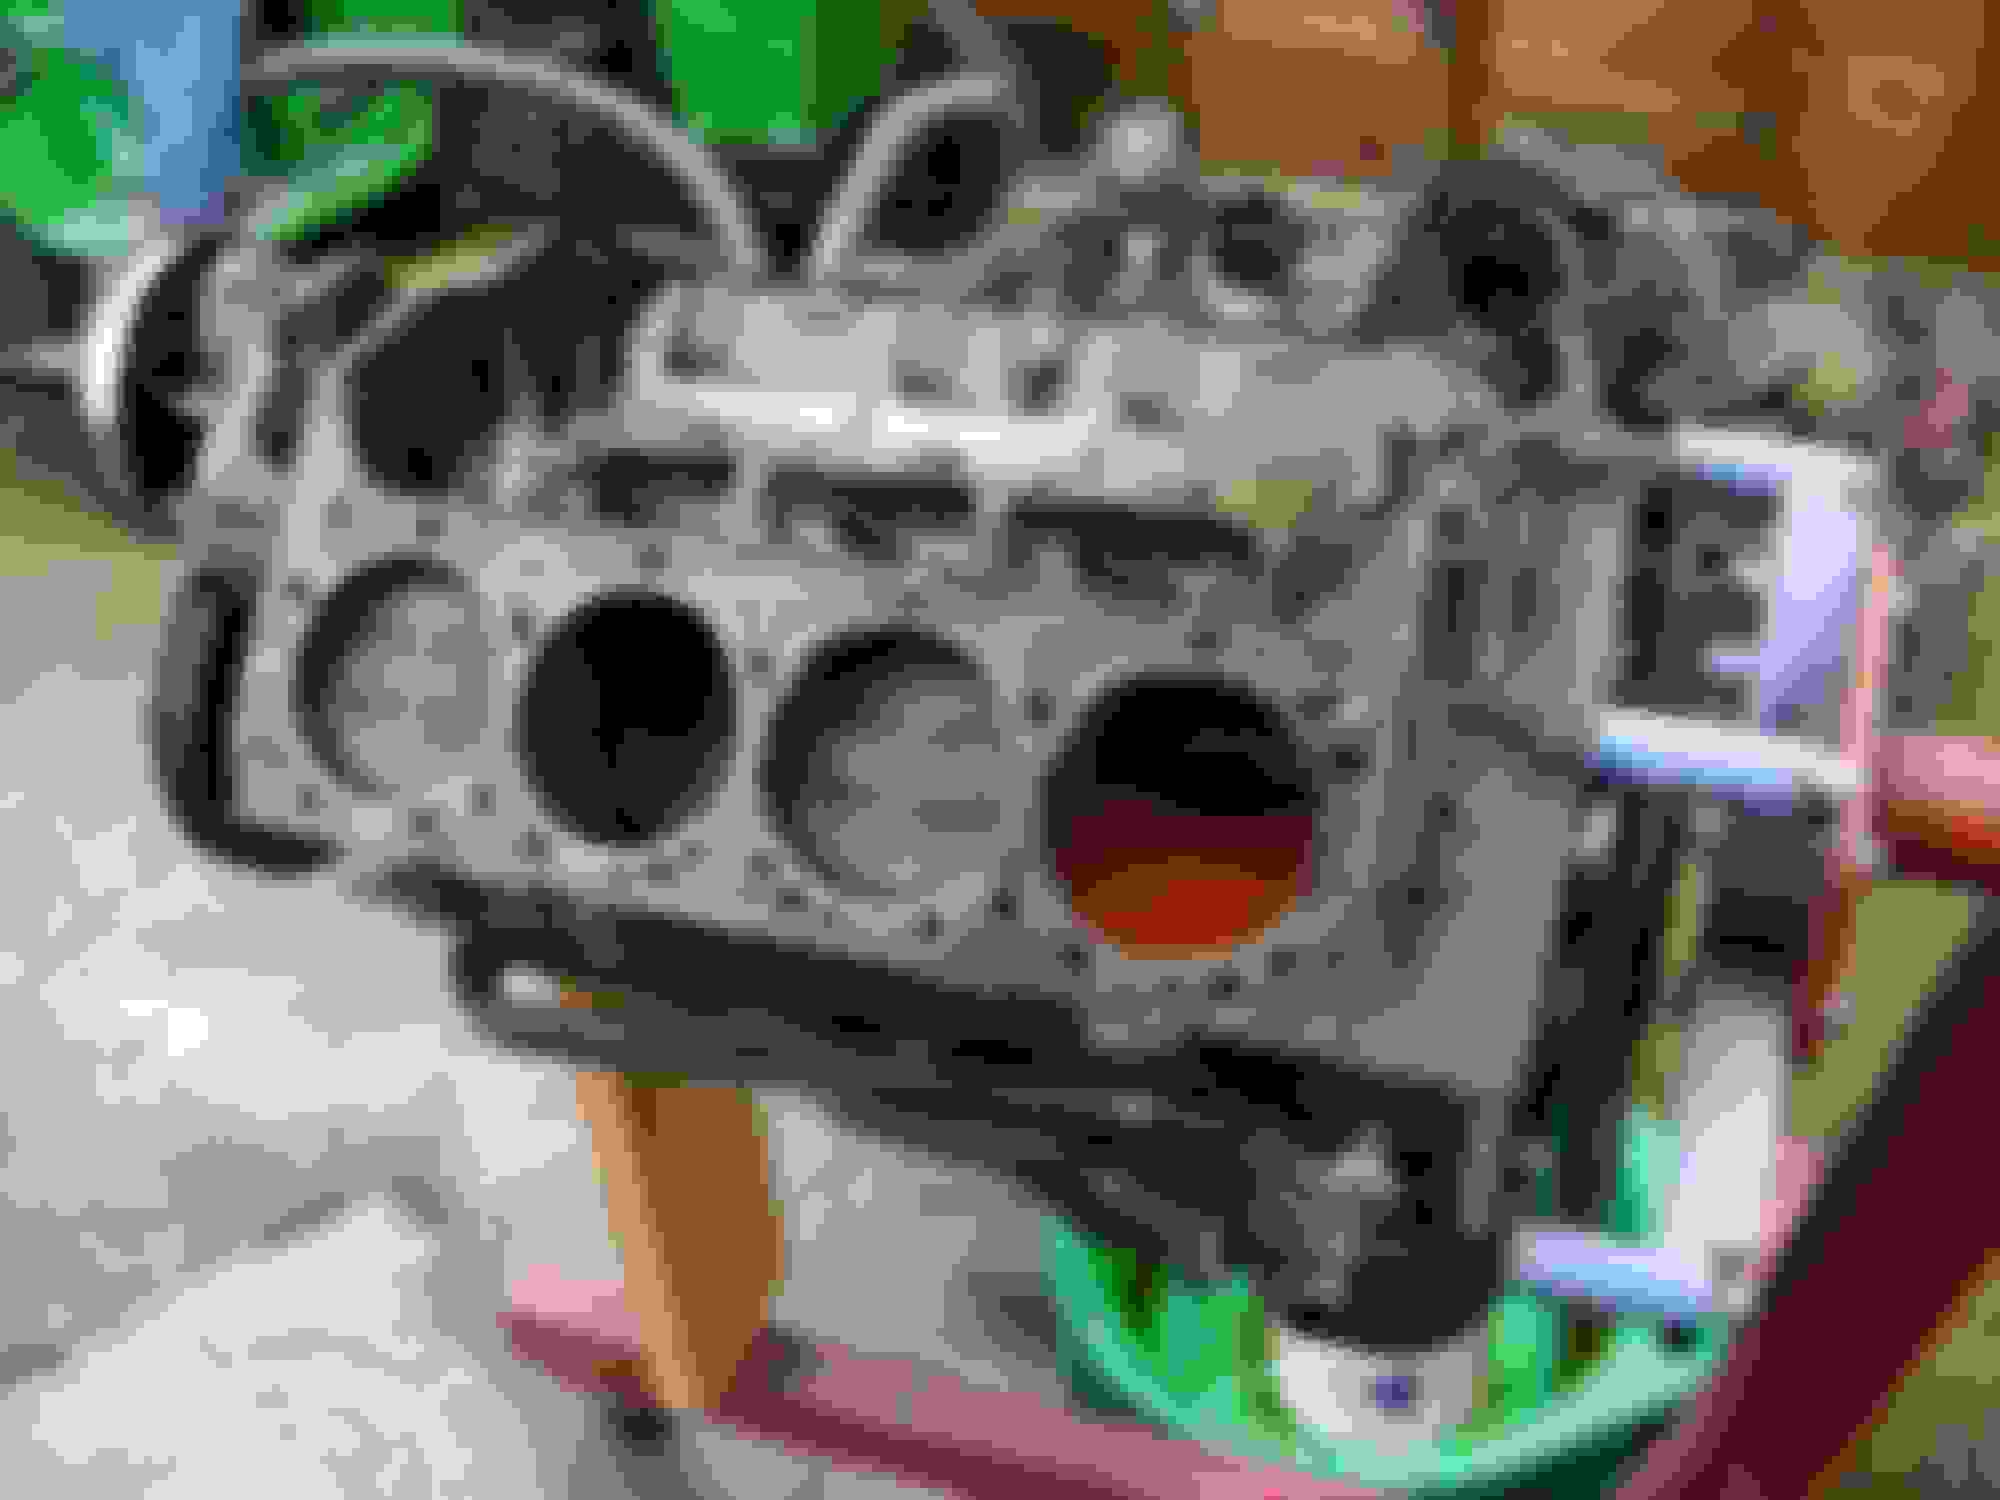
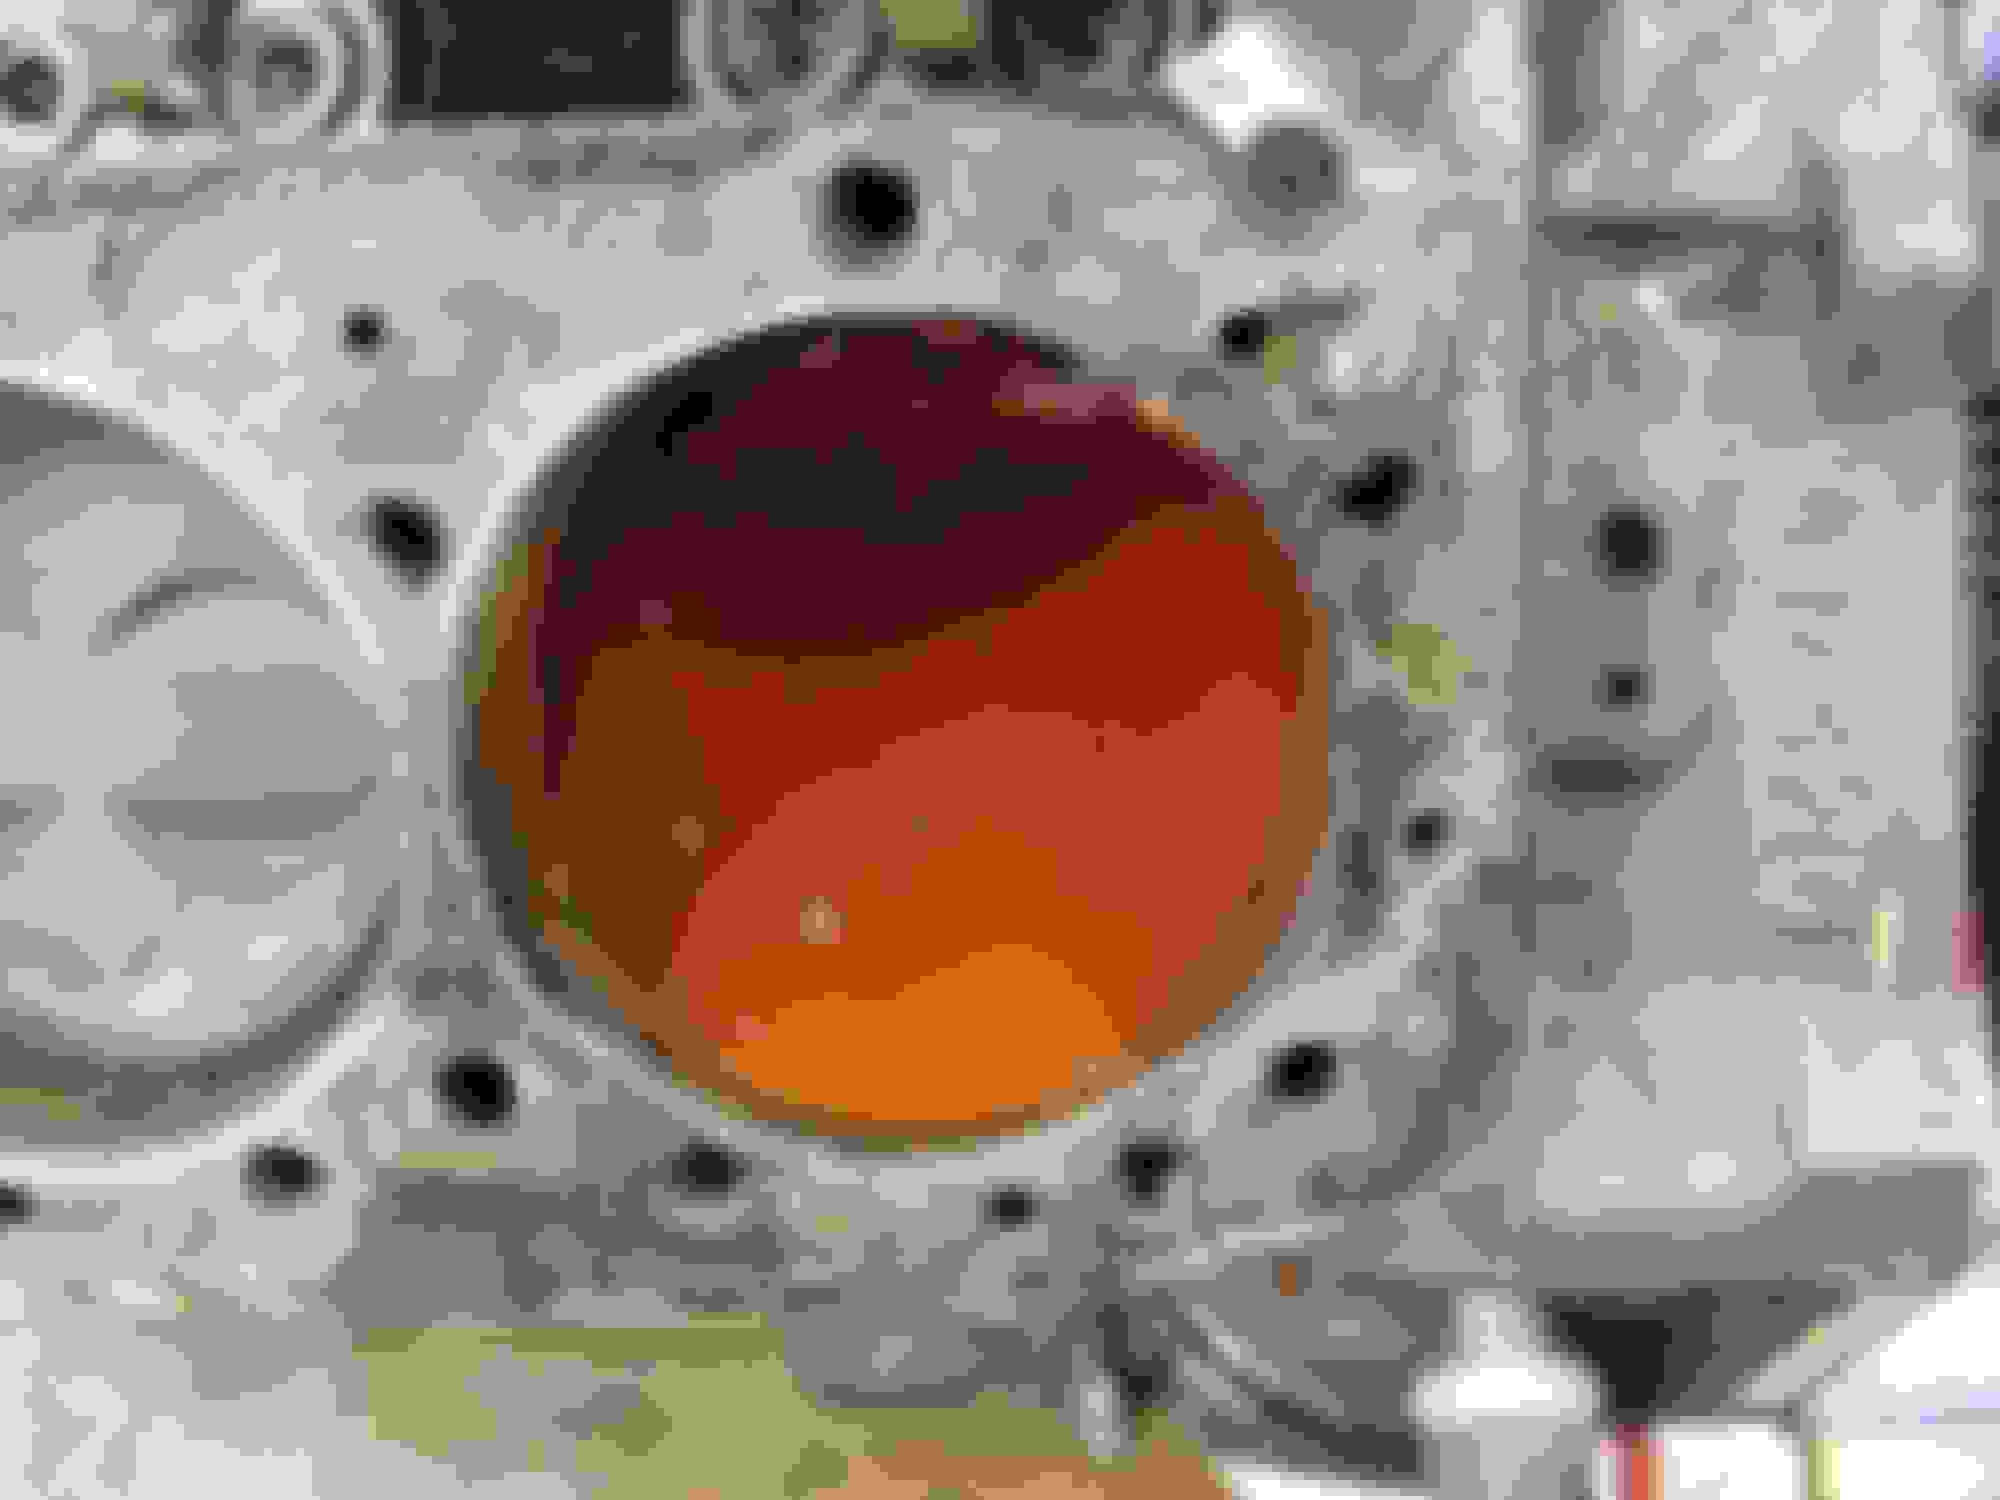
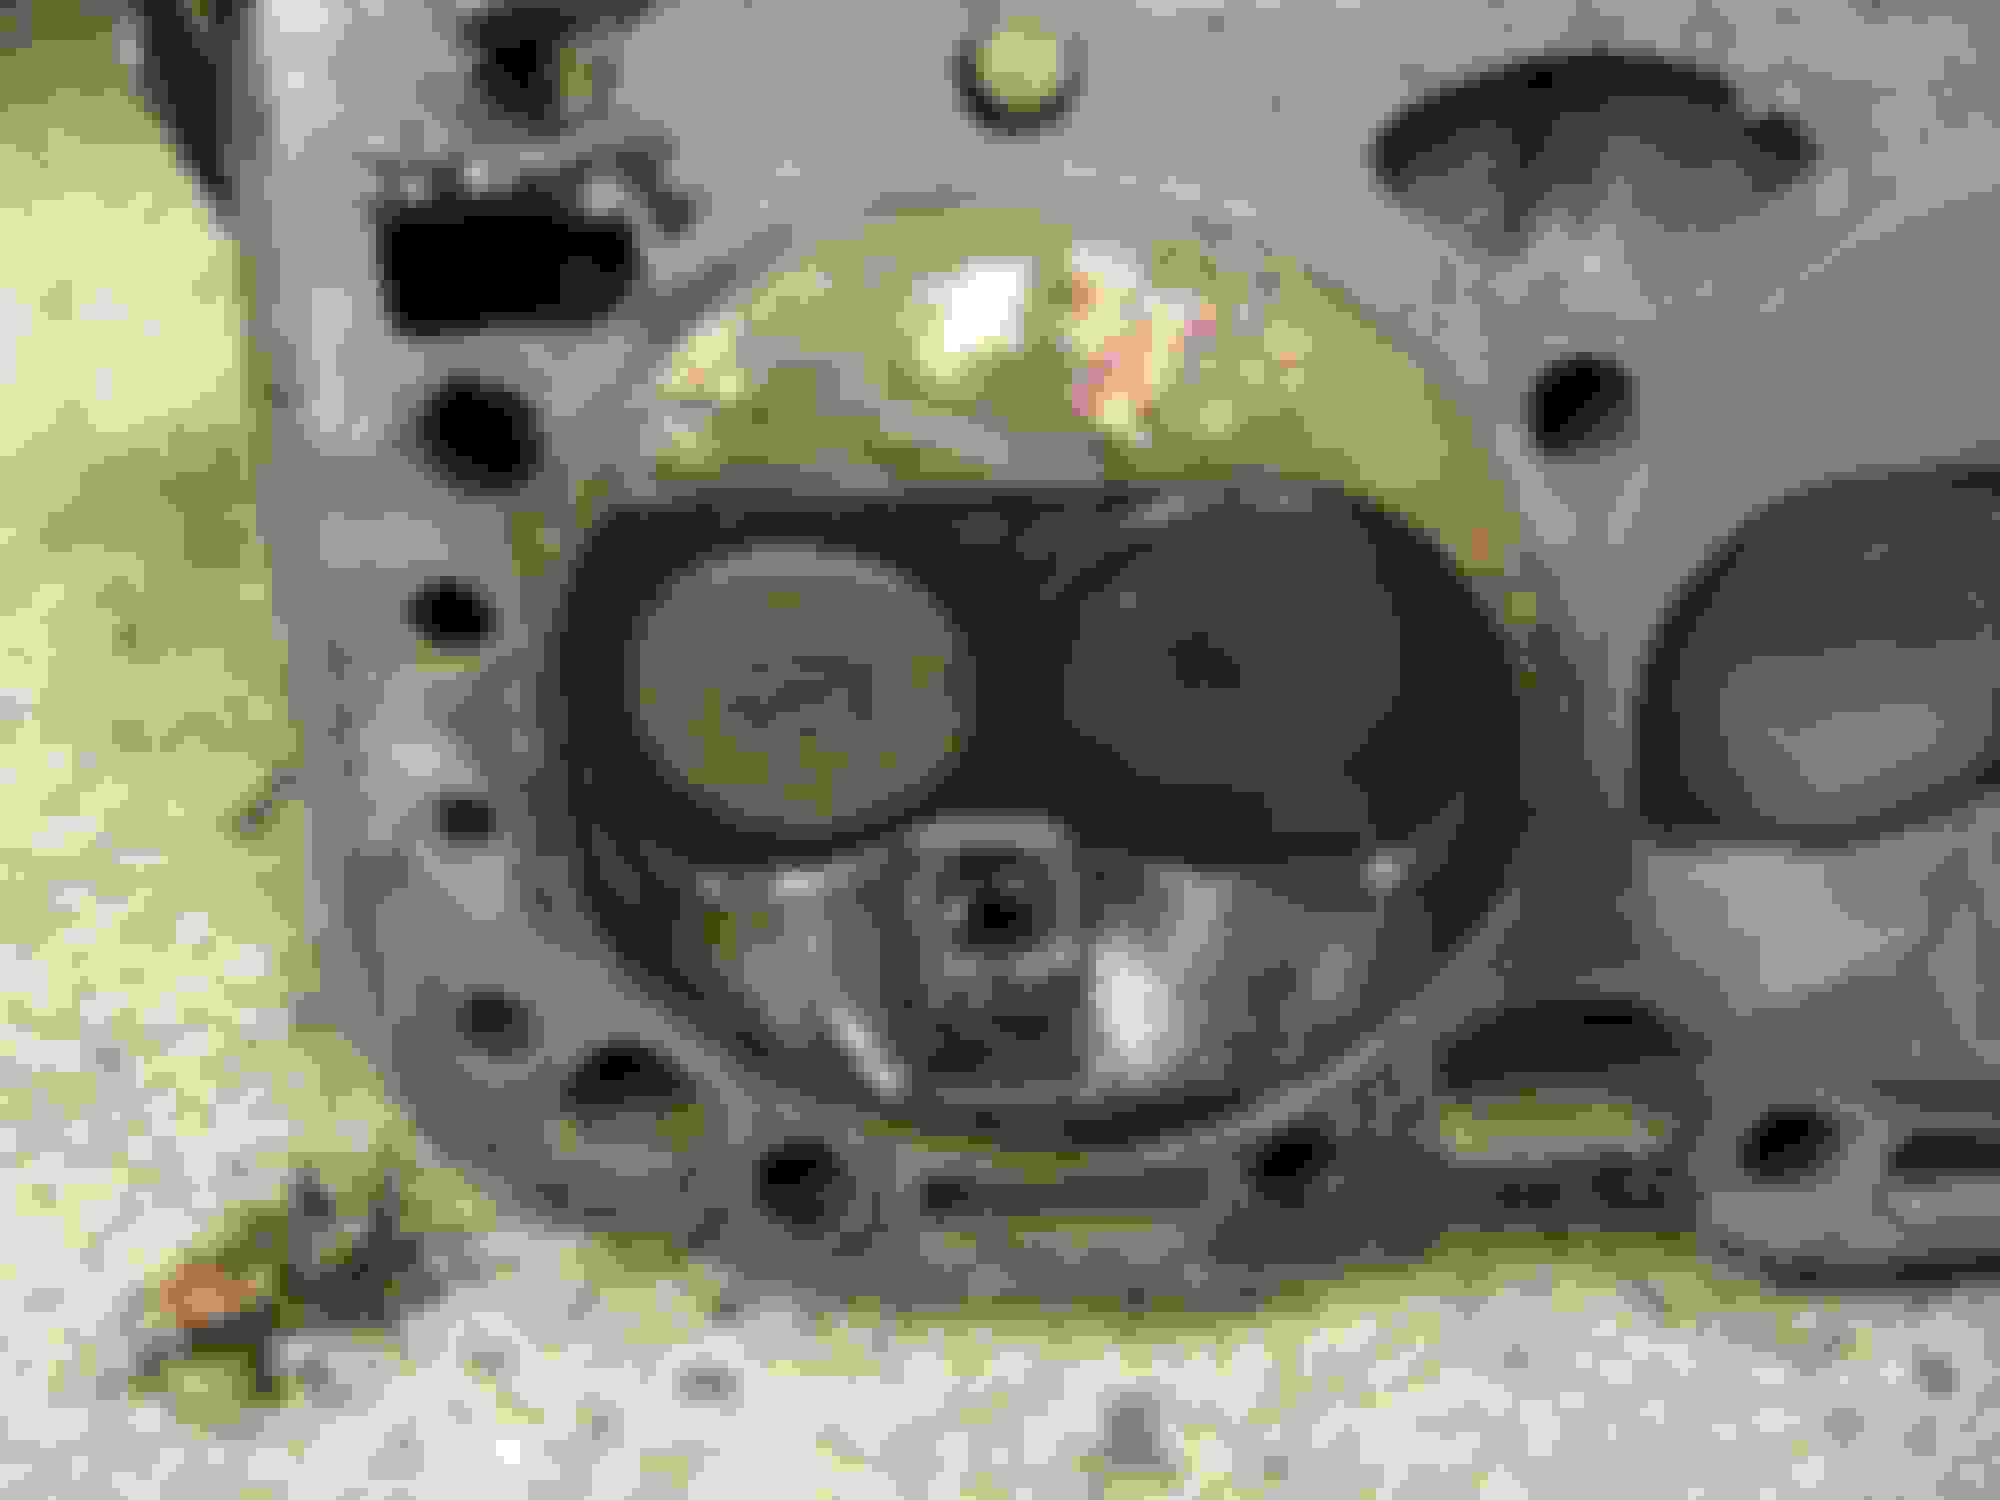
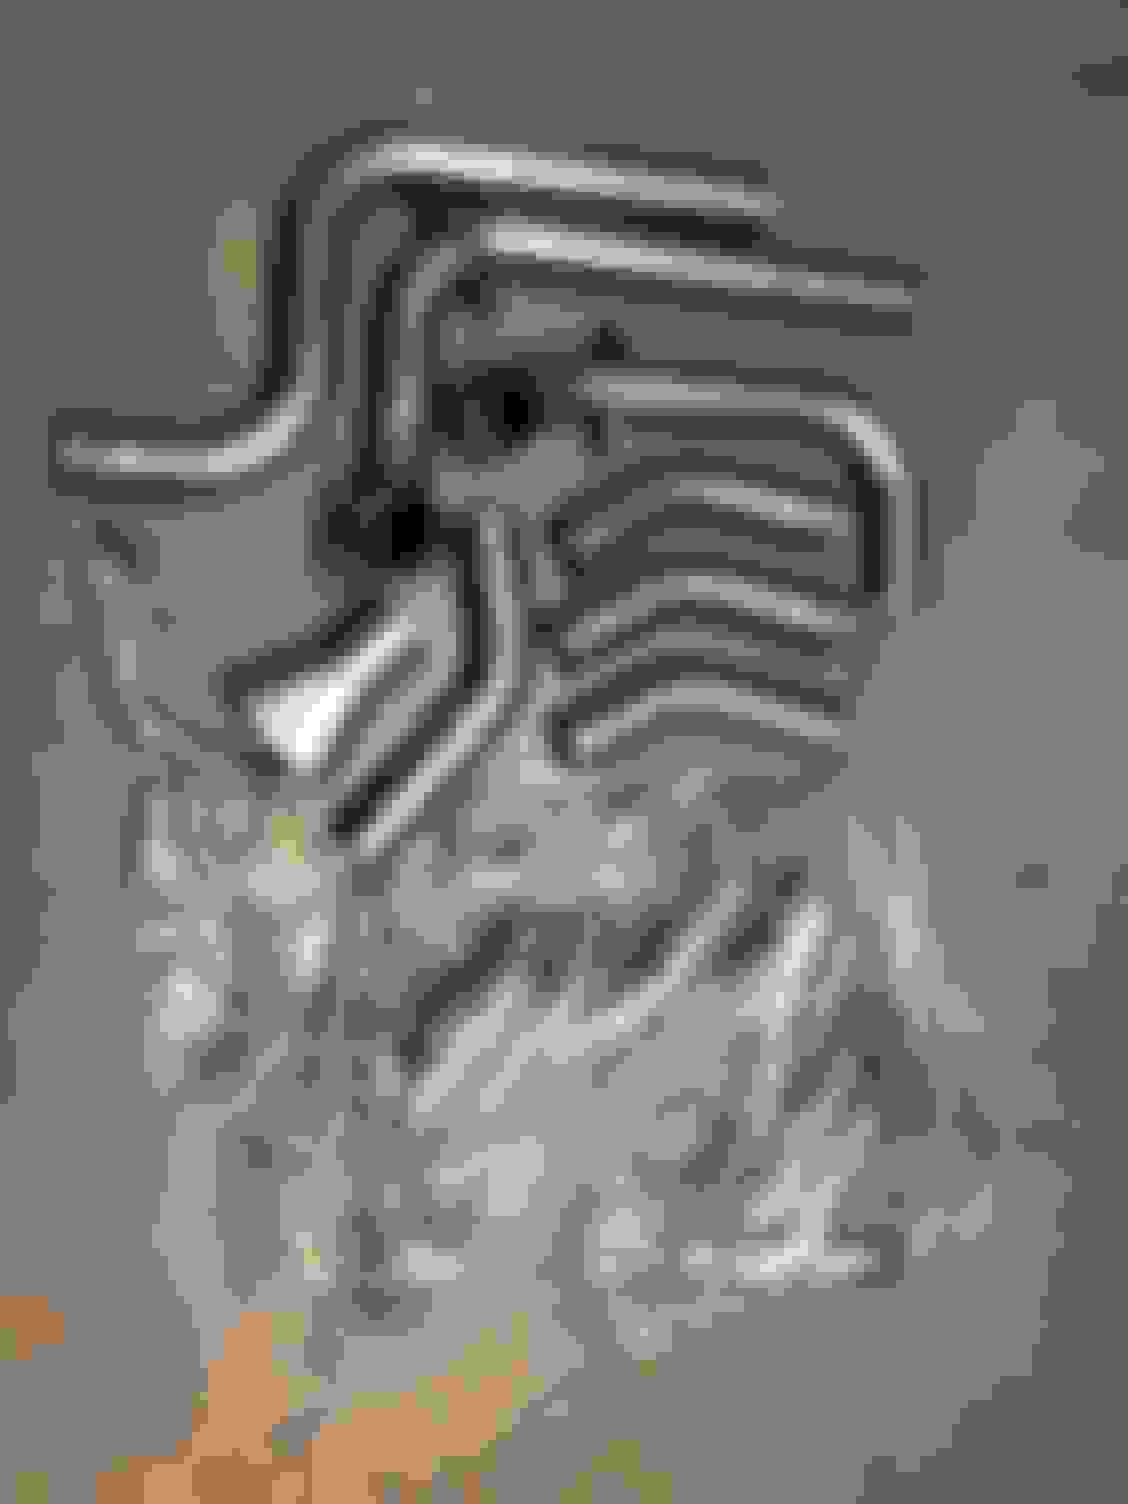
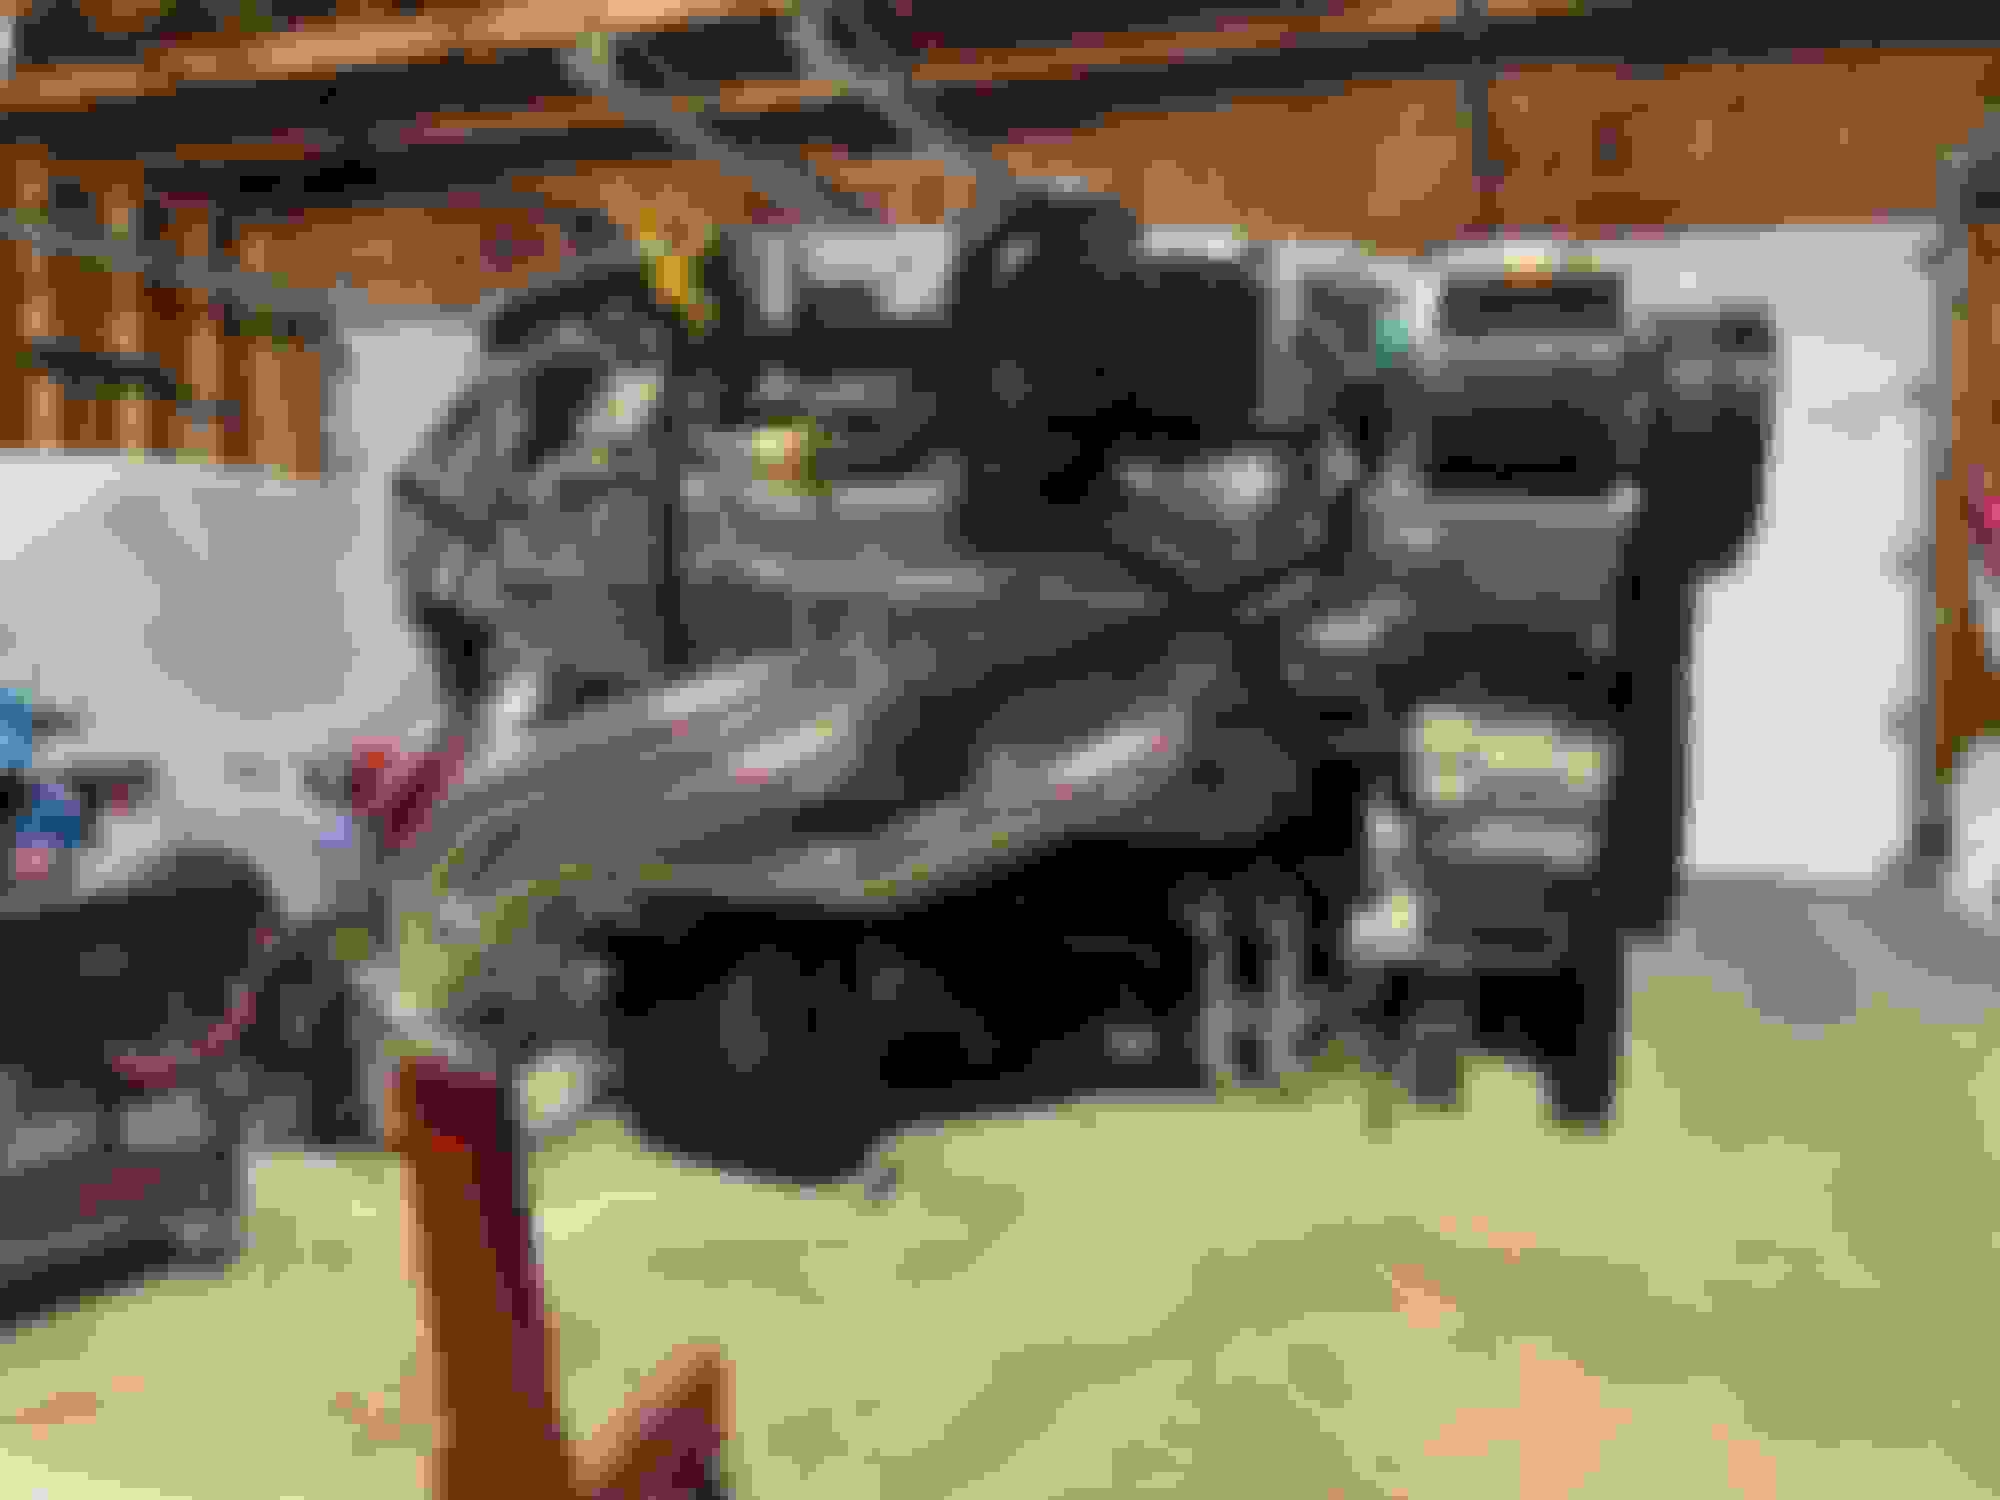
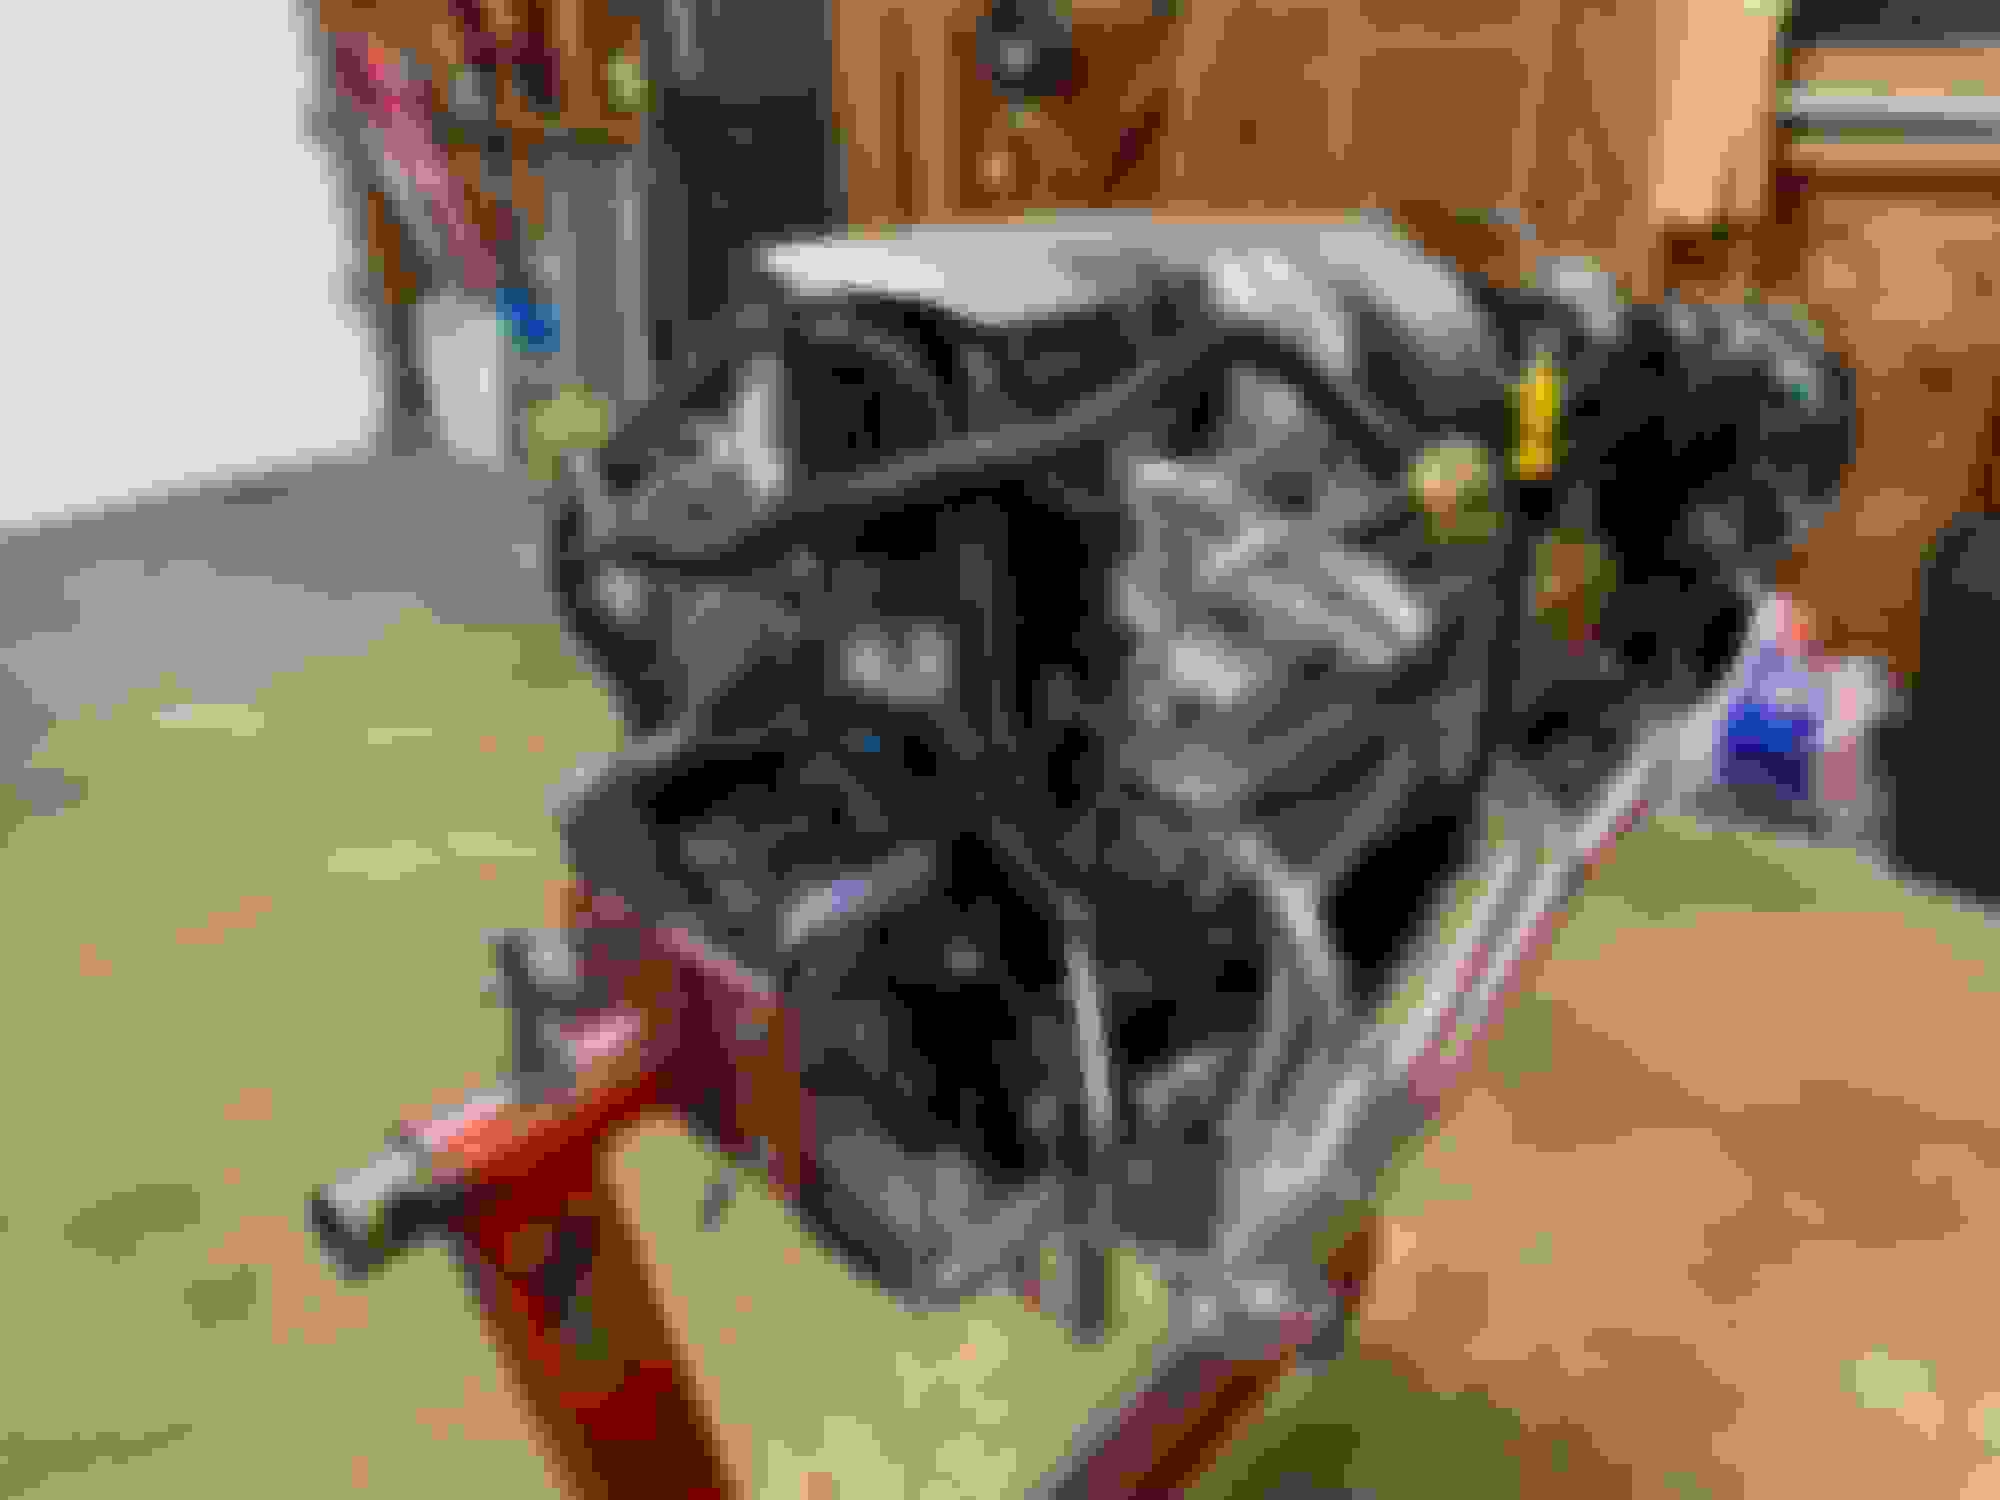
After sitting untouched for 2 years, I started on pulling the motor and tearing it down to figure out what happened and if the motor could be repaired or rebuilt. In the photo of the short block with the heads removed, you can clearly see that the #7 cylinder is filled with coolant (DEXCOOL). I had flushed the cooling system and switched to DEXCOOL about 2 years prior to the headgasket failure. No idea if that contributed to causing it. There were no obvious cracks in the block or heads, so the likely failure was the head gasket.
After tearing it all apart and checking all of the numbers I could find on the block, heads, crank, cam, pistons, etc, I found out that this was not the original motor. It was a 2-bolt main 350, bored 0.040 over, but assembled with a mix of parts that weren't correct for my car. The block and heads were from a 1987 Caprice Police Cruiser. The block was the same, but the heads were TBI swirl ports. Correct for a Caprice, but not for a TPI motor. The camshaft was close enough, but it was a 90-92 350TPI "773" grind. I couldn't get anything off of the pistons, other than a 0.040 stamping on top and the crank and rods were standard GM parts. My best guess is that this was probably a remanufactured engine from one of these mail order companies, like Jasper. Seems it was built to Caprice Police 9C1 specs.
The fact that swirl port heads were on that motor now made sense as to why I always had a hard time passing emissions due to high NOX (had to retard timing 4 degrees to get it to pass) and had detonation problems during the 2-3 upshift. The swirl port heads have a more efficient burn than the TPI heads, so they don't need as much timing, so the stock TPI timing was too much.
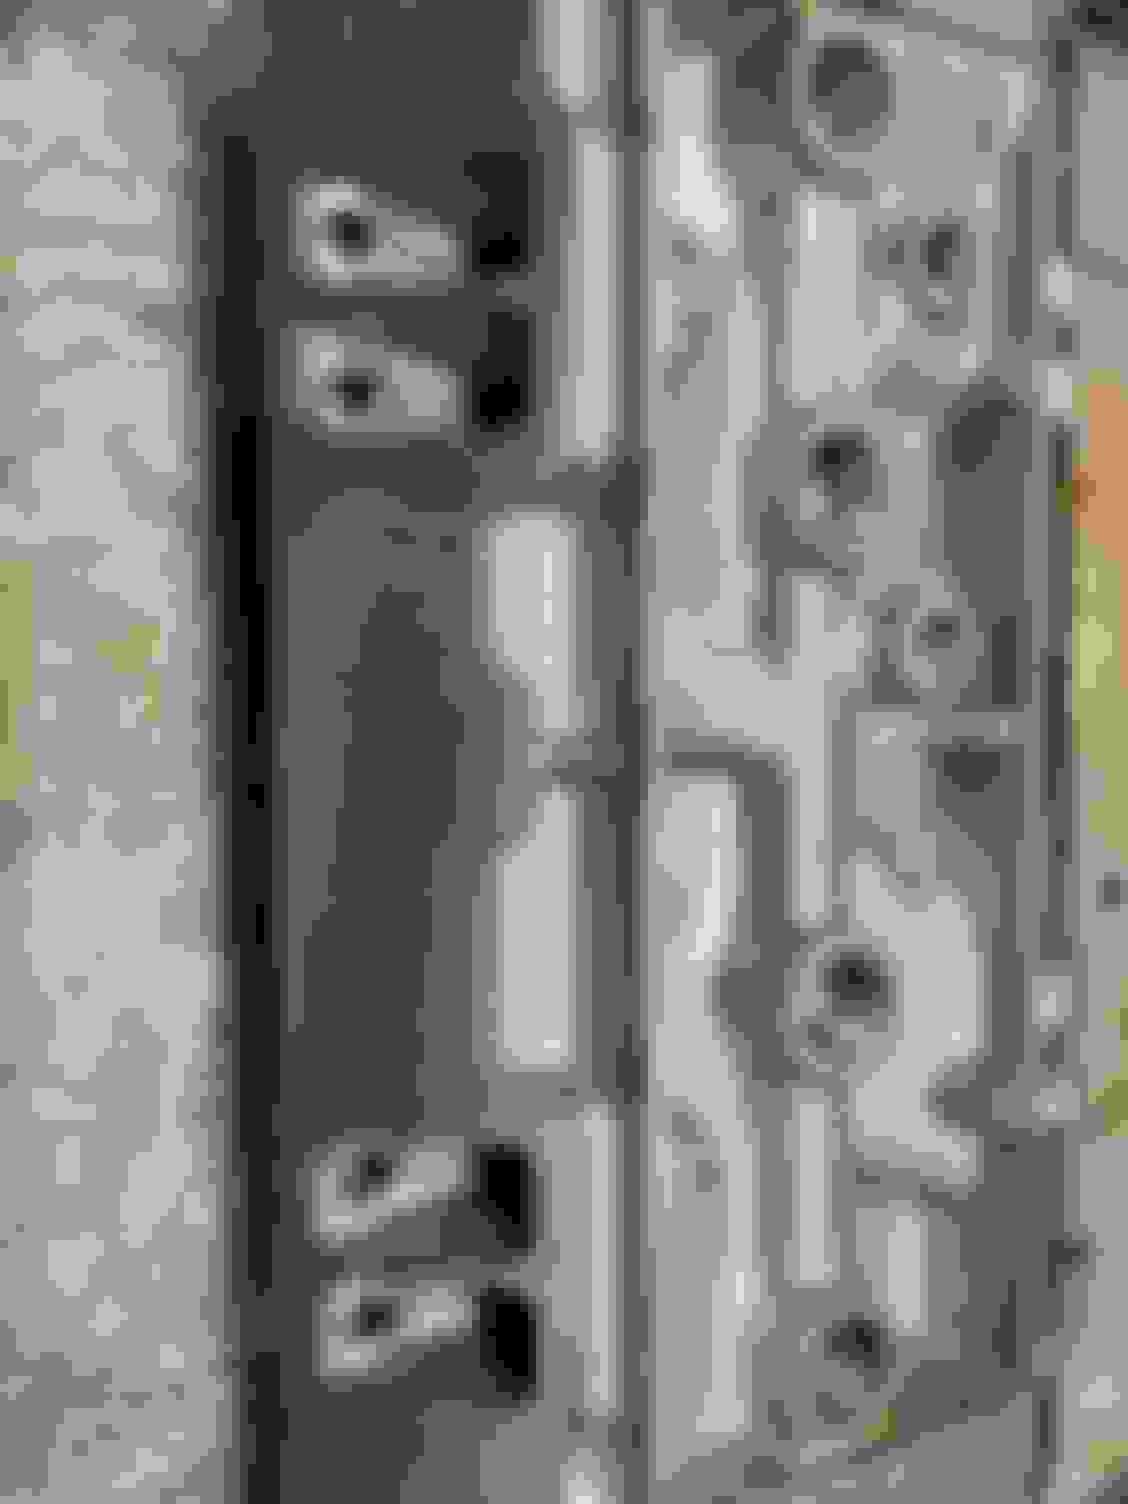
The cylinder walls looked reasonably good, but had a bit of light scoring. Since this block was not original to my car and had already been bored 0.040 over, there wasn't much to save.
L31 Vortec crate motor is hard to beat for the money.
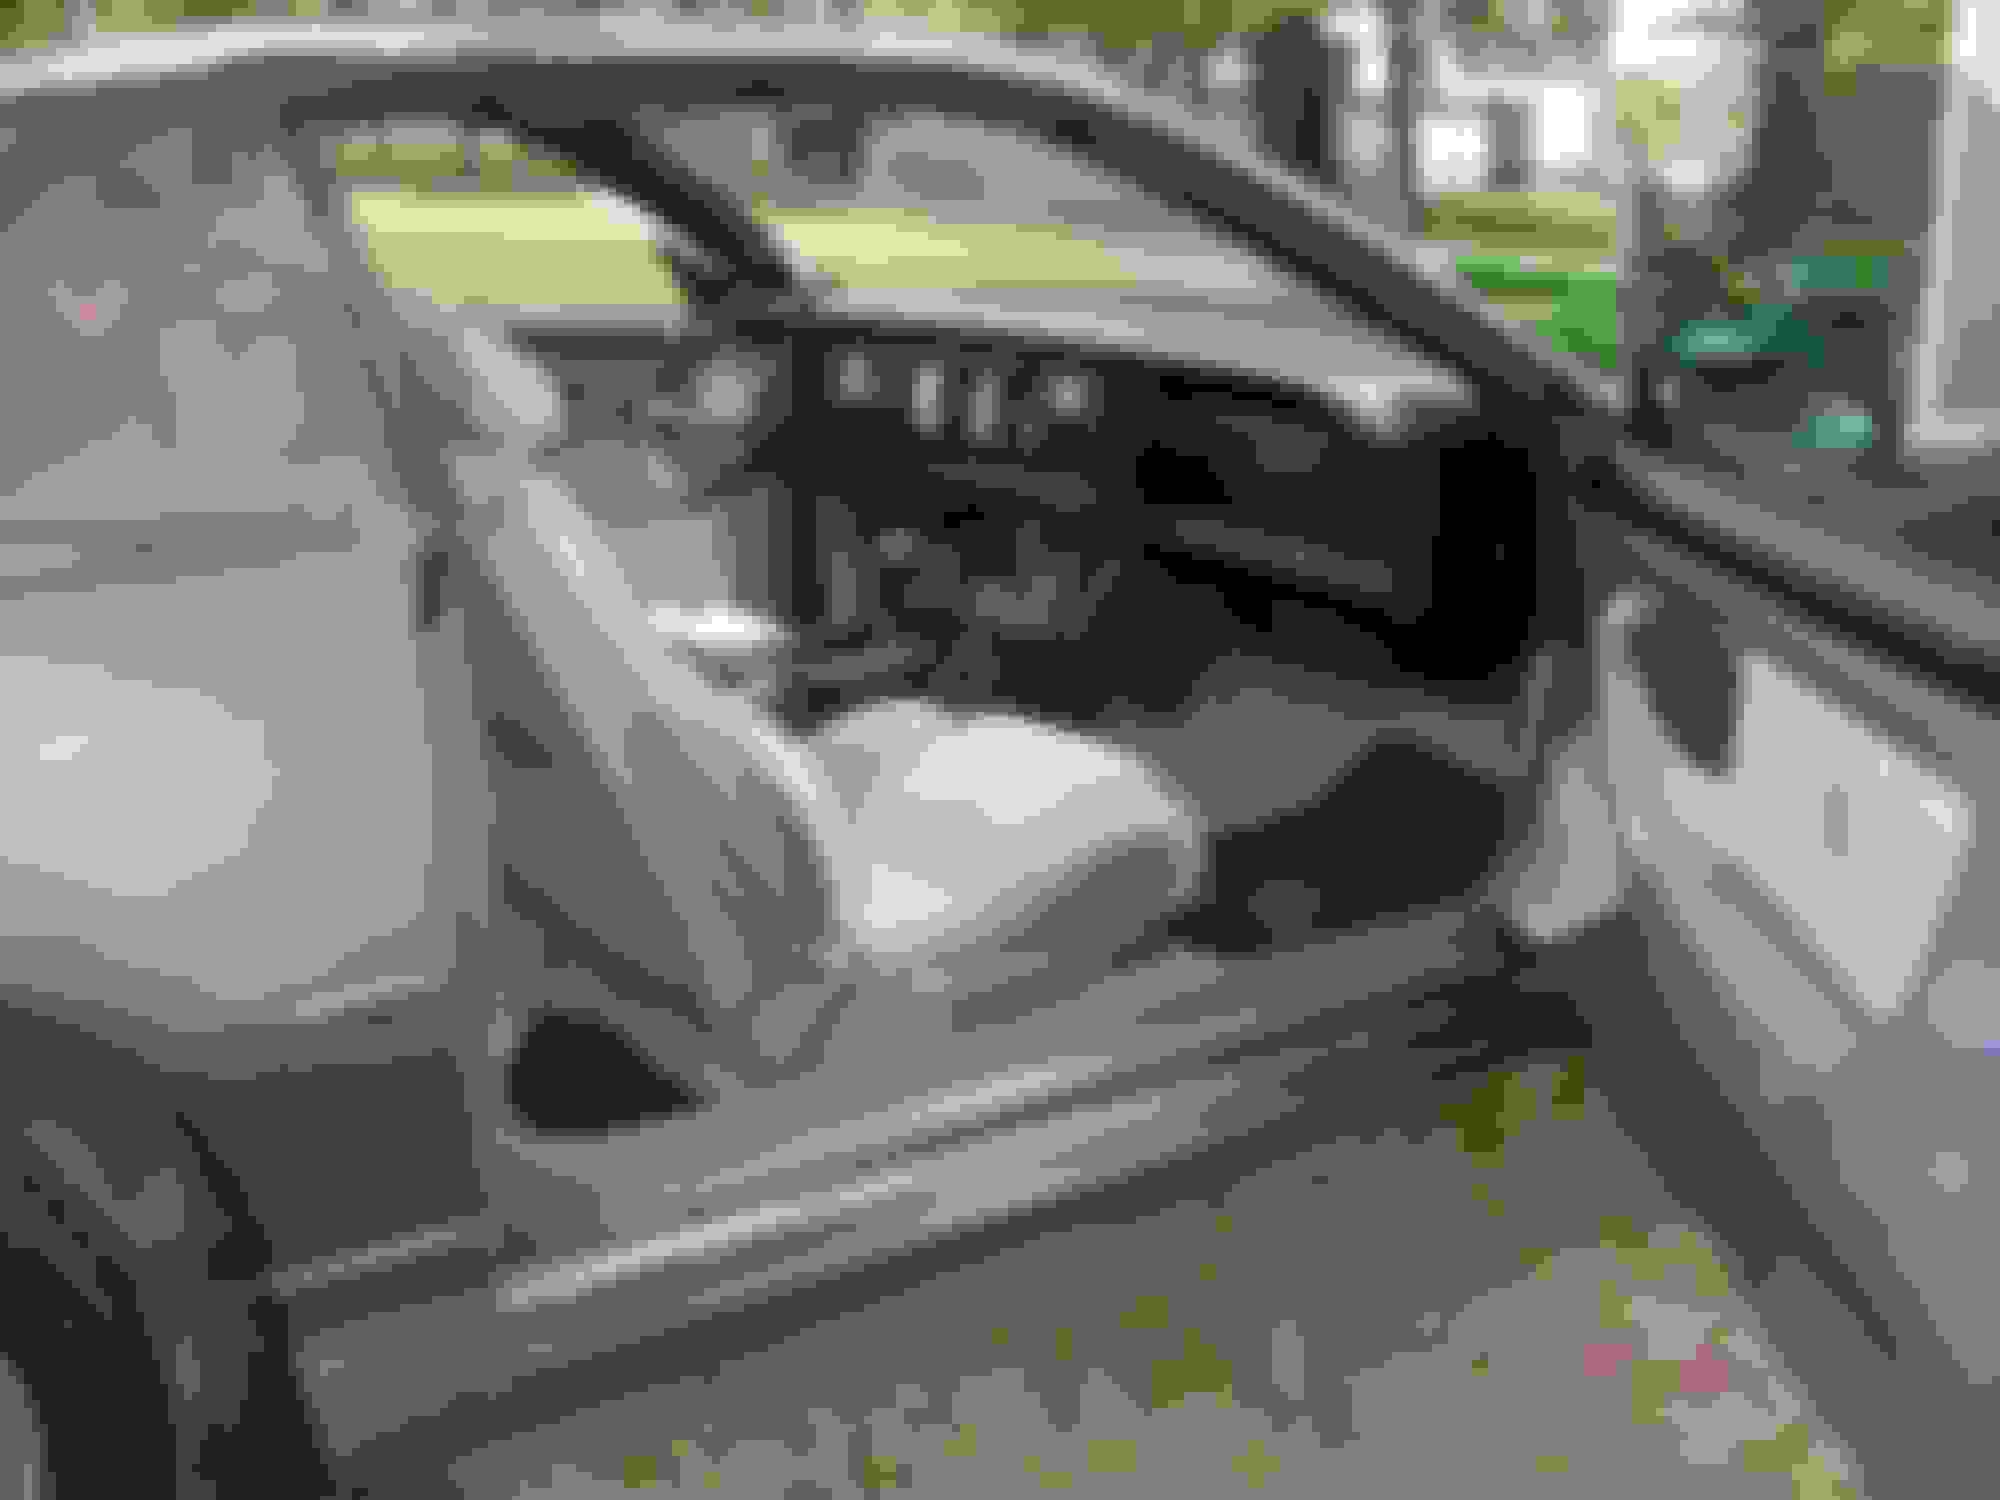
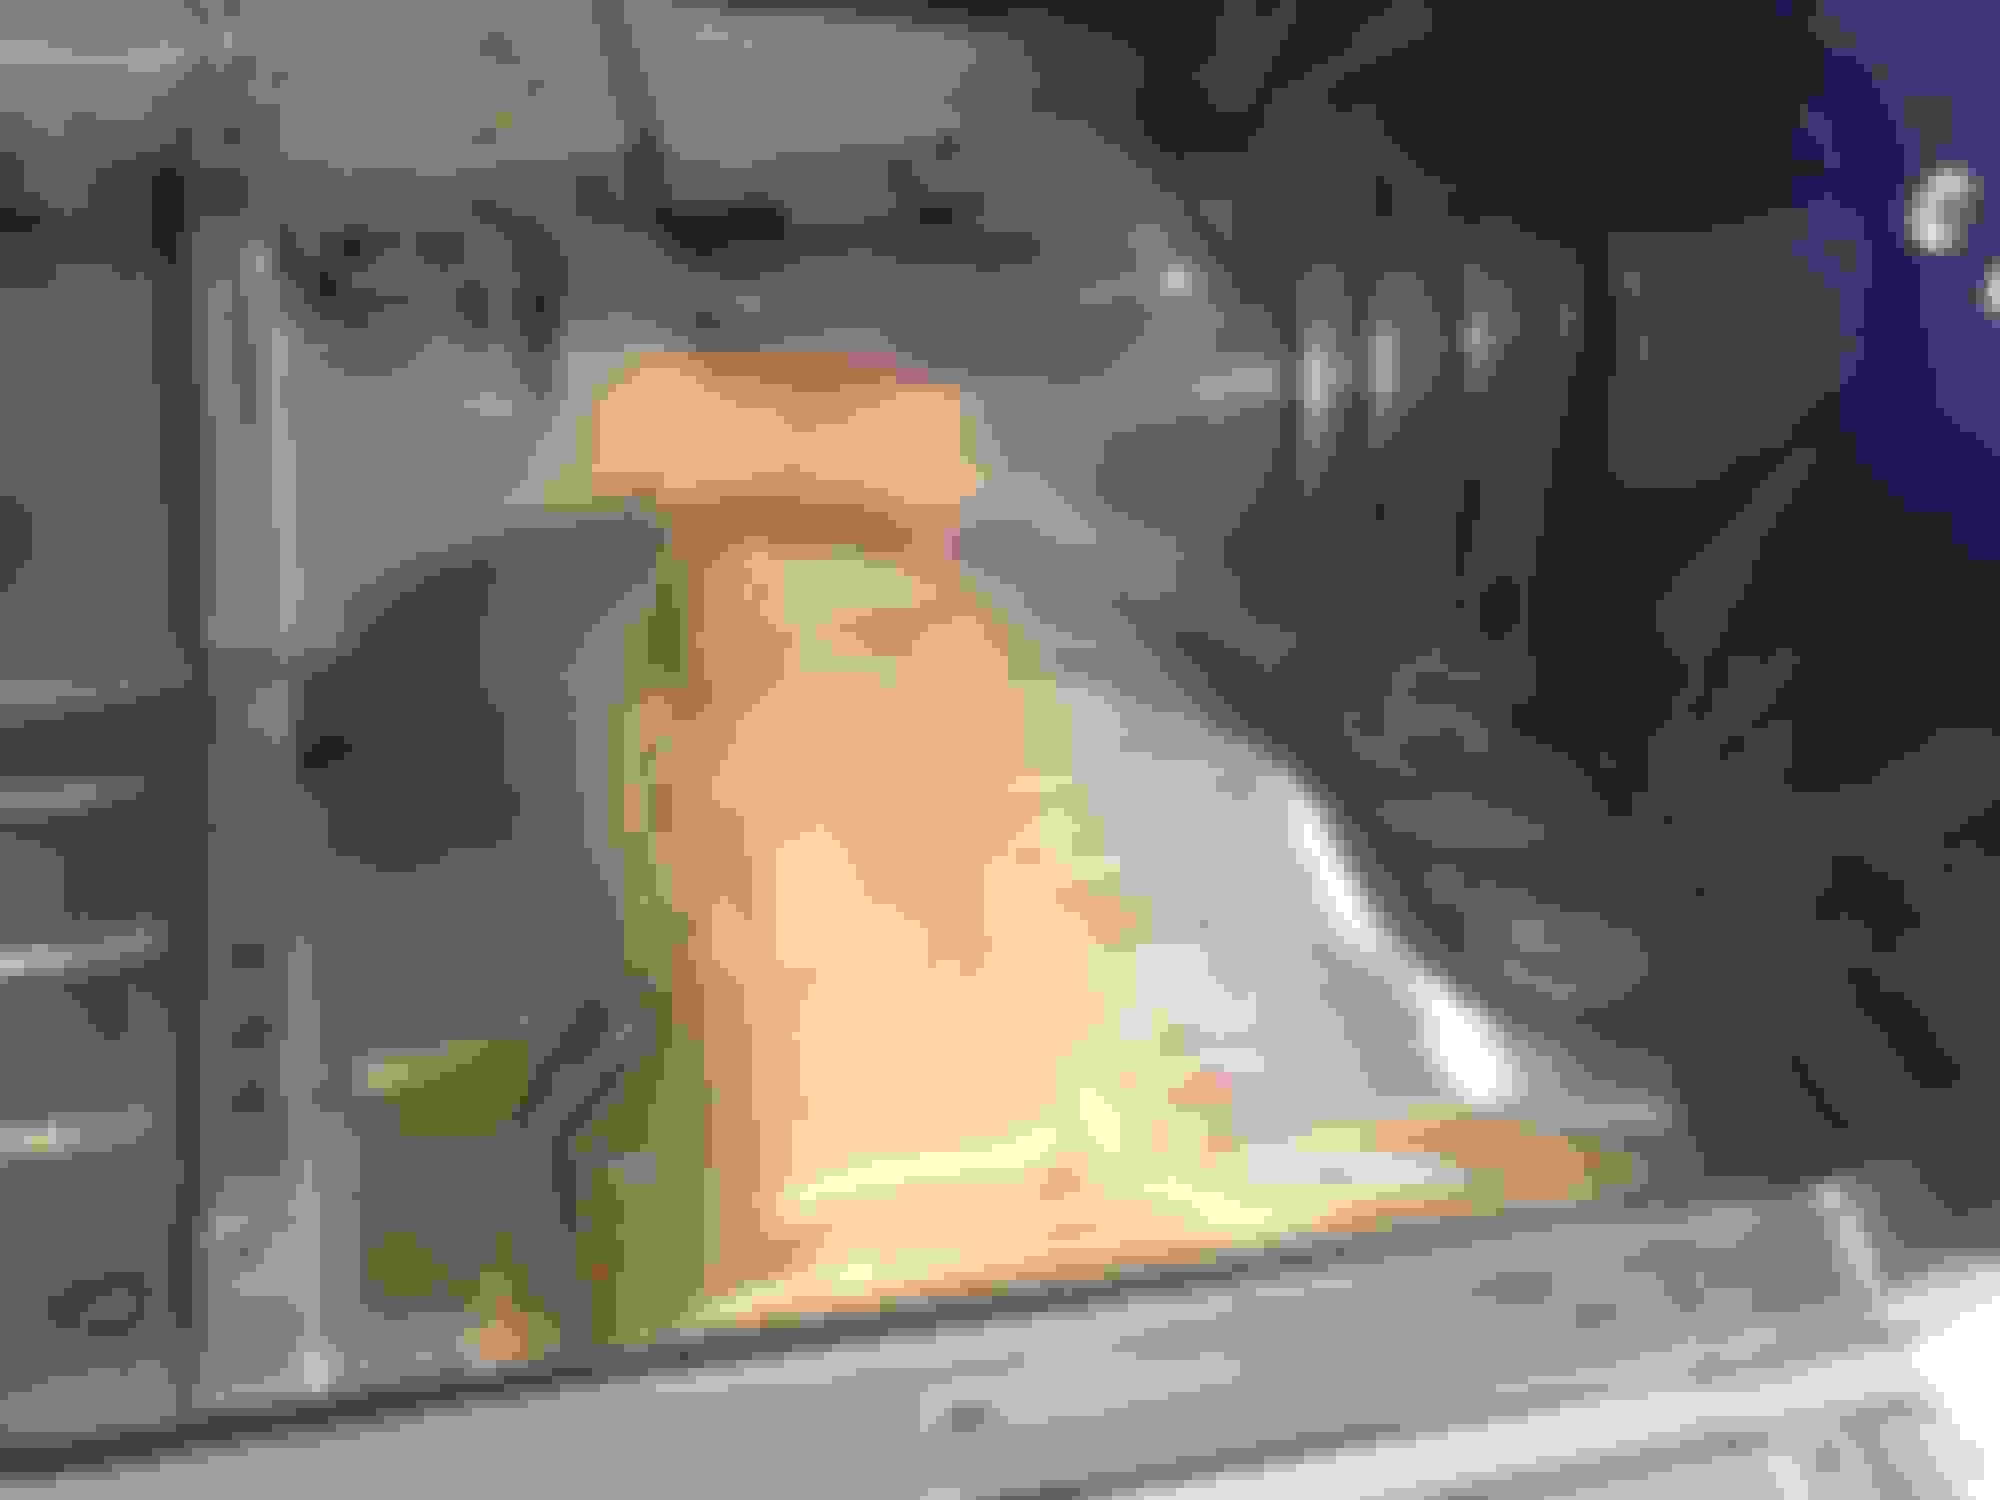
After discovering the rot in the rocker corners, I decided to pull the interior so I could better evaluate the floorpans, inner rockers and firewall. The overall body and interior were in very good shape for 160,000 miles. It amazed me as to how much hidden rust there was, but none showing on the outer body. The passenger footwell carpet had some brown staining from the floorboard rust. The floorpans were mostly in good shape except for the front corners and the area above the catalytic converter heat shield.
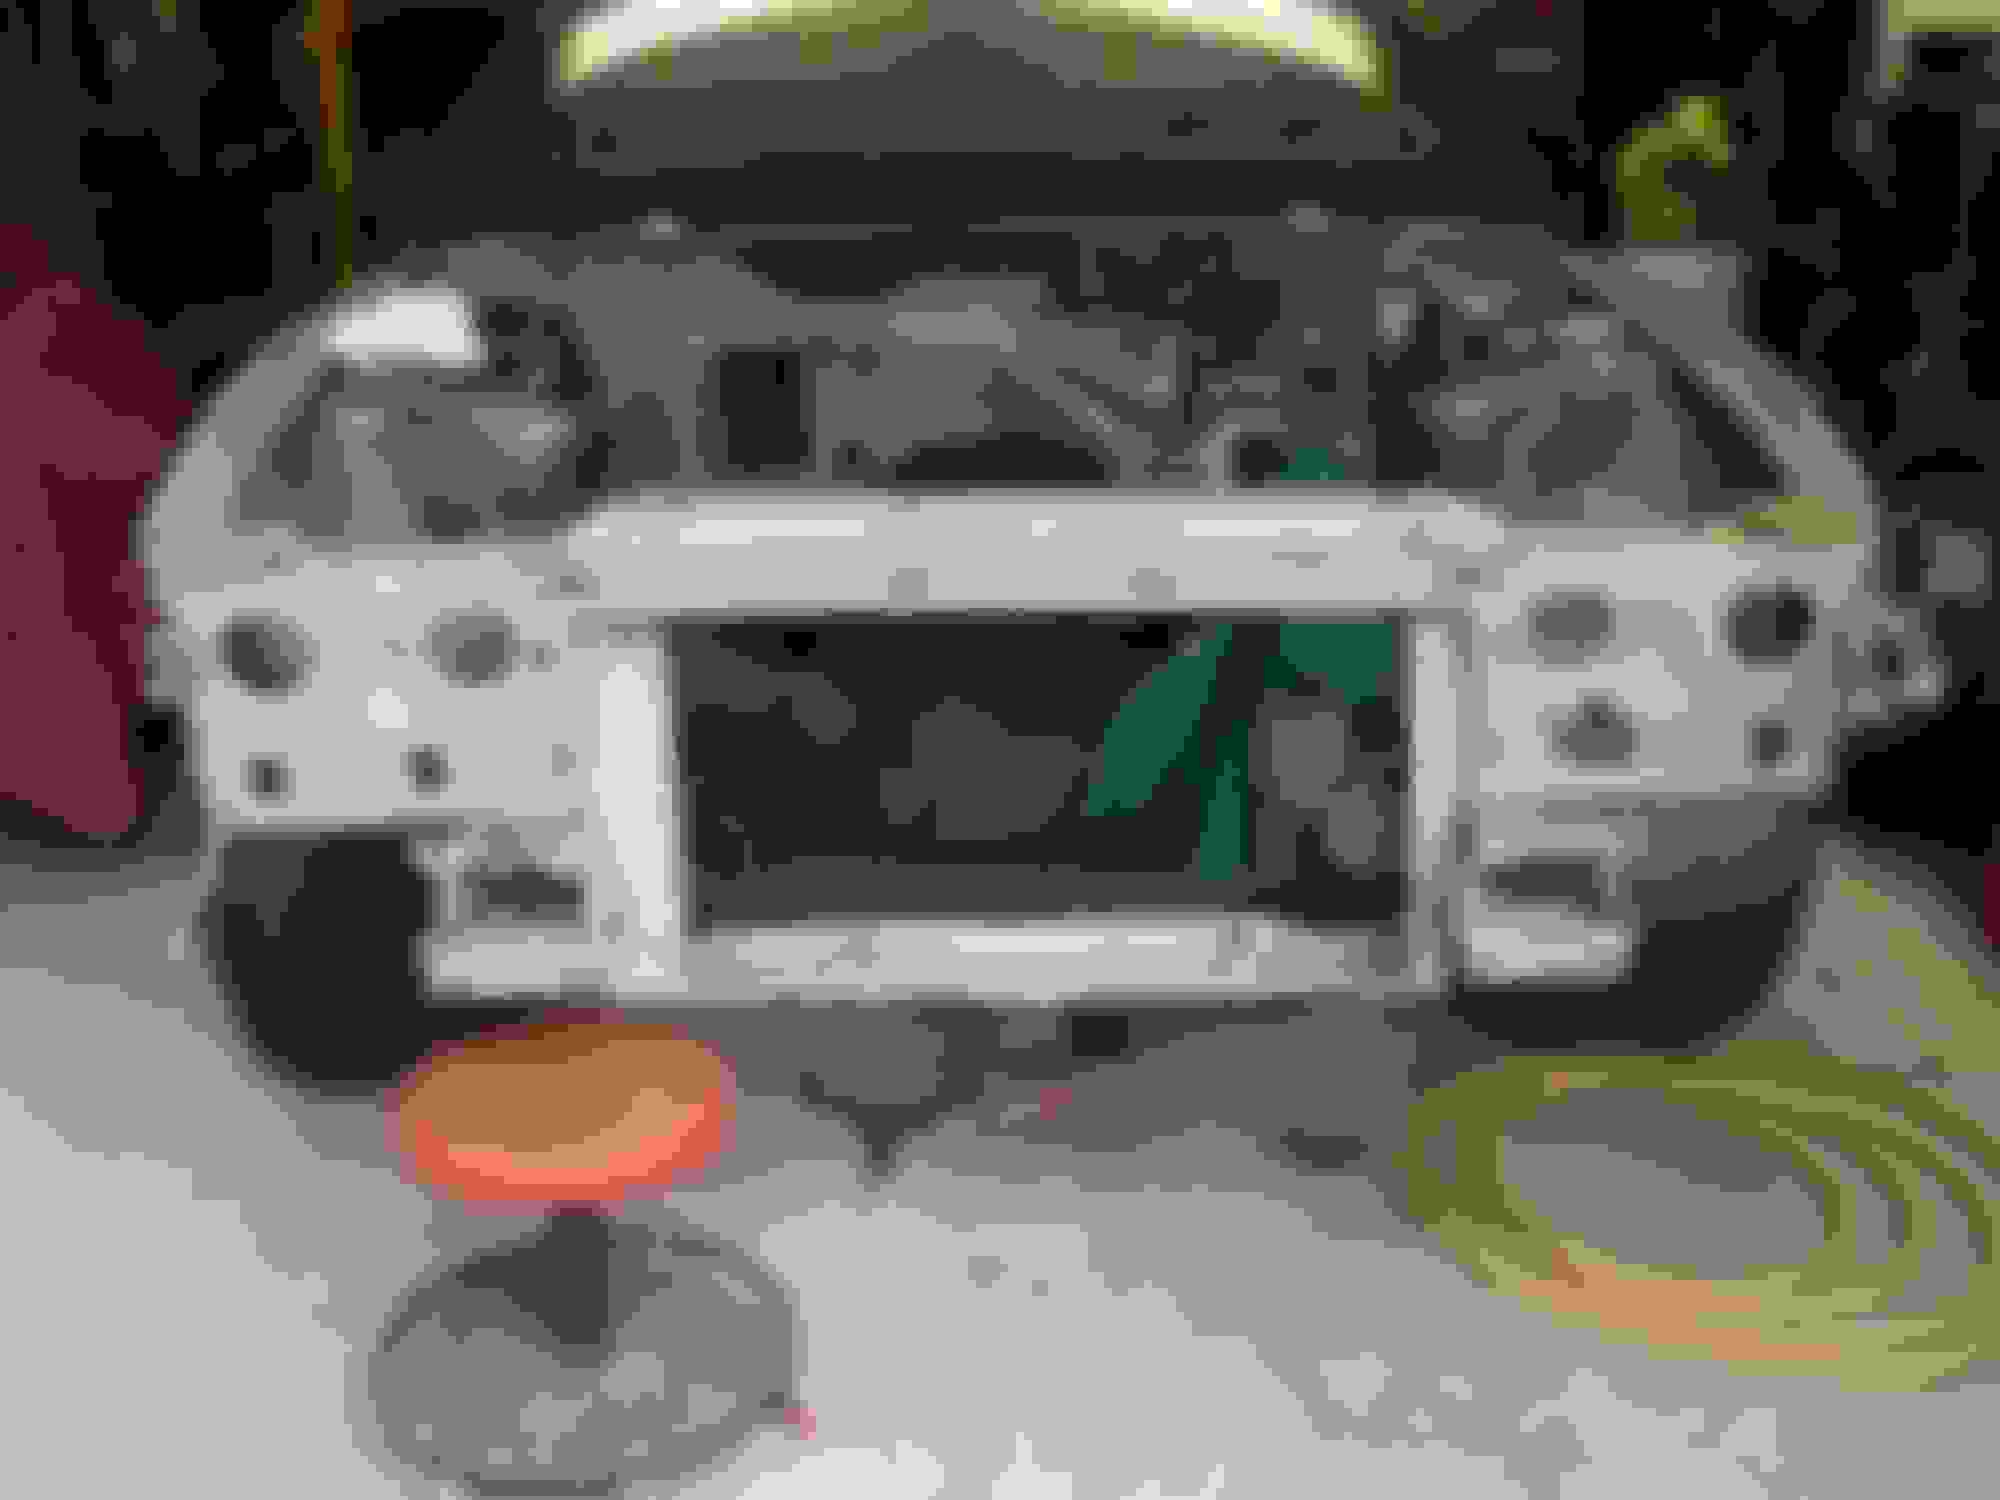
I had a front end collision in 2000 that damaged the upper part of the core support. The hood, left fender, nose and lights were replaced back then and the core support straightened, but it was rippled. Since I had the car apart now, and was doing other metal work, I decided to go ahead and replace the core support. I sourced a used one that was in good shape and had it sandblasted before installing it. The battery tray was rusted as well, so that was replaced with a rust free one from a donor as well.
Awesome thread, the car looks fairly solid, it does suck it had some rust hidden. As old as these cars and the part of the country you're located in, almost seems par for the course. We were in High school around the same time period, so this is the almost the age equivalent of restoring a 69 Camaro when we were in high school, in a few months it will be. It's odd but I still kind of think of these and 4th gens as semi modern cars where as by age they're no longer. On a side note, what fuel tank did you go with? I was wanting to drop my factory tank for a new fuel pump and having the factory tank restored to avoid fitment issues of after market tanks.
Awesome thread, the car looks fairly solid, it does suck it had some rust hidden. As old as these cars and the part of the country you're located in, almost seems par for the course. We were in High school around the same time period, so this is the almost the age equivalent of restoring a 69 Camaro when we were in high school, in a few months it will be. It's odd but I still kind of think of these and 4th gens as semi modern cars where as by age they're no longer. On a side note, what fuel tank did you go with? I was wanting to drop my factory tank for a new fuel pump and having the factory tank restored to avoid fitment issues of after market tanks.
Yeah, it�s interesting that this car is almost 30 years old, but doesn�t really seem like that old of a car. The 4th gens aren�t much different, really just a continuation and refinement of the 3rd gens. My 1999 is very similar to my 1989 in many ways. The big difference compared to the new Camaros is comfort and technology. The 3rd and 4th gens feel like you are always driving a race car. After driving one for a day, I�m tired. The new ones are much more comfortable and easier to drive, but still have the performance. It�s quite amazing actually. Still, the feeling of driving a very nice old car on a sunny day is hard to beat.
For the fuel tank, I went with Spectra Premium from Napa and had no issues with figment. The rear end and exhaust were not installed, so that helped when putting the tank in. You will have to drop the read end down to do the tank. I also used a Spectra sending unit, Racetronix fuel pump and OER tank straps. Here�s a photo of the tank installed.
Right front rocker rebuild, passenger firewall and passenger floorboard - 2011
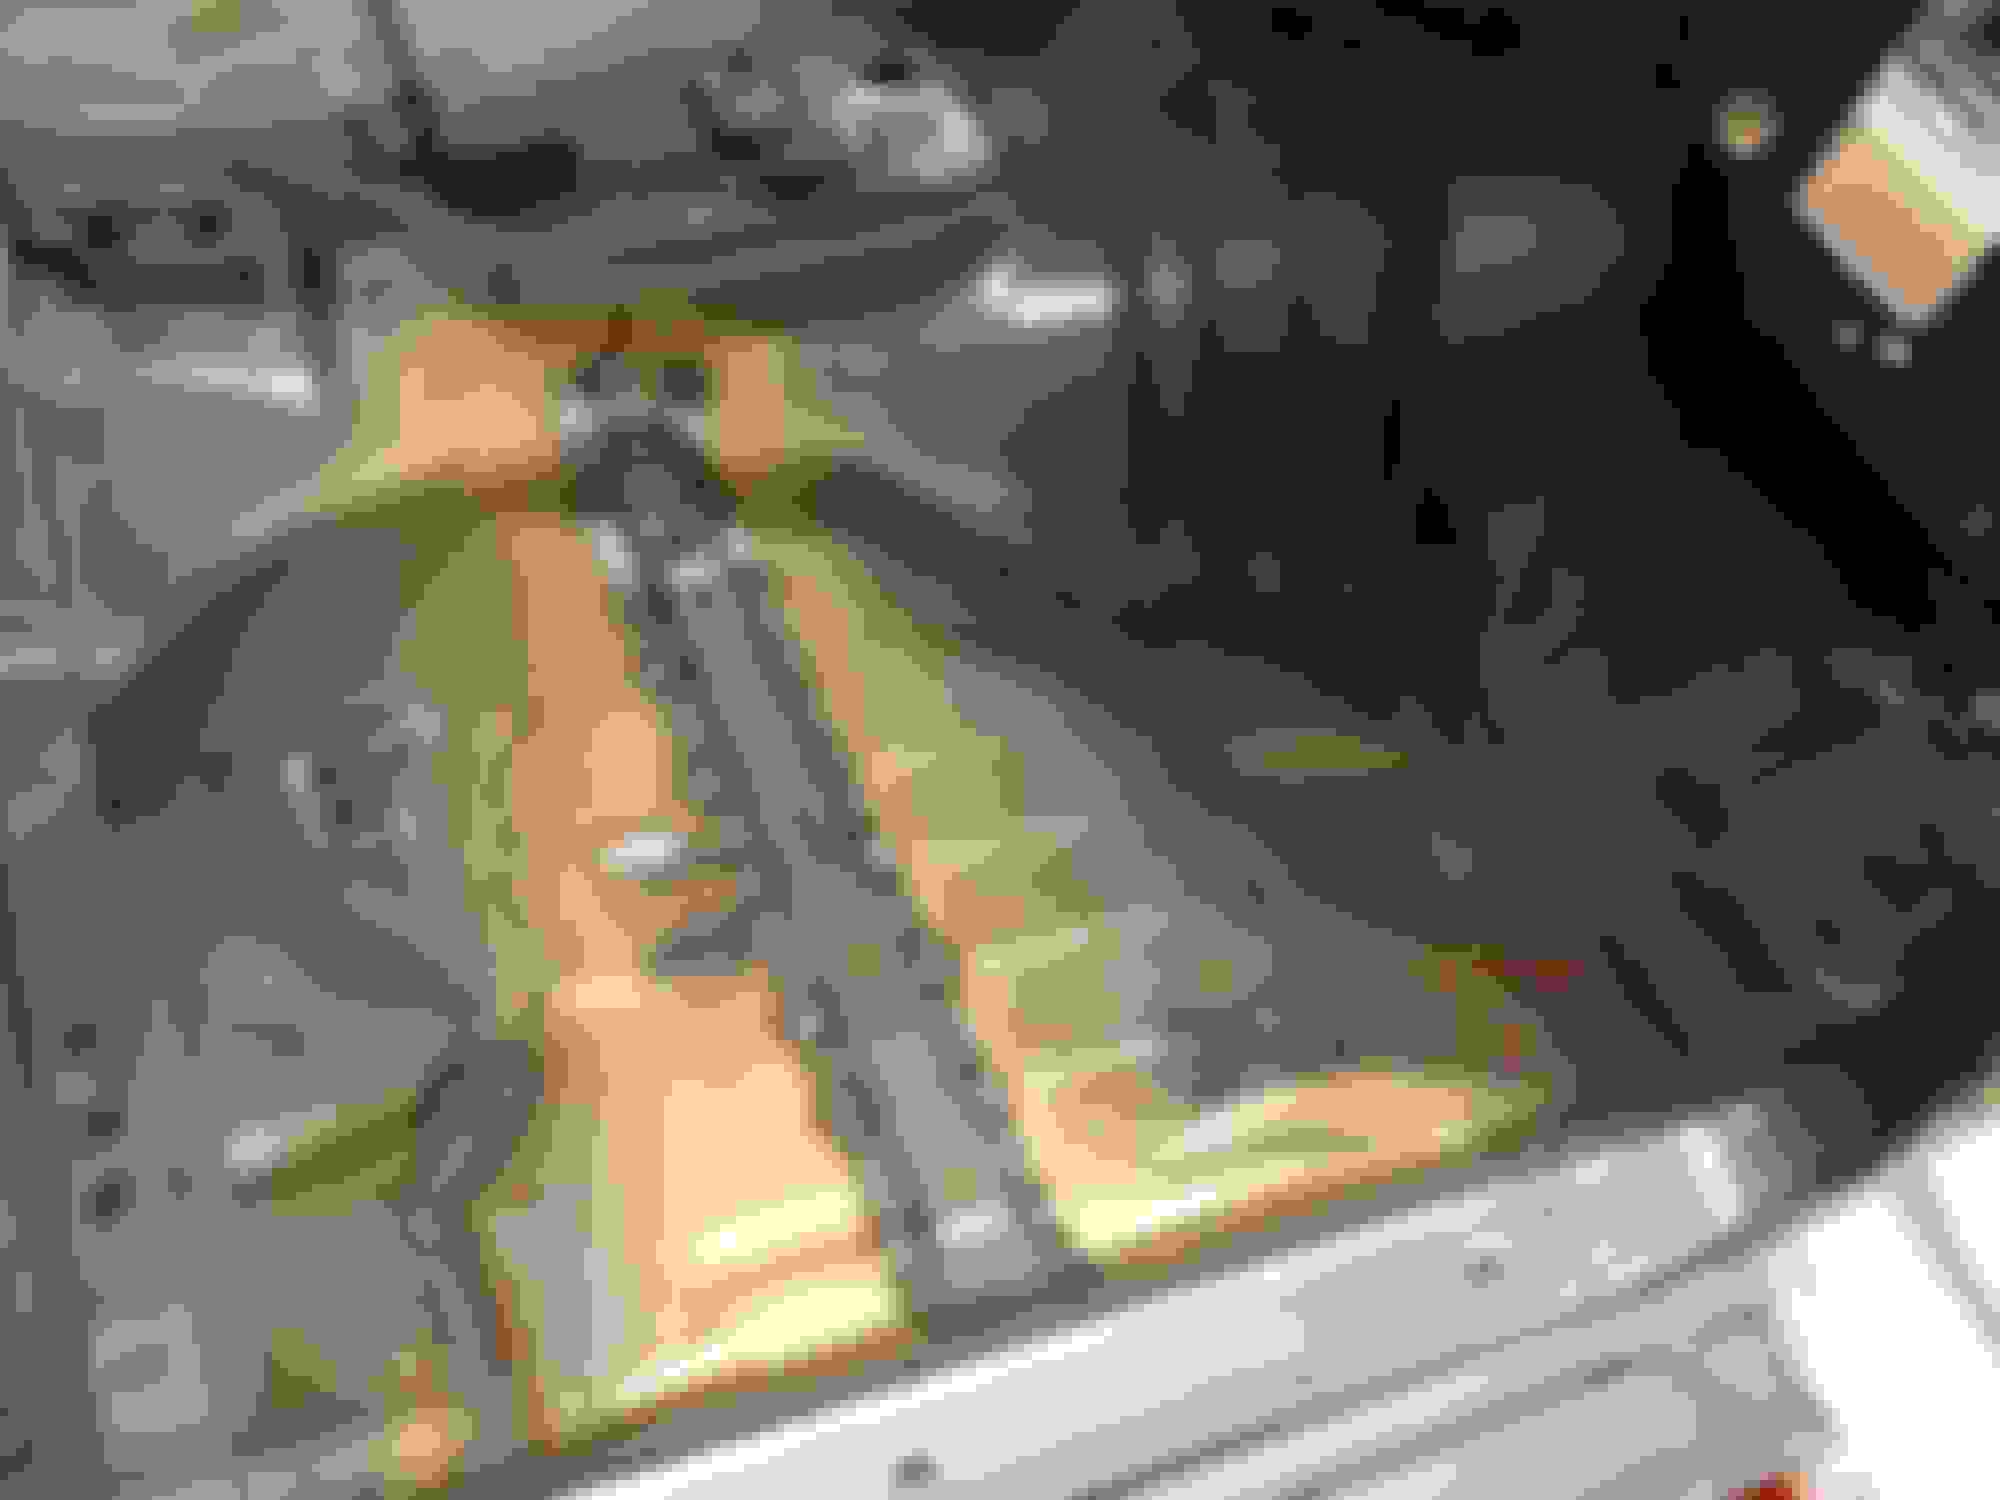
This area was pretty bad. There was a lot of hidden rust under the seam sealer at the firewall/cowl and also above the catalytic converter heat shield.
Floorboard stitch welded and ground flush on the underside, topside weld bead left as is for strength. Will be seam-sealed and underneath the carpet, so it won't be seen.
Wow! I do love a Gunmetal gray Trans Am. Nice work too! I really gotta spend more time reading threads in here!
Thanks Drew. I have always liked the gunmetal as well. It's one of those colors that looks kind of dull in photographs, but is completely different in person
Lot's of rust here hidden behind the factory undercoating.
There is a spot welded sheet metal brace on the inside of the trunk covered in seam sealer. It is there to reinforce the inner wheelwell to the top of the trunk floor. The issue is that the seam sealer was applied after this brace was installed, so the pinch weld under the brace was not sealed and water and winter salt could get up behind that brace through the pinch weld in the wheelwell. After I fixed this area, I laid a bead of seam sealer in this seam before welding the brace back in place. Not that it will really matter now since the car will never see salty roads ever again.
Rust under this brace Ruse through from behind brace inside trunk
Amazing job you're doing! Wish I could weld like that.
What gauge of sheet metal are you working with? What type of welder are you using? Mig with gas?
Amazing job you're doing! Wish I could weld like that.
What gauge of sheet metal are you working with? What type of welder are you using? Mig with gas?
Thank you.
I used 20 gauge plain sheet steel. The welder is a Hobart 120V mig with gas and 0.023� wire. The standard 0.030� wire it comes with is too heavy and requires too much heat, causing burn through, especially on previously rusted metal that is thin. Took me a while to figure that out.
It�s really not that hard to weld this and I didn�t have a lot of welding experience before this project. In this case, the welds don�t need to look pretty since they are being ground down. I definitely recommend using an auto-dark helmet. Makes it so much easier. I bought a cheap one from Harbor freight. Also, wear a welder�s cap under the helmet to protect the top of your head.
2015
Prepped for epoxy primer. A small amount of body filler to smooth some of the metalwork and also used Eastwood inner frame coating inside all of the frame rails and boxed structural metal.
Sprayed underbody, wheel wells and engine bay with RM Diamont Epoxy Primer. The weekend I did this, it just happened to be 70 degrees, low humidity and no wind. I was able to paint with the garage door open with very minimal dust in the primer and paint.
Epoxy primer was sprayed in the morning and underbody/rear wheel wells were sprayed in the afternoon with RM Limco semi-gloss black single stage urethane.
The next day I sprayed the engine bay, door sills and front wheelwells with RM Diamont basecoat and RM Limco Urethane Clearcoat. Basecoat and clearcoat were done wet on wet and since all of the primer and painting was done within 24 hours, no sanding was needed between the epoxy primer and topcoat.
This was one of those weekends that everything just went right. It was the turning point for this project. Finally, the never ending metalwork, grinding and sanding was done and it was starting to look good.
3M Body Schutz rubberized undercoating applied using the 3M applicator gun in all 4 wheelwells.
I don't have good photos of it, but new seam sealer was applied in the original locations. The seam sealer was applied in different orders, depending on the location of the car. For example, the front rocker corners and cowl sealer were applied after the epoxy primer and before paint. The inner wheelwells had the sealer applied after paint and before the undercoating. The inside cabin sealer was applied after primer/paint and left exposed. For seam sealer, I used Eastwood brush applied sealer for the front rocker corners and cowl drain area and for everything else I used 3M urethane applied using the 3M applicator gun.
Last edited by TransamGTA350; 07-17-2019 at 08:29 AM.
Reason: Spelling
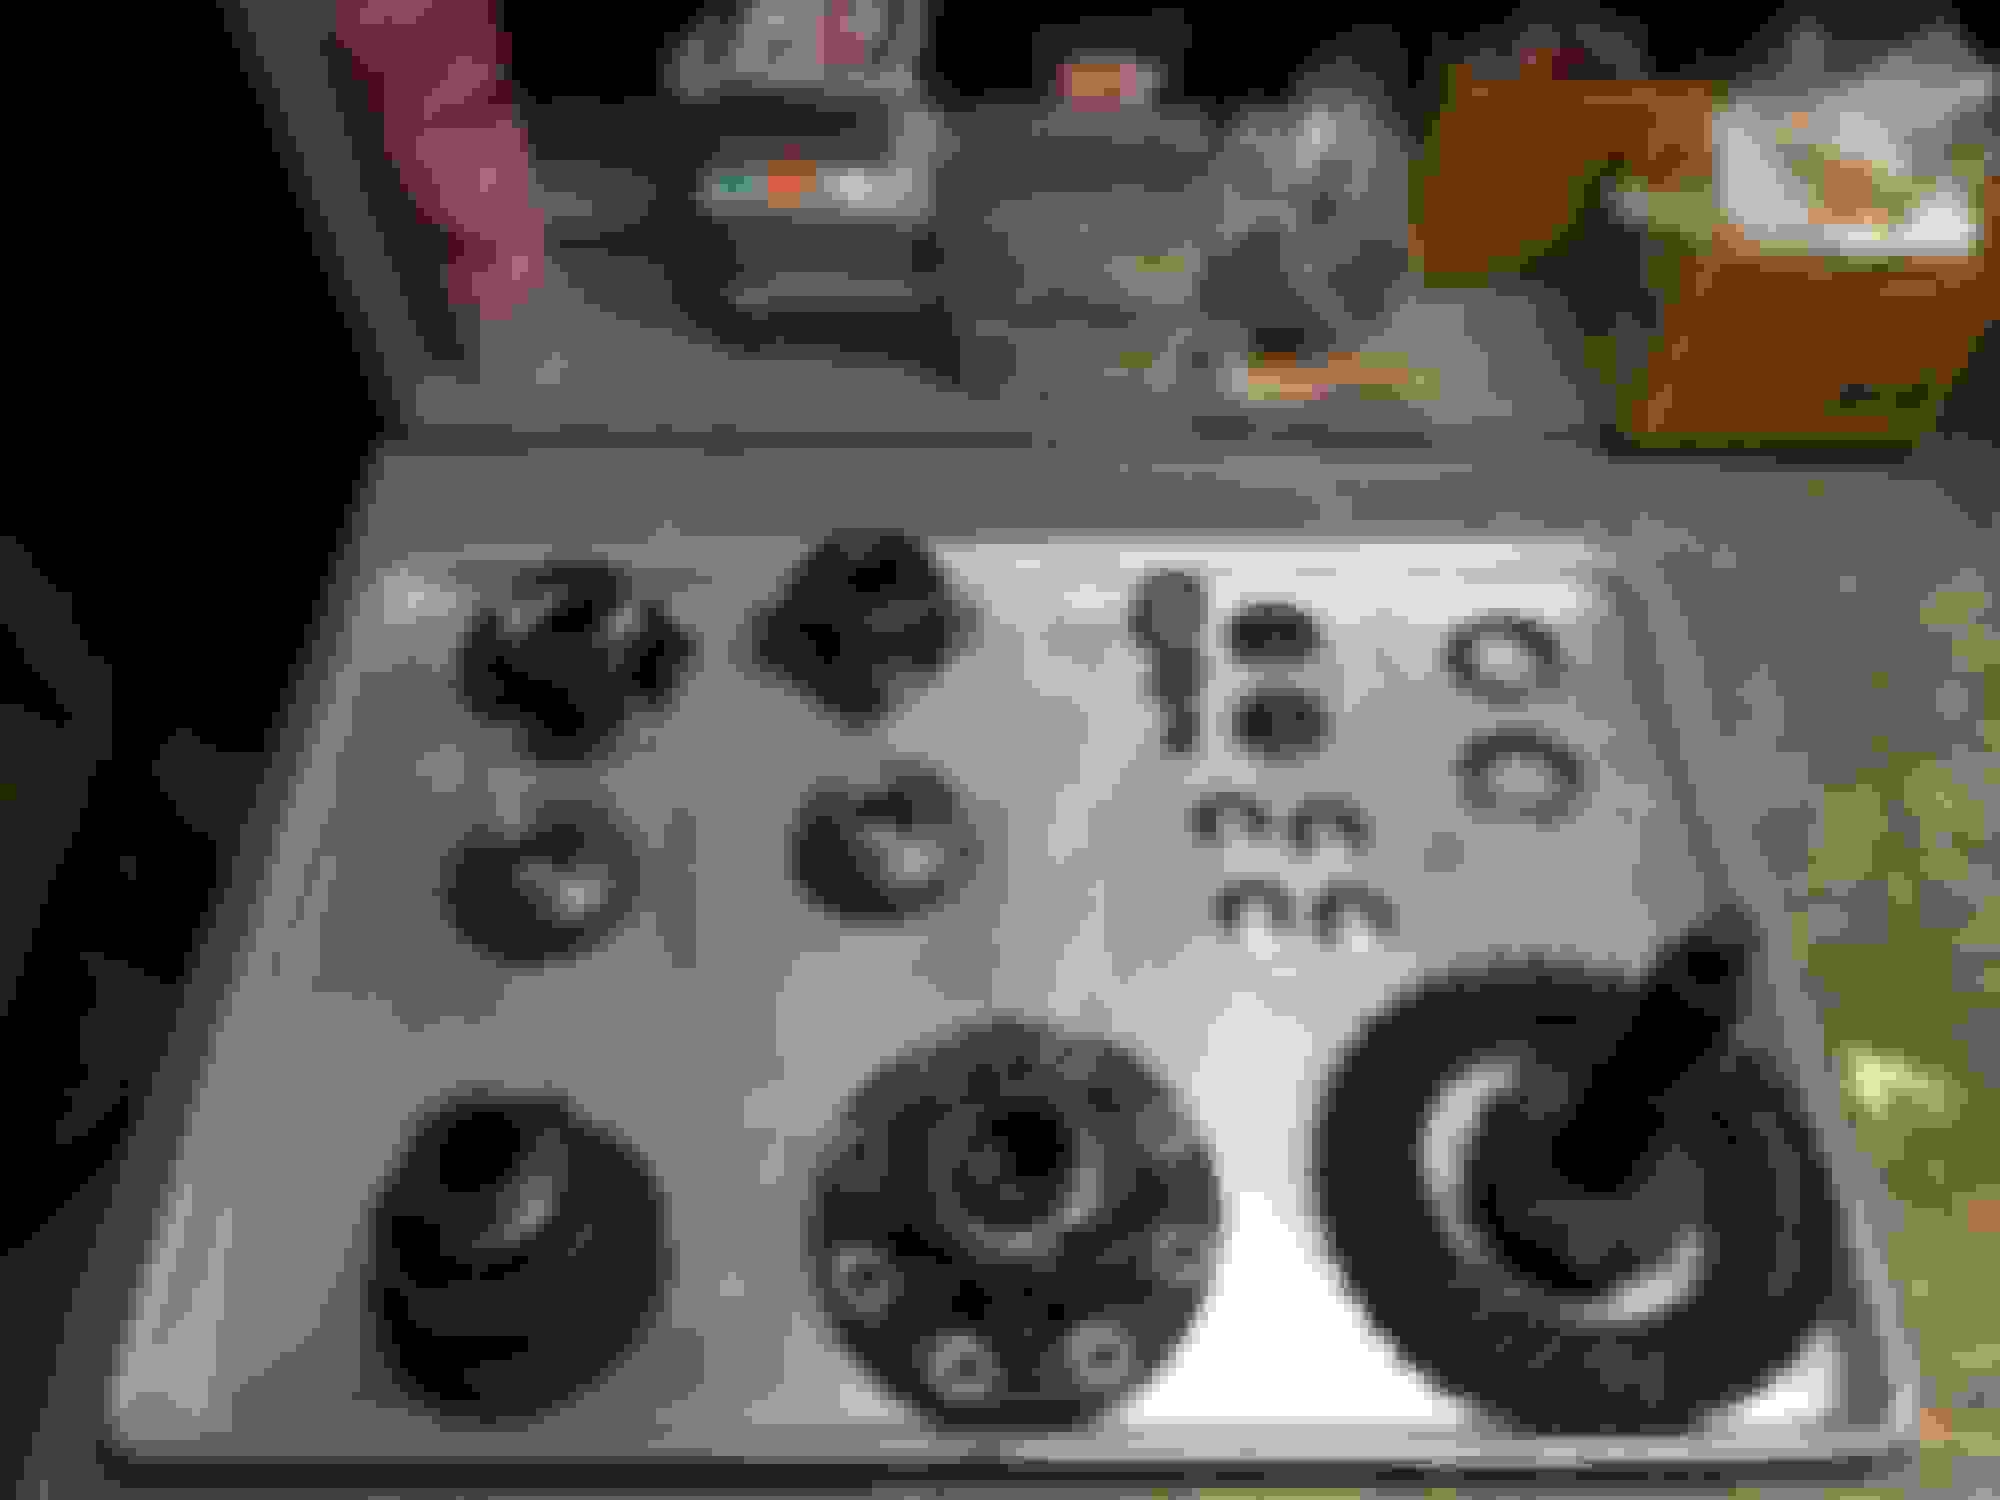
Rear end disassembly - 2013
Rear end assembly - 2015
I did this in my basement slowly over a period of a couple of years, mostly during the winter where it was warmer in the basement than in the garage. All new gears, bearings, spider gears and posi cones, Glenn @ 9-Bolt.com was very helpful. I purchased everything from him and he guided me through the setup.
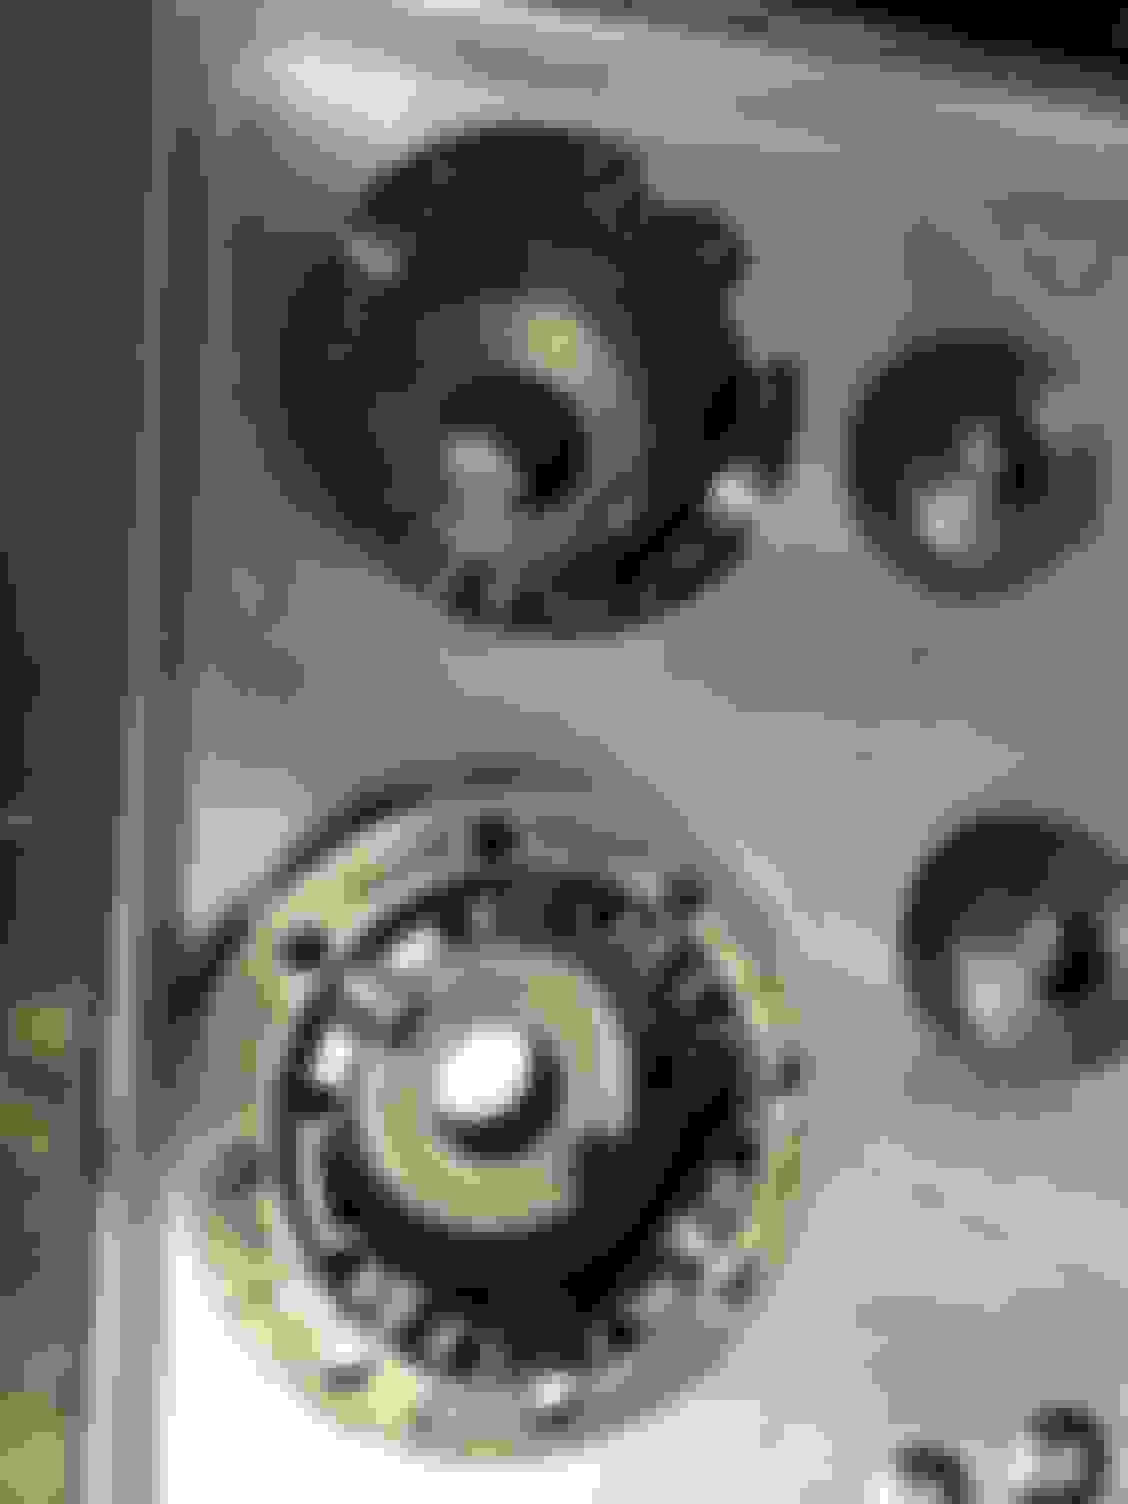
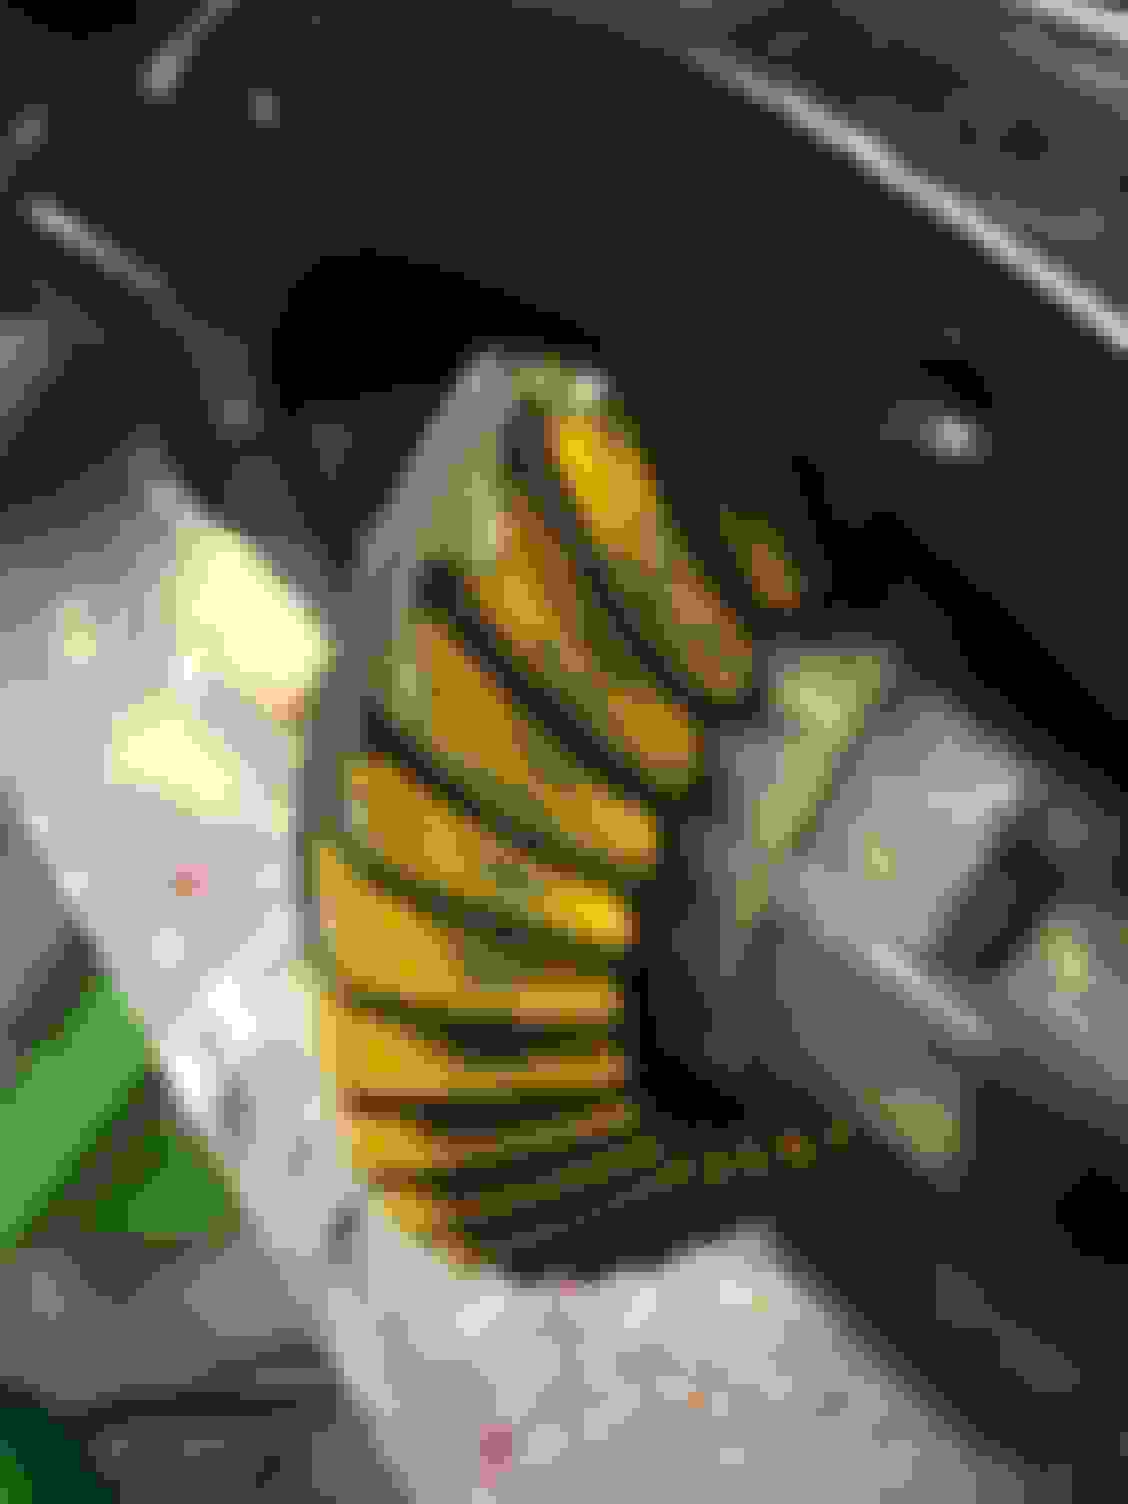
Original 160,000 mile Borq Warner 9-Bolt 3.27 Posi Rear. Posi carrier with worn spider gears Worn out posi cone New 3.70 gears, posi cones and spider gears from Glenn @ 9-Bolt.com Original posi carrier machined to accept the new style posi cones. The new cones don't have the recessed area, so the carrier needs the inner ridge machined off. Powdercoated rear end housing Assembled rear end with solid pinion spacer and T/A performance rear cover
Looking back, I realize I didn't do a great job with photo documentation of this work. At the time, I was selling my house and buying another house and was focused on trying to get the car back on the ground so I could move it to the new house. The two houses are only 3 miles apart, but might as well been 500 miles if the car wouldn't roll onto a trailer. I'll take some more photos of the suspension and underbody assembly when I have the opportunity, but here is what I have for photos. The black underside makes it tough to photograph and see any detail.
New gas tank, fuel sending, Racetronix fuel pump and tank straps
Rear end mounted with Spohn tubular lower control arms and panhard bar with poly bushings.
Front control arms reused with poly bushings installed
Poly sway bar busings
Eibach Pro kit springs w/4th gen rear spring isolators (lowers front 1" and keeps rear stock height). Stock GTA's seem to squat a little in the rear and this setup gives the car a slight forward rake
Bilstein struts/shocks
Steering box rebuilt by Power Steering Services
New ball joints, tie rods, center link, idler arm
New fuel lines, brake lines by inline tube
My helper Steering box rebuilt by Power Steering Services
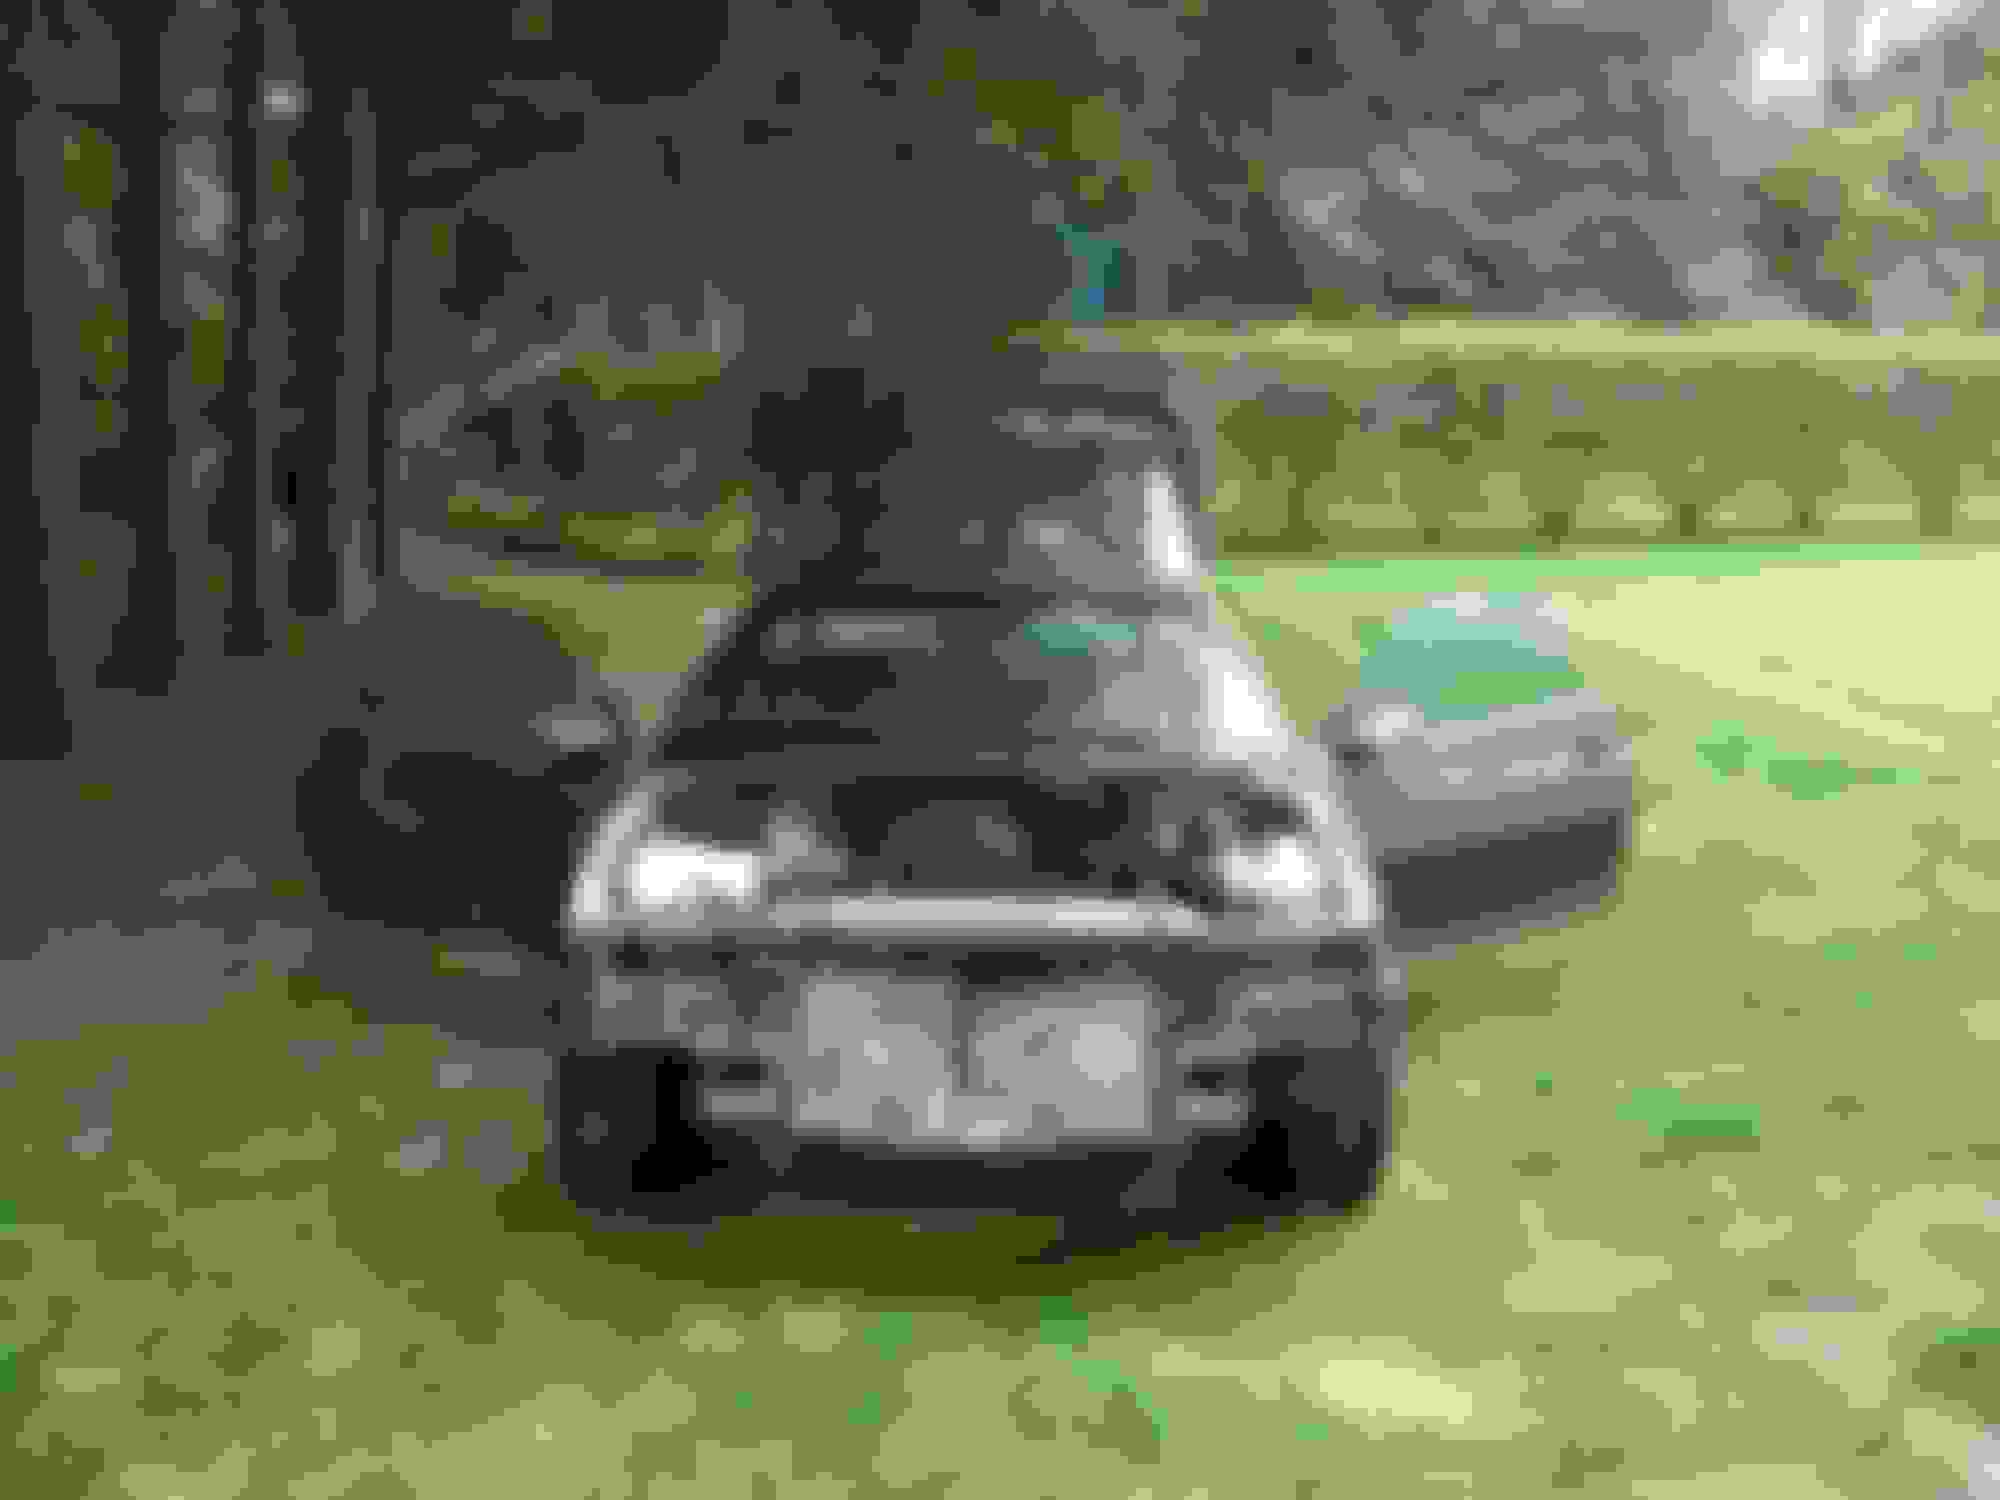
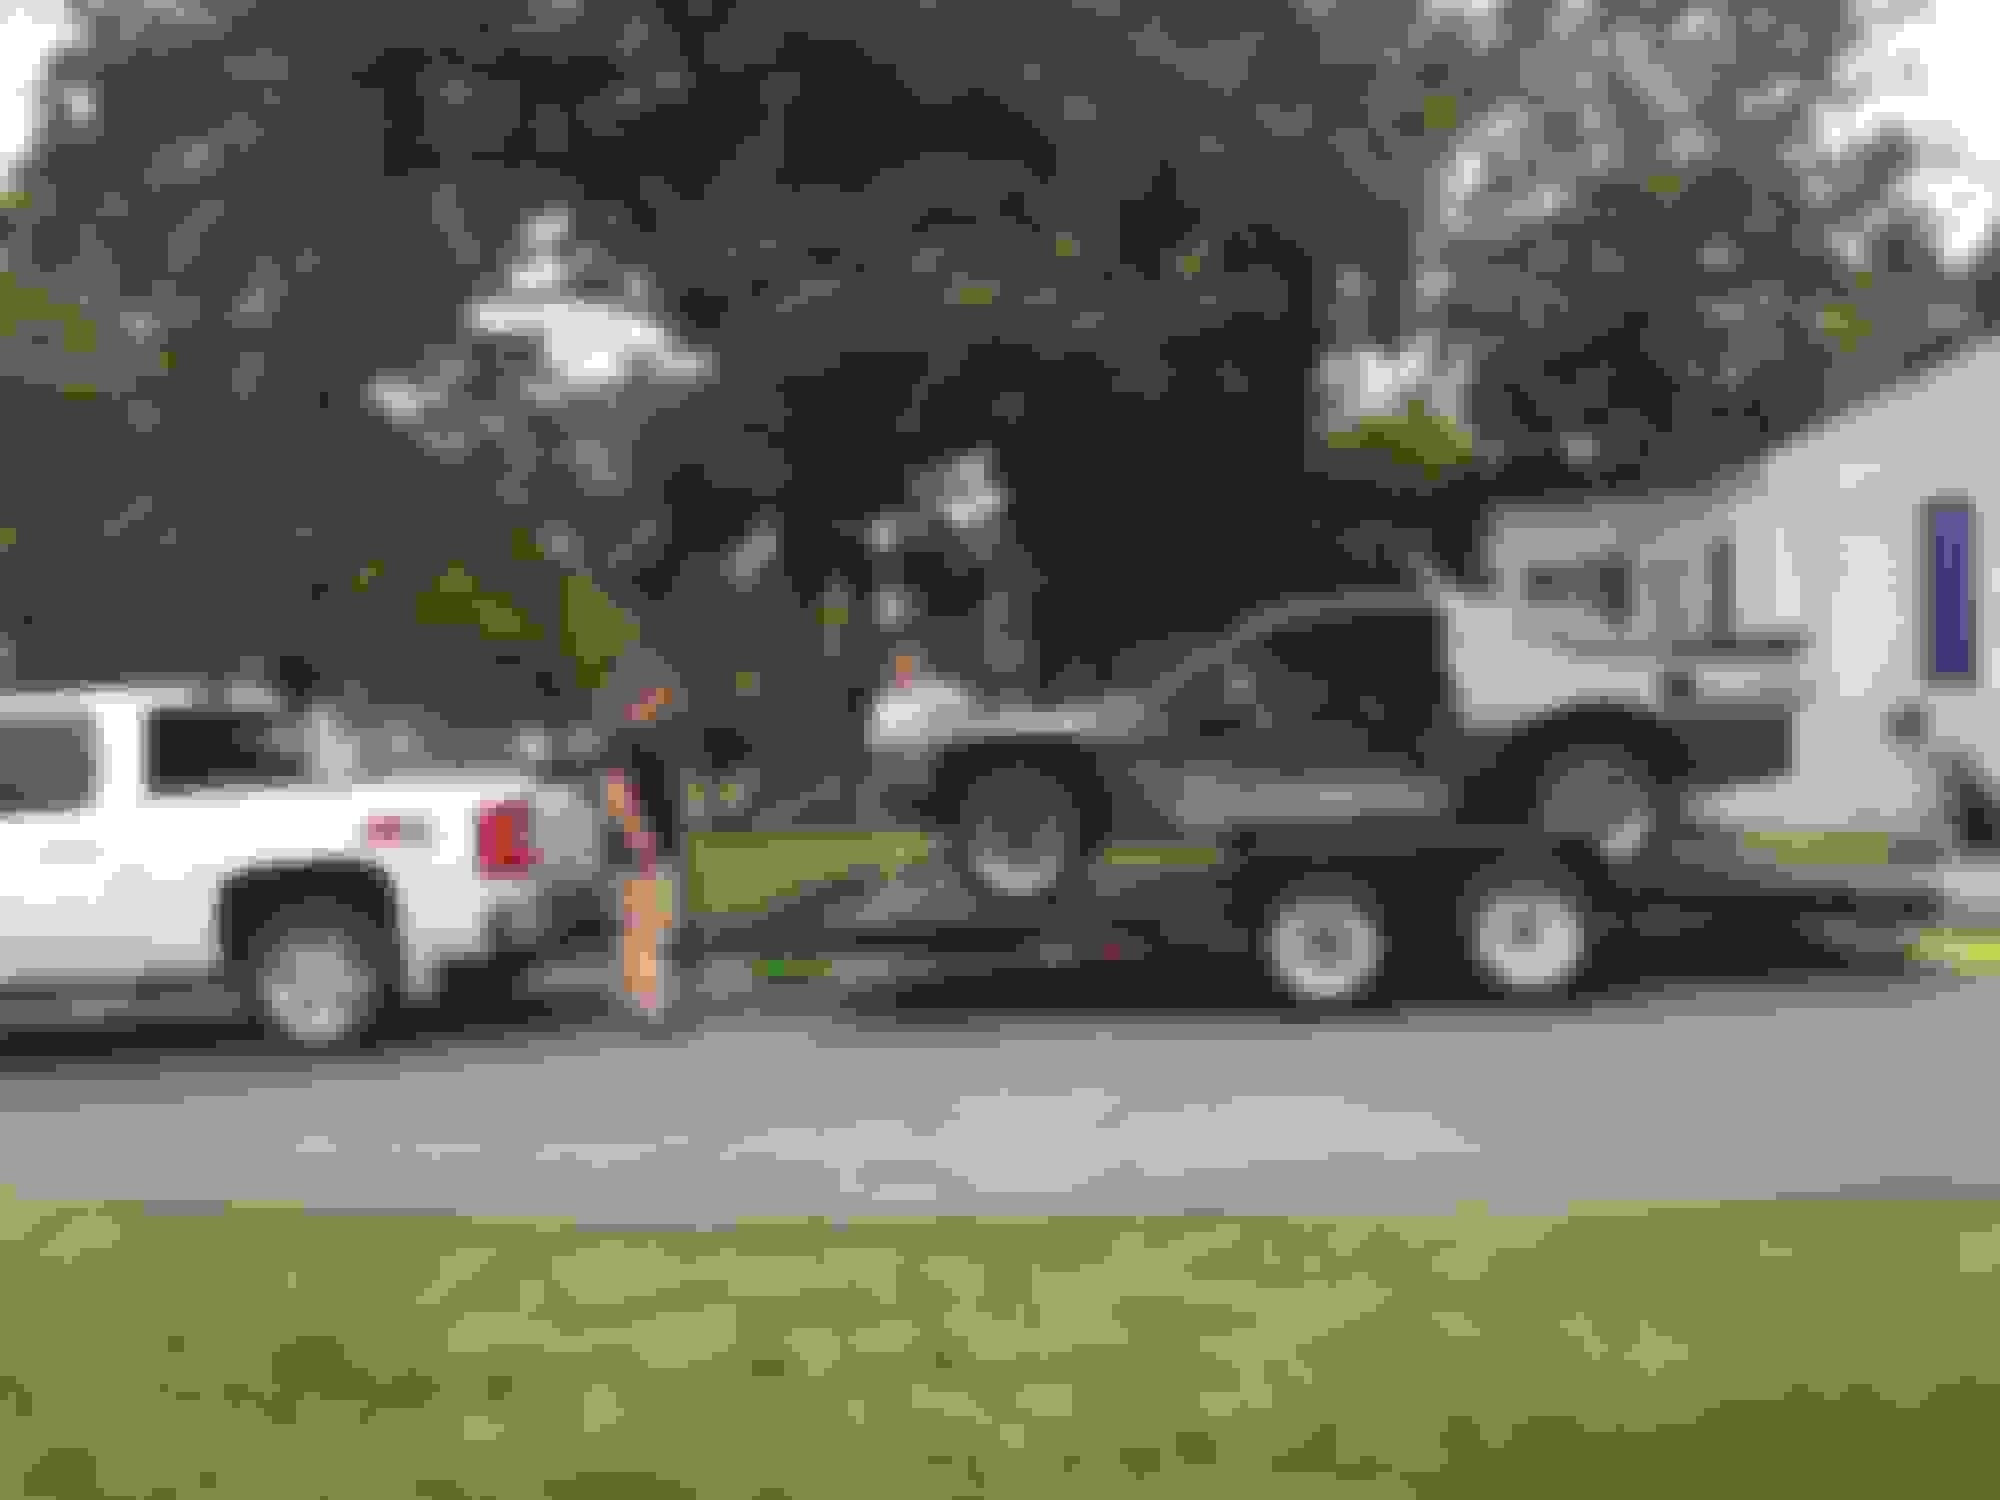
My brother and my buddy helping me load up the car at the old house and moving it to the new house. This was the first time the car had left this property in a decade.
Moving in general is no fun, but it's even worse when you have to move all of the parts of a disassembled car.
2019
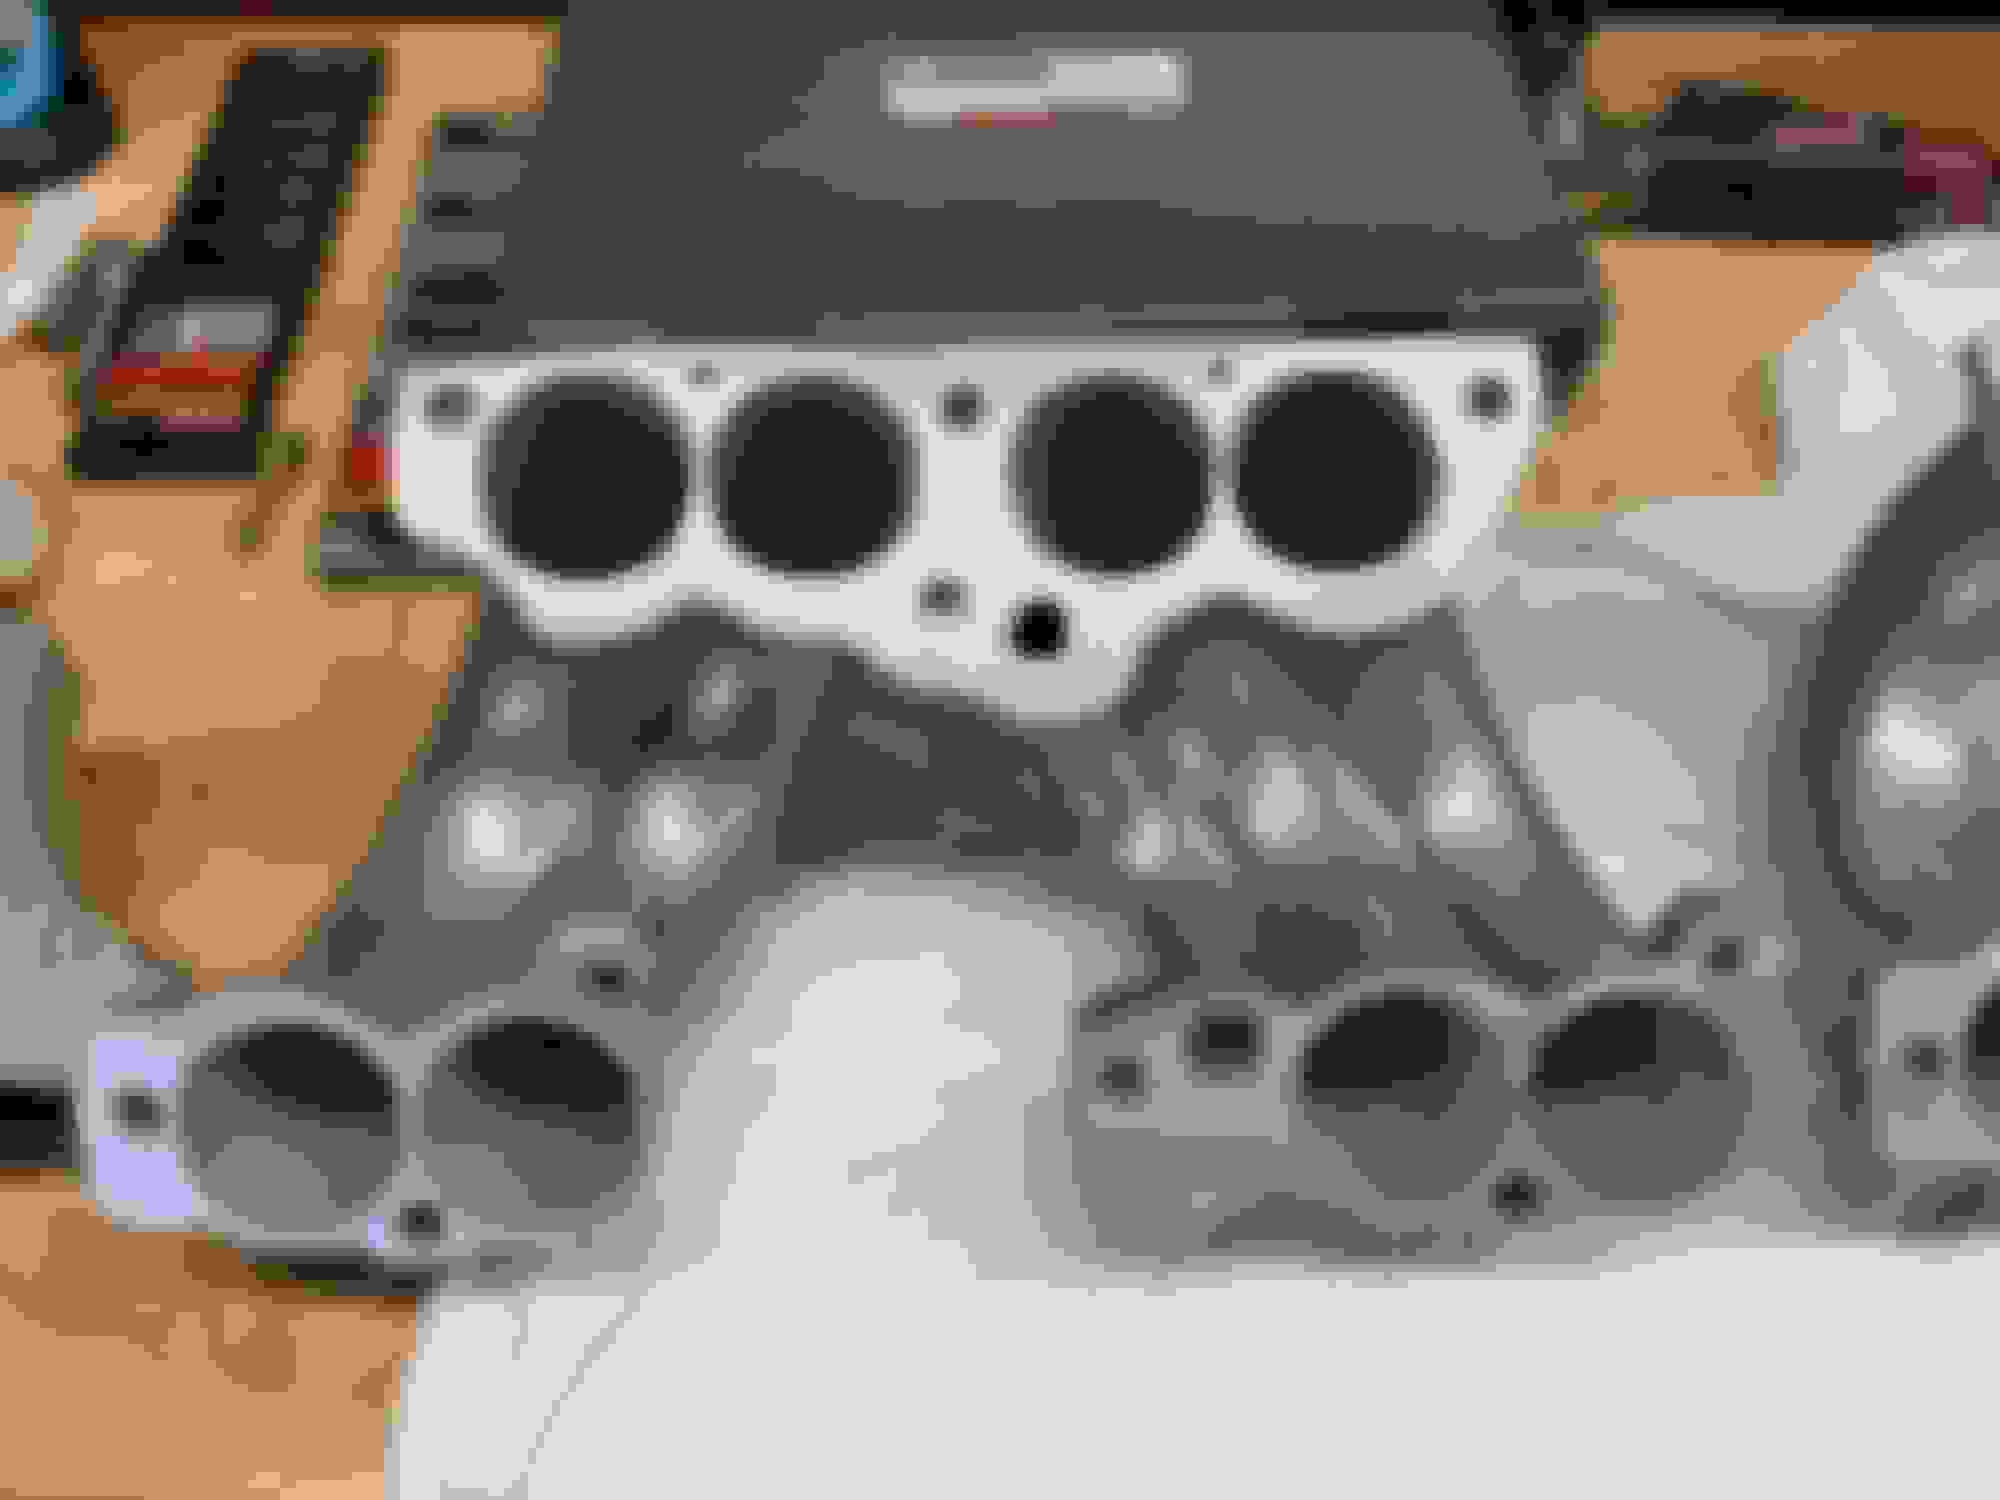
From the time I moved until the beginning of this year, I took a hiatus on the car. Between getting settled into the house and having a 3rd baby in 2017, there was just no time. I had a little bit of money in my car fund, so I bought an SDPC Vortec TPI manifold and a set of Dyno Don headers while I could still get them. I have an old set of Accel runners that I plan to use as well.
This brings the project up to present day.
Last edited by TransamGTA350; 07-17-2019 at 10:14 PM.
That car is gonna be awesome when you get it done!!!
Thanks! I just hope that I'm not too nervous to drive it after all the time I put into it. A generous agreed value insurance policy may help with that.
Subscribed! this will be an awesome GTA when done! Gun metal on firebirds is awesome. My 86 V6 bird was that color. had my 1989 Fomula 350 repainted that color. But I am taking back to black on its 30th year with me. Cant wait to see this done. The GTAs are beautiful cars!
Great that thread! I had originally posted this on my post under the Body Works section, but I thought I'd repost here to keep this thread continuing. This is a good reference thread. Quick question. when you were cleaning up the underneath of your car, obviously laying on your back, by the looks of it! any tips on how to clean all the grease and grime off the undercarriage (besides the rust? mine's covered oil ect.
Yes, I did everything on my back with the car on jack stands. It was pretty terrible and I don�t think I would ever take on this big of a restoration again without a rotisserie. Also, I didn�t originally plan to take the car completely apart and had I realized in the beginning, I would have sent the shell out to be dipped.
My car wasn�t too greasy underneath, but when it was a bare shell I was having a hard time getting the rubberized undercoating residue off. I used oven cleaner on the whole bottom of the car and hosed it off. Oven cleaner is terrible caustic stuff and it will harm rubber, paint and plastic and you have to be super careful to not get any of it on your skin, and it has to be a well ventilated area. I took everything out of my garage ahead of time and hosed the whole bottom of the car. It was a huge mess and I got soaked.
For your case, I would use something much less caustic, especially if you are not taking the car completely apart and you don�t want to damage rubber/plastic/paint. If it�s just grease and oil, I would start with something like Simple Green and a brush and hose it off. If you need something stronger, Castrol Super Clean would work.
You can can certainly do all of this on your back in the garage, it�s just really really dirty. Get the car up as high as you can with large jack stands. Use a low profile creeper and make sure to protect your eyes.
Wow! Can�t believe it�s been 4 years since I�ve updated. Thanks for the reminder. I�m not where I want to be on the project, but I have made slow and steady progress.
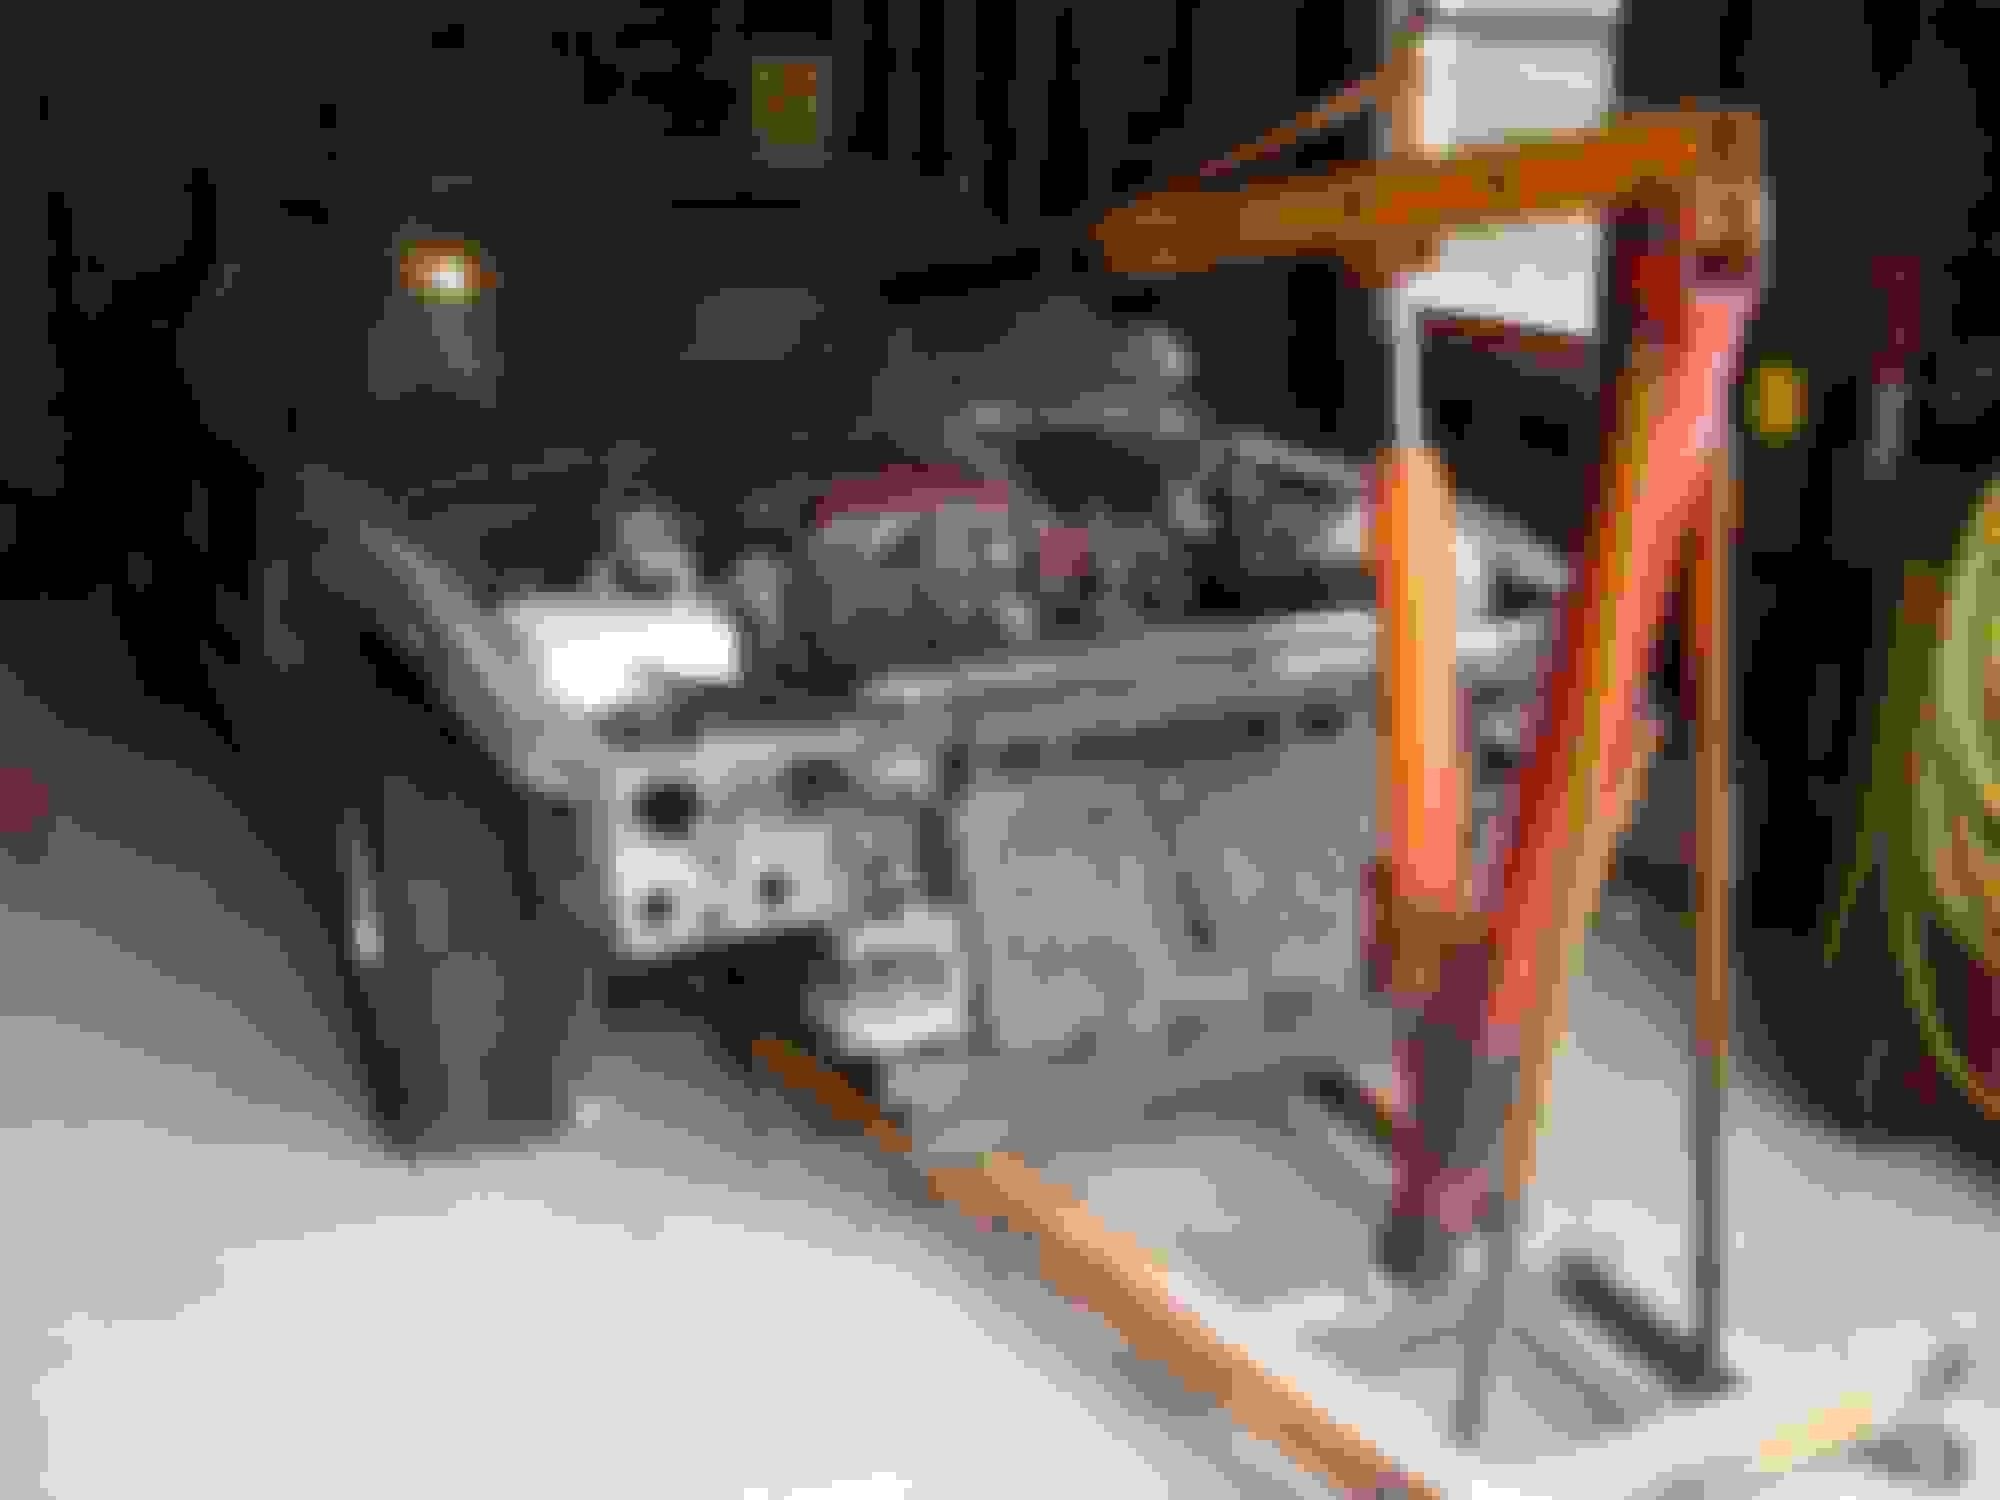
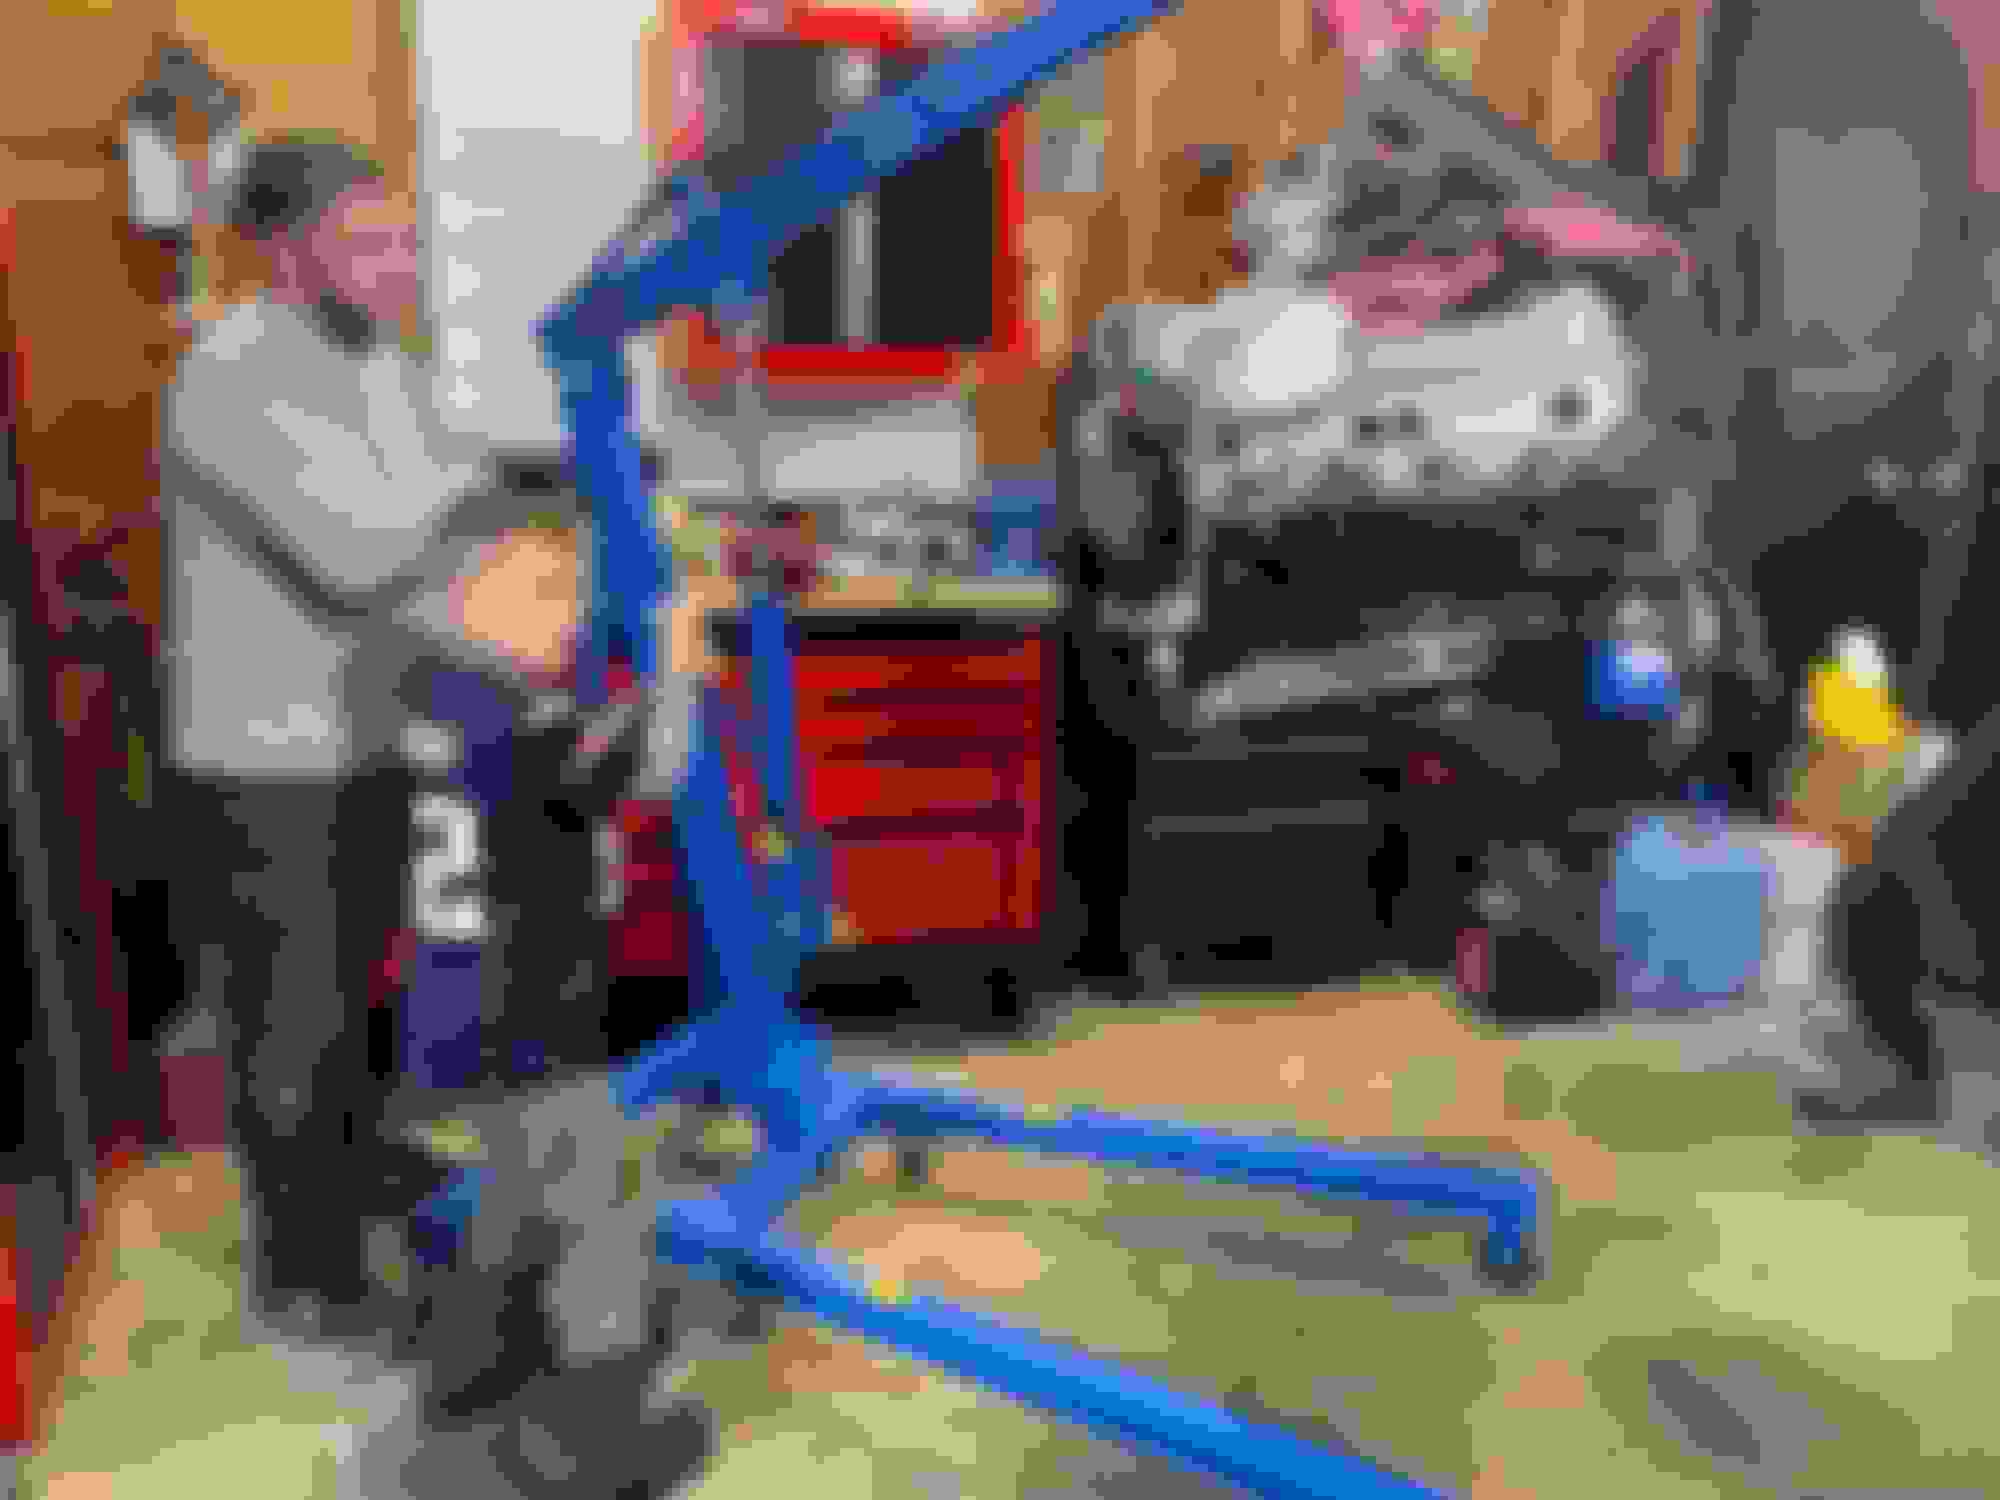
Motor Buildout: 2020/2021
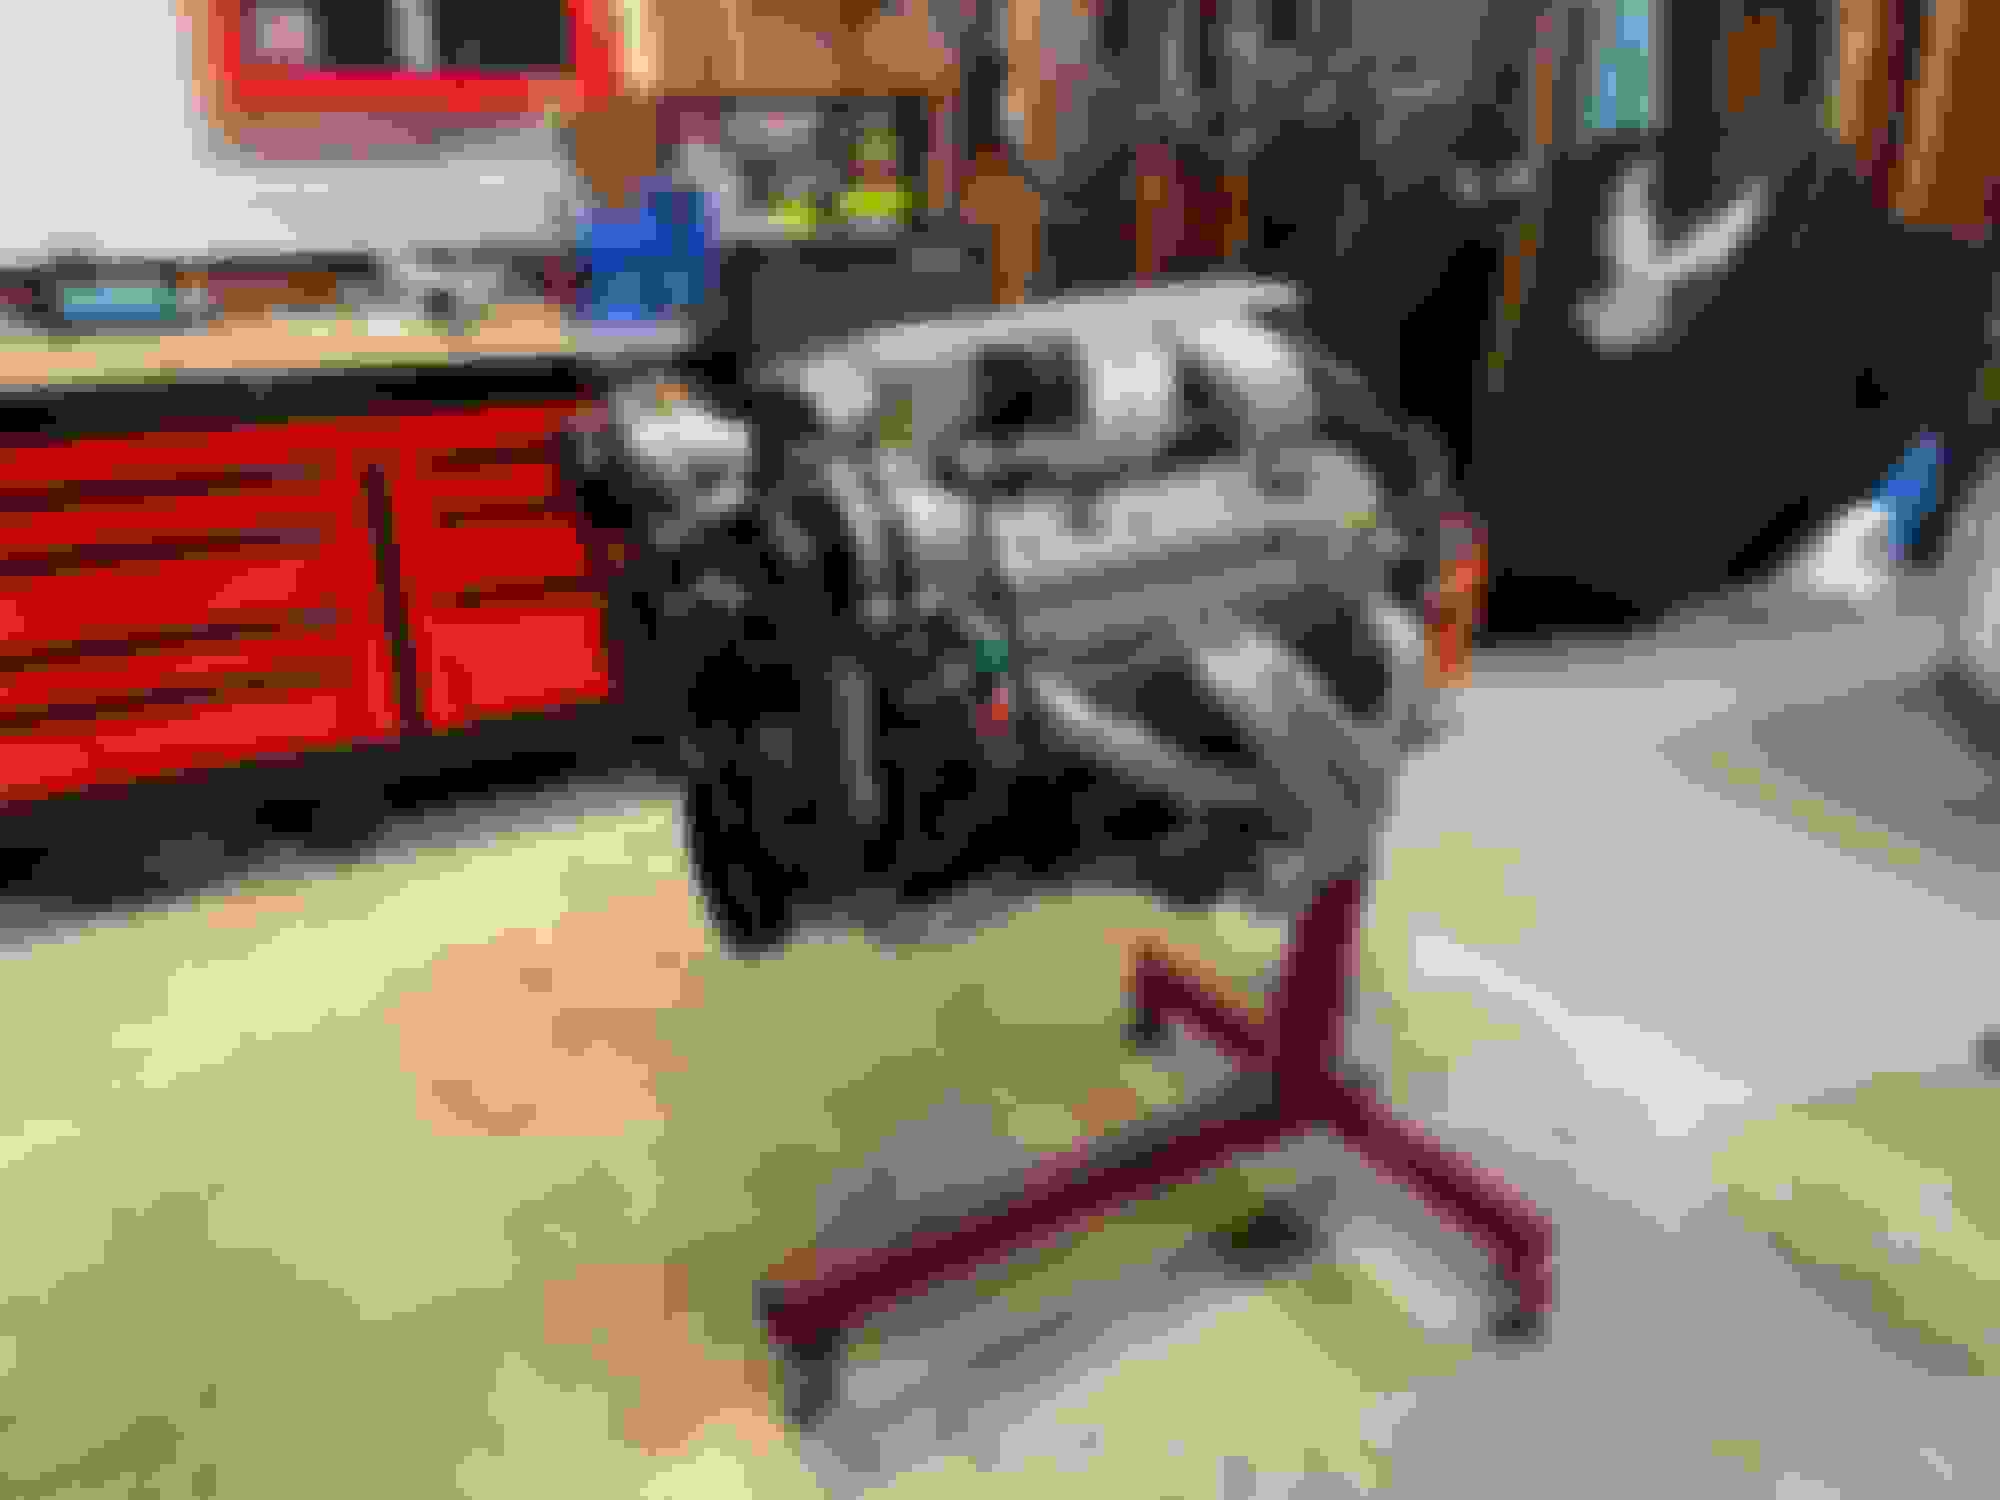
I had an old set of Accel runners, new SDPC Vortec TPI base and stock upper plenum. Did some porting of all of the pieces and sent them off to powder coating, along with the valve covers, accessory brackets and other misc motor brackets and pieces. Rebuilt the fuel rail, new Delphi 24lb injectors, new distributor, coil, water pump, mini starter, all new belt driven accessories, replaced every sensor, converted to Corvette EGR system. Finished building out the motor on the stand by late 2021.
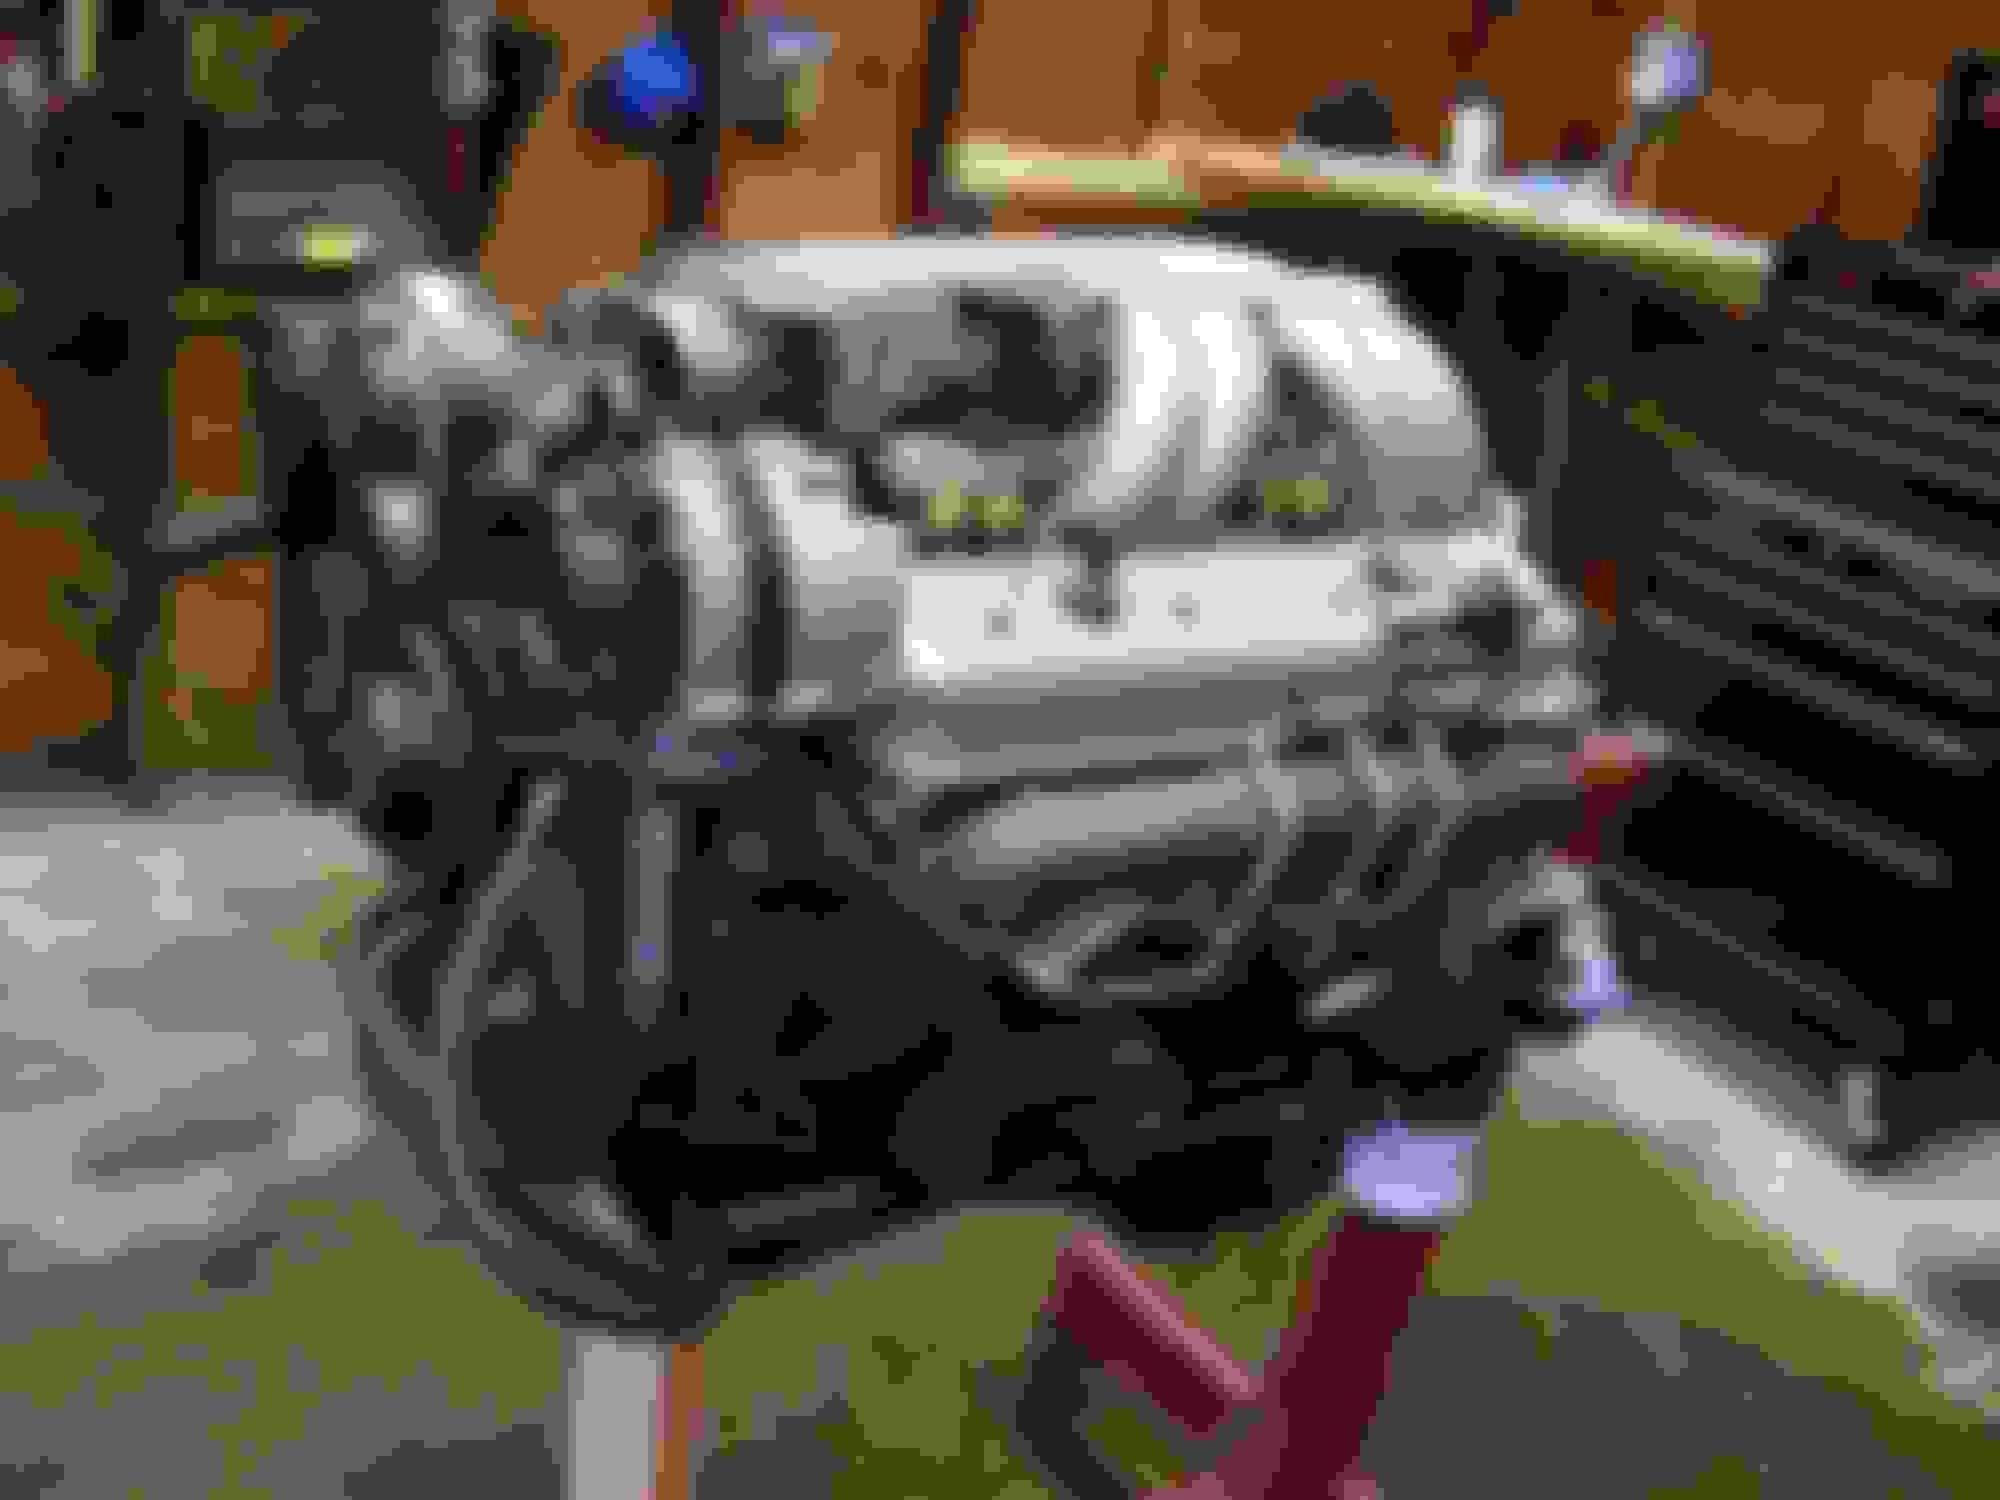
Motor Install: Early 2022
I dropped the motor in during winter of 2022.
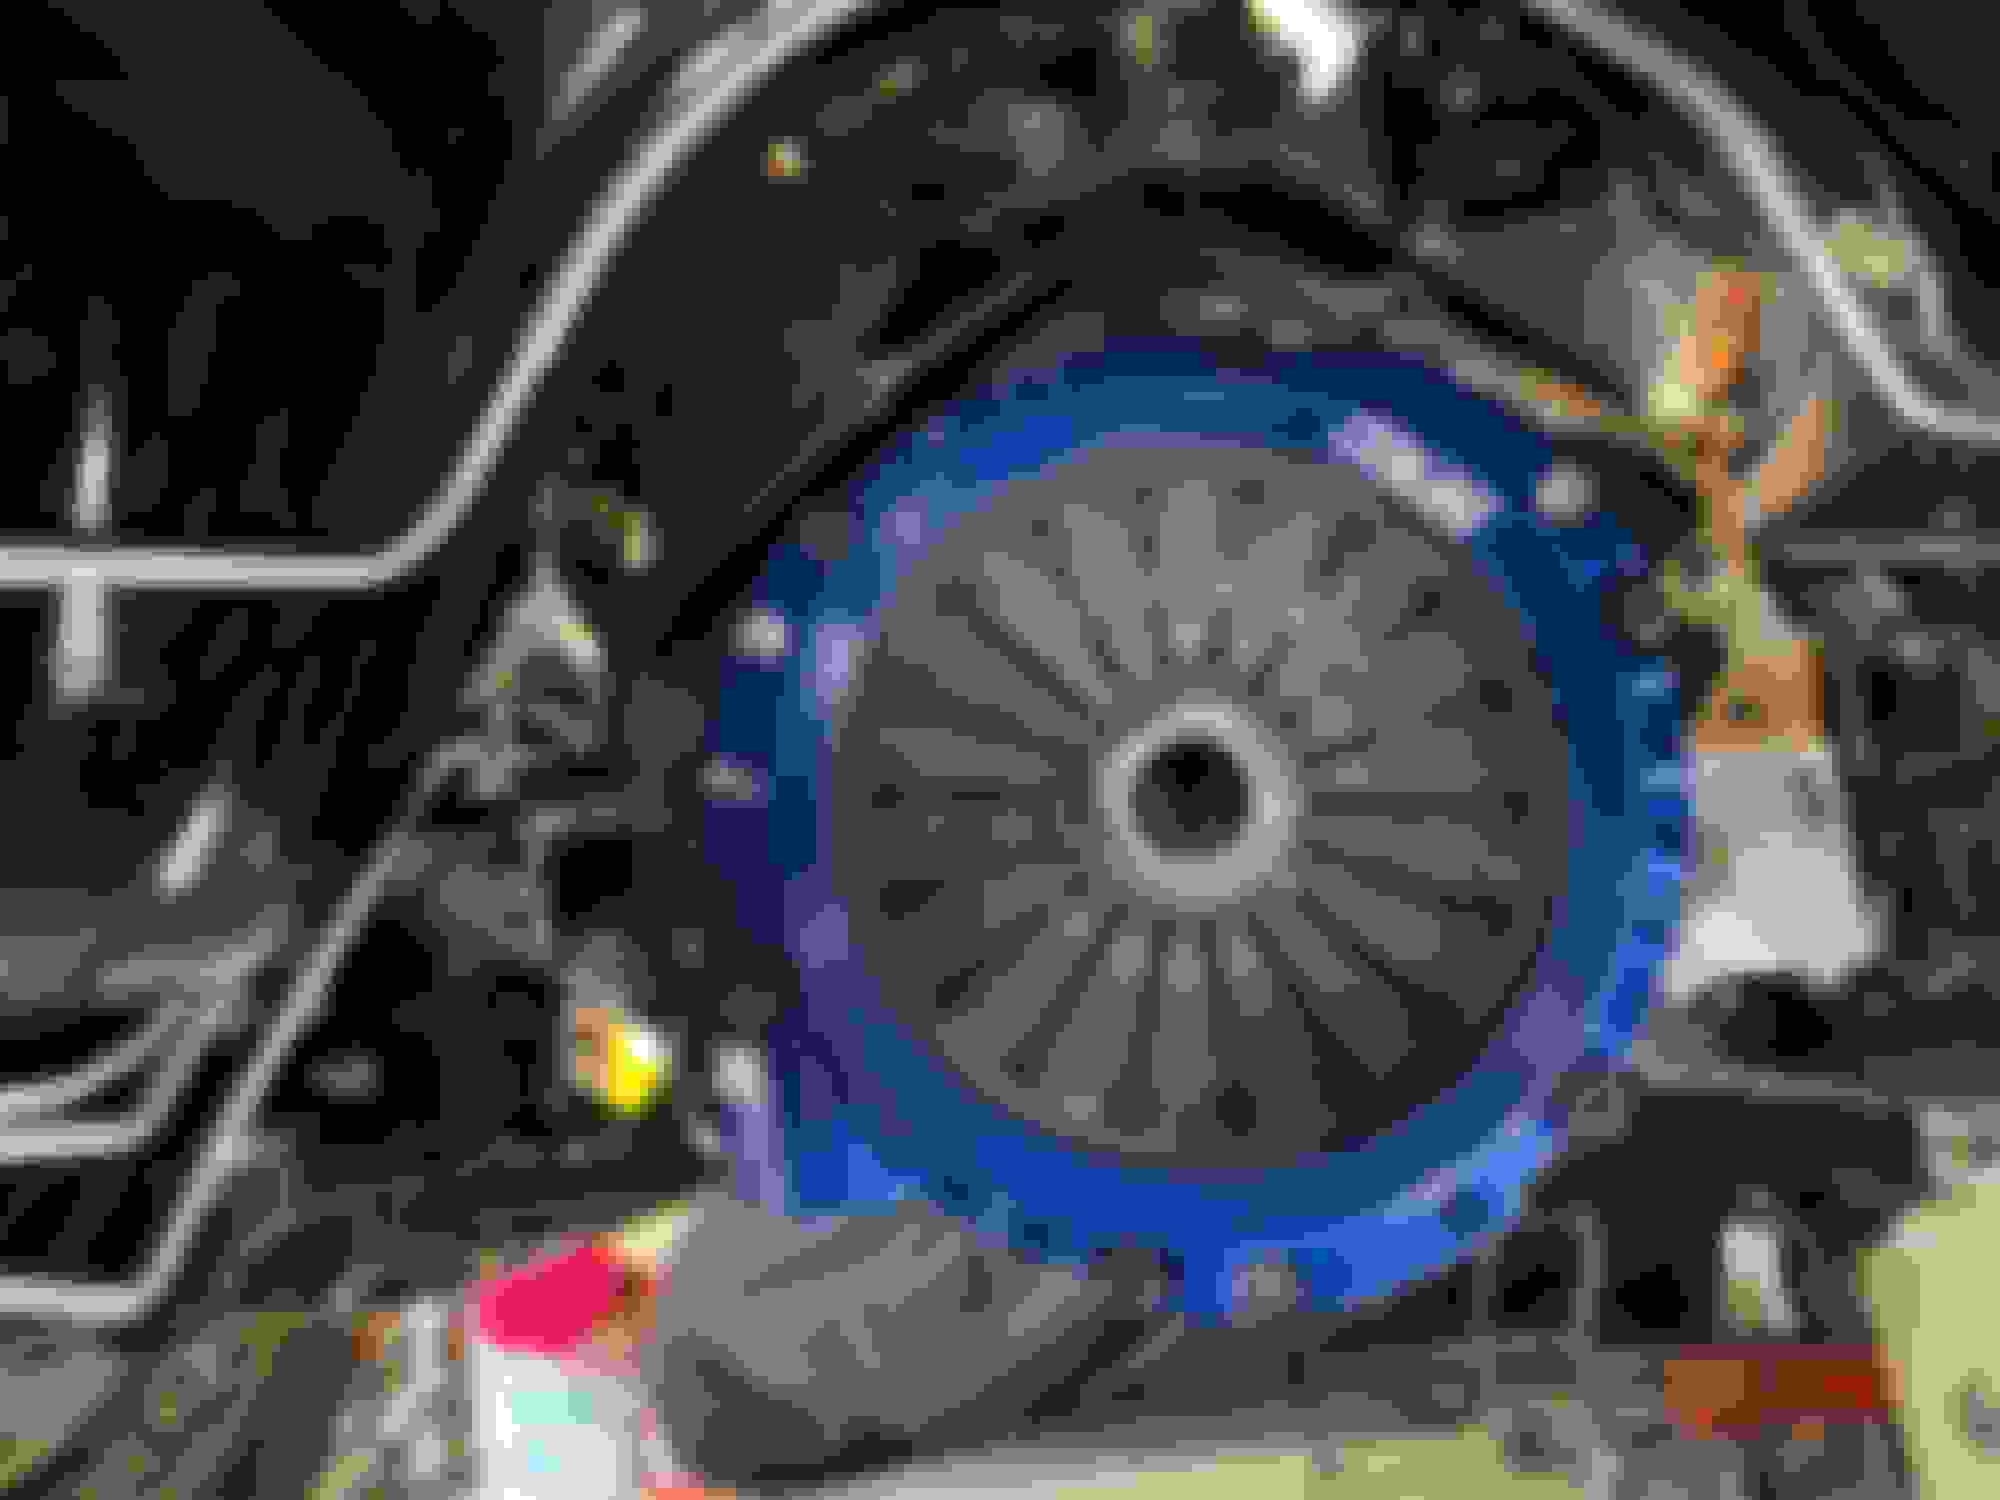
I had picked up a T56 out of a wrecked 95� Firebird Formula about 10 years ago. I sent the T56 out to Tick Performance to have them go through it. Did the standard stage 1 rebuild with upgraded shift forks and Viper 2nd gear. While they were in there, they found that it also needed a main shaft and 5th/6th gears, so those were replaced too. Added a Spec Stage 1 clutch/flywheel set to the order.
I didn�t get much done in 2022 or 2023. I took a hiatus while I was building a new barn/shop on my property. The barn is done (or at least done enough that I can work on the cars again) and I have just started getting back into the GTA project over the past few weeks. Lately I have been working on prep to install the transmission. Had to trim the T56 conversion crossmember to work with the subframe connectors, just about to cut the hole for the shifter and then the trans will go in.
 11-02-2018, 10:31 PM