LOG IN
REGISTER
Forums
Tech Boards
Aftermarket Product Review
Aftermarket Vendor Review
Auto Detailing and Appearance
Body
Interior
Car Audio
Carburetors
Cooling
Convertibles
DIY PROM
DFI and ECM
Electronics
Exhaust
History / Originality
Engine Swap
Fabrication
Tech / General Engine
TPI
TBI
Alternative Port EFI Intakes
Power Adders
Transmissions and Drivetrain
Suspension and Chassis
Brakes
Wheels and Tires
V6
FAQ Board
Racing Boards
Organized Drag Racing and Autocross
Theoretical and Street Racing
Regional Boards
Mid-Atlantic Region
North East Region
South East Region
South West Region
Mid-West Region
Pacific Northwest Region
Northern Great Plains and Rocky Mountains
NW Indiana and South Chicago Suburbs
South Central Region
Northern California
Southern California Area
Canadian Region
Third Gen Association of Ontario
European Region
Pacific Region
Third Gen Expo
Site Boards
Problems / Help / Suggestions / Comments
Signature Pictures and PhotoShop Requests
Memorial Board
Group Purchase Board
Group Purchases
Classified Boards
Sponsored Vendors
Cars for Sale
Cars Wanted
Parts for Sale
Parts Wanted
LSX and LTX Parts
Miscellaneous Third Gen Items!
Classified Ads Feedback Board
News
Marketplace
Vendor Directory
Become a Vendor
New Posts
Tools
Car Payment Calculator
Tire Rim Calculator
Vin Decoder
Recalls
Members List
Live Feed
How-Tos
Gallery
Tech Data
Camaro
1982 Camaro
1983 Camaro
1984 Camaro
1985 Camaro
1986 Camaro
1987 Camaro
1988 Camaro
1989 Camaro
1990 Camaro
1991 Camaro
1992 Camaro
Firebird
1982 Firebird
1983 Firebird
1984 Firebird
1985 Firebird
1986 Firebird
1987 Firebird
1988 Firebird
1989 Firebird
1990 Firebird
1991 Firebird
1992 Firebird
Media
Sales Articles
Magazine Articles
View Dark Mode
Please register or login to enable Dark Mode.
Log In
Register
Threads
Google
Threads
Posts
Advanced
Dark Mode
Please register or login to enable Dark Mode.
Log In
Forgot your Password?
By logging into your account, you agree to our
Terms of Use
and
Privacy Policy
, and to the use of cookies as described therein.
or
Login with Facebook
Recent
Commented
Albums
My Pictures
My Post Pictures
thainglo
October 30, 2019
451
0
Sort:
Most Recent
Default
Most Recent
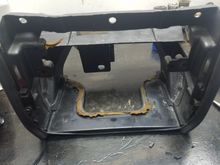
Better picture of the layered backing piece. I have just started to notch the area to make room for the single DIN housing.
0
2020/04/10 04:13:43
thainglo
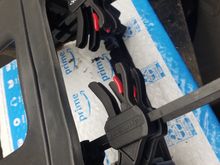
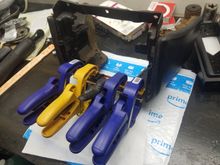
Terrible view of the layers, but I wanted to show the high dollar clamps getting a second round of use!
0
2020/04/10 04:12:54
thainglo
0
2020/04/10 04:12:18
thainglo
0
2020/04/09 17:32:34
thainglo
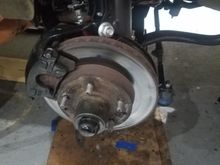
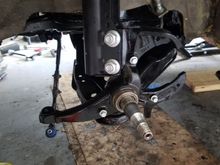
Both sides done and ready for wheels to be bolted on.
0
2020/04/09 17:31:32
thainglo
Sway bar painted and ready for installation. Found a drip from the paint job that was not 100% cured, even though it was painted last week. Guess i should have used some hardener.
0
2020/04/09 17:29:51
thainglo
0
2020/04/08 15:54:12
thainglo
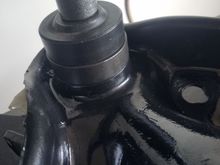
Passenger side. The exhasut downpipe makes it really interesting to access the rear bushing.
0
2020/04/08 15:53:12
thainglo
Driver side done! Time for lunch. Also, getting hot today in Central Texas!
0
2020/04/08 15:52:28
thainglo
Compressor in place, the dance beginning
0
2020/04/08 15:51:27
thainglo
Getting started on driver side. Had to bring car down to liwer setting on Quick Jack as the little red jack didn't have enough height to lift the LCA into the K member.
0
2020/04/08 15:49:45
thainglo
0
2020/04/08 04:54:23
thainglo
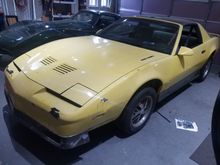
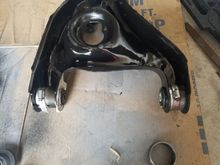
Looks like a robot design one of my kids would draw.
0
2020/04/08 04:51:21
thainglo
0
2020/04/08 04:51:04
thainglo
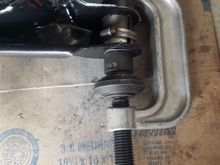
These little clamps were just small enough to fit thru the opening. I hope i can come up with some other uses for them in the future!
0
2020/04/08 04:24:34
thainglo
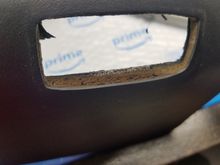
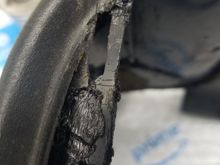
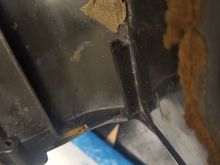
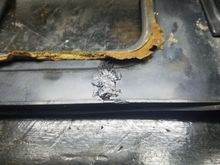
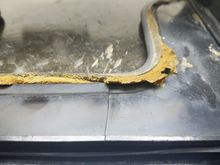
Both sides of the pod were peeling like this from the top side of the opening.
0
2020/04/08 04:23:46
thainglo
Clamped up and will let sit for a day
0
2020/04/06 09:25:37
thainglo
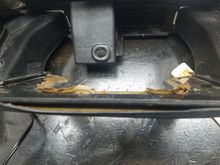
No adhesion along the bottom
0
2020/04/06 09:19:02
thainglo
All done! Big step towards wrapping this project up.
0
2020/04/05 14:36:04
thainglo
0
2020/04/05 14:35:12
thainglo
0
2020/04/05 14:32:38
thainglo
Spacers on, getting ready for action
0
2020/04/05 14:31:47
thainglo
Second layer cemented in to create the slot. Now need to file it down to fit the tab from the faceplate.
0
2020/04/05 08:33:01
thainglo
Firat layer cemented in place.
0
2020/04/05 08:32:24
thainglo
Made this piece larger to allow for more overlap, notched to fit around the molded support on the side.
0
2020/04/05 08:31:00
thainglo
A pic of the backside with all the welds on the cracks and the finished slot.
0
2020/04/04 17:03:07
thainglo
First side done. Now have the second side to do. Thats a job for tomorrow...
0
2020/04/04 17:01:10
thainglo
All welded in wuth new material. Feels very solid.
0
2020/04/04 16:59:53
thainglo
Used a needle file to carefully enlarge the hole foe the faceplate clip.
0
2020/04/04 16:58:51
thainglo
Toop piece cemented in to create the slot for the faceplate.
0
2020/04/04 16:03:18
thainglo
Cemented in with ABS contact cement.
0
2020/04/04 16:01:38
thainglo
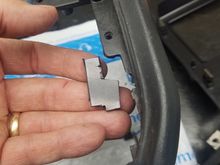
Using a scrap piece of ABS sheet, I cut out this section to build up the backside of the brace. Piece is shaped to make maximum contact with rhe original material, yet leace room for the slot for the radio faceplate.
0
2020/04/04 15:59:07
thainglo
0
2020/04/04 15:53:27
thainglo
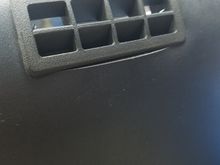
Cracks all around the vent hole were found. Lots of flex in the housing.
0
2020/04/04 15:51:48
thainglo
0
2020/04/04 15:50:35
thainglo
First crack repaired with plastticc welding.
0
2020/04/04 15:44:10
thainglo
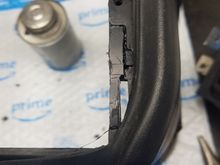
Here is rhe main crack thay i thought was the only issue.
0
2020/04/04 15:43:05
thainglo
The parts car pod. At first glanc, i tho8ghr only fixing one crack was needed. Wrong!
0
2020/04/04 15:41:58
thainglo
0
2020/04/03 05:48:13
thainglo
0
2020/04/03 05:47:51
thainglo
First
Page
10 of 12
Last
Go To
Page
1
...
6
7
8
9
10
11
12
10 of 12
Go To
GO
Go to page
of 12
pages
1
...
6
7
8
9
10
11
12