When you click on links to various merchants on this site and make a purchase, this can result in this site earning a commission. Affiliate programs and affiliations include, but are not limited to, the eBay Partner Network.
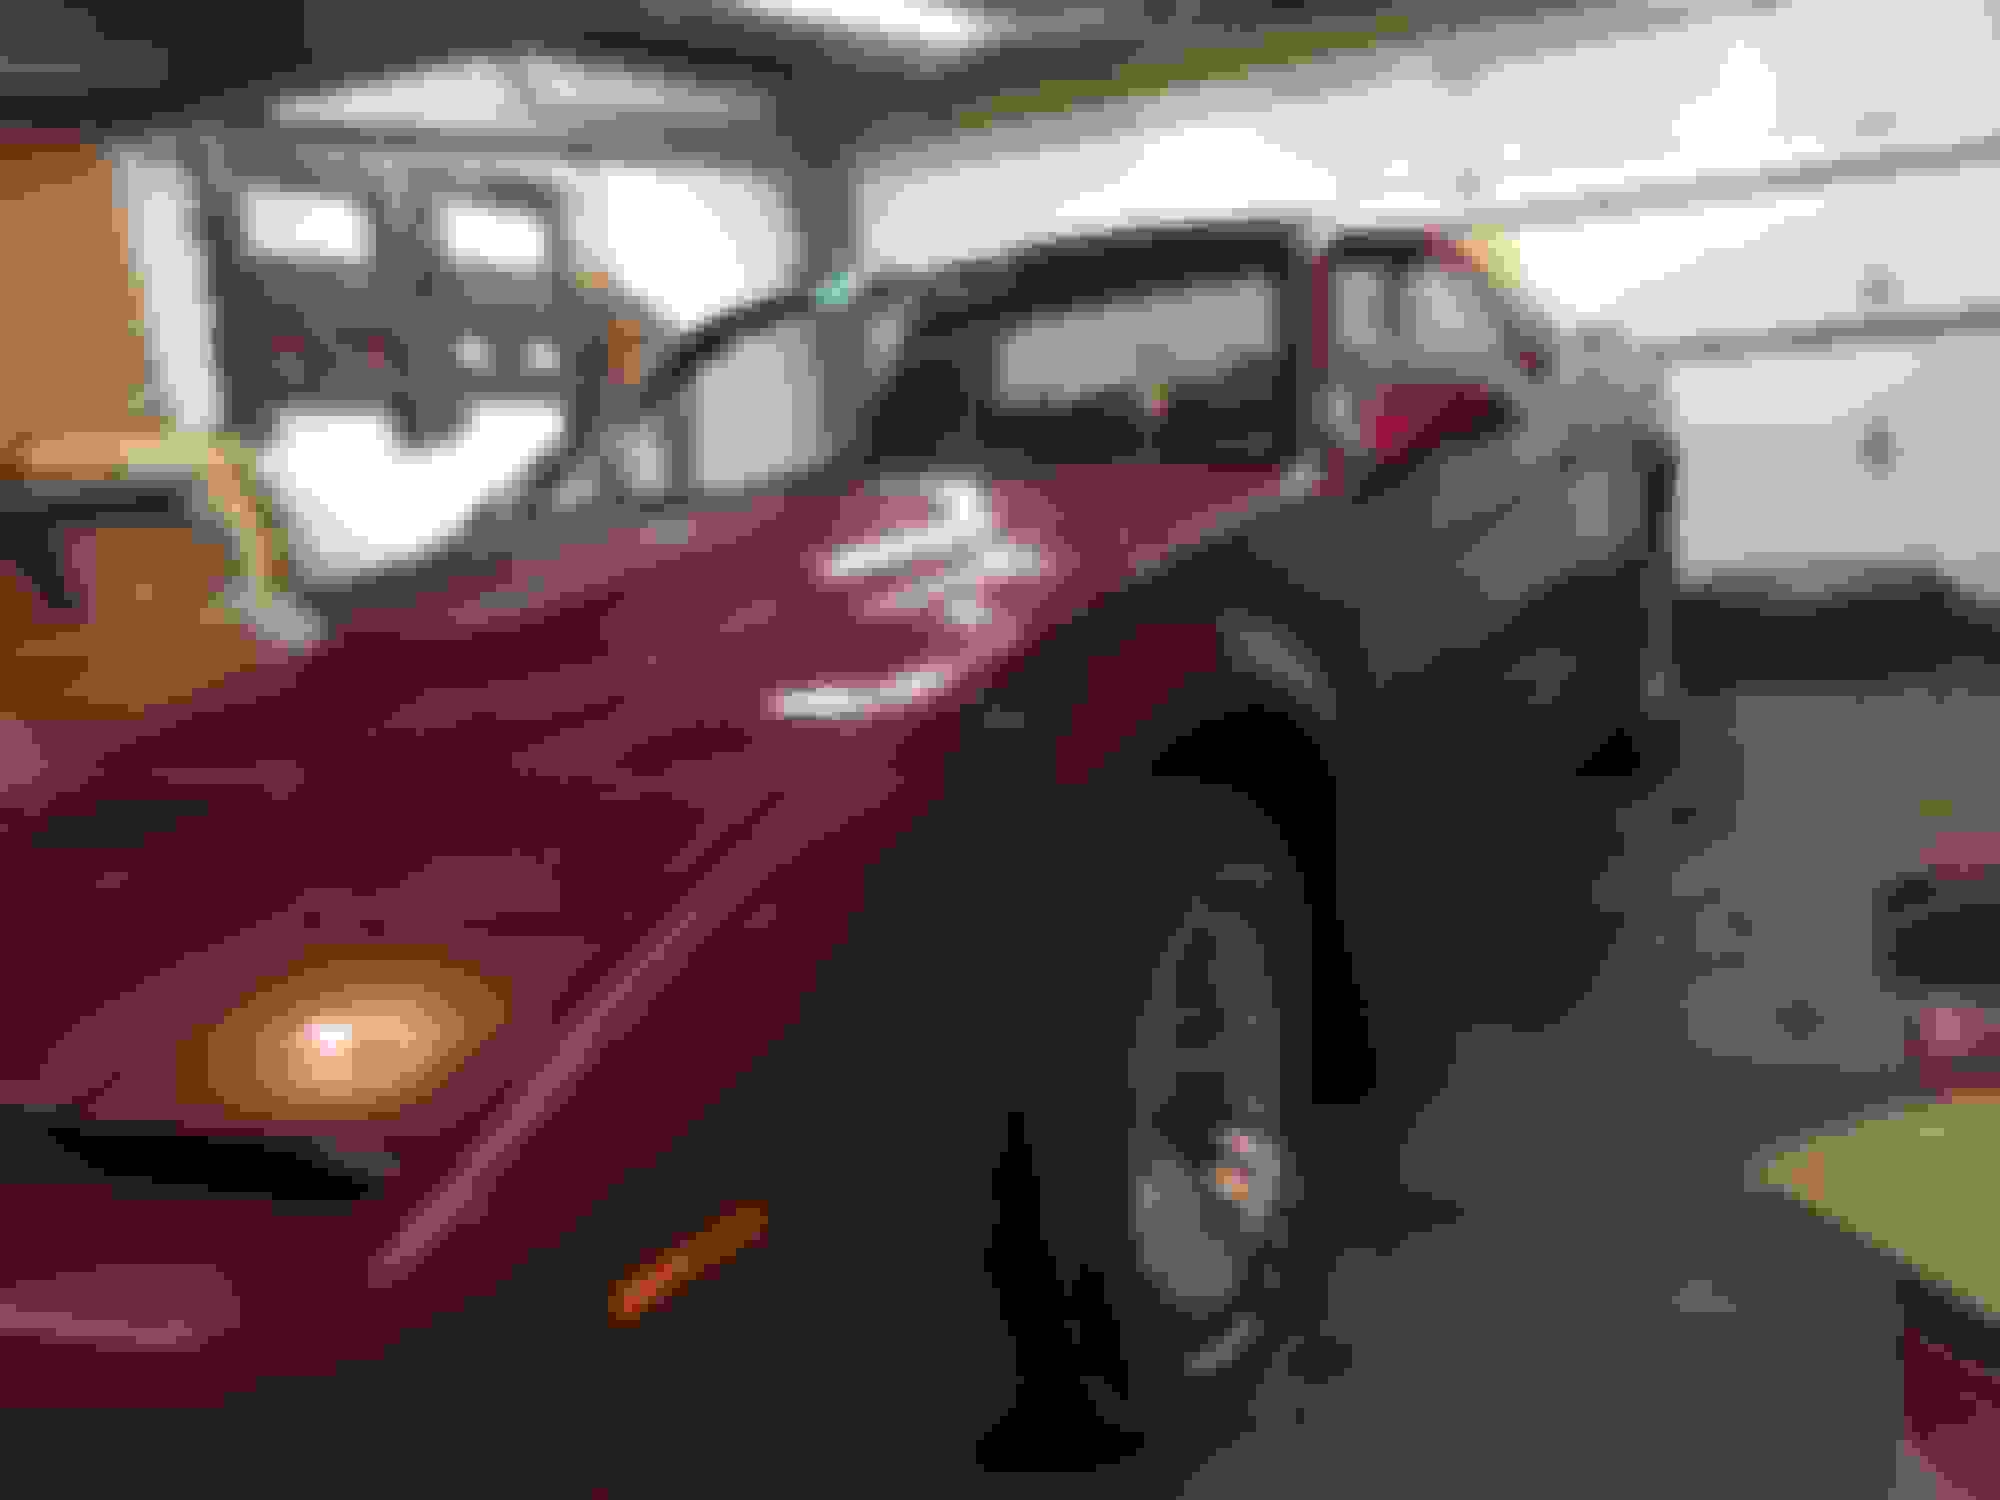
After I lost my 85 Trans Am to evil trees (two of them), I have been slowly crawling my way back into the third gen world. The current car I have now is a fully loaded 1986 Trans Am. When I bought the car it was a good shape. The car had a new $5000 paint job, and Most of all its original equipment. The only parts that were changed/ or were missing were the original UQ7 subs (replaced with aftermarket items), and the wrap around spoiler (was swapped out with the standard version). Since I bought the car, I have done a Ton of work to it. So im going to break it down into sections.
Interior
The car originally was Bright red, paired with a Carmine red interior. The guy I bought the car from, had the Carmine sail panels, headliner, and visors recovered in black. He said �it was just too much red�. I felt the same. That being said, Since I had the spare black/Graphite interior laying around from my 85, I decided to swap my carmine red interior out for the black. I also added a visor mirror to the driver's side visor, added the rear hatch courtesy shade (which was discontinued in 86 for cars with the ws6 package), added a upper center console, added a 2nd 12v input into the center console, added a power seat, recovered the black plastics with carpet from Thirdgen Ranch, rebuilt the hatch pulldown unit, and last but not least restored my uq7/ut4 set up to its factory condition. I am very proud of this lol. I had to restore several subs to finally get a working set. I had 84TA restore my UT4 radio, and he also added a aux input (which I put next to the 12v input). I also removed the window tint.
Exterior
when I bought the car, it looked brand new. The new paint looked great. But I hated how plain it looked. It had a few decals that said TRANS AM and the typical sail panel birds *(which were incorrectly placed), but it was very simply boring. My 85 Trans am really felt like a Trans am. It had the the Big hood bird, with the factory louvers. It just screamed muscle car. That's why I bought a 86. To me the best 80s birds were the 85/86 model years. They had better interiors than the 82-84 years, and were not refined like the 87-92 cars with their ugly seats and weird outlook (That's just my opinion dont hate lol). Therefore I Built a set of factory rear window louvers out of 3 sets. 2 oem, 1 NOS cregar set. The I added a set of NOS mud flaps with PONTIAC lettering. Then lastly I added a complete decal set (from phoenix graphics). I had a custom set of 5.0 Liter f.i decals made in the correct silver to match the rest of the car. (no one makes them in silver). I also added the side moldings from my 85 to the car using double sided tape. (was not able to find reproductions. no hawks/classic do not have them). The car had these big tail pipes on them. I swapped them out for the OEM ones i had from my 85
Engine/trans/suspension
I didn't really mess with the engine at all. I swapped out the �TUNED PORT INJECTION� cover for a red one with a bird on it. But that's it.( I kept the original one) Also didn't mess with the trans at all. but suspension on the other hand. I did a lot to that. I Upgraded the Old POS random shocks/struts that were on the car for Konis in the front and KYB AGX in the rear. I added a wonder bar from spohn, and a BMR strut tower brace. It cleared the stock GTA style hood just fine. I also wrapped my factory PW7s with a new set of BFGoodrich G-force sport comp-2 summer tires. Overall the car handles great now. I want to stay close to the stock set up in a way. I plan to upgrade my brakes in time as well but keep them original in a way by just adding anti-expansion brake lines, drilled/slotted rotors and new pads (I am not gonna do any of that LS swap stuff, just purely worn out parts getting replaced). I also plan to add SFC, a shaft loop, and brakes (obviously) in the future. If anyone has questions on how I did something PM me
It Been quite a long time since I have posted A update on my car. I have not really done a whole lot but none the less. Stuff Done:
1. Changed Lug Covers to Sliver, and Put GTA WS6 Center Cap Emblems On.
2. Upgraded to UMI Camber/Caster Plates
3. Powder coated TPI Plenum,Dist cover, Thermometer Pipe, Runners (still gotta do the Valve Covers and Throttle body. Freaking coating guy didn't want to do them.
4. Added a 5pc FloorMat set with Sliver Birds
5. Upgraded Bump stops to Polyurethane
6. Rebuilt steering rack with Spohns kit
7. Upgraded to Spohn Front lower control arms (DONT DO IT, get umi, Pain in ****)
8. Added a Bose hatch cover with matching back interior plastic.( Needs new carpet. Not perfect.)
9. Upgraded brakes; Best pads I could get, Summit racing Drilled/slotted Rotors, Hawks Teflon/Steel flex Hose, Painted Calipers red using G2 Brake paint. +5HP
10. Swapped out Tail light center for 85-86 SE version. Says "pontiac"
11. Upgraded to UMI LCAs, panhard bar upper/lower.
12. Upgraded Every bushing to Poly.
13. Upgraded to Spohn Spherical Sway bar ends.
14. Bought ALOT of NOS Recaros....
15. Added a Pontiac logo to front nose.
16. Added sequential tail lights
17. New springs in front
18. New wheel Bearings
19. Rebuilt power antenna. It died, cost $200 to fix
20. rebuilt cooling System. Pump, Hoses, Therm etc
21. Added Hushmat
22. swapped out overhead flashlight with HomeLink Garage door opener.
24. Fixed Minor rust issues. Replaced rusted out rear impact bar, and sprayed rust proof coating under rear ground effects/ back bumper-Tail Light area.
Still gotta long way to go. But getting there.
Last edited by t/aws61985; 01-07-2017 at 10:03 PM.
Wanted to Post an update on my Build. I have been collecting parts like mad trying to get ready for the opportunity, when I Actually get time to work on the car again. I am Finding myself buying Engine parts for the car when In truth I never wanted to mess with that aspect of the car. I have completely fallen down the slippery slope lol. Im gonna grab some flak for this but Im going to build up my 305 A bit. The goal is to get as much power out of the 305 without changing everything, Keeping it somewhat true but giving it a bit of kick. Meaning stock head, engine, cam (and rear/trans for that matter). Trying to focus on Intake and exhaust to really open the car up from its restricted factory setup. This is my first step into really doing serious a full engine rebuild and my taking it as it goes. Most likely gonna wait on the engine until I have everything.
List of New parts to be installed soon (Hopefully)
1. Spohn Torque arm (Red, Poly, w/ 2 Driveshaft loops)
2. EdelBrock headers W/ Y Pipe
3. Edelbrock HI-Flow TPI Intake Manifold
4. SLP Runners
5. Ported Plenum (still needs to be ported, I have like 5)
6. 58MM BBK Throttle-Body
7. 24 lb Injectors
8. NOS Reservoirs (2)
9. 10:1 Quick Ratio Steering Box
10. T/A Performance 9-Bolt Diff Cover
11. A-Piller gauge pod (still need to buy A/F ratio gauge ****** $300!!!
12. Ground control Weight Jacks
I am also trying to find A good Camaro to buy. I found A really good one gonna go look at it hopefully in 2 weeks.
Well they Finally let me go home. Which means that they Finally let me work on my ThirdGen. I was only able to get a handful of things done sadly, but still made a lot of progress. Just gonna list it all out.
Interior: Added LED Dome, map light, and courtesy bulbs. Added a 89-92 Shift plate with Indicators. Lastly added a gauge pod with a small clock (not wired up).
Engine/Drivetrain: Rebuilt Intake, painted throttle body black, and added new "trans am" plate. Added a T/A Rear End cover.
Suspension/chassis: Upgraded to BMR's 3-Point STB, Spohn's adjustable LCAs, Founders Adjustable Panhard bar, turned my standard UMI upper panhard bar into UMI's adjustable competition kit. Upgraded to UMI's sway bar brackets. Added a Set of founders LCA relocation brackets. Swapped out springs for ground control weight jacks to lower the car (sits so much better now!). Lastly I put a new 2.5 turns to lock steering box in, along with Astro shaft bearing.
Extra: Added a new coolant bottle, and painted the window bottle. Used paint markers to clean up lettering all over the engine bay.
All this did come with some problems. I did not get to install my sub frame connectors. Going on 3 years of them just sitting in my basement. Also didn't add my spohn cross member and torque arm. Mostly ran out of time, but in reality I didn't want to mess with it. I heard that the cross member drive shaft loop sits super low, and while reading into it, I noticed that you are not supposed to order the torque arm with the 2nd drive shaft loop when you have a lowered car. Which I did. I really have a love hate relationship with spohn. After my experiences with their A-Arms I should have just walked away from them. But I really liked what they were doing with their Torque Arm/Cross member set up, and still determined to make it all work. In addition to all this every time I go home Something on that dang car likes to die. This time it was my smog pump. I didn't really care, I am slowing moving toward my turbo 305 TPI build, and away from keeping stuff factory. At this point there is little left that is OEM on that car. I also damaged my aux 3.5mm jack. I rigged it up to work with a aux cord always being inserted. Meaning no AM/FM/Cassette options atm. It will work for now. I liked the cool factor of all the options. There is now just a bunch of little adjustments Left that I have to make now to the suspension. I got the car to the ride height I wanted. Thats about it. It was so cold and snowy out that I could not drive the car to make the needed adjustments to the suspension and steering box. I did take the car around the block. I just had to. It felt like the whole car was starting to freeze like that scene from "The Day After Tomorrow" when the military helicopters freeze mid flight. Just gotta wait, and plan more now. Again...
Last edited by t/aws61985; 12-30-2017 at 12:50 AM.
I bought the decals from Phoenix Graphics. I had them put on by a local shop. They have small imperfections that mess with me. Next time around I am going to have them painted on.
I'm inspired by this one. Didn't know that was added in '89.
I thought it was a 90-92 shift plate. I seen a 89 TTA at Gateway Classic Cars Last week and it had a shift plate with the Indicators. So I am really not sure. Way better than the 86 style. No more guessing what gear I am in. The white plate under the shift plate Rattles a bit. Most likely gonna use some felt or double sided tape (with one of the plastic strips still on) as a spacer. Protip, use a Red sharpie on the Orange indicator stripe to make it match the rest of the gauges/lights/etc. The Orange on mine was faded, so I just marked it, Let it dry, and then repeated that like 5 Times. You will never be able to tell that it was a cheap $1.55 fix. Looks great, and has a really nice deep red glow as seen in the picture.
Last edited by t/aws61985; 12-31-2017 at 10:00 PM.
I'm just catching up on your post
" Still gotta find the correct graphite seat fabric for my recaros."
next time I order,I'm gonna see if they would replace the Graphite with Gray.mine are not fading at all,still to dark for me.
I know PUI makes the correct shade, and texture of cloth I need. Cant seem to get fabric samples from them to check. I contacted Classic to try, and get a sample but it never showed up at my door. Plus im 2000+ miles from home so that doesnt help. I contacted, against my better judgement, the supplier where I got my Black NOS fabric to see if they have it as a last resort. The last time I bought from them, it took a Month to get the fabric, and about a solid 8in of fabric was unusable due to how it was clearly the spot they cut samples from. I bought 10 yards, so I can deal with it, but was still not happy. At this point. I just want this fabric. Dont care.
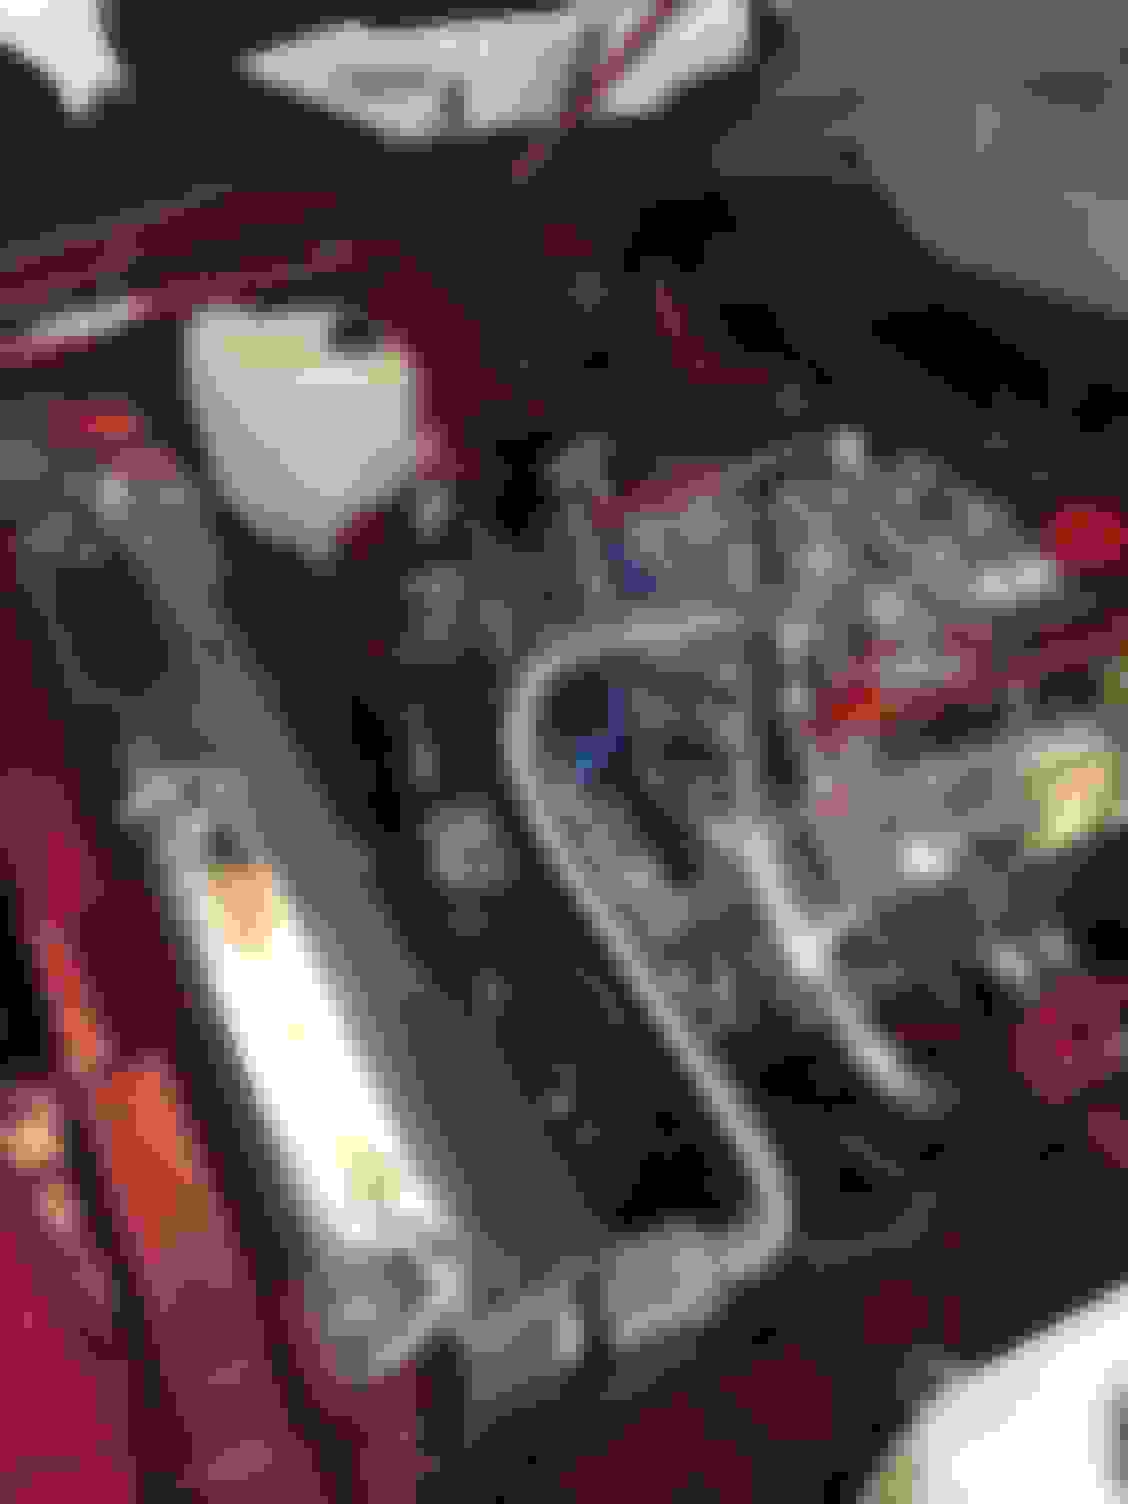
Another 6 months or so later. Home again. Since I have 4 errr.... 3 thirdgens now, it was hard to split time between them all. But I made sure the 86 got it's fair share of attention. First things first, Smog pump died last december. That being said I pulled the switch on a full on smog delete, and let me say wow. The car sounds more deep, runs better, and there is so much more room under the hood now its great. I bought a used good pump just to have. I also added a SLP single intake box with the rare intake boot that has the metal fin on the inside. (This was a big factor in the smog delete. Had to get rid of the charcoal canister) I had a airfoil laying around so I used RTV to adhere it to the throttle body. I am not screwing it in, screw that noise. last thing I need is a total rebuild because of a nut in cylinder 8. Everytime I come home something breaks. This time it was my thermostat gasket blowing (new felpro gasket, RTVed to the limit), rear end leaked (stupid plastic crush washer), and lastly the power antenna cable decided to push through the housing. Probably why it was glued closed OEM (very easy fix). Did a Throttle body Coolant bypass as well. Heat gun put it at nearly 50 degrees cooler there. Cut the alternator bracket to make some space for the coolant hose to pass through. You can kinda see it in the picture with the Airfoil. Used a rubber hose as a edge molding. The 3-point STB is bolted down now as well. 3 broken bits later, I didn't have to remove the hood lol.
Last edited by t/aws61985; 06-15-2018 at 01:41 AM.
Not pictured here but I also, after 3 YEARS finally got my BMR sub frame connectors in. Very happy with these. Found time to bolt up the Spohn Torque arm/Crossmember with Drive Shaft loop. The prothane poly Trans bushing was total crap. I had to widen the openings so far on it to fit the 700r4 it was mad. Thankfully I have a whole machine shop at my fathers work to help. The front spohn DS loop sits low but even with my car lowered doesn't scrape on speed bumps. Happy with it. kinda.
Last edited by t/aws61985; 11-18-2022 at 04:11 AM.
Now all profanity aside. Time for the really total Bull stuff. About a year ago I spent the $350 on a rebuilt Hawks WS6/IROC "Z" power steering box.......and guess what?!?!?! Its broke. Yep my brand new power steering box with maybe 75 miles on it fell flat on its face. I changed my spohn center link to moog because they make a better product, and while doing so had a buddy turn the wheel to see if the box had slack. Watched in shock as he turned the wheel over 2 in L/R, to see the pitman arm just stay still. It is really a shame. Hawks more or less told me to get bent. Still waiting to see. But looks like I am going to have to spit out like $300 have a professional rebuild it. Going to redo my oem one. Maybe get a even faster ratio put in. 2 turns to lock maybe. All I know right now is that I have a fully built suspension and a solid chassis. But thats worth like $0.12 when you have to fight it not to hit the wall or the soccer mom in a Dodge Caravan to your left. Thanks Hawks. Kinda my fault but I mean like come on. Really?
Last edited by t/aws61985; 06-15-2018 at 02:09 AM.
Been a long time since I got the car out. Got spotted on a Chicago FB group. Cant wait for the next level with this one. SC,NOS Recaros, and Brembo's here I come
Really need to tear this thing down and restart. Makes me sick. Even my Marine Corps parking lot 83 GT build for my Dad is way better quality. But I suppose we all start somewhere.
Swapped out my old louvers for a NOS set from 86 as well. Kinda late posting this. There really isn't a replacement for nos. Top of the line, better than sets I had redone.
Been busy. After all these years, and like 60k, my vision is finally coming together
Added:
MSE Wing
Uber Rare 85-86 red/blk sail panel emblems
86 Digital dash
NOS recaros, taken out the box, removed the tan fabric, and used NOS Black fabric (date coded 85) to make the Recaro GM should have made. This is a OEM color combo seen above on the car with the standard seats. Also seen on the GNs
Last edited by t/aws61985; 11-18-2022 at 04:07 AM.
Looking great. It's a small thing, but I really like the lighted bird on the tail.
An original version of the digital dash too!
I appreciate it. Took a long time to work out the kinks with it. I went through 3 tail light centers before I was able to get all the notes down. This is my first fully working prototype.
The dash was something I hunted, and searched for roughly 5 years for. Had to buy a near death 86 Digital car to get it. I did a complete swap and rewire. Took 2 years and went through every wire, replaced all the loom etc. I have 4 86 Digital Dash tachometers as back ups.
Next step is to fix lighting issues and delete all the smog stuff off the computer. I have a real complete NOS duel snorkel and a Holley EFI kit. As well as a full V belt Paxton Supercharger. Not sure which look I want to go for. But that's the next real big change.
 05-25-2015, 08:09 PM


 It does look nice,good luck.