When you click on links to various merchants on this site and make a purchase, this can result in this site earning a commission. Affiliate programs and affiliations include, but are not limited to, the eBay Partner Network.
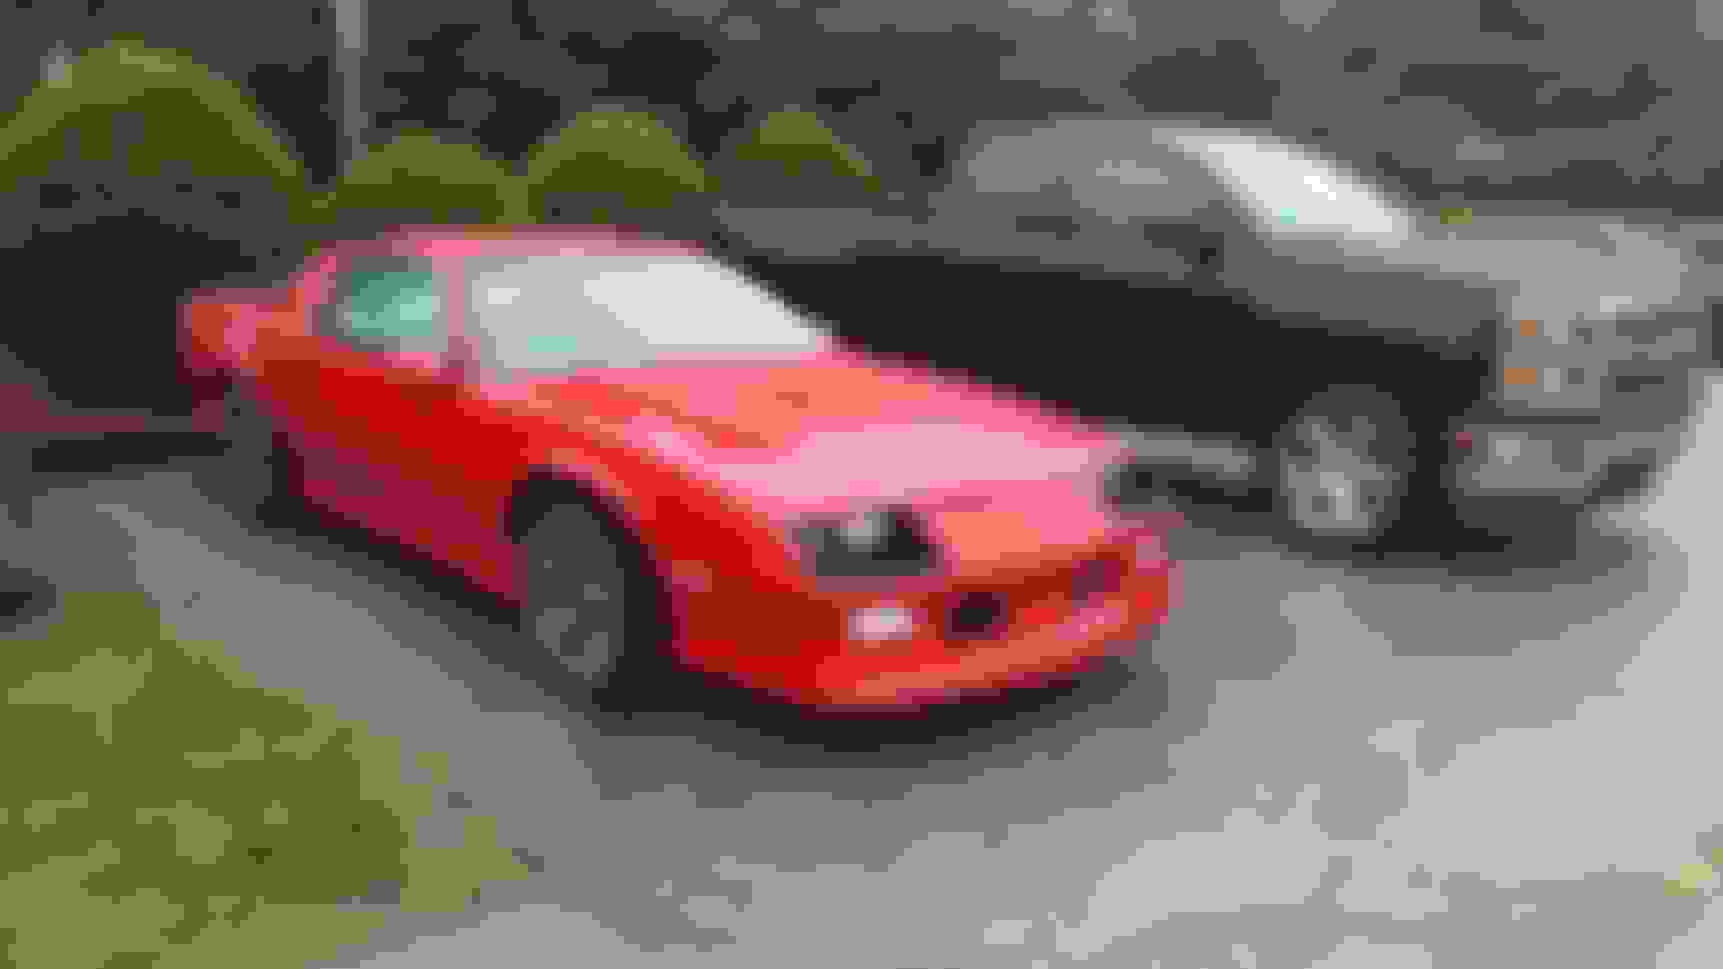
After 3 coats base, 4 coats clear, I think it come out pretty good for my first time spraying. My old man says I should have sprayed everything because I did better than he did.
(Yes I got the back side of the fenders to)
Check the driver side, front of the hood. Went a little light further back, but nothing a bit of wet sanding wont cure.
I assembled the doors this weekend for the most part. New window motors are in along with a new to me regulator from JohnInRi (Regulator works great - thanks) Cleaned out the tracks and greased it all. On a side note, I drilled out the rivets holding the track to the glass, instlaled the track on the regulator and used 1/4" bolts to resecure the window to the track once in the door. Didnt want to risk pant damage on the top.
I also installed new door lock actuators, inner door handles, and rebuilt the trunk pull down motor with a kit from hawks. (Which doesnt work but I think its a switch adjustment issue) Next weekend will be assemble front end, wet sand and polish!
I'm not worried about it. Its smoother than it looks Its a high solid clear, so it takes some time to even out. No, its not perfect and gonna require some wet sanding, but I'm not a professional and end result will be the same.
Last edited by 86CamaroDan; 05-20-2019 at 03:06 PM.
Not a ton of pictures of this weekend. I wet sanded the car. The roof/trunk were my guinea pigs on how far to wet sand down. I need to redo the trunk, and a few spots on the roof. I didnt take the trunk down far enough and theres still some orange peel, but it was a good first experience in how to use the Porter Cable 7242XP polisher I got.
When wet sanding, you want a uniform, even white. This wasnt far enough.
Now, because this paint has sat for two weeks or so, I started with 1000 grit and then transitioned to 1500 grit. This might be too abrasive for day old paint.
Use LOTS of water. You'll feel the paper cutting, then when it dries up, it gets hard to move it. Dunk it in your water bucket and keep going. Change the bucket often. I use a spray bottle on the panel for added lubrication.
I went a little further with the 1000 grit on the roof and quarters. This was before the 1500.
This is the only picture I have of the trunk after I polished it. Still has some orange peel, so I will go over it again with some 1000 grit, then a quick hit of 1500.
I'm using a Adams polish kit to put the shine back. A 5.5" wool pad, followed by a blue foam pad and a orange pad to finish it off.
Theres a few spots in the roof I want to touch up with 1500 grit, but the quarters came out good, and the B pillars came out like a mirror.
I didnt get any pictures of the quarters because my phone died, and I was already 2 hours behind on leaving to go back to Mass.
Now, for the bummer of the weekend. When I was wet sanding the rear bumper, I had a rub through around the emblem. Note to self. Stay away from the corners.
Hard lesson learned. Now it will have to come off, my dad will blend some color in, and well have to shoot clear over the whole bumper.
My dad things i should go with a sealant type compound to mask any minor orange peel thats out standing - Opinions?
He sent me a list of "10 best" and i like the meguiar's the best.
I use meguires cutting/buffing compounds and they work great on old paint when I flip vehicles. Idk if they�ll help with orange peel but meguires is who I stick with.
I use meguires cutting/buffing compounds and they work great on old paint when I flip vehicles. Idk if they�ll help with orange peel but meguires is who I stick with.
car is looking great btw
Thanks for the input. I'm tempted to just hit it with a bit more 1500 and see how it pans out. I think sanding through whats left of orange peel is a oxymoron isnt it?
Originally Posted by BIRD91ZRAG
I cut day old paint with 1000 grit all the time. But I go progressively finer, 1500, 2000, then 3000 foam pad on a DA. Then it buffs much easier.
Thanks. I think thats what I'll be doing this time around. spent too much time sanding it last time, which I think is why I rubbed through on the corner in the first place.
Wet sanded out the doors, fenders and front bumper and hood.
Got runs? I used 600 grit wet to sand them down. Tape off the parts that arnt runny. This prevents you from sanding through the clear you dont want to sand. Clean and pull the tape off often. Use very light pressure - 600 cuts clear fast
Wet sanding the passengers fender, I tapped off the edges i was worried about. After sanding, drying and inspecting, I noticed the edge of the flare on the fender was sanded flat. In attempt to prevent burning through i taped that edge off and continued working the fender that needed more. Unfortunately after this picture, I sanded through the base and clear on the top of the fender. On Sunday, my dad was able to blend the rear bumper burn through I had, and a small spot on the hood. We were unable to blend the fender and make it look good, so it will have to be taken down to base coat, have base coat blended in, and then the entire panel shot with clear again. Super fustrating.
I wish I shot 5 coats of clear on the entire car instead of 3. Would have given me a little bit more wiggle room for wetsanding.
Last edited by 86CamaroDan; 06-04-2019 at 08:19 AM.
After the burn through, I threw in the towel for for the day with wet sanding. Assembled the doors.
I fit in both dorman outer door handles and they fit crumby. I had to take a Dremel to the inside of the pivot as it was hitting the door, and the back side of the handle wasnt flat So I put some sandpaper on a flat table, and ground it flat. Touched it up with a bit of paint and installed both handles. The aftermarket door lock actuators didnt have enough throw to move the locks in the latches, so I put the original ones back in.
Theres a few speckles in the paint I'm really not happy with. Im gonna wet sand the roof a bit more. Depending on how much the glaze takes out, Next year I might take off the trim, mirrors, ect and respray the the clear. But well see what it looks like after a glaze. I'm not confident in it though, but ive been wrong before. Amazing how much stuff shows up when you buff a panel.
Threw the door lock rods in, window sweeps and mirror on the drivers side. The door closes so quiet now its amazing.
Super fustrating weekend to say the least.
Last edited by 86CamaroDan; 06-04-2019 at 08:20 AM.
I never had any luck with the dorman handles either,......... always ended up pulling out a set of used ones to blast, re-paint, and re-use cause' the Dorman ones never really worked that good ( for me ). I can feel your pain when it comes to the wet-sanding too Bro !!! Do you remember that Blue IROC I built & painted a couple years ago ??? That thing took me 2 weeks of wet sanding to smooth it out !! THANK GOD I decided to use single stage cause I'd have wet-sanded the clear right off that car.
You're a perfectionist and that's to be lauded. Your car is gonna look amazing when done, don't, however, let perfect be the enemy of good.
Indeed. My father thinks my expectations are too high for a "garage paint job" I guess well see where it leads when its finished and together. Should look better than it did atleast. Unrealistic to have a "perfect" respray i suppose.
Originally Posted by John in RI
I never had any luck with the dorman handles either,......... always ended up pulling out a set of used ones to blast, re-paint, and re-use cause' the Dorman ones never really worked that good ( for me ). I can feel your pain when it comes to the wet-sanding too Bro !!! Do you remember that Blue IROC I built & painted a couple years ago ??? That thing took me 2 weeks of wet sanding to smooth it out !! THANK GOD I decided to use single stage cause I'd have wet-sanded the clear right off that car.
Looking REAL good Dan ----> Keep it up !!!
Thanks John
Last edited by 86CamaroDan; 06-04-2019 at 02:35 PM.
cool trick for the run, you can also use spot putty and fill the whole area. when it dries start sanding away. i've been where you are before. although wet sanding can be done. it's a pain in the rear and takes too much time to do. even with buffing if it's not done right you wont see it in the garage when the sun hits it you will see halo's
cool trick for the run, you can also use spot putty and fill the whole area. when it dries start sanding away. i've been where you are before. although wet sanding can be done. it's a pain in the rear and takes too much time to do. even with buffing if it's not done right you wont see it in the garage when the sun hits it you will see halo's
The answer may be in the thread but did you remove the door glass or just tape everything up? My phone tends to crash when I go through a pic heavy thread so I can�t back track
edited:::: I think I�m just found to drill out the rivers and pull my glass.
Last edited by Billgluckman; 06-09-2019 at 02:07 PM.
The answer may be in the thread but did you remove the door glass or just tape everything up? My phone tends to crash when I go through a pic heavy thread so I can�t back track
edited:::: I think I�m just found to drill out the rivers and pull my glass.
Yeah. Not worth the hastle of trying to squeeze it in the door.
Well, shes road legal.... kinda....
Ive got a bunch of odds and ends to finish up, interior, door panels, actually buff the ground effects, and I need to glue in some studs for the louvers (and actually wash the damn car - The ride home from Maine was a monsoon) . Im still not happy with the roof, but I'll worry about that next winter. Might be time to change the exhaust, holy crap I forgot how loud this thing is.
Went to put the hood louvers on but ran into a few studs that gave up the ghost. Spent a little time with a cut off wheel on the Dremel, and then ground them down with a circular bit. I got 1/4"x 20 plastic bolts from Lowes, ground the heads down a bit so they were flush with the louvers, and then 2 part epoxied them into place.
Nothing new yet. I've been meaning to meet up with a friend who's got a high res camera but life has gotten a bit in the way. I'm in the process of making new door panels, so I want to get that done before I go picture crazy.
I just happened to be browsing TGO and noticed the update,................. That last pic is my favorite 'pose' for a Thirdgen. Car looks great Dan, I hope your desire for perfection doesn't stop you from putting too many miles on it this season !
What exactly did you use on the bumper for the cracks?
I know what the proper procedure is but at this point with how much cracking is in my bumper I�m gonna have to just do the best I can.
Right now now I plan to sand as much as I can out then use polyflex and/or 2 part bumper epoxy on the low spots.
Ok, thanks. My rear bumper had cracks. I finally just did what I was afraid to and kept sanding and they eventually disappeared. Now I�ll have to fill a few areas but I think it will work out.
I thought your car already looked darned good, looking forward to seeing the results of your continued efforts!!!
For a first time paint job it came out good, no doubt. At some point over the summer the weld on the drivers side roof near the B pillar came back, and there one bump on the drivers A pillar I dug into last week, where it didn't look like the filler set up fully(Its the size of a pen tip - Kind of odd?) Plus the clear coat isn't as smooth as glass like I wanted it to be. So, I'll be fixing the crack and bump, and respraying a few coats on it along with touching up the door jams which got scuffed up a bit.
I meet a guy over the summer (who paints professionally) and also used the shopline base coat and DCU2021. He sprayed it extra fine because its such a thicker than normal clear. He says he did a 1.1 tip, and hit it with 5K trizact paper after and it came out like glass. He never even polished it I couldn't believe how good it looked. That's the look I'm going for. Full blown mirror.
I've got less than a quart left over of the clear and color (and I can buy the clear in quarts), I've got enough to touch up a few spots (including the door jambs that scraped away) and a ENTIRE winter to take my time and get the end result i want. Its still fresh in my mind, so why not.
Plus this stops me from dumping my entire retirement into a forged 383.
Well boys and girls, Im back after a extended absence from the car scene. Roughly 6 months ago I lost my housing situation in Massachusetts, but at the same time a new job opportunity came to light that was too good to be true, so I took it. Currently im couped up with a relative until I can become a first time home owner, but I haven't forgotten about the car! Lifes just been busy!
As in the last update, i had a crack in the pillar that needed fixing. A previous weld must have let go on me so I dug into that a few months ago.
Edit: Sorry for picture quality - Some of it is from the cloud/old phone before it died.
Ground down to bare metal, Drilled a hole at the end of the crack and welded it up.
Hit it with filler and let it cure
Sanded and hit it with guide coat
Last edited by 86CamaroDan; 07-06-2020 at 08:44 AM.
Sanded the car with 400 grit to help the next few coats of clear adhere properly.
Garage setup (I had put plastic drop cloth suspended above also after this picture)
Now this is the interesting part. After filling the spot, I had spot primed it, my father blended in color and I had to spot clear the area. I again used the block and flattened it out. From what my father had told me, blending in just one spot is impossible because you will see the newer layer and it will shrink as you sand it, right up until you burn through and sand off the paint. Correct way is to spot paint/clear, then shoot the entire panel. That way, the "seam" of the repair spot is invisible once covered with new clear.
And yes, the repair does go lower than the crack because the damn welder popped in my face and made two burn marks lower on the panel
Other than the repair spot, I decided to wait (seeing i have no place to store the car other than on the street currently) and shoot it in warmer temperatures. It may have been why the results were better.
I shot the body/bumper/deck lid 3 weeks ago with good results. Also, doing it this way was much easier. The next day, I was able to sand it down with 1200 grit in a matter of a few hours. Last year I waited until the next week and the whole car was hard as a rock.
Shot the hood, doors and fenders this past week. Best end result yet. Again, everything sanded out super easy the next day.
Side note, Anyone know why the pictures so damn small?
 05-20-2019, 08:17 AM


")


