When you click on links to various merchants on this site and make a purchase, this can result in this site earning a commission. Affiliate programs and affiliations include, but are not limited to, the eBay Partner Network.
Mine uses the SLP air box and factory air fliter. The SLP box pulls its air from under the car through the fender.
With another simple trick the lower bumper/fender area becomes semi pressurized at speed and has gained me a few tenths and mph at the track.
Thought I would share this project. Decided I was tired of the excessive heat from under hood. Didn't like some of the intake designs, so made one using .025 aluminum sheet and 90 degree aluminum angle. Used the passenger side front area, gutted it, 4 inch hole and collector on top and under (aluminum) and 4 inch hole between the front fender supports. Polished aluminum intake tube (90 degree bend) exits through bottom panel and draws air directly in front of front spoiler under car. I wanted to see what this would do running a stock everything. Next step was to seal the unit and insulate it from the inside temps. I used insulated duct material and surrounded the all aluminum structure with it.
Once you complete that, you need to relocate the sensor out of the plenum and into to the air filter location, and then recalibrate the ECM to take advantage of it.
Otherwise the ECM is simply factoring in the coolant temperature into the final air temperature calculation and at part throttle it can actually nullify the benefits of this type of set up.
Good point. Thank you. This has decreased the running temp 25 degrees, and the torque feels improved. Any suggestion on where to place the sensor, or just tap into the side of air box near filter?
Good point. Thank you. This has decreased the running temp 25 degrees, and the torque feels improved. Any suggestion on where to place the sensor, or just tap into the side of air box near filter?
on mine I just drilled a hole in the metal plate at the end of the conical filter, put in a rubber grommet and then stuck the MAT sensor in there. Use a LT1 air temp sensor.
My tube is non metallic so I am on the assumption that there's negligible heat being transferred into the airstream through the tube walls. With your metallic tube, that may not be entirely true, but probably close enough.
assuming you're 90-92...
Then in the calibration, disable the switch that enables the inverse MAT table. After that, you'll want to monitor your BLMs over the various temperature ranges in the MAT compensation counts table to see what kind adjustments need to be made. Higher count values will lean things out... lower count values will richen.
Ideally you want your BLMs to be consistent across all air temps. If you have a WB o2 that can be cataloged, you can do the same with the PE and OL AFRs.
Back up for the slow people like me. Calibrate ECM? I amazed how much many of you know on here! Looking at changing the shifter also to maybe a hurst product or the short kilduff, any suggestions? This is a 60,000 mile original car, black 350 auto. I have my eye on the 17 inch gold and silver aluminum snowflakes with added tire width on back. Even stock it needs more
Basically when you relocate the MAT sensor out of the upper plenum, the coolant temperature doesn't affect it anymore (all of the metal on the engine will essentially follow the coolant temperature).
From the factory, the final MAT temperature that the ECM uses to calculate the fuel delivery is a calculated value that is a blend of the MAT sensor and Coolant Temperature Sensor, which also depends on the airflow since slower air speed has more time to absorb heat off the plenum walls vs faster air speed which has less time.
So if you relocate the MAT sensor, you have to tell the ignore to ignore the coolant temperature by turning off a particular switch in the calibration.
With a true cold air tube (one that picks up cooler air from outside of the engine compartment), you can start playing around with another table (MAT Compensation Counts vs MAT) to dial in the AFR for your new cooler air charge. To do that though, you need to at least be able to log data and preferably have a WB O2 sensor installed as well.
Clean. I took a different route with the firebird. Panel underneath on passenger side is removable in front of the spoiler. So I manufactured the box, then an underneath ait duct from aluminum and the panel.
I know we were discussing this a little earlier.... Talked to Jet Hot today, and they told me NOT to bother spending money on having them coat the intake. They said while you will see a couple degrees drop, the air is through the tube so fast, heat soaked metal tubes aren't really an issue. Fwiw, cost was going to be about $120 for base coating, $180 to add color, which I was going to do (black). ....obviously for every last drop of power, and depending on your budget, maybe it's worth it. For me, not worth it.
With a gutted MAF and a gutted TPI air box, where you cut the filter bottoms out and install ducting to the grille area for a "ram air" effect, you will have enough air flow for 400whp. thats a mid 11 second car. If your not faster than that, you dont really need a cold air intake. The factory "ram air" type setup gets as cold air as you will find
I know this is an old post but can you tell me if making a seal tight ram air using Hawk's kit or even A/C diuct will cause overheating issues?
Got mine from Spectre, through Summit. ....it wasn't cheap, but all in all I only have about $150 in it, which is a little over half of what a pre-made kit would be, if they made one. That includes filter, clamps, etc. etc. ....I'll try to get a pic up this weekend.
First of all you have a beautiful car! I purchased the AirAid build it yourself in a 4" dia added a K&N conical style filter, and a adaptor for the throttle body. It fits very tight, but fits. My Firebird has around 400+ HP at the wheel and by adding 4" cold air and removing the MAF and using my Dynamic FI ECM and a 4" Hawks exhaust my E.T. went from 11.94 @113 down to 11.75. @115.
1987 Firebird Formula
383 SuperRam intake
long tube headers, Hawks 4" sinister exhaust
700r4, 3,200 stall and 3.54 dana. on a Nitto drag radial.
Dynamic FI ECM
This is my new intake, mocked up for fitment. Clamps are all a little loose, and I'll be painting it black to match the way it theoretically would've come from the factory. (2) 4" aluminum tubes from Spectre, one 90*, one 45*, two silicone tubes, clamps and a "GREEN" air filter, -in red. Haven't driven it yet, as it's being painted. Slowly. Work has been crazy and I haven't had a lot of extra time lately.
This is my new intake, mocked up for fitment. Clamps are all a little loose, and I'll be painting it black to match the way it theoretically would've come from the factory. (2) 4" aluminum tubes from Spectre, one 90*, one 45*, two silicone tubes, clamps and a "GREEN" air filter, -in red. Haven't driven it yet, as it's being painted. Slowly. Work has been crazy and I haven't had a lot of extra time lately.
Kudos on the way the engine compartment looks. I'm sure it'll look more like the factory painted black, but it's hard to imagine it looking any better!!
First of all you have a beautiful car! I purchased the AirAid build it yourself in a 4" dia added a K&N conical style filter, and a adaptor for the throttle body. It fits very tight, but fits. My Firebird has around 400+ HP at the wheel and by adding 4" cold air and removing the MAF and using my Dynamic FI ECM and a 4" Hawks exhaust my E.T. went from 11.94 @113 down to 11.75. @115.
1987 Firebird Formula
383 SuperRam intake
long tube headers, Hawks 4" sinister exhaust
700r4, 3,200 stall and 3.54 dana. on a Nitto drag radial.
Dynamic FI ECM
Kudos on the way the engine compartment looks. I'm sure it'll look more like the factory painted black, but it's hard to imagine it looking any better!!
This is the best custom CAI for a Firebird I've seen so far. Great job! Dimensions or template would be awesome! I want to fabricate 2 of them for a custom version of the SLP dual intake.
Last edited by Firebreather; Feb 19, 2020 at 06:53 AM.
So I am playing with the idea of an increased volume air intake made of carbon fiber and a larger port on the backside , due to necessity (LQ4 large cam , 3 inch true dual exhaust, big hp) and couldn't help but to wonder what would the demand for such an item be? I have to make a mold anyways , but wouldn't make stuff to give away either...
I might be interested, but I would need to know what application car, which side battery, and would probably want to see one before I made any commitments
My radiator support is completely different now (picture was taken during mockup and before a installation of a Mark VII Electric Fan) but here is my setup...
I got my cold air intake from a 2002 corvette, this is roughed in but it will work great I know. It�s a volant product. This is way better than the stock restrictive intake, but I will say the GM had a good idea and concept for sure. So I won�t take all the credit.
Here's my contribution to the thread, Aluminum 3.5 tubing wrapped in DEI Titanium header wrap, if header wrap is good for keeping the heat from coming out maybe it'll be good to keep heat from getting in, besides I think it looks pretty damn good as it matches my headers.
Wrapping an intake tube is usually done with the gold foil tape. Yes it does look good, engine master did a test about wraps and they were only good for keeping heat in the tube. No power gains lol. I hate using the stuff it always gets all over me and makes me itchy.
This roughly what I�m going for maximum air intake cooling air without sacrificing cooling air for radiator. Bare in mind you�ll need to brace the structure before removing the metal I did. Simple angle iron will do.
This is my new intake, mocked up for fitment. Clamps are all a little loose, and I'll be painting it black to match the way it theoretically would've come from the factory. (2) 4" aluminum tubes from Spectre, one 90*, one 45*, two silicone tubes, clamps and a "GREEN" air filter, -in red. Haven't driven it yet, as it's being painted. Slowly. Work has been crazy and I haven't had a lot of extra time lately.
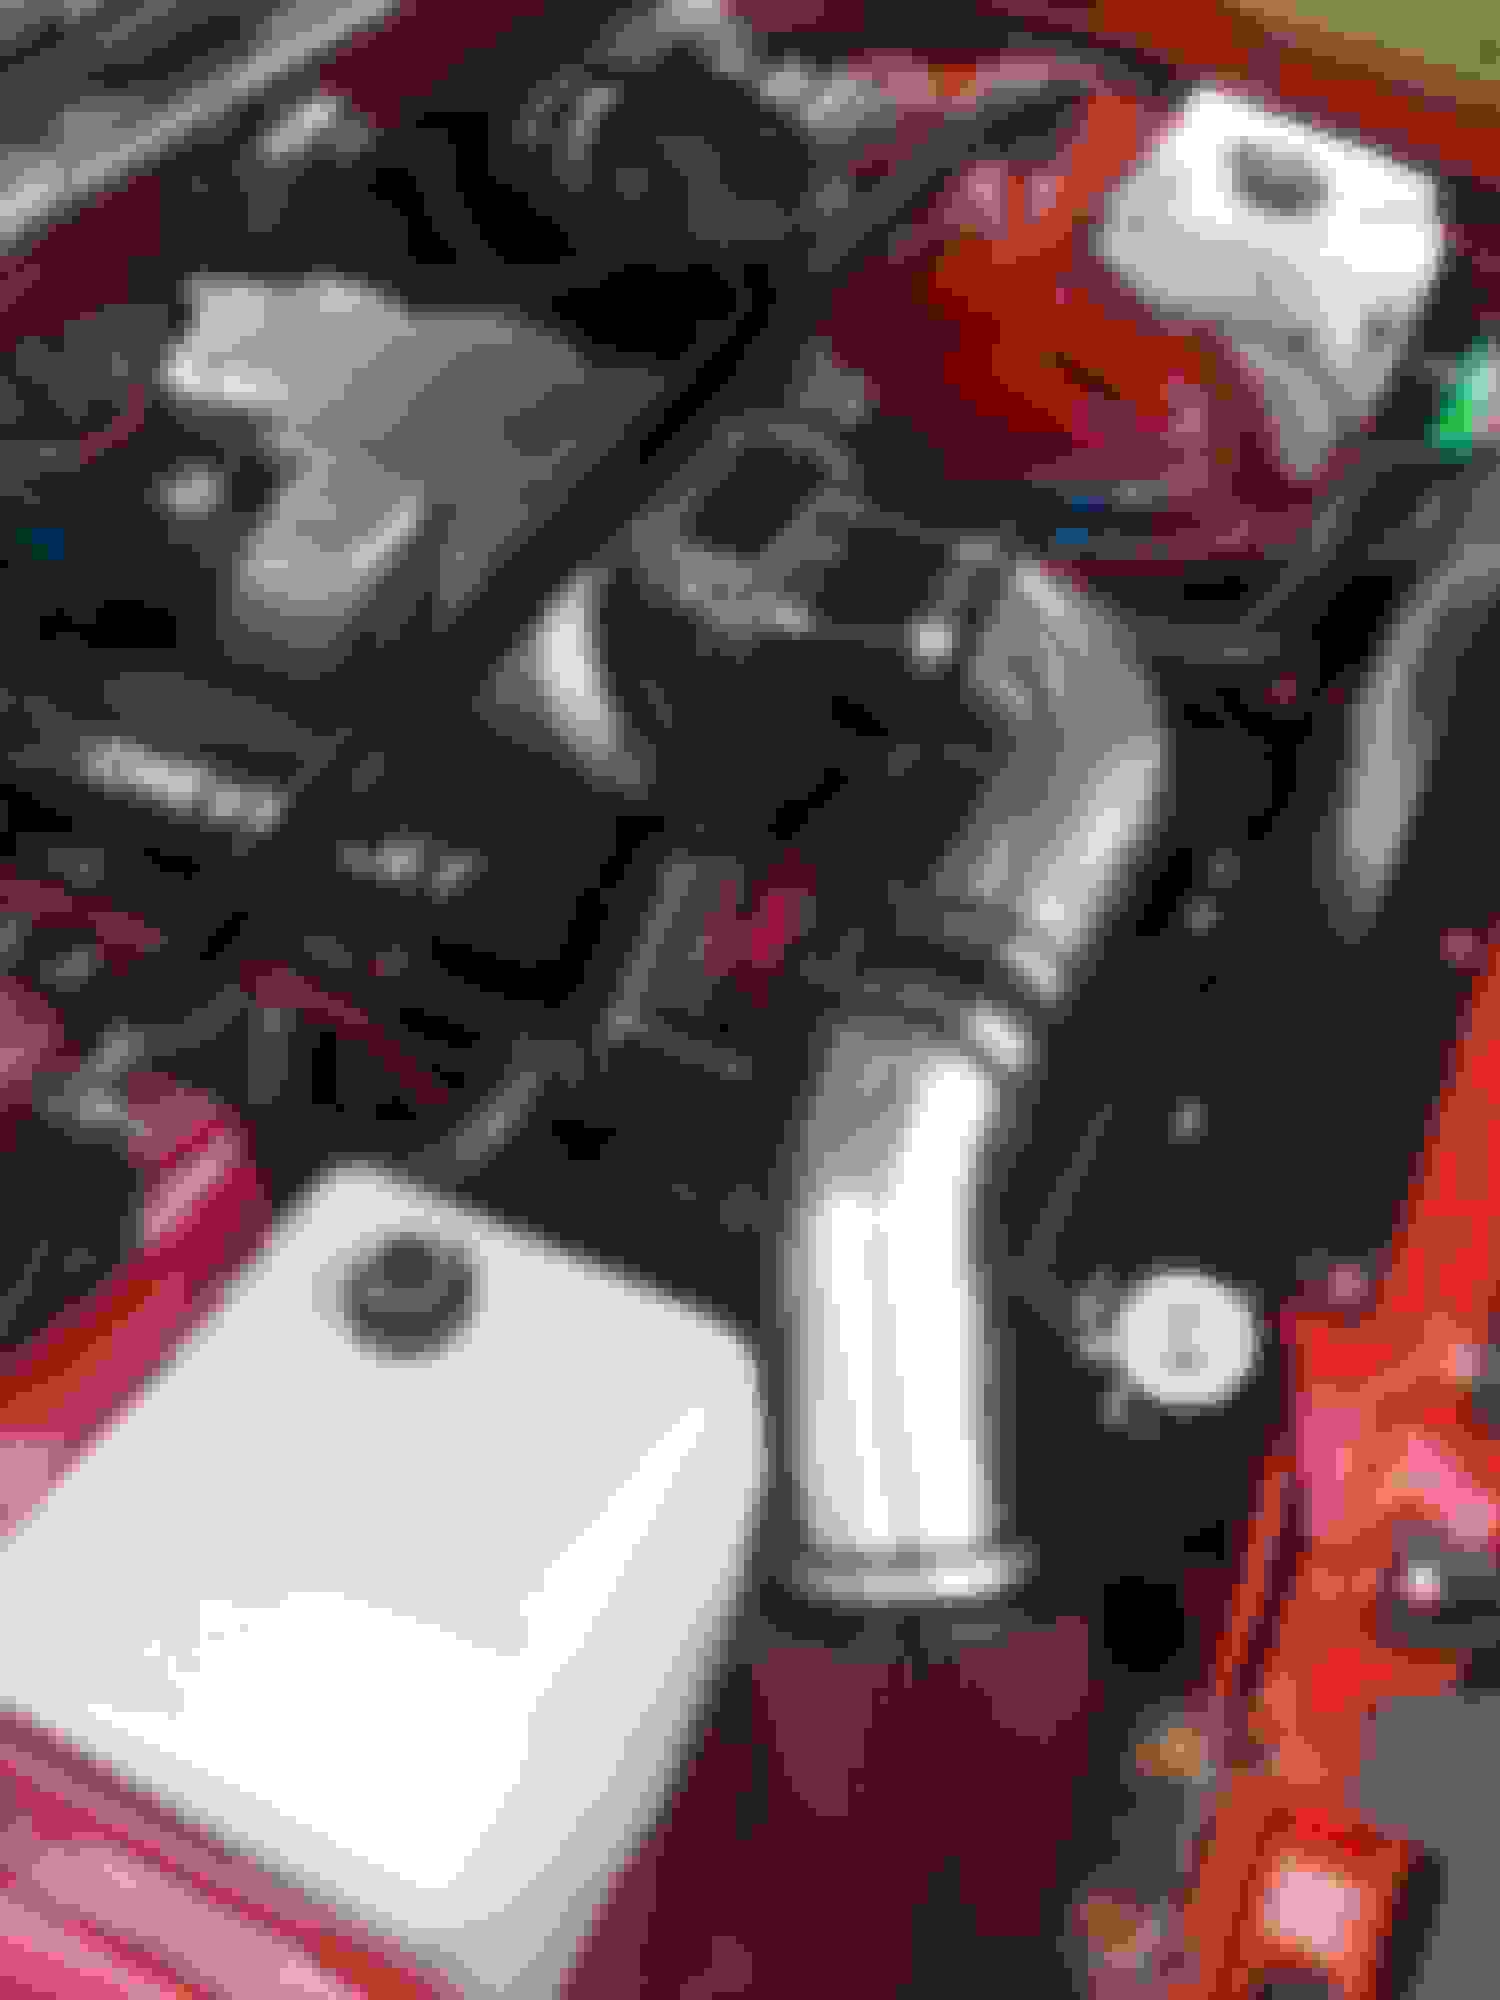
FWIW, this is my "cold air" intake. 3-1/2 inch aluminum tube with silicone sleeve (to insulate) and an inline air filter feeding from inner fender. I feel confident this lowered my intake air temps a significant amount.
FWIW, this is my "cold air" intake. 3-1/2 inch aluminum tube with silicone sleeve (to insulate) and an inline air filter feeding from inner fender. I feel confident this lowered my intake air temps a significant amount.
I thought about doing the same thing - using an inline filter as a duct to the fender. Have you done any measurements or noticed any gains if any? What brand filter/housing are you running? Considering Spectre since K&N likes to be a bit too pricey.
Just think on the intake placement real hard before committing is all I will say. Except for fender intakes look ridiculous and perform poorly plus you end up with a million clamps silly *** Mickey Mouse fixes of silicone elbows and looks like bubba the plumber went to Lowes and got everything he needed with a military discount.
I thought about doing the same thing - using an inline filter as a duct to the fender. Have you done any measurements or noticed any gains if any? What brand filter/housing are you running? Considering Spectre since K&N likes to be a bit too pricey.
Yes, the Spectre is what I used. Hard to quantify "gains" but, based on data logs, the intake air temps are definitely reduced. The only thing I'm not wild about is having to introduce an extra bend in the intake path. Compared to the stock intake, though, it's much larger through and through, so I think it's still a pretty significant net improvement. I initially used aluminum for the fender block plate, but then switched to ABS. I've still got the aluminum piece in the shop; I'll shoot a pic and post it here later.
Just an update to my cold air intake since the AirRaid stuff is available again. Only one 90 degree now instead of three; also made a cover for the air cleaner with the last of my ABS. I think this looks a lot cleaner, though I don't expect any performance change from what I had before as the "tube" is same size, just ABS plastic now instead of aluminum.