
engine compartment


Supreme Member
Joined: May 2009
Posts: 1,032
Likes: 0
Re: engine compartment
here is a beauty thread
https://www.thirdgen.org/forums/auto...ed-smooth.html
https://www.thirdgen.org/forums/auto...ed-smooth.html
Supreme Member
Joined: May 2009
Posts: 1,032
Likes: 0
Re: engine compartment
Here is my bay
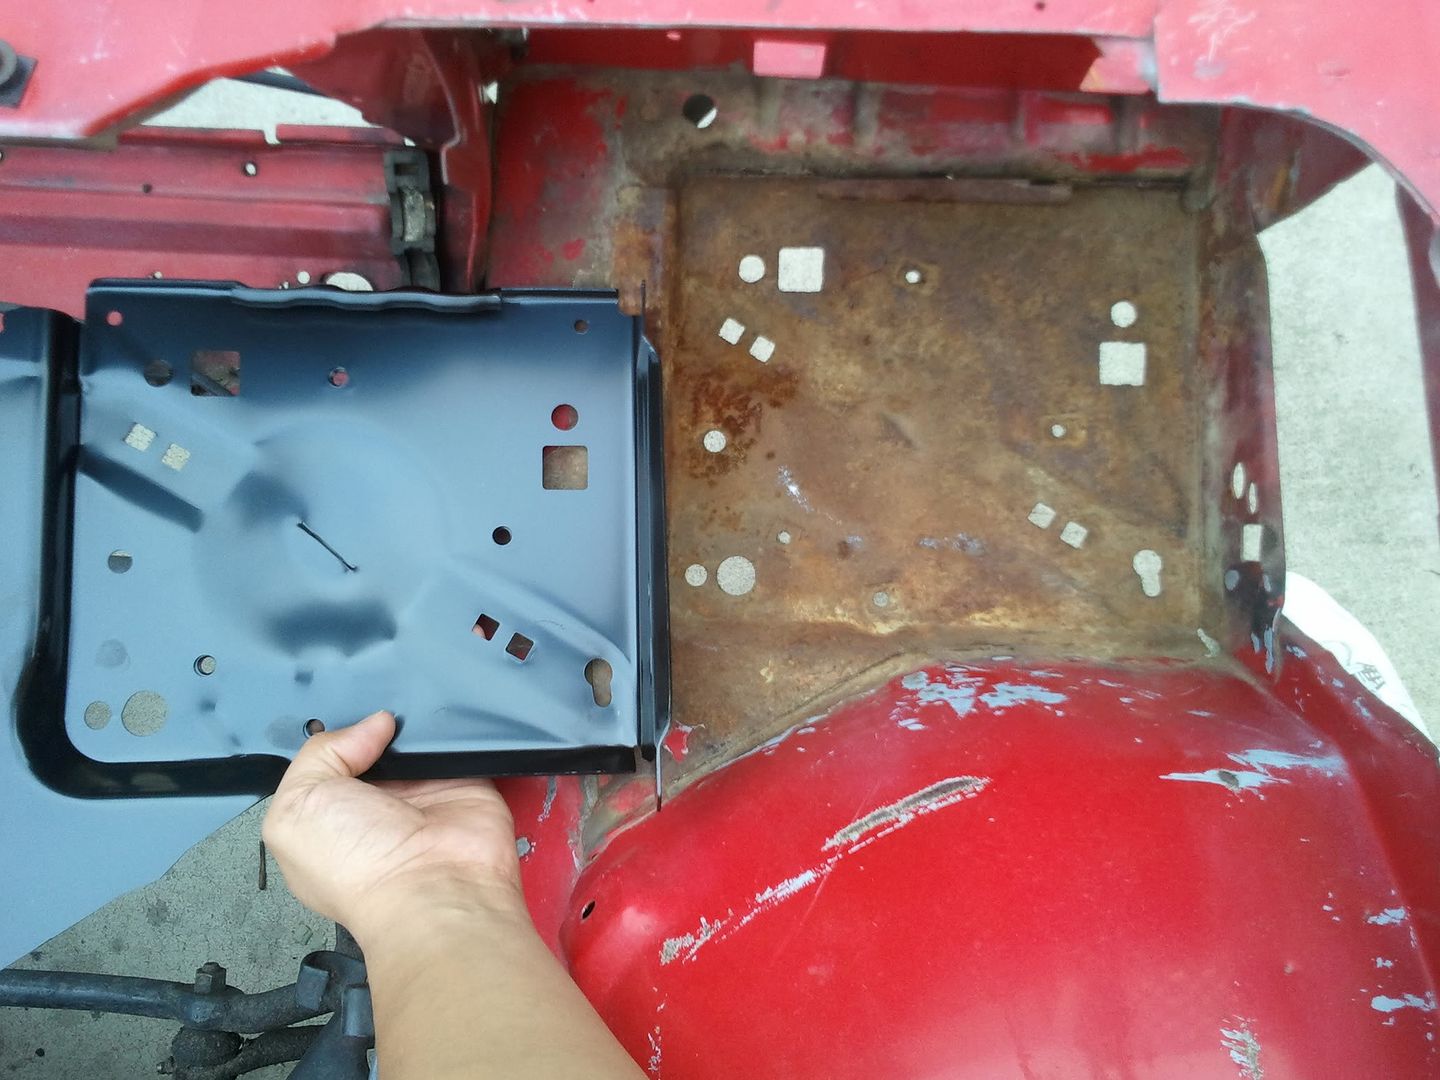
The old tray will have to be cut out and the new welded in. Not a hard thing to do (I already have the fenders n everything out). I will post pics when I am done. I searched the Pick-N-Pull for a decent tray but they where all no diff then the one I have now.
I found a guy on ebay that has them (5 left, or if he is out I'm sure he can get more). He has the left and right batt tray for $30usd.
camarohawk (TURNS OUT THIS IS HAWKS)
http://cgi.ebay.com/ebaymotors/82-92...Q5fAccessories
I finished grinding down both pass and driver side doors. It came out surprisingly good. This is not a vary hard mod at all. Here are a few more pix.
AC hole before patching.
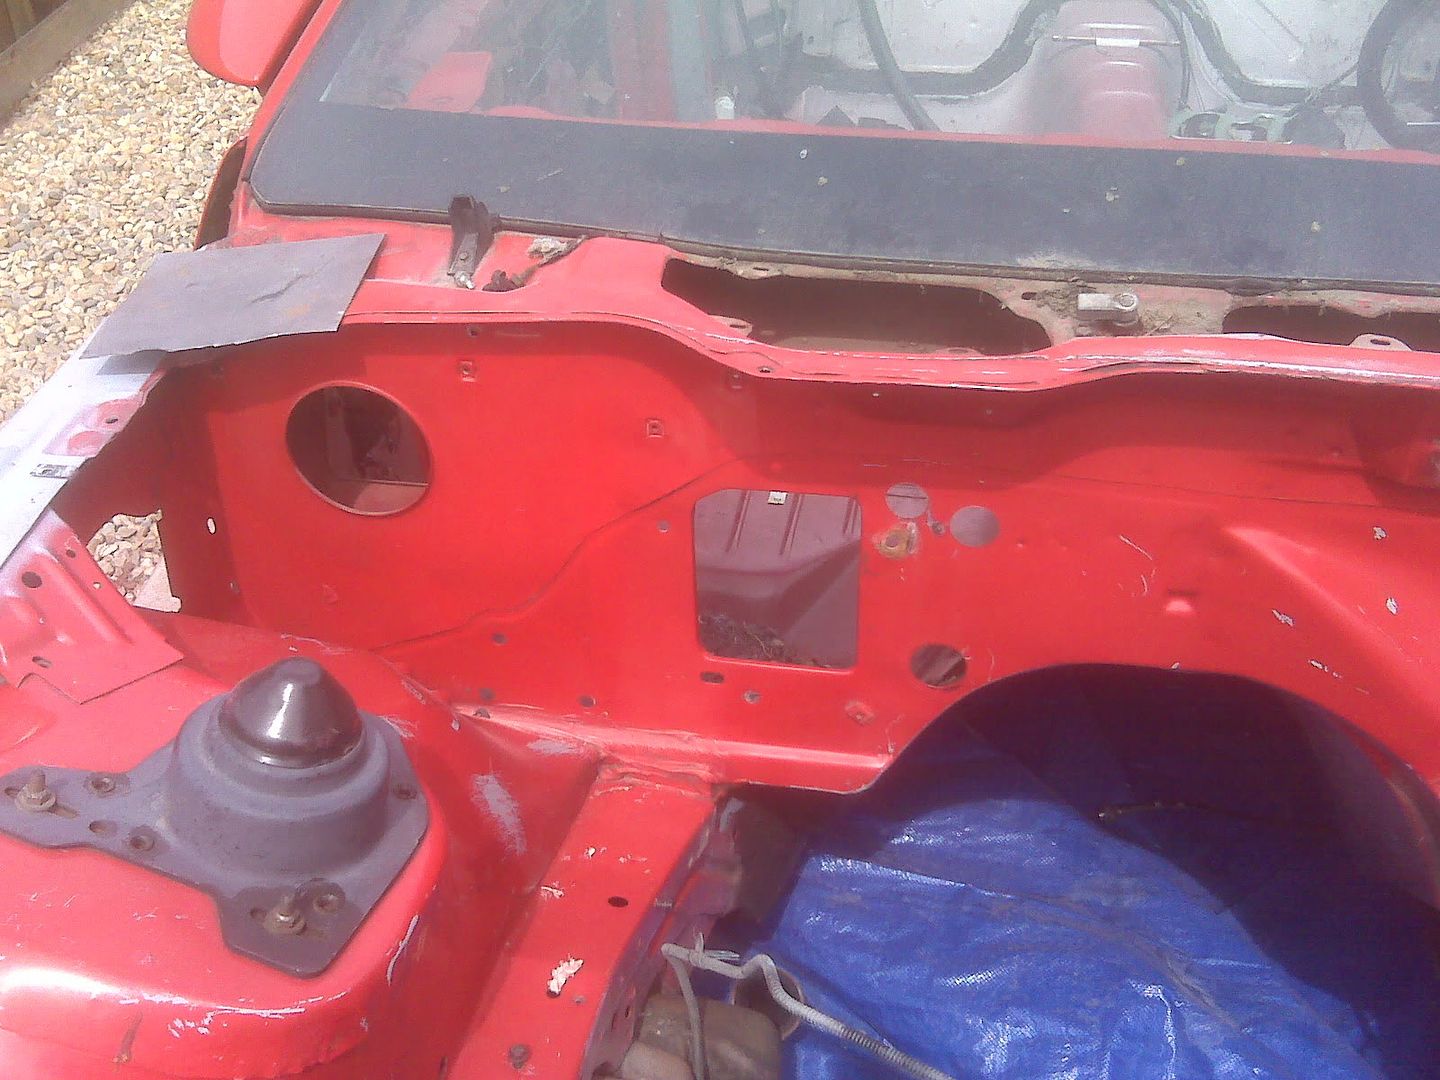
I did the same prep that I did for the doors. The guage of the firewall feels a bit thinner then the doors so I lowered the heat. I got noticeably better fast. Unlike the doors, a patch larger then the AC hole was cut. The patch was held in place with tape from behind the hole, then tacked in place. Other then that, same process as the doors.
I don't know what the name of this method is, but I would suggest otherwise.
- grind down the lip of the AC hole
- make a temp and cut sheet metal to fit
- tack in place
- you know the rest by now.
Using this larger patch was less work, but dose not seem to be of the same quality as the fitted patch and will require more body filler because it is not flush to the surface of the firewall. The tacks are good tho
Driver door from an angle after all tacks where grinned down. They look flat now. I can see why ppl get so much body work done at 1 time. Sense I started stripping paint off the car, I noticed a few dents. I did my best to knock out the larger ones. The smaller ones will be filled along with the patches. Gotta run to San Leandro Color to get epoxy primer and body filler. Brands anyone? I'm thinking SPI epoxy primer.

Here is the degreased K-member getting flash rust everywhere!!!!
I used a bit of brake cleaner and simple green to get all the way clean. I I really need to take it out to get the job done right. After all the cutting and welding, I wipped down all the bare metal with rubbing alcohol (that's right). It gets all solvents off and evaporates off the car leaving nothing but metal (I hope).
Tips? Tricks anyone?

AC hole before patching.
I did the same prep that I did for the doors. The guage of the firewall feels a bit thinner then the doors so I lowered the heat. I got noticeably better fast. Unlike the doors, a patch larger then the AC hole was cut. The patch was held in place with tape from behind the hole, then tacked in place. Other then that, same process as the doors.
I don't know what the name of this method is, but I would suggest otherwise.
- grind down the lip of the AC hole
- make a temp and cut sheet metal to fit
- tack in place
- you know the rest by now.
Using this larger patch was less work, but dose not seem to be of the same quality as the fitted patch and will require more body filler because it is not flush to the surface of the firewall. The tacks are good tho
Driver door from an angle after all tacks where grinned down. They look flat now. I can see why ppl get so much body work done at 1 time. Sense I started stripping paint off the car, I noticed a few dents. I did my best to knock out the larger ones. The smaller ones will be filled along with the patches. Gotta run to San Leandro Color to get epoxy primer and body filler. Brands anyone? I'm thinking SPI epoxy primer.
Here is the degreased K-member getting flash rust everywhere!!!!
I used a bit of brake cleaner and simple green to get all the way clean. I I really need to take it out to get the job done right. After all the cutting and welding, I wipped down all the bare metal with rubbing alcohol (that's right). It gets all solvents off and evaporates off the car leaving nothing but metal (I hope).
Tips? Tricks anyone?
Supreme Member
Joined: May 2009
Posts: 1,032
Likes: 0
Re: engine compartment
next part
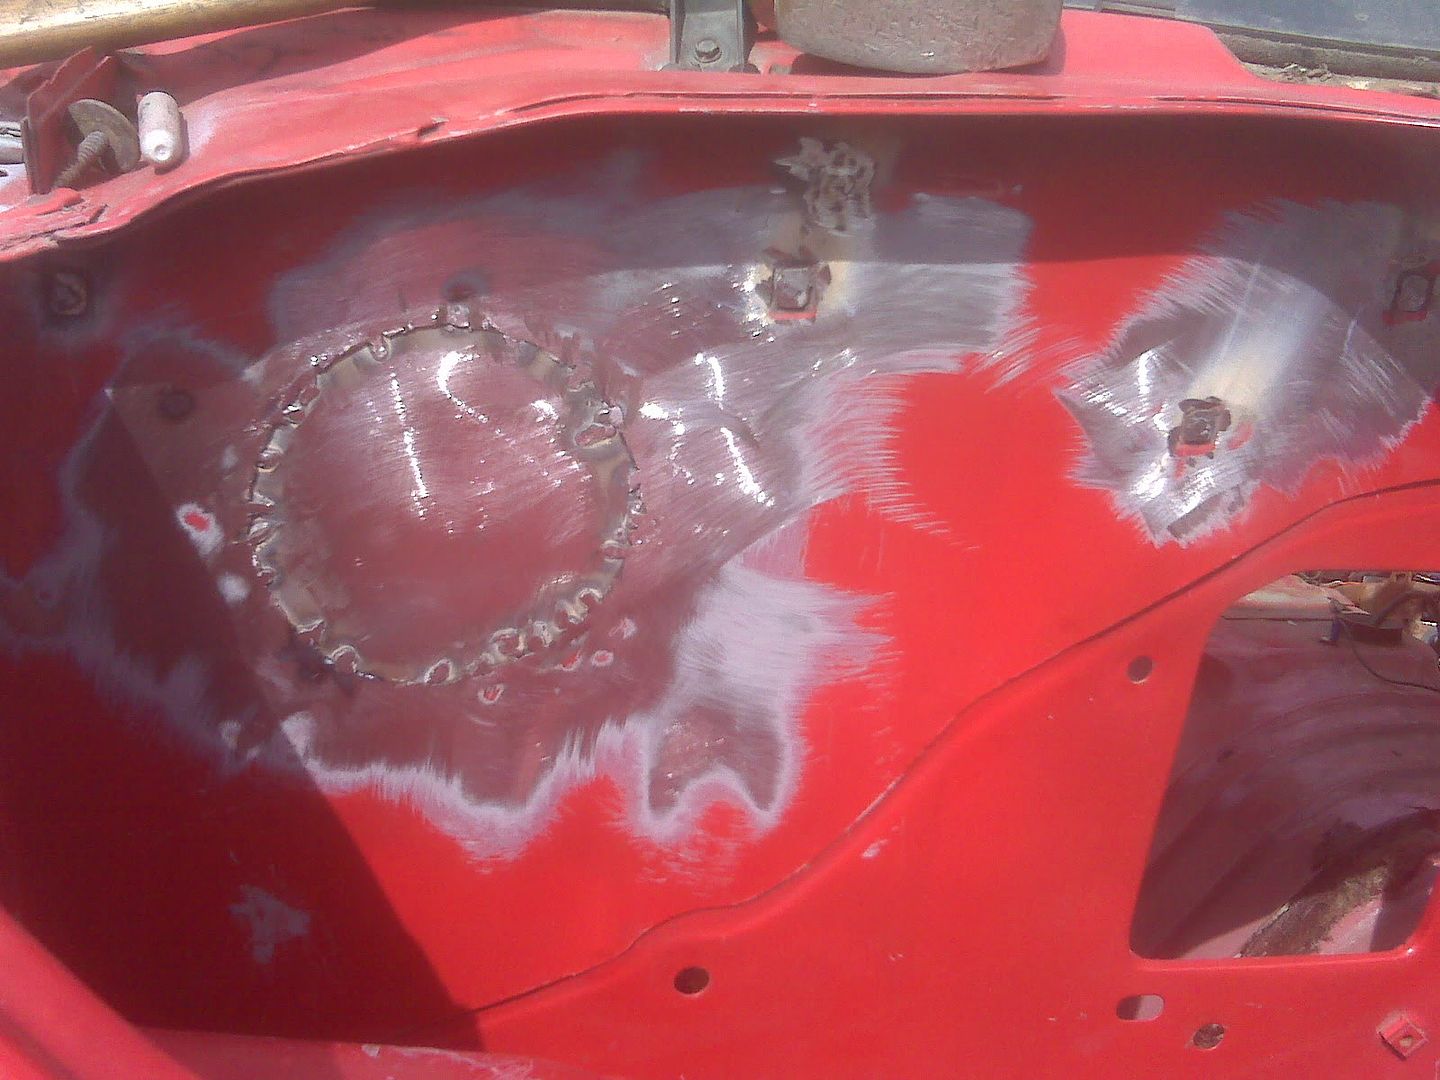
here are a few shots of the tacked in cover made for the lower passenger half of the firewall. Sorry about all the shitty pix (taken via blackberry of course). I know you wont mind thirdgen!
This was done with just the sheet metal and firewall. If I where to do this again, I would use a skewer like stick of metal as a medium and tack small pieces of that from the sheet metal to the firewall. Well live and learn, I have not used a medium in any of the tacks thus far. The plate is holding onto the firewall nicely anyway.
Here are a few more shots
Supreme Member
Joined: May 2009
Posts: 1,032
Likes: 0
Re: engine compartment
next part

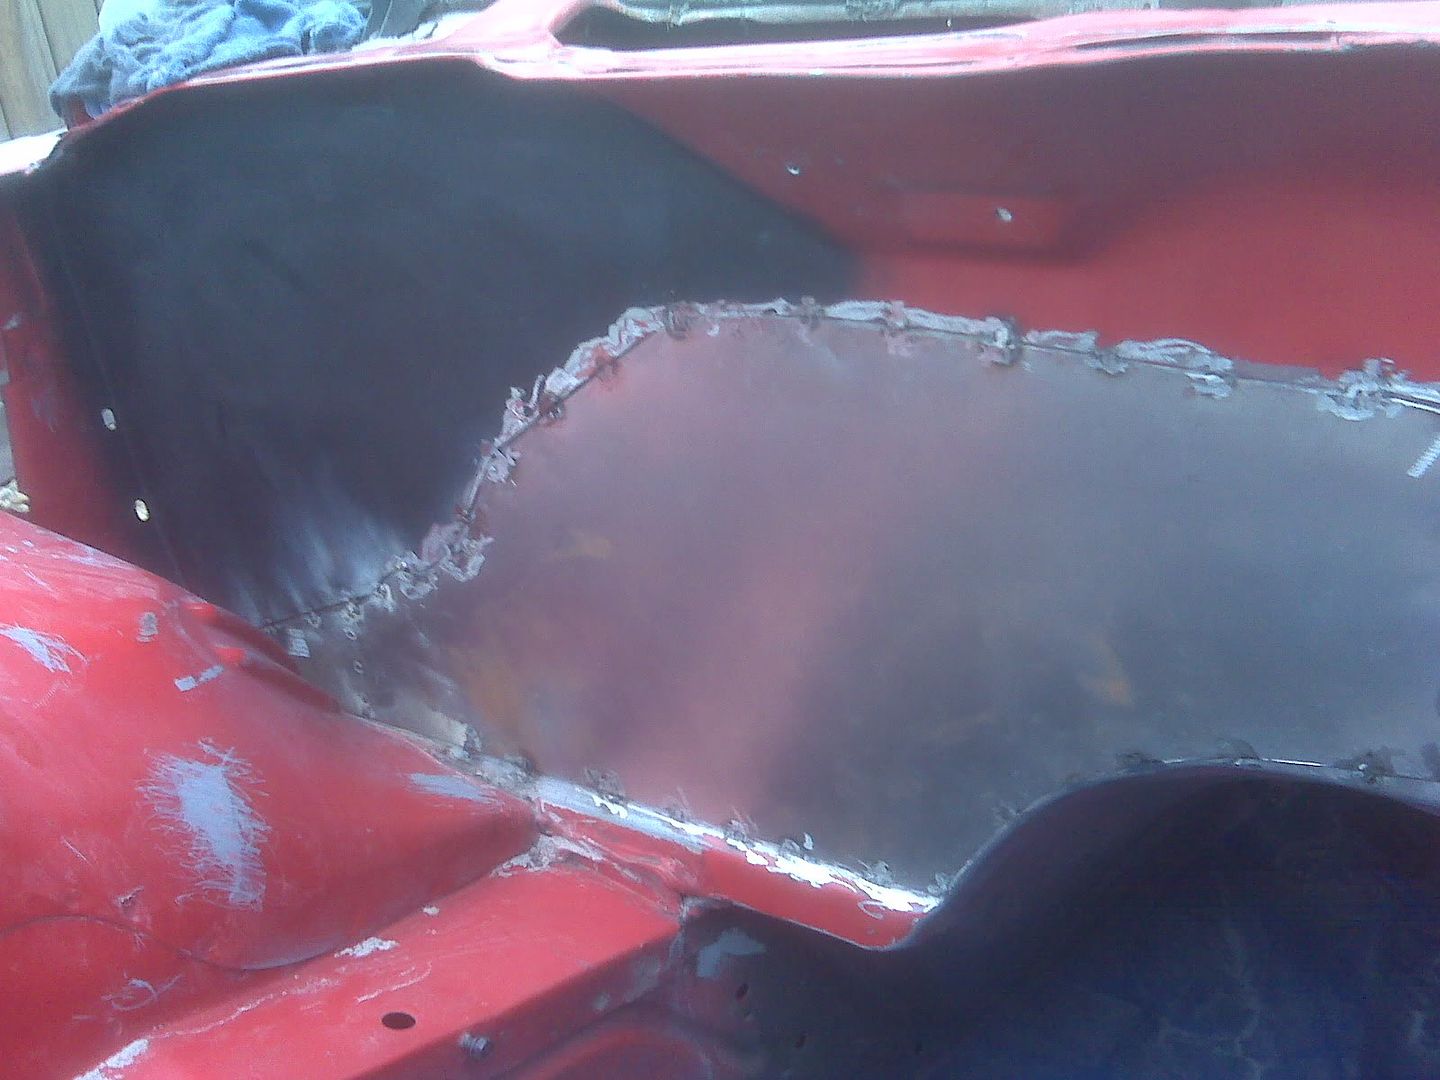
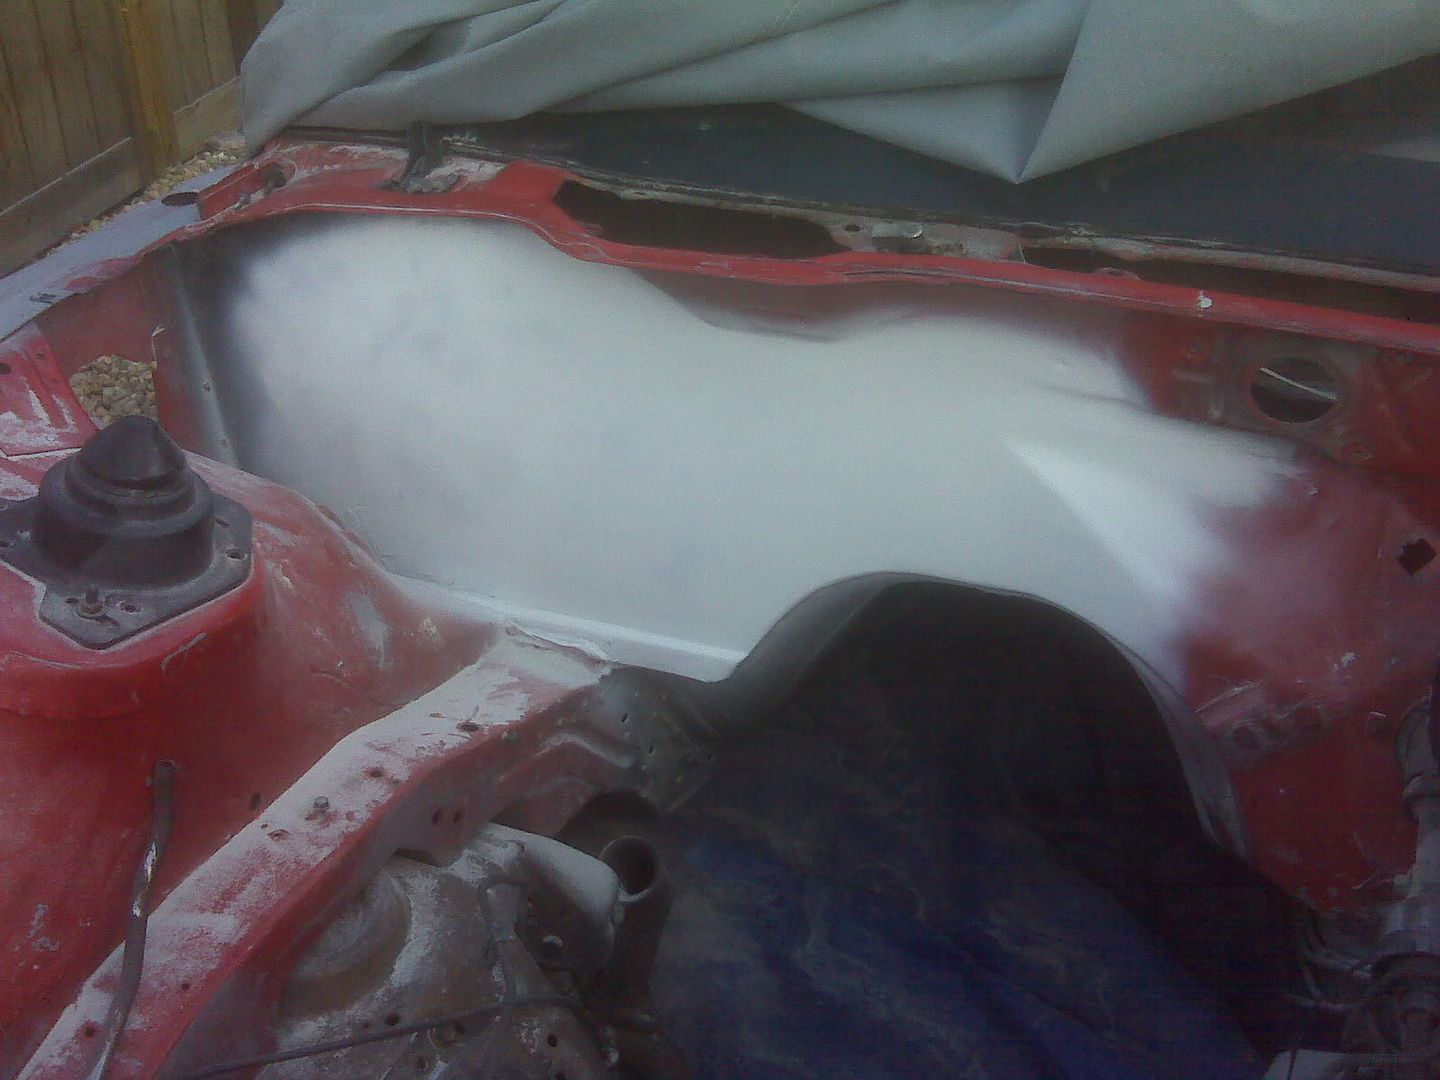
Almost finished with the firewall... Just need to hit a few minor spots, but for the most part it's looking good. I worked my way up to 2000 grit, it's really smooth now. I was thinking about using a remote booster and getting the true hot rod look. Here are a few shots.
Firewall


Firewall
Last edited by blakecharles; Jan 25, 2012 at 06:45 PM.


Thread
Thread Starter
Forum
Replies
Last Post