When you click on links to various merchants on this site and make a purchase, this can result in this site earning a commission. Affiliate programs and affiliations include, but are not limited to, the eBay Partner Network.
First I'll start with reasons for why 4th Gen Visors:
1. Upgrade: They are larger, block out more sun
2. Replacement: Maybe cloth material is worn out on thirdgen visors or mechanical parts worn out.
3. Upgrade: Mechanical parts are slightly larger, less likely to fail
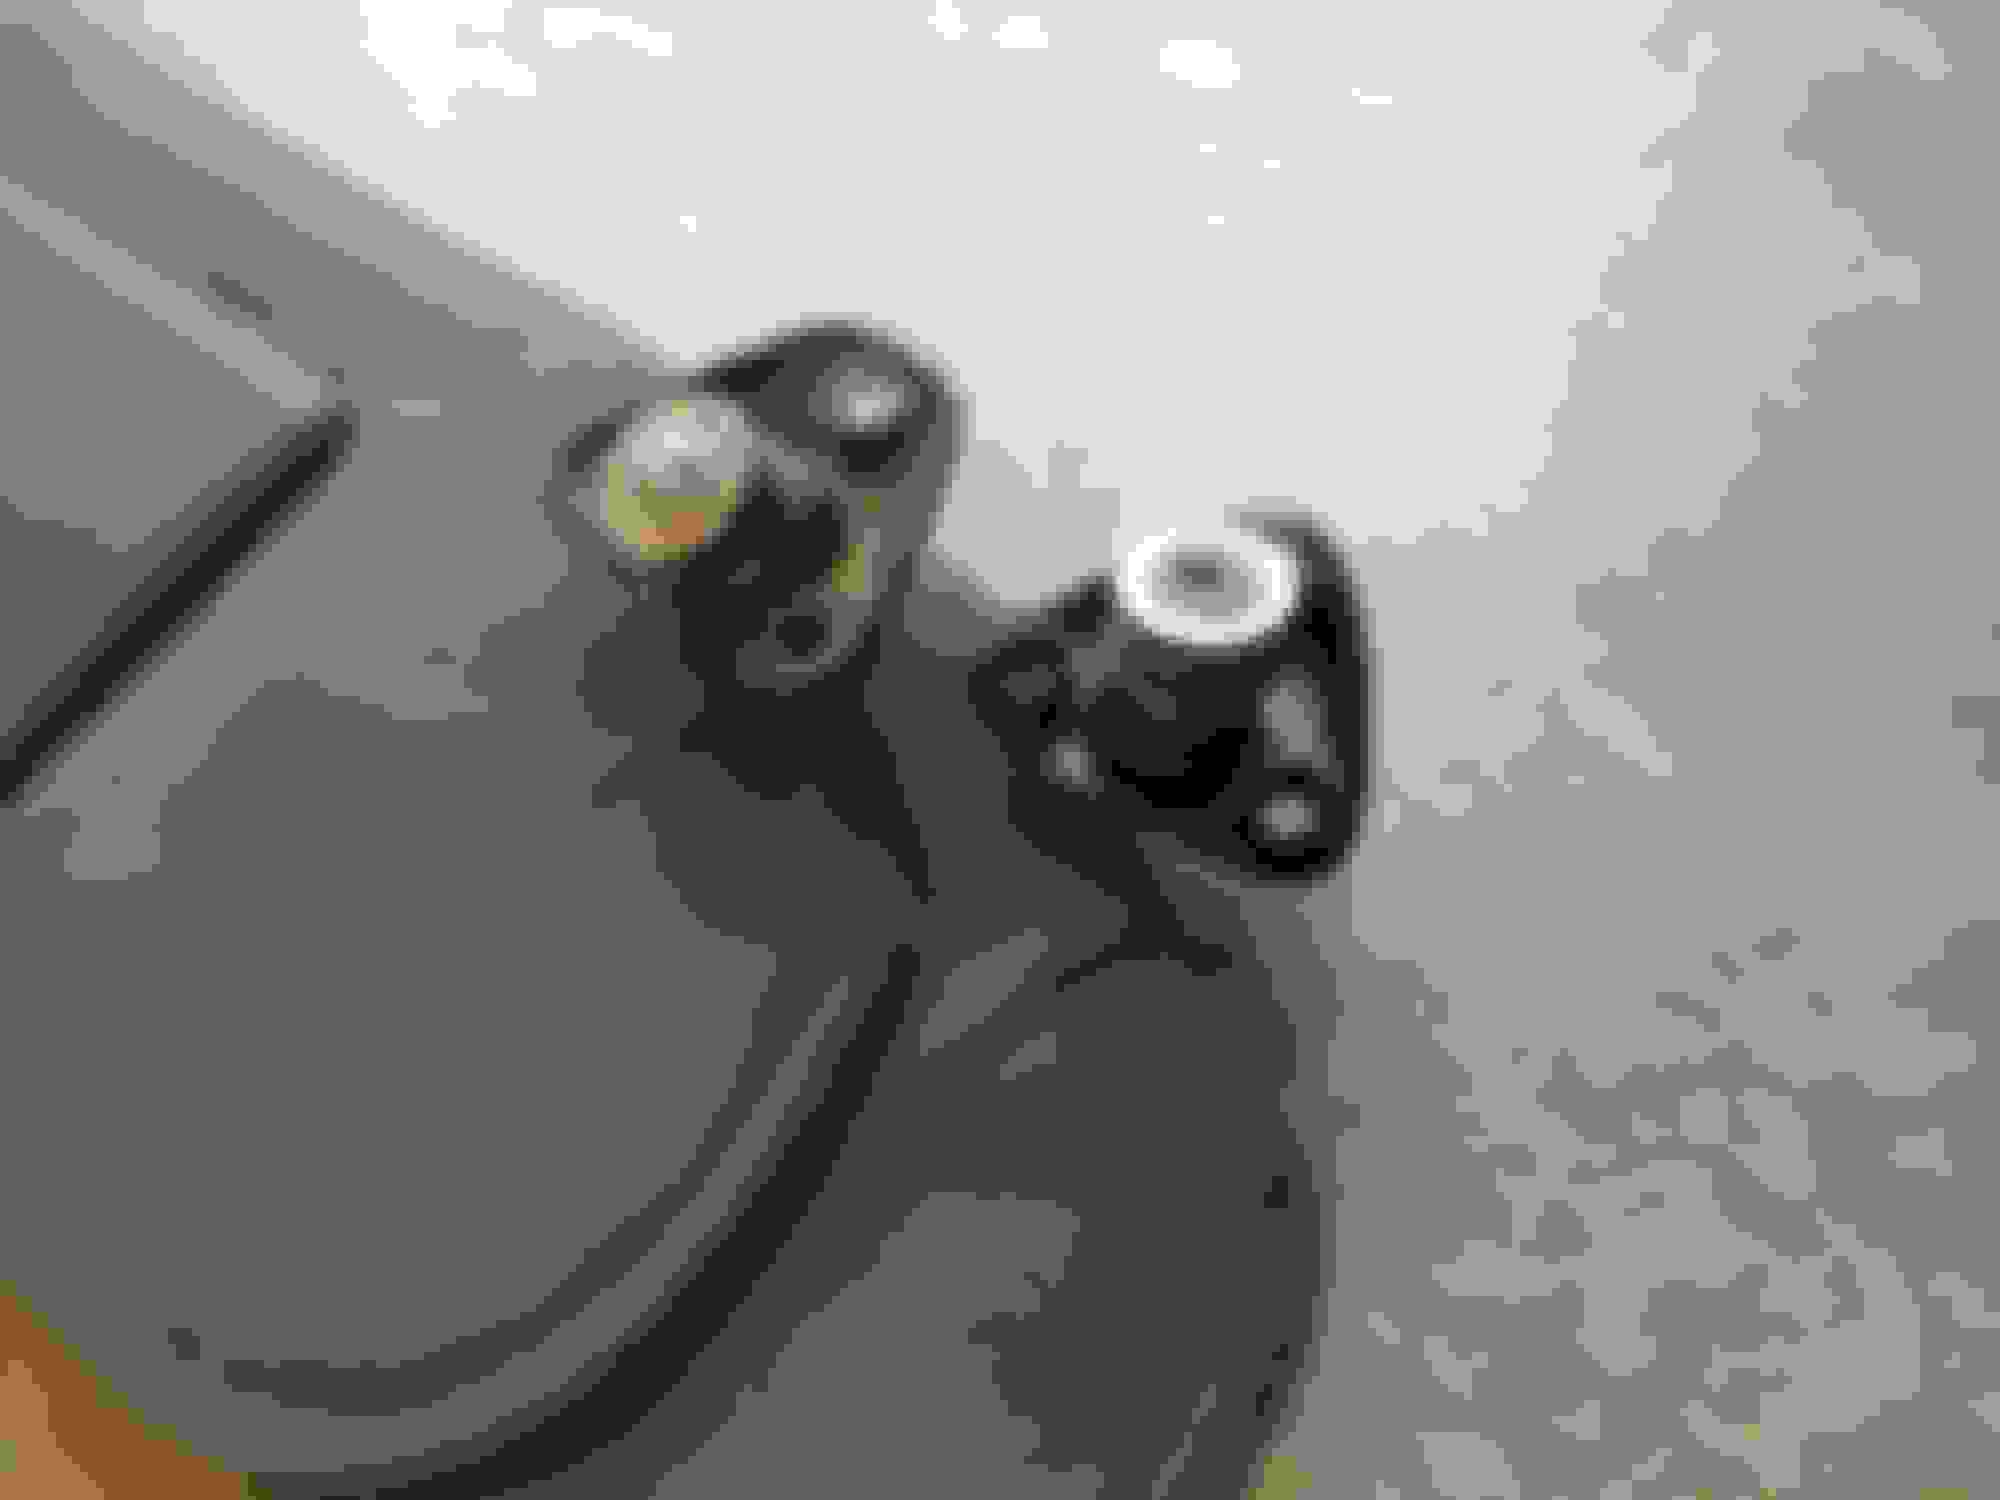
My visors are from a 02 Camaro. I found out on my hardtop thirdgen that 4th Gen visors aren't a direct swap but I figured out a way to make them fit. The mounting base is just too different on the 4th gen. The spring and pin part extend too far out in the wrong direction. Luckily, the pin hole on both thirdgen and forthgen mounting bases are the same diameter. Below are my directions on how to swap the mounting bases so that 4th Gen visors fit. The first photo shows comparison of before and after. The one with the bolt through it has the 82-92 mounting base.
2nd Photo shows cloth parts pulled off for unmodified 93-02 visor and 82-92 visor. 93-02 is the one with the copper color. Notice difference in pins and difference in mounting bases. Also notice how much further the spring section extends outward on the 93-02. Yes, you could just re-insert the cloth part from the 93-02 onto the 82-92 visor assembly but it doesn't work as good. The pins are a different shape and diameter.
Directions:
Tools and Supplies Needed:
- 10-32 Tap and tap tool
- Dremel with grinding disc
- (2) 10-32 bolts, phillips pan head, 1/2" long
- Bench Vise
- small socket set
- Phillips #2 Screwdriver
- 5/32" drill bit and drill
- paper towels
- can of WD-40
- (2) small washers
Pre-caution: use cloths or rags in vise to prevent marring of any of the parts for the 93-02 Visor
1. Both 82-92 and 93-02 Visors - remove pin assemblies by simply pulling off/out the cloth visor parts
2. 82-92 Visor - remove hex screw
3. 82-92 Visor - use dremel to grind away what looks like a rivet up top
4. 82-92 Visor - disassemble and keep only the mounting piece with the 3 holes
5. 93-02 Visor - use dremel to grind away what looks like a rivet up top
6. 93-02 Visor - disassemble and keep all pieces except the mounting piece
7. 93-02 Visor - use 5/32" drill bit and drill into aluminum pin, use WD-40 as lubricant for drilling
8. 93-02 Visor - use 10-32 tap, use WD-40 as lubricant
9. 93-02 Visor - make sure 1/2" bolt will go far enough, if not use tap again and make more threads
10. 93-02 Visor - re-assemble using 82-92 mounting plate, may have to squeeze spring to make 93-02 washer part fall into place. Use new bolt and new washer also.
11. Insert 93-02 cloth part onto modified 93-02 assembly
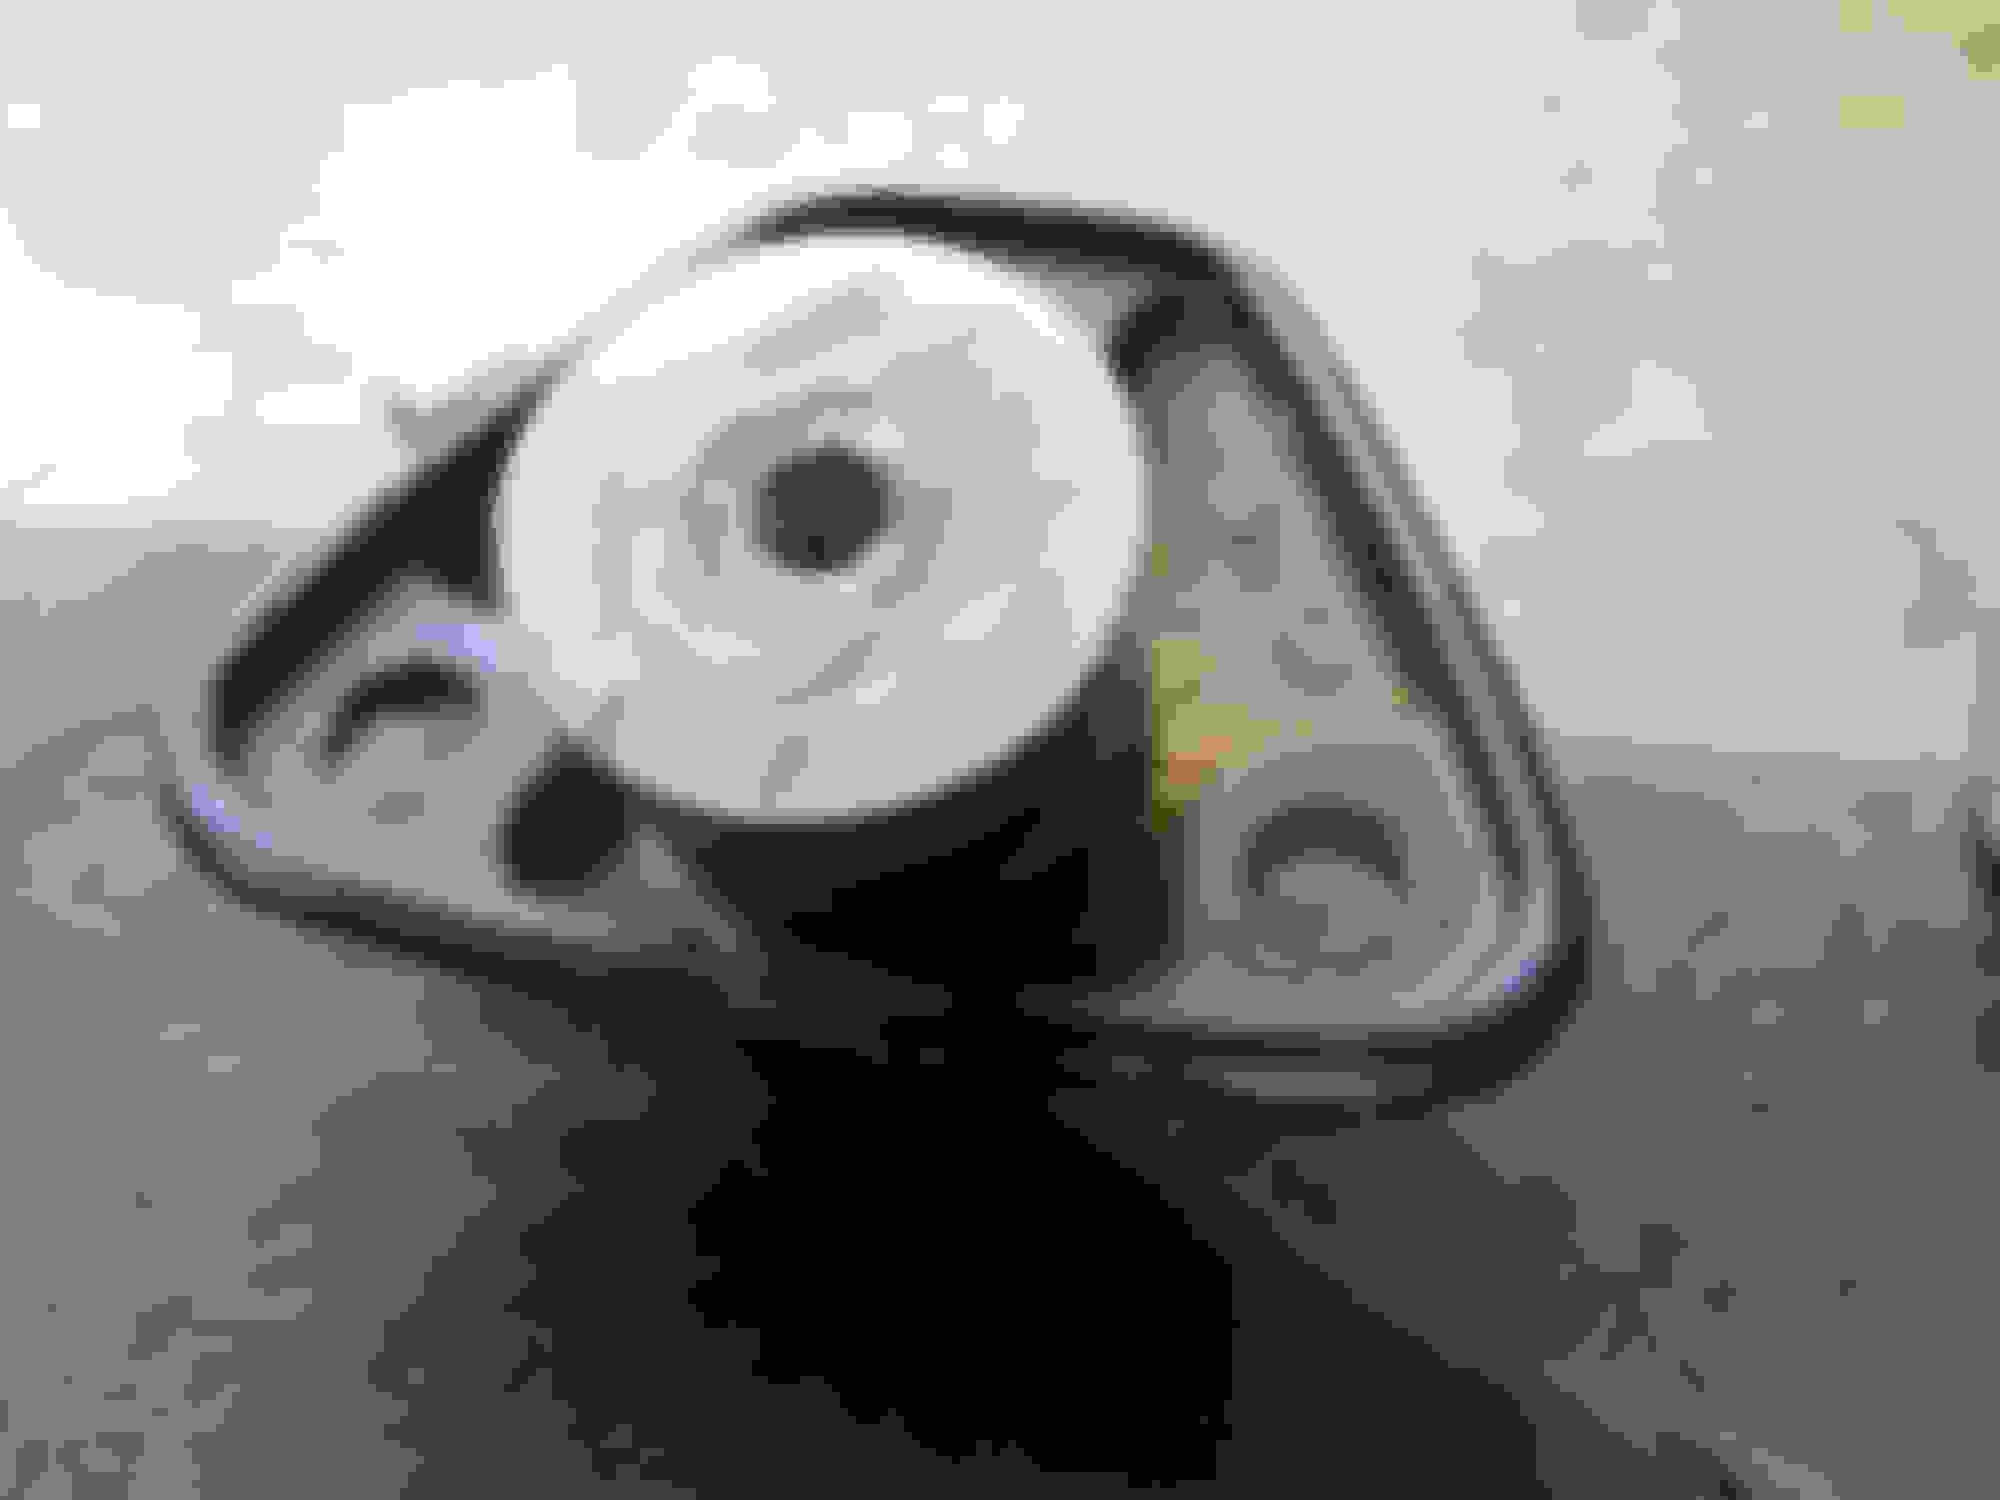
Here is a photo showing the 93-02 pin after being drilled/tapped. I removed the bolt temporarily just to show what was done.(somehow magically the original 93-02 washer is staying in place)
This reminds me I need to figure out how to repair the visor in my old Bronco. When you pull it down and take a corner, the damn thing smacks you in the head!
Craziest thing. I've never been slapped by my own car before.
Problem with the sunvisor mounts (usually) is the way they were made. The pin the sunvisor slides onto is SPLINED on the end and then it's pressed into the pot metal elbow. Idiots think they're making things better by tightening the tension screw with their HULK HANDS! and the next thing you know, they've got the screw so tight they're just twisting the pin in the elbow every time they flip their visor up or down... Er... Up and down, because when the splines don't grab anymore they just fall right back down.
The fix is so easy it's incredible. If you catch it before Dr Bonehead completely strips the elbow, you can usually just slide the visor off the pin and tap the pin a few times with a hammer to seat the splines deeper or back into the elbow. If that doesn't work, a person has to get a bit more involved. The pin can be pulled out of the elbow with a little work. At that point it's up to you if you want to clean out the socket in the elbow, apply JBWeld and press the pin back in, or leave the pin in and drill through the elbow and the pin and pop in a roll pin, or just let a few drops of super glue run in between the pin and elbow, or try something like a Loctite adhesive for splined parts, etc. All you gotta do is make the pin and the elbow ONE piece. Then the tension of the screw actually does something and you can set them loose enough to pivot without falling on their own. Unless you Michael Knight Duke Boys over that bridge that's out, in which case gravity is going to do it's thing when the kinetic energy has to suddenly go somewhere. May God have mercy on your soul.
The way I fixed my visor pin was, first took out the pin from the housing, it's not that difficult. I grabbed some vice grip pliers and made some "teeth" sort of speak on the pin (area) that goes back into the braket. Then I forced the pin back in to the braket with a hammer, and wala! the pin is strongly secure without rotating. Put visor back in and it stays right where I want it. Easy fix.