When you click on links to various merchants on this site and make a purchase, this can result in this site earning a commission. Affiliate programs and affiliations include, but are not limited to, the eBay Partner Network.
LTX and LSXPutting LT1s, LS1s, and their variants into Third Gens is becoming more popular. This board is for those who are doing and have done the swaps so they can discuss all of their technical aspects including repairs, swap info, and performance upgrades.
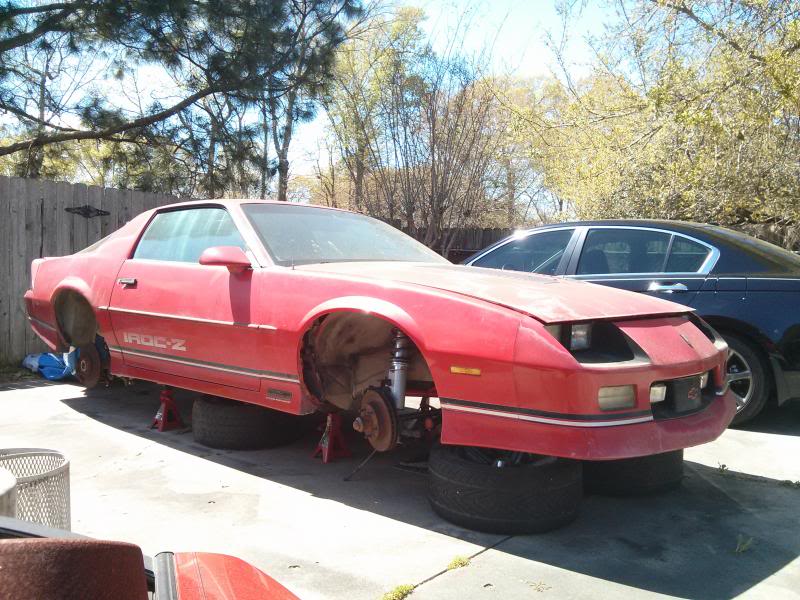
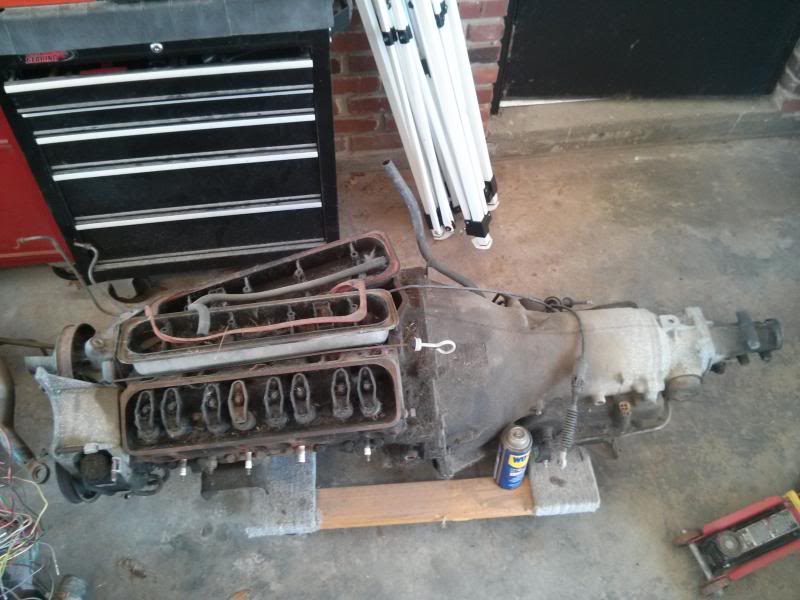
Ok, I figured I'd finally start a build thread for my project. The story is I had an 88 305 TPI T5 and my friend had an 89 350 TPI that he blew the head gasket on. His car had rear disk and straight body. So long story short, I taught him how to drive a stick and we swapped cars.
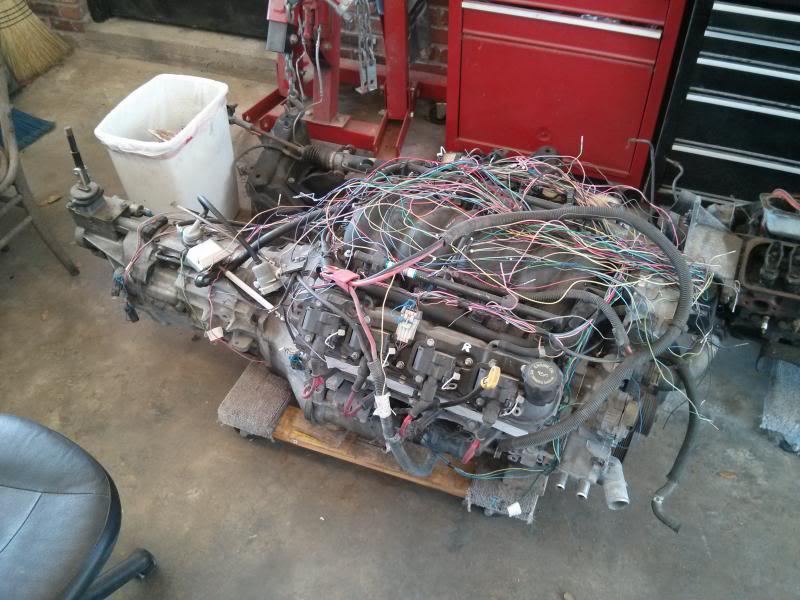
The LS1/T56 came out of a 2001 SS. I bought it from an insurance auction. Did some research (on forum I saw on bumper sticker). It has MS2 cam, and tuned by some shop in NC. Put down 420 at the wheels. Can't wait to get it in!!
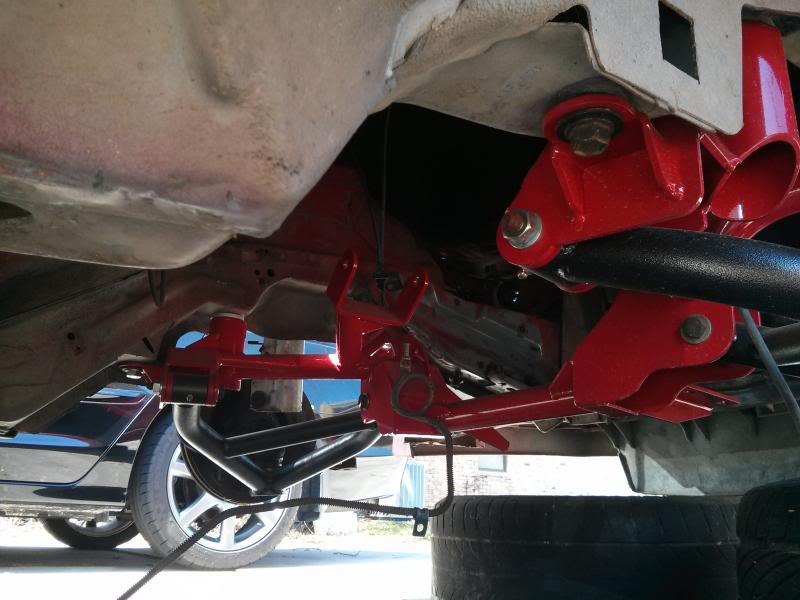
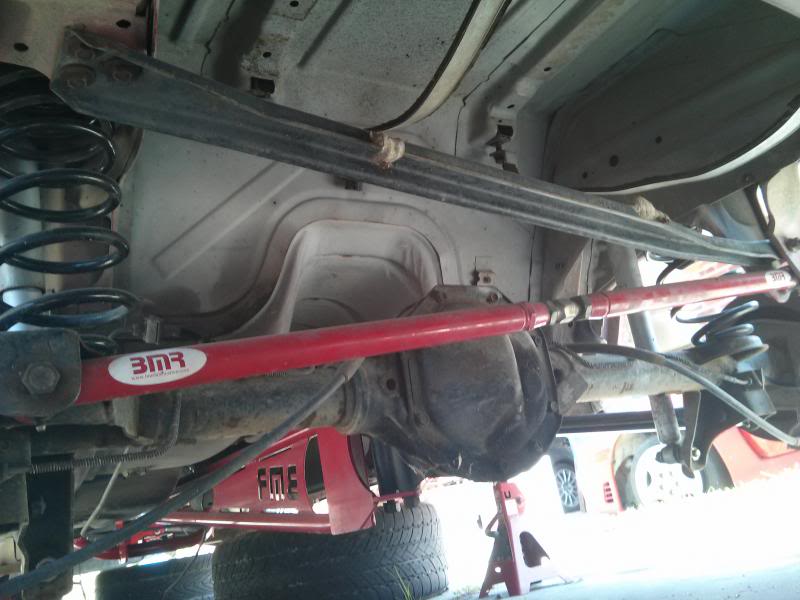
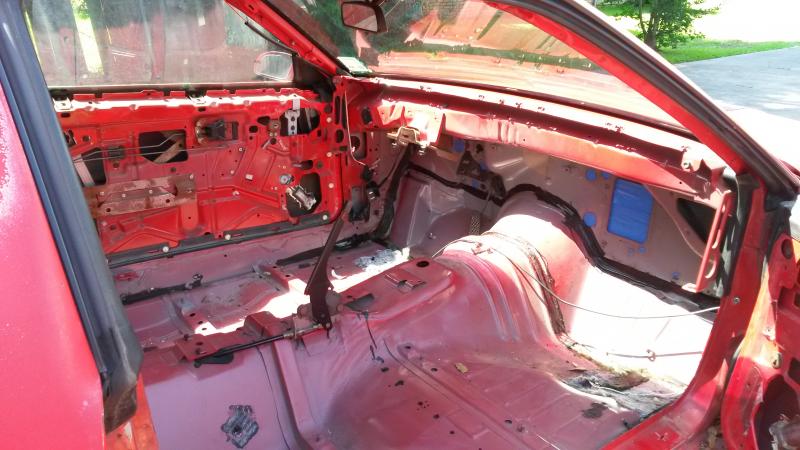
As you can see from the pics, I've got all tubular front and rear BMR suspension. Also, have the BMR LS1 K-member. I'm going with a manual rack and pinion and no A/C (for now). Also have a 4th gen fuel tank from a V6.
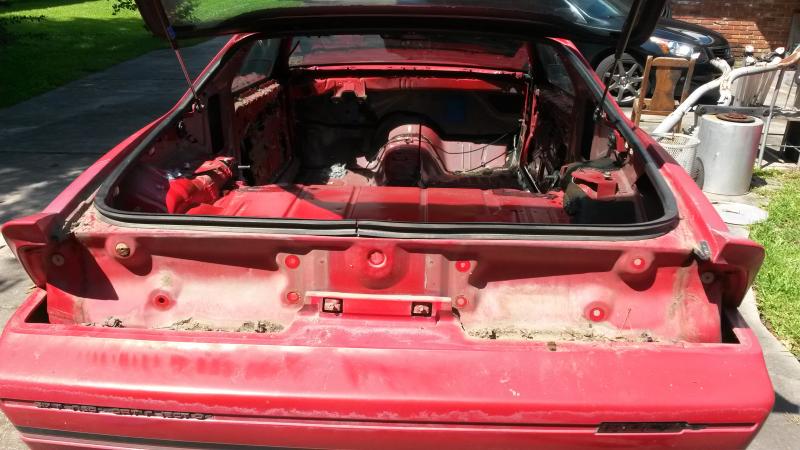
I snapped these pics just now. Currently working on the wiring harness... FML
Last edited by iroc-v; Nov 6, 2018 at 08:30 PM.
Reason: PLEASE TURN THE "LS!" INTO "LS1" IN THREAD TITLE
So I've been reading through pocket's how-to on this and I started plugging in connectors and routing the harness without having labeled the PCM end of wires. I'm doing that as I write this. I also didn't cut out the injector "commons." Do I HAVE to do this?
DO NOT cut the injector commons out of the ls1 harness. Jus leave the pink injector wires bundled together like the are from factory. If you cut them, you'll likely tie them all back together in the same place.
Ok, thanks! I was just reading through pocket's how-to again and came across where he said not to cut them. I was thinking I was just trying to cut corners last time I worked on it.
Ok, after labeling all the pins, I have a couple of questions.
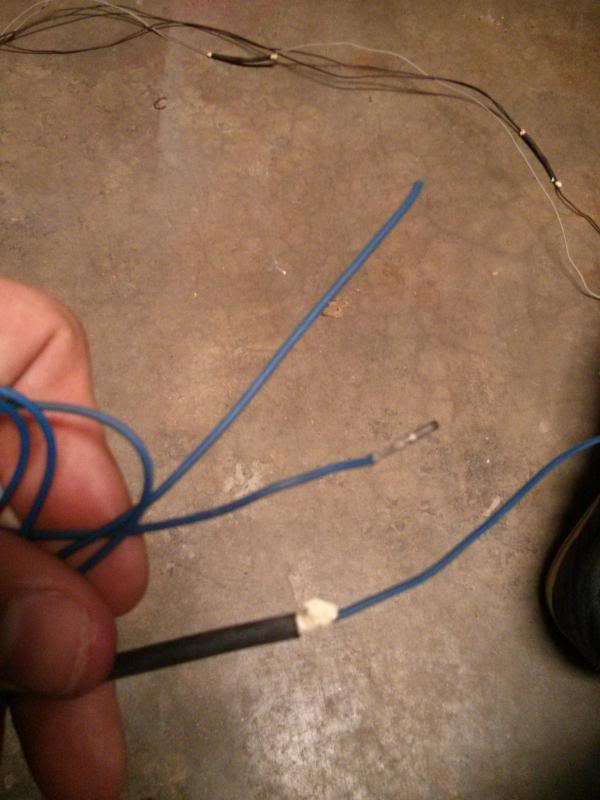
1. The dark blue wire coming from the TPS splices into two (one with a pin for PCM). Where does the other one go? (same situation with the gray and black TPS wires)
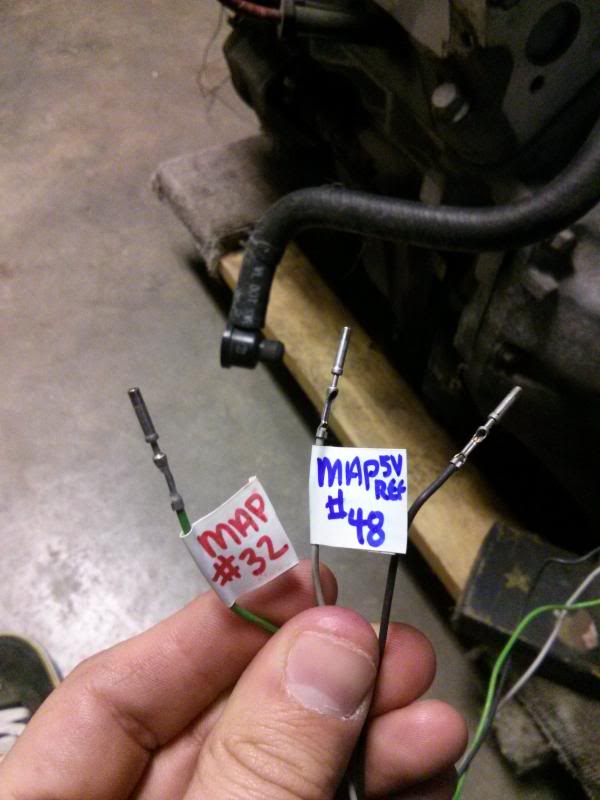
2. The MAP sensor has a black wire (with PCM pin) but the corresponding pin I'm finding for MAP ground is orange/black. What's the deal?
3. The reverse lights (light green wire and brown wire). Do they go to PCM? If not, where to?
4. The blk/wht wire coming off the oil level sensor and the tan wire coming from the oil pressure sending unit. Can't find a pin for them.
5. I'm running absolutely NO emissions/smog equipment. Do I just leave those pcm ports empty?
Thanks for all the help guys. I knew this wiring harness was going to be a tough job but (just like with the paint/body work), I'm quickly realizing I don't have the money I need to have someone else do it.
Cut away the extra portion of wire on the TPS. All you need is from the TPS plug to the PCM, the extra leg was for T/C.
Backup lights don't go to PCM. If your car was a auto, wire the t56 reverse switch to the blue wire and green wire at the neutral safety switch plug under the console.
Don't have access to a ok out at the moment to help with your map wire, will help later if nobody responds by then.
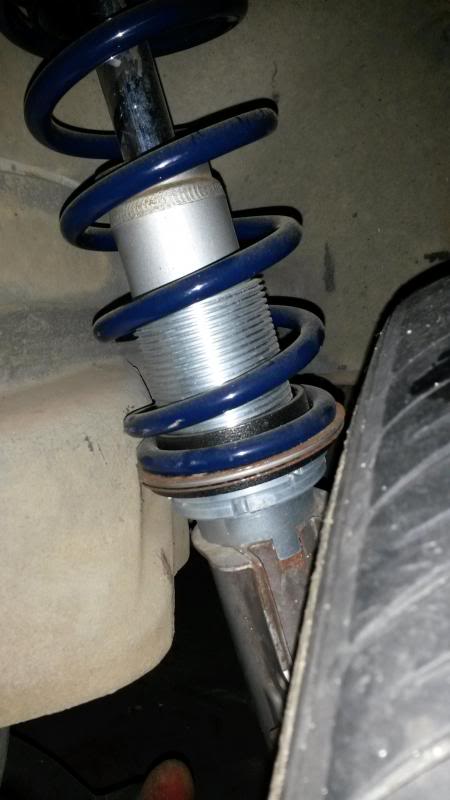
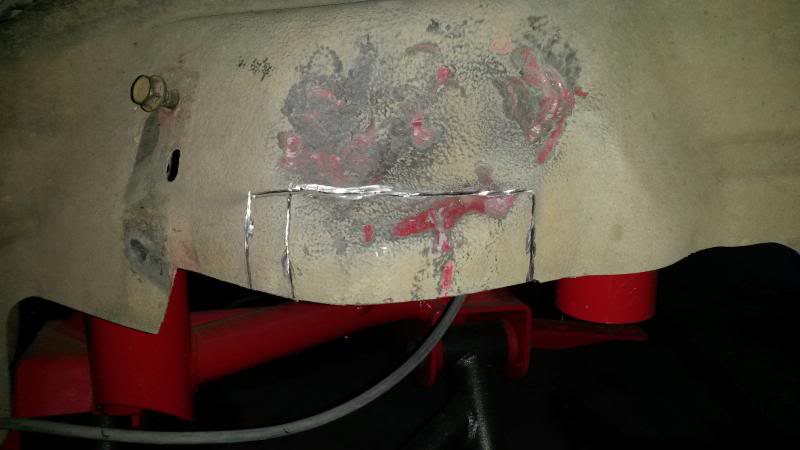
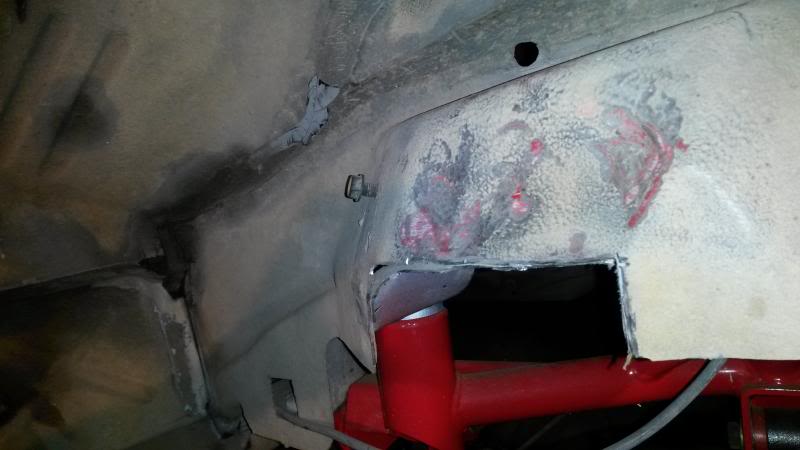
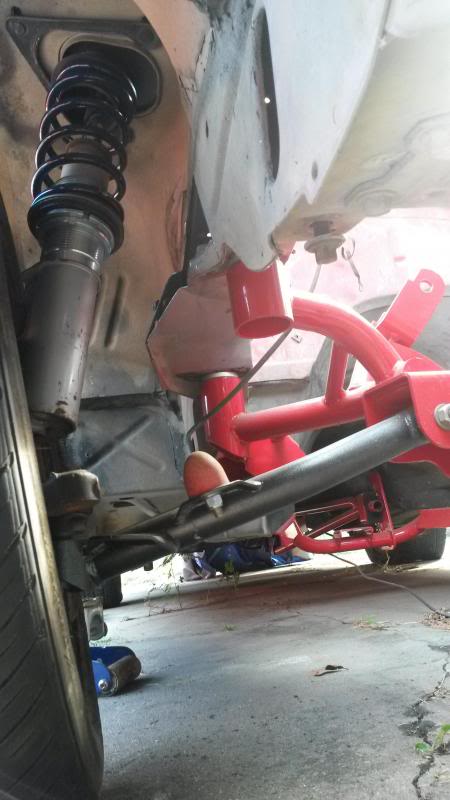
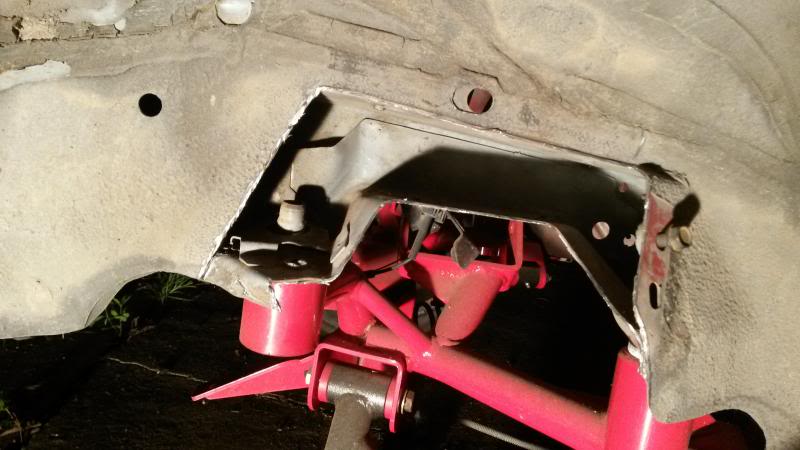
Ok, serious problem. I put the rims and tires on today and went to lower it and the front end was sitting SUPER high. I realized that it's resting on the strut!!!
you will get more clearance when you adjust the collars up about half way the threaded sleeve. I also seen some people take a hammer to make a dented area for more room. Also, depending on your camber adjustment, pull the top of the strut away from the center of the car. good luck
Could I get away with dremeling away that area of the fender well or would that be a bad idea? It seems like it wouldn't affect anything because the flared part is just where the upper spring seat is (which i no longer need). Thanks
I guess you could, but then water and dirt can get in there. I would just pound the area in with a ball peen hammer or i used a hard rubber mallet to massage that area. It should only take a few wacks. It is a hollow area between the inner and outer layers of metal skin there, so it has plenty of room to be dented inward before it will interfere with the other side of the spring pocket. good luck. If i get time i could send you pics of mine if you need to see what i am talking about, i know my words may be hard to describe.
Ok, I had to wait for the pouring rain to subside. a dead blow mallet does NOT work. I was going to town on that thing and NOTHING. I'm deciding between a bigger metal hammer or a dremel now
you need a hard rubber mallet, the rubber on mine is like solid. Or just use a ball peen hammer, or hit it harder. I took some pics of mine but i do not know how to post them on here
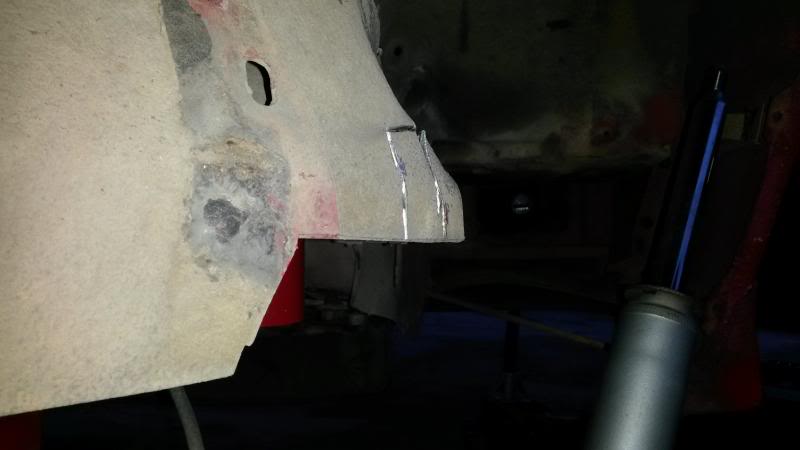
So I had a little more success with a traditional metal hammer. However, that main little lip/hump was being stubborn, so I got the dremel out. Here's where I am now. (I'm letting the dremel cool because I've had several overheat and die on me from doing stuff exactly like this.)
Really! I'm actually kind of annoyed with BMR for the K member as well. If you'll read above a had a problem with their that as well and were absolutely NO help at all!
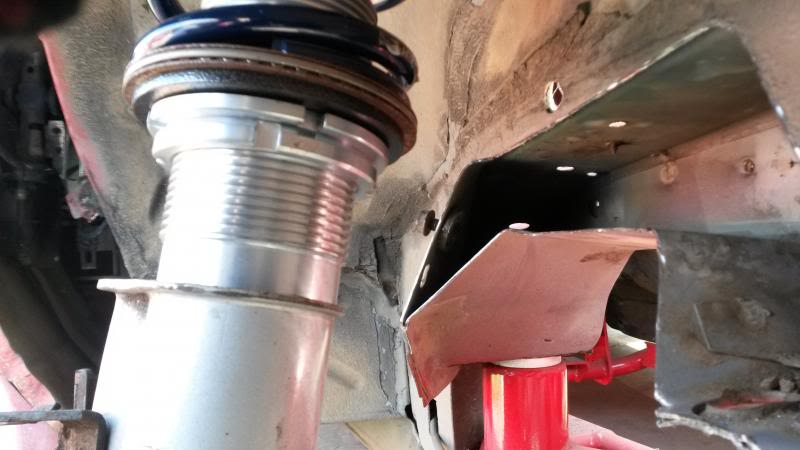
Ok, so here's where I left off for the night. It was getting a little late for all the hammering and dremelling I was doing. I still don't have the clearance I want though. What I'm trying to do is have enough room to lift the whole coilover/spindle assembly to get the strut nut on at the top. I also want to have enough room for full coilover adjustment.
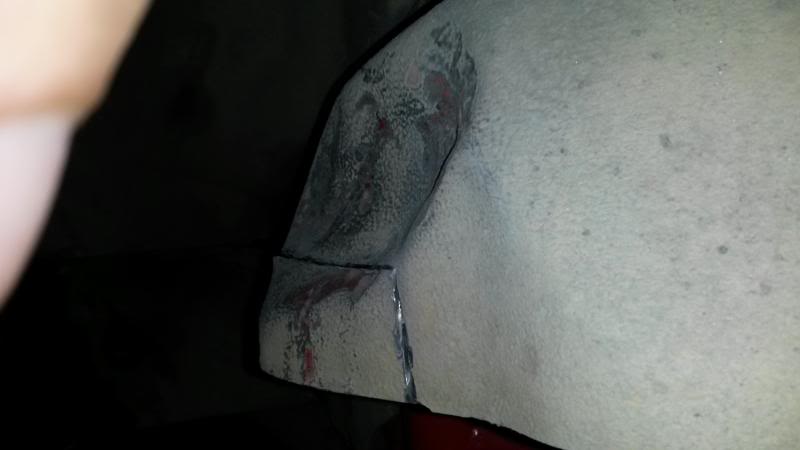
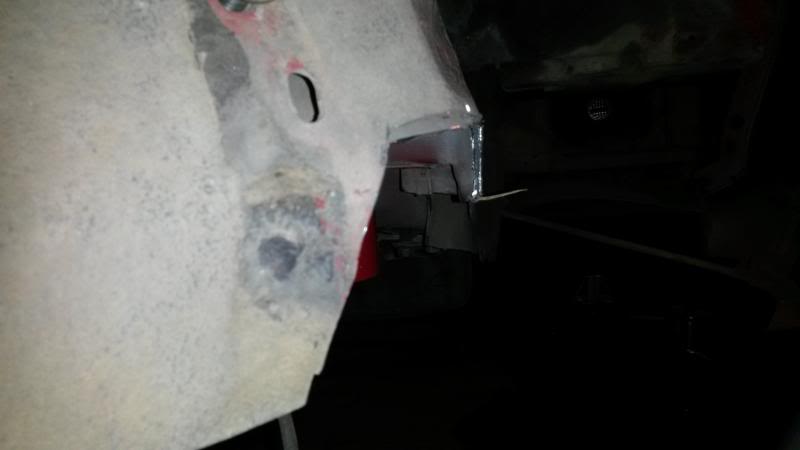
Ok, finished with one side. It ain't purty but I've got tons of clearance. I may have a shop weld these gaps shut and also reinforce the area of the firewall where the clutch master cylinder will be.
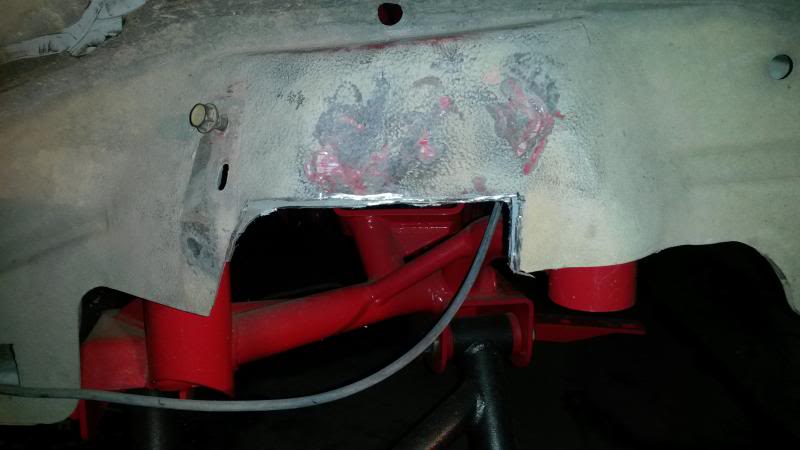
Ok, here's where I ended up on the driver side. It took a lot less time since I knew exactly where I wanted to cut to begin with. Basically just removed the entire hump area (leaving just enough for that one bolt in the pic, think it's a brake hose?).
That's exactly what I have in mind. Next step is to body shop. I was going to have these holes welded up and also have the firewall reinforced where clutch master cylinder is going to be and also have some subframe connectors put on
it's a very odd place to be welding i think because of the angles. have no idea what kinda money a shop would charge to do this along with subframe connectors and the firewall area???
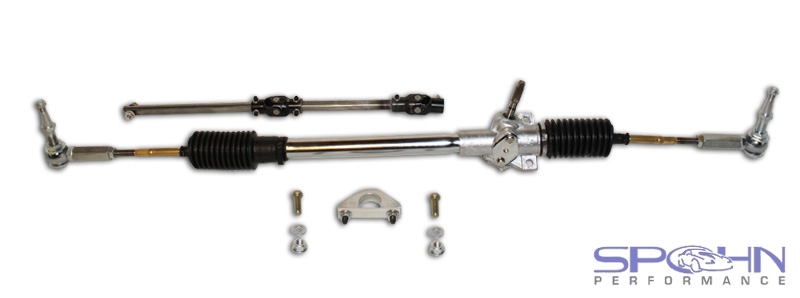
Just a little update. I've been living in Alabama since 2011 and am moving back home in may to get back to work on the iroc! Just ordered the Spohn Pinto Rack kit. VERY excited
I'm also about to order some subframe connectors too. I'll have them welded in by whoever I end up getting to fix the gaping holes in my frame lol Any opinions on the Spohn connectors???
Brought the original hood to body shop for them to throw it away, but the buy working on the car said it would be cheaper to fix the factory hood than repair the fiberglass IROC turbo hood, so we decided to stick with factory hood.
Paint looks great. Don't ruin it by putting a 305 back in. That is a lot of work and you'll likely scratch some of that new paint. Just work on the rest of the car as if an LS is going in. You could always put a cheap 5.3 in and focus the rest of your budget on trans, exhaust, etc.
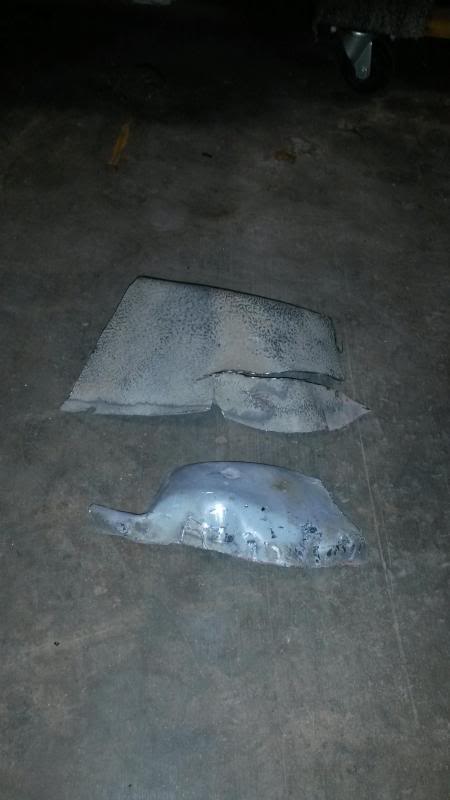
So, 12 years later, I still haven't given up on this project! I got busy becoming a lawyer, getting married, and having kids. Finally starting to financially recover from those things! So I bought an LS1 from my buddy's 99 Trans am with 175k miles. Just ordered new crank seals and motor mounts. Now I need a gas tank, which is what reminded me about this thread. I have since thrown out the plastic tank that I had before. In the meantime, I think I'll start putting the interior back together.