When you click on links to various merchants on this site and make a purchase, this can result in this site earning a commission. Affiliate programs and affiliations include, but are not limited to, the eBay Partner Network.
LTX and LSXPutting LT1s, LS1s, and their variants into Third Gens is becoming more popular. This board is for those who are doing and have done the swaps so they can discuss all of their technical aspects including repairs, swap info, and performance upgrades.
It has been a long time coming but I am at the point where I can start to share the documentation of my build. My car hasn't been driven since I wrecked into a guardrail back in 2003. The damage was just enough to keep me from fixing it at the time. Grad school, Marriage, a few homes, and two kids put the car on the back burner and the car has been sitting in my garage since. I struggled with what I wanted to do with the car but knew I wanted an LS swap along with all the other pro-touring stuff. I started bringing it back from the dead roughly 3 years ago. I forced myself to just start something and go from there. Well, the project snowballed and I decided I was going to leave nothing off the table and finally get this thing back on the road.
This thread will show the progress over the last three years and seem quick, but updates will be more typical from here.
Some of you may have seen my thread about the engine I built in the LS swap forum. Background and pics of that build can be found here.
377 LS3 block
11.5:1 CR (forged guts)
Mamo Motorsports 235cc Heads
Mamo Motorsports ported FAST intake
227/231 comp cam
Tremec Magnum T56
Lot of oiling upgrades and pretty stuff.
Onto the car:
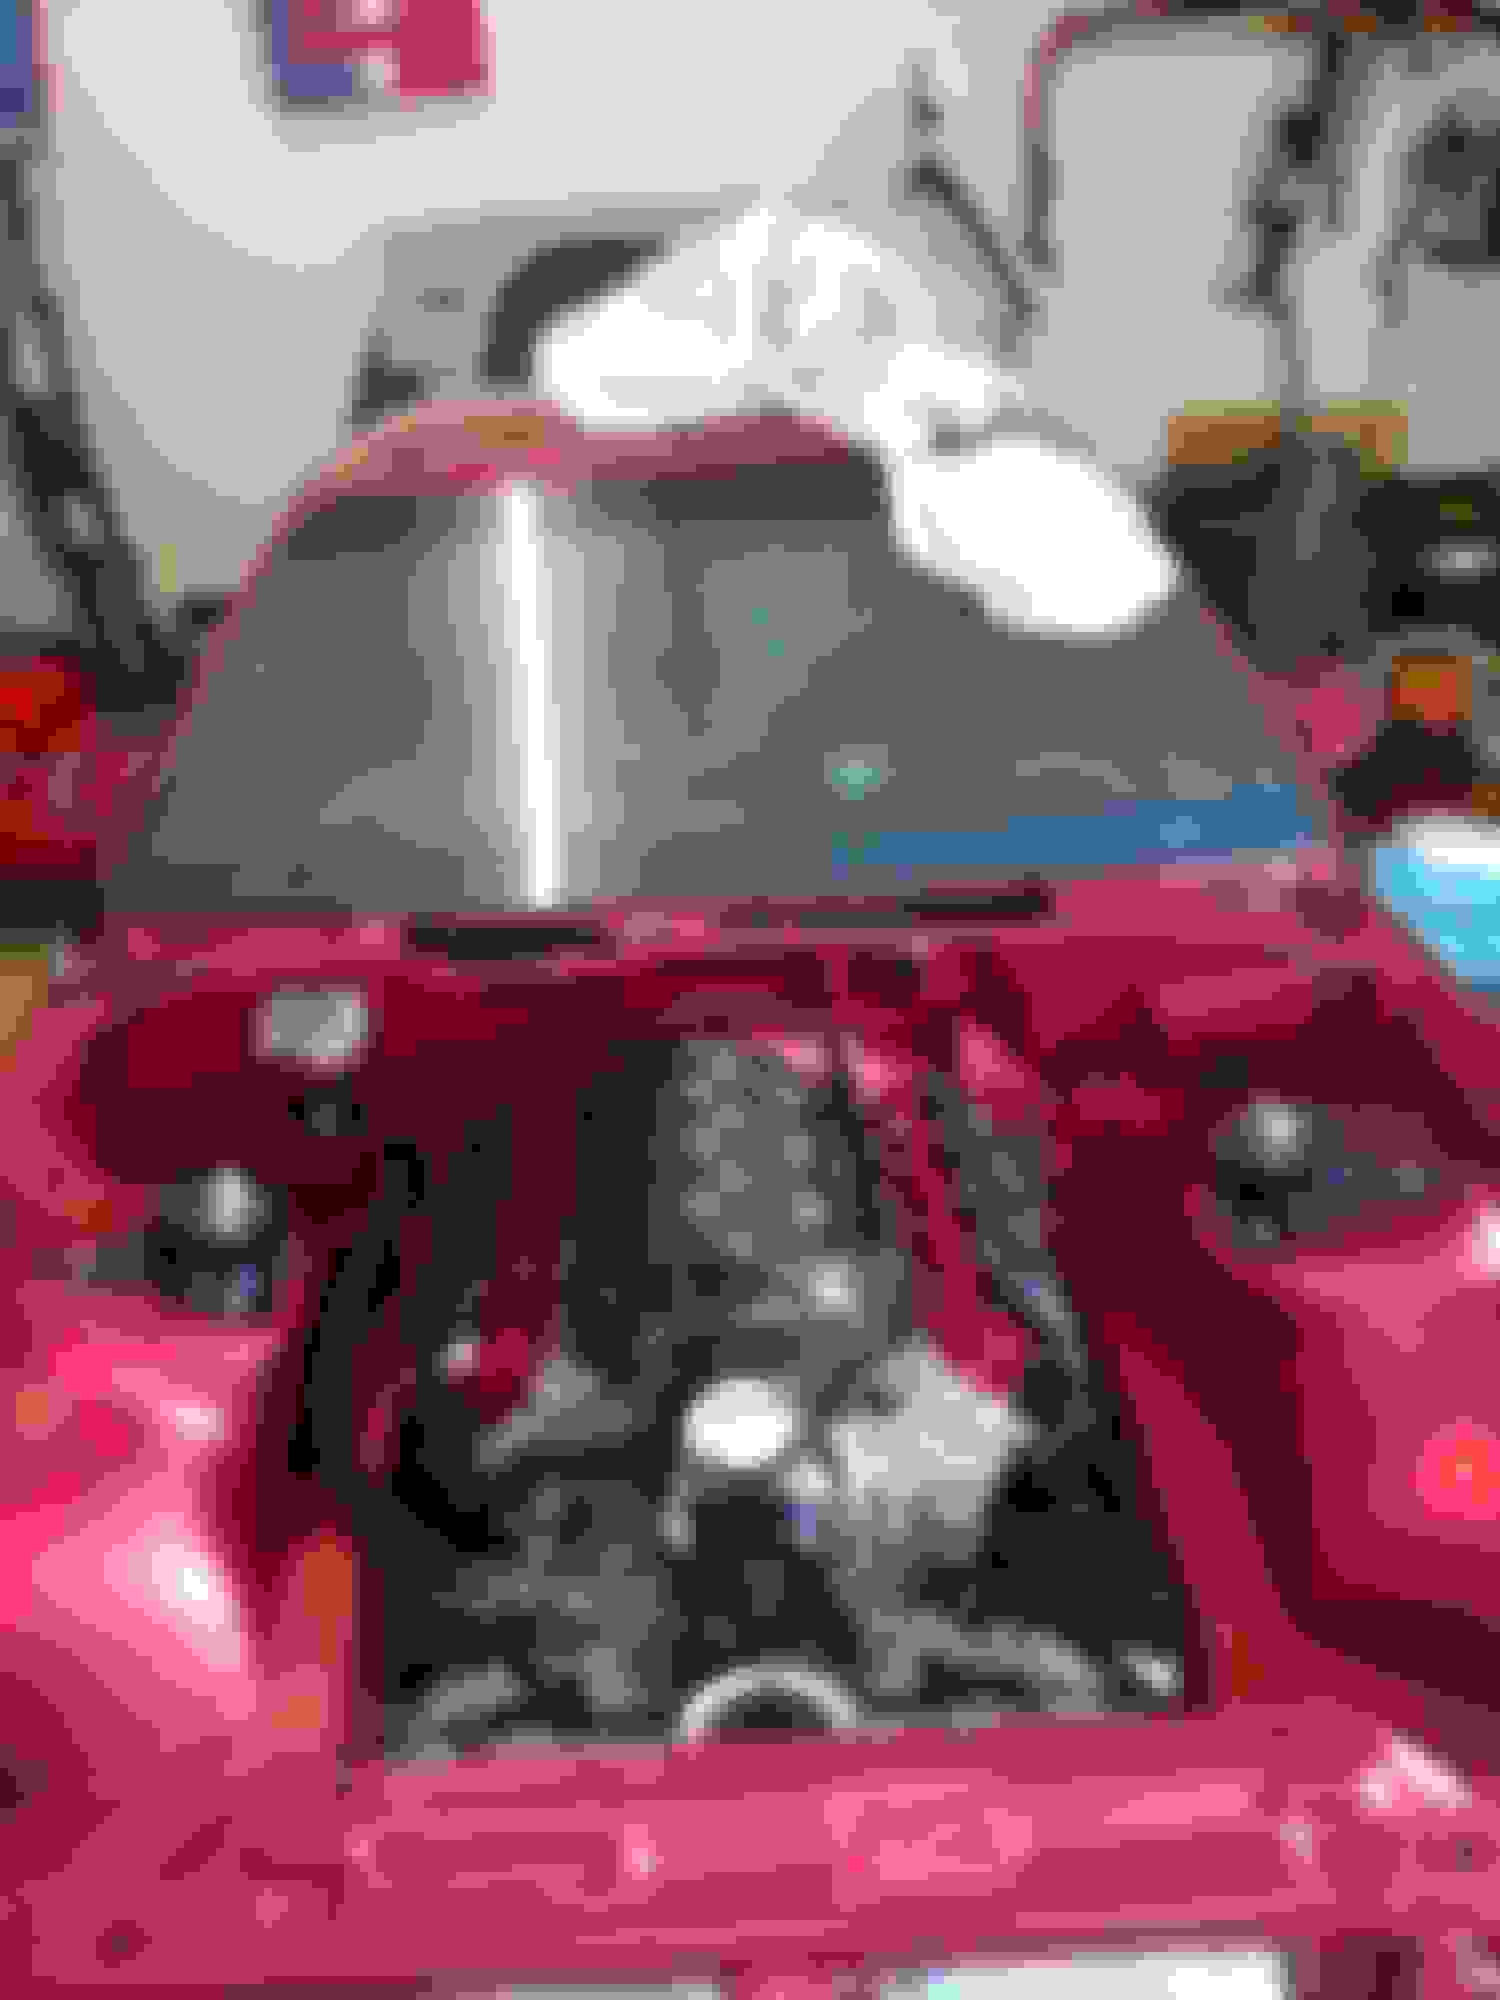
I started doing a lot of the metal work myself after I removed the 305 and T5. I really liked the idea of a clean and smooth engine bay so I made that the starting focus of my engine prep. My high level stages of this project are as follows:
Build Engine and Driveline
Strip car
Prep Engine bay
Fix damage from accident
Smooth engine bay
Mini tubs
Paint engine bay
Install front chassis/suspension
Install power plant, plumbed and wired
Take car back to body shop for final paint
Each of these steps has many tasks and as of today I am ready to install the powerplant. I just need some time (See marriage, kids above).
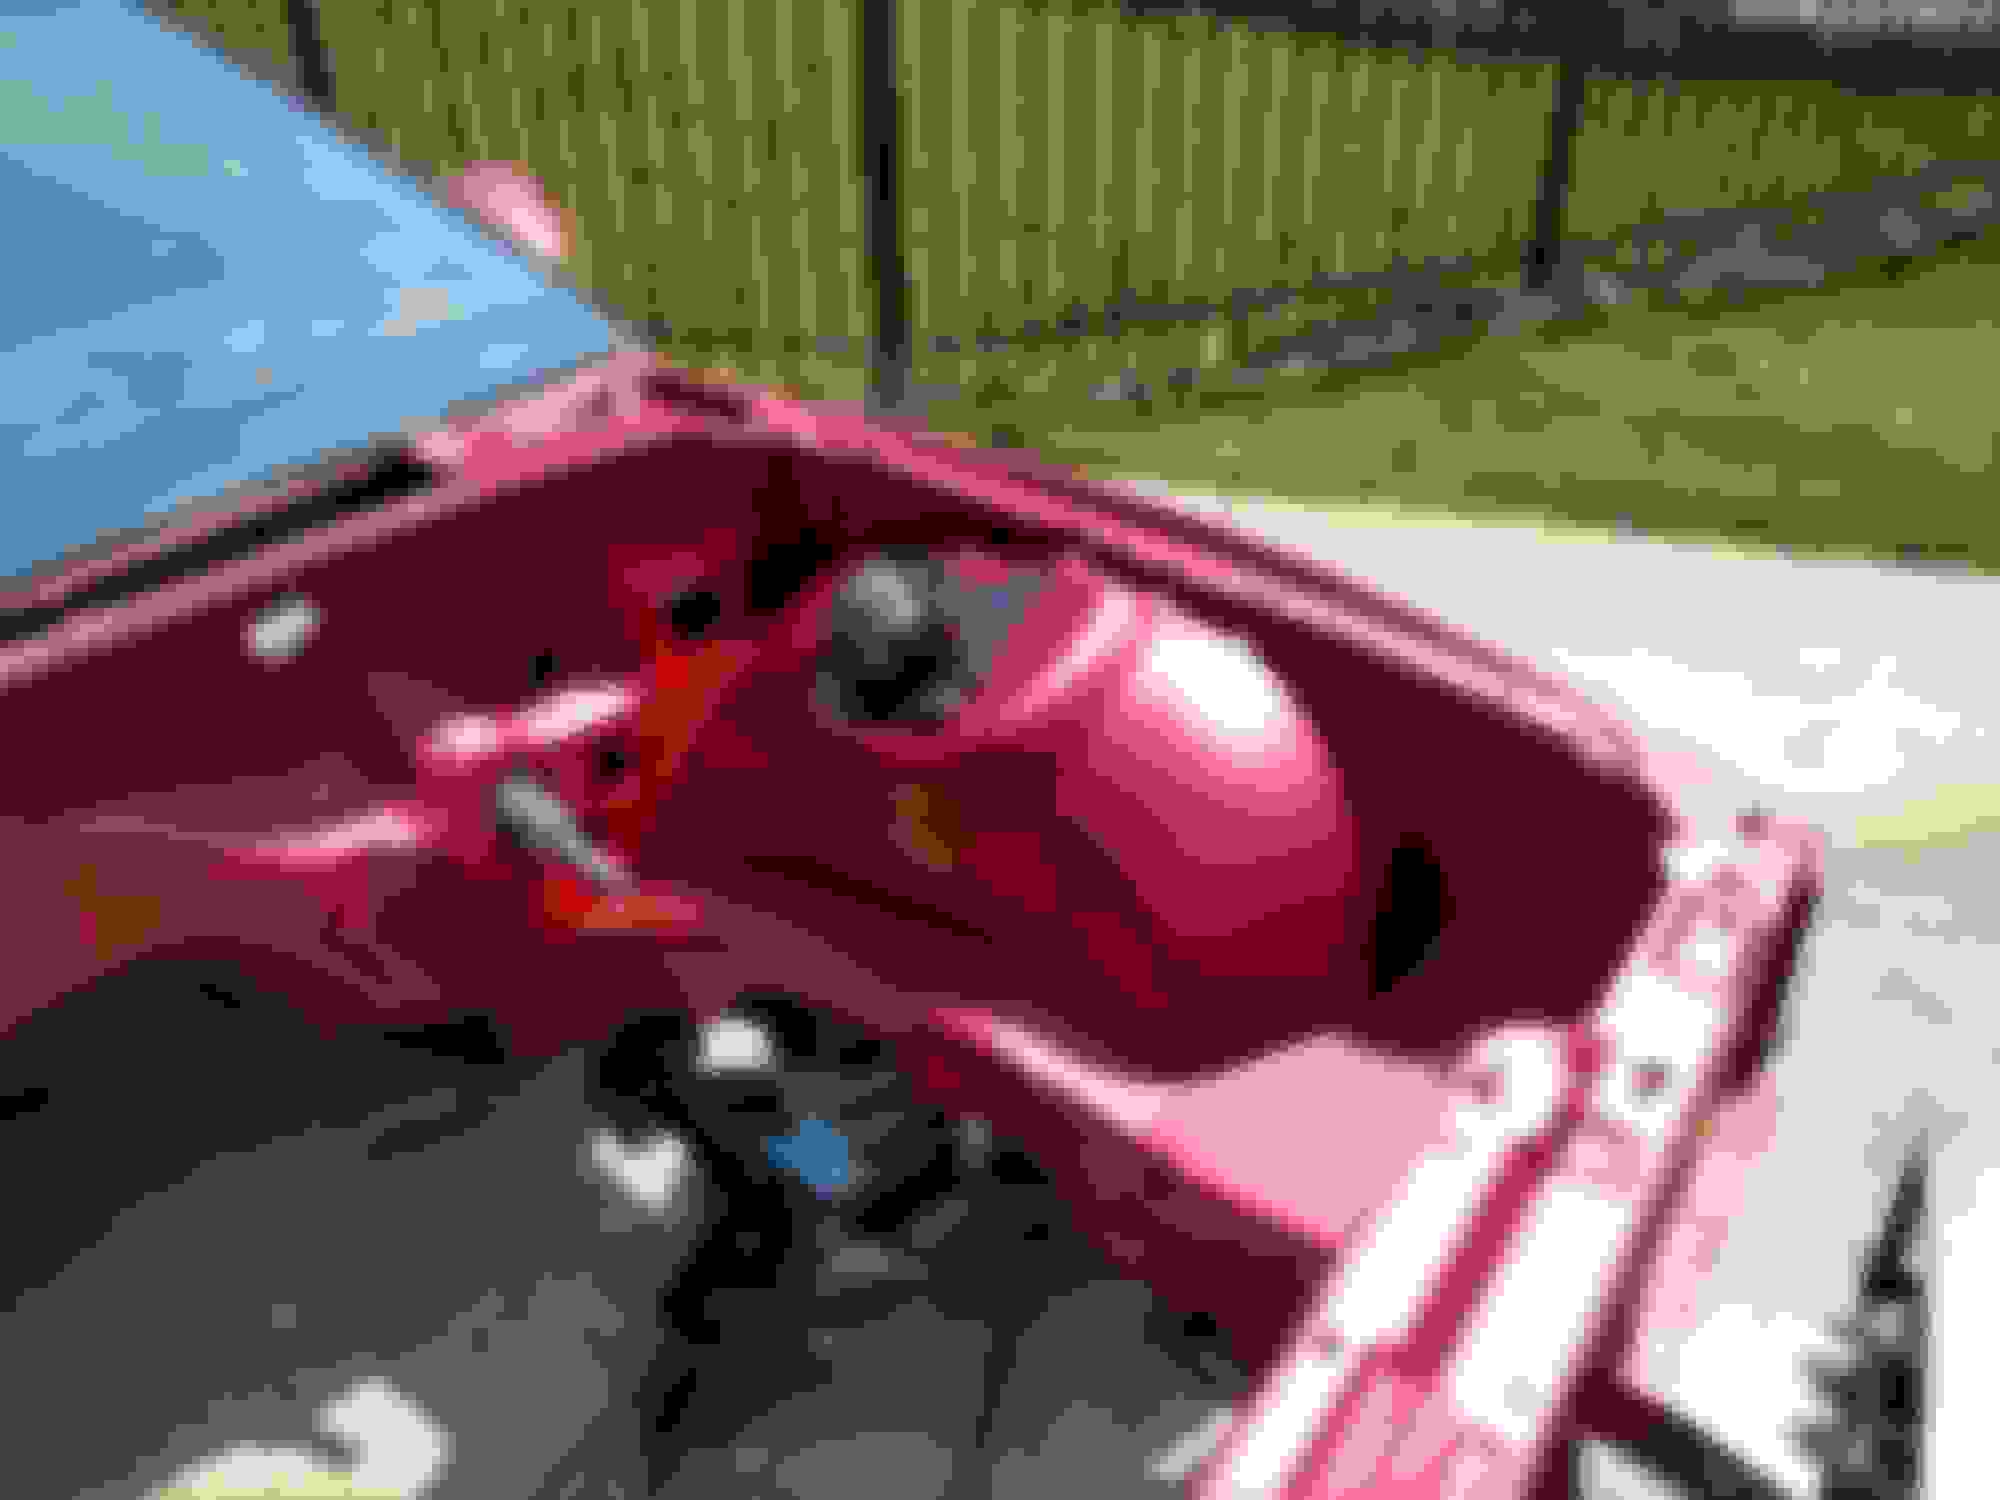
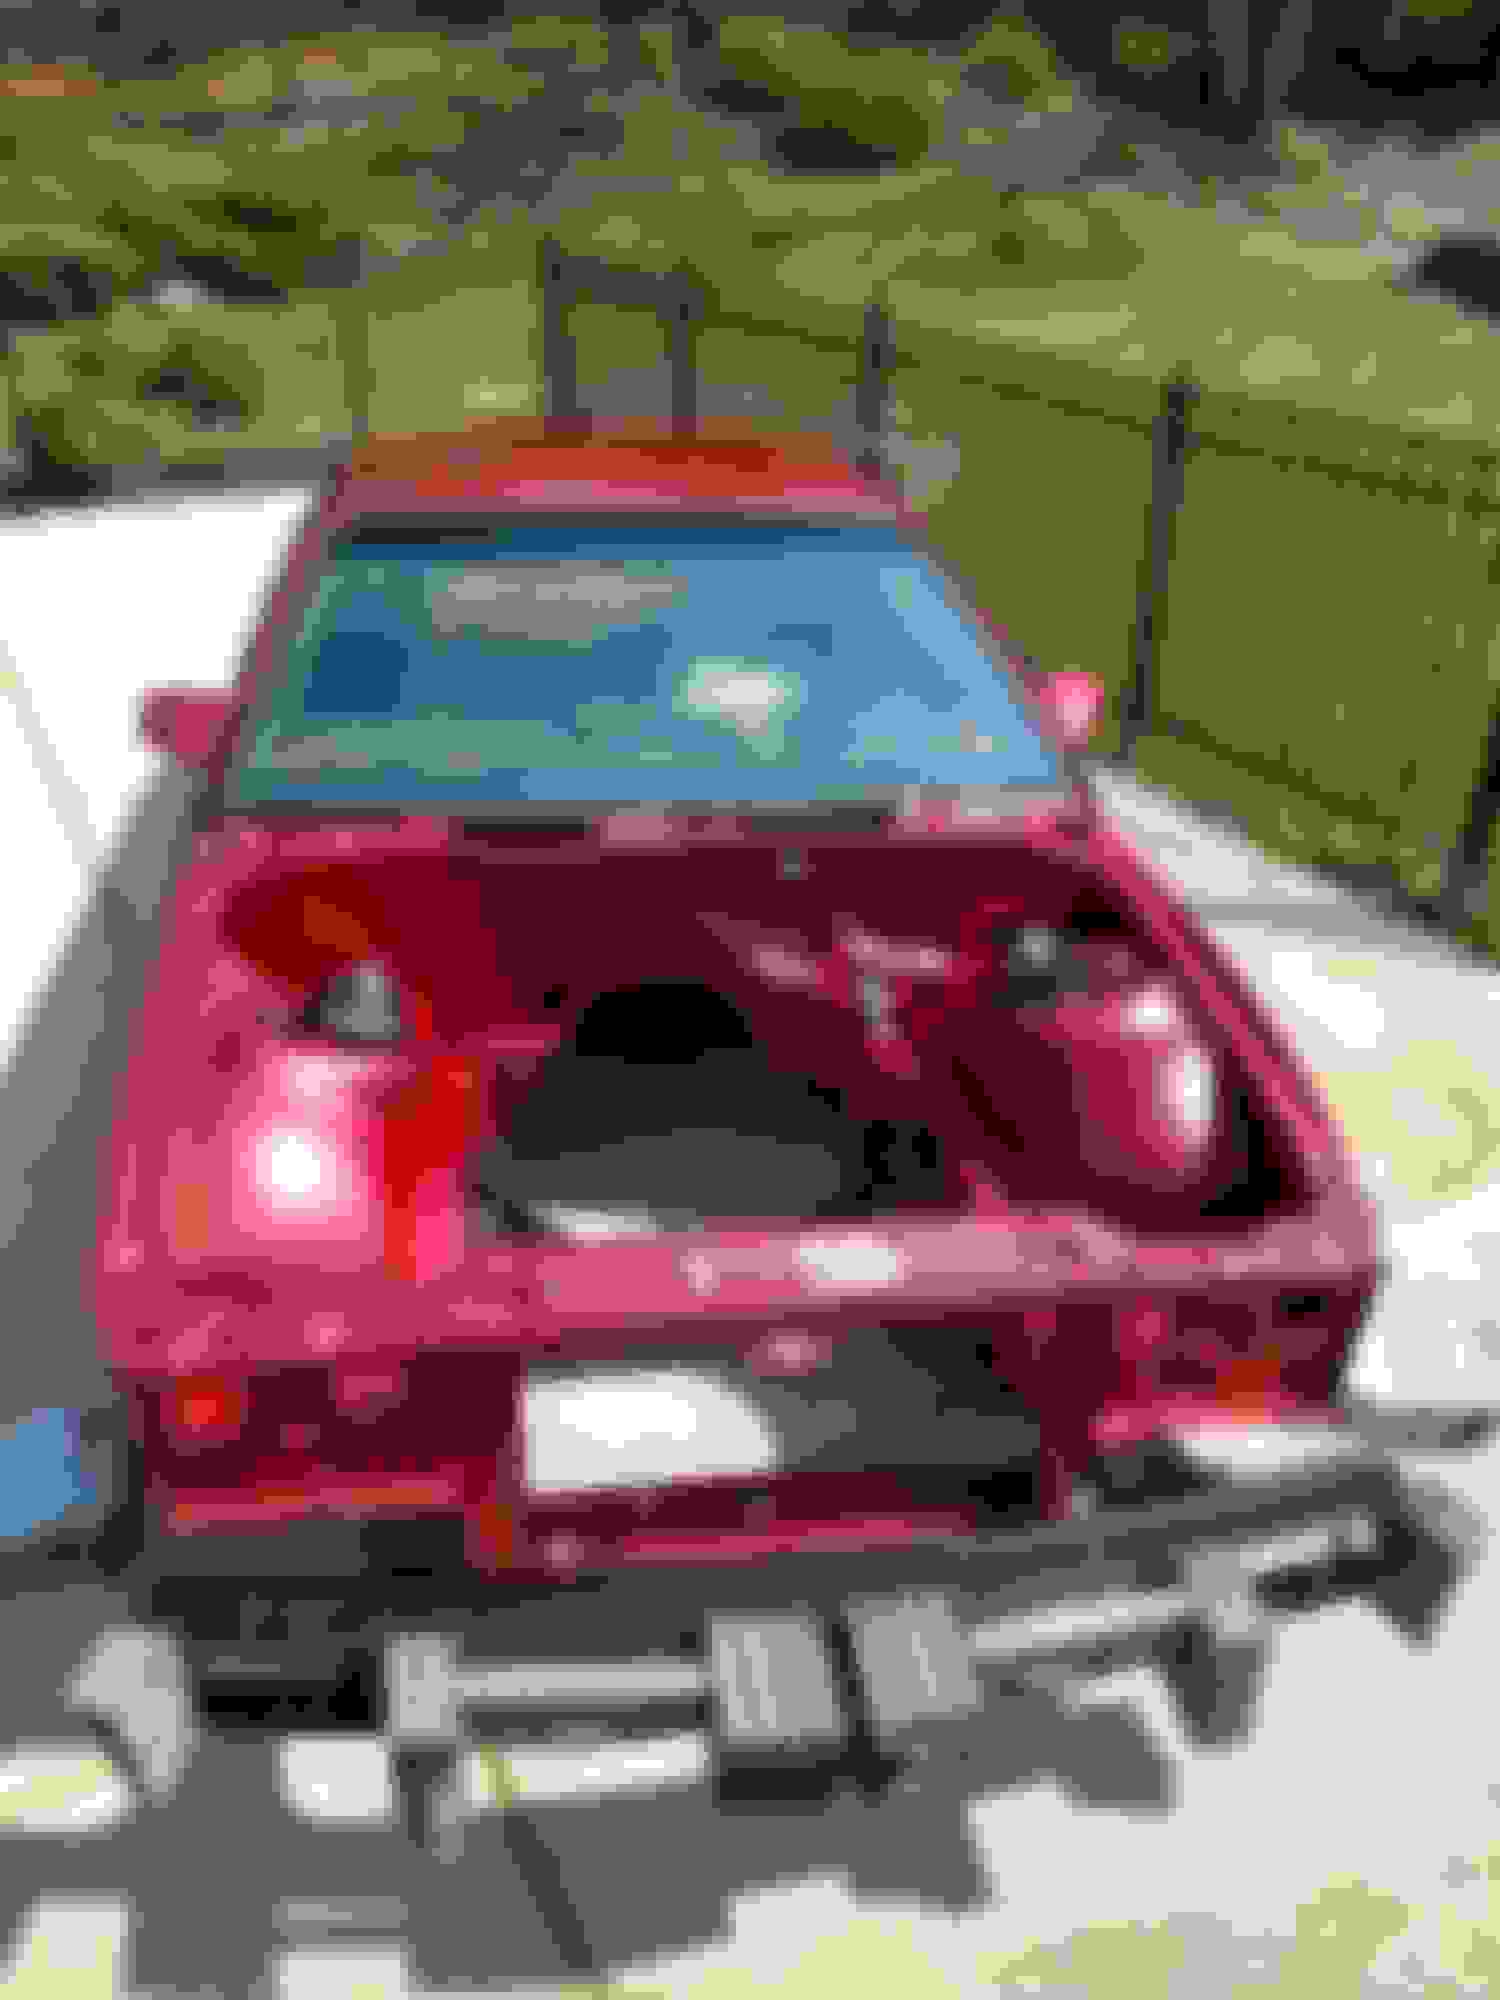
Here are some pics of the damage that occurred.
As you can see, the damage was in a bad spot. I was pretty sure I would have to replace the quarter panel. More on that to come.
Last edited by ShiftyCapone; Apr 25, 2018 at 01:55 PM.
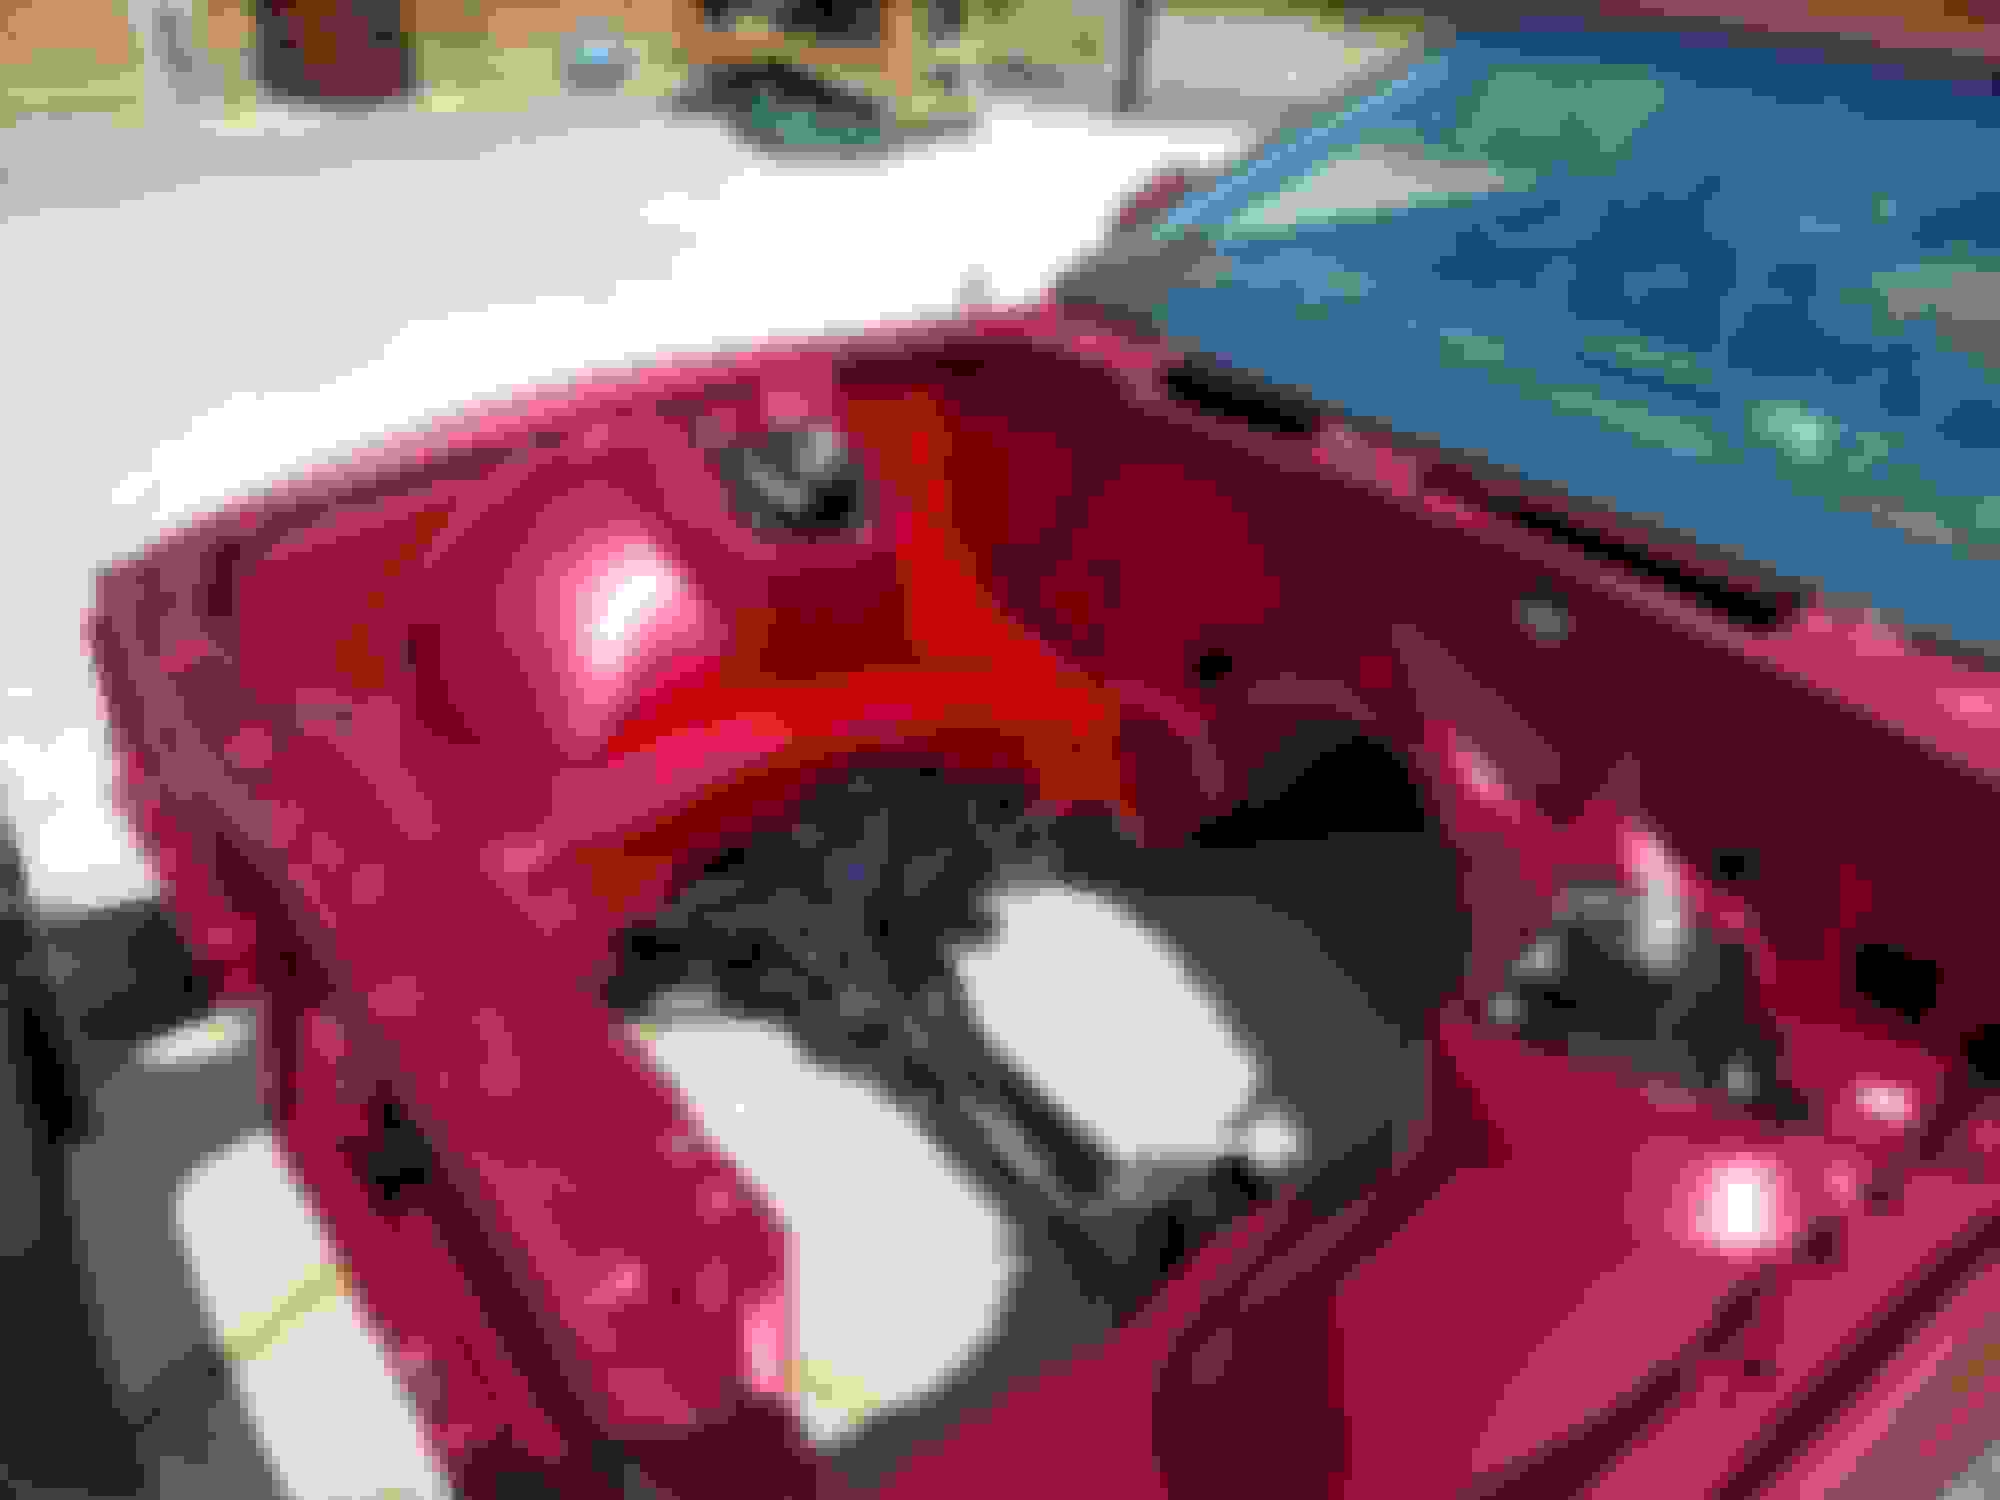
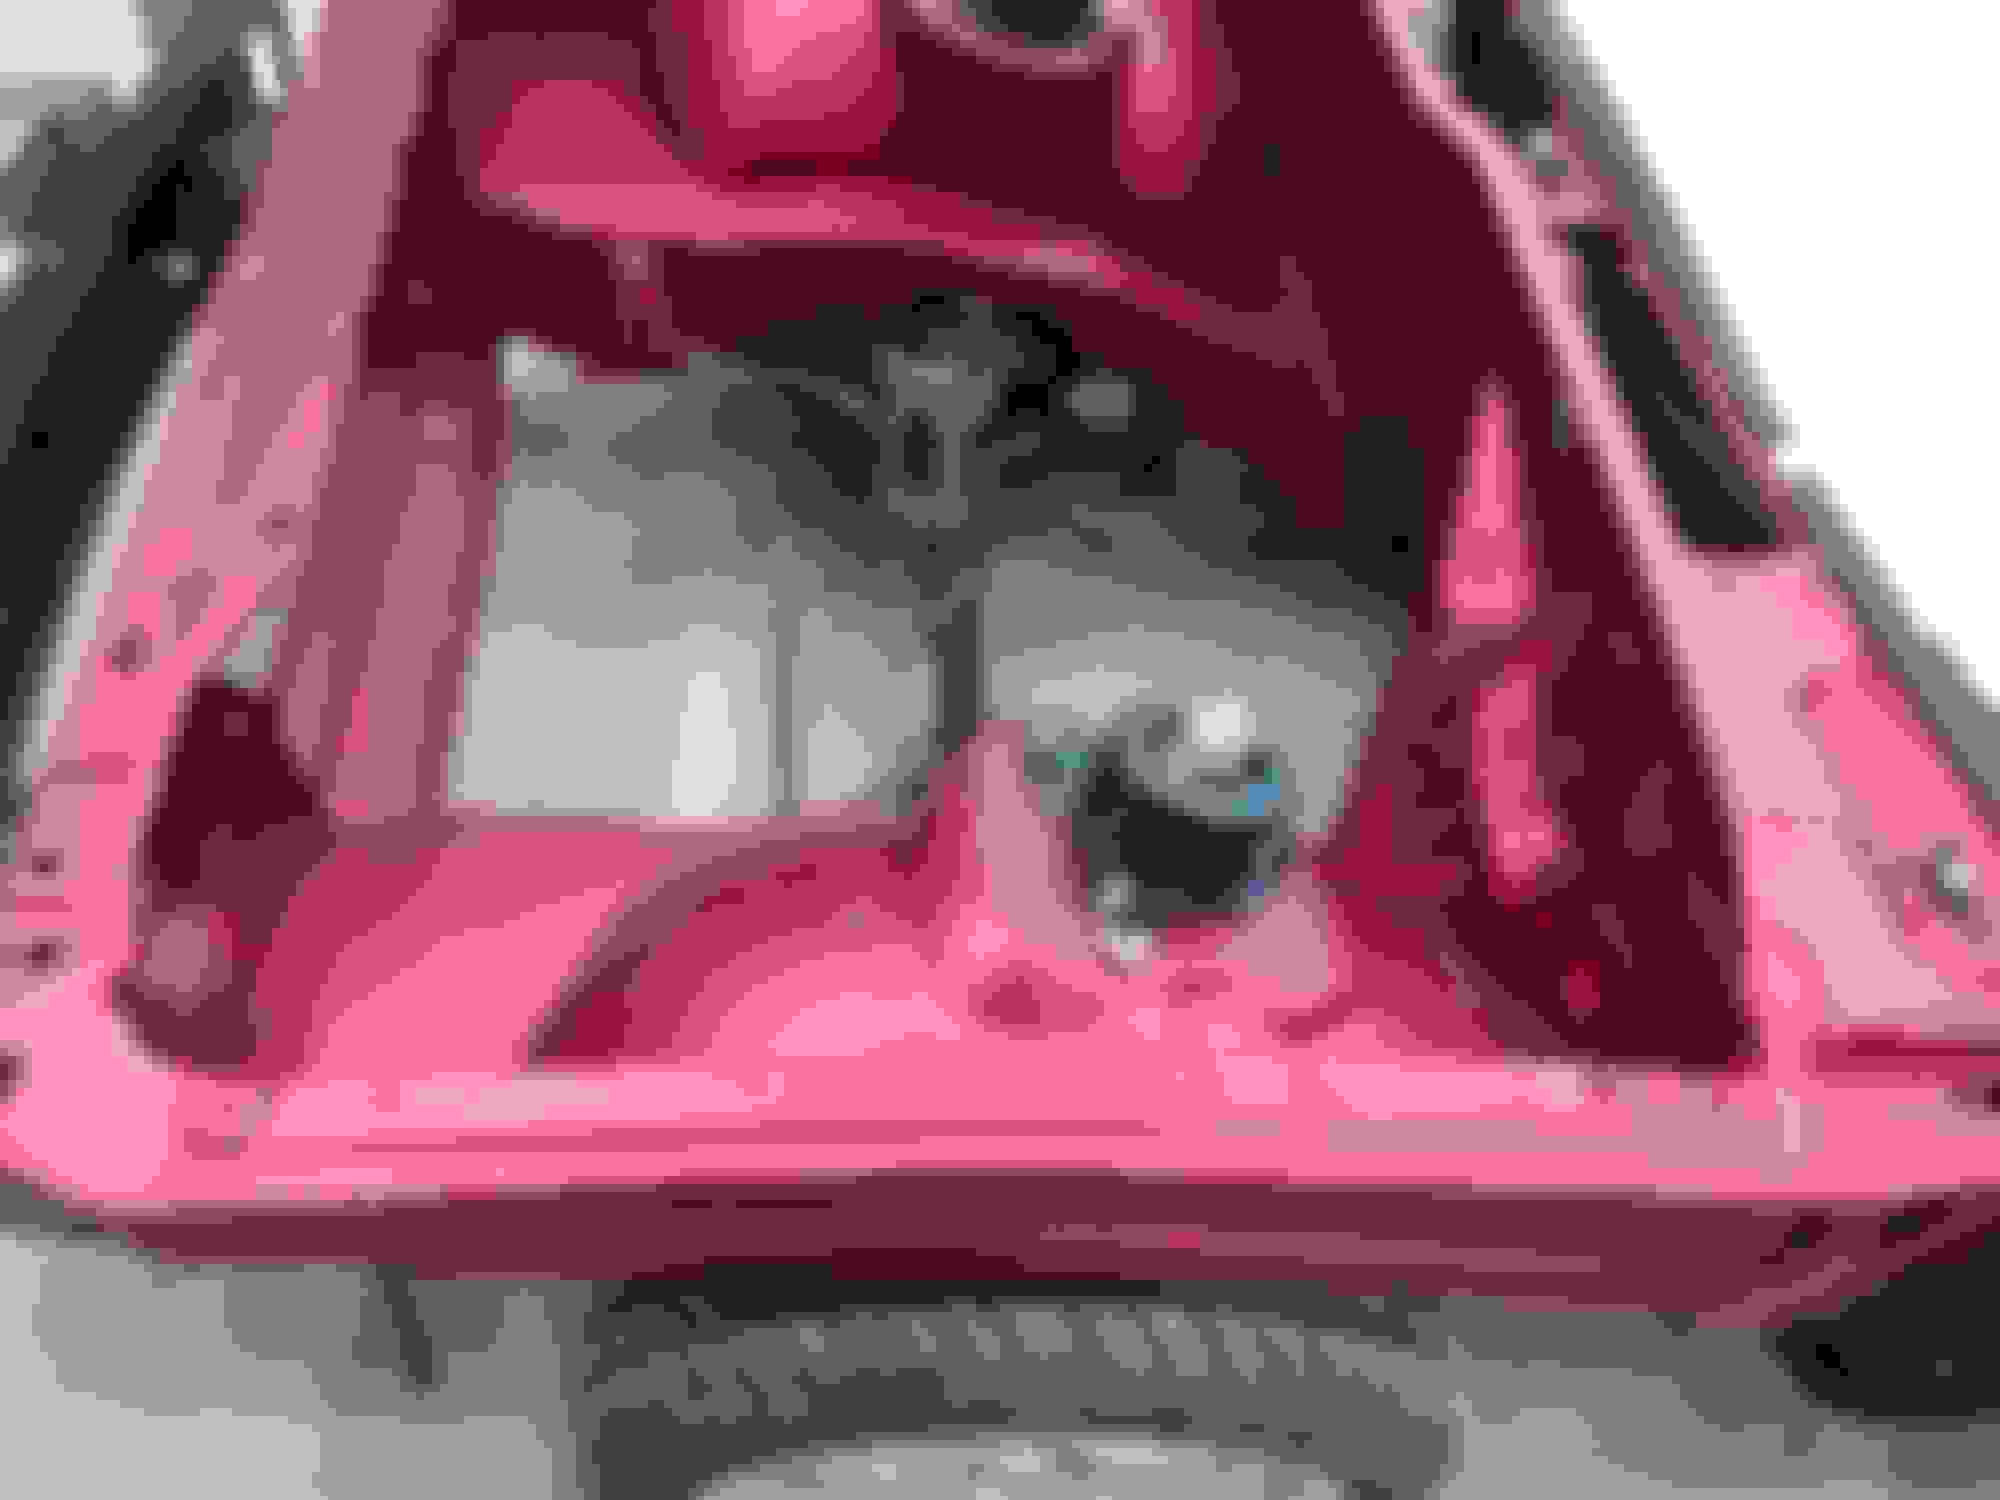
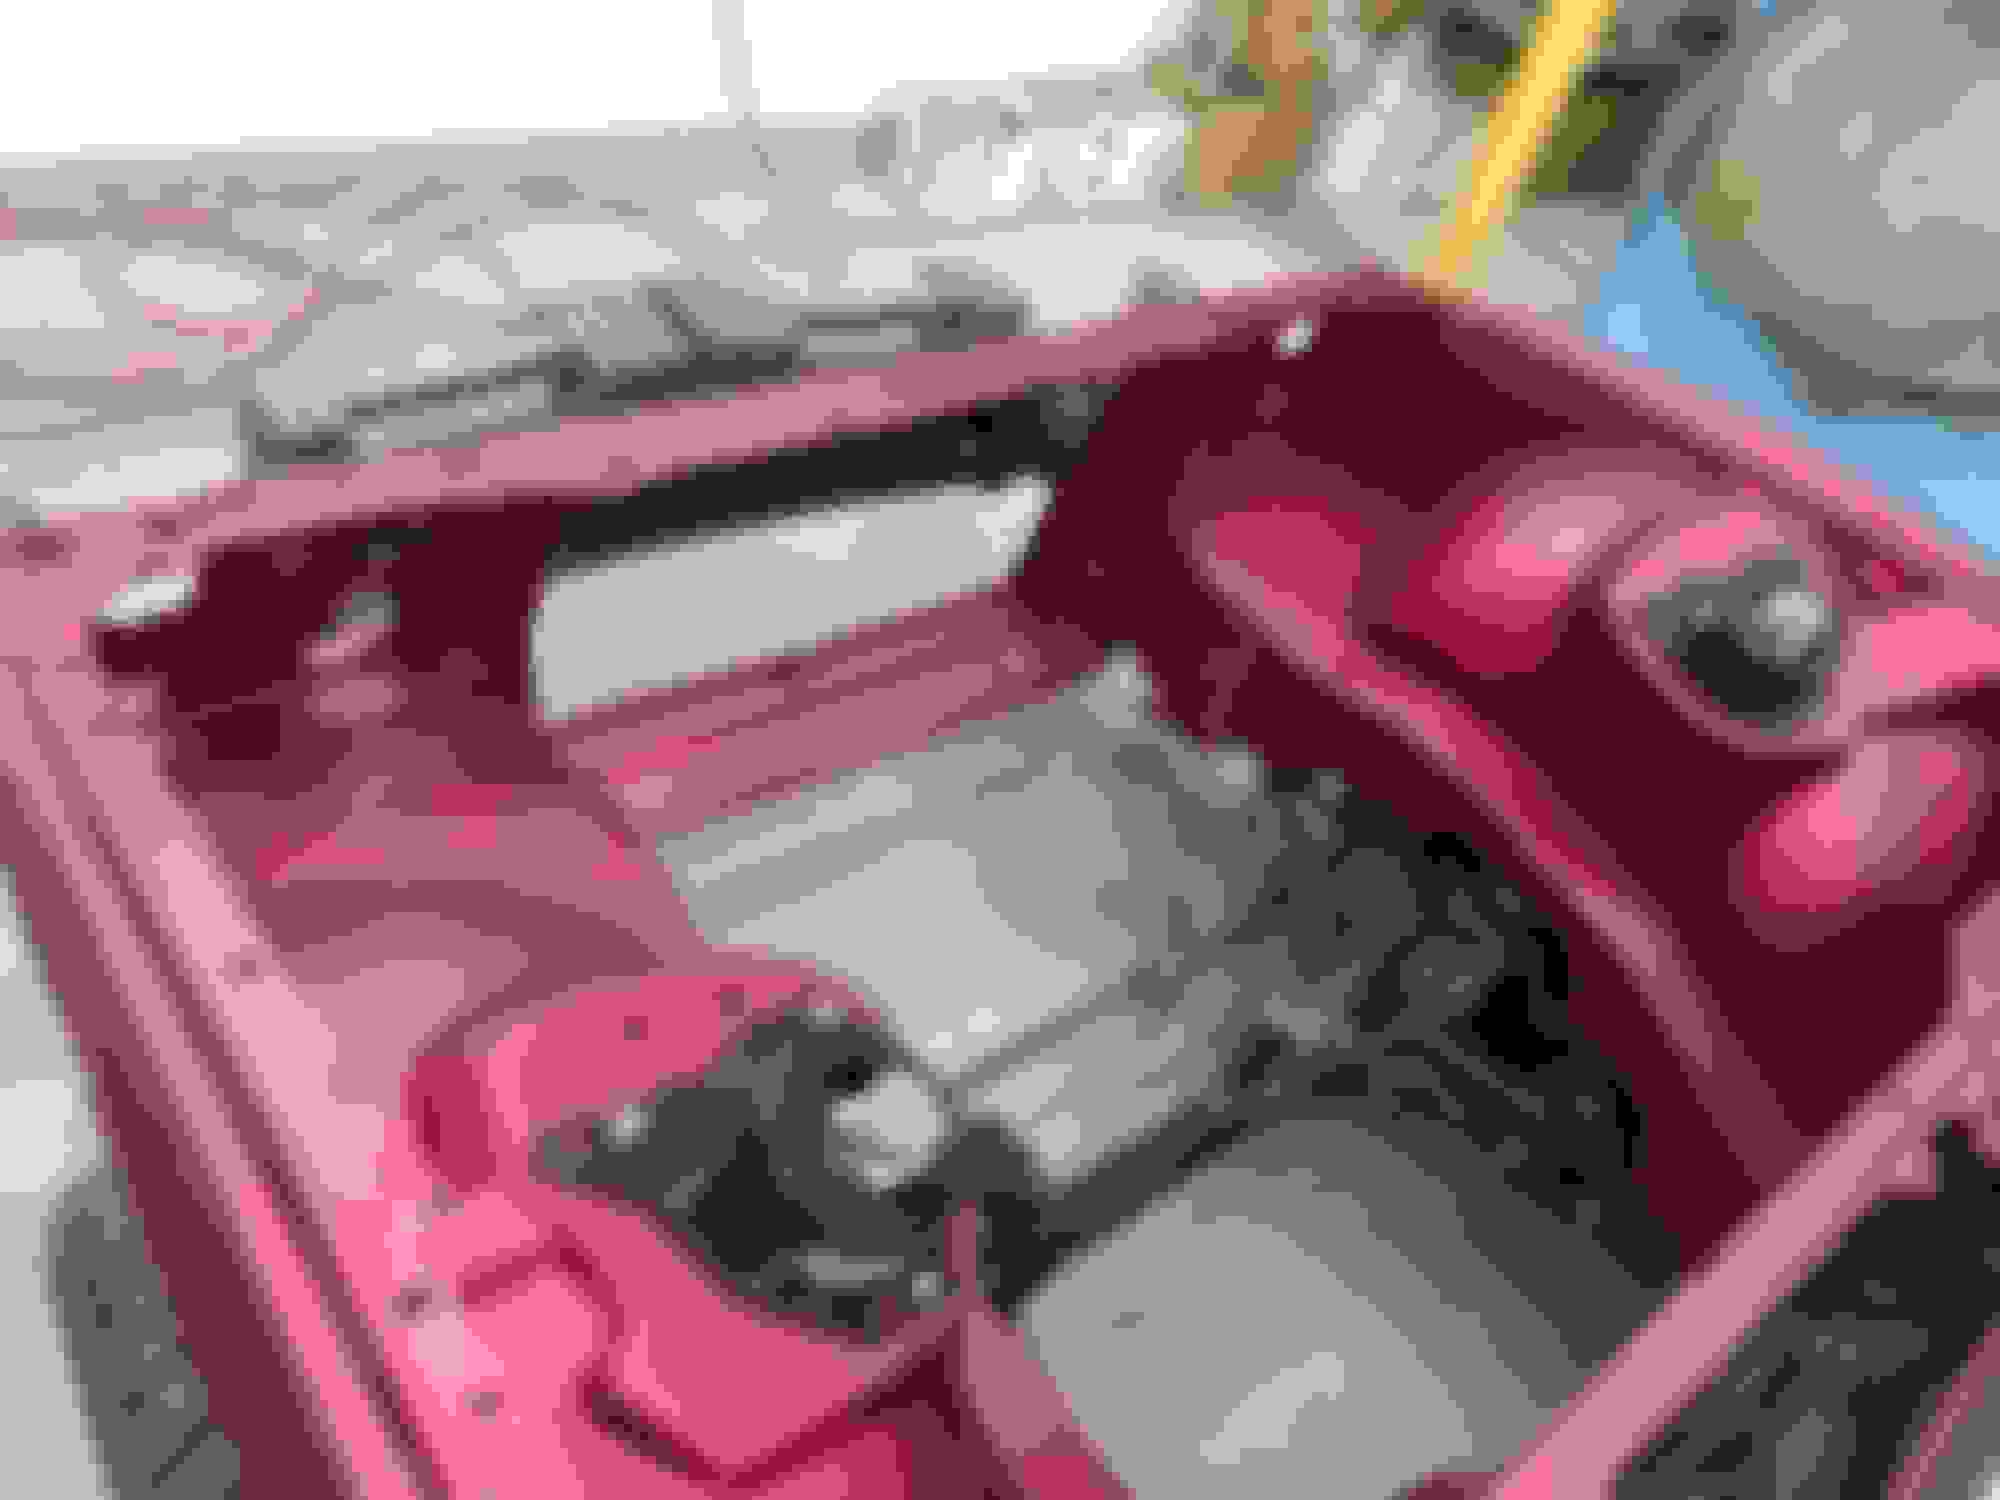
I started smoothing the engine bay by cleaning up and welding the strut tower caps and making panel templates for the battery tray and EVAP tray behind the nose.
After working forever on it I sprayed some weldable primer down in areas to see how the surface looked. There is a lot of rippling and contoured shapes that look ugly when exposed.
After test fitting I ended up remaking some of the panels and cutting away some of the trays.
After a lot of welding, and refitting I got it looking pretty decent.
The other side looked the same but at this point I was two years in and barely had this much done. Time to get someone else to work on the car. I just wasn't progressing fast enough and I have very little time to spend on this type of work. I love doing it, but it's just not in the cards. I talked with a few resto shops and chose a hotrod shop about an hour away from me. They specialize in all kinds of custom hotrods and will do almost anything you want. I am glad I did because their work and attention to detail are second to none.
Time to spend money. Off she goes.
Once the car was at the shop and we could go over everything, my plans changed a bit as new ideas were exchanged. Namely, they talked me out of reusing the ugly GM HVAC box and convinced me to go with a vintage air set-up. I mapped out how I wanted the engine bay to work to include all basic functions but making them look clean/custom. I would retain washer fluid functionality, implement a catch can system, new wire harness location, and touch up a few areas that I didn't shave originally.
It looks better wrecked than alot of people's do in "good condition" lol.
I'm pretty sure this is gonna come out a beast at the end of all this. Definitely following.
One of the first things I had them do was install the Detroit Speed subframe connectors. These things are incredible once installed and truly give you the best all around SFC. They do require a lot of fab work but they tie in both the front and rear frames together with welding up and down the entire perimeter. The hardest part was hammering straight the bent pinch weld. I am lucky in that the car doesn't have any rust as the install was pretty straight forward for them.
If your car doesn't have the traditional SFC's and your interior is out of the car I cannot recommend these enough.
It looks better wrecked than alot of people's do in "good condition" lol.
I'm pretty sure this is gonna come out a beast at the end of all this. Definitely following.
Thanks. I wrecked the car in 2003 with 35K original miles on her. The odometer is the exact same to this day
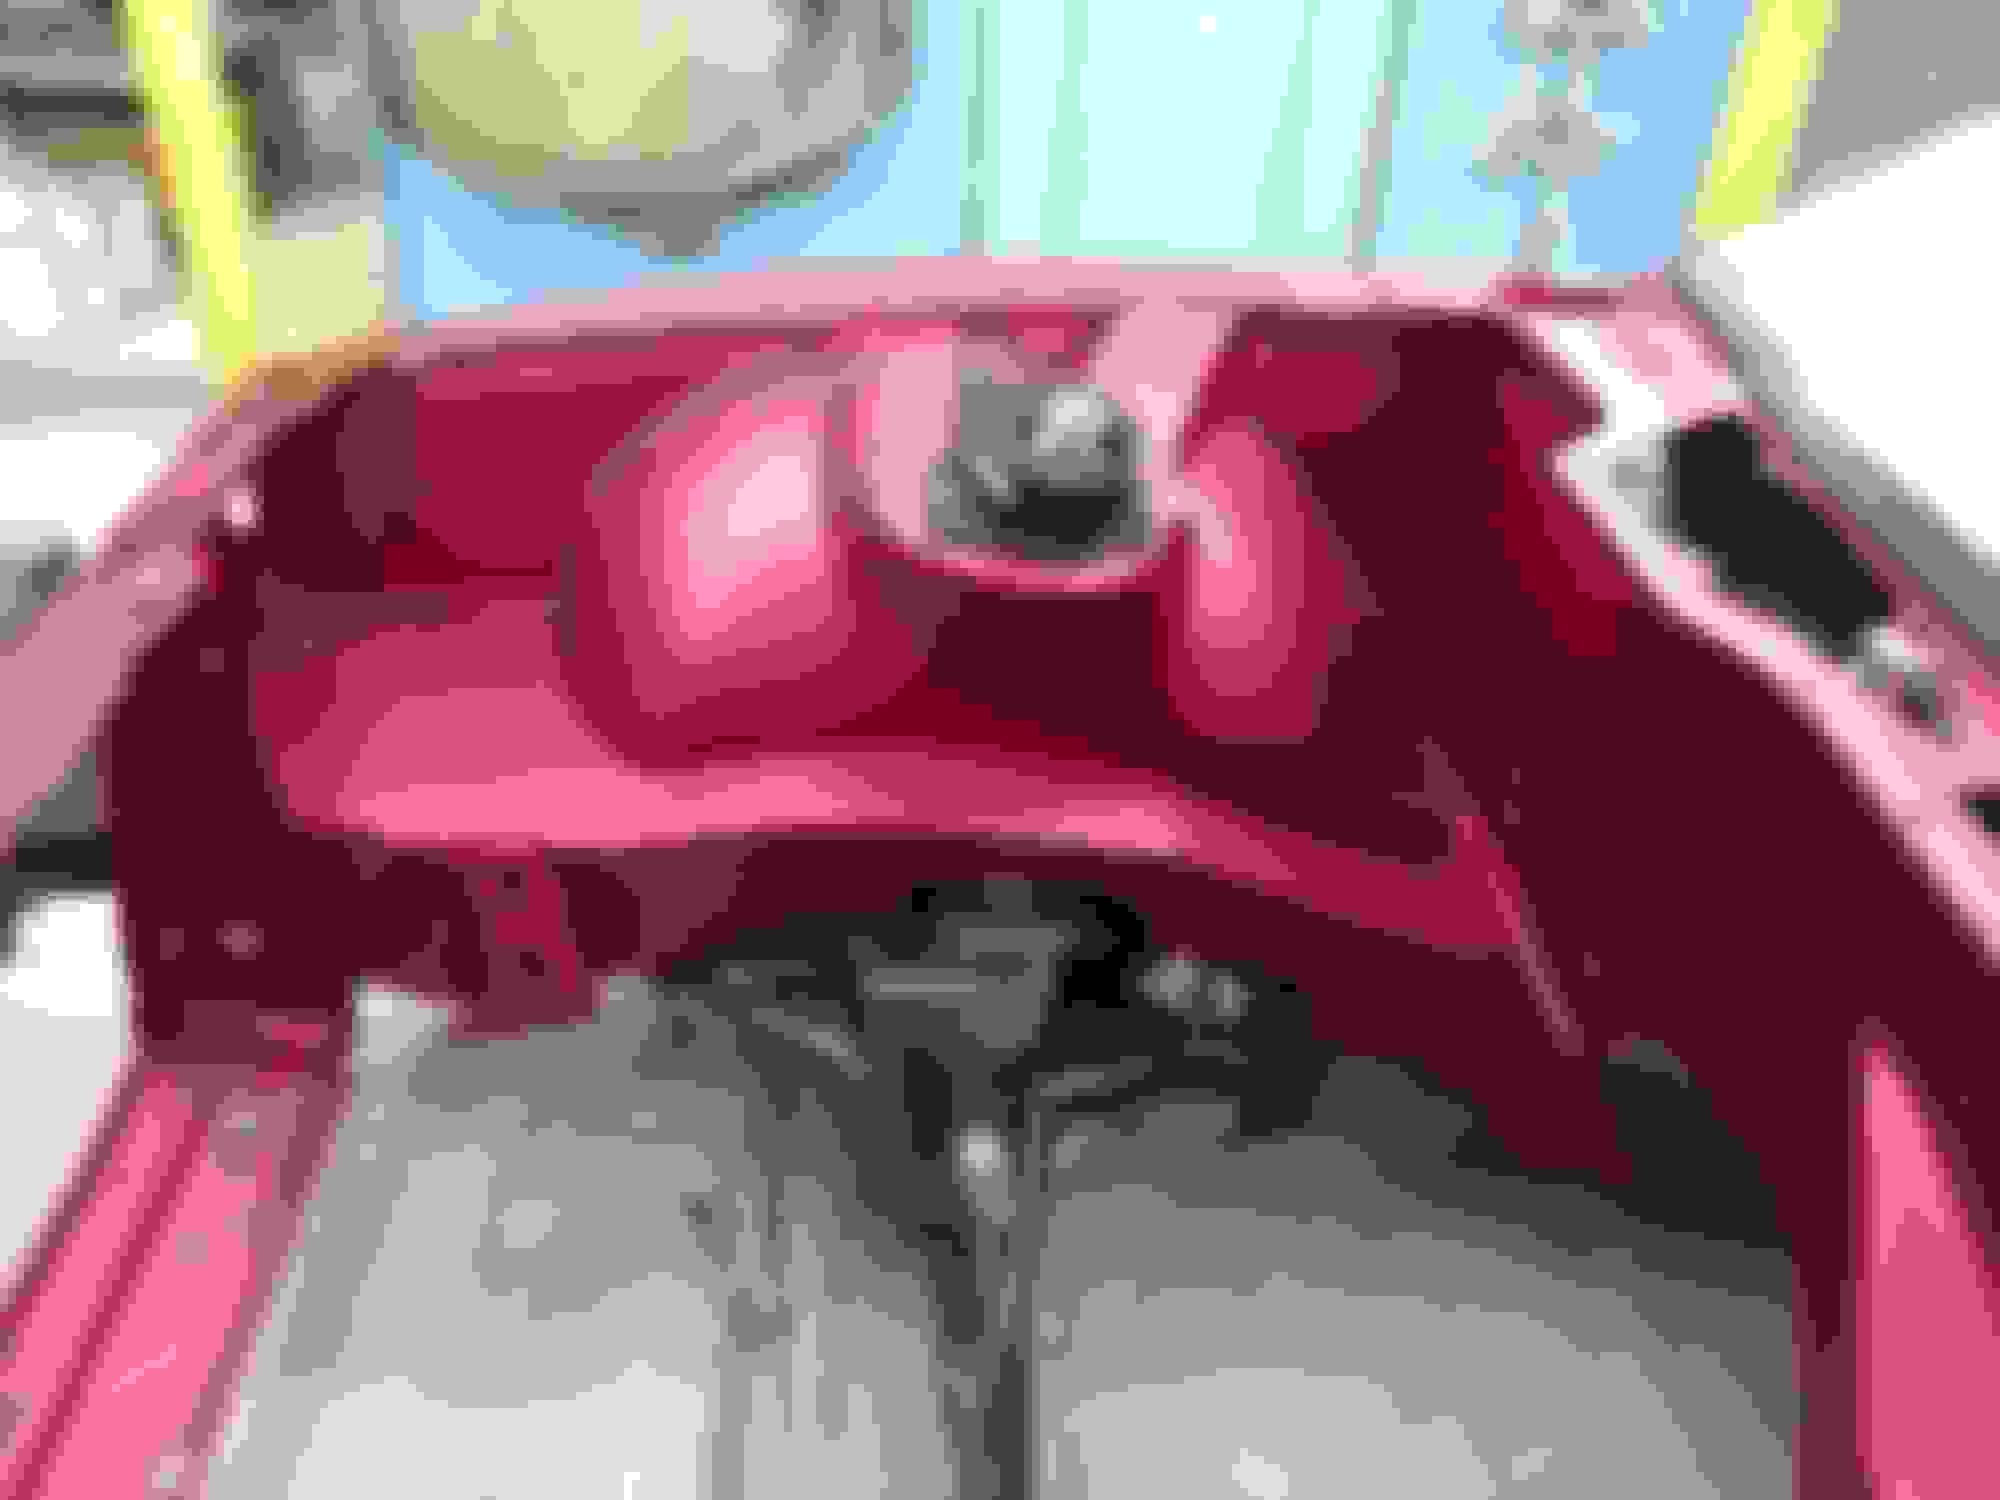
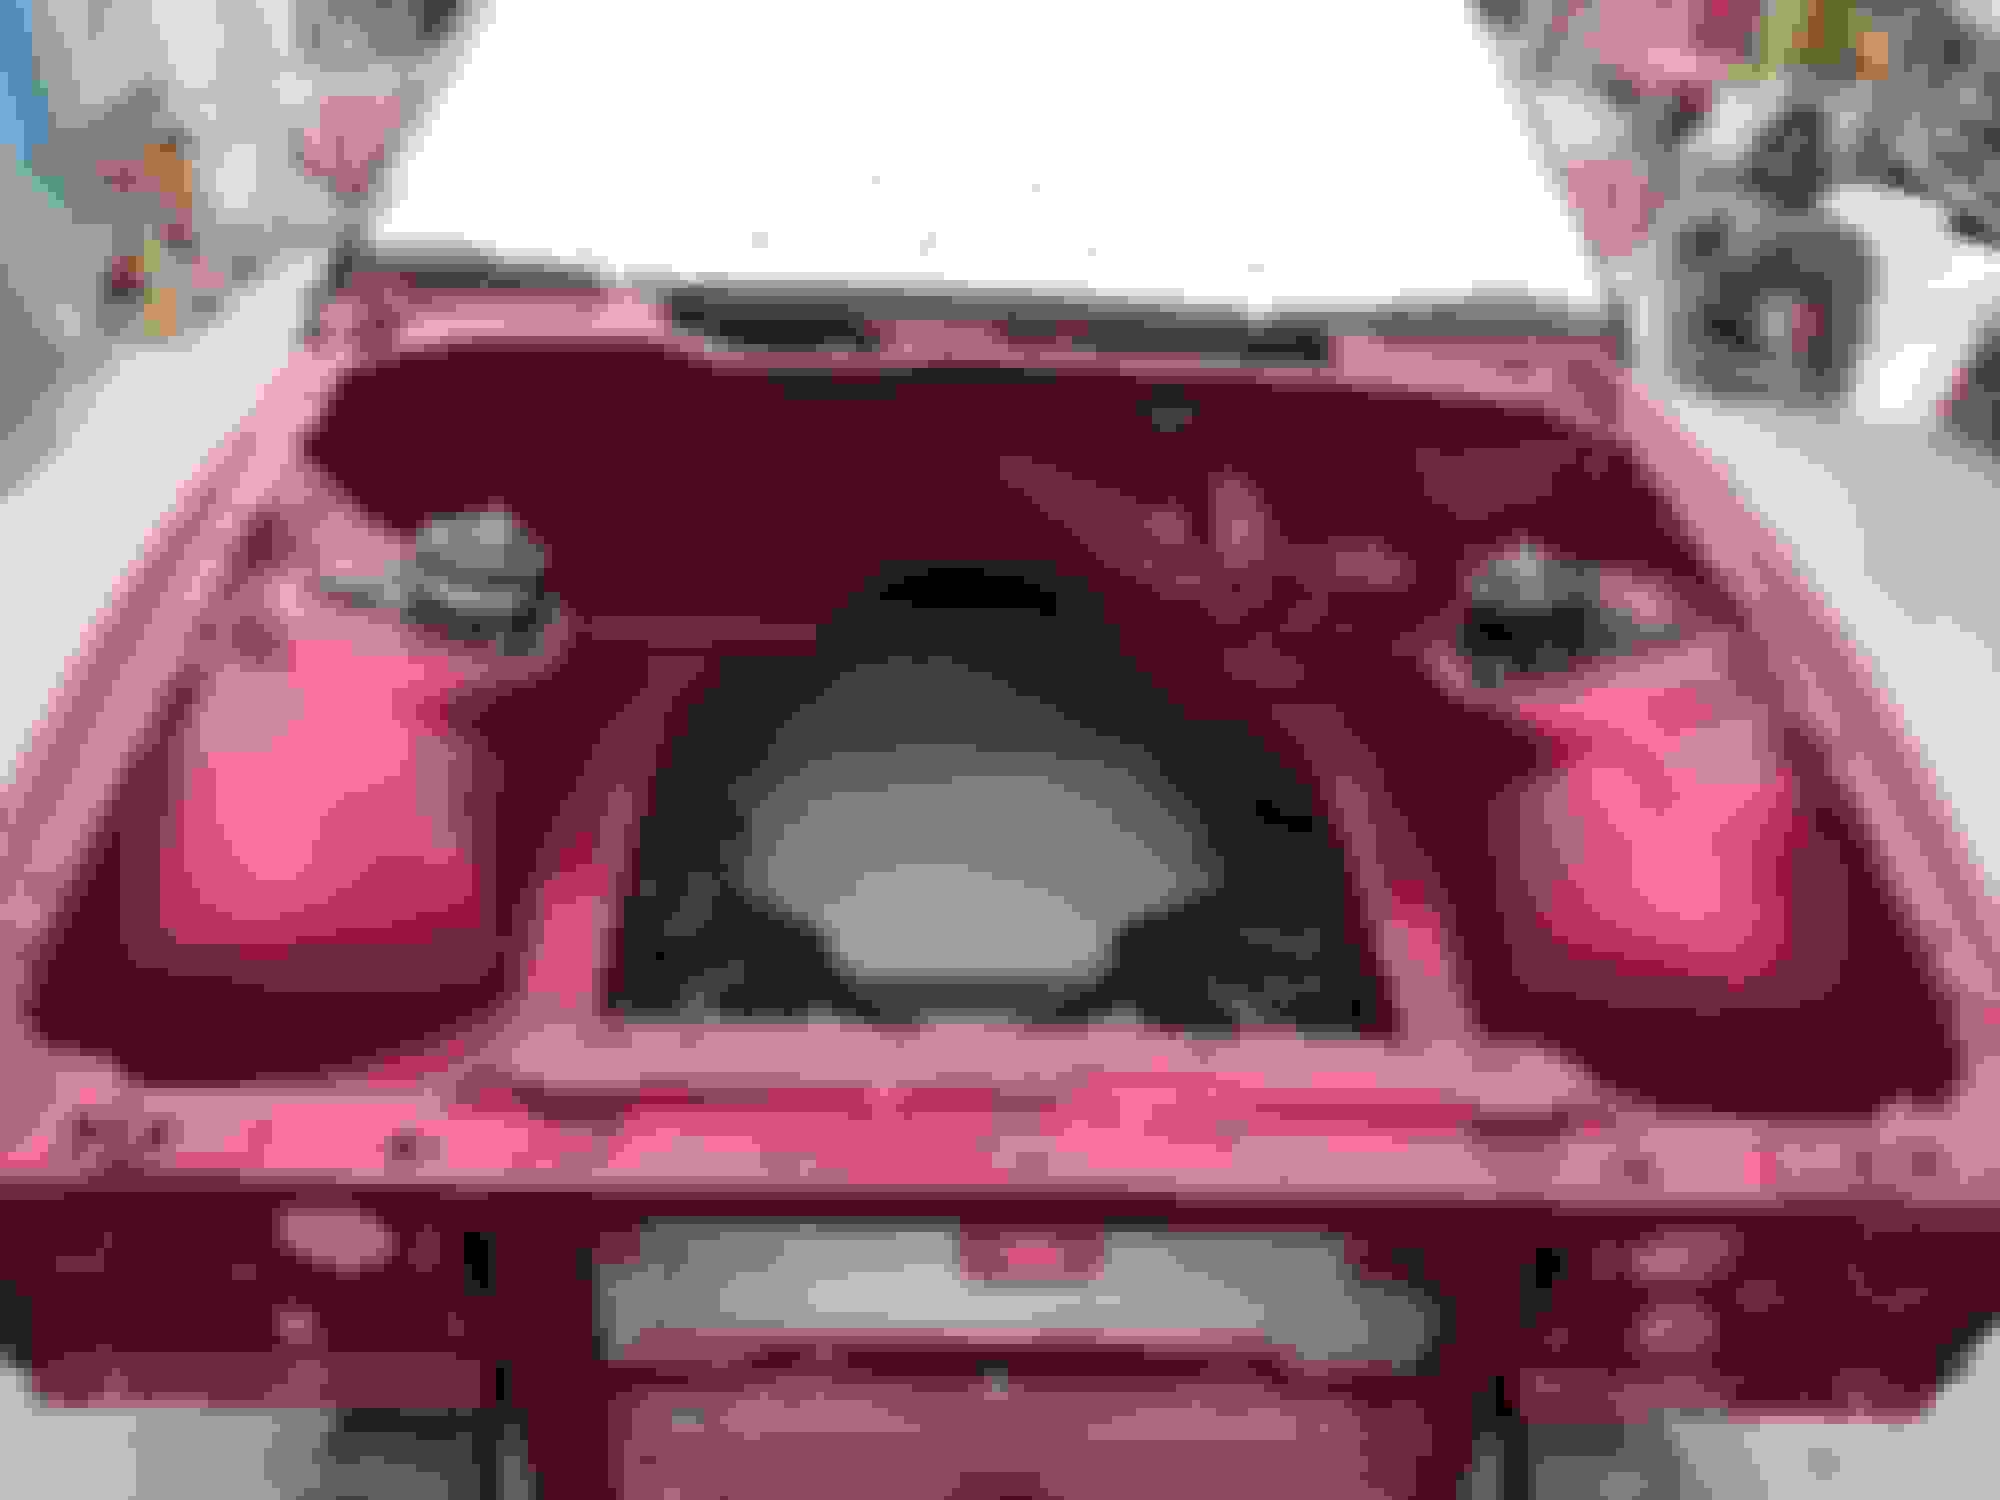
After the SFC went in we planned out the Vintage air set-up. The plan includes using their compact system and tucking it all up under the dash. They have plastic analogs from vintage air to help aid them in the fitment. I had them weld off the firewall, make a few clearance areas in the dash and lay out the bulkhead fittings in the firewall.
Welded up firewall holes
Analog fitted into place
They cut and welded in some relief into the head panel. Allows the system to tuck up that much tighter.
For the bulkhead fitting I decided to make a row of fittings just near the original heatercore hoses went. I can then run all AN lines to the water pump and AC compressor.
I also decided I should have shaved the bumps from the overflow tank and washer fluid tanks. When in Rome I suppose.
Other side was worse but I am glad I did it.
Four holes for the heater and AC lines. The oval hole to the right of that is for the engine harness. I bought a weld in sliding bulkhead door from Don's Hot Rod Shop. I'll have more on that later.
The square pattern of four holes to the left of the bulkhead row will be for my Might Mouse catch can system and the two bolts to the left of that will be for the ON3 performance washer fluid tank.
Last edited by ShiftyCapone; Apr 25, 2018 at 02:34 PM.
I bought the Wolfe Engineering 4th gen minitubs and used those as my foundation. It took a lot of work and I probably read every thread on this site for information. I learned a ton, and also learned that what works for others certainly doesn't always translate into reality.
Based on all the reading I was convinced I could run a 12" wide wheel under the rear with a mini tub. I love the design (super light and 200 mph capable) and cost of the corvette cup wheels so I bought a set of OEM Vette wheels powdercoated in black chrome. The goal was to run 335/25/R20 in the rear and 285/30/R19 in the front. After cutting out the stock tub, I thought it would work. Trial fit was very promising.
Promising trial fit.
However, after doing all the cutting of the inner tub, reinforcing the spring pocket and measuring clearance to all the other suspension parts that rarely get mentioned, it just wasn't going to fit. There wouldn't be enough room to clear the stock panhard rod mount or offset LCA's and the wheels were barely flush with the outside quarter panel. I even bought a new tire to see if I would have full range of motion while driving. Diagnosis. No Dice. I don't know how guys run wheels of this size. It looks "ok" in the pictures, but looked much worse in person. No room for the wheel/tire to move around under normal driving articulation. Even with a slightly narrower tire, i didn't feel comfortable forcing it.
We cut right up until the face that runs adjacent to the shock pocket.
Install is clean and my new wheels will be 10.5 in the rear with a 305 tire.
They fixed the door no problem and made sure the lines matched to some fenders I provided them. The good news is that they were able to save the quarter panel. They were able to pull it out and cleeko and slide hammer it for hours to get it knocked out. I was shocked given the crease right over the body lines. I am very happy about this.
Car looks funny without ground effects on.
Side note: The car sits with a 4th gen rear and 3rd gen offset rear wheels. That's why they stick out. Strictly to get the car to roll. The previously mentioned wheels will replace these ROH Snypers and a fabricated 9" will replace the 10 bolt.
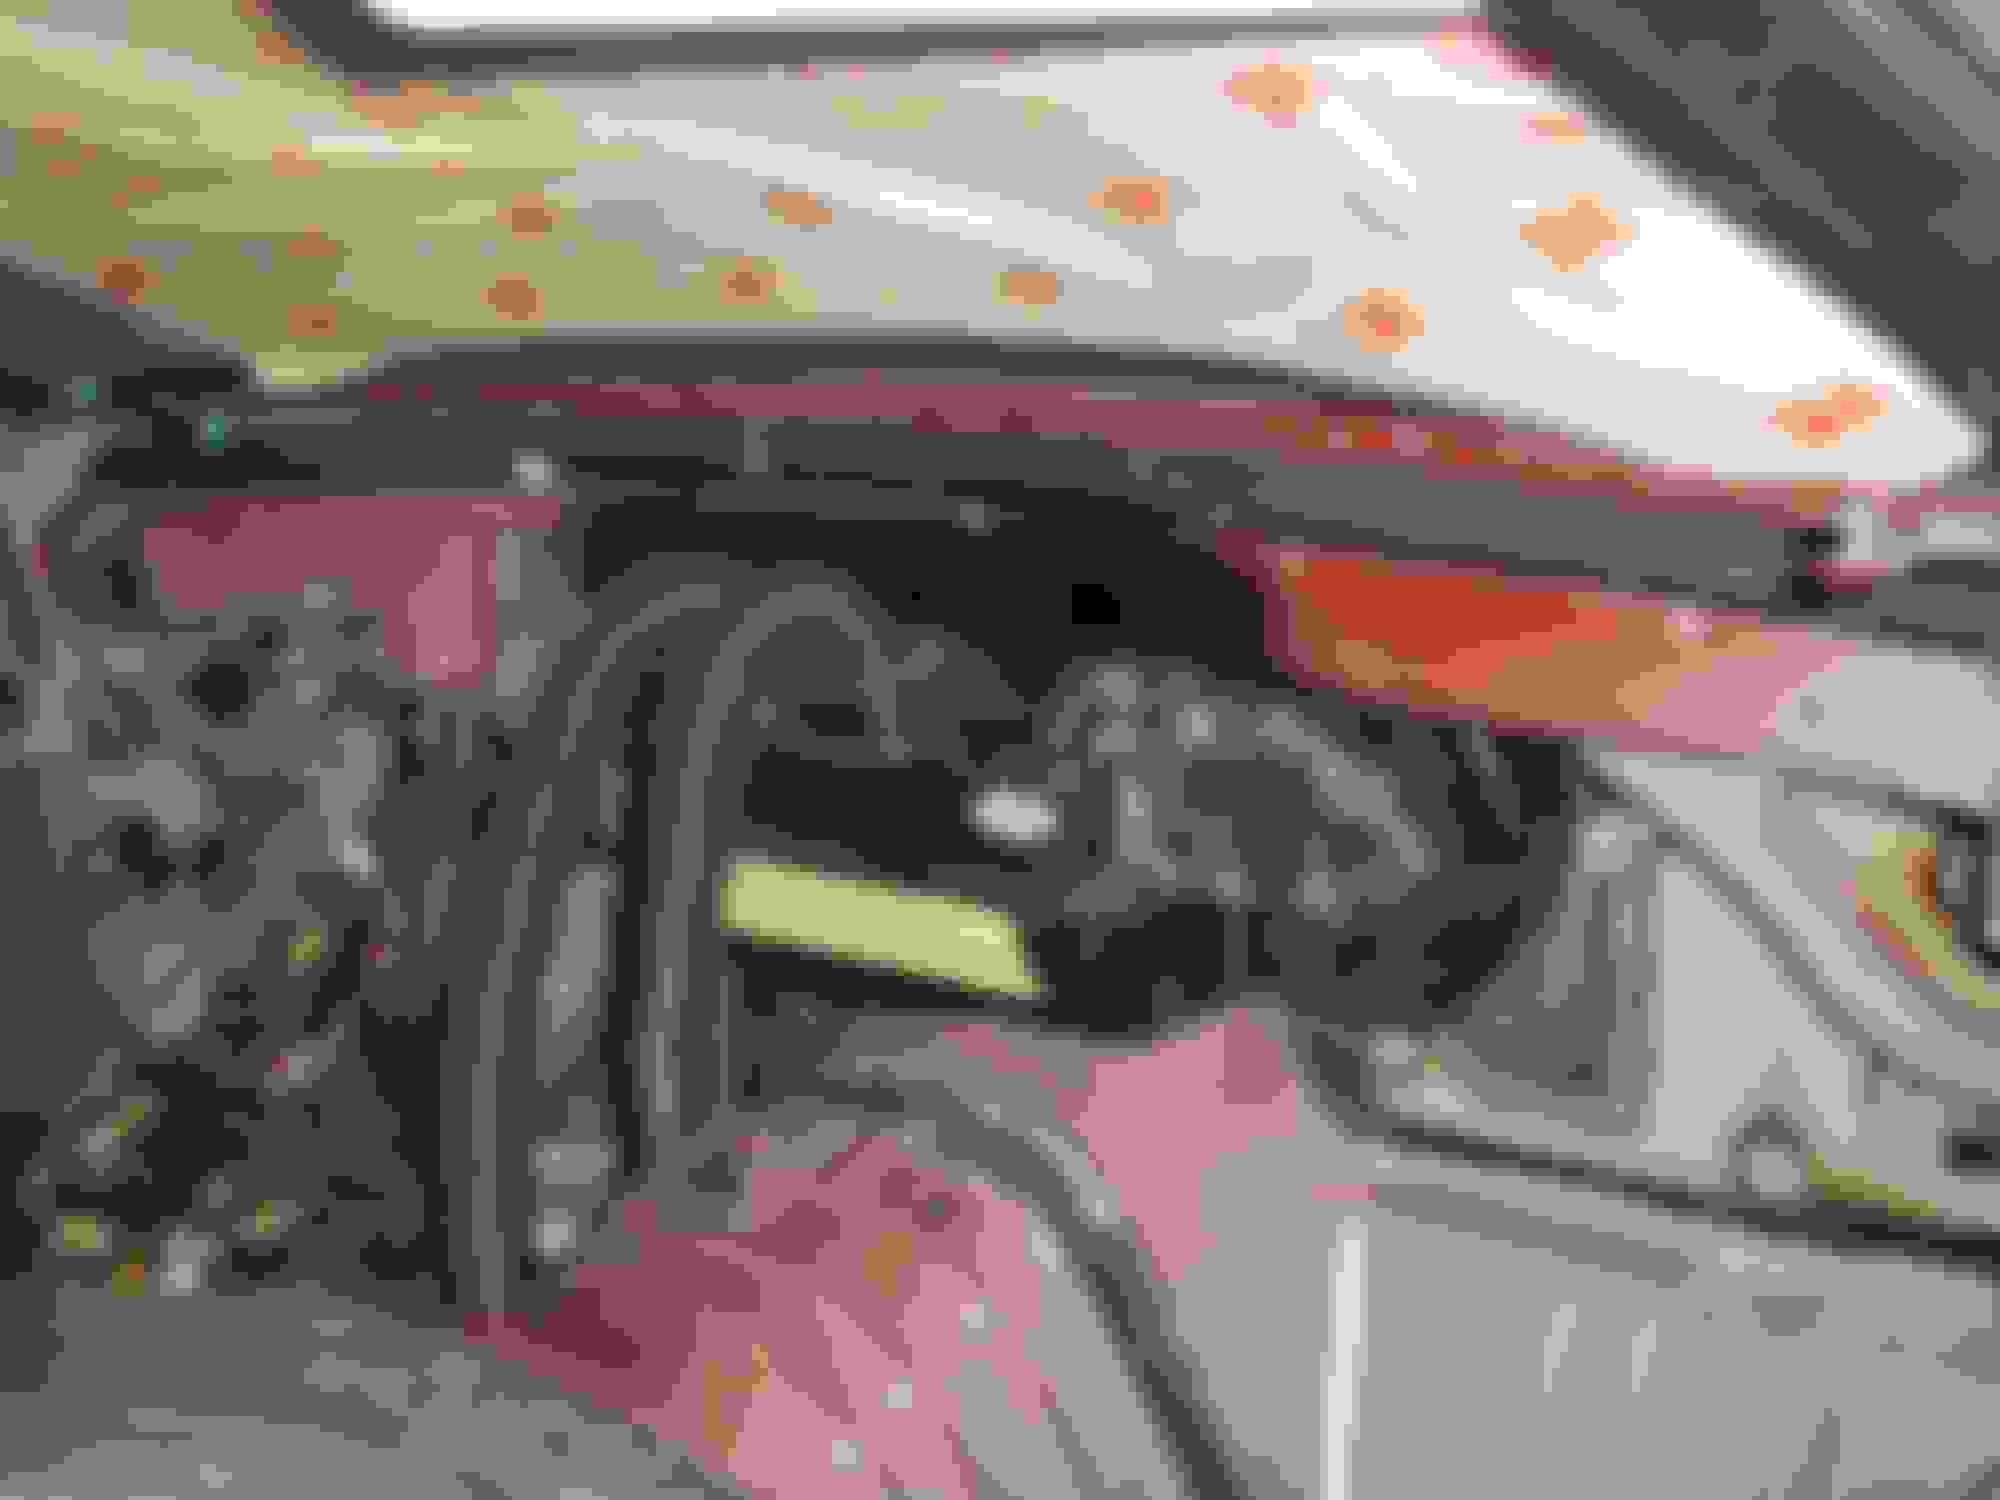
Lots of new smoothing in the engine bay as well as a little rework from the work of yours truly. Basically, they stitched welded along the OEM panel seams in the engine bay and firewall. Those are loosely spot welded by GM and they were concerned of flexing. They also smooth the cowl and radiator areas. All attention to detail that I might not have thought of.
Finally in primer. I also had them box in the odd asymmetric bracket on the passenger side strut top. I almost had them made a dummy one for the other side, such like the DSE car and others have done, but I decided not to.
That is some beautiful work there. I'll be paying attention as you go along.
Thanks. I've been watching your build and love that you found such a clean car to work on with your boys. Very cool car. I'm excited to see how it turns out.
I went back and forth on color but decided to stay with the stock paint color but with a twist. The car will be repainted in the normal fashion but instead of gloss I went with a matte finish for the engine bay. I will carry this over to the underside of the hood as well as the headlight pockets. I am glad I went this way. It turned out very clean and will provide a nice contrast to the theme of the car. Hopefully these pics aren't too large (posting from my phone)
Looking great, i bet your AC option will give you a lot of open room... in NW PA we don't get that warm so i have been doing AC delete as i like fresh air anyways, but will have to look into the vintage air maybe for one of my hardtops.
i really like UMI suspension parts and have been using them on all my projects... they are bringing out a lot of nice things like the new front weight jacks
one thing they have recently done that i don't like, and i have sent them an email on, is all the stickers they are plastering all over their items... a lot of times they peel easily off, but i have had a couple that were a pain and spent 1/2 hr getting it off and cleaned up
one thing they have recently done that i don't like, and i have sent them an email on, is all the stickers they are plastering all over their items... a lot of times they peel easily off, but i have had a couple that were a pain and spent 1/2 hr getting it off and cleaned up
Amen, I couldn't agree with you more. I will be taking them all off as well.
Wow Beautiful work. I dig the contrasting matte finish for the engine bay.
Thanks. It looks so much better in person and I am glad I went this way. Not to mention the body shop said it would take a whole week of man hours to wet sand and buff had I went gloss. It would have cost a lot more.
It's been awhile since my last update and the progress has been slow. A lot of time has been spent figuring out minor details, such as AN fittings, motor mount alignment and getting the engine ready to drop in.
Got the Trans mounted after checking the slave spacing and installing the remote bleeder.
Getting the K-member aligned.
The correct UMI 2409 mounts
Correct mounts loosely bolted in
I bought a set of new 4th gen mounts and then took them apart to replace the stock rubber with a ploy energy suspension mount. The instructions tell you to install the bushing in the same direction in relation to the mount. When you install them on the engine the part of the bushing that protrudes is different on each side. Meaning, the protrusion faced the rear on the driver side and towards the front on the passenger side. This clocked the engine and I didn't like it. The engine sat too far rearward with the poly bushing aligned this way. After calling their awful tech help line I took it out and flipped it 180. The engine now sat square in the mounts. Although even with the mounts pushing the motor as rear as possible the oil pan is very close to the kmember bar. Hopefully I can tweak things and get a little more clearance to the pan.
Also note in that last image the Kwik Performance Mini Sanden Low Mount AC. It interferes with the factory K-member braces on this side, and the alternator on the other (CTSV front accessories). I am likely going to have to sell this setup and change things up. I don't want to run without the braces.
Last edited by ShiftyCapone; Jul 16, 2018 at 02:15 PM.
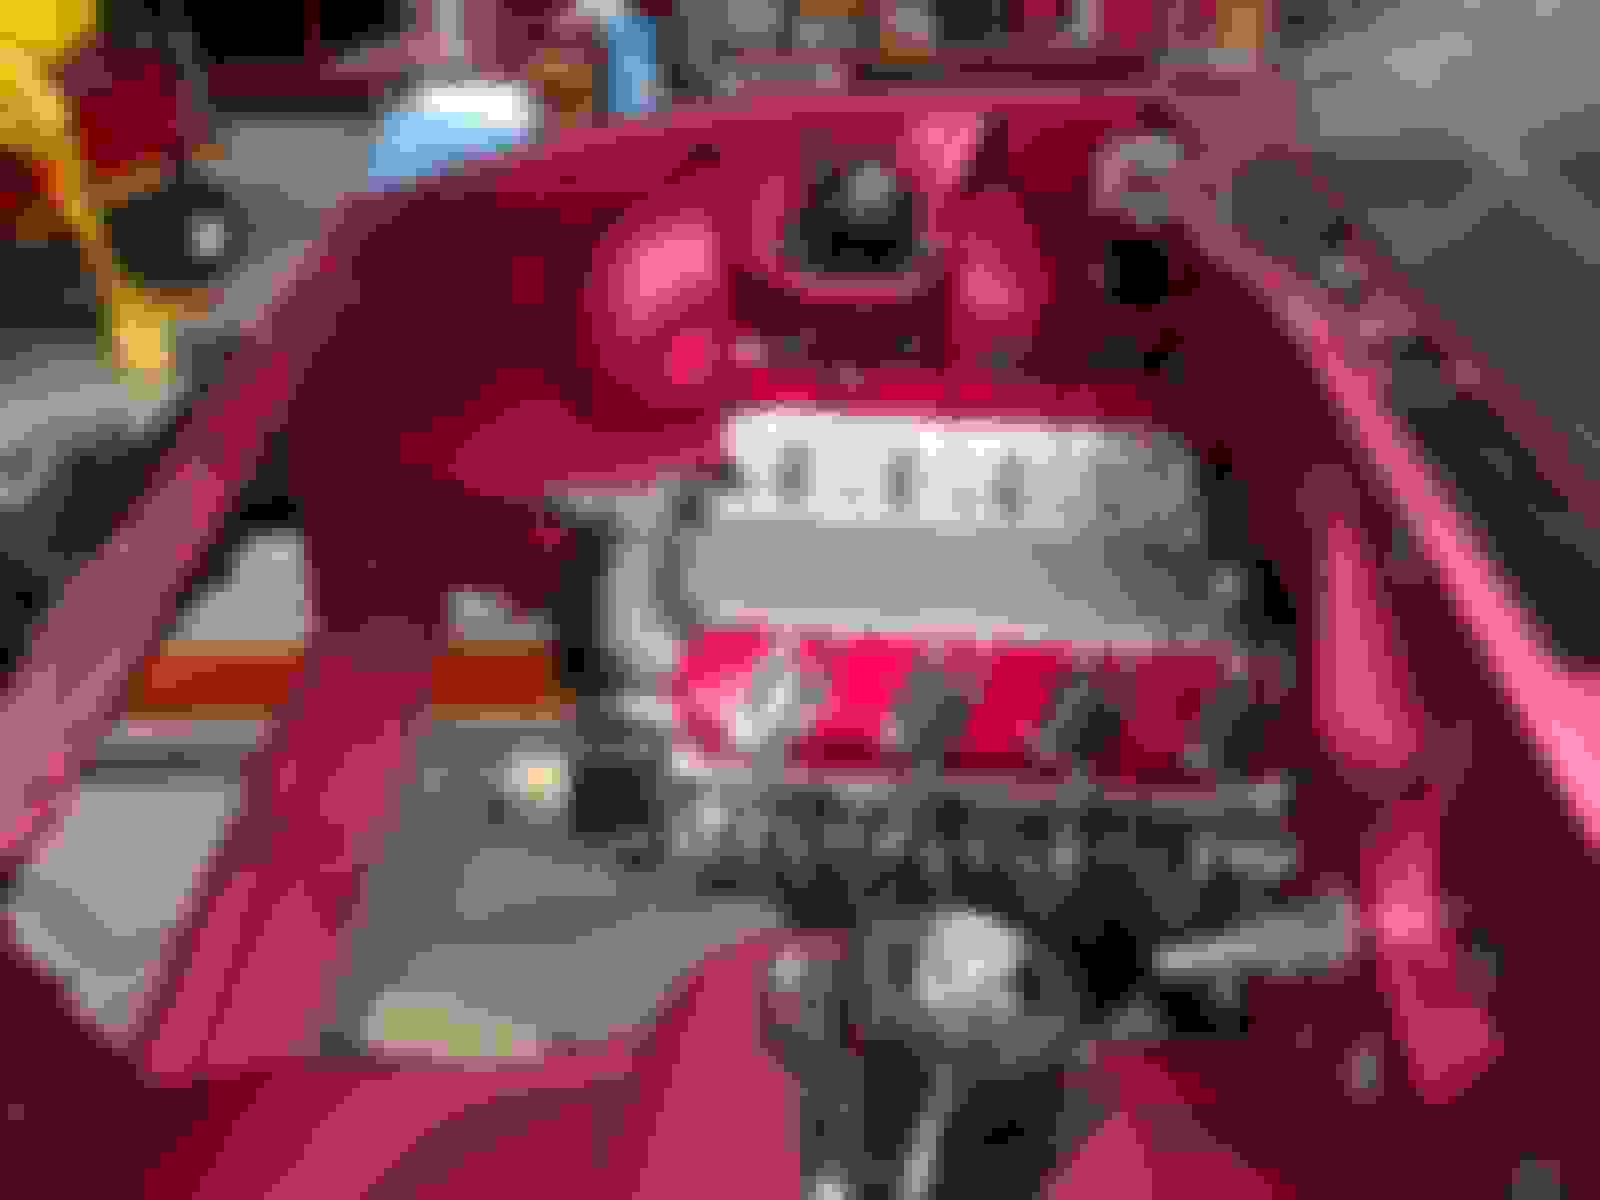
Putting the last few pieces on. Plug wires, and the new water pump. I wanted to change the inlet location off the pump since most LS style swap radiators have the connections on the passenger side.
Coated blackheart headers fit really nice.
No interference anywhere.
Getting her all centered and ready for the body lift install method.
These China Freight dollies worked really well despite how sketchy it looks.
Had to use two floor jacks to get me that extra couple of inches. Jack stands on the ready should the lift fail.
I did this myself and I am shocked how easy it was. These cars are incredibly light when the whole front clip end is disassembled.
Last edited by ShiftyCapone; Jul 16, 2018 at 02:41 PM.
I stared to mount up some stuff onto the firewall when I had a few minutes here or there.
I installed the bulkhead fittings for the Vintage Air unit along with the mighty mouse catch can.
I pulled the stock pressed in tubes out and tig welded some Earls -10 AN fittings in place of them. Likewise, I tig welded a stainless -20AN on the top side after cutting the stock tube in half. I was going to go with an aluminum extender but I couldn't find one that maintained the inner diameter of the pump casting.
I opted for fittings from AeroFlow. They make these fittings with a constant outer diameter without that pencil necking like most fittings have. These are really nice fittings.
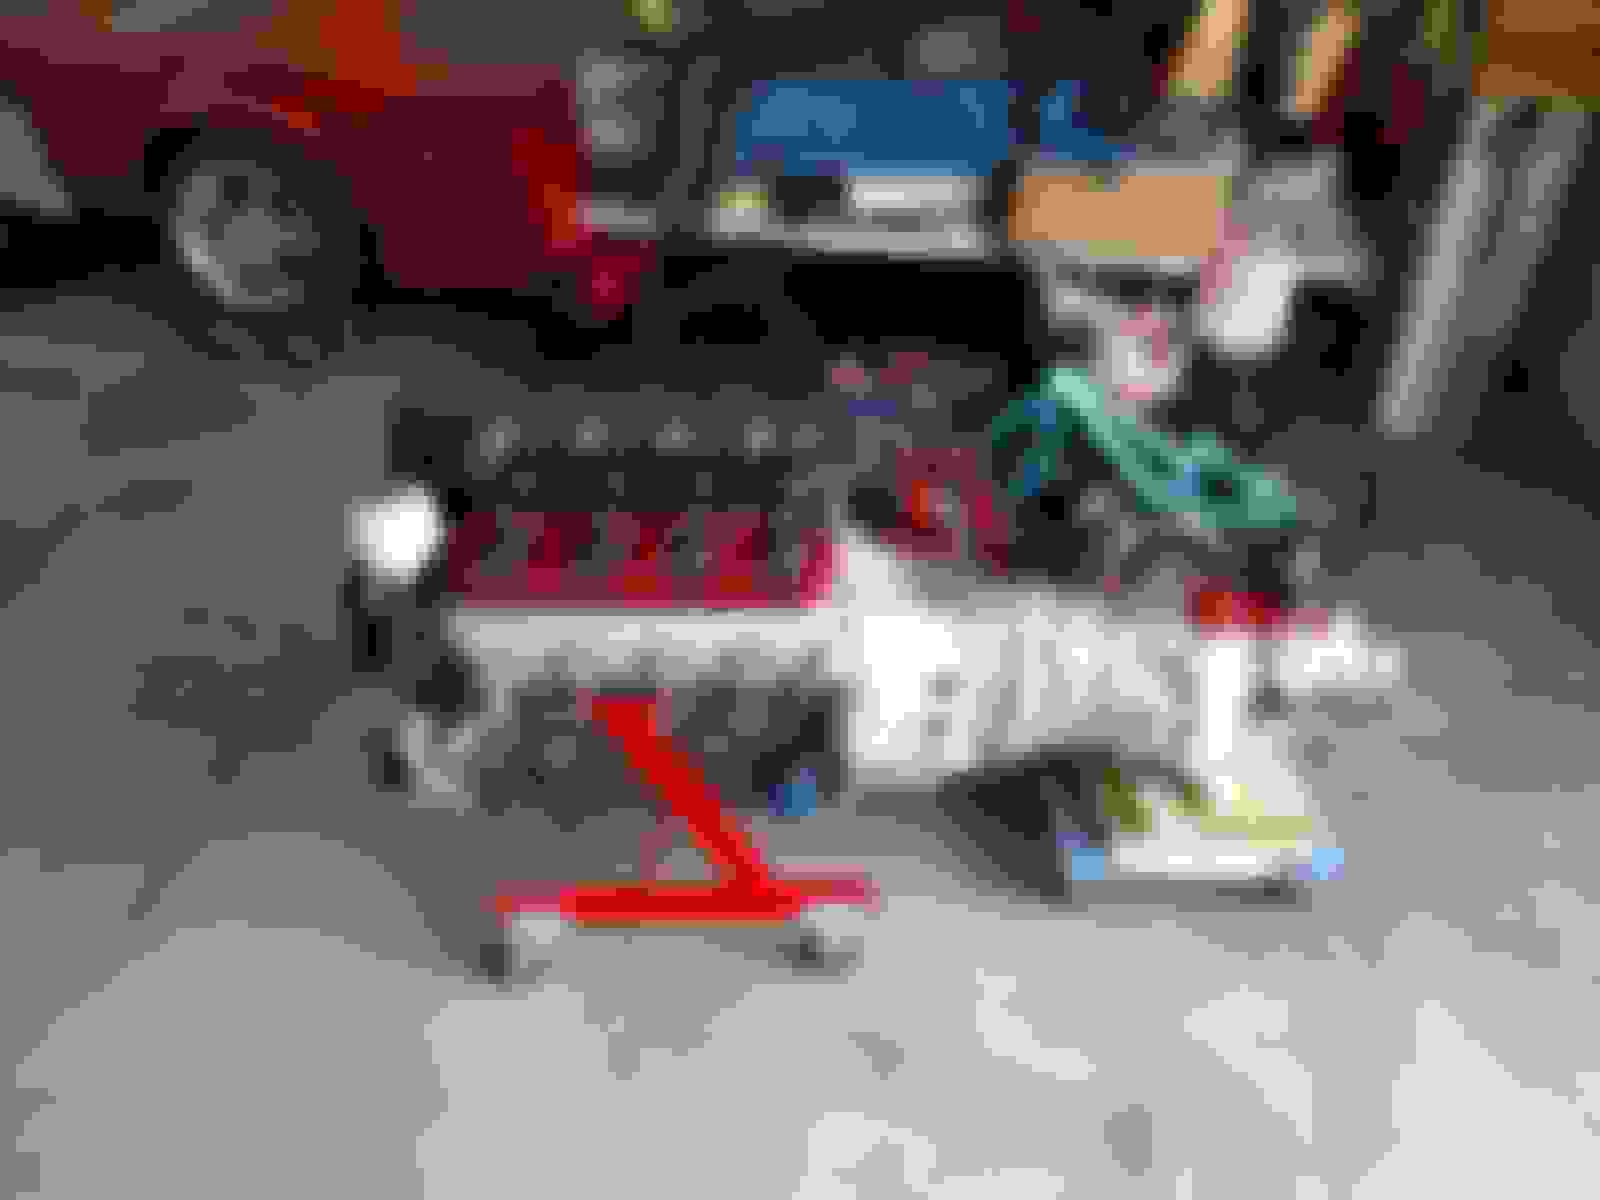
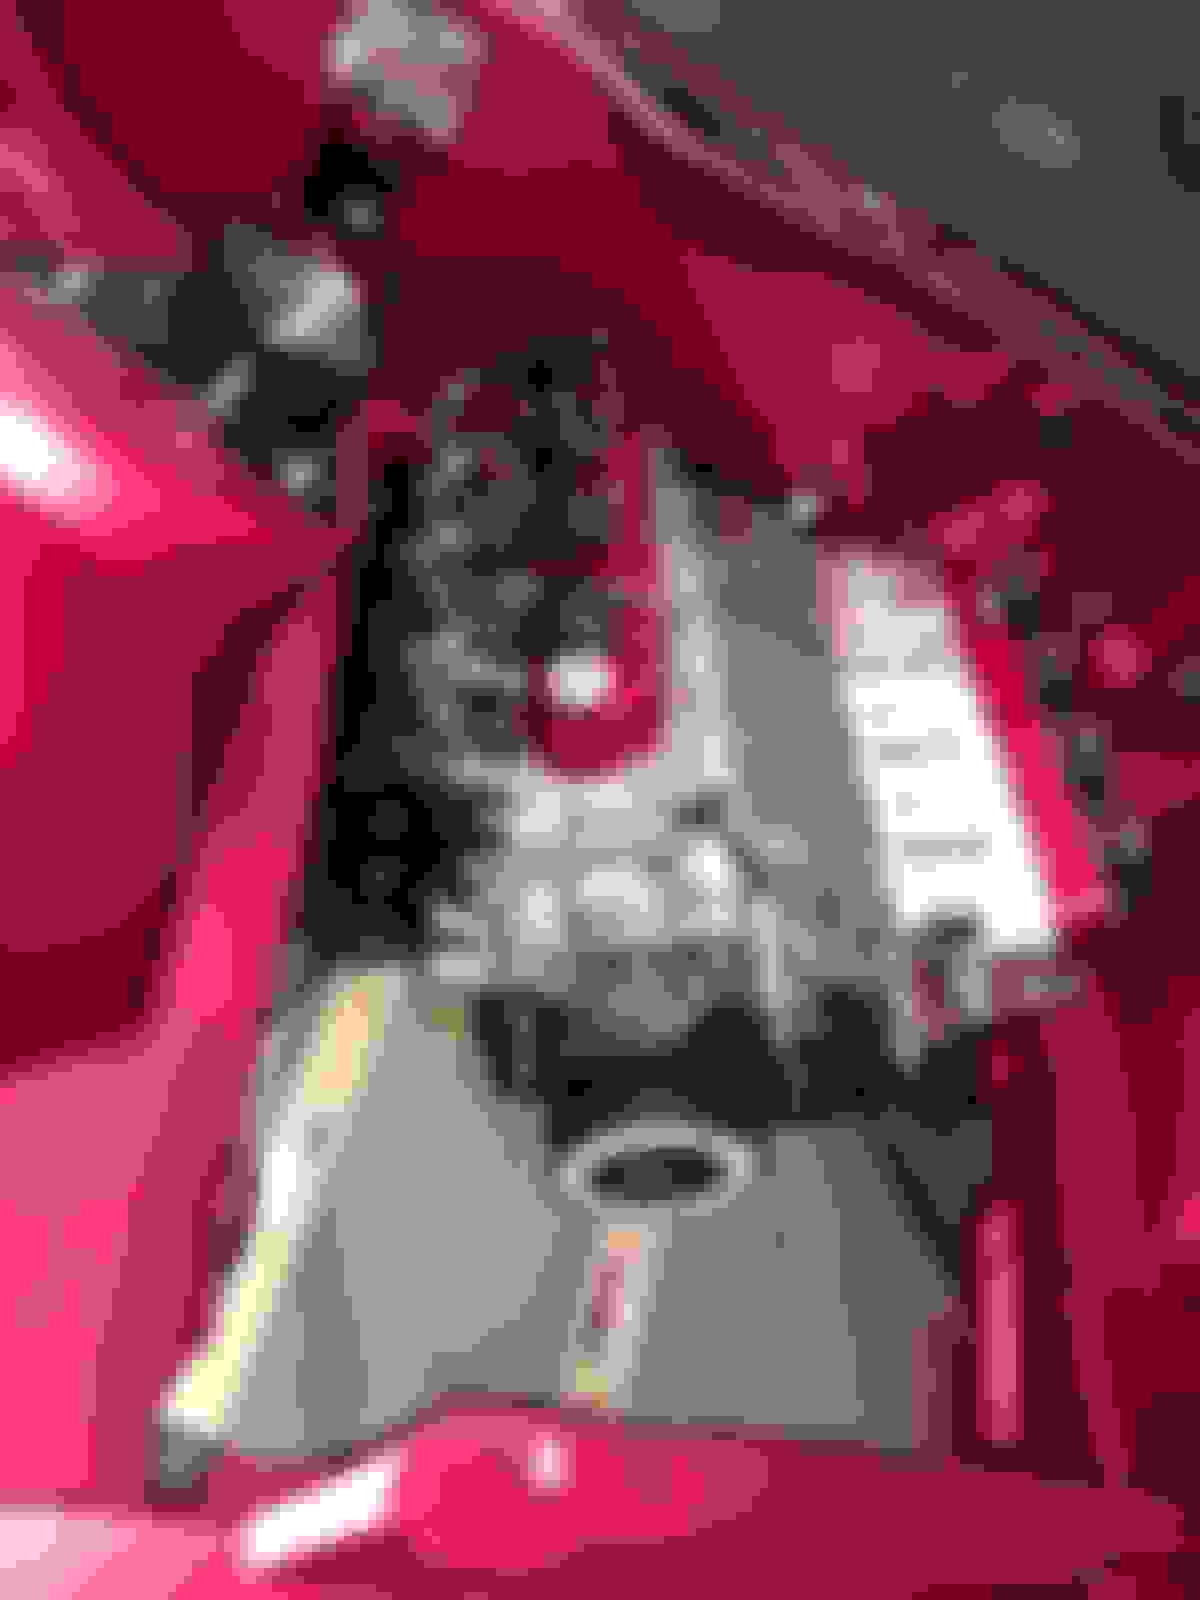
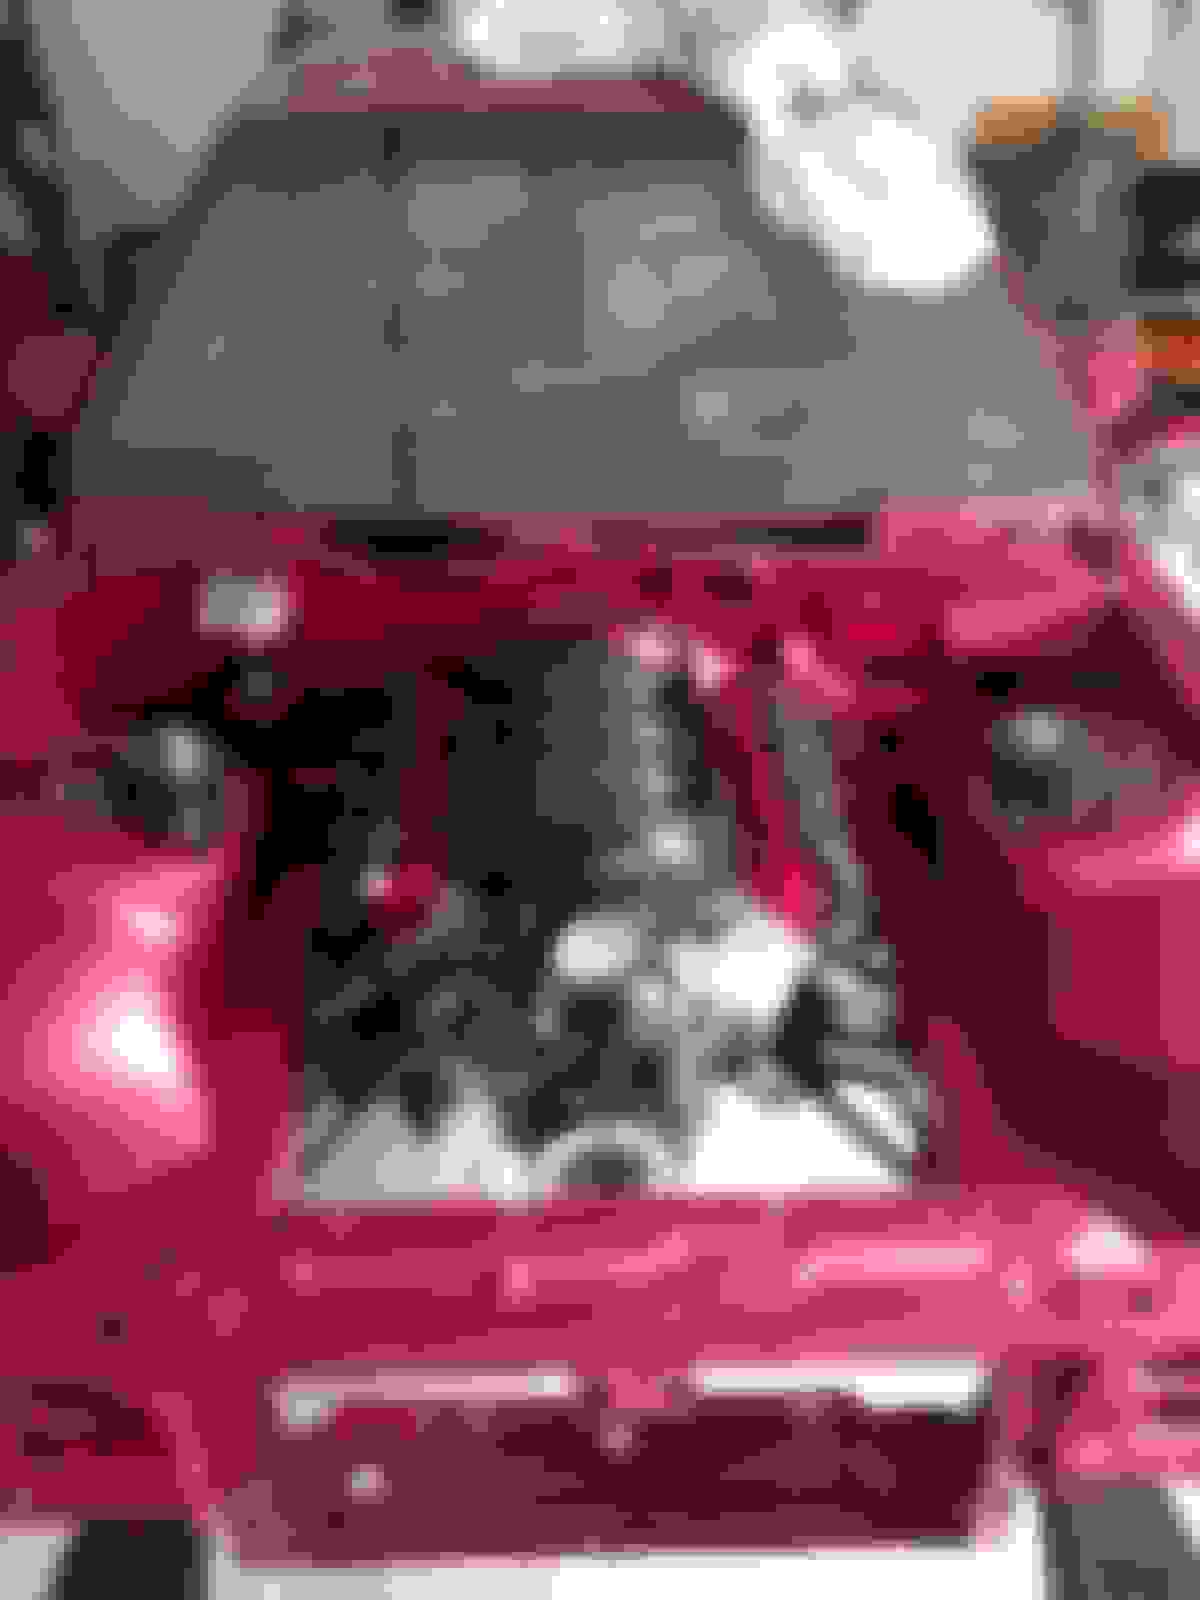
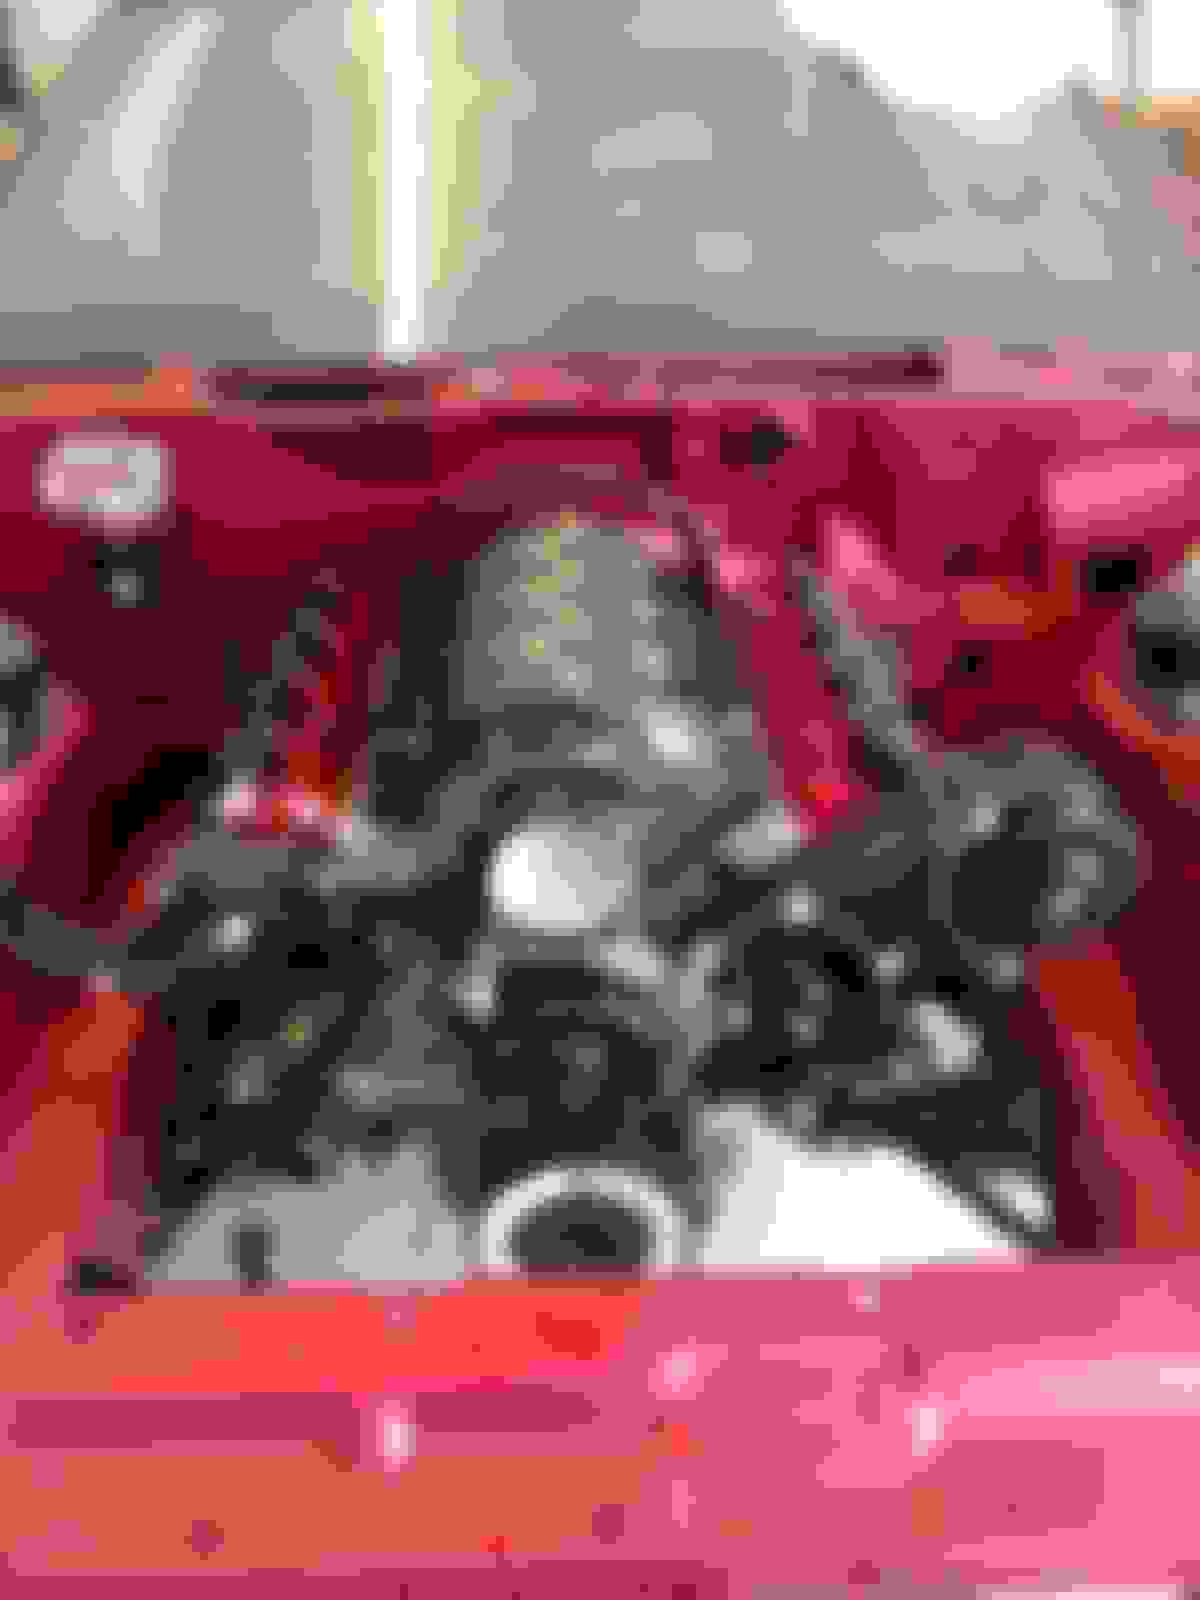
She's in! The trans crossmember is not installed so the engine has a slight list to it. I have equal clearance all around but still concerned about oil pan clearance to the K-member. I will reassess once the trans elevation is set when the cross member goes in.
She fits!
I had to set the intake on loosely. The rear mounted MAP was hitting the firewall. Once the trans is bolted in and the engine is no longer listing, I should have room for it.
Should have plenty of room to run the harness in my fabbed inlet.
I adjusted my floor jack a bit to level the engine a bit better. This helped with the oil pan clearance as well as the firewall clearance. I should be able to remove the jack and get the trans cross member in this week.
Next steps are to get the trans mounted in correctly, assess my interference concerns and then figure out my new front accessories. Likely to go with the all black Holley high mount set-up. Not ideal but will give me ample room all around.
There's such a noticeable amount of time and effort in every picture... This kind of stuff keeps me motivated and from compromising just because I'm a one man team.
I look at stuff like and am reminded that yes, there is a correct way to do it. Complacency shows, and you got none of that, good stuff as always.
Thanks, I appreciate it. I'm taking my time And making sure I don't skimp on anything. I'm enjoying the planning and execution, even if I keep buying stuff that won't work. 😎
Another lesson learned and another part heading to the classifieds. The Holley LSX trans cross member does not fit the tailhousing of the Magnum T56. Not even close. I would have to convert to an f-body tailhousing for it to work. I ordered the BMR unit and it should work fine. It has a flat mount rather than a cup mount of the Holley. It's a bummer because I feel the Holley unit is far more robust than the others on the market.
On the plus side I was able to get the front suspension in. The DSE sway bar kit fits great as does the UMI weight Jack's and BBU spindals.
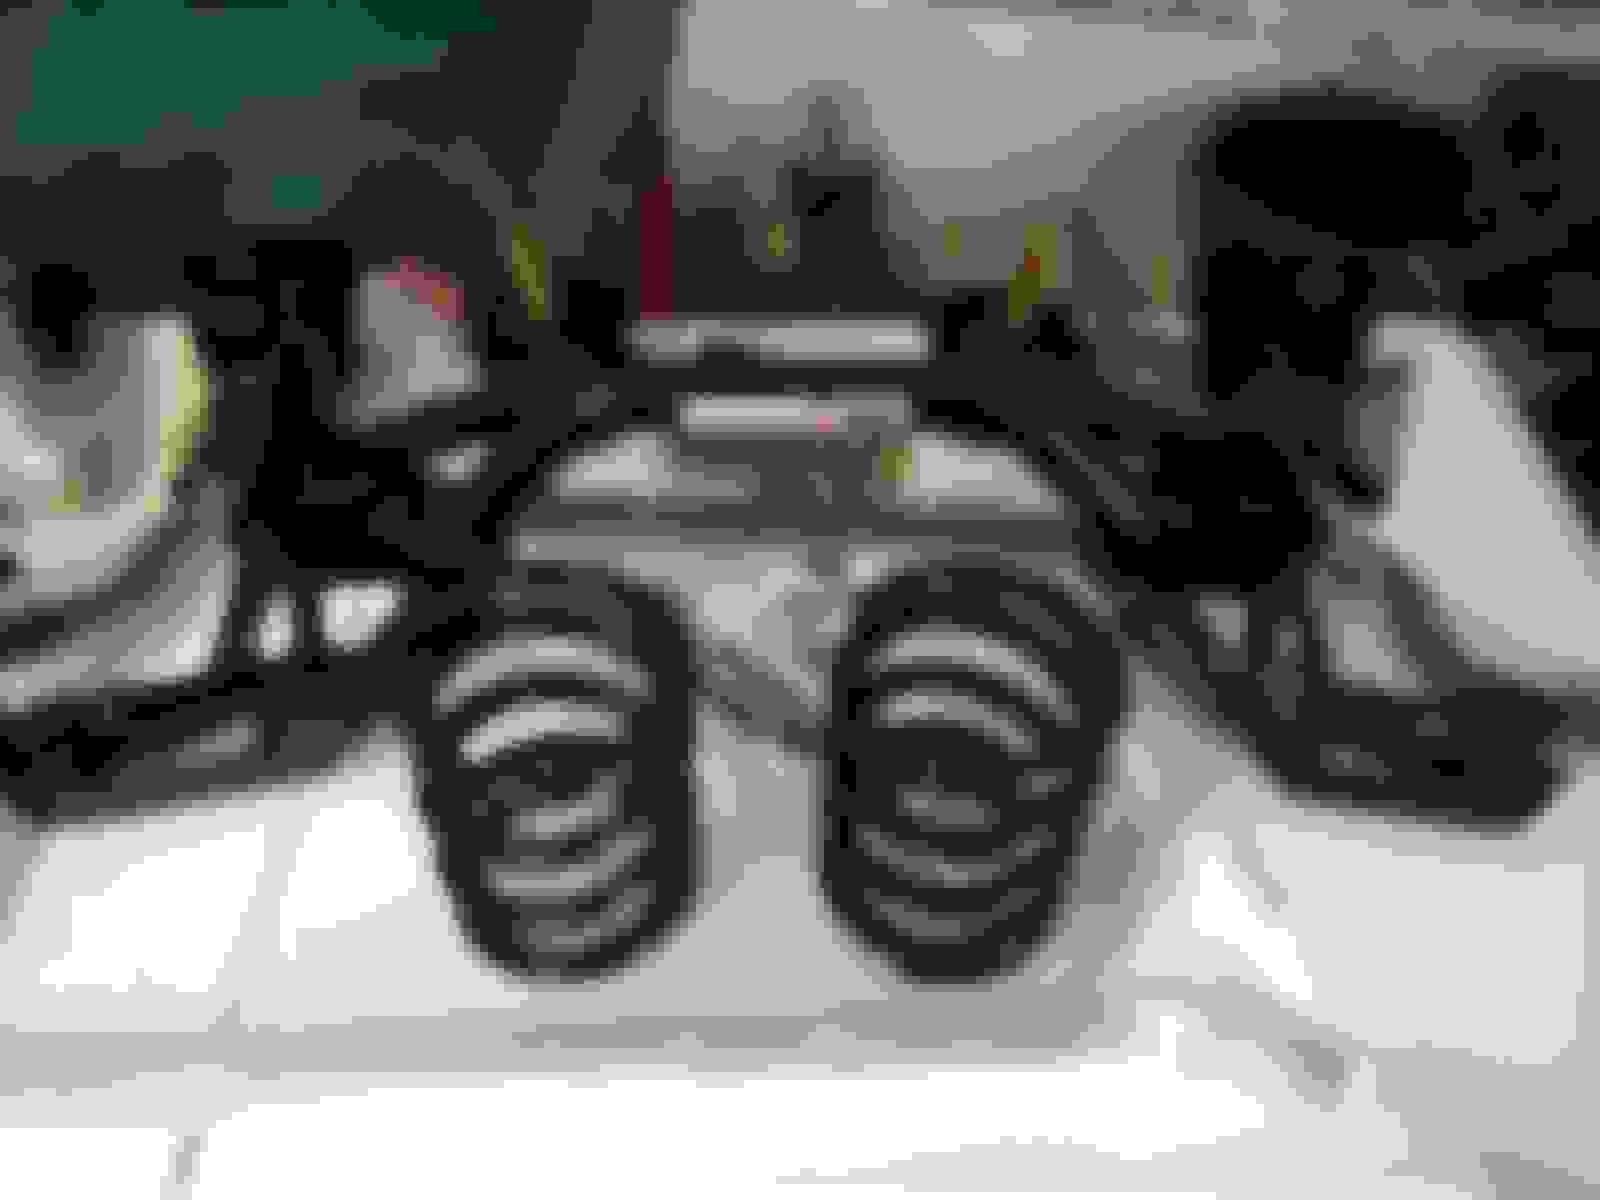
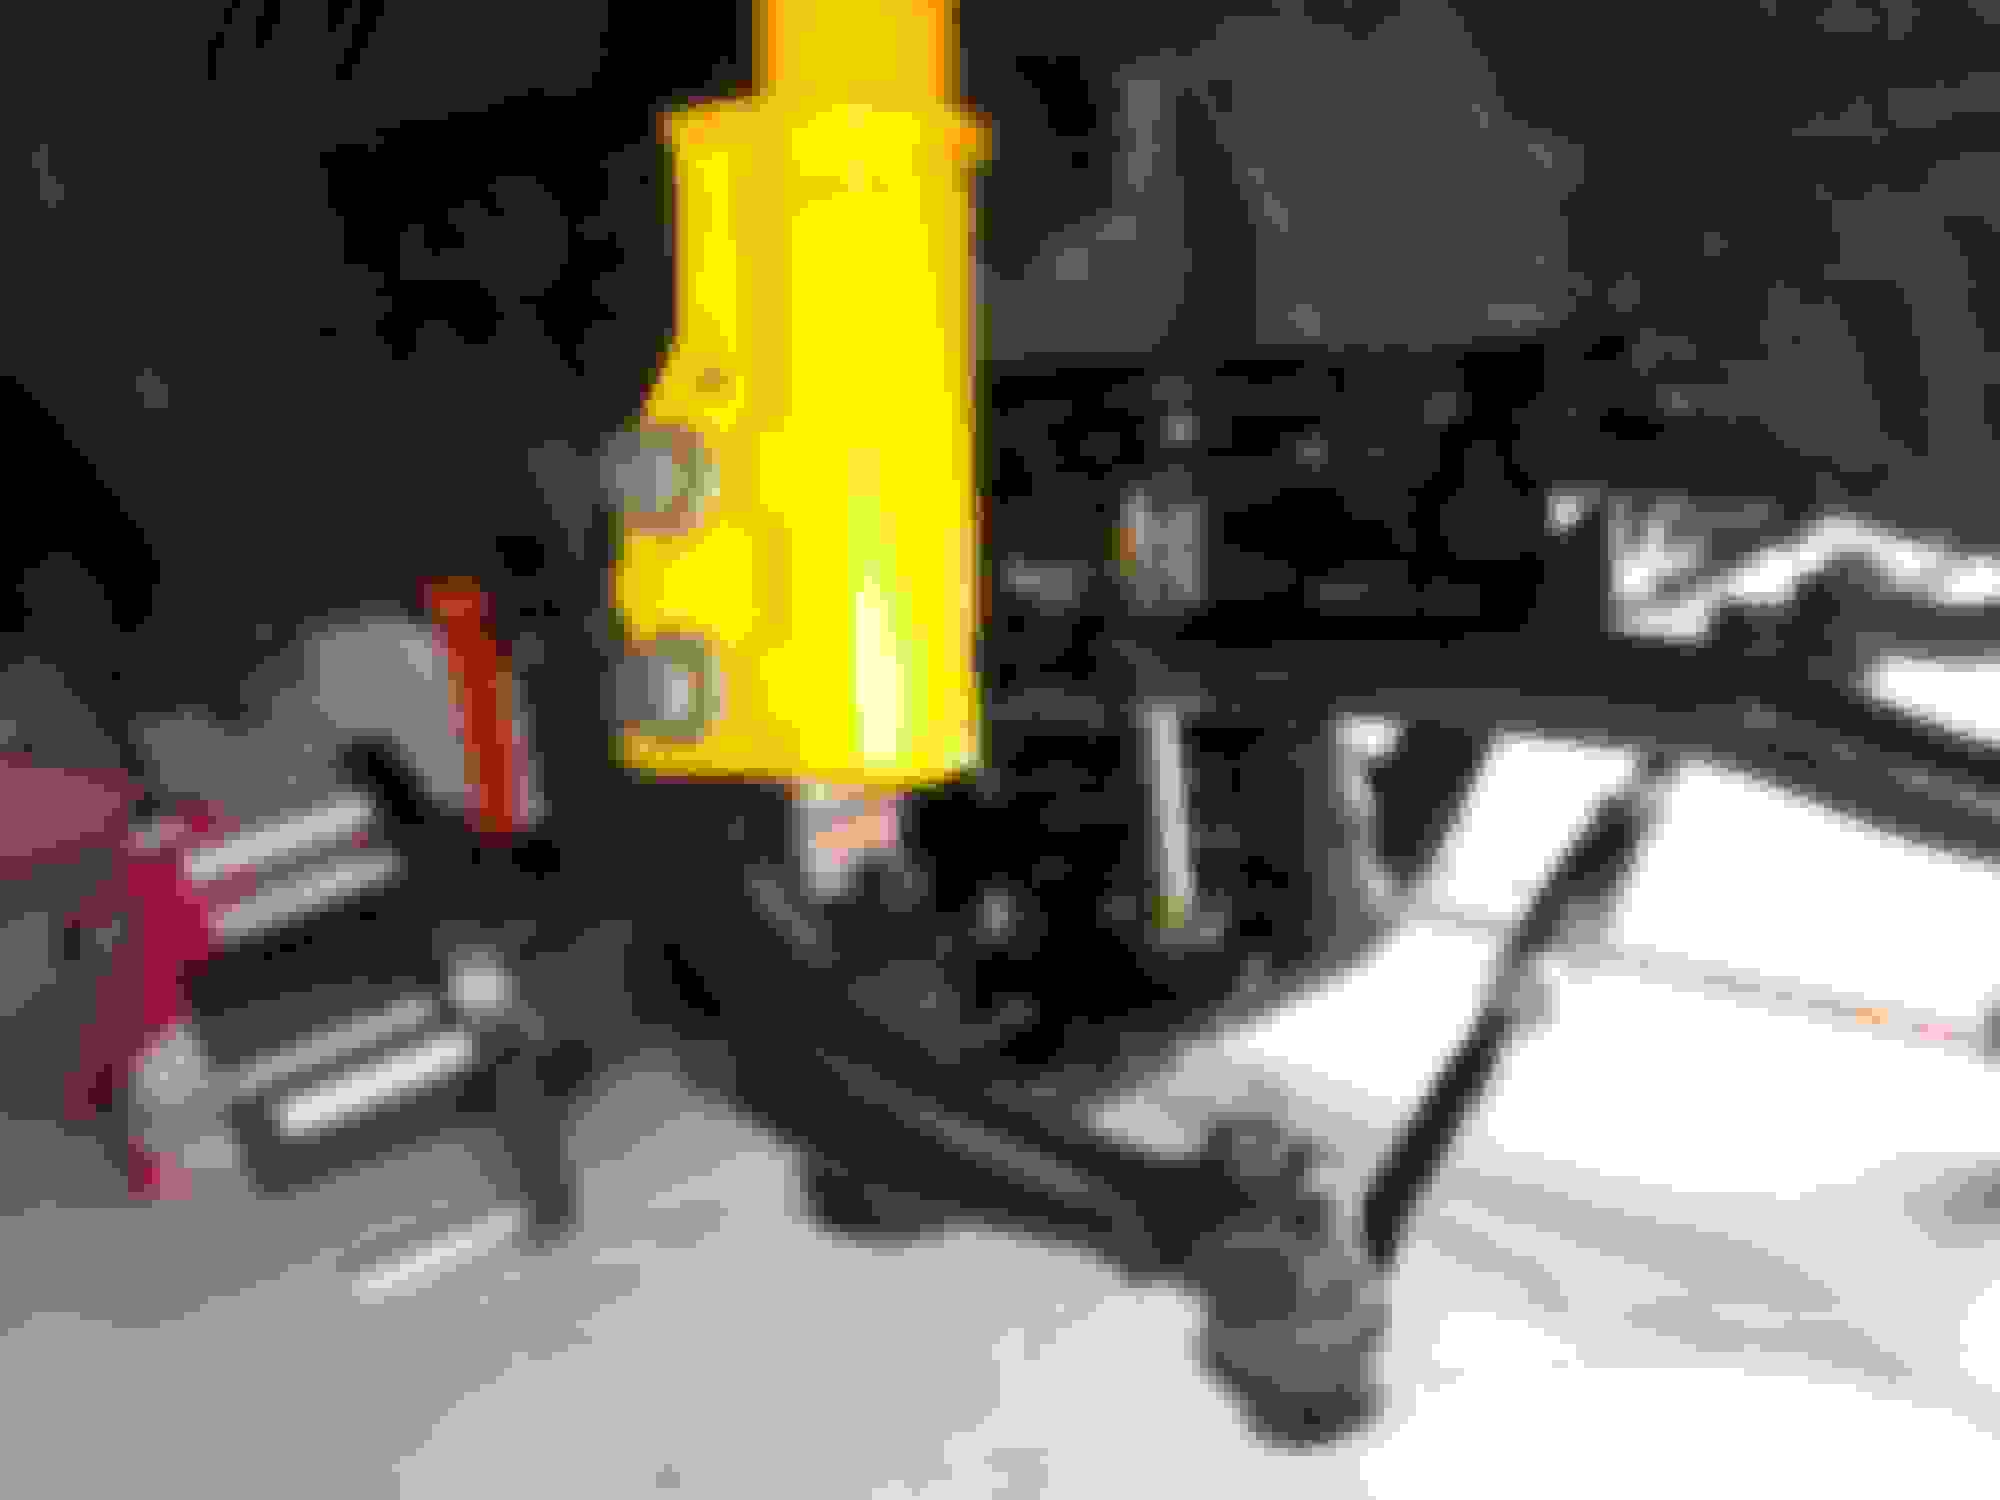
That's a custom trans cross member. Not really digging the yellow Konis against the red.
Another positive is it looks like my braided water pump lines will work great. I might need to shorten them a bit so they don't rub against the wheel well.
Another lesson learned. I will have a novel by the end of what not to do.
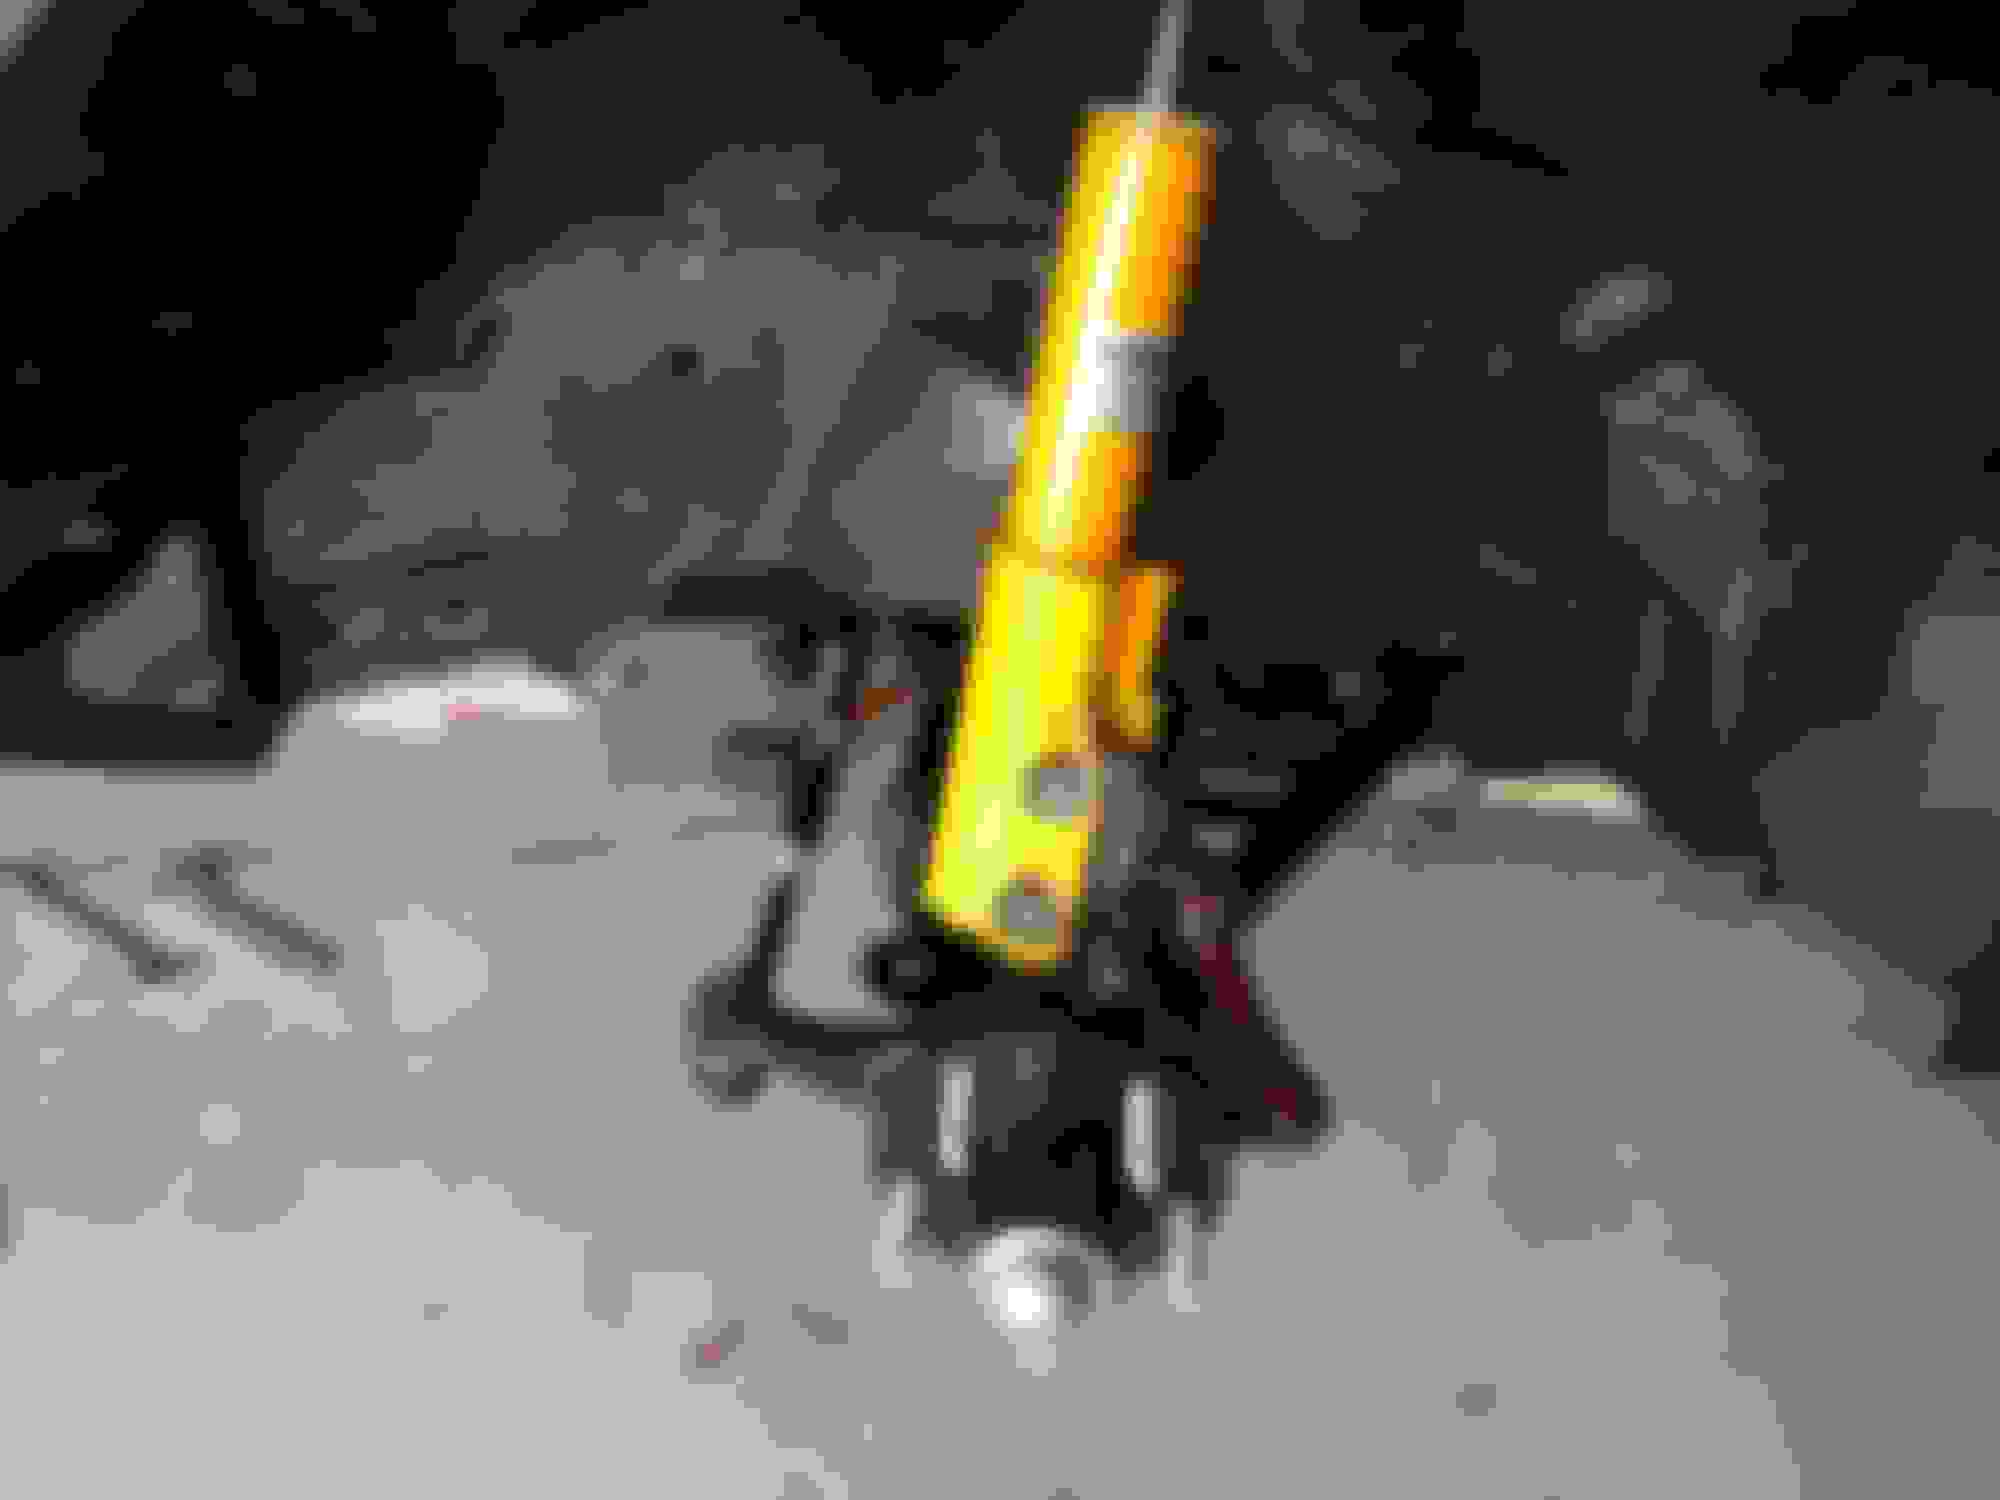
1. The Holley Blackheart crossmember will not work with the Magnum T56 tailhousing. I had to buy the BMR unit which looks great and is made well but isn't well designed. It doesn't fit the frame very well but should work out fine.
Trans shifted enough to not bolt in along with less than ideal fit of BMR unit.
2. I ended up having to drop the k-member and engine again to flip around the engine mount on the passenger side. I originally installed the energy suspension bushings so that the long snout portion was pointing towards the rear of the car on both side of the engine. Everything seemed to line up better that way (oil pan, k member etc). However, once installed, the tail of the trans was at an angle and I could not get it to bolt up to the trans cross member. I took it out, flipped it around and put everything back in. The trans is no longer at an angle but everything still seems slightly shifted to the passenger side of the car. I am ok with it for the time being as I now have about a half inch clearance between the oil pan an k member. Follow the instructions from Energy Suspension and do not call their help line.
About a half inch misaligned. Mount bushing now put in correct orientation. Note the longer side pointing to the right (by the bolt)
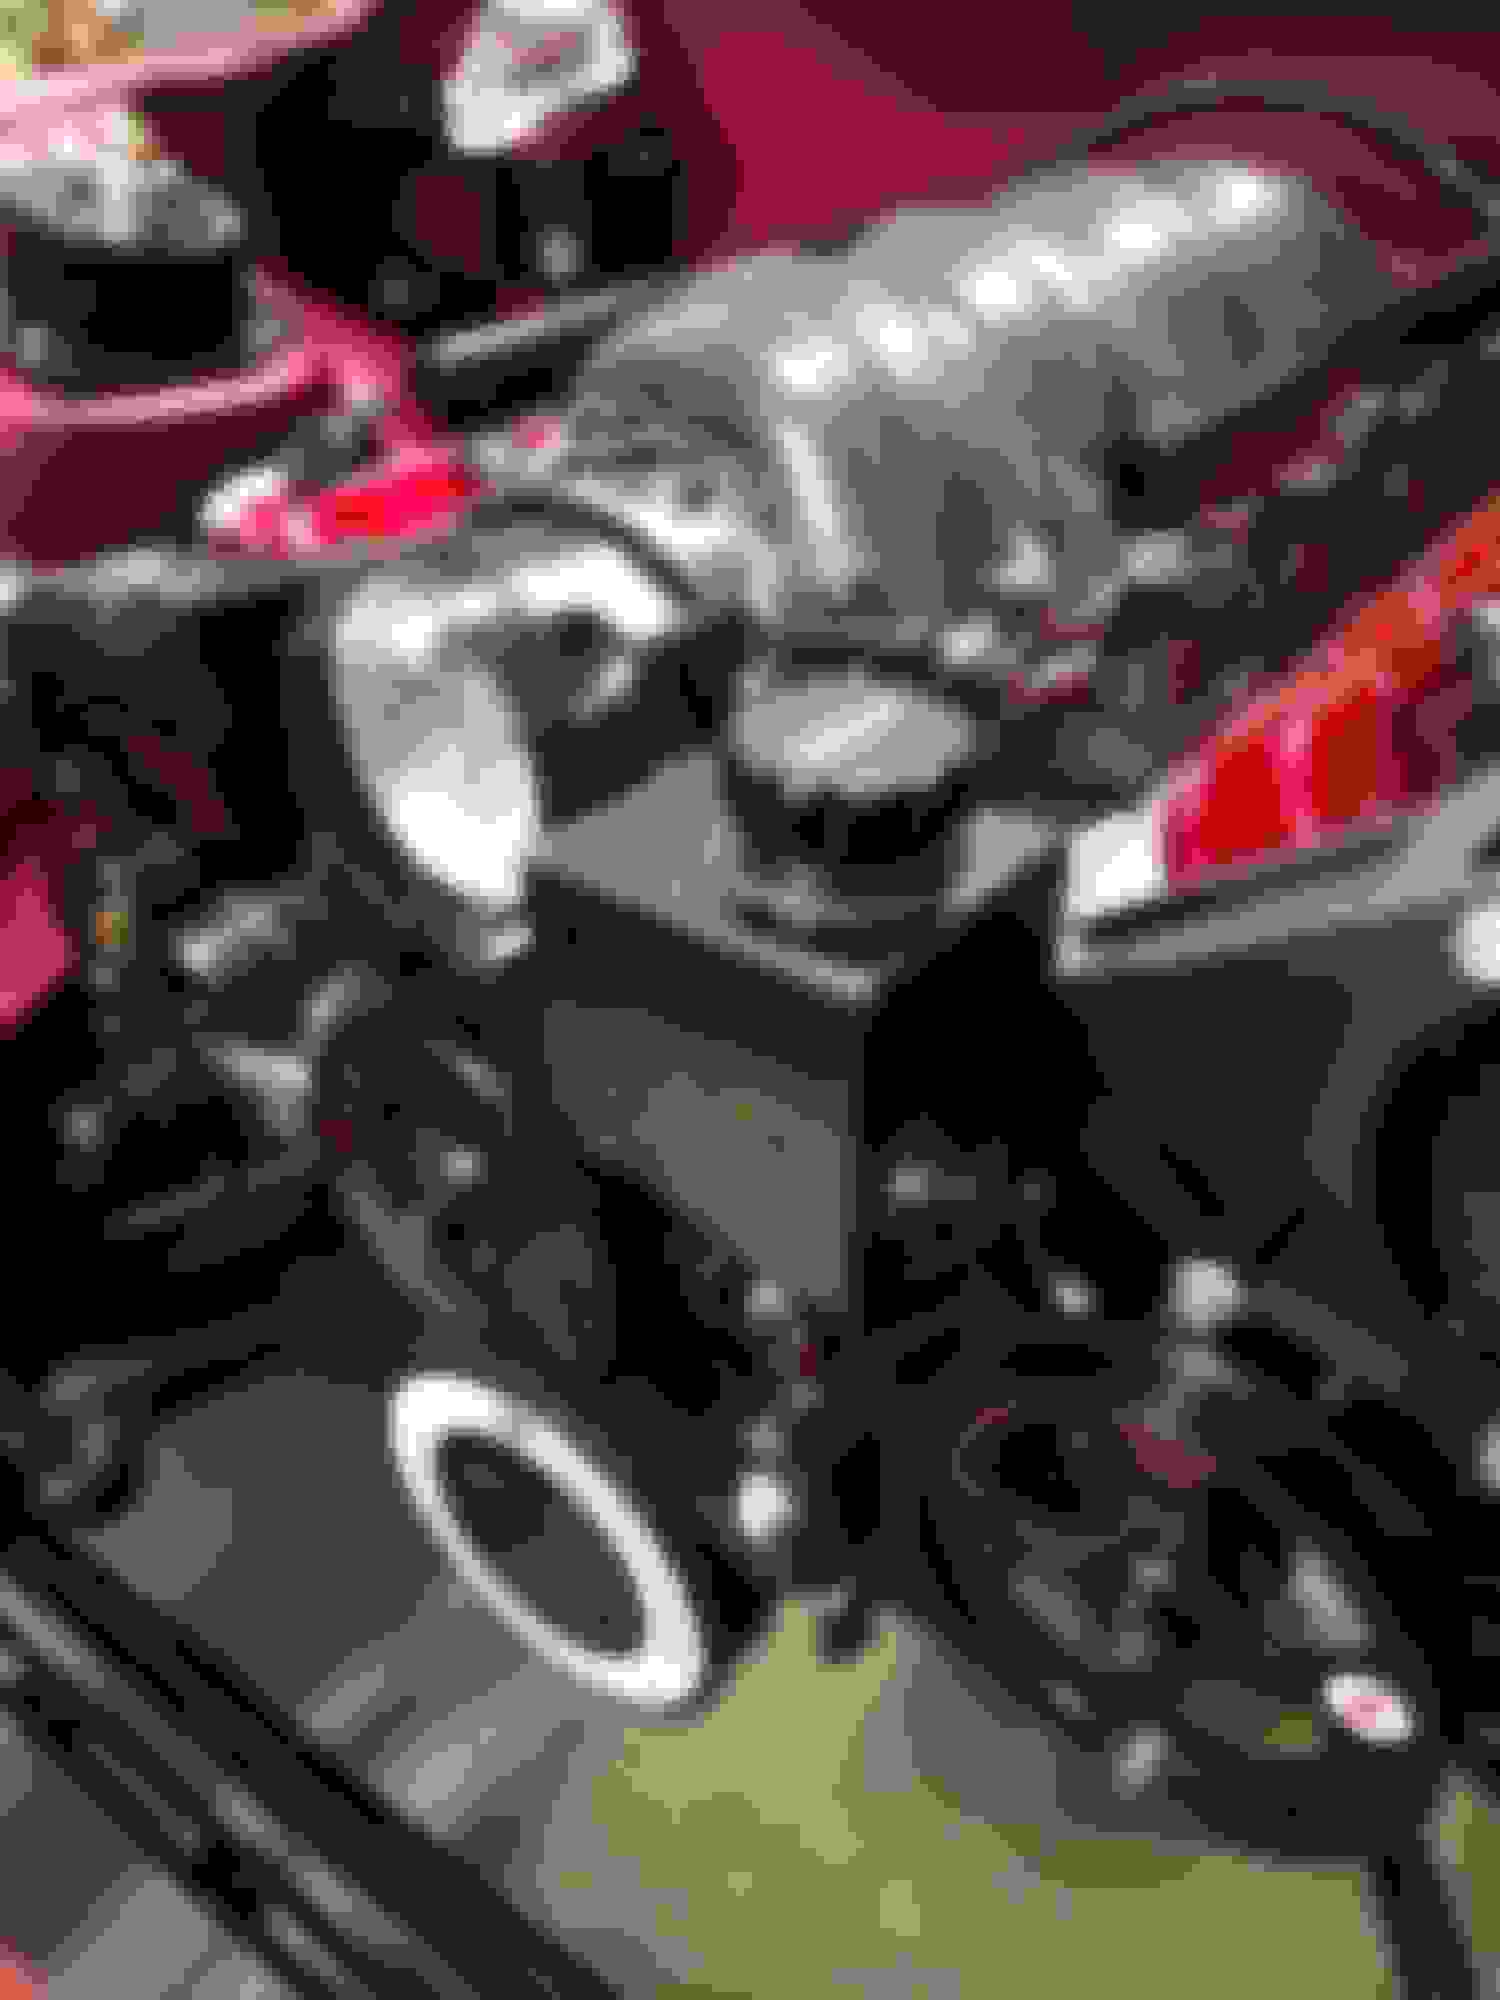
After I got everything back together and the engine/trans straight I put on my new front accessories. The CTSV Set-up I wanted to run did not clear the factory K-Member braces. Even the Kwick Performance mini AC kit didn't clear. I bought the new Holley High Mount system and I was afraid I wouldn't like it but I do. Its very clean looking and well made. I'll have room for everything. Although, you do have to install the compressor before you mount the bracket on. You cant get the bolts past the strut tower (as seen in the picture). I'll have to measure for the right belt length next.
My plans to run a rear mounted MAP sensor have been foiled. The sensor won't clear the firewall with its location on the fast intake. I'll have to pug that hole and move it to the top front of the intake.
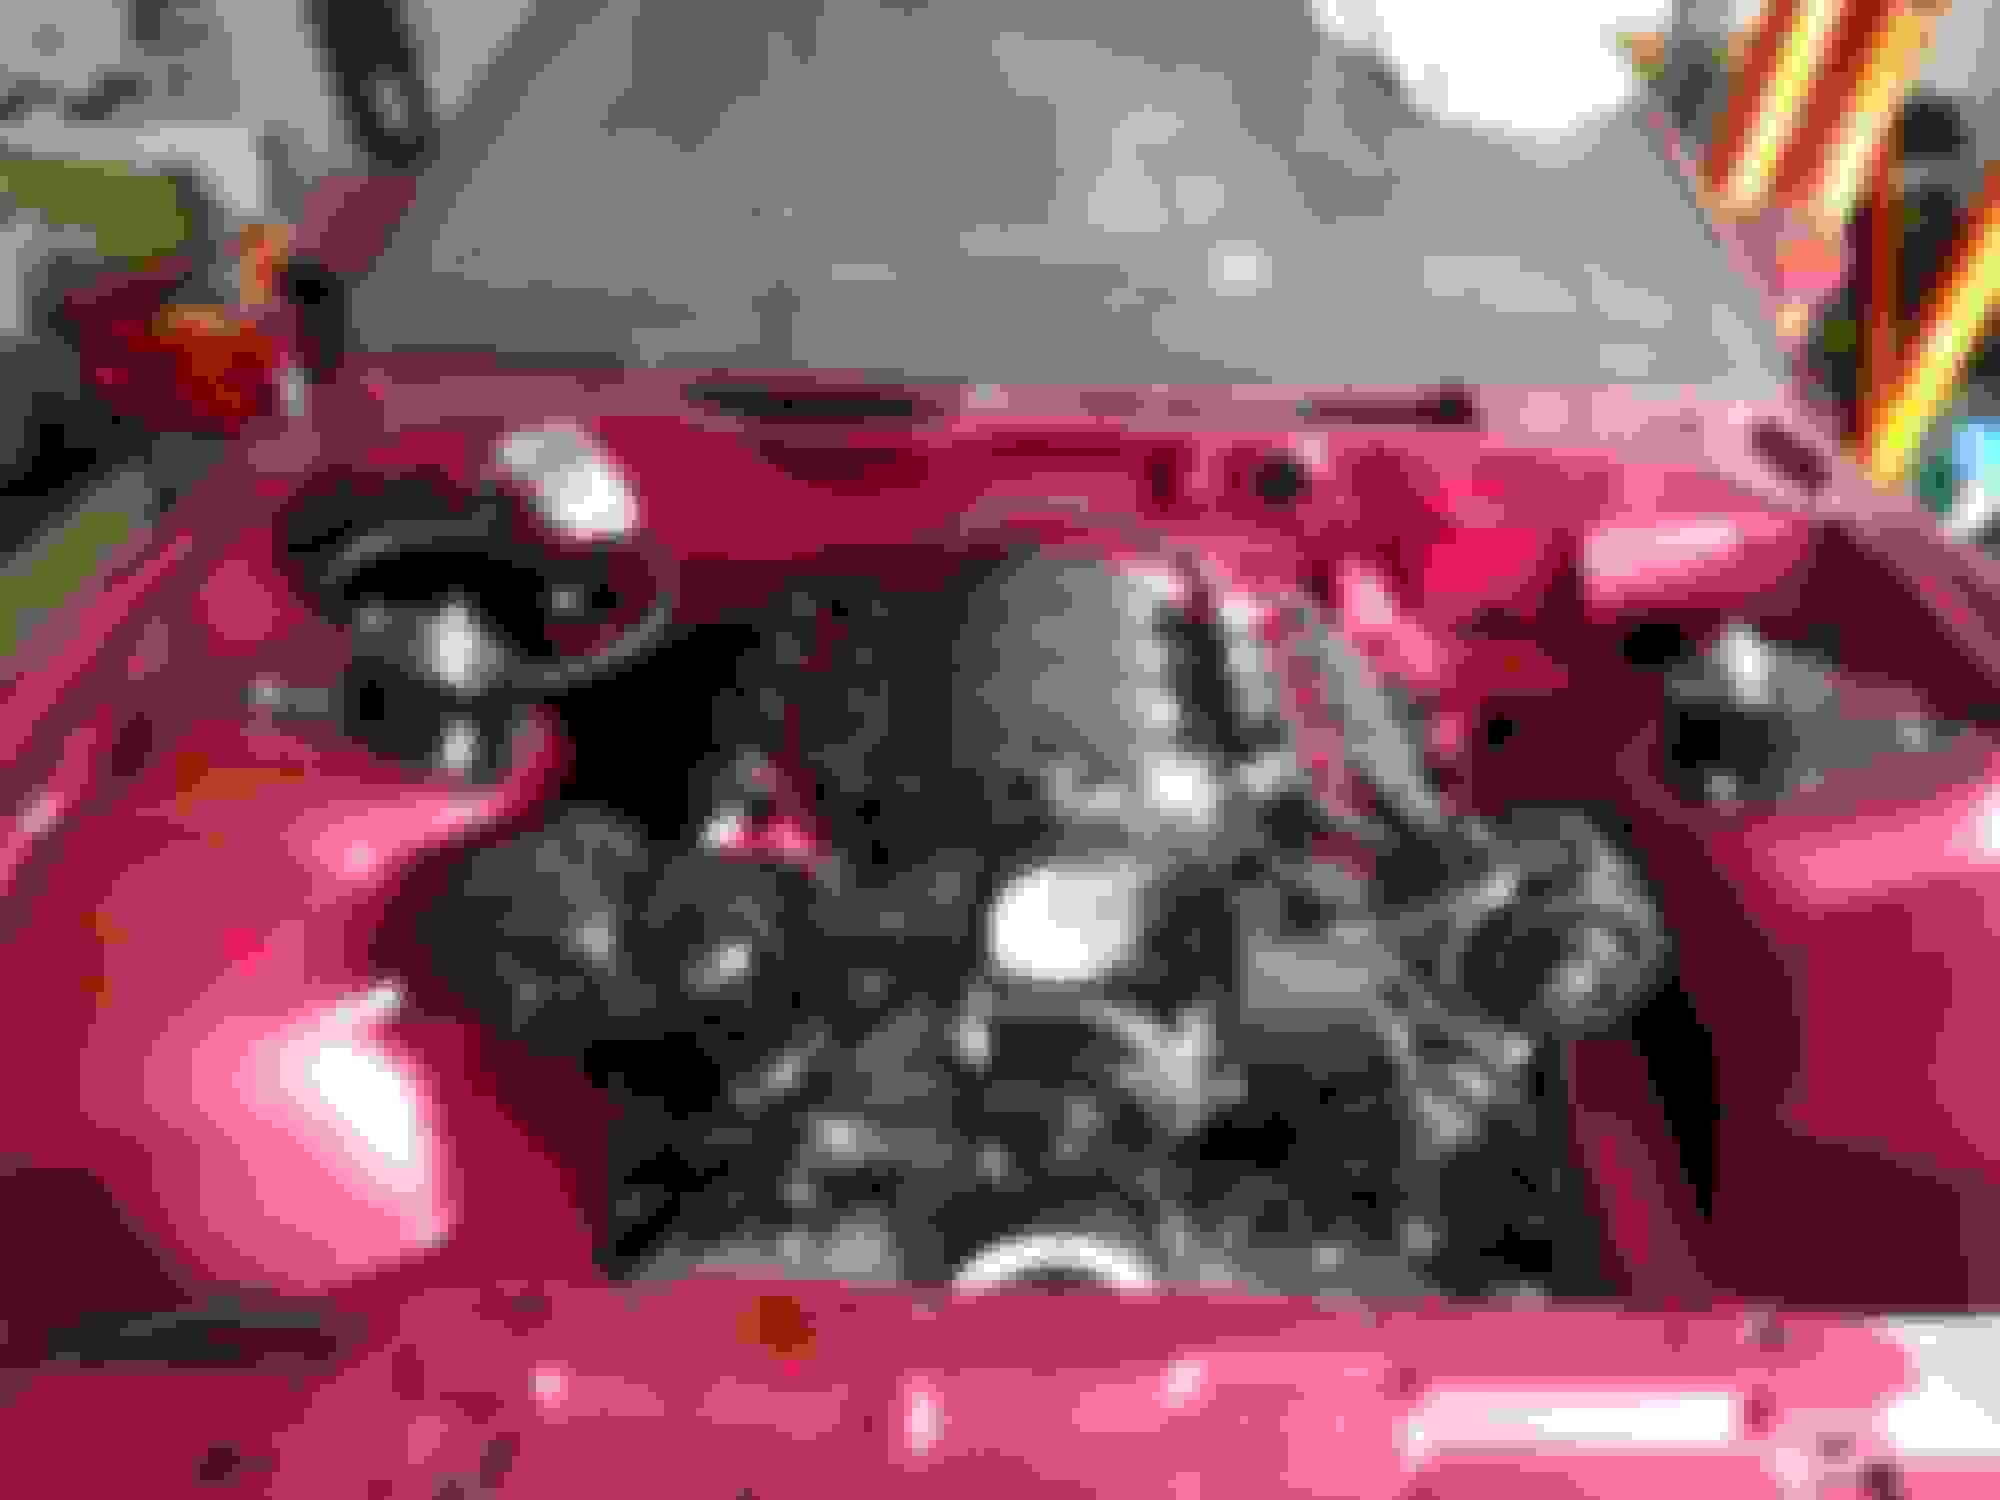
New accessories are on, heater hoses shortened for a cleaner look, and washer tank mounted. Heater hoses shortened a bit for a better look. Less slack. New accessories with everything bolted up. Finally was able to find a GM bracket for my Aeroflow PS reservoir. ON3 performance washer tank. I'll have to figure out to to run tube and electric to it.
I also had to relocate my MAP sensor to the top of the intake. I didn't have enough firewall clearance. I made a little tab combined with some RTV to seal up the rear hole I drilled.
I started to run my PSI conversion harness today and it is a really nice piece. I had a few snags but nothing major. The issues I had.
I had to rotate the MAP on top of the intake since the wire harness only had so much length.
The LS3 O2 sensors will not plug into this harness even though it's an 'LS3 harness'. Again no biggy, just need to find the right sensors.
I'll have to repin the connection for the coolant temp since it's an odd plug.
Lastly, and most confusing is that there isn't a connection for the oil pressure sensor in the back of the valley plate.
The biggest issue was while under the car I noticed my oil pan is again hitting the kmember. I am going to have to try yet again to get the engine more rearward. This UMI system is smarter than me. Also, I do not like the BMR trans cross member. I feel it places the transmission too low.
I have been fighting oil pan to k-member clearance since the first day the engine went in. I finally ditched the clam shell motor mounts in favor of the UMI solid aluminum ones. I also found out that the Tremec magnum tailhousing mount isn't as thick as the f-body one which causes the engine to rotate in the mounts, further reducing clearance. I am going to make an aluminum spacer to fit between the trans mount and trans crossmember. it won't give me the desired clearance I want but will at least get the pan off the k-member.
New mounts in and pushed as far back as I could get them to. Pan clearance is about 3/8". Not the half inch I wanted but with the solid mounts engine rock should be minimal. Passenger side mount Ideal mount height for the trans. You can see where a spacer will be needed.
I was also able to get the correct O2 sensors and plug in the rest of the PSI harness. Under the dash is still a mess but basic engine bay wiring is complete. I will be working on the cooling system and will post some pictures. Decided on trying out the Summit 3rd gen LS Swap Radiator since it comes with AN threads. Slow goes it.
I need to spend more time reading build threads. Must confess, I skipped from about two thirds to the bottom of the page to see where the story would end up. I'll have to go back and study when I've got time. It's interesting to see how other people approach their projects and the issues that pop up, there's a lot to learn from eaves dropping in build threads. All of the Rustoleum paint jobs and lambo doors of the mid 2000's really ruined build threads for me, it's almost surprising to see some of the current threads where people are actually doing things right.
I spent some time working on the radiator yesterday and with some trimming of the stock radiator bushing mounts I was able to get the Summit Racing LS swap radiator to fit nicely. My generic "3rd gen f-body" fan shroud from Ebay fits perfectly onto the summit radiator and the Spal 12" fans will mounts nicely to it. I need to drill some mounting holes, create some brackets and then get everything painted satin black. The only issue I might have is that the lower port on the radiator doesn't leave me with much clearance to run a fitting without interfering with the DSE steering brace.
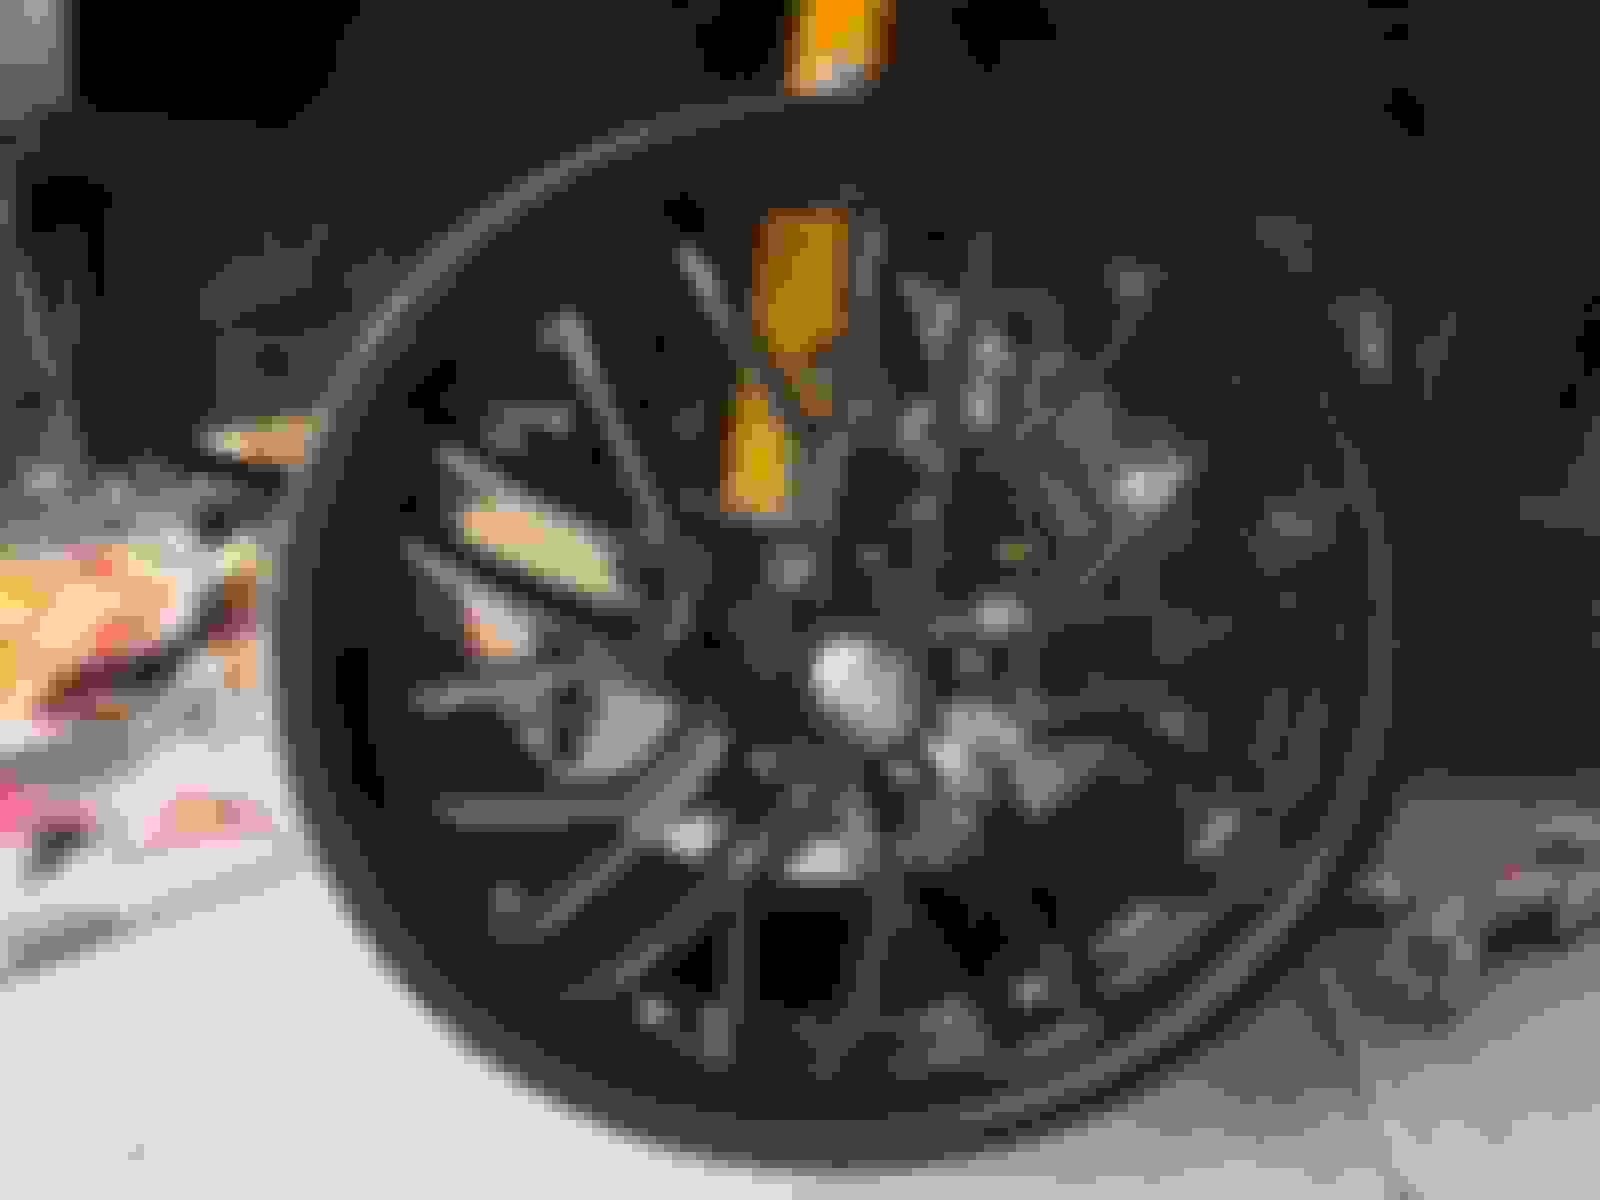
I also started mocking up the front brakes. Using Scotts Big Brake Upgrade kit he mentioned I would have to grind a little on the C6 calipers and I was able to get one side fitted. The problem is that there is a left and right side front caliper yet both calipers look identical. Meaning, the bleeders and cross over tube are installed the same. The need to be flipped around in order to work correctly but I am not sure if I can do that. Does anyone know if the front C6 ZO6 calipers are the same casting? Unless GM boxed a left/right in the wrong box. Anyways, test fit with the new wheels.
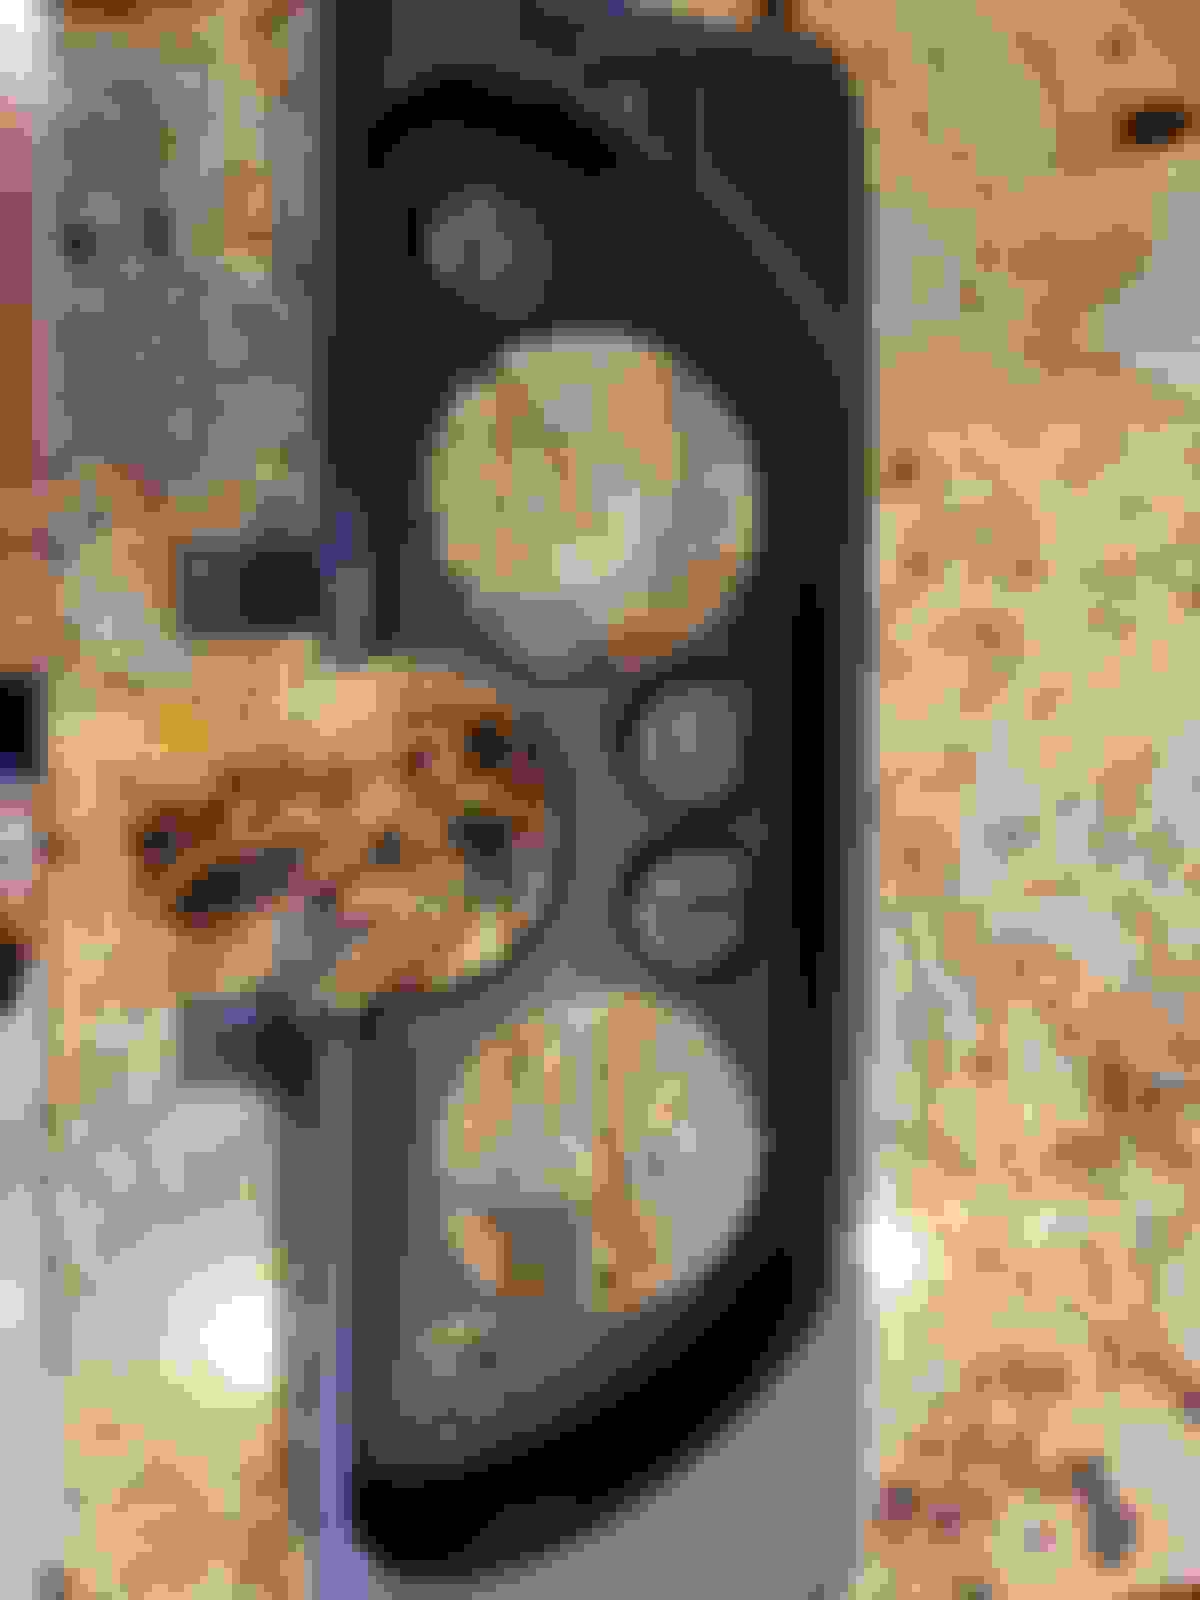
Last but not least I started mocking up my gages into the classic industries 6 gage panel that they make for these cars. I went back and forth on the style of gages but ended up going AutoMeter GT series to better match the black tones of the car.
It�s interesting how similar our builds are, and yet both remain one of a kind projects. I should start a thread in this forum to consolidate my posts, they are all over the place on this site. I�ve tubbed the rear wheel wells, installed a Vintage Air HVAC, custom built LSX, and a lot of tubular suspension pieces. The main deviation comes in the way of the suspension, I�ve installed the front and rear suspensions and ABS from a 1992 Corvette with Baer brakes. I don�t want to hi jack you�re thread here, so I�ll just say �great build and documentation�. Keep at it.
It�s interesting how similar our builds are, and yet both remain one of a kind projects. I should start a thread in this forum to consolidate my posts, they are all over the place on this site. I�ve tubbed the rear wheel wells, installed a Vintage Air HVAC, custom built LSX, and a lot of tubular suspension pieces. The main deviation comes in the way of the suspension, I�ve installed the front and rear suspensions and ABS from a 1992 Corvette with Baer brakes. I don�t want to hi jack you�re thread here, so I�ll just say �great build and documentation�. Keep at it.
Id love to see more about your vintage air. I have all the firewall modifications made along with some metal work under the dash. I made the clearance using their mock up kit but have yet to install the real thing. I have 8 billion little things to do on this project!
I used the universal Magnum Gen IV kit. The most difficult part was the ducting, I cut up and bonded hose fittings to the original �box� that was attached to the factory AC. The unit you used is more compact, but is installed where the my duct work is situated. I�ll post some pictures in the �fabrication� forum. I also have a lot of work ahead just to get mine running and driving (finally on its wheels). Starting the exhaust next.
I used the universal Magnum Gen IV kit. The most difficult part was the ducting, I cut up and bonded hose fittings to the original �box� that was attached to the factory AC. The unit you used is more compact, but is installed where the my duct work is situated. I�ll post some pictures in the �fabrication� forum. I also have a lot of work ahead just to get mine running and driving (finally on its wheels). Starting the exhaust next.
I'd love to see pics especially since I too will be trying to graft the stock ducts to the unit. I will be using the compact unit.