When you click on links to various merchants on this site and make a purchase, this can result in this site earning a commission. Affiliate programs and affiliations include, but are not limited to, the eBay Partner Network.
[QUOTE=zman1969;6313676]ever get my front bumper? I mean yours [/QUOTE
Funny thing is I mailed the check to the seller in May. He also owns a formula is a really cool guy. He agreed to hold it for me until I could get up there.
Now we text all the time it�s kind a like I have a friend that I�ve never even met. I have tried to bribe him to come down and bring me the nose and in exchange I offered him an hour of drive time in Lethal Weapon ( with me riding shotgun of course).
He said he wants to take me up on that offer but the guy is really busy with work. At some point I�m just going up to bite the bullet and make the trip up to Pennsylvania in the excursion.
Get car up on ramps to make sure the suspension and chassis is not under tension. Grind areas of subframe connectors that are going to be welded. Remove front subframe bolt and support a-arm then remove front a-arm bowl. Test fit rear subframe connector and grind areas of body for welding. Ponder the loose fit of the sub frame connector. Remember that air does not weld very good...
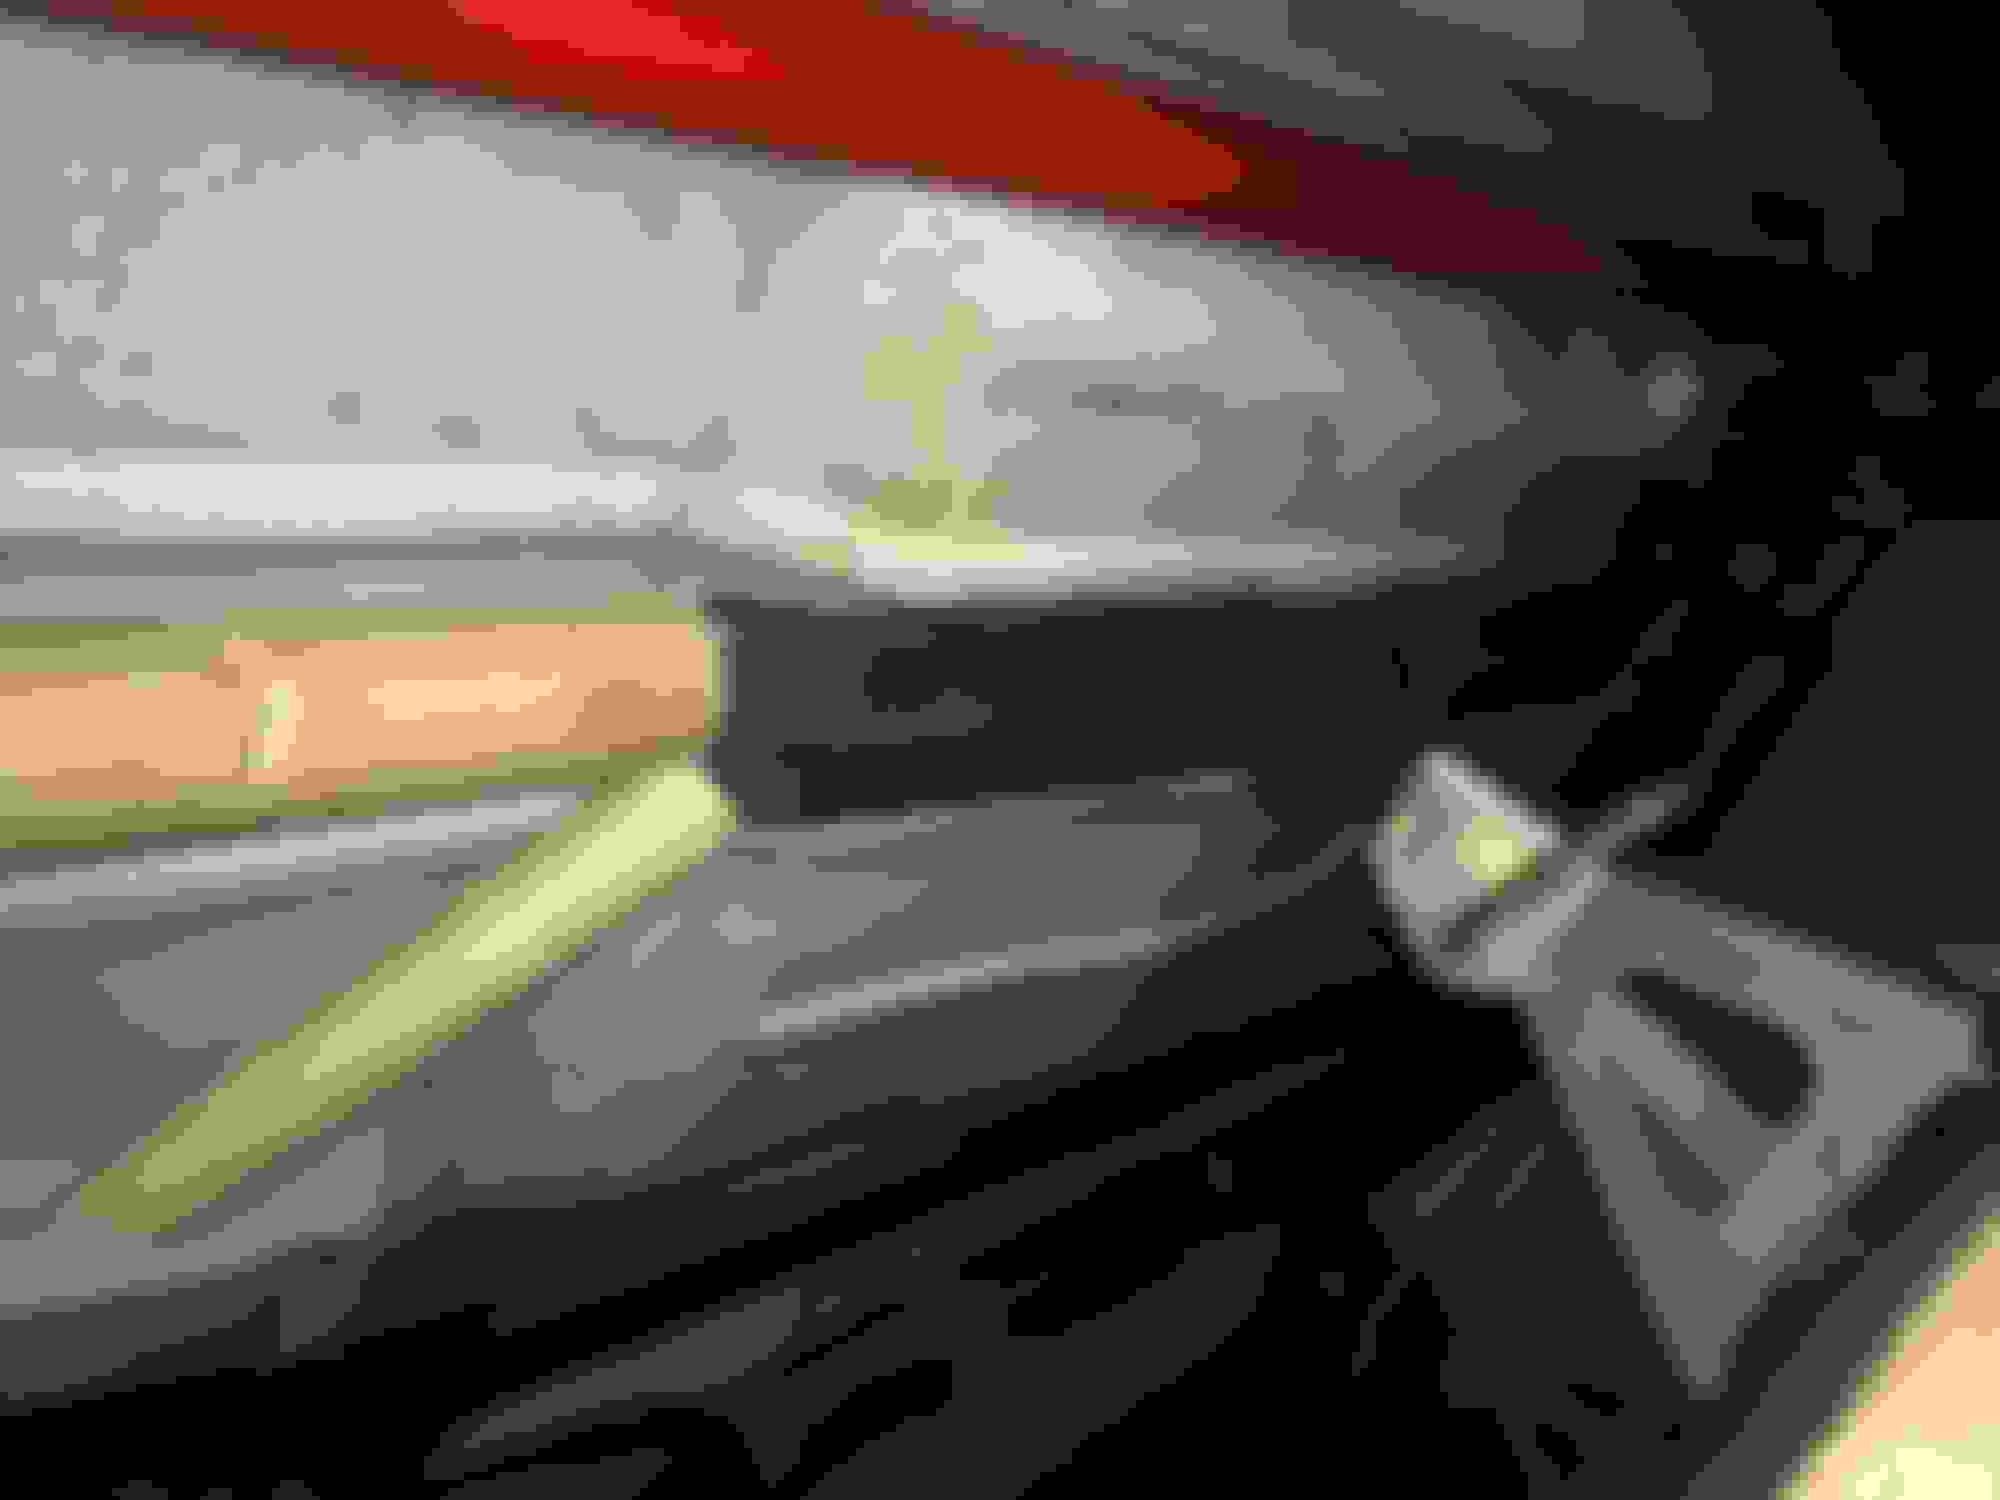
Man, I�ve been fighting with getting those front a arm bolts back in the place. Finally realize it wasn�t gonna be possible resting on its tires. Finally got the car jacked up and tires off and got the driver side bolt to fit.
Now I realize with the long tube headers there�s no way I can get the replacement passenger side a-arm bolts back in the place. Bench grinder to the rescue!
Time for a little improvisation!
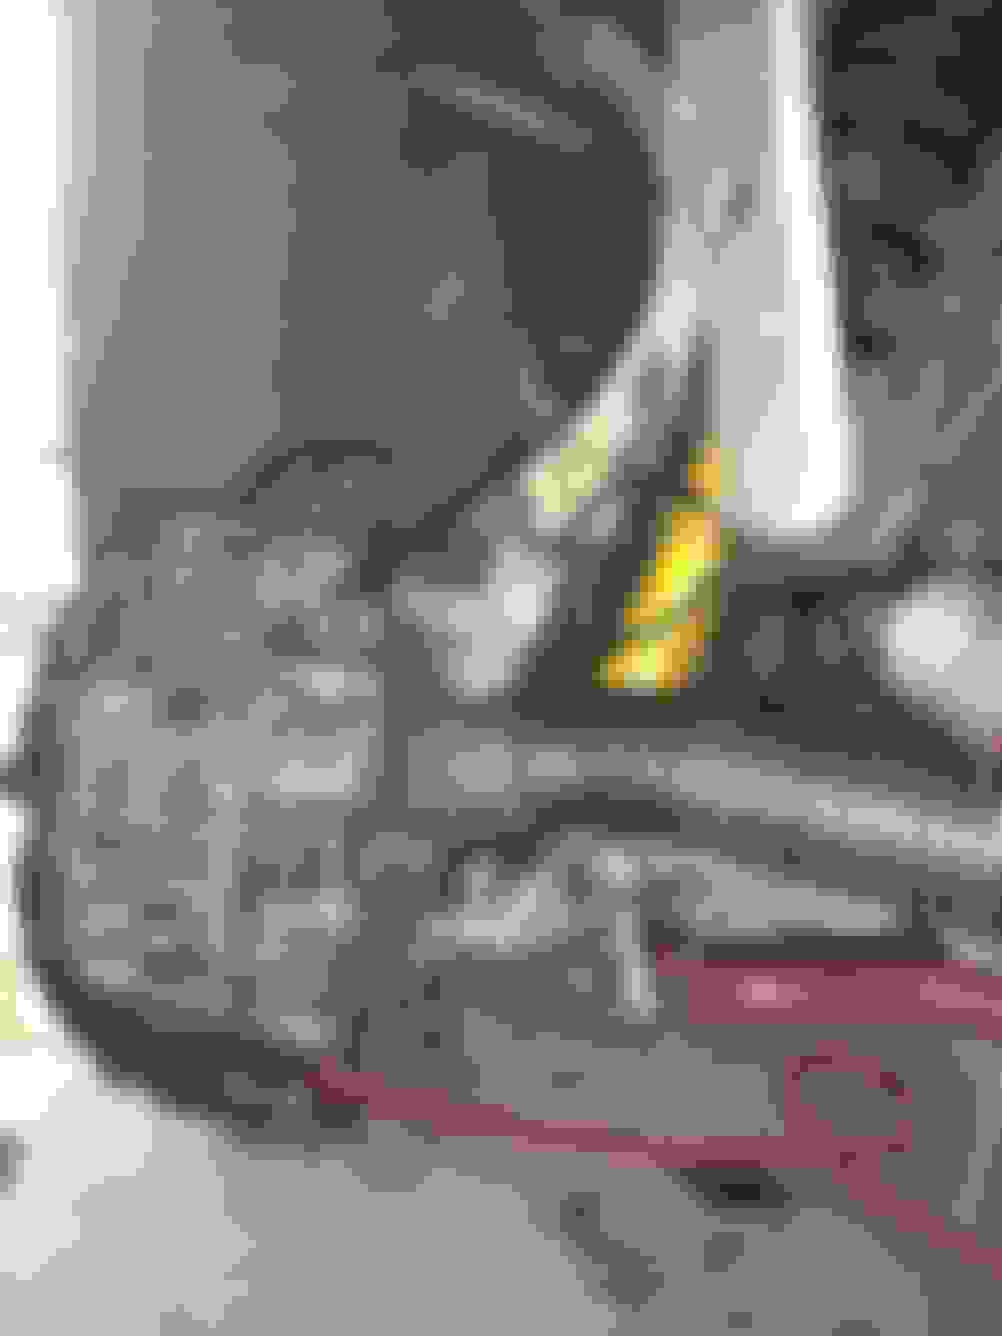
OK, here are my thoughts on the QA1 sub frame connectors. First off, I can say that they�re not 100% welded in yet and I can really tell the difference. The car feels really solid.
However, I think they could be better described as chassis connectors rather than subframe connectors. What they essentially do is connect the front and rear suspension together.
The rear bracket mounts to the control arm front bolt. The tube then runs along the perimeter of the car just underneath the pinch weld then snakes over and connects to the front subframe bolt and, in my opinion more importantly, to the rear bolt of the front a arm. As a road racer I like this design as it helps maintain steering geometry but it completely ignores the inner sub frame of the car.
Although, there is a flat plate that bolts between the transmission crossmember and gets welded to the top of the tubing just underneath the pinch weld (which I have not welded in yet). There was a little gap between the bracket and the control arm support that I had to fill up with some weld steel plate. I needed to grind down the spacer a little between the sub frame connector tab and the front a arm rear bolt. I had to do this for both sides.
So technically, that does attach to the inner sub frame.
I have been doing a lot of research on this forum about Subframe connectors. I�ve come across a lot of debate about what�s best. But I figured form follows function. That led me to top down solutions who specialize in convertibles. I noticed that they identify the main issue Is that the front and rear subframe�s are not connected ( apart from flimsy sheet metal of the passenger floor pan).
This is just for discussion. I know you guys know a lot more about these cars than I do. After laying on my back for a couple hours I came up with this thought.
What if I use rectangular tube bar stock from the rear subframe and run it as close to the rear seat floor pan as I can in a straight line directly to the front subframe. I don�t have a bender so I�ll have to be welding lengths of the tubing so that it forms the passenger side floor pan. I will make sure all welding is off the car so I get a complete 360� weld.
The tubing will be welded on to the end passengers floor pan. From that point I will use round tubing to make another straight line directly to the far side of the front subframe. That would effectively triangulate The unfortunate inward �V� our current subframe�s make.
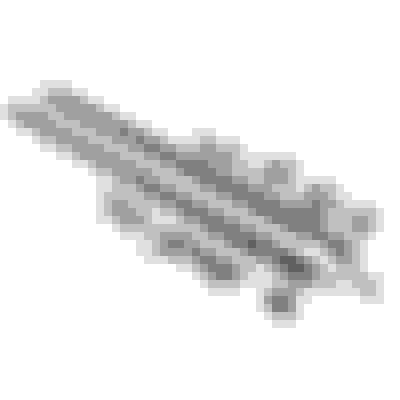
Here is a crude rendition I made with my phone. Orange represents rectangular tube and blue represents round tubing.
I have been doing a lot of research on this forum about Subframe connectors. I�ve come across a lot of debate about what�s best. But I figured form follows function. That led me to top down solutions who specialize in convertibles. I noticed that they identify the main issue Is that the front and rear subframe�s are not connected ( apart from flimsy sheet metal of the passenger floor pan).
This is just for discussion. I know you guys know a lot more about these cars than I do. After laying on my back for a couple hours I came up with this thought.
What if I use rectangular tube bar stock from the rear subframe and run it as close to the rear seat floor pan as I can in a straight line directly to the front subframe. I don�t have a bender so I�ll have to be welding lengths of the tubing so that it forms the passenger side floor pan. I will make sure all welding is off the car so I get a complete 360� weld.
The tubing will be welded on to the end passengers floor pan. From that point I will use round tubing to make another straight line directly to the far side of the front subframe. That would effectively triangulate The unfortunate inward �V� our current subframe�s make.
Here is a crude rendition I made with my phone. Orange represents rectangular tube and blue represents round tubing.
Why don't you just purchase the Alston/Heidts SFC's from TDS and weld them in? They do the some thing, albeit not in a straight line but they tuck up tight and follow the curves of the floor pan. I think on the pass side the exhaust goes under the connectors so I think a straight connector would not work. They weld in at the end of the "V" in the front and where the rear blends into the floor pan.
It�s been a couple years since I actually ran a autocross. But the transmission blew in my track 370z last weekend and after a short discussion with my wife, considering the new arrival formula, we agreed that I would shelf the season for now.
So I just signed up for a trackcross this Sunday. It�s kind a like an autocross but on an actual track ( Summit point Shenandoah circuit). Consists of timed runs on a shortened section of track.
So I guess I�ll have too see how lethal weapon fairs on a track. That�s when I realized I never got around to ordering my wonder bar. So I did a little digging in my shelf for excess steel and grabbed the welder!
IMO you can overthink SFC I did the TDS weld ins on my 87 Trans am and it scrapes over some turn ins on driveways i would of loved to see some that went through the floor pan like the ones on my 69 Bird from Detroit speed
these are for 82-92 third gens
the 90 Formula I have now has the perimeter like yours and its a WS6 car also, unfortunately it wont run for a while so I wont be able to compare them. Heck a roll cage would stiffen up more but thats getting way out there IMO
I think I’ll give my debrief on how the Formula faired on track. First the good:
It was pretty cool being in something that was completely unique to every other car at the event. Sure they were a lot of late gen Mustangs and Camaros ( including one later gen Firehawk) but not surprisingly no other third gen f-bodies.
Also, I don’t care what motor you have in your Porsche or BMW it can’t touch the sound of a SBC with long tube headers.
Summit point Shenandoah circuit Is known for all the turns it has packed into the circuit (in fact the course was designed as a way of incorporating as many famous corners from various tracks). Personally, I have very little seat time on the Shenandoah circuit mainly because it incorporates concrete barriers.
The driving position was surprisingly comfortable while wearing a helmet (I made the rookie mistake of not at least sitting in the car with my helmet prior to leaving for the event) . Also, this was the first time I’ve ever driven the formula in anger. With that said I was pleasantly surprised with the cars manners on track. Not nearly as much understeer as I was expecting.
Of course, massive amounts of power made driving the course an exercise in the judicious use of throttle And balancing on that fine line of throttle induced oversteer. This type of car requires discipline not to overdrive (which I may not have exercised ��) because sideways = slow (but looks cool...).
The BF Goodrich Comp 2’s were fine but they are certainly not track tires. I ran out of time to bleed the clutch master cylinder and this hindered shifting somewhat. Also I never noticed until yesterday all the excessive play the shift lever has when in gear.
Now the bad:
the Achilles heel on this car begins and ends with the brakes. There is zero feel when on the brakes. It is as if your foot is completely disconnected from the tires. And keep in mind I had recently flushed and power bled the system with Motul racing brake fluid. Don't get me wrong, the brakes worked and could be induced into lock up. Also, overheating was not an issue as the runs were on a short section of track followed up by plenty of cool down area. It's just the lack of feel made modulating brake pressure and timing braking zones very difficult.
IMO larger rotors and calipers would not be the quick fix to this problem. This complete lack of feel can only be related to flex. Flex in the lines, in the master cylinder, and other places yet to be discovered. So stainless steel brake lines are 100% a necessity to start with. Now time to do some research into bracing that master cylinder.
OK, just got back from a 12 hour 625 mile road trip. Picked up a replacement transmission for my 370Z, another set of formula wheels, and finally my non-aero 91 formula nose cone with bumper support!
Just went through this whole thread and loved it all! I've been recently reliving my teenage days with a 1991 Formula 5L converted to 5.7L 5spd and its awesome. Gear swap coming soon to waken it up as its still a weak 3.08. Congrats on the build!
Just went through this whole thread and loved it all! I've been recently reliving my teenage days with a 1991 Formula 5L converted to 5.7L 5spd and its awesome. Gear swap coming soon to waken it up as its still a weak 3.08. Congrats on the build!
Thanks, owning this car is been a fun ride so far. And hopefully it will remain that way until they bury me in it!
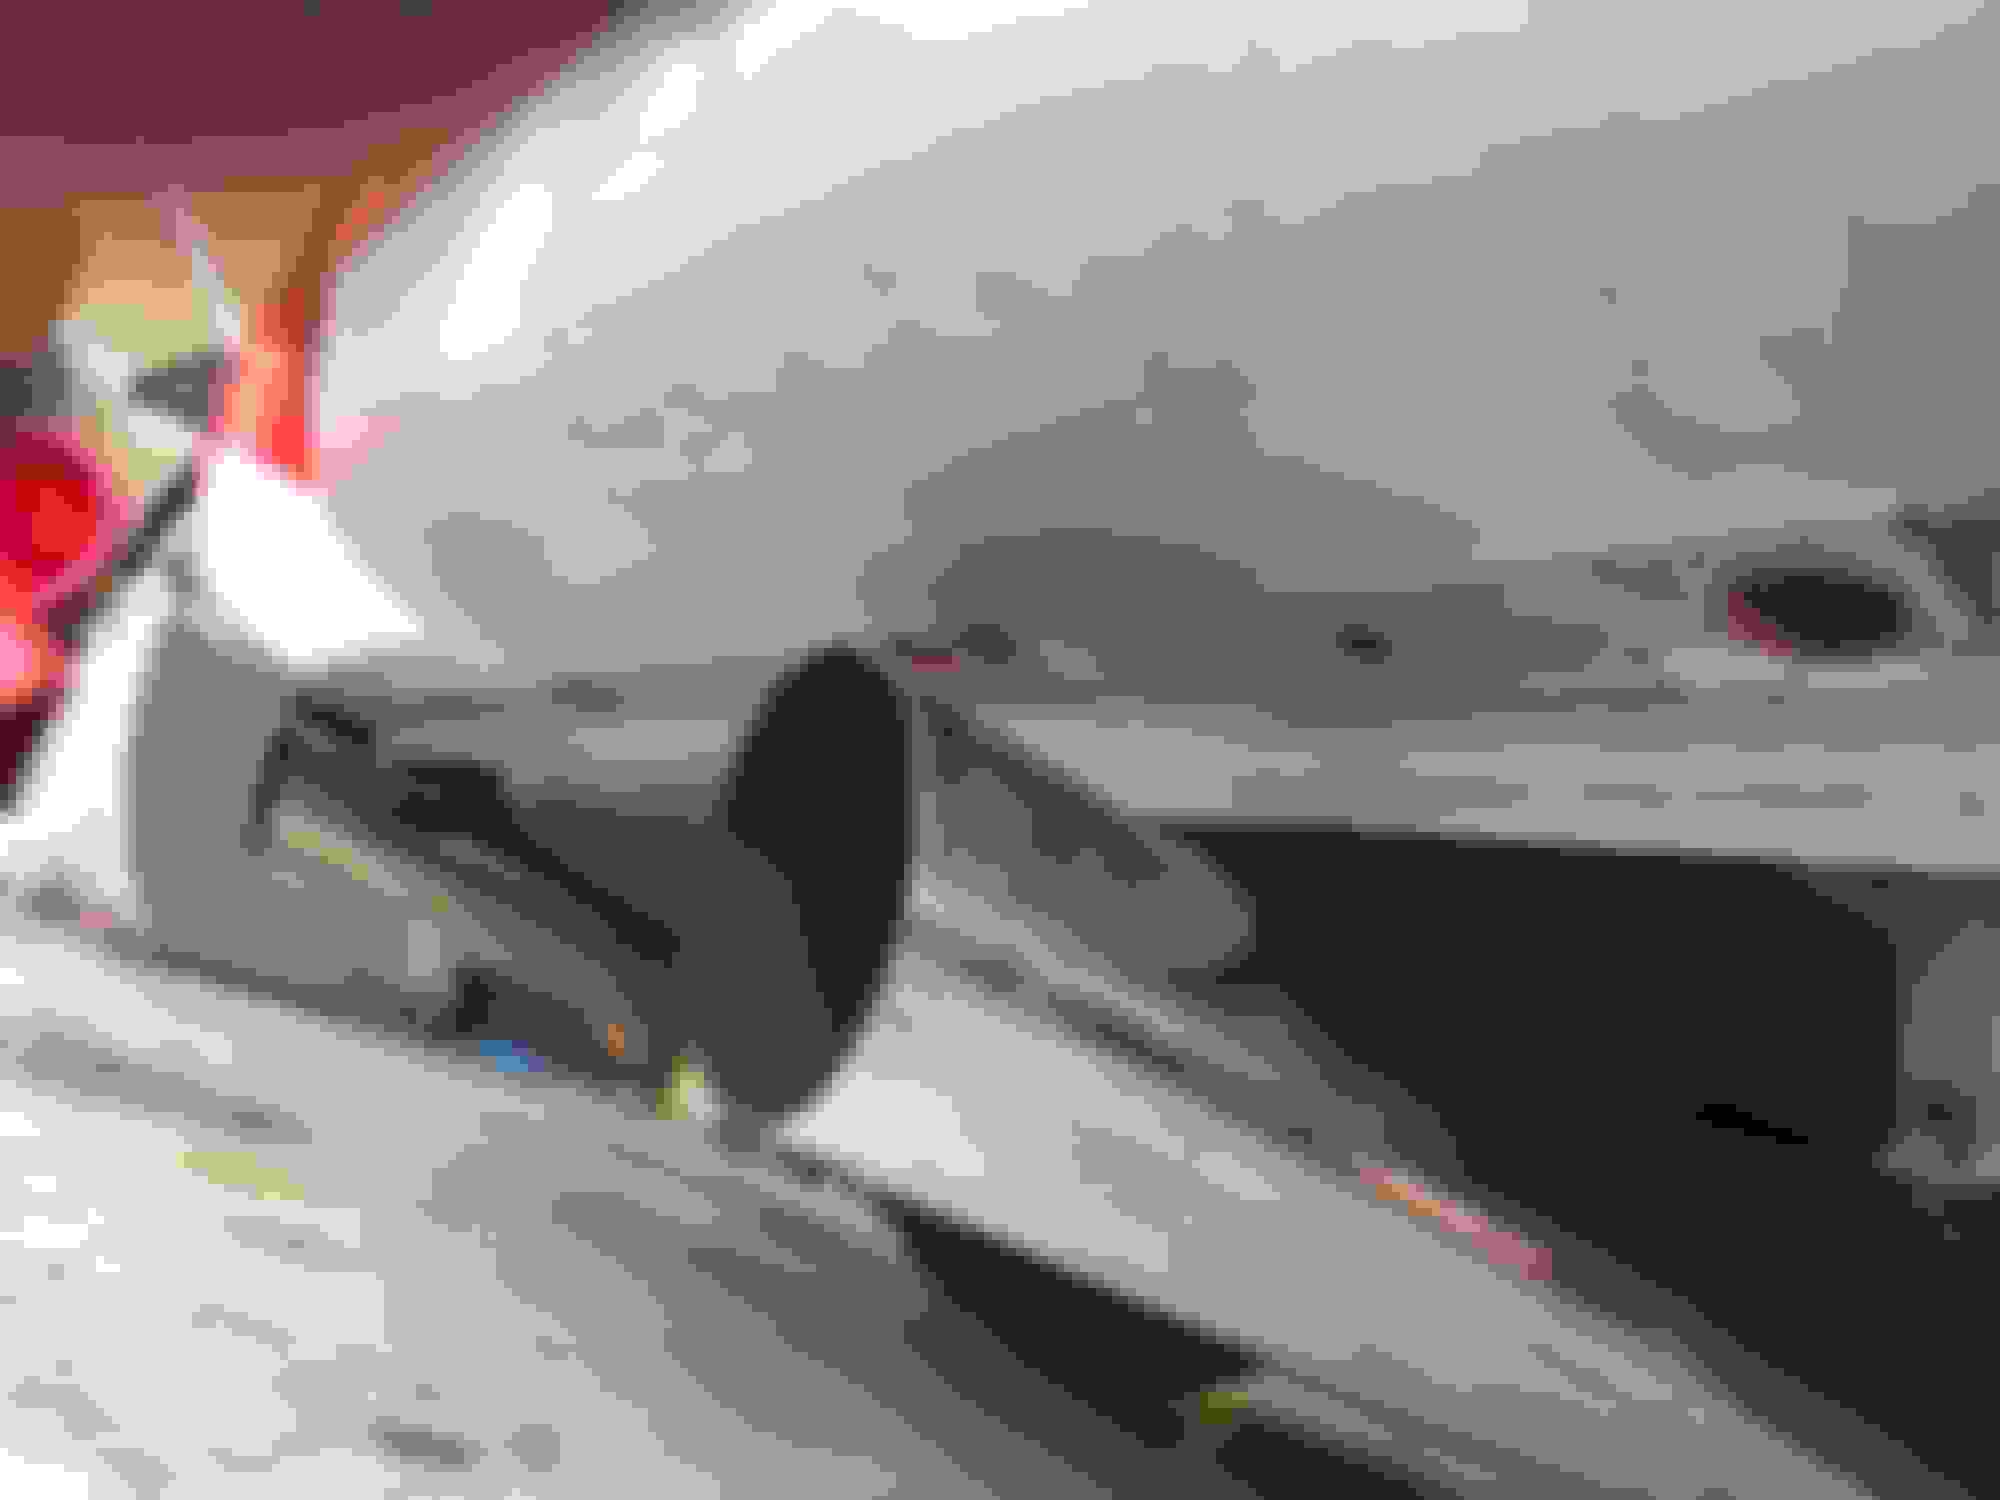
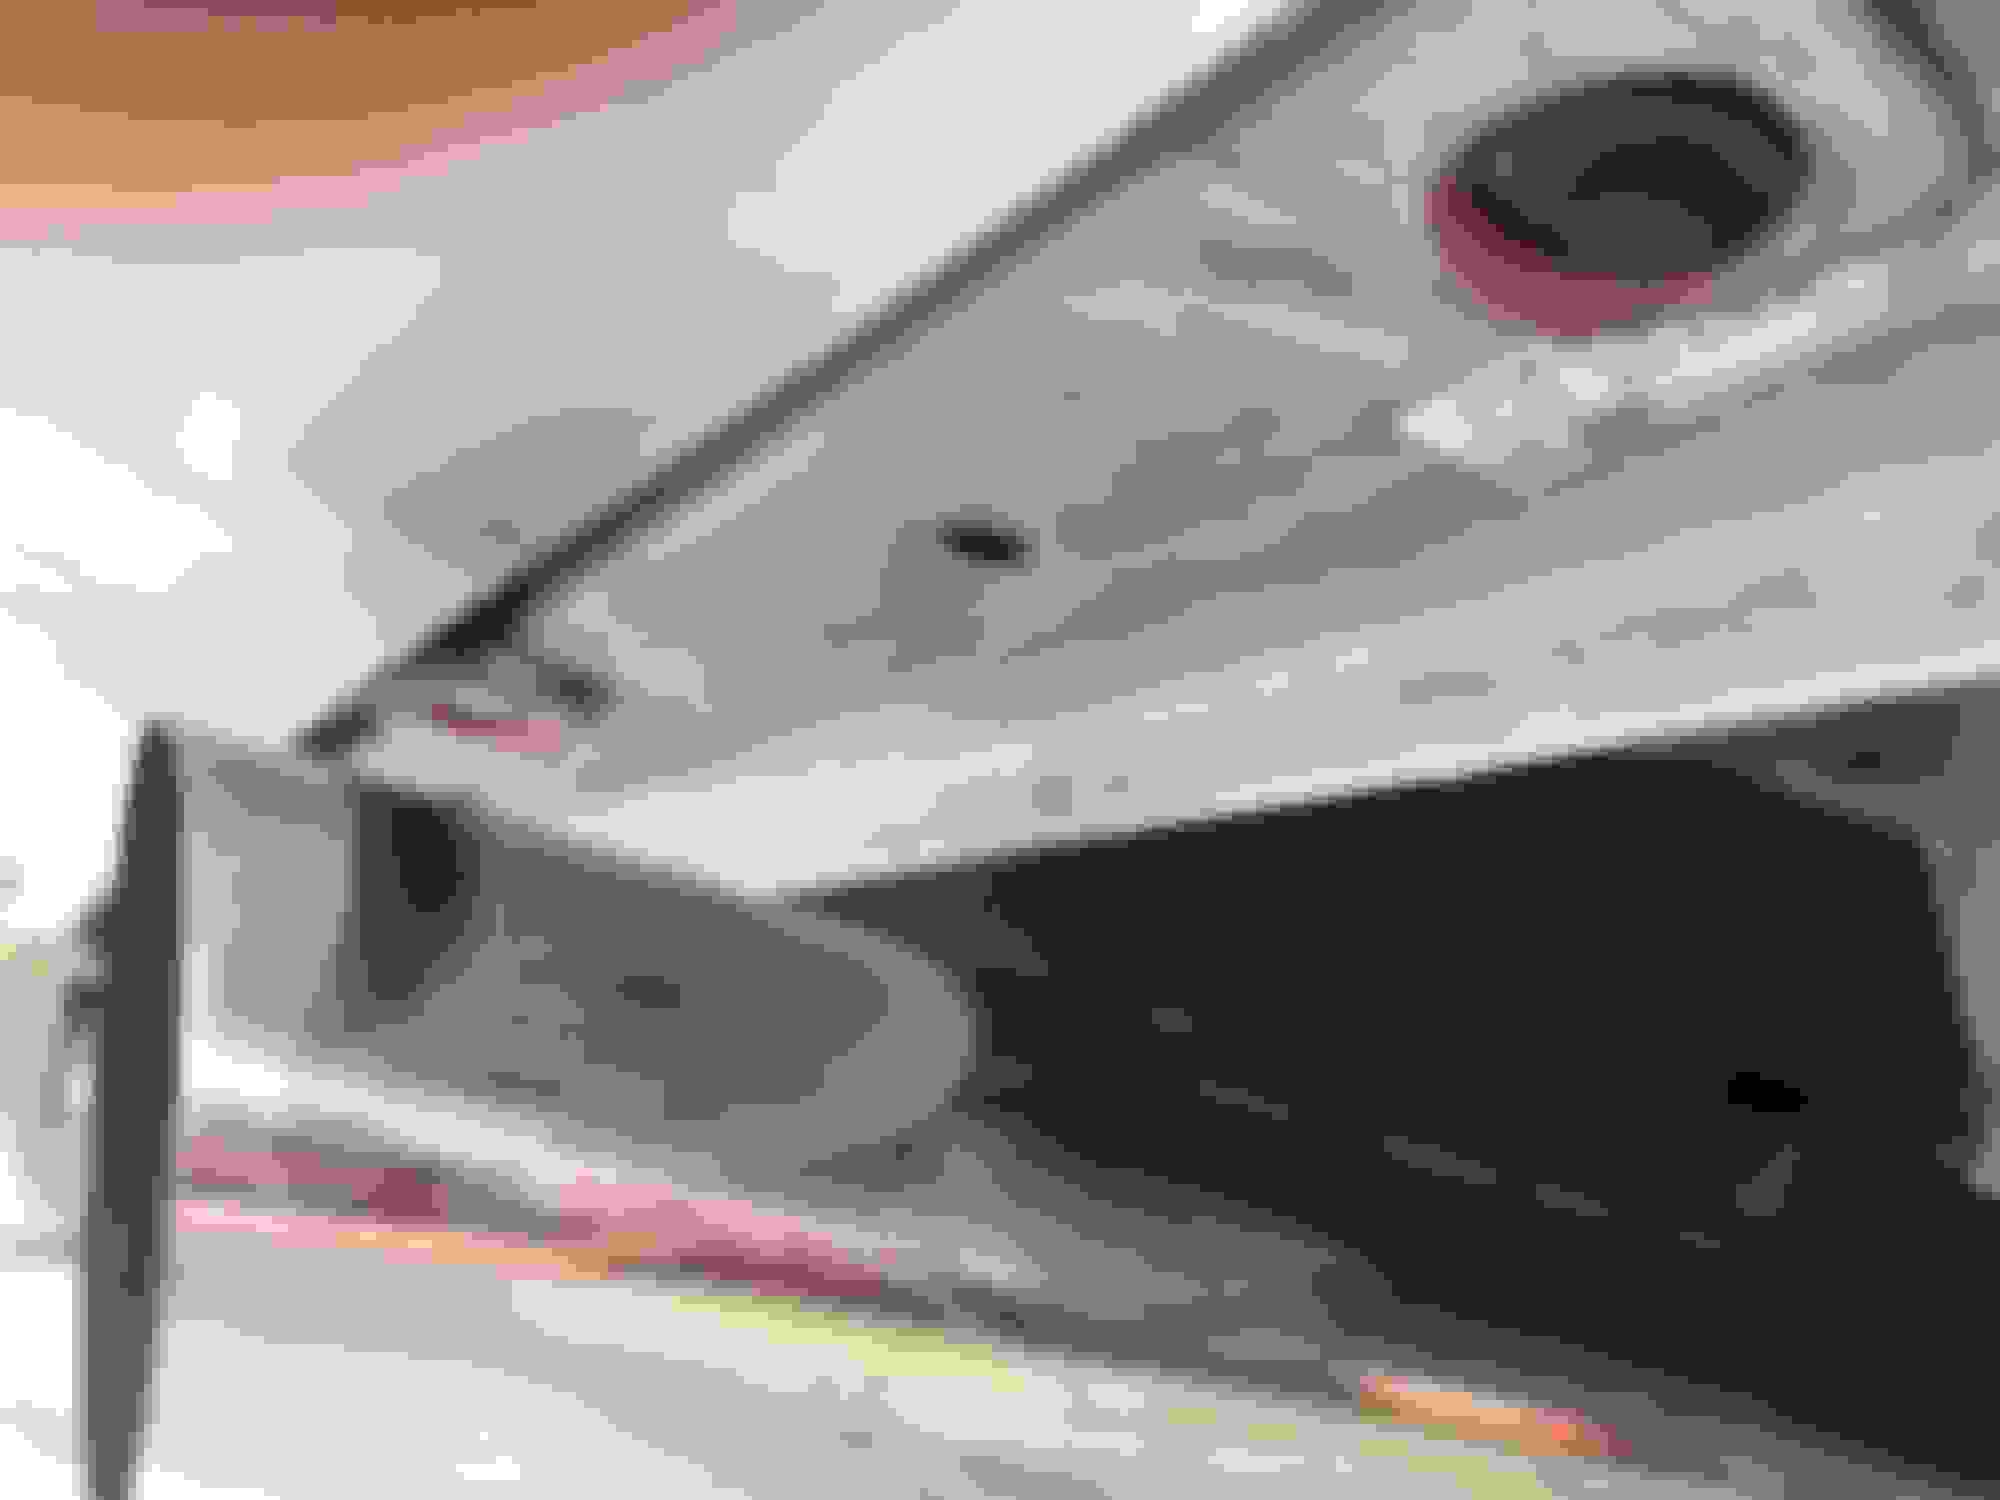
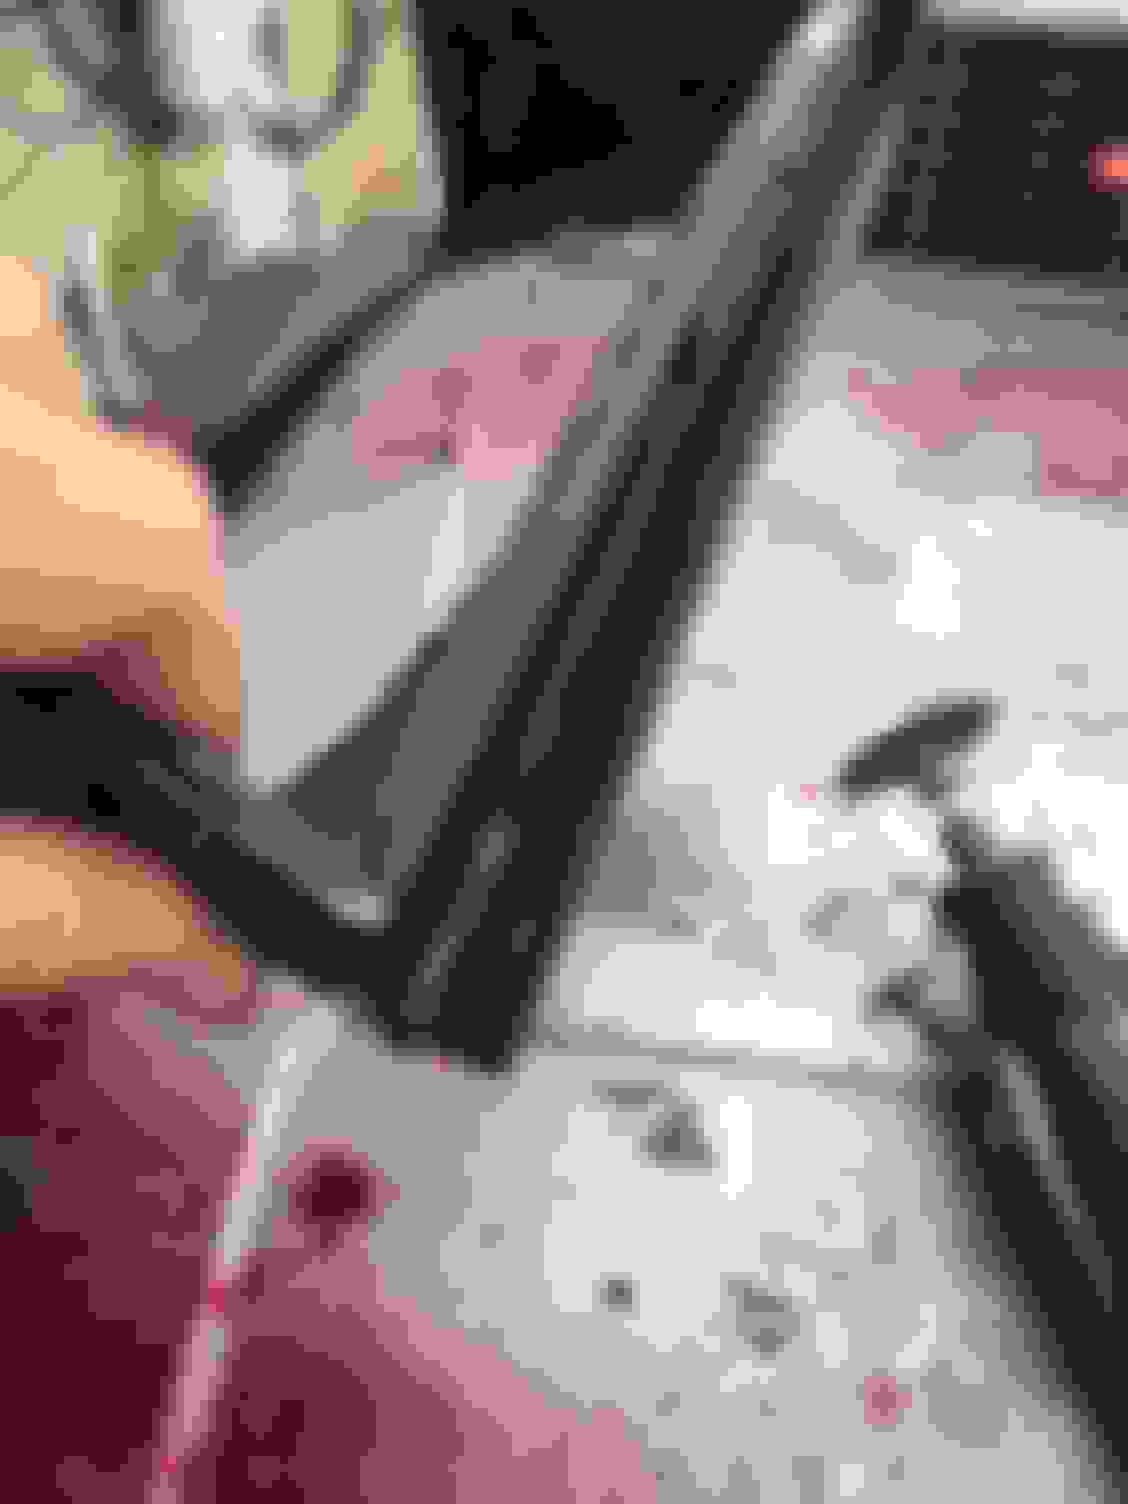
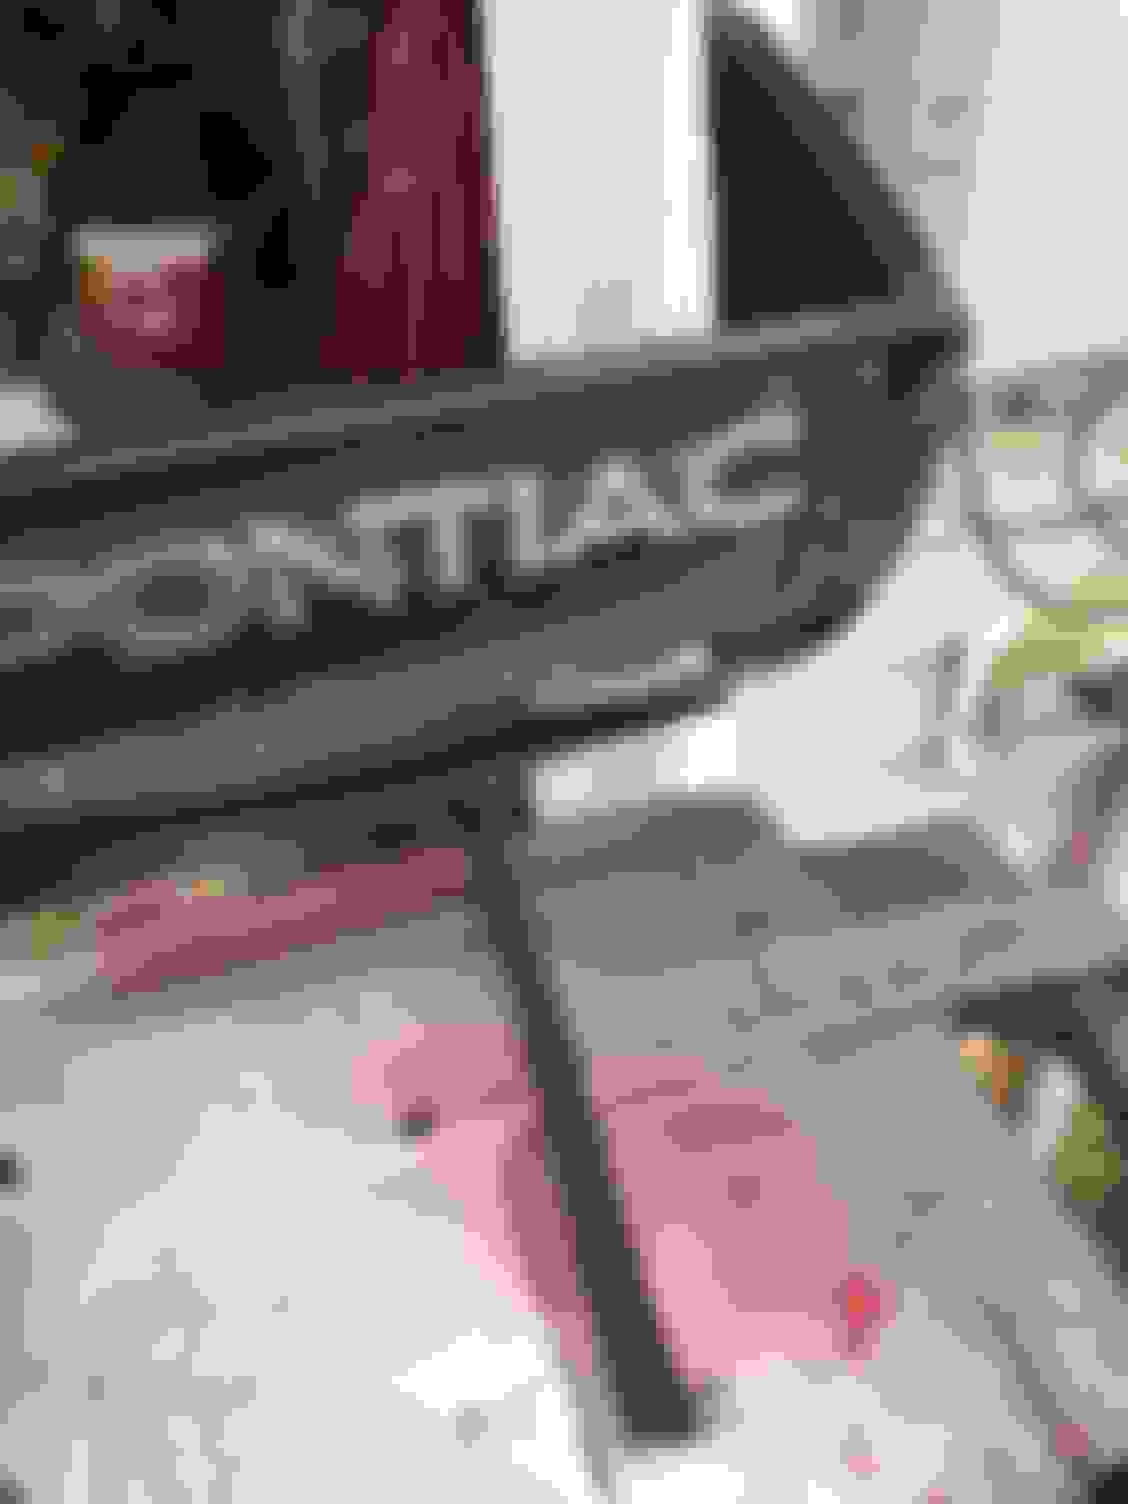
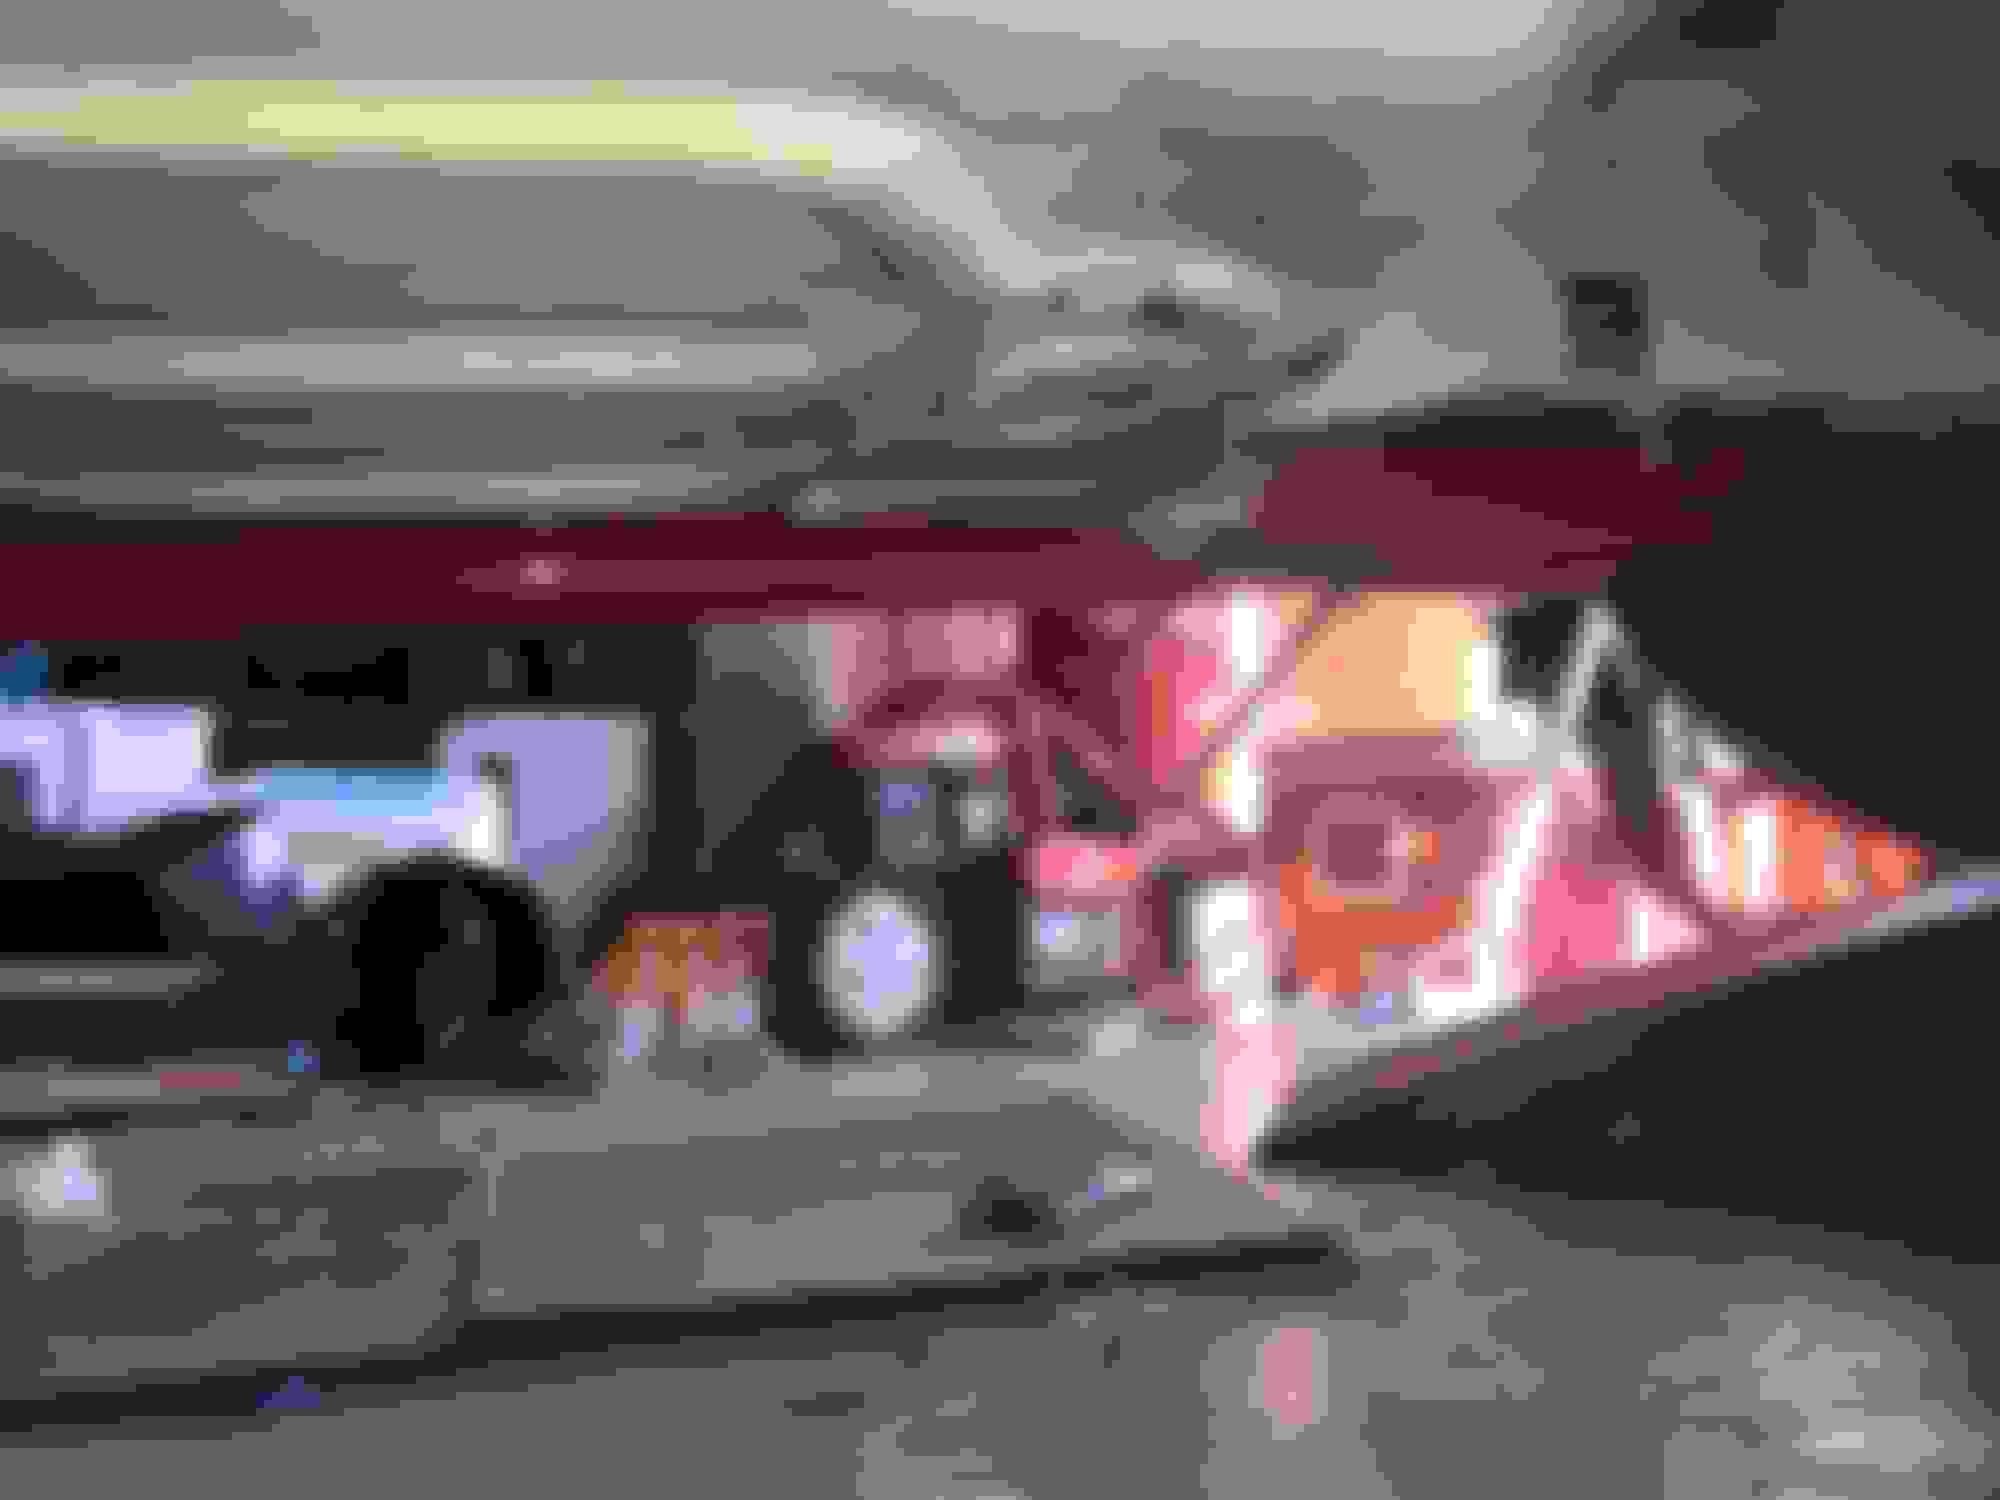
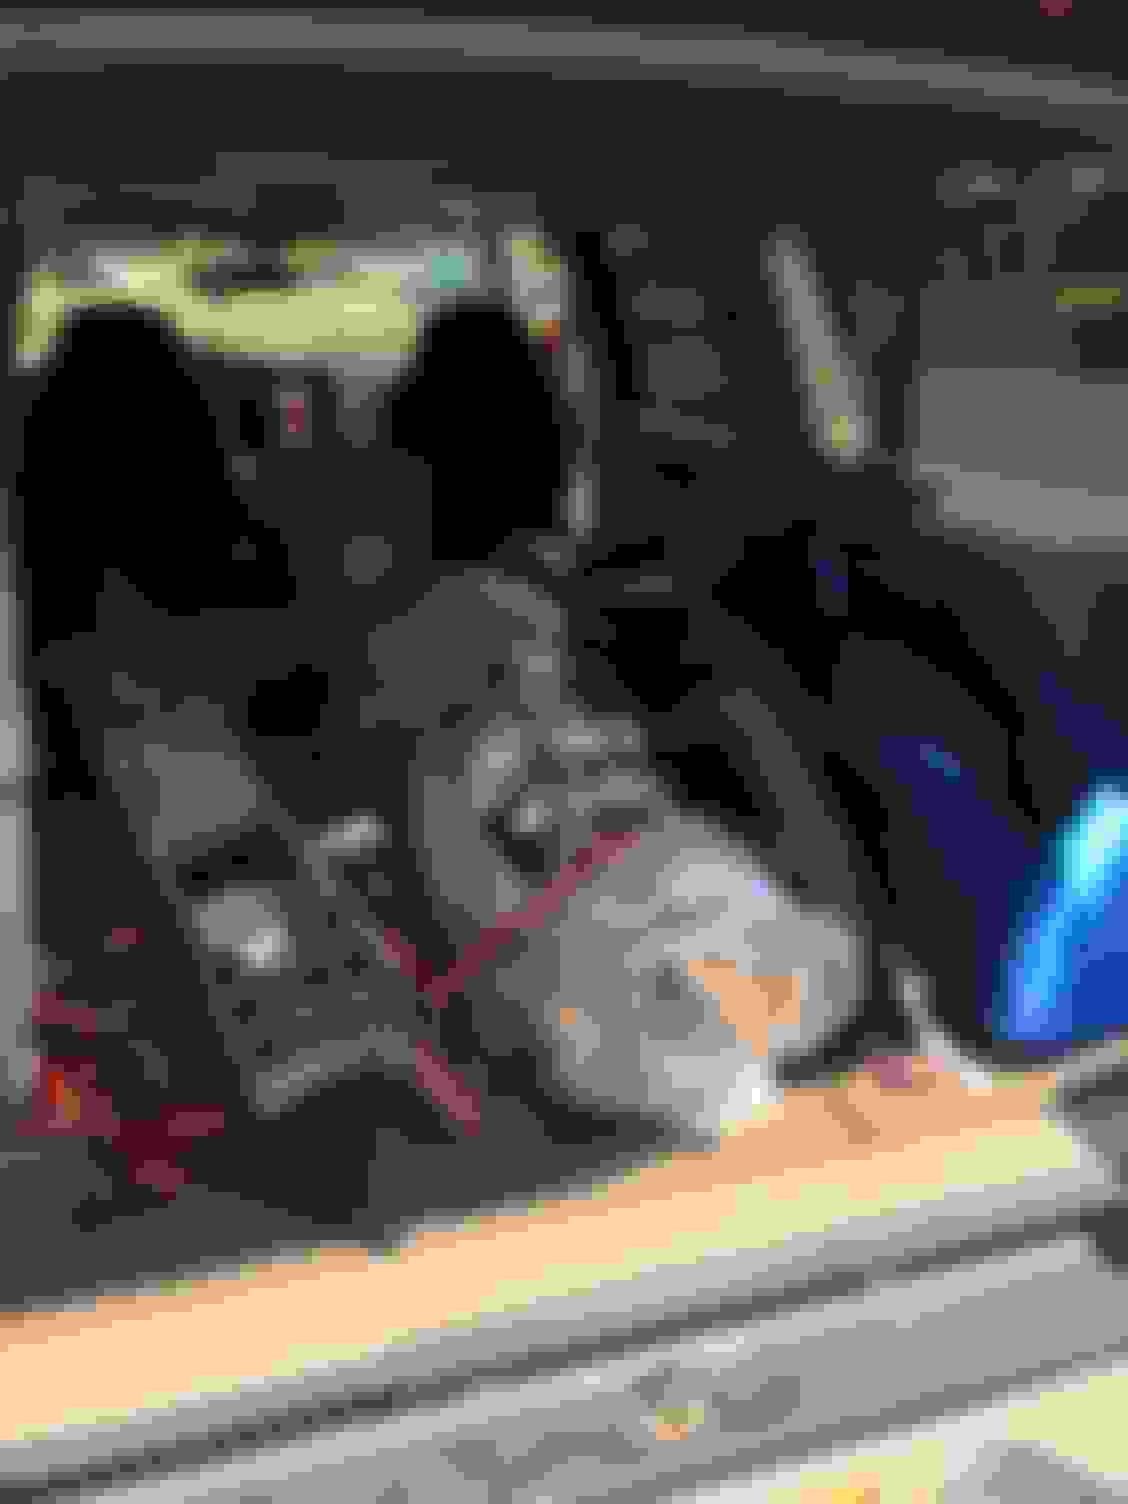
OK. In the process of removing the front bumper cover...And wow! What a demonstration in design overkill! How many goddamn fasteners did they need to use?
Did they design It to drive full speed into a hurricane, down a hill, and into a lake?
Come on Pontiac...the car left the factory with only 200 horsepower!
Spirit of America- Red White and Blue Firebird?
I'm getting mine painted before I install or Ill have a red white and green car
I'm working on a front Aluminum impact bar for may car
I may rock the America f&%k yeah color scheme just for fun for a couple days. I want to make sure everything fits properly and securely before painting.
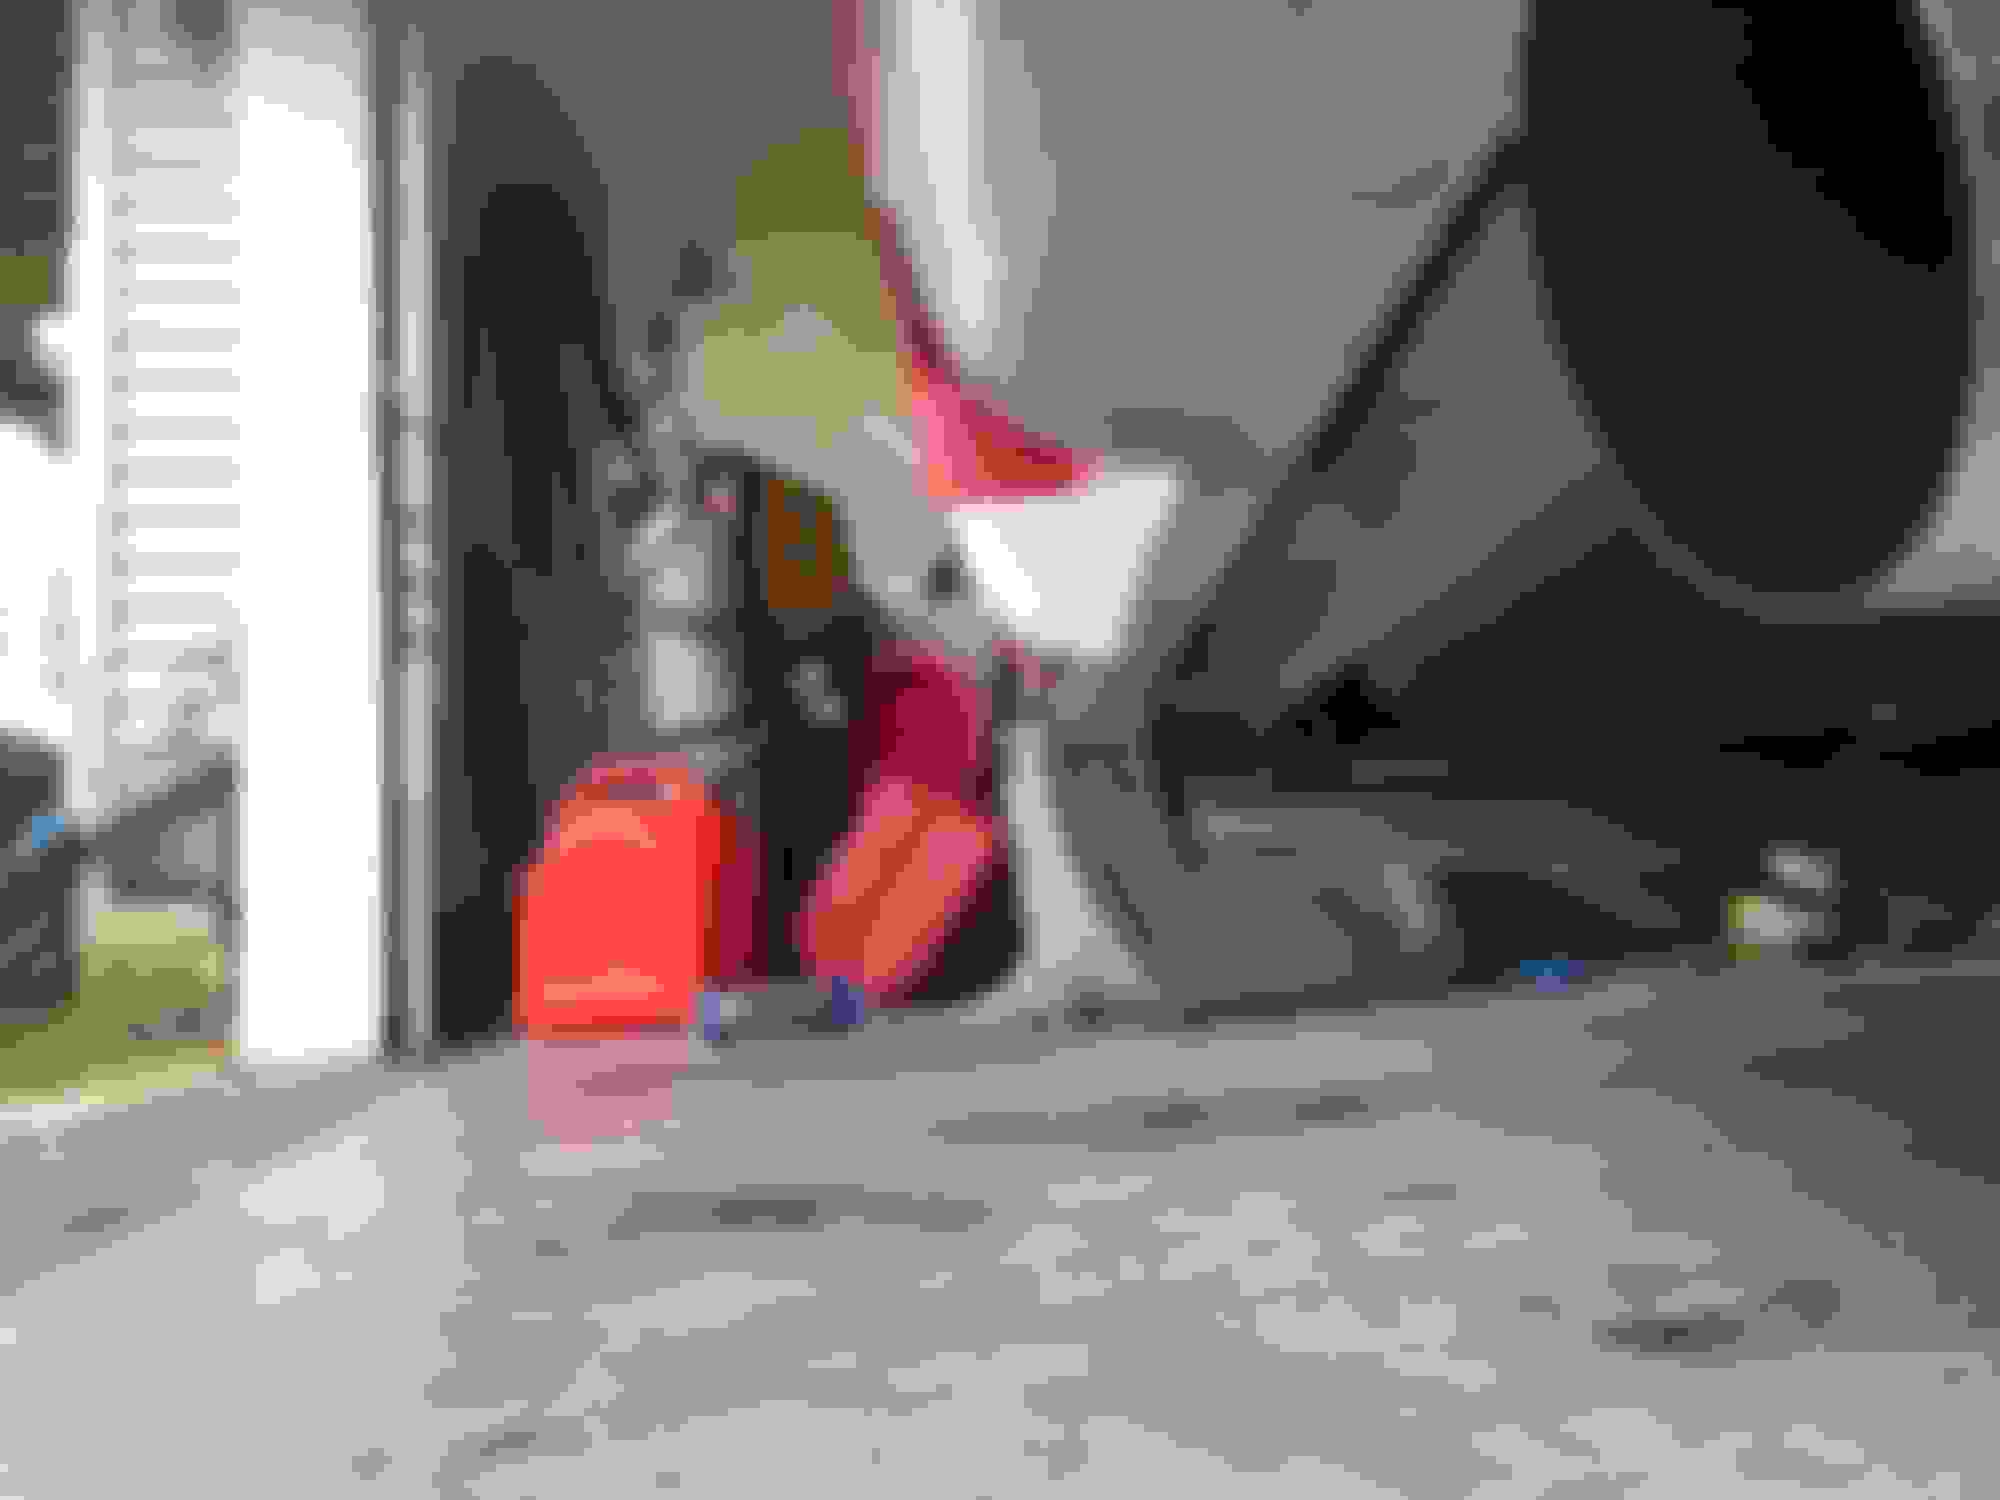
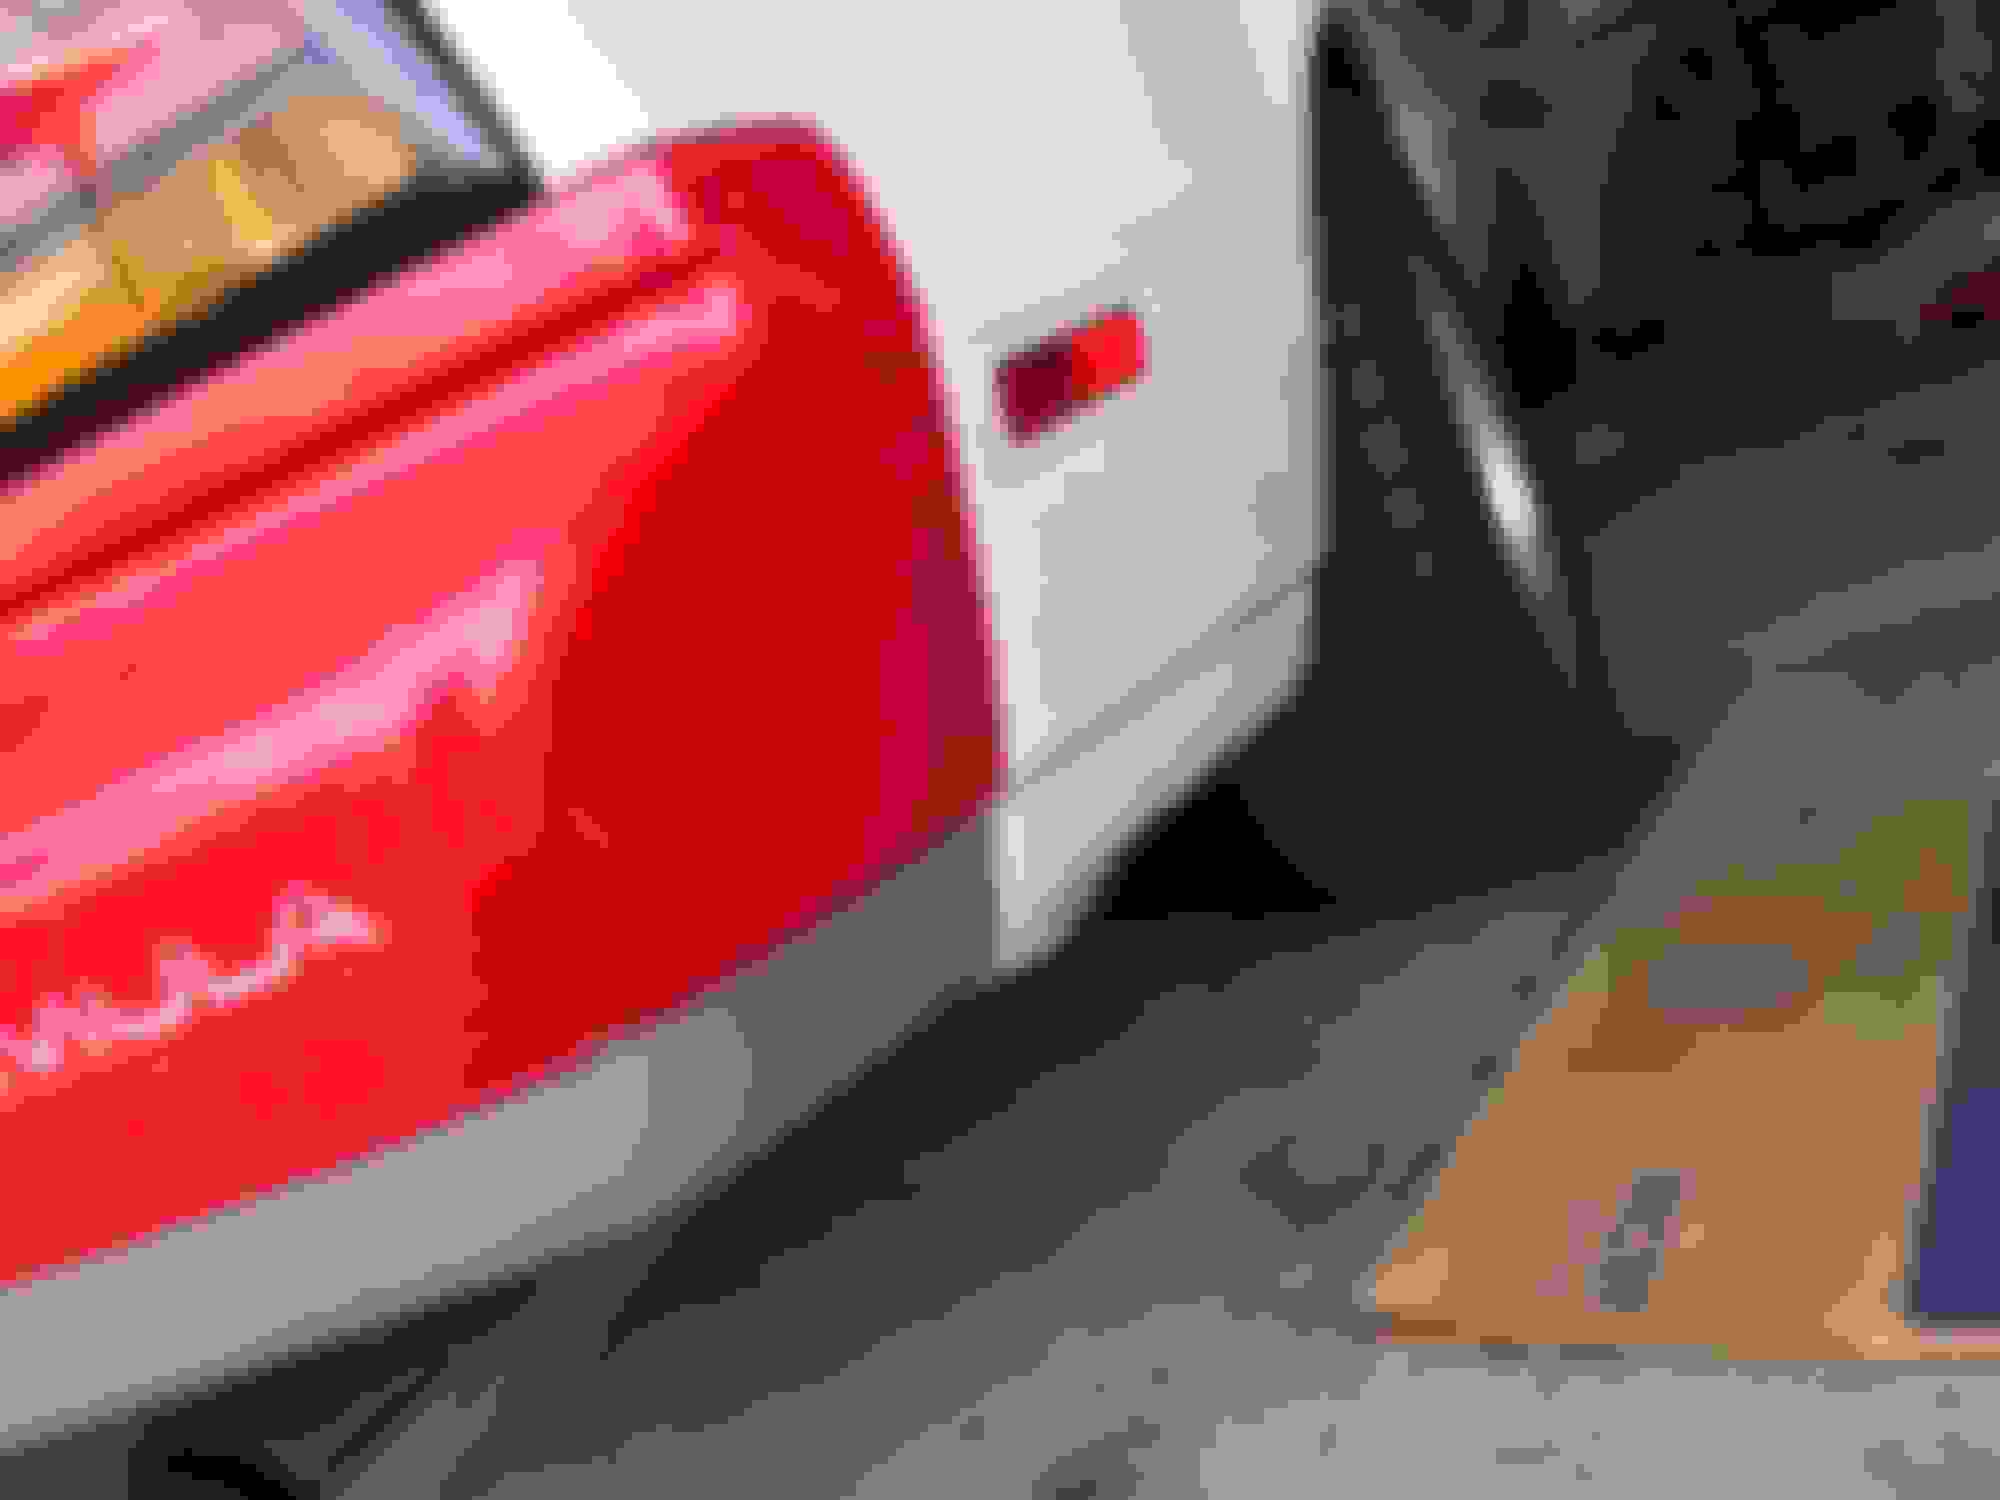
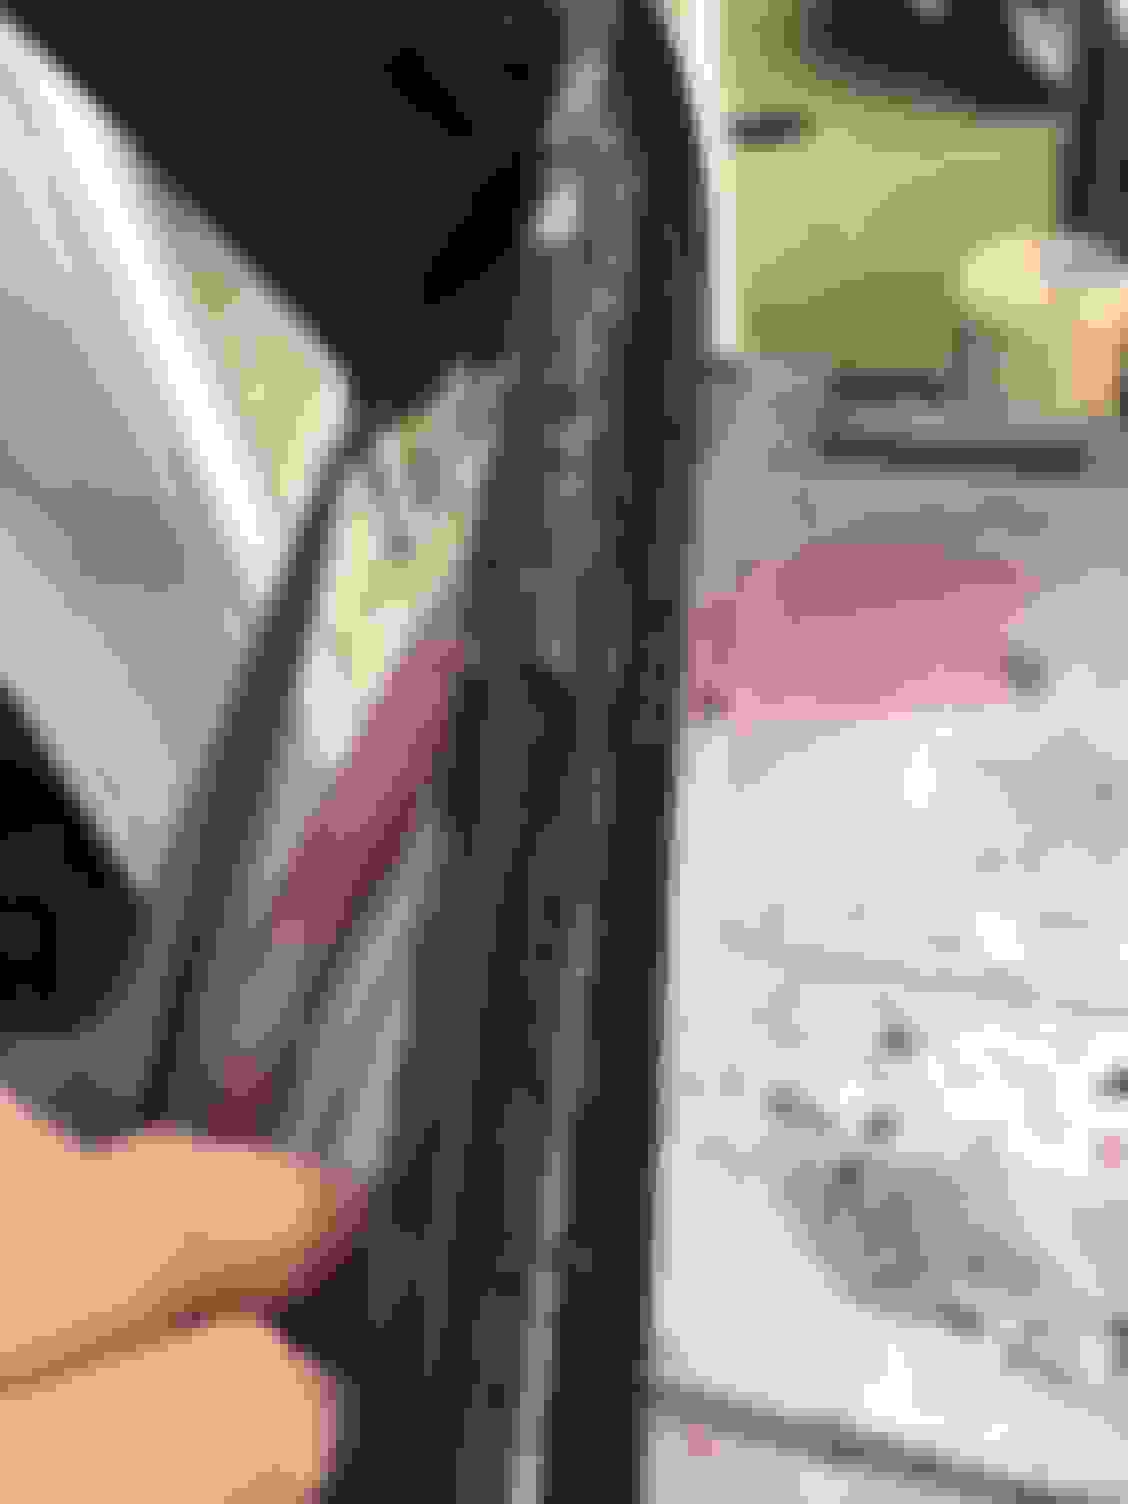
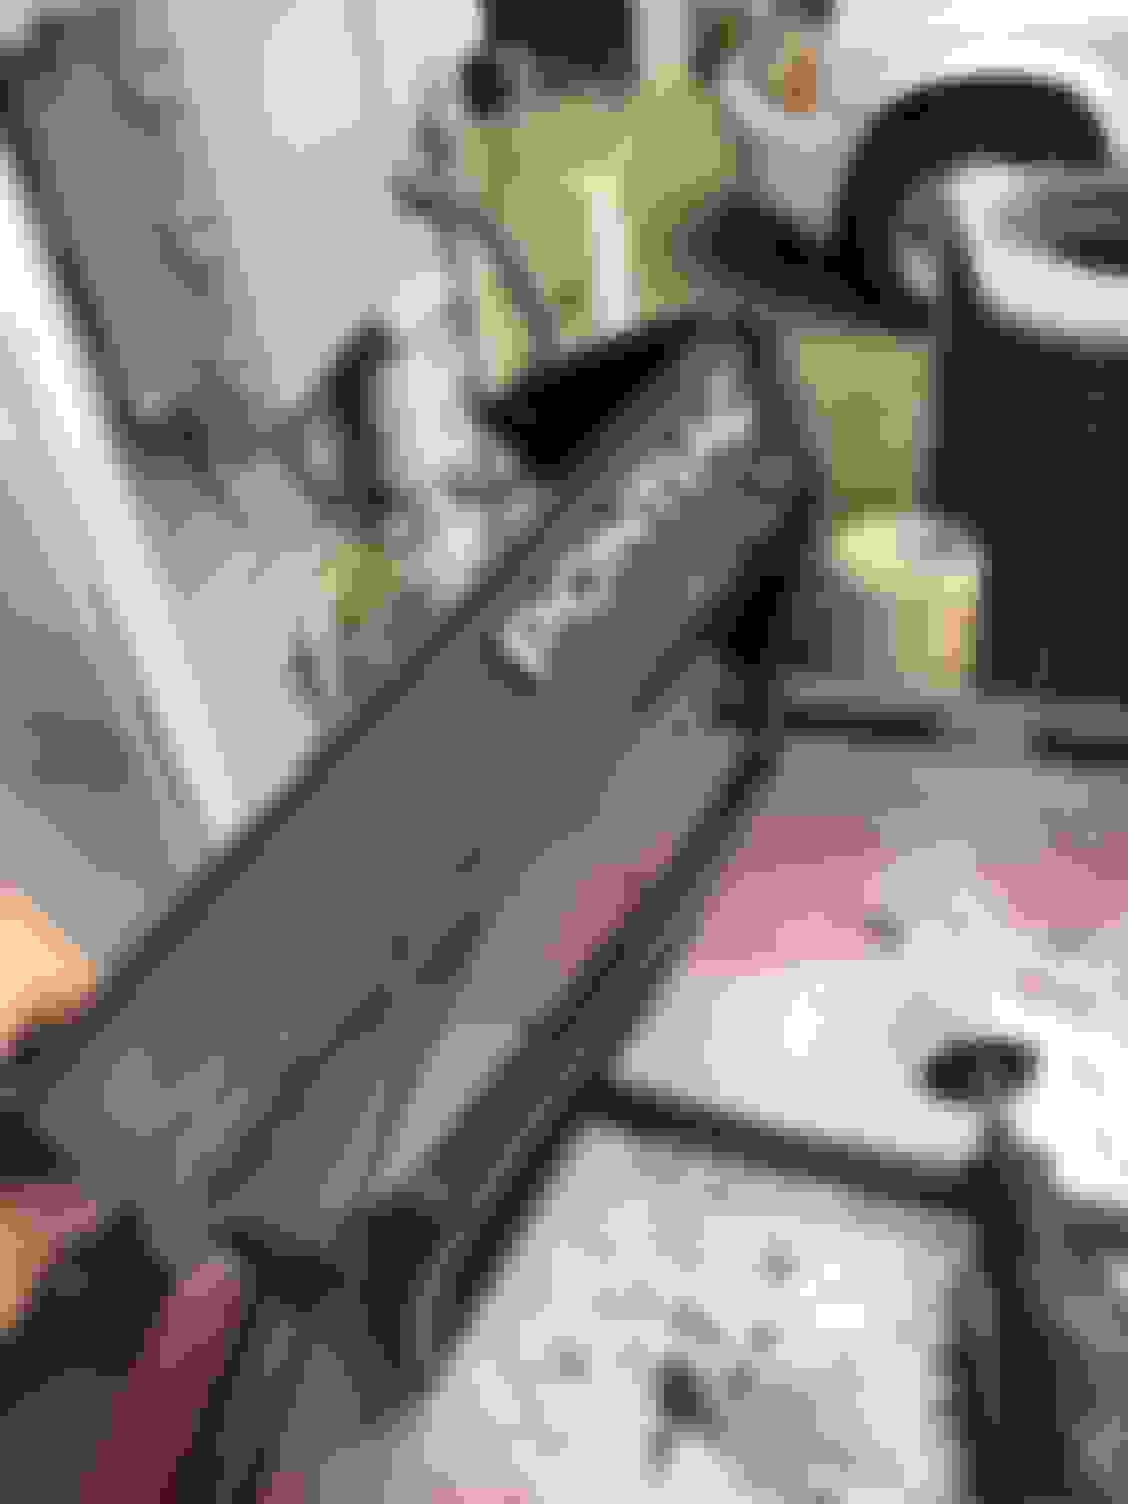
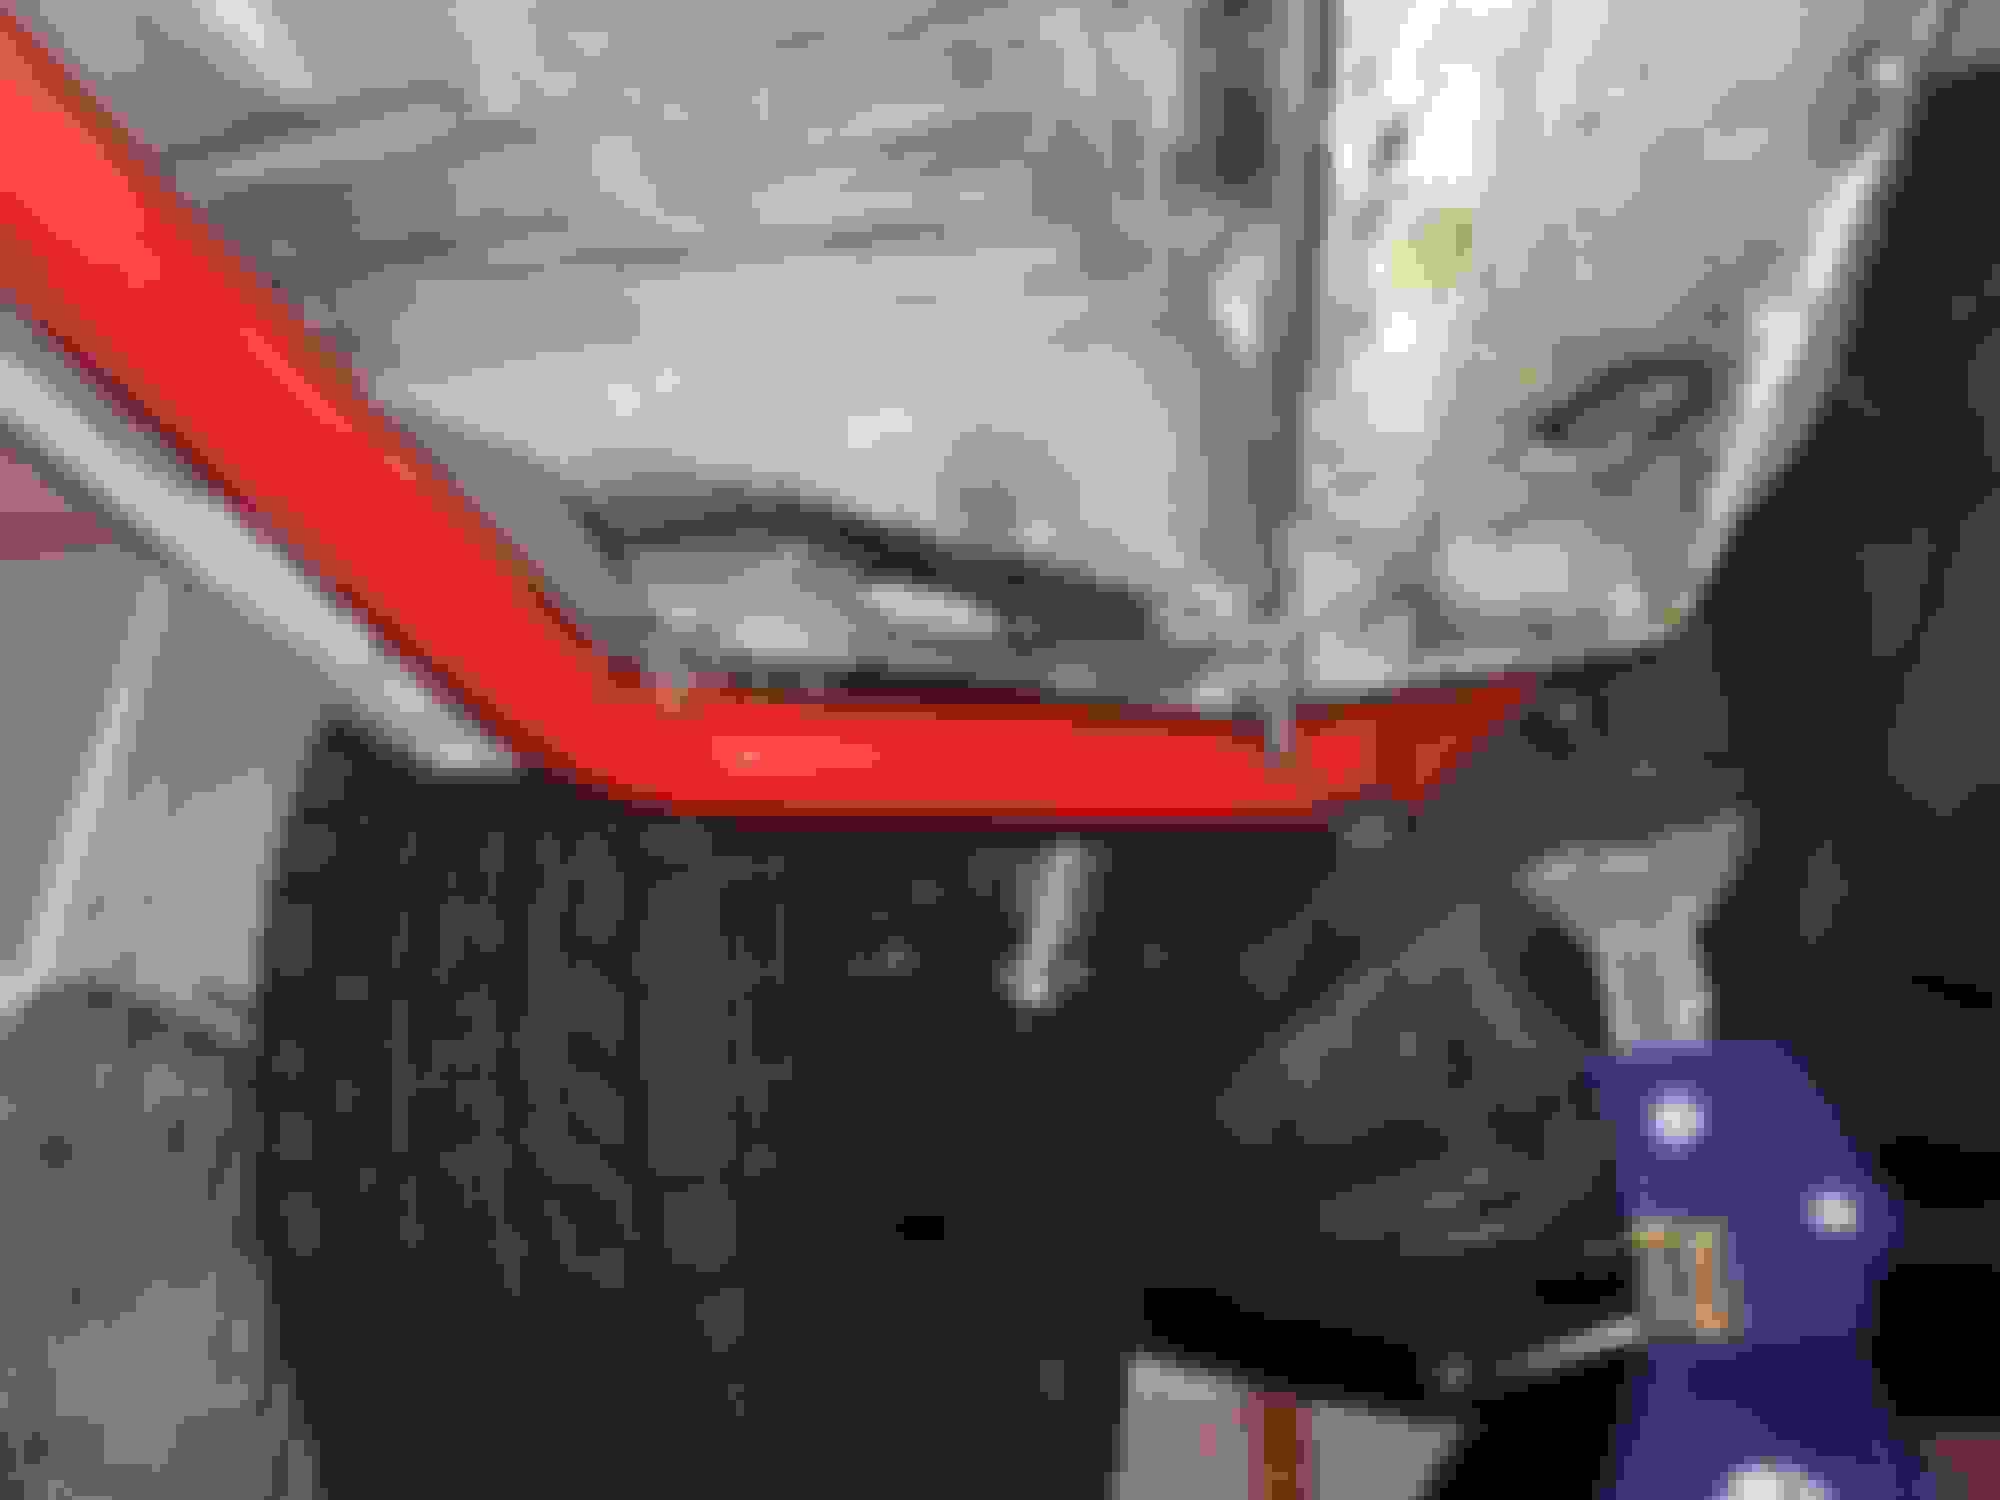
The rear bumper seemed to fit perfectly over the 87 crash bar. The only modifications will be drilling new holes for the plastic rivets on the bottom of the cover.
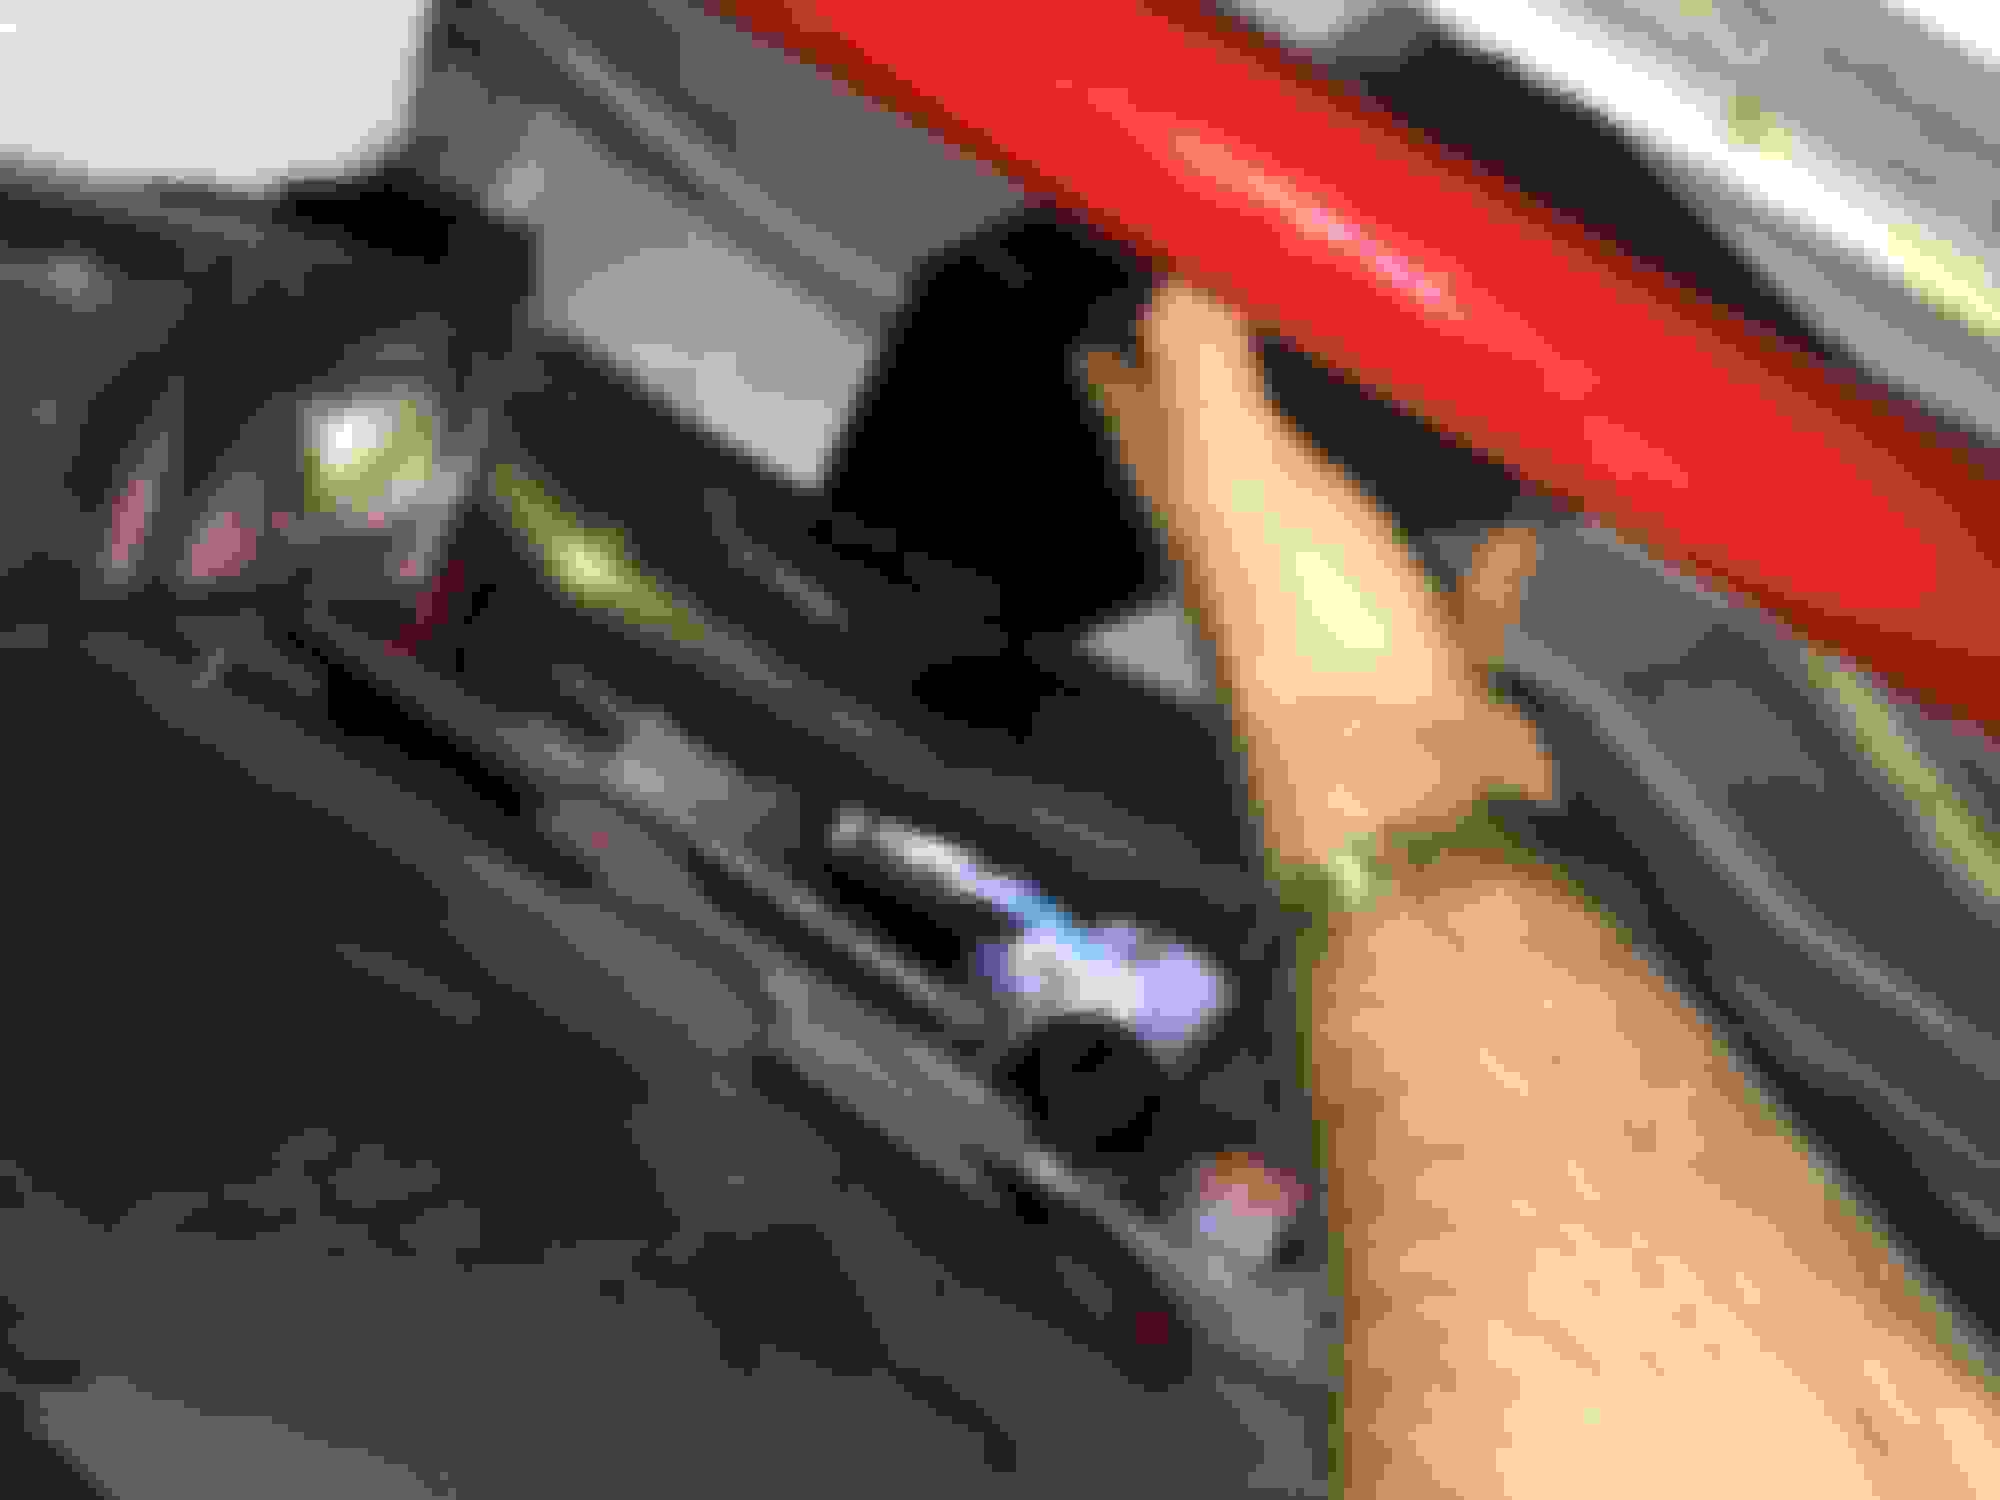
I am getting a little concerned about how the 87 headlights will interact with the new nose. I have searched and searched but cannot find a definitive answer (I love this forum but so much knowledge is hidden in build threads rather than in specific boards). My understanding is that I will need to remove the bezels. I should find out later today when I finally remove the bumper cover.
Worst case I found a set of 91 headlight assemblies at thirdgenranch.
I may rock the America f&%k yeah color scheme just for fun for a couple days. I want to make sure everything fits properly and securely before painting.
The rear bumper seemed to fit perfectly over the 87 crash bar. The only modifications will be drilling new holes for the plastic rivets on the bottom of the cover.
I am getting a little concerned about how the 87 headlights will interact with the new nose. I have searched and searched but cannot find a definitive answer (I love this forum but so much knowledge is hidden in build threads rather than in specific boards). My understanding is that I will need to remove the bezels. I should find out later today when I finally remove the bumper cover.
Worst case I found a set of 91 headlight assemblies at thirdgenranch.
from what I've read, you can use earlier headlights without the plastic surround cover that will hit, but the 91-92 should be installed the sealed beams are actually smaller than the 6054's your car has I bought a couple extra bulbs #6545 as RockAuto didnt have much for them (odd stepchild) - well availability has improved they have 6-7 of them to choose from. I may have a spare set (I'm a hoarder kind of) of headlight assy so check with me first- IDK what the ranch wants for them
Man, maybe you should got my front bumper I would of thunk paint them first then install your gonna do it Twice! Twice!
looks good -cleaner IMO. Did you get front light harness or you going to extend yours for parking lights?
The one thing I cannot do myself is paint. I know if I tried to install it the first time I would end up damaging the paint.
And I am not going to completely reattach it (i.e. reinstall all 6000 screws and plastic rivets). I will just use enough fasteners to get it in place and check clearances.
My bumper support came with the fog lights installed and I planed to just splice the wires and solder them into the existing parking lights (this should be possible correct?).
Before I forget, let me confirm that a 91/92 formula rear bumper ( aka non aero) fit perfectly on my 87 formula. I did not replace the rear bumper support bar with a 91/92 model. I am still retaining the factory 87 bumper support bar without any modifications to the bar or energy absorbing structure.
The only modification necessary is drilling new rivet holes in the bottom of the bumper support bar for the plastic rivets.
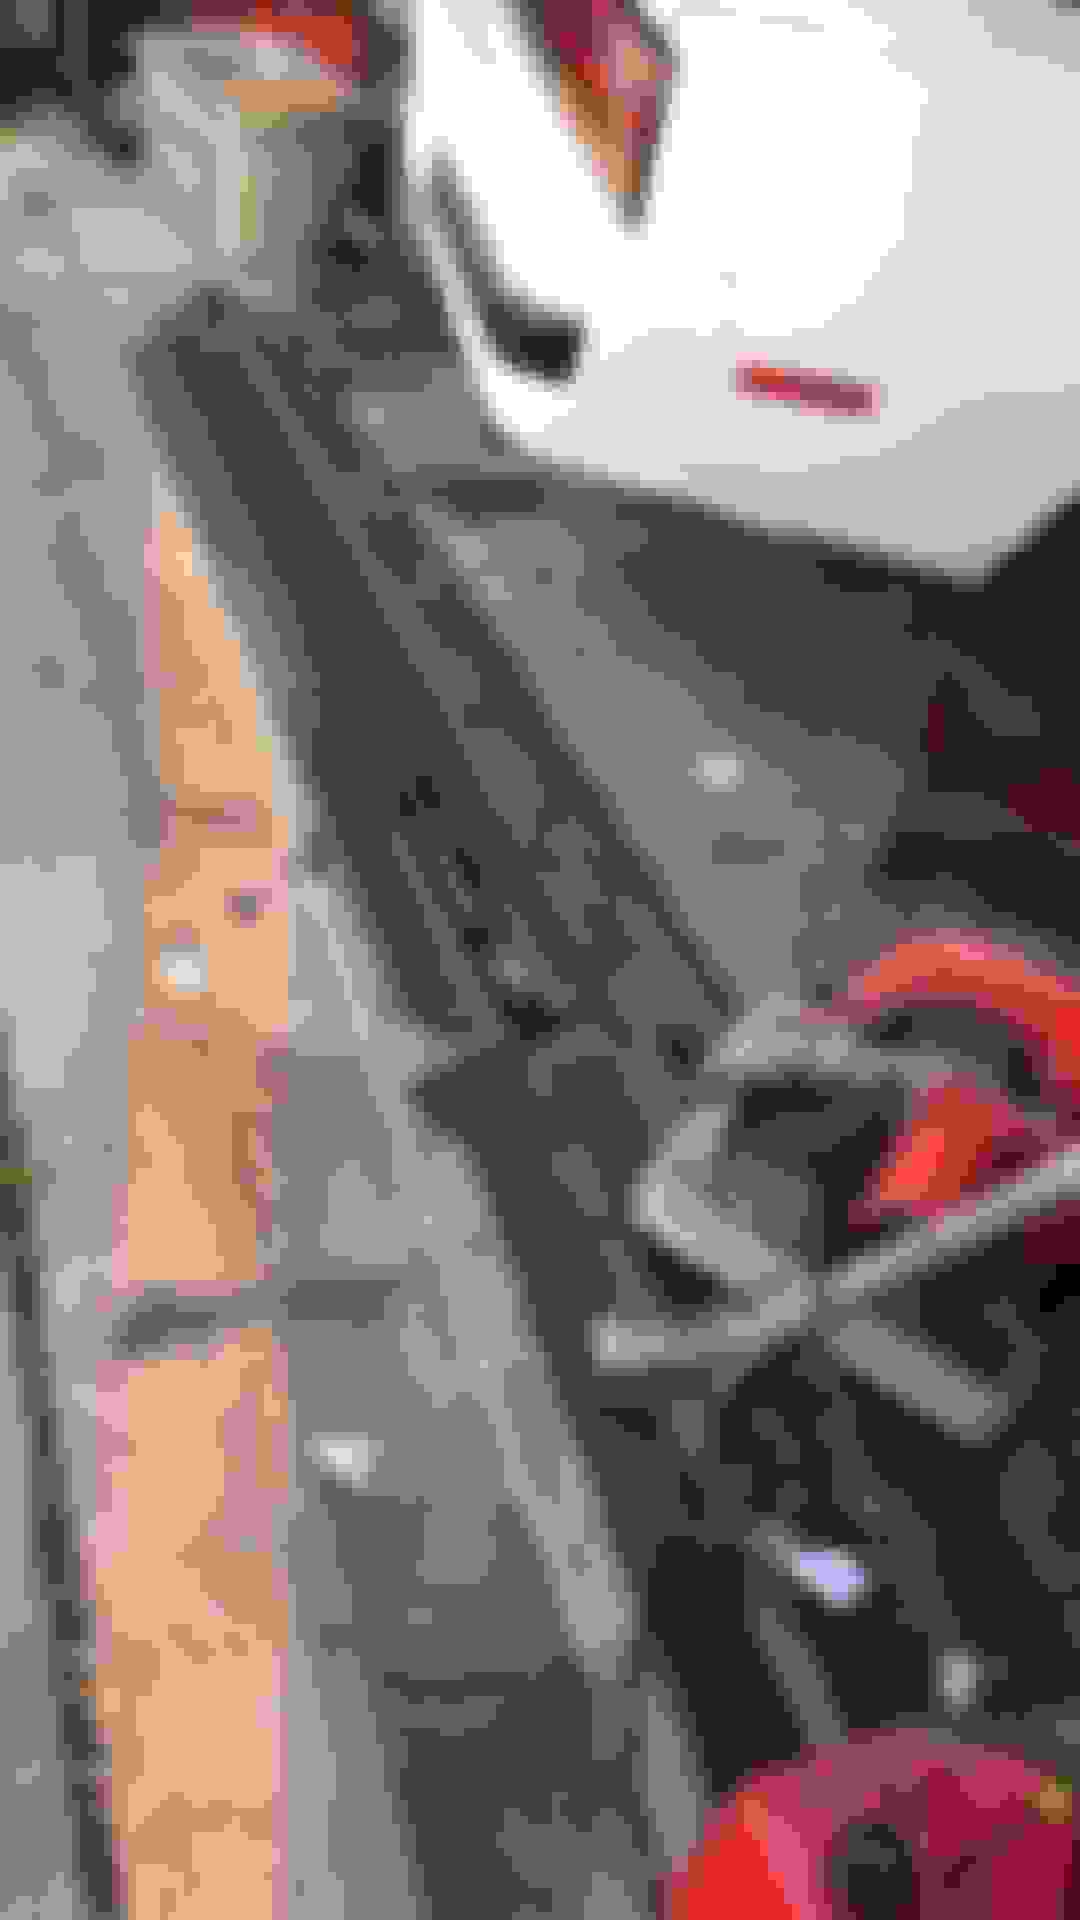
It seems like the headlight bezel could be modified to fit the new nose. Maybe cut off the top lip and make some modifications to the bottom.
I have been custom fabbing parts for my 370Z track car for 10 years. I’m going to take a stab at it.
And whatever I figure out I will make sure To create a dedicated thread in the body section of the forum.
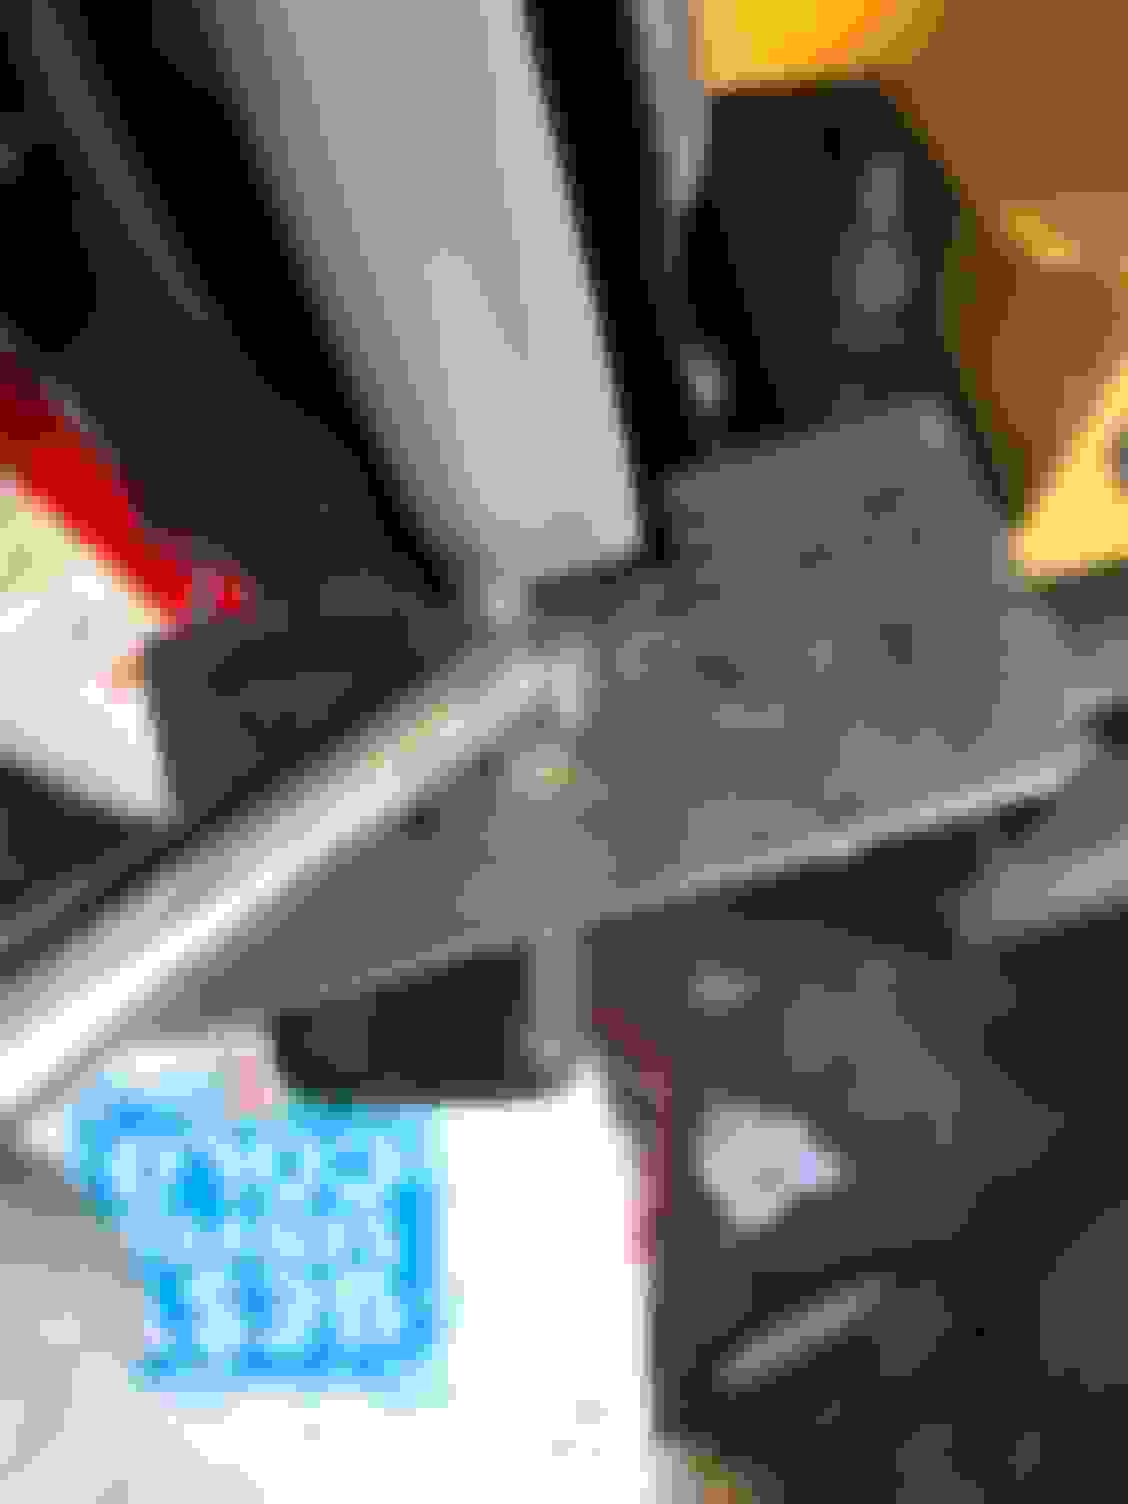
And TTOP350 does that hand written 40 marking have any significance or have you seen it before?
why not try Bezel mod let us know how that works! a good write up for these body mods may help future ? I think its a pretty simple R+R with some tweaks
wires should be extendable easy enough I grabbed to firewall while at boneyard
the 40 has me thinking .. minutes to quitin time? pounds I want to lose? how many donuts eaten today? type of trim needed-bumper cover? my 69 has a X-3 behind rear seat to let them know X-33 was style trim since its a rally sport car
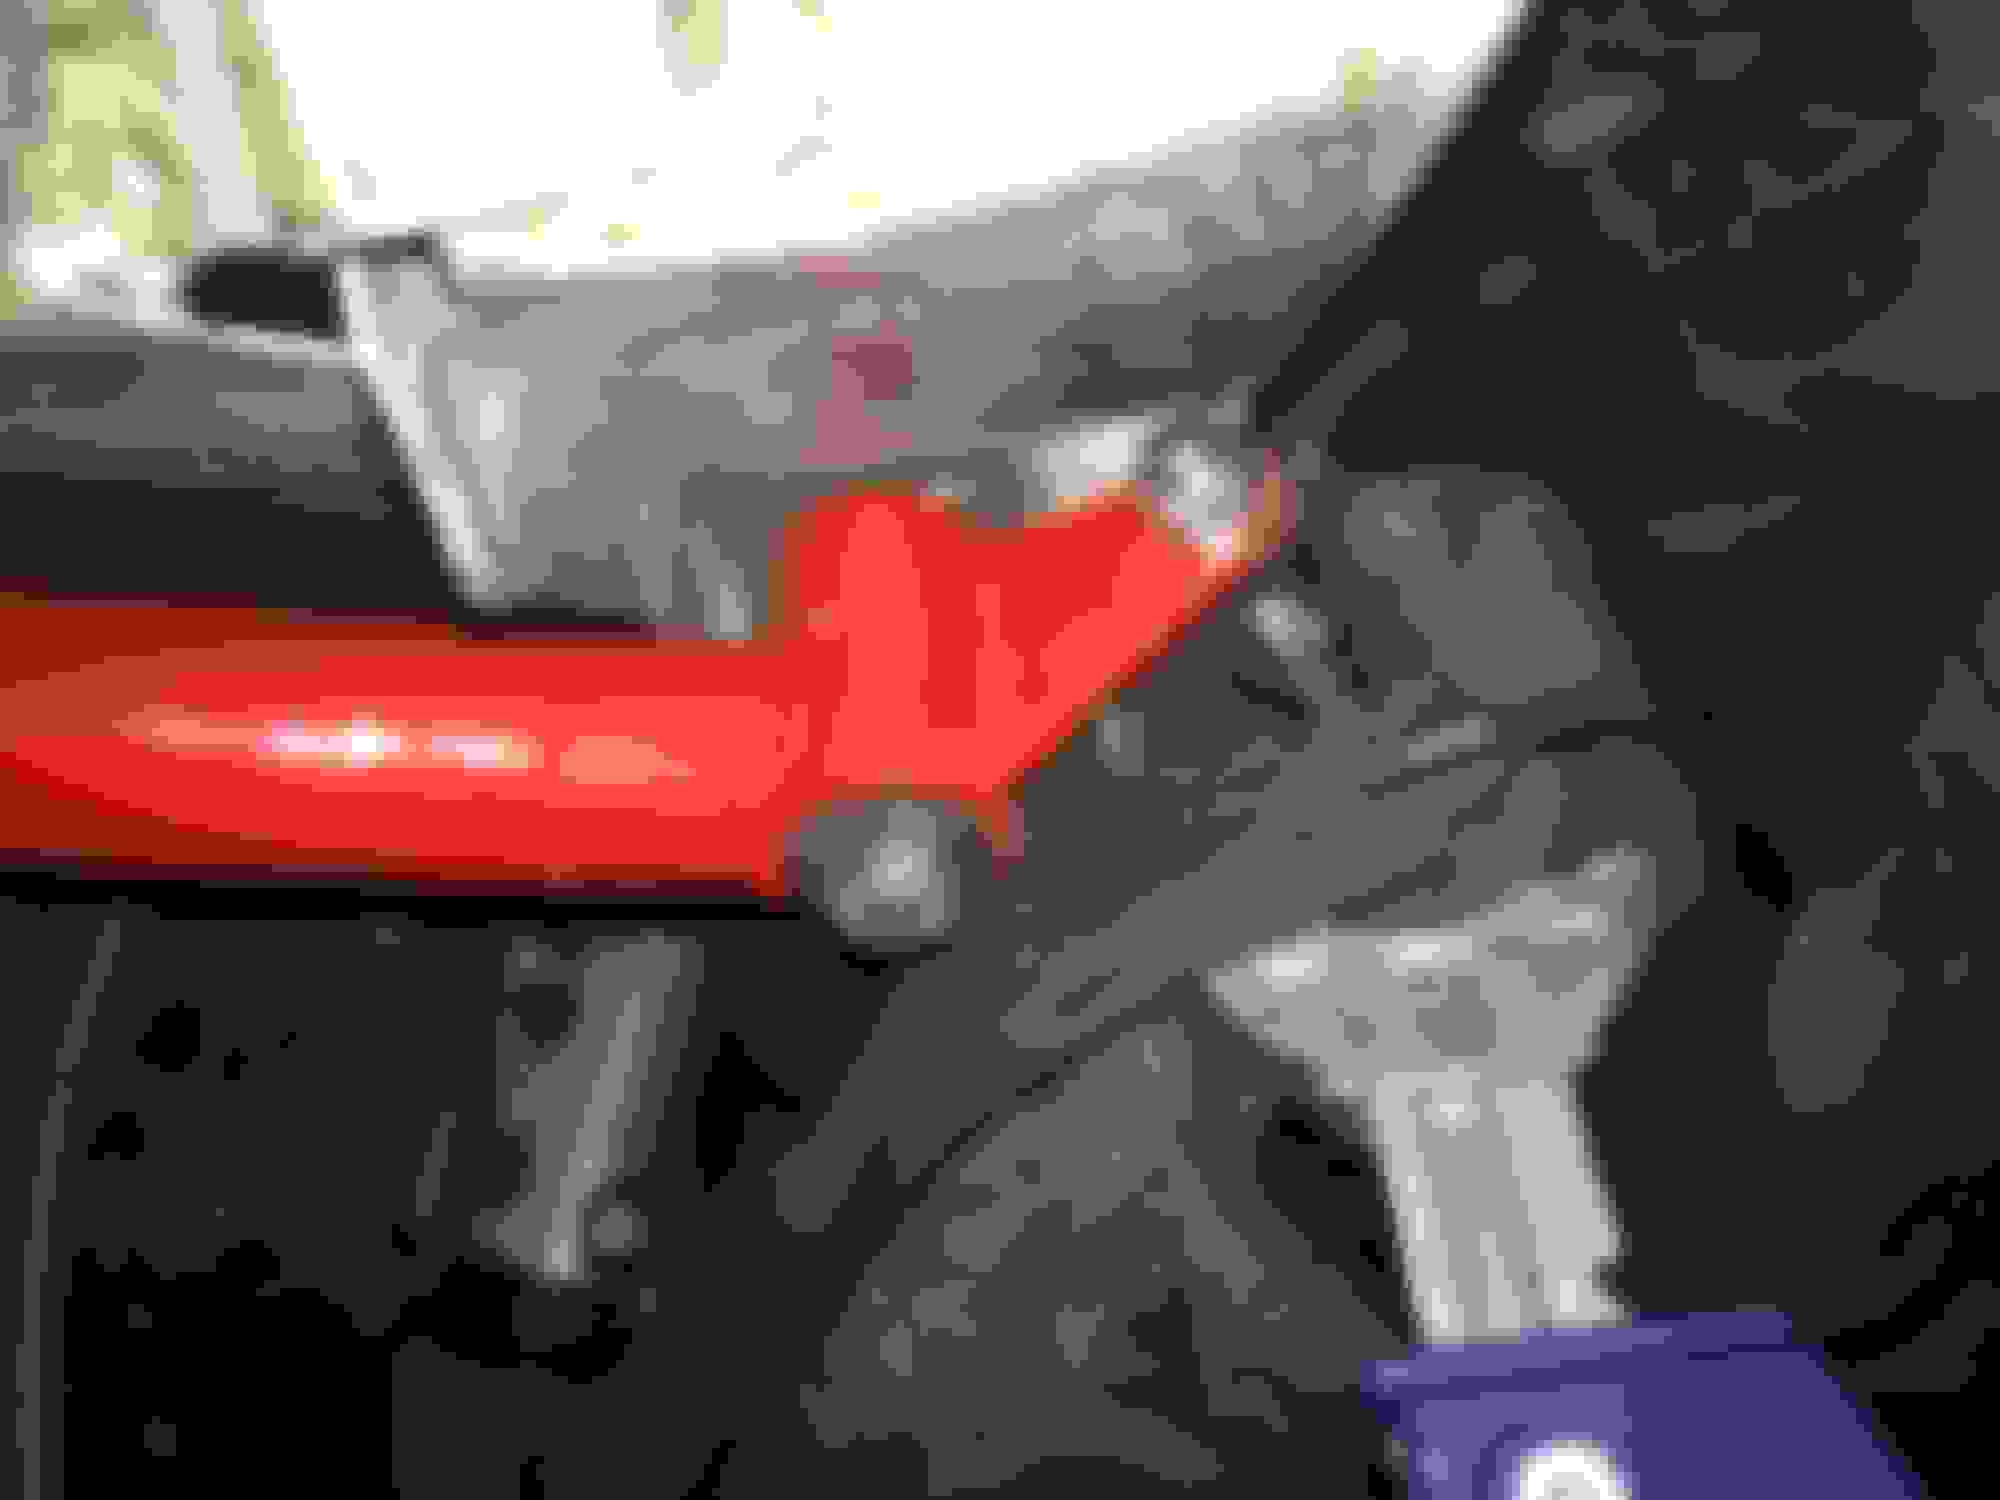
Here is the section you need to remove. I used a Dremel and bench grinder for the rough cuts. For clearance, you then to scallop the end of the bezel. It will look like this. Now you need to bend the bezel to your new angle. I used a heat gun. Now ready for some Bondo and finishing.
I still plan on posting this in the body section but I�ll give you a little update on what I�m doing.


 [/QUOTE


 I want to make sure everything fits properly and securely before painting.