When you click on links to various merchants on this site and make a purchase, this can result in this site earning a commission. Affiliate programs and affiliations include, but are not limited to, the eBay Partner Network.
It requires some modification. Much of the plastic "honeycomb" impact absorber material must be removed. The grilles can be opened up between the louvers using a sharp chisel & hammer against a hard flat surface. I have a custom bumper facia so I don't have the grills anymore...
Your car looks very clean and sweet. Why doesn't Rock Auto ship to your city?
Your car looks very clean and sweet. Why doesn't Rock Auto ship to your city?
Because in addition to the state deciding to start taxing Online purchases a few years ago, the CITY decided to do it as well. Rock Auto doesn't have the accounting resources to facillitate both (even though just about all other Online vendors do), so they won't do business with anyone in my city. Yes, it's foul that the city implemented a seperate tax in addition to the state, but I also think it's a bit ludicrous that Rock Auto can't or won't deal with it despite the fact that most other major vendors do...
On another note; seeing your beautiful new overflow & windshield-washer tanks makes part of me want new ones, but the other part of me says that while mine are a bit yellowed, they function just fine. You're not making this easy...
On another note; seeing your beautiful new overflow & windshield-washer tanks makes part of me want new ones, but the other part of me says that while mine are a bit yellowed, they function just fine. You're not making this easy...
Actually the washer fluid tank is old, just cleaned and sanded. You need to move to Florida my friend, we need a lot more of your ilk down here.
Last edited by stuartswede; May 6, 2021 at 07:55 PM.
Tried to post this twice last night, but not showing up, will try again
Installed new brake lines from Classic Tubes
Still need to install the clip, got herded into the house abruptly by a nasty lightning storm.
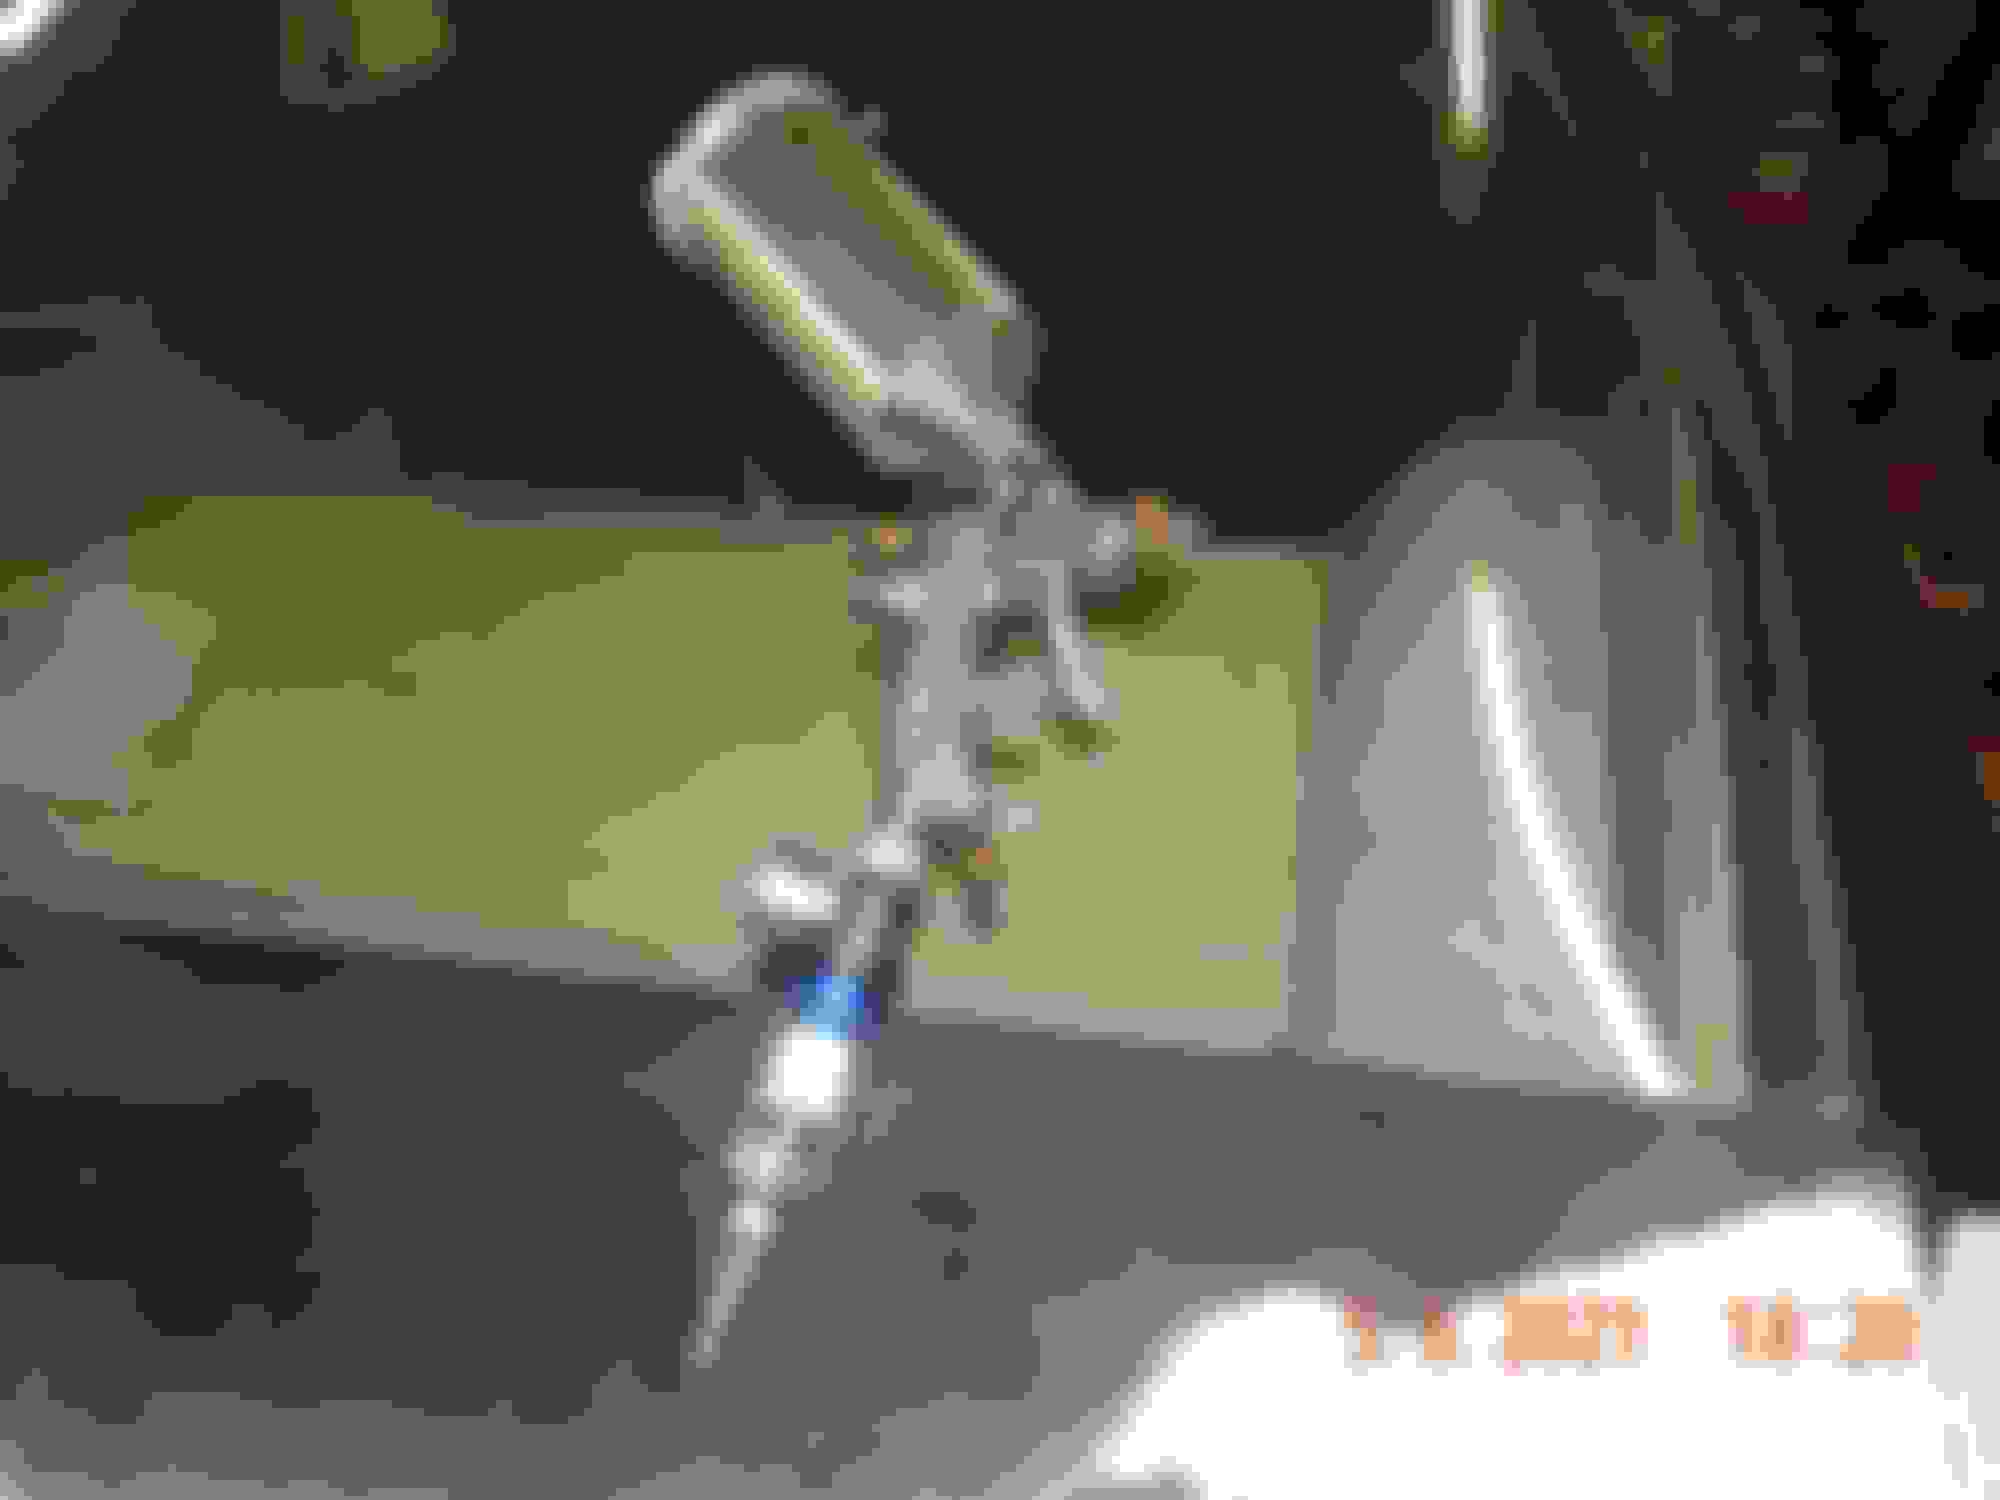
Got my new spray gun, added an in line moisture separator. Can control the pressure at the gun to 26 psi. Thanks Dagwood and TransamGTA350!
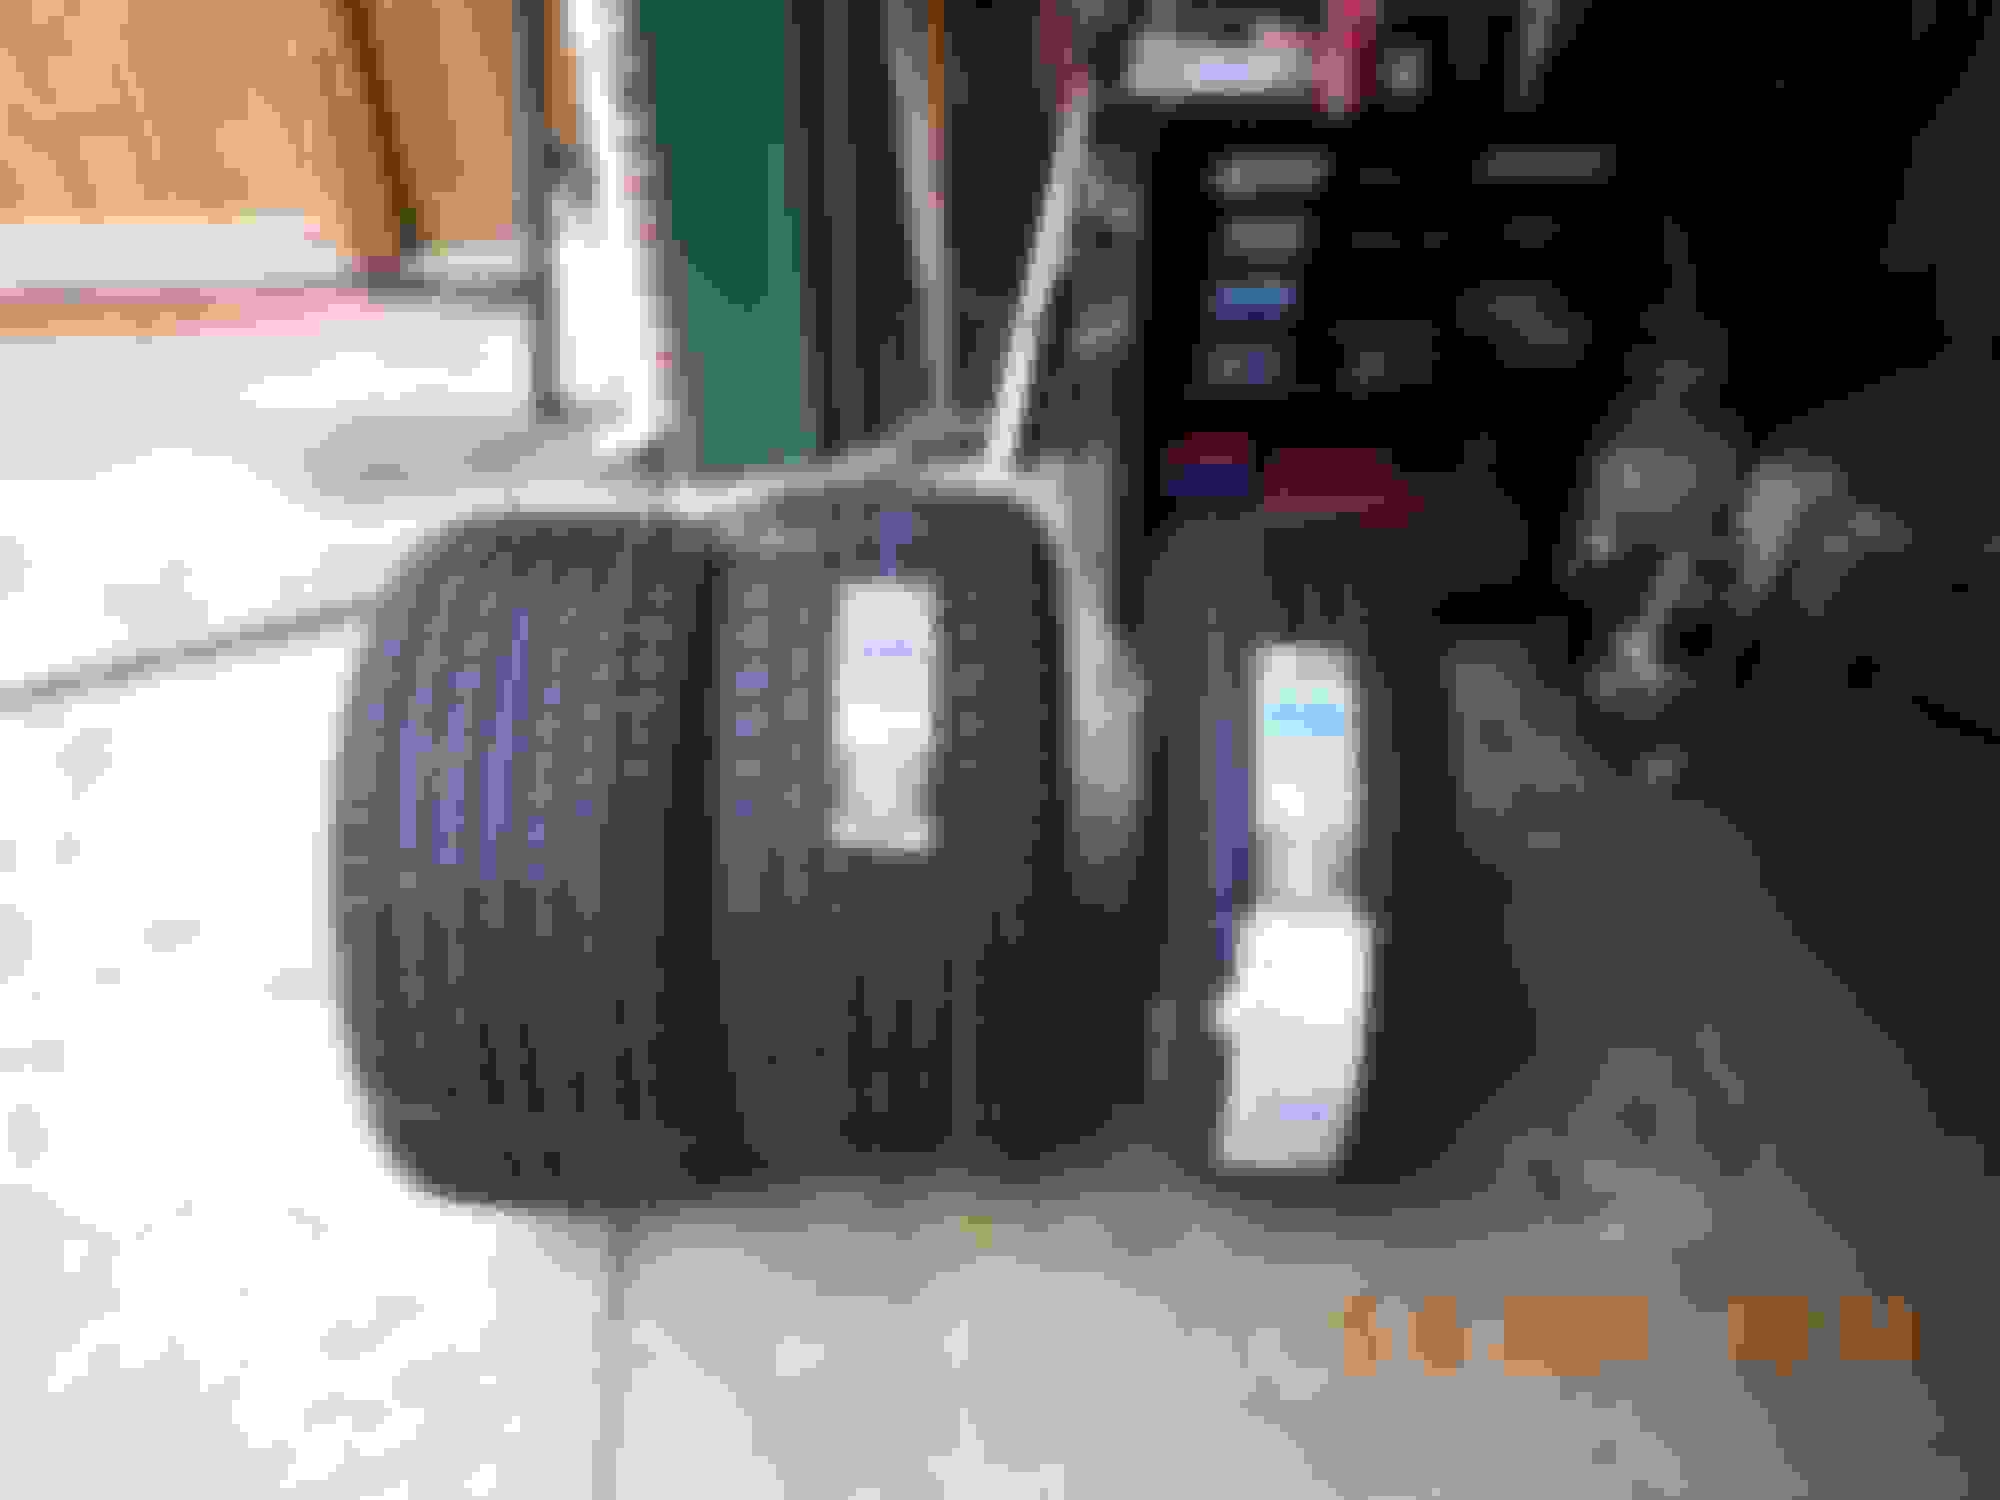
Also to lay a little rubber/background, my turbo fin wheels, which I love, can only take a maximum 235 mm or 9.25 inch tire, which isn't too shabby. I plan on buying a good set of Michelins for those, but being inspired by 427seven, to go big or go home I ordered these.
They are P295 50 R15, 11.6 inches, there's a corvette down the street, I always drool over on our daily walk that has something like these on it. Shown along side the P235.
I also got a set of P275 60 R15 to go on the front. Spent most of the day trying to mock up the look. I also have classic slotted dish mags on the way to match. I had a set on my 1974 Formula my last year in high school in 1977.
Actually thinking of going with the P275s on the back and leave the P235s on the front. The P275 is under the wheel well above with the P235 beside. Any comments? I will be able to go back to the stock look with the turbo fins at any time. The P275s are 10.8 inches wide
I may even paint the rims gold and the centers black to match the turbo fin look with the wider tires. BTW, my car had that rear window covering, that came off as soon as I got the car home, and never went back on.
You should just widen your stock rims. Would look cool to have beefy tires on the stock turbine rims. Not exactly sure how it would work but I assume you’d probably have to run spacers.
This place offers that service: https://weldcraftwheels.com/
You should just widen your stock rims. Would look cool to have beefy tires on the stock turbine rims. Not exactly sure how it would work but I assume you�d probably have to run spacers.
This place offers that service: https://weldcraftwheels.com/
What a cool idea, that would be sweet! Curious what the cost would be, they did say on the site to add 50 bucks per wheel if you want the welds dressed.
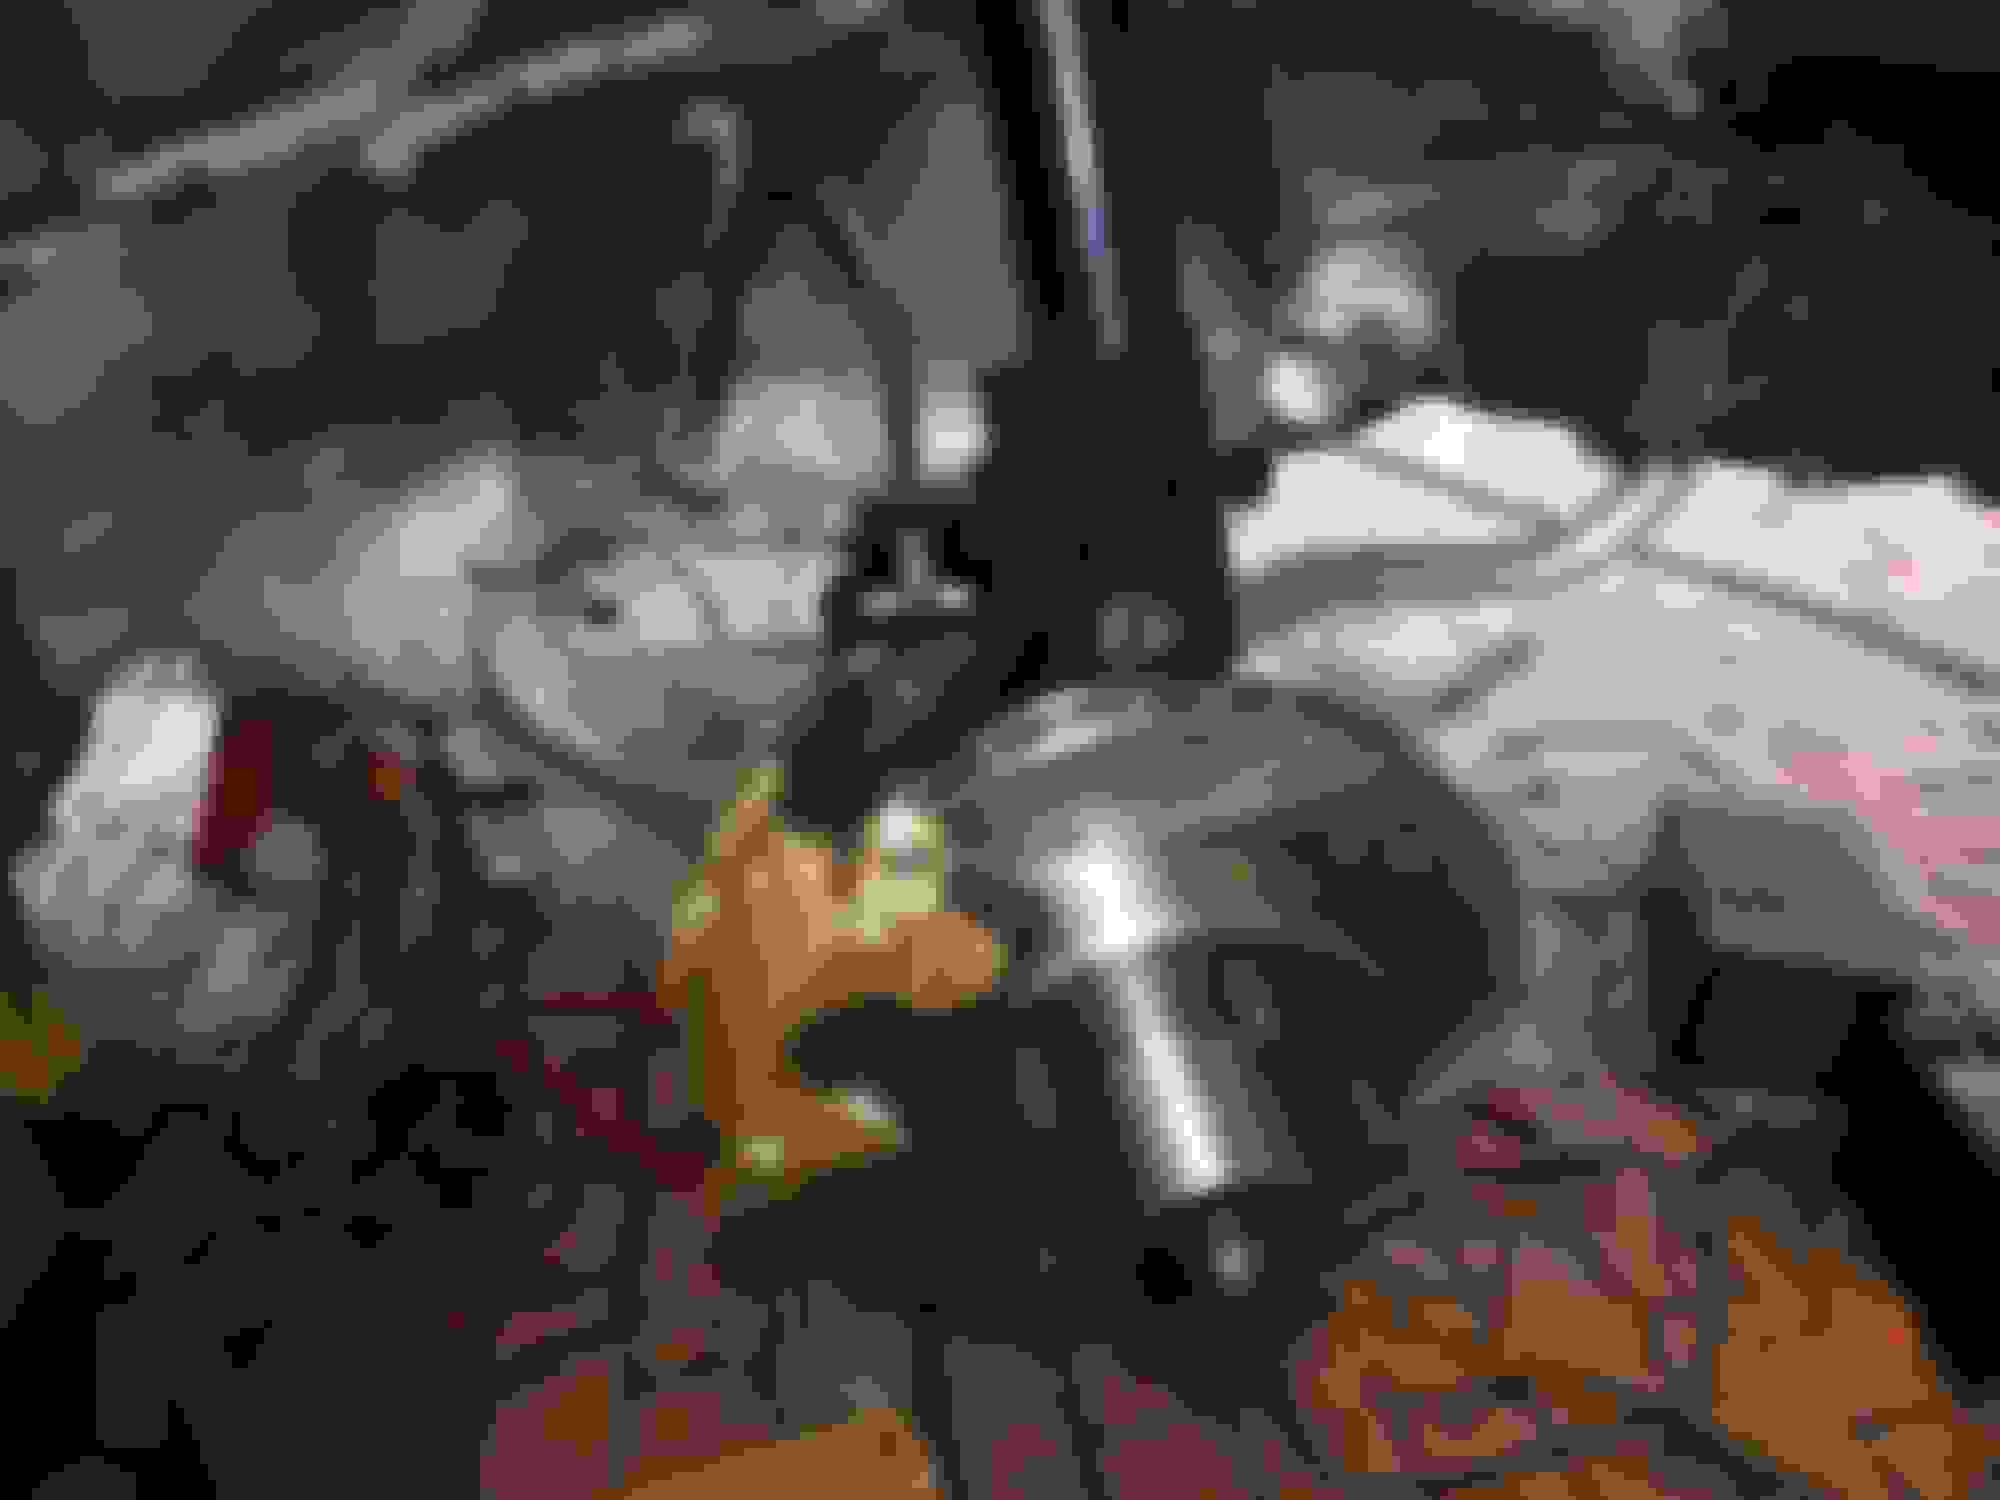
You are missing 1 bolt in your driver's side motor mount.
And you might want to consider moving those brake lines to the other side of the steering shaft to get them further away from the exhaust.
You are missing 1 bolt in your driver's side motor mount.
And you might want to consider moving those brake lines to the other side of the steering shaft to get them further away from the exhaust.
Thanks Noem,
You have an eagle eye!
On the motor mounts, that was how it was when I took it apart, but come to think of it I remember taking it to Aamco for a clunking noise every time I hit the gas from a stop, and they replaced the motor mounts. That was the problem! I remember taking it to a mechanic friend of mine at the time and he couldn't figure it out. That was the last time they were replaced. The last hole doesn't line up or I would have added another bolt.
I thought about the brake line position, but this is how it was stock, in my "before pictures". But will keep an eye on it after I wrestle the engine back in place.
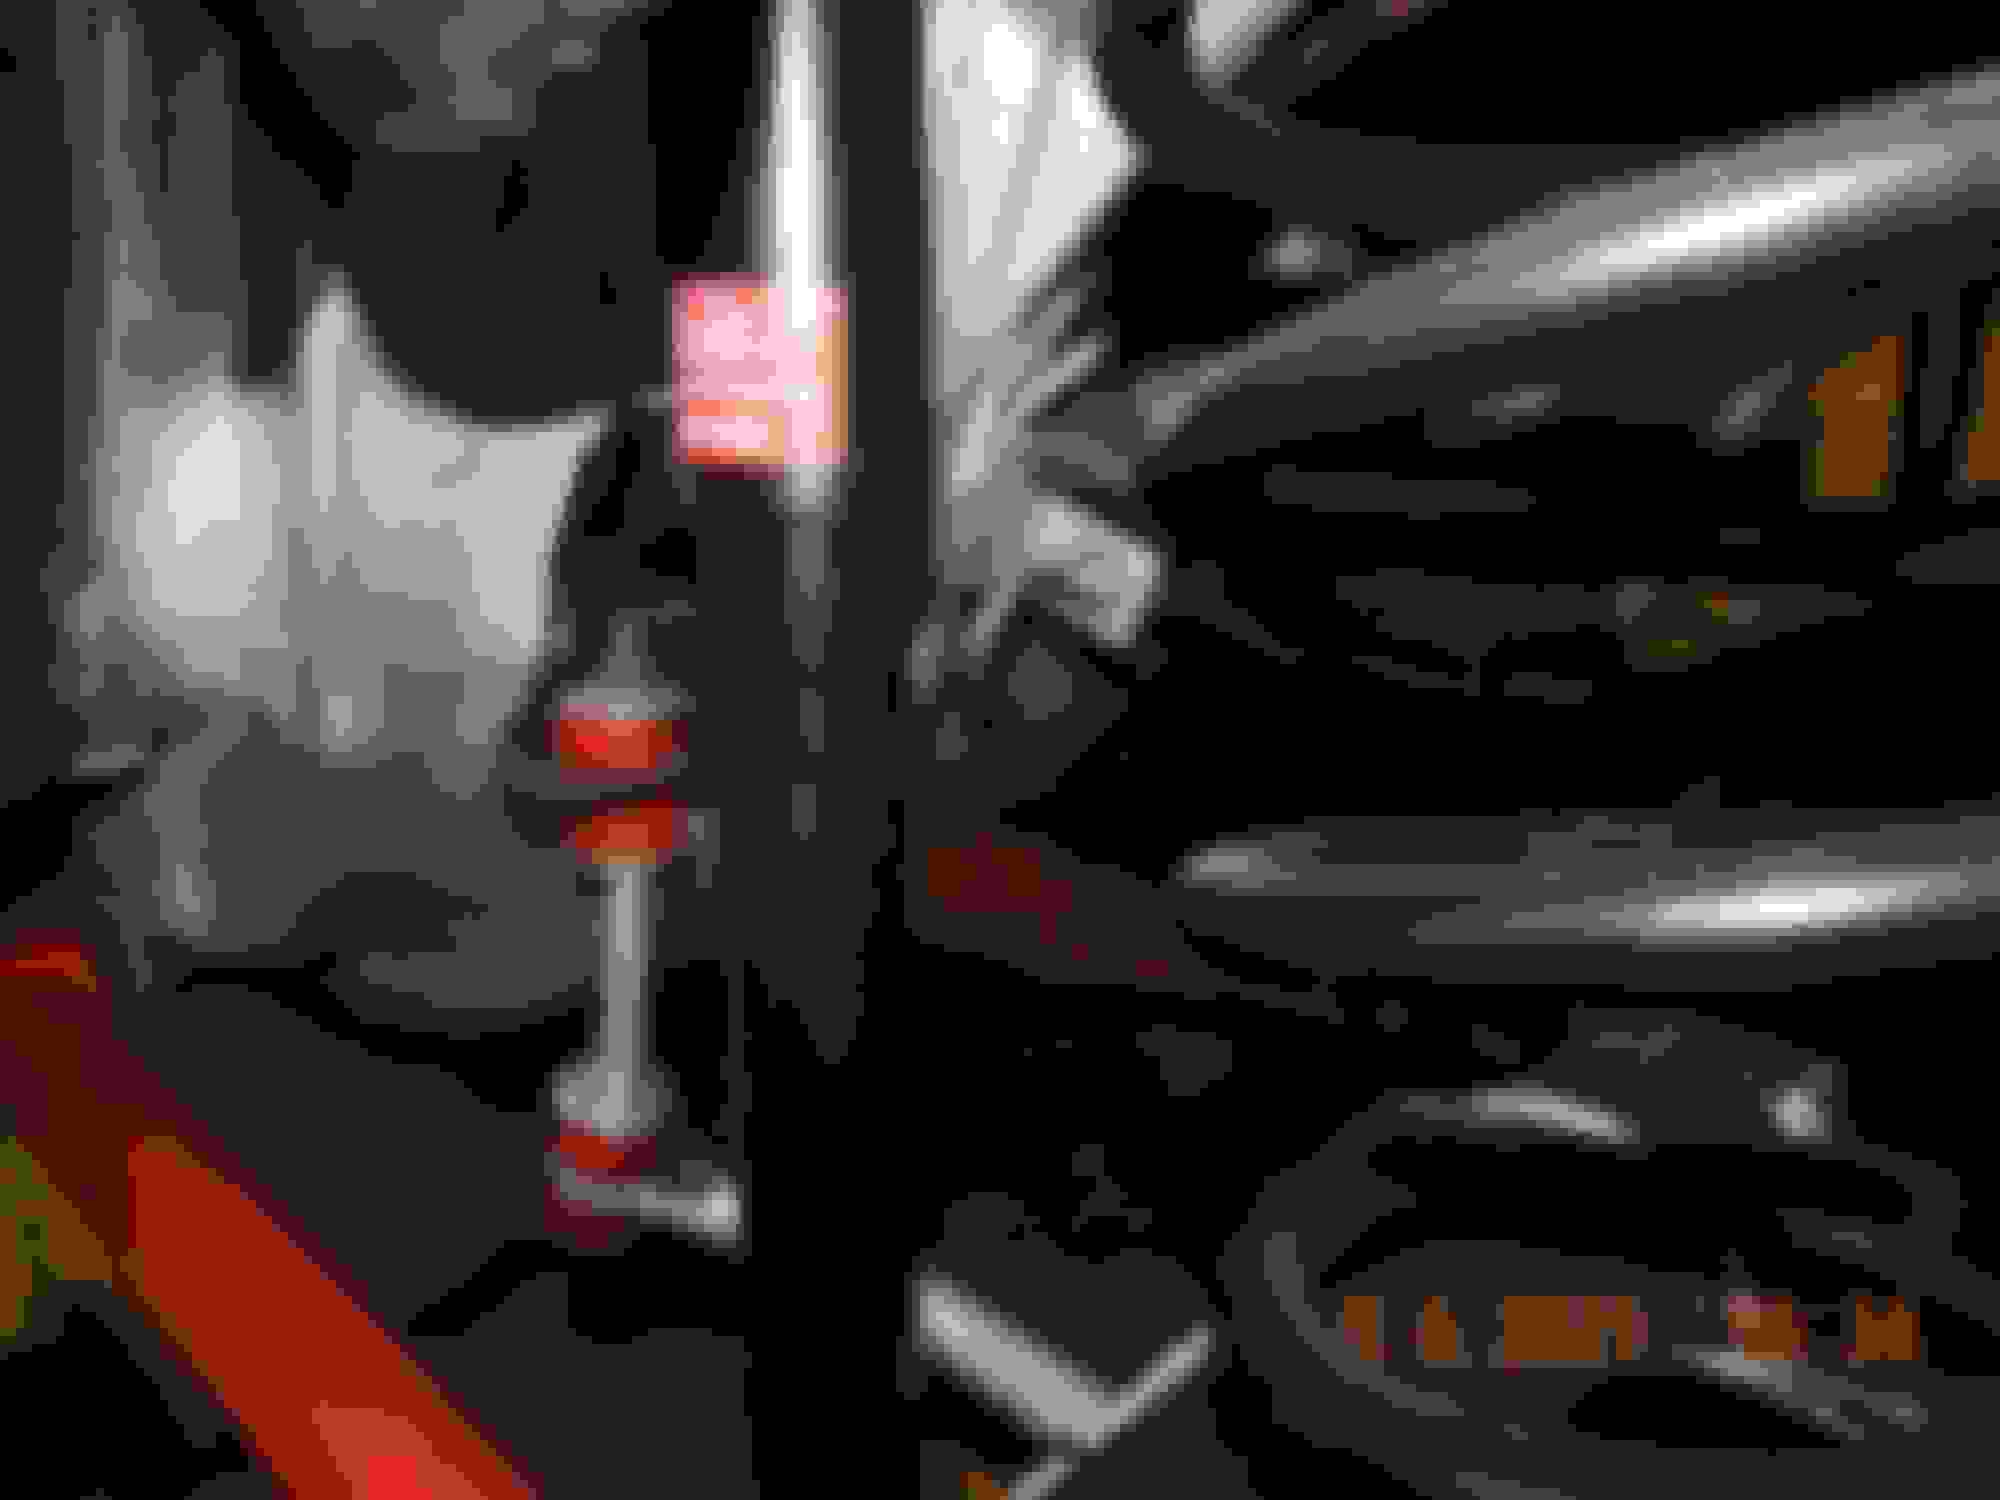
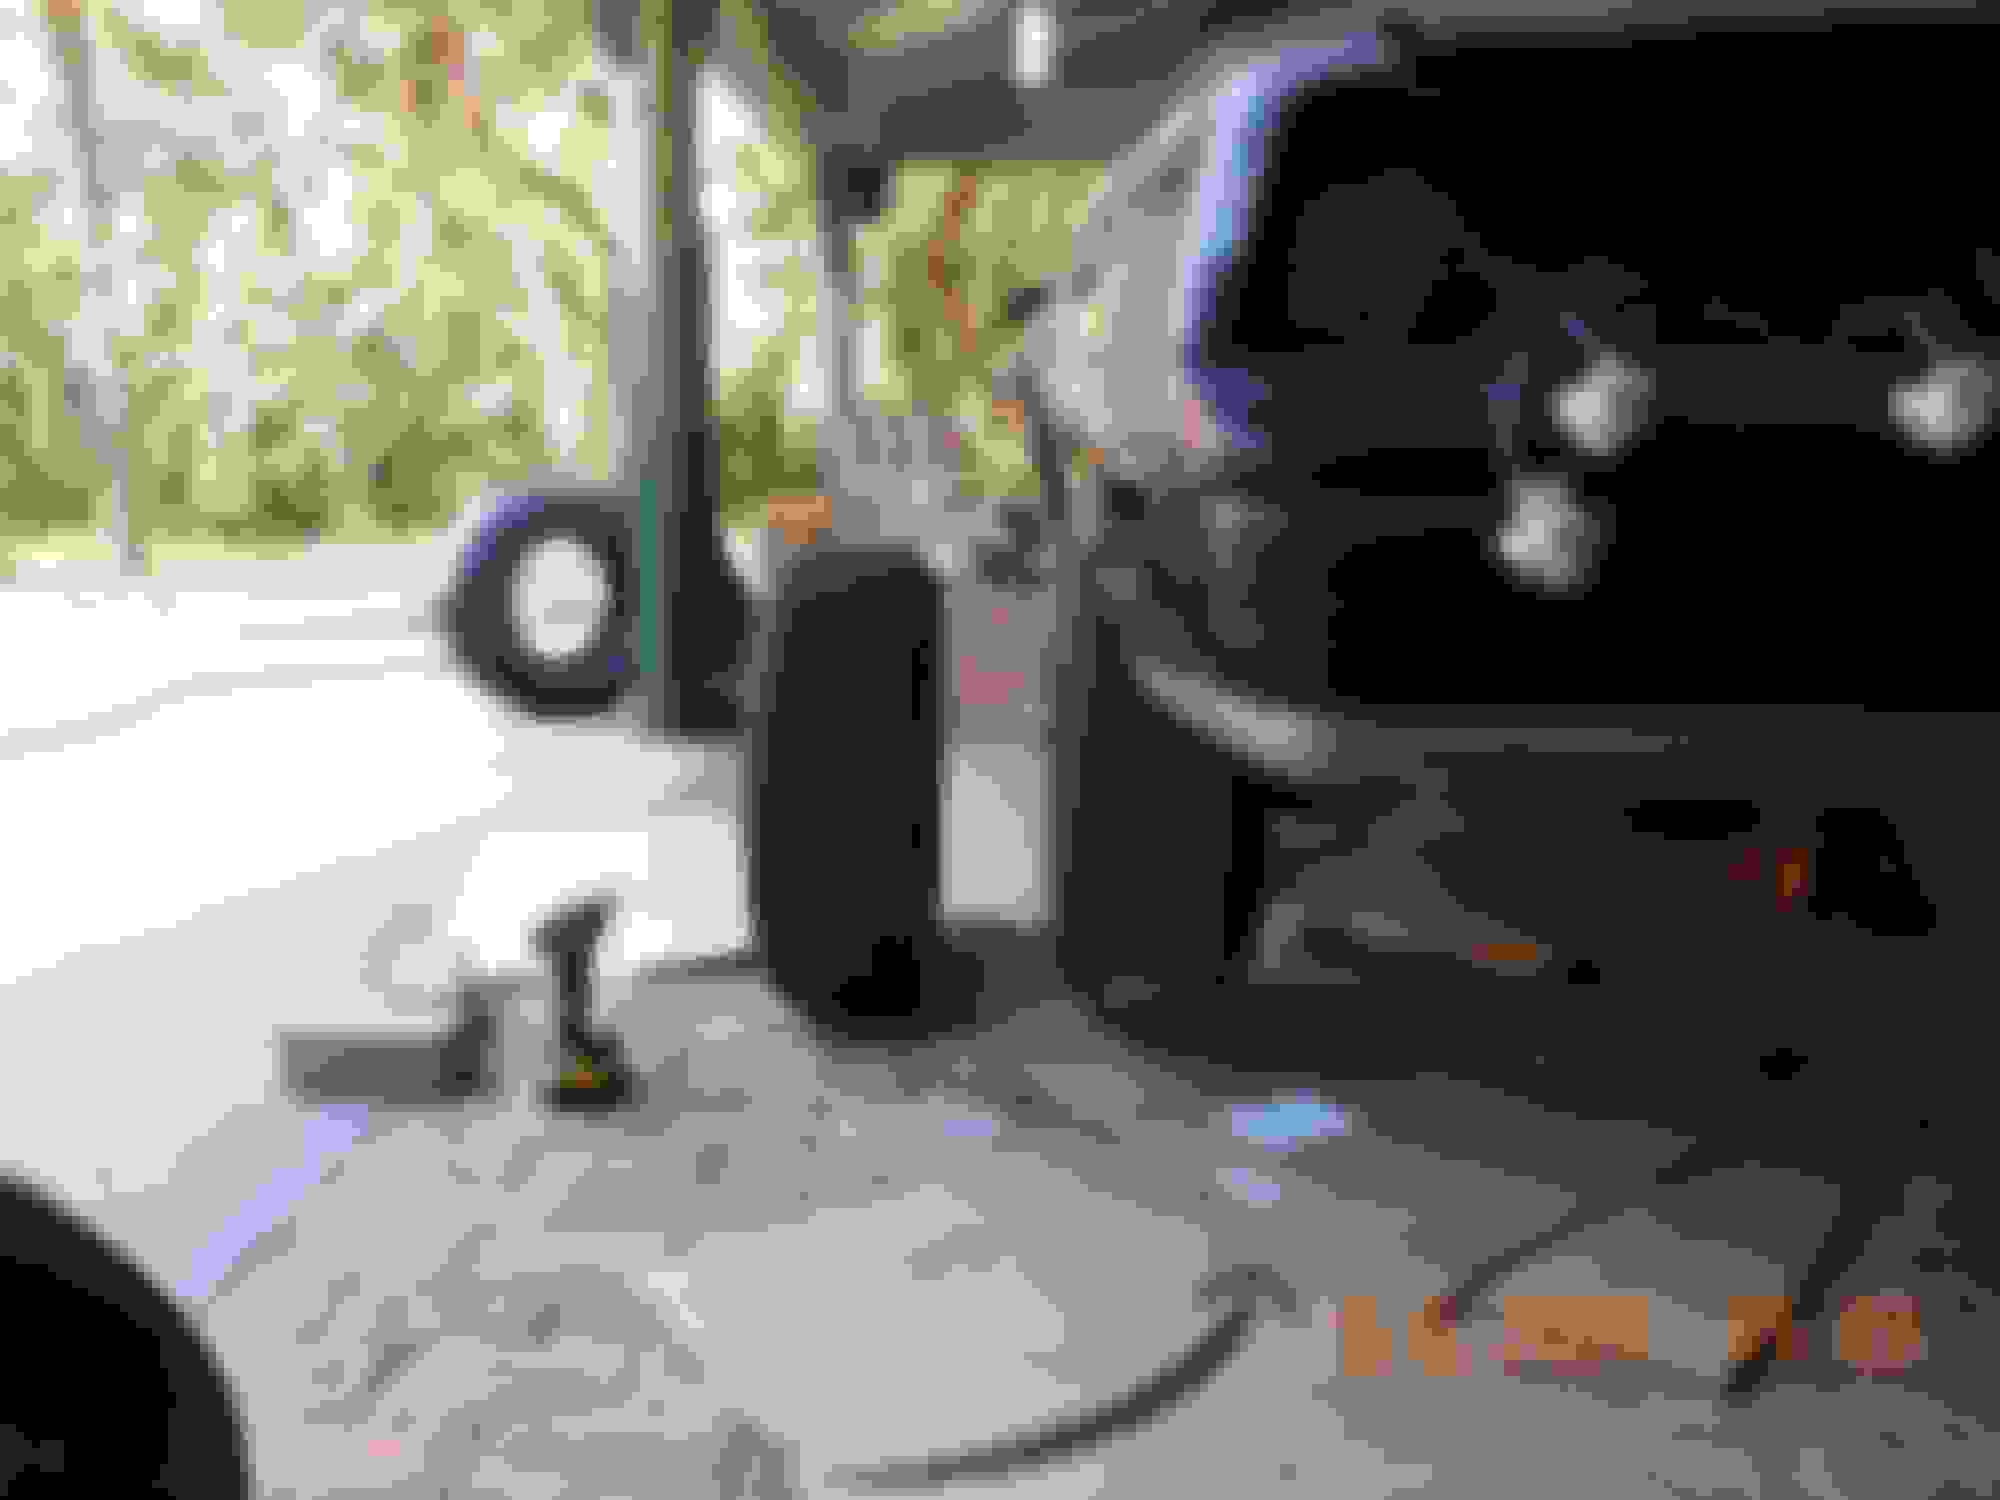
Back to my boring build, got the brake lines terminated and the rubber hoses secured. Painted and installed the calipers Good thing I painted the calipers Otherwise they'd be naked
Now would you do the other side?
Now everything that can be removed has been removed and replaced with new!! Can install the power plant now!
I think they are powerstop, seriously, why should it matter? Thank you Noem, you are my guardian angel.
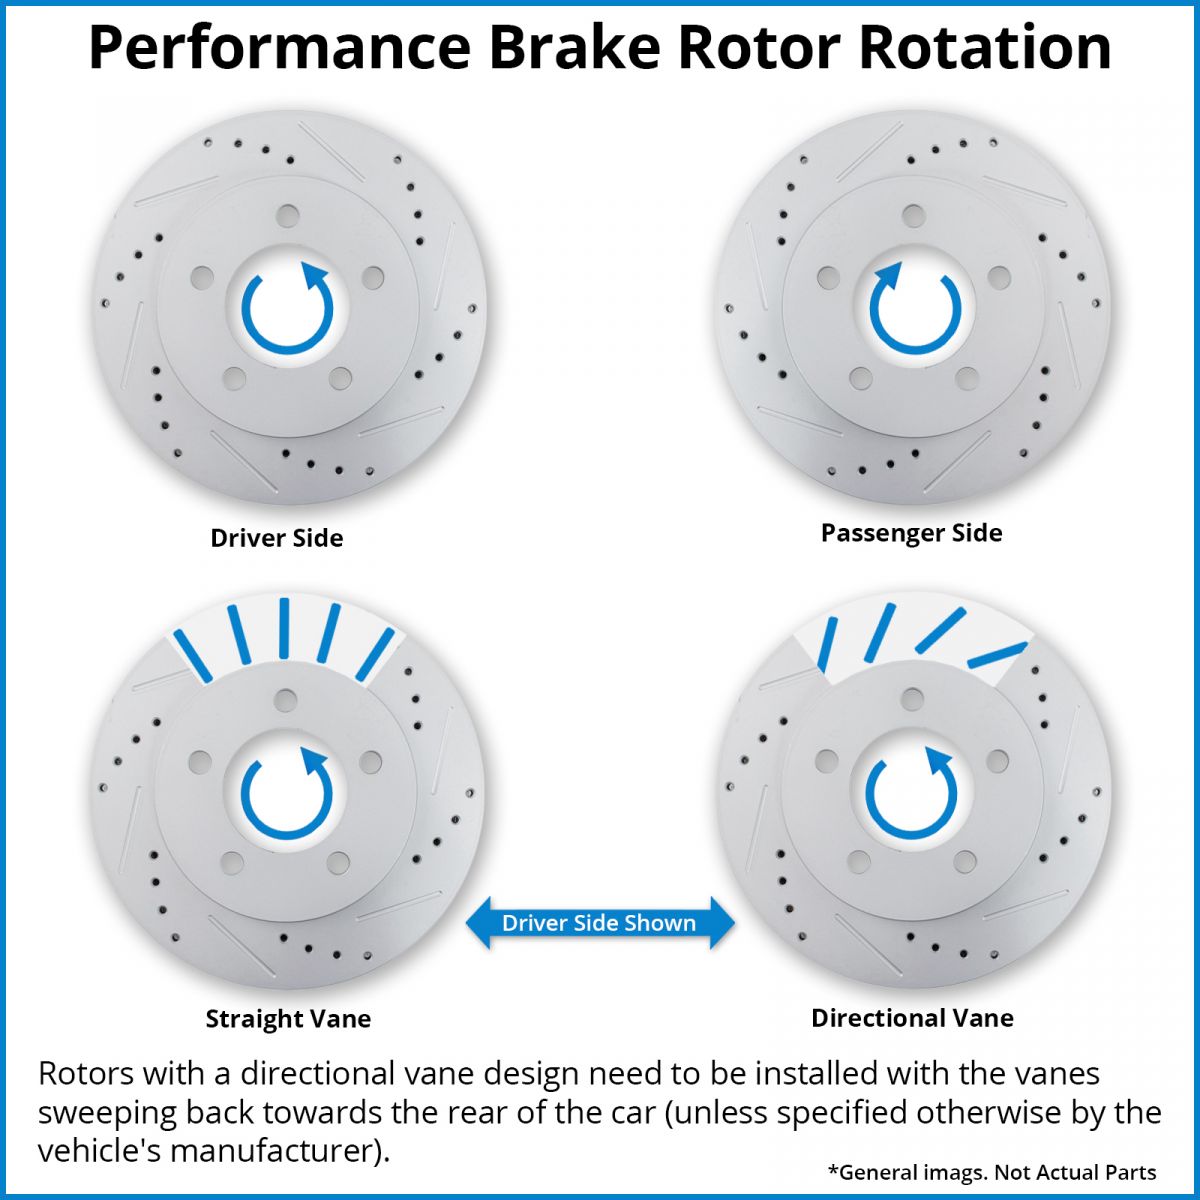
It's not so much about the holes and slots, but the configuration of the inner vanes.
The rotor needs to be cooled. It's kinda like having your fan blade on backwards and wondering why the engine is running hot.
Follow the stickers on each rotor as to direction. I am confused myself because a Google search says the opposite. https://www.google.com/search?q=dril...w=1280&bih=884
Last edited by NoEmissions84TA; May 7, 2021 at 09:30 PM.
Just drooling other treads today, since I took the day off and played golf, I came across this quote from Mario Andretti "If everything seems under control, you are just not going fast enough"!! Thank goodness for my radar detector!
Great thread! Love the progress and should be a great car for many years to come.
One question though. Your transmission is a 700-R4, right, but I thought I saw the gear indicator only said 1, 2, D. Unless my eyes are mistaken.
Hi TLS, Thanks for the response.
You are correct, my new selector is not correct, I didn't realize till after I had received it that it was missing the overdrive position, but it looks so nice and the old one was cracked, warped and faded. I don't remember seeing any new correct ones at the time, so just kept it. I just checked the web and found a KITT conversion lens that looks to be correct and ordered it. Thanks for the reminder! Shifty
No problem! I figured there was a retrofit piece much like the aftermarkets come with various ones for transmissions.
If you ever need help spending your money just let me know. Hopefully you get her all buttoned up soon.
I was playing around with my rear wheel choices and noticed my gas filler. I remember every time I filled up how grotey the inside of the gas door was and thinking, man, you should clean that up sometime, well that time was today! It looked easy, just 6 screws, but GM made it really hard to remove the door and cone.
The big cave for the spring was almost comical. Made removal a pain. After looks really good, and shimmed the cone with some segments of bondo spreaders to center the door in the hole. Now the door does not scrape the fender paint when I open it!
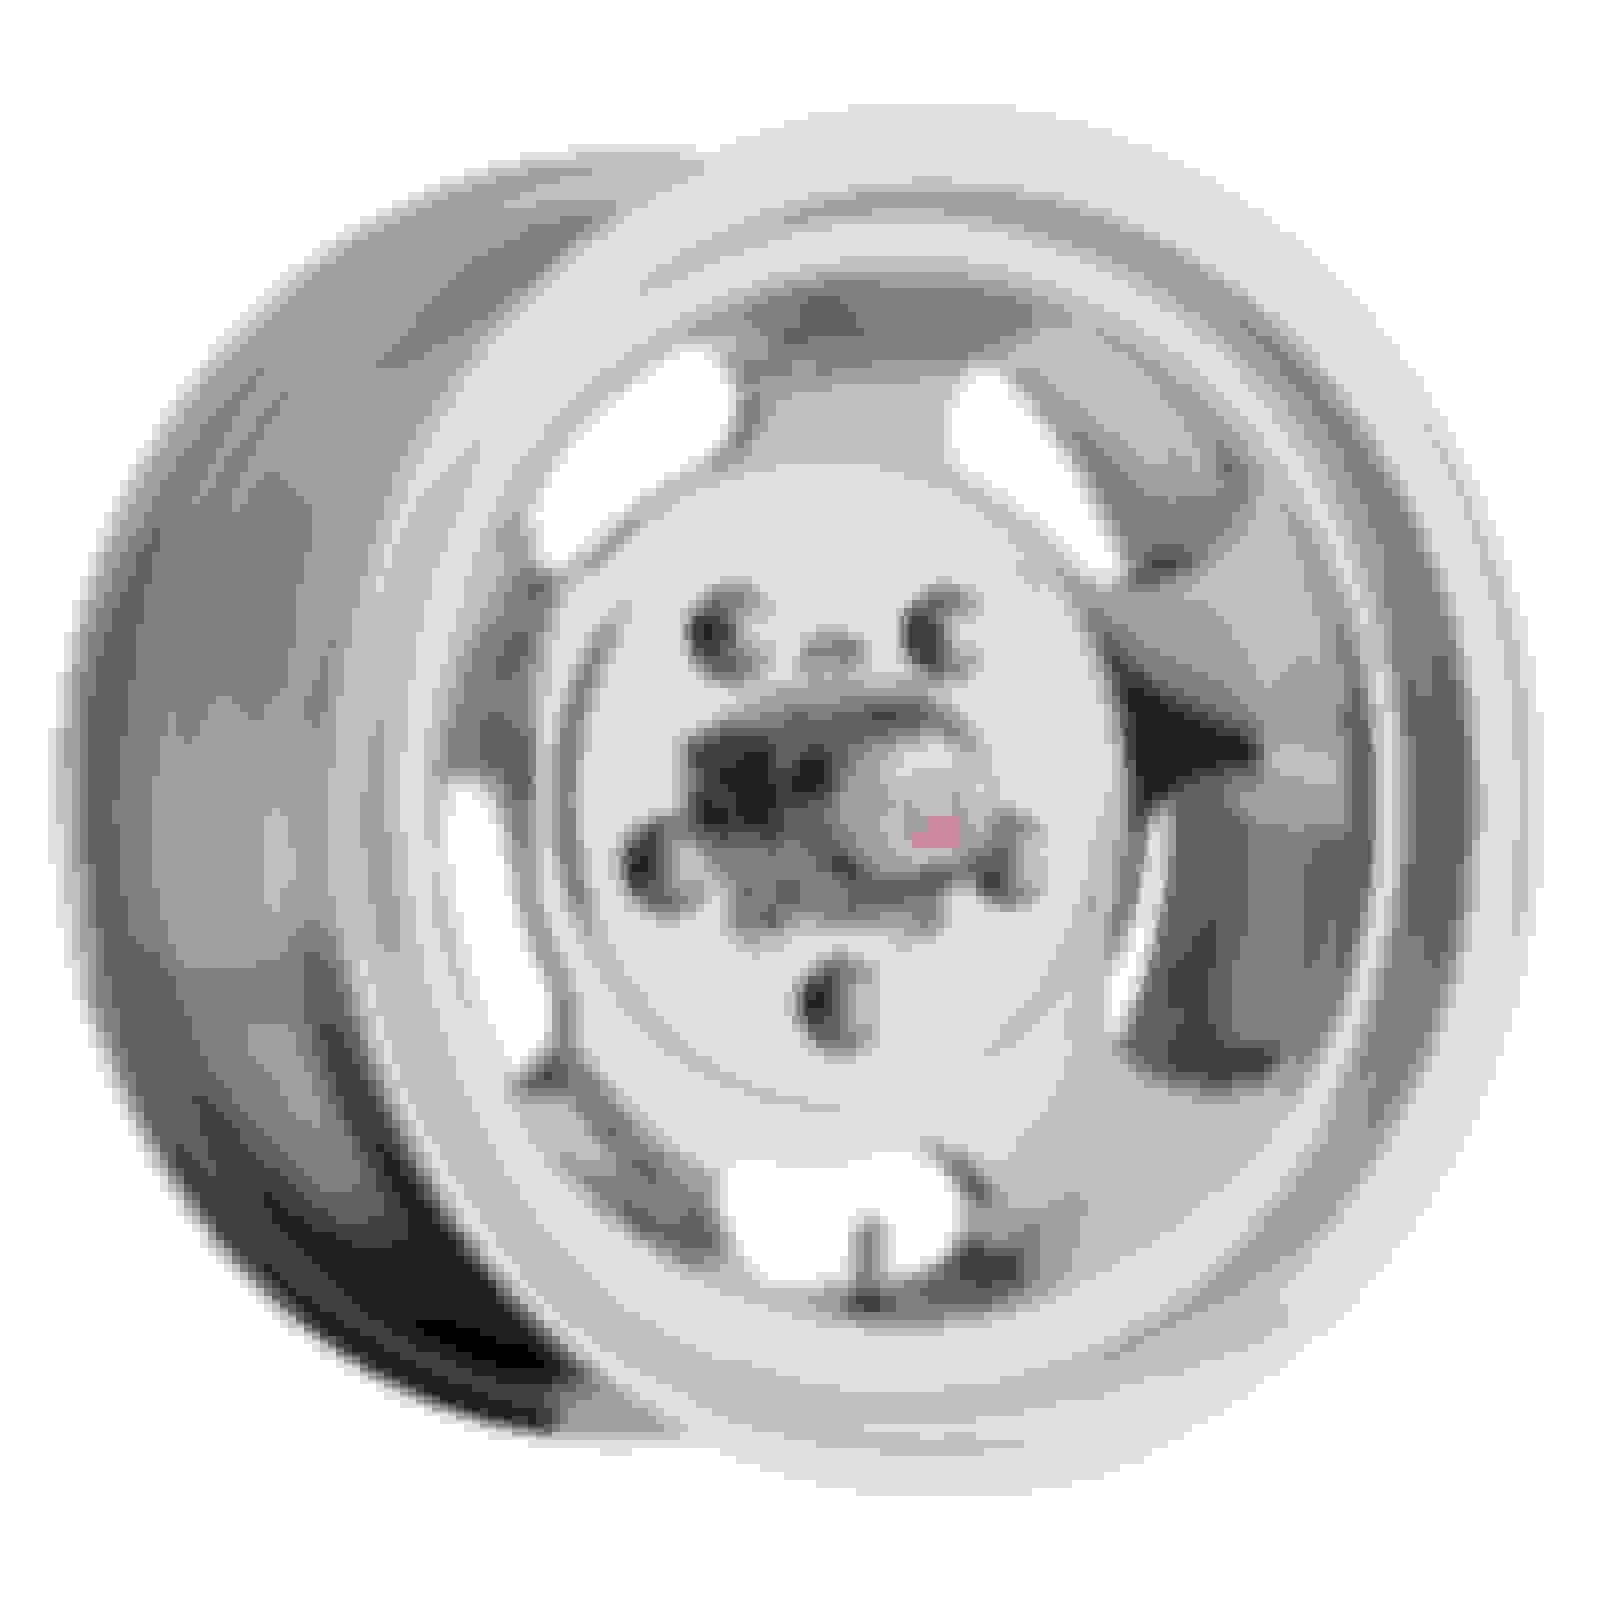
I decided to keep the P295s. I got different wheels with more backspace that allow the wheel to sit completely within the wheel well. Tell me that doesn't look cool!! I also tried out my new paint gun, and sprayed one of the stock wheels, left, compared to the old faded one on the right.
Also sprayed a couple of trim pieces I had previously cleaned up and primed
26 psi at the gun, no orange peel or fisheyes, happy with the results. Thanks Dagwood and TransamGTA350!!
What kind of gold paint is that? Looks like the color of one of my cars...
Hey TL,
It's the Autumn Gold Metallic TCP (Restoration shop Acrylic Urethane). I'm not really feeling it on this color. It looks more like a sweet potato to me. https://tcpglobal.com/pages/acrylic-...ne-paint#mgold
I am going to order a quart of the Antique Gold met, and try that, and maybe a mixture of the two.
However, it does match the reference vehicle pretty much, but I prefer a shade closer to the decal above.
Well I don't think my aforementioned car looks like a sweet potato. It's actually a 2009/2010 Ford color known as "Yellowjacket", and "Sunset Gold Metallic"...
I have opened mouth insert foot again, deepest apologies, and I actually like sweet potatoes. I was looking at it in the bright sunlight and warming up to it.
I have opened mouth insert foot again, deepest apologies, and I actually like sweet potatoes. I was looking at it in the bright sunlight and warming up to it.
I believe the gold paint in '83 was the same as '84 which was 55 Gold Metallic. When we painted my '84 TA, we had Sherwin Williams scan an original paint chip to create the correct color. The guy said he saved it in their system so you should be able to go to your local Sherwin Williams and buy some (if you want).
Battmann, your billboard car for your design studio link has the gold color I am after. It is not as orangey as the 55 gold met. Earlier I ordered a quart each of the Antique gold met and the driftwood beige met.
The gold shade should be close to the center hub bird color and it matches very well. Love the new lug nuts! And this is the old tire. Had to move my alarm siren, as it was trespassing on the side marker light property. Everyone is happy now. Installed all the seat belts today. I bought new guides on the female buckle snaps. Looks good. A little issue with the Procar seats, I cannot adjust the seats front to back as the spring mechanism on the seats interferes with the stock seatbelt housing on the sill plate. But OK for now as I use the farthest back position anyhow. May need some "re-engineering" down the road. No seats yet but have seat belts! Looks pretty good peek'n over the edge Same issue on the passenger side, but the wife is tiny so should never need to move the seat at all. Also I received the new nuts and screws for the rear interior trim pieces and all are secured permanent-like.
Took pretty much all day to install the headliner and sail panels. The real PITA was finding the screw holes blind. Finally used an Ice pick - awl and went from there. Then the dome light and those sorry a** nuts, so called..., anyhow, a real lesson in patience!! Another day closer.
Also, my sister insisted that the wife needed a visor mirror, which I do not have, so I ordered this to keep mama happy, with LED lights no less!
So the kick panel felt, which was included in the cargo area felt looked like this.
Never really loved, but was pre-cut, plug and play, and I am basically lazy. Since I wasn't crazy about the look, ripped it off an cut some of my carpet by the yard remnants. Much better.
Big improvement IMHO. Also got the emergency brake springs in and re-connected the actuation lever in the tunnel. Good day!