
Homebrew alignment


Thread Starter


Joined: Dec 2005
Posts: 6,499
Likes: 31
From: Macon, GA
Car: 1992 Camaro RS
Engine: Vortec headed 355, xe262
Transmission: T56
Axle/Gears: 9-bolt 3.70
Homebrew alignment
Im not saying this is the correct way to do it. DEFINITELY not the most accurate. But for my purposes, it's close enough, and saves me $80 and having some grimy alignment shop dropout messing with it. remember, when you lower your car, you're going to throw off the toe settings. So you may as well at least check and see if your car needs attention, even if you dont actually decide to do it yourself.
Im confident in the accuracy of MY measurements, but I can only get "close", I cannot touch the accuracy of a real shop. But maybe some of you guys here are doing full steering rebuilds and want to give it a shot... your mileage may vary. Use the best measuring tools you have at your disposal.
One of my better buddies works at a tire/alignment shop. He says when they charge you all that money to do an alignment, all they're doing is setting the toe. They never touch caster or camber unless someone specifically tells them to mess with it. Adjusting caster and camber will also throw off any toe settings you may have had. So if you need those addressed, dont even bother.
My original method was to tape a string to the back of the rear tire and pull it across the front tire and adjust until the front tire was touching the string at the front and rear. This is bad. There are many bad assumptions being made here. 1. Front and rear track is the same. 2. axle is centered in the car. I got terrible results doing this. There are other methods where you mark the sidewalls and measure under the car across the front of the tires and then across the back of the tires and compare measurements...
I prefer my way because it takes into account any rotation of the axle from above. Slight differences in ride height from side to side will affect LCA angle and will point the axle in a different direction than straight ahead. Sometimes one LCA is slightly shorter than another. Maybe a bushing is slightly deformed. There's several different weird ways for the axle to be pointed other than exactly towards the front of the car, and at the end of the day it doesnt matter because no axle is going to pointed EXACTLY at the front of the car. I imagine many of you have LCARBS installed. There's no super precise way to ensure those are welded on exactly right. What's 1/16th of an inch this way or that way on an LCARB? So assuming the axle is straight is not a safe assumption. At the end of the day the whole point of the alignment is aligning the front wheels with the rears so that when all four tire are rolling, they're going the same direction. So this is important.
So here's what I found actually works to get you pretty close.
Park the car on level ground. First thing you do is check the height of the idler arm vs the pitman arm. If they aren't level, level them. This wont affect toe as you adjust it, but it does affect how much each wheel turns relative to the other in corners and any adjustments here need to be compensated in your toe settings because you're changing (correcting) the geometry. The idler arm is held in place by two bolts in a slot on the outside of the front frame rail. Look in front of you passenger side tire into the frame rail and you will see. There are two bolts, both are at awkward angles but they shouldn't be too bad.The only way I've been able to make it work is to loosen the idler arm and put a jack under it to hold it at the correct height. Otherwise it just falls down when you try to tighten it back up. Super annoying. Im amazed I didnt think to put a jack under it to begin with. Try not to drop your socket into the frame rail like I did. I had a big magnet on a stick to fish it out, but it was in there to stay otherwise.
After that, you need to figure out a way to loosen up your tie rod adjuster sleeves. I said screw that and bought some hex sleeves. A bunch of places sell them. makes everything a real breeze. trying to squeeze on the stock type ones to rotate them will just tighten them more.

And one of you guys loves to point out how my A-arm bolts are in backwards, yes, they are.

I dont know what size tie rod sleeve wrench we need for our cars and I couldnt find it online either. They make a few different sizes. Someone else can hopefully chime in here. You can try to loosen them up with a pair of channelocks but it's hard to grip it hard enough to rotate it without squeezing it solidly into the orientation it's already in. I couldn't make it work. My buddy says he normally uses a little hand torch to heat them until they loosen up.
So now that you've figured out how to get these sleeves broken loose, it's time to get started.
Get some string. I used some ~1/16th of an inch thick string from Ace. You can use whatever as long as it moves easily and is strong enough to be held taught. Tape it to the center of your back tire and pull it all the way to the front of the car and loop it around a jackstand.

Then you need to set it so that the string does not bend as it crosses the front of the rear tire. It needs to BARELY touch so that it's straight. It needs to point the direction the rear tire goes. This is important. Now my rear track is wider than my fronts. This isnt always the case. You may need to use a jackstand in the rear and just get the string as parallel as possible to the rear tire. If going this route take advantage of the extra precision you can get by measuring straight off the rim instead of relying on uniformity of the sidewalls. Measuring directly off the rim is definitely superior, but Im lazy and decided the sidewall was close enough. Your mileage may vary. Just remember SMALL deviations in distance from the rim over 15-18 inches make for much larger deviations by the time you get to the front of the car. Straightness and trueness of the string is the most important part of this process. Use your eye to gauge this if you're doing it off the sidewall itself. Our eyes are VERY good at seeing these things. Look down the stirng and see that it's as straight as possible.


Now you turn your steering wheel straight, and make sure the steering box is settling into the center of whatever dead spot it has. You dont want to preload it to one side or the other. If you turn it straight it may just be pushing against slop in the steering box instead of actually being completely straight. So set it so that it's in the center of its dead spot. Make sure the steering column is NOT locked. If you lock the column (key out, whatever) then your adjustments may force the steering box against the edge of its dead zone and the wheel may still look straight even though the steering box isnt. So it needs to be able to move so you can verify that it's straight. It's tempting to lock it, but all you're doing is preloading the steering box one direction or another against the steering column lock and that will throw off everything you're trying to do.
Now you get a notebook. Measure the distance from the front of your front rim to the string, and then the distance from the rear of your front rim to the string. Be careful in your measurements as they are all you have to go by. Keep your measurement methods consistent and accurate. Mark down the distance from the string on either side of the car at the front and the rear of each tire. Make a table.
You have four measurements to keep account of per adjustment cycle. Distance from string at teh front and rear of the wheel for each tire. I like to organize the chart as if I'm looking down at the car from overhead. Toe OUT is when the front of the tire points AWAY from the car. Toe IN is when the front of the tire points IN towards the car.
What I would have is a table measuring the two front tires like this
If you need to draw out tires and the distances from the string, you do that. Otherwise you can just subtract the rear distance from the front, if that number is positive, it's toe IN. If it's negative, it's toe OUT by that amount. Write the toe in or out number for each side in your table.
For suggested specs, check this out:
https://www.thirdgen.org/forums/post...500-post2.html
Im not certain, but I believe these numbers are measured from the outer edge of the rim towards the radius that the tire would take up. We have 25.7" tall tires, so you go 12.85" from the center of the hub. Subtract the radius of your wheel from 12.85 to get a real number distance from the rim edge, but wait, there's an easier way...The tire sidewall is in the way anyway so what can you do? You can do some pythagorean math to find out what it would be at the rim edge if you want. Im not super clear on this. But if I'm correct, then if you have a 15-18inch wheel, then your toe in or out measured at the wheel needs to be multiplied by 3/2 to get a number pretty consistent with the specifications. is it exact? No. But it's close.
The main thing you want is to make sure both tires are pointed in the same direction as the rear axle, and then to make sure they're both pointed SLIGHTLY in for good road manners. You want them both toed in by the same amount. If you want a crazy responsive autocross car you can start tapering them out towards completely straight and even toed out (as long as you keep them even from side to side relative to the direction of the rear axle) . Having them pointed in or out too far will promote excessive tirewear. "Correct" numbers are relative to usage.
So now that we've figured out how to measure and what the target is and how to write our tables.. Now we can get started adjusting.
The tie rods are reverse threaded to each other on each side and rotating the adjuster sleeve will either pull the tie rods together or push them apart, changing the direction of the front tires. Each side is reverse to the other about which way to turn. You'll want to turn it one way or the other and watch the tire move to get an idea. Actually, write that down on your sheet of paper, which way to toe it out farther and which way to toe it out farther.
I do this with the car on the ground. If you can come up with a good way to get the tires on an easily moving platform (I heard of one guy using two tiles that had grease between them) that's better, but for me I dont have anything like that, so I just did without. You obviously cannot do this with the car in the air... at least not without some crazy math and geometry. As you adjust you may not see the tire move. This is one of the things that tripped me up the first few times I tried this. When you adjust the sleeve, it may move the tire you're working on, or it may move the tire on the other side of the car. Sometimes you'll find most of the movement is in the steering wheel. So every time you make an adjustment check all your measurements again. I'd say stick to 1/4 turns of the adjuster sleeve each time.
Go check that the steering wheel is still straight after your adjustment, then go measure each of your four measurement points. Write your measurements down. Calculate your new toe ins or out numbers. You'll find they dont change much.They may change less than the accuracy of your measurements. But that's okay. Just write it all down, and adjust some more. Mark down which way you're turning which tie rod at every iteration so that if you absolutely must, you can always go back to where you started.
You should see over the course of a few iterations that you're getting closer or farther from spec. I personally went for 1/16 toe in for my car. It steers nice and straight on the highway now. The main thing is you do NOT want the wheels to go completely straight unless you want to wrestle it at high speeds and you do NOT want them toe'd in too far or you will wear out your tires VERY quickly.
After several botched learning experiences doing this a few other methods, this is the method I've settled on, and it's given me the best results by a huge margin, so I figured I'd share.
The biggest challenges here are
1. Make sure your reference string is lined up. Everything relies on this.
2. Getting your tie rod adjuster sleeves to where you can actually rotate/move them. They can get pretty seized up.
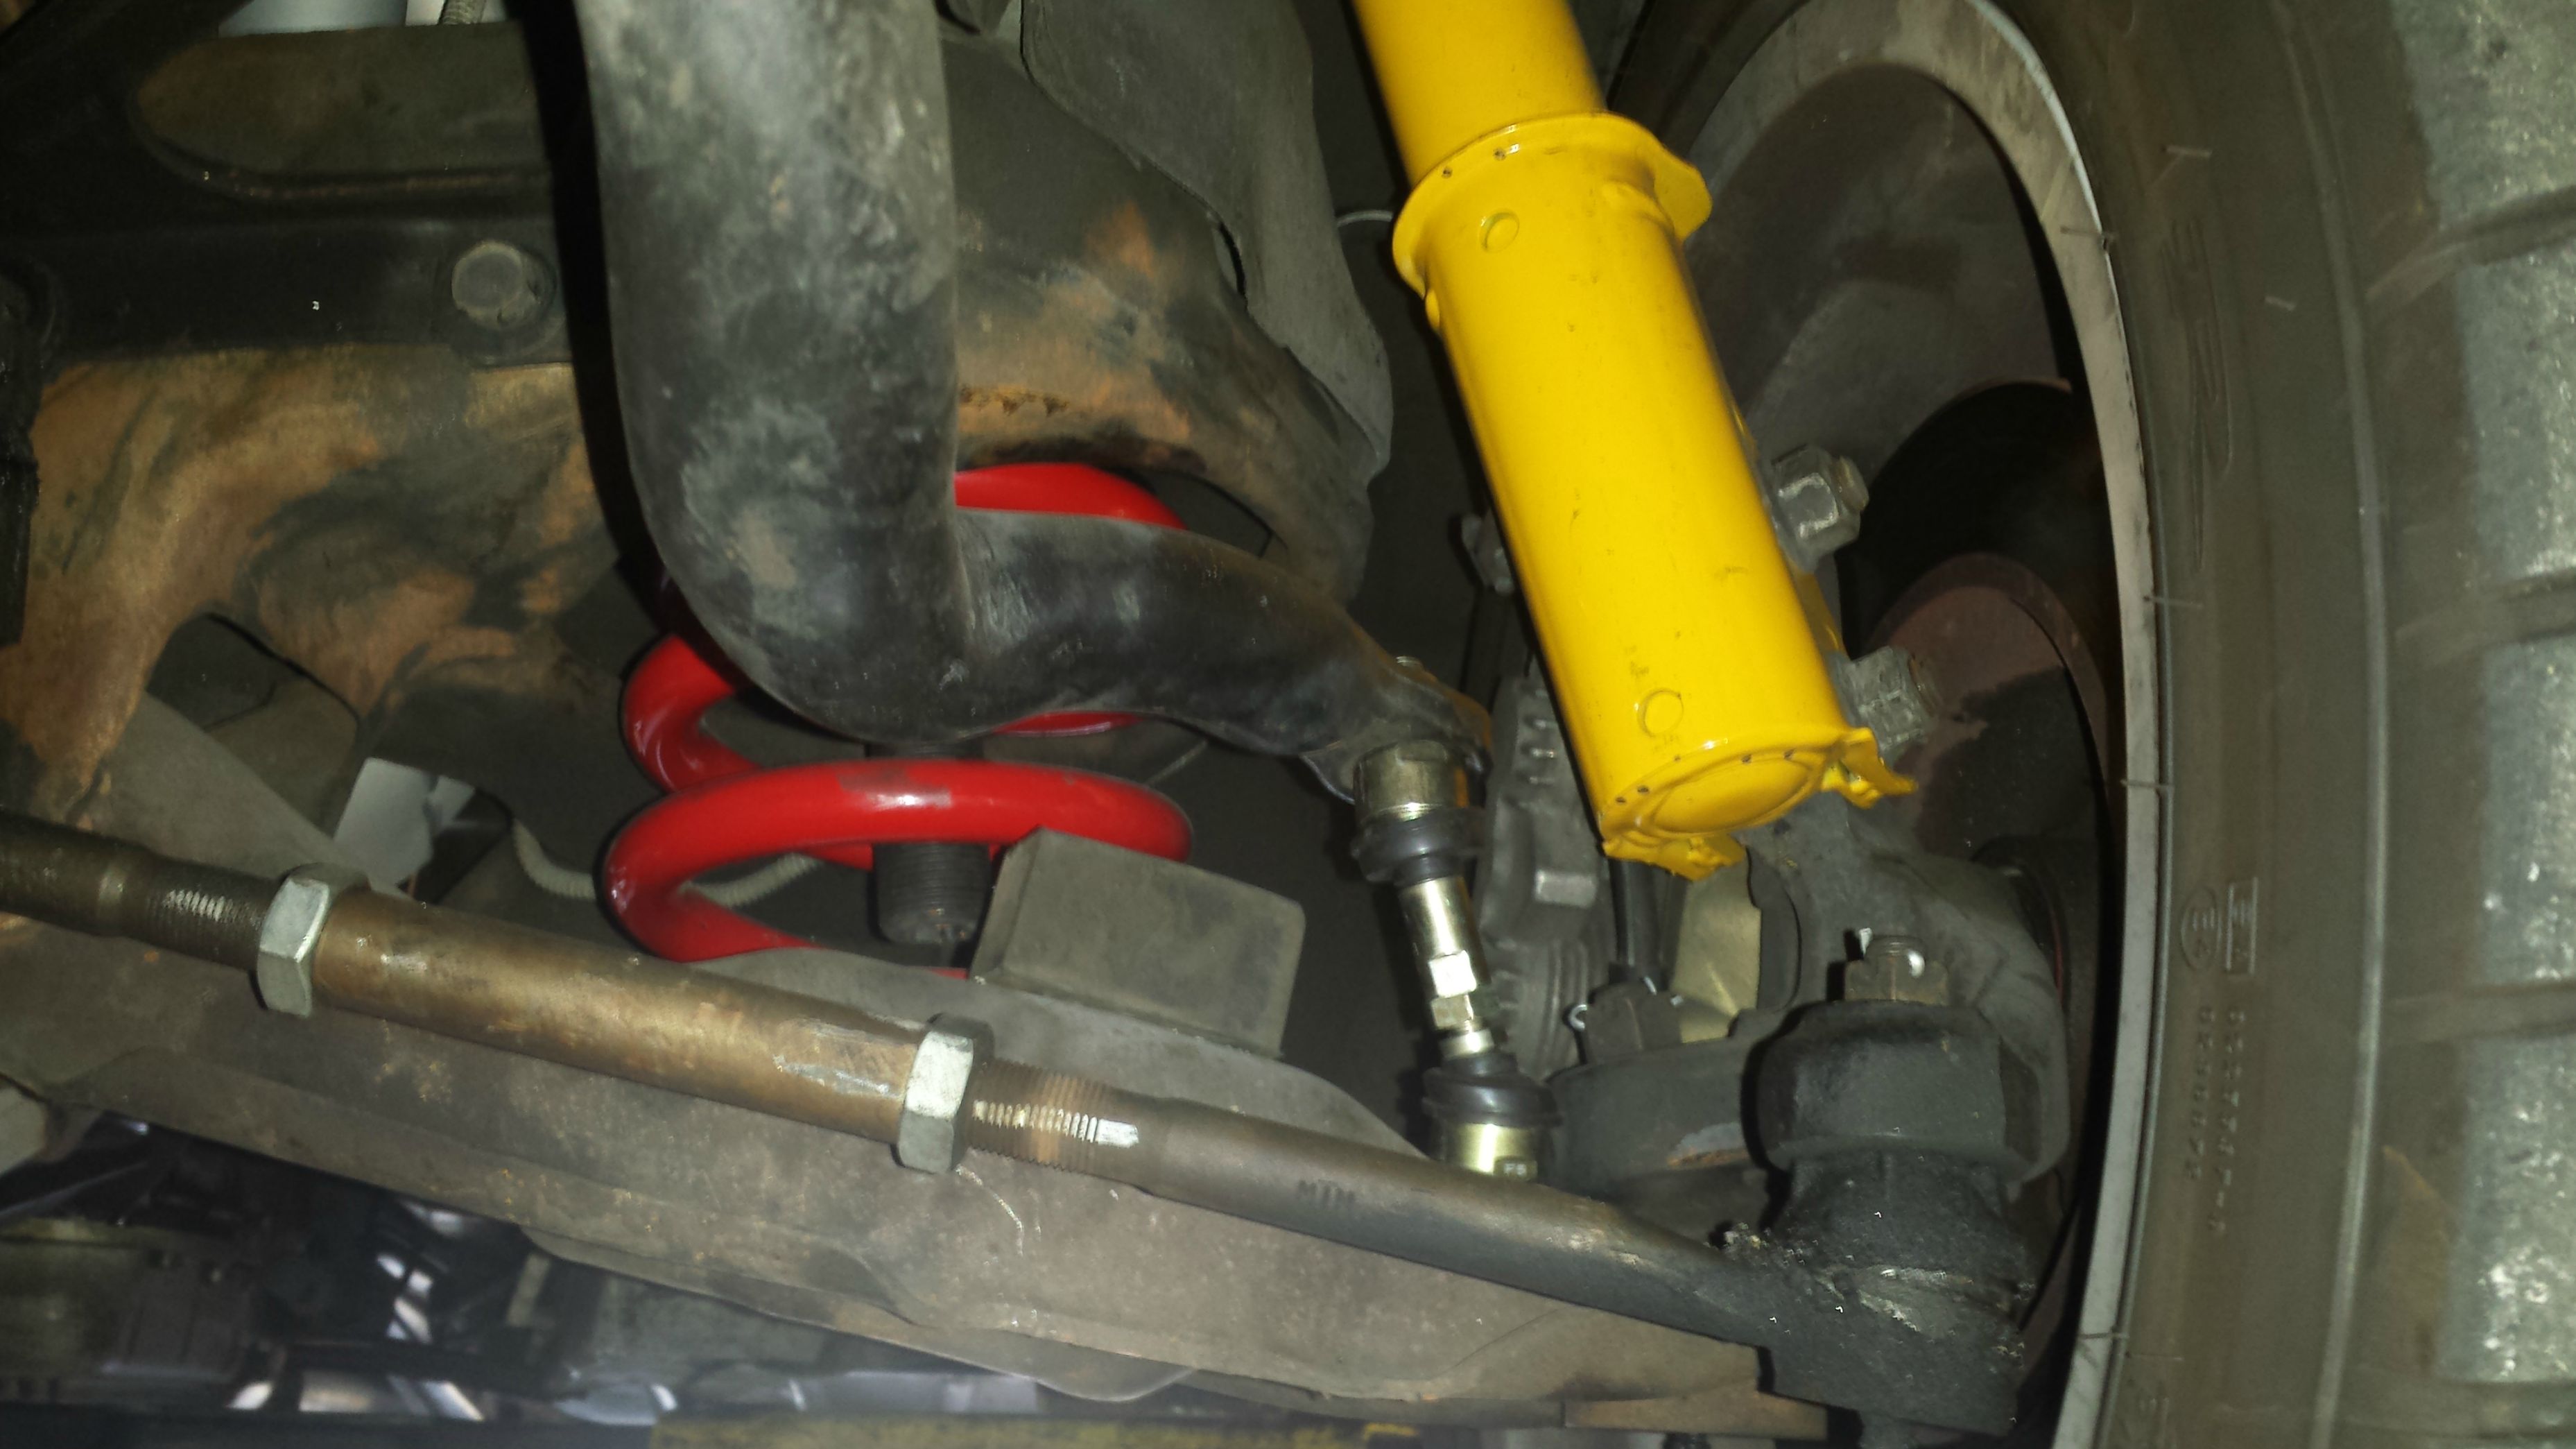
3. Adjusting your tie rod sleeves without bumping your reference points (notice my pictures above, I can reach under and adjust mine without bumping my jackstand)
4. Keeping track of your measurements and realizing that because your tires are on solid ground and cannot turn easily, you may be moving the OTHER tire, not the one you're actually adjusting, so it's always important to go check that the wheel is centered and re-measure BOTH sides after every adjustment.
Good luck. This is definitely a crude way to do this, but I was so impressed by my own results that I have no issue doing this again. Your results will depend on how accurately and consistently you measure. It's up to you!
Also, dont be alarmed if your string is a different distance from your tire on each side of the car, as long as they're straight, they're okay. This is just your panhard bar pushing the axle to the left or right by that amount at that ride height. You guys with lowered cars, take note. This WILL show up if you do it correctly. You want to calculate the DIFFERENCE BETWEEN MEASUREMENTS on a given side, pay no attention to the actual measurement numbers. If one side says 2 inches and the other side says .25 inches, that doesnt matter. You just want the wheels pointing straight. Centering the rear axle is a matter for an adjustable pan hard bar, not front end tie rod adjustments.
Good luck! Maybe it will help someone. If nothing else, you can use this to get your car "close" after having the front end apart to get it to an alignment shop. I make no guarantees as to real accuracy because there are MANY potential areas for inconsistent results. It's all in the execution.
Im confident in the accuracy of MY measurements, but I can only get "close", I cannot touch the accuracy of a real shop. But maybe some of you guys here are doing full steering rebuilds and want to give it a shot... your mileage may vary. Use the best measuring tools you have at your disposal.
One of my better buddies works at a tire/alignment shop. He says when they charge you all that money to do an alignment, all they're doing is setting the toe. They never touch caster or camber unless someone specifically tells them to mess with it. Adjusting caster and camber will also throw off any toe settings you may have had. So if you need those addressed, dont even bother.
My original method was to tape a string to the back of the rear tire and pull it across the front tire and adjust until the front tire was touching the string at the front and rear. This is bad. There are many bad assumptions being made here. 1. Front and rear track is the same. 2. axle is centered in the car. I got terrible results doing this. There are other methods where you mark the sidewalls and measure under the car across the front of the tires and then across the back of the tires and compare measurements...
I prefer my way because it takes into account any rotation of the axle from above. Slight differences in ride height from side to side will affect LCA angle and will point the axle in a different direction than straight ahead. Sometimes one LCA is slightly shorter than another. Maybe a bushing is slightly deformed. There's several different weird ways for the axle to be pointed other than exactly towards the front of the car, and at the end of the day it doesnt matter because no axle is going to pointed EXACTLY at the front of the car. I imagine many of you have LCARBS installed. There's no super precise way to ensure those are welded on exactly right. What's 1/16th of an inch this way or that way on an LCARB? So assuming the axle is straight is not a safe assumption. At the end of the day the whole point of the alignment is aligning the front wheels with the rears so that when all four tire are rolling, they're going the same direction. So this is important.
So here's what I found actually works to get you pretty close.
Park the car on level ground. First thing you do is check the height of the idler arm vs the pitman arm. If they aren't level, level them. This wont affect toe as you adjust it, but it does affect how much each wheel turns relative to the other in corners and any adjustments here need to be compensated in your toe settings because you're changing (correcting) the geometry. The idler arm is held in place by two bolts in a slot on the outside of the front frame rail. Look in front of you passenger side tire into the frame rail and you will see. There are two bolts, both are at awkward angles but they shouldn't be too bad.The only way I've been able to make it work is to loosen the idler arm and put a jack under it to hold it at the correct height. Otherwise it just falls down when you try to tighten it back up. Super annoying. Im amazed I didnt think to put a jack under it to begin with. Try not to drop your socket into the frame rail like I did. I had a big magnet on a stick to fish it out, but it was in there to stay otherwise.
After that, you need to figure out a way to loosen up your tie rod adjuster sleeves. I said screw that and bought some hex sleeves. A bunch of places sell them. makes everything a real breeze. trying to squeeze on the stock type ones to rotate them will just tighten them more.
And one of you guys loves to point out how my A-arm bolts are in backwards, yes, they are.

I dont know what size tie rod sleeve wrench we need for our cars and I couldnt find it online either. They make a few different sizes. Someone else can hopefully chime in here. You can try to loosen them up with a pair of channelocks but it's hard to grip it hard enough to rotate it without squeezing it solidly into the orientation it's already in. I couldn't make it work. My buddy says he normally uses a little hand torch to heat them until they loosen up.
So now that you've figured out how to get these sleeves broken loose, it's time to get started.
Get some string. I used some ~1/16th of an inch thick string from Ace. You can use whatever as long as it moves easily and is strong enough to be held taught. Tape it to the center of your back tire and pull it all the way to the front of the car and loop it around a jackstand.
Then you need to set it so that the string does not bend as it crosses the front of the rear tire. It needs to BARELY touch so that it's straight. It needs to point the direction the rear tire goes. This is important. Now my rear track is wider than my fronts. This isnt always the case. You may need to use a jackstand in the rear and just get the string as parallel as possible to the rear tire. If going this route take advantage of the extra precision you can get by measuring straight off the rim instead of relying on uniformity of the sidewalls. Measuring directly off the rim is definitely superior, but Im lazy and decided the sidewall was close enough. Your mileage may vary. Just remember SMALL deviations in distance from the rim over 15-18 inches make for much larger deviations by the time you get to the front of the car. Straightness and trueness of the string is the most important part of this process. Use your eye to gauge this if you're doing it off the sidewall itself. Our eyes are VERY good at seeing these things. Look down the stirng and see that it's as straight as possible.
Now you turn your steering wheel straight, and make sure the steering box is settling into the center of whatever dead spot it has. You dont want to preload it to one side or the other. If you turn it straight it may just be pushing against slop in the steering box instead of actually being completely straight. So set it so that it's in the center of its dead spot. Make sure the steering column is NOT locked. If you lock the column (key out, whatever) then your adjustments may force the steering box against the edge of its dead zone and the wheel may still look straight even though the steering box isnt. So it needs to be able to move so you can verify that it's straight. It's tempting to lock it, but all you're doing is preloading the steering box one direction or another against the steering column lock and that will throw off everything you're trying to do.
Now you get a notebook. Measure the distance from the front of your front rim to the string, and then the distance from the rear of your front rim to the string. Be careful in your measurements as they are all you have to go by. Keep your measurement methods consistent and accurate. Mark down the distance from the string on either side of the car at the front and the rear of each tire. Make a table.
You have four measurements to keep account of per adjustment cycle. Distance from string at teh front and rear of the wheel for each tire. I like to organize the chart as if I'm looking down at the car from overhead. Toe OUT is when the front of the tire points AWAY from the car. Toe IN is when the front of the tire points IN towards the car.
What I would have is a table measuring the two front tires like this
Code:
---LEFT-------3/16----------6/16----RIGHT-----
---2/16 IN----5/16----------5/16----1/16 OUT--
For suggested specs, check this out:
https://www.thirdgen.org/forums/post...500-post2.html
Im not certain, but I believe these numbers are measured from the outer edge of the rim towards the radius that the tire would take up. We have 25.7" tall tires, so you go 12.85" from the center of the hub. Subtract the radius of your wheel from 12.85 to get a real number distance from the rim edge, but wait, there's an easier way...The tire sidewall is in the way anyway so what can you do? You can do some pythagorean math to find out what it would be at the rim edge if you want. Im not super clear on this. But if I'm correct, then if you have a 15-18inch wheel, then your toe in or out measured at the wheel needs to be multiplied by 3/2 to get a number pretty consistent with the specifications. is it exact? No. But it's close.
The main thing you want is to make sure both tires are pointed in the same direction as the rear axle, and then to make sure they're both pointed SLIGHTLY in for good road manners. You want them both toed in by the same amount. If you want a crazy responsive autocross car you can start tapering them out towards completely straight and even toed out (as long as you keep them even from side to side relative to the direction of the rear axle) . Having them pointed in or out too far will promote excessive tirewear. "Correct" numbers are relative to usage.
So now that we've figured out how to measure and what the target is and how to write our tables.. Now we can get started adjusting.
The tie rods are reverse threaded to each other on each side and rotating the adjuster sleeve will either pull the tie rods together or push them apart, changing the direction of the front tires. Each side is reverse to the other about which way to turn. You'll want to turn it one way or the other and watch the tire move to get an idea. Actually, write that down on your sheet of paper, which way to toe it out farther and which way to toe it out farther.
I do this with the car on the ground. If you can come up with a good way to get the tires on an easily moving platform (I heard of one guy using two tiles that had grease between them) that's better, but for me I dont have anything like that, so I just did without. You obviously cannot do this with the car in the air... at least not without some crazy math and geometry. As you adjust you may not see the tire move. This is one of the things that tripped me up the first few times I tried this. When you adjust the sleeve, it may move the tire you're working on, or it may move the tire on the other side of the car. Sometimes you'll find most of the movement is in the steering wheel. So every time you make an adjustment check all your measurements again. I'd say stick to 1/4 turns of the adjuster sleeve each time.
Go check that the steering wheel is still straight after your adjustment, then go measure each of your four measurement points. Write your measurements down. Calculate your new toe ins or out numbers. You'll find they dont change much.They may change less than the accuracy of your measurements. But that's okay. Just write it all down, and adjust some more. Mark down which way you're turning which tie rod at every iteration so that if you absolutely must, you can always go back to where you started.
You should see over the course of a few iterations that you're getting closer or farther from spec. I personally went for 1/16 toe in for my car. It steers nice and straight on the highway now. The main thing is you do NOT want the wheels to go completely straight unless you want to wrestle it at high speeds and you do NOT want them toe'd in too far or you will wear out your tires VERY quickly.
After several botched learning experiences doing this a few other methods, this is the method I've settled on, and it's given me the best results by a huge margin, so I figured I'd share.
The biggest challenges here are
1. Make sure your reference string is lined up. Everything relies on this.
2. Getting your tie rod adjuster sleeves to where you can actually rotate/move them. They can get pretty seized up.
3. Adjusting your tie rod sleeves without bumping your reference points (notice my pictures above, I can reach under and adjust mine without bumping my jackstand)
4. Keeping track of your measurements and realizing that because your tires are on solid ground and cannot turn easily, you may be moving the OTHER tire, not the one you're actually adjusting, so it's always important to go check that the wheel is centered and re-measure BOTH sides after every adjustment.
Good luck. This is definitely a crude way to do this, but I was so impressed by my own results that I have no issue doing this again. Your results will depend on how accurately and consistently you measure. It's up to you!
Also, dont be alarmed if your string is a different distance from your tire on each side of the car, as long as they're straight, they're okay. This is just your panhard bar pushing the axle to the left or right by that amount at that ride height. You guys with lowered cars, take note. This WILL show up if you do it correctly. You want to calculate the DIFFERENCE BETWEEN MEASUREMENTS on a given side, pay no attention to the actual measurement numbers. If one side says 2 inches and the other side says .25 inches, that doesnt matter. You just want the wheels pointing straight. Centering the rear axle is a matter for an adjustable pan hard bar, not front end tie rod adjustments.
Good luck! Maybe it will help someone. If nothing else, you can use this to get your car "close" after having the front end apart to get it to an alignment shop. I make no guarantees as to real accuracy because there are MANY potential areas for inconsistent results. It's all in the execution.
Last edited by InfernalVortex; Mar 13, 2014 at 12:38 AM.
Member
Joined: Nov 2013
Posts: 186
Likes: 1
From: Los Angeles
Car: 2004 Mazda RX-8
Engine: 1.3l Renesis
Axle/Gears: \
Re: Homebrew alignment
I used the tie rod adjusters from Coleman racing.
You have to order them piece by piece but they work.
http://www.colemanracing.com/Tie-Rod...Ends-C295.aspx

You have to order them piece by piece but they work.
http://www.colemanracing.com/Tie-Rod...Ends-C295.aspx
Last edited by B4CHawk; Mar 13, 2014 at 02:07 AM. Reason: can't f*n spell
Joined: Jun 2002
Posts: 13,576
Likes: 30
From: Harford County, MD
Car: camaro sportcoupe
Engine: 7.0L
Transmission: G-Force GF5R
Axle/Gears: Moser 9"
Re: Homebrew alignment
two ceramic tiles, finished side facing each other, stacked under the front tires makes for an easy sliding surface for easier adjustments.

Thread
Thread Starter
Forum
Replies
Last Post