When you click on links to various merchants on this site and make a purchase, this can result in this site earning a commission. Affiliate programs and affiliations include, but are not limited to, the eBay Partner Network.
Curious the reasoning behind the specific sizes I've seen mentioned for coil overs. Assuming the lower mount is adjustable (multiple holes) to set the desired ride height, what's the reason most of you guys are running around a 17.5" eye to eye uncompressed with 6+ inches of travel?
12.5 and 14.5 are way more common with typically 5" of travel.
Well, that's the proper way to do it but most people don't have the equipment or skill to fabricate parts. I recently finished doing just this for my 86 rebuild. I used serrated plates as the lower adjuster. I'll post a picture later
Those may not work. There is only so much room between the axle tube and the sway bar bracket/body and you need to keep everything pretty close to the axle. I looked into mounts like that one you posted but they put the lower mount too far off the axle which creates clearance issues and now the coilover is on a pretty severe angle front to back.
Those may not work. There is only so much room between the axle tube and the sway bar bracket/body and you need to keep everything pretty close to the axle. I looked into mounts like that one you posted but they put the lower mount too far off the axle which creates clearance issues and now the coilover is on a pretty severe angle front to back.
I'm thinking of putting them in the front not the bac using founders upper brackets. I'll mock it up and see what the angle is like. I can also cut them up as needed but the lower shock mount is way forward of the axle tube so I was thinking if they mount above the shock mounts and I run a shorter coil over it would be good. Like above the sway bar.
On my model A I have the coil overs set up at angles with a common channel in the center. I think the fuel tank prohibits that in a third gen.
Those may not work. There is only so much room between the axle tube and the sway bar bracket/body and you need to keep everything pretty close to the axle. I looked into mounts like that one you posted but they put the lower mount too far off the axle which creates clearance issues and now the coilover is on a pretty severe angle front to back.
So after a lot of reading and calculating, it seems like the shock stroke is going to be the biggest issue. Most of the common coil over shocks have a stroke of 5 inches.
The Viking and QA1 that everyone use have a 7 inch stroke.
So after a lot of reading and calculating, it seems like the shock stroke is going to be the biggest issue. Most of the common coil over shocks have a stroke of 5 inches.
The Viking and QA1 that everyone use have a 7 inch stroke.
I think I'm going to try the strange 5207. They are well priced and seem like they would be a good fit for what I'm trying to do.
Thinking of that with a 130lb spring.
How light is your car?? That 130# spring is usually geared towards the lighter drag race cars. I run Viking coilovers with 150# springs and they seem pretty good I'm still kinda working on the compression/rebound but so far I'm finding that 9C and 12R are working just fine especially when I do a hard hit off the anti-lag going from 0 to 14 psi in the blink of an eye
How light is your car?? That 130# spring is usually geared towards the lighter drag race cars. I run Viking coilovers with 150# springs and they seem pretty good I'm still kinda working on the compression/rebound but so far I'm finding that 9C and 12R are working just fine especially when I do a hard hit off the anti-lag going from 0 to 14 psi in the blink of an eye
Not very light lol. About 3700 with me in it.
You think the 150lb would be better? I'm trying to get the order done tonight because of the memorial day coupons.
You think the 150lb would be better? I'm trying to get the order done tonight because of the memorial day coupons.
Yea I would definitely start at 150#. My car with me in it and a full tank of fuel sits at 3616 lbs. The springs with my Vikings are 2.5" OD 12" long 150#. Springs are cheap like $100 or so and as long as you get the same OD they will work so you aren't strapped to one brand spring These are the 0-2" lowered coilovers with thrust bearing kit with spanner wrenches and they clear my larger rear sway bar no problem
Last edited by thatsupnow; May 26, 2025 at 11:27 PM.
Yea I would definitely start at 150#. My car with me in it and a full tank of fuel sits at 3616 lbs. The springs with my Vikings are 2.5" OD 12" long 150#. Springs are cheap like $100 or so and as long as you get the same OD they will work so you aren't strapped to one brand spring
Ok. We shall give the 150s a try. The shocks and springs are $457 shipped which is pretty good. Not as adjustable as the fancy Viking C211 you are running but those honestly seem complex AF when I read the instructions lol.
Hopefully being a longer shock I can get the spring in without using a compressor. The other coil overs I have for my model A have to be compressed to remove/install which is amazingly dangerous. Like WAAAY more dangerous than normal coil springs or struts.
Yea the Viking instructions are horrid they definitely could have made them a more simplified. It's locking nut, spring cup, thrust bearing, spring and spring hat in that order. Just make sure to use lots of anti seize on the threads
Why would they design a coilover that needs compressing to remove?? That's wild
Strange makes a similar shock but it uses a threaded rod like factory instead of even that small adapter. I have the founders upper mount, which I'm going to weld into the spring pocket.
It's probably still crappy. I think the proper way to do this is probably how my model A is set up, with the shock at an angle behind the axle and into the center of the spring pocket on the body, but then you have to factor the angle into the rate calculation. I also realize these 'kits' are meant for easy bolt on brackets and guys don't want to fabricate lower mounts.
I guess I should've mentioned the kit I'm using is the UMI coilover kit. The upper mount uses not only the shock bolt but the spring pocket up top
I guess I should've mentioned the kit I'm using is the UMI coilover kit. The upper mount uses not only the shock bolt but the spring pocket up top
The founders and umi appear identical. So what I did was bolt the top bracket in, but then welded the back part where it goes around the old spring pocket. I figure it can't hurt.
Of course, the car is never going back to coil springs now.
The founders and umi appear identical. So what I did was bolt the top bracket in, but then welded the back part where it goes around the old spring pocket. I figure it can't hurt.
Of course, the car is never going back to coil springs now.
I'm not familiar with the founders kit but the UMI kit uses upper and lower bearings in the shocks for max articulation
I'm not familiar with the founders kit but the UMI kit uses upper and lower bearings in the shocks for max articulation
Yeah, Ryan uses Viking C211 coil overs which have a bearing rather than a sleeve and rubber.
The Strange shocks I ordered are the same, which is part of why I went with them over some of the other options available. The main difference is that your Viking shocks are triple adjustable, which if you are an expert at suspension tuning is probably a good thing. I am not lol.
I'm not familiar with the founders kit but the UMI kit uses upper and lower bearings in the shocks for max articulation
What is your install height on your spring, like when you preloaded it ? (the actual compressed measurement of the spring) . Trying to figure out a good starting point.
What is your install height on your spring, like when you preloaded it ? (the actual compressed measurement of the spring) . Trying to figure out a good starting point.
That's a good question. I'm not even sure at this point. My passenger side is jacked up a bunch more than the driver side but the actual measurement number has eluded me. I ended up making adjustments a few times after a few drives. Along with compression and rebound settings
The instructions that Viking gives you say to take all the spring slack out before installing on the car, once installed you'll make your adjustments
Yeah that's what they say, I just figured I'd save myself 900 turns under the car vs on the bench if I just asked someone what they ended up with lol.
You're not supposed to adjust them with weight on them so it could be several trips up and down with the jack.
Yep it most definitely was several trips up and down on the jack. Probably the most annoying part of the install
Did you attach the shock to the upper mount before bolting the upper Mount in? There's no way to get the bolt for the shock out once it's the mount is bolted in place.
I'm thinking about drilling a hole so I can get a socket in from the wheel well because I want to fully weld these plates to the chassis.
Yes I did attach it before install. They have upper and lower spherical bearings. Upper mounts use the entire spring pocket
Yes I did attach it before install. They have upper and lower spherical bearings. Upper mounts use the entire spring pocket
So I was thinking about welding the mount around that spring pocket because my concern is that since it's a street car when it goes over bumps And the suspension pulls down that it's going to eventually tear up the shock hole. I feel like that distribution plate only helps when the shock is pushing up.
P but if I weld it the bolt will now become trapped unless I drill a good size hole through the inner fender.
The QA1 upper mount needs to be welded into place. That UMI upper mount uses a big flat washer on both sides on the shock mount and gets cranked down to 60 ft/lbs. I can't really see that doing anymore damage than a regular shock would do. Thru it's lifespan
The QA1 upper mount needs to be welded into place. That UMI upper mount uses a big flat washer on both sides on the shock mount and gets cranked down to 60 ft/lbs. I can't really see that doing anymore damage than a regular shock would do. Thru it's lifespan
You put the big washer on the bottom? I found two BIG washers in the kit which I assumed go on the top side. There are two spare normal size 1/2" washers, along with two spare 3/8 nuts so I just figured they cannot count.
You put the big washer on the bottom? I found two BIG washers in the kit which I assumed go on the top side. There are two spare normal size 1/2" washers, along with two spare 3/8 nuts so I just figured they cannot count.
Yea sorry there was only 2 big flat washers on top. My kit had extra washers and spacers to use for the lower mounts if needed but I didn't need them.
I think the QA1 lower mounts would work better for your app
I might just make some. I'll check the QA1 mounts out though. I was going to try the street rod mounts but I'd have to cut the shock mount completely off the housing and I don't want to do that.
Ok. I beat the floor, but the torque arm is still hitting the parking brake bracket.
I need to get the torque arm closer to the drive shaft. UMI suggested I fabricate a new rear mount. I really wish I did something like a quadralink but the exhaust is in the way. (no back seat anyway).
What happens is, when the body goes up too high the top of the torque arm strikes the parking brake bracket. I don't think bottoming out the suspension hits any more.
You need to make yourself a 2 piece torque arm like Midwest Chassis has. That's probably not what you want to hear but since I've had my Midwest Chassis fab 9 in the car I've had ZERO issues with any chassis hitting.
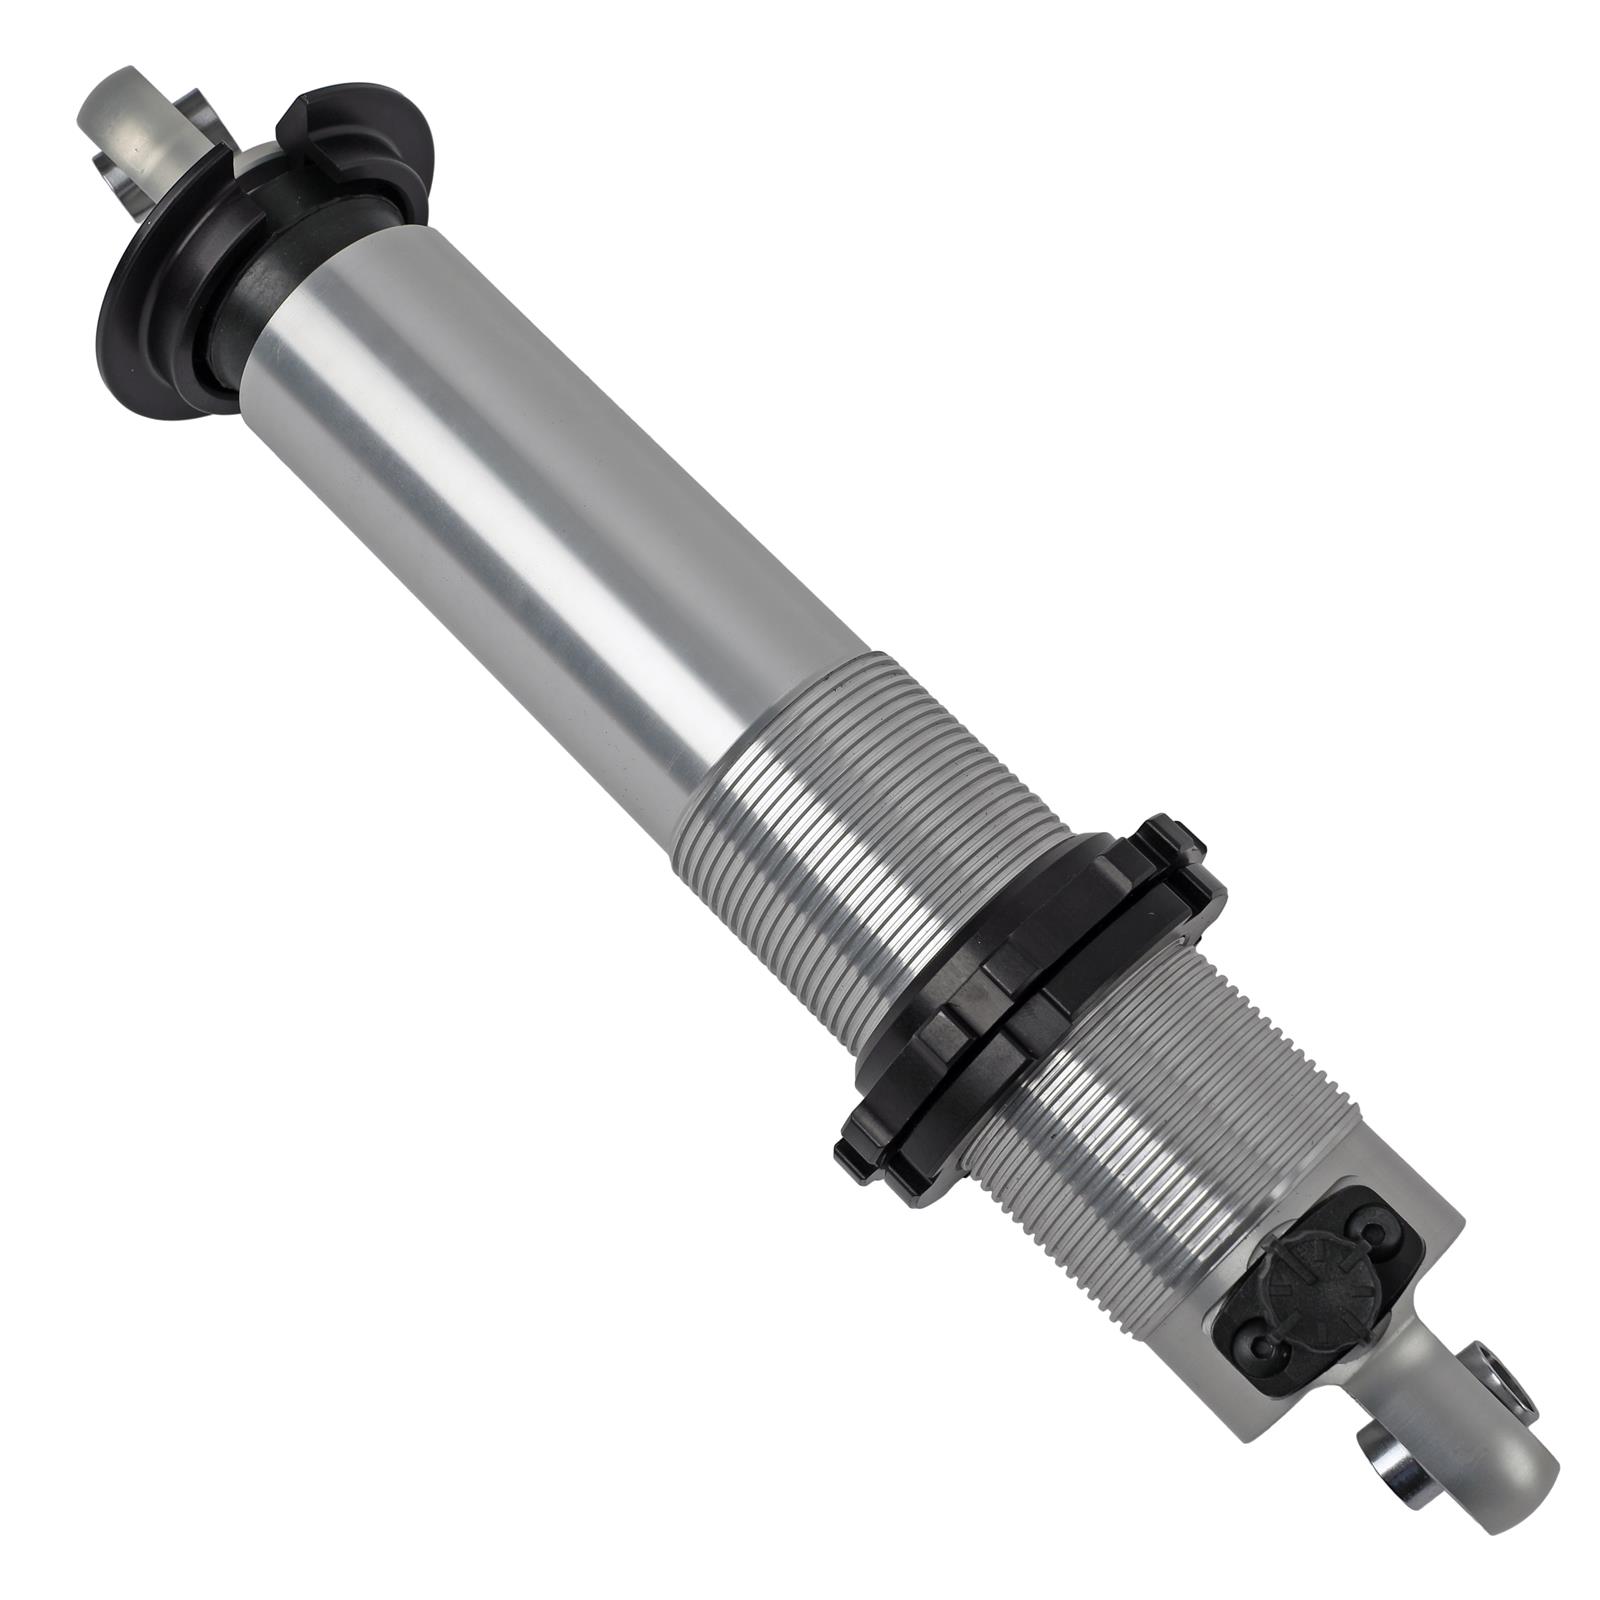
This is my entire rear end minus the center section before going on the car
You need to make yourself a 2 piece torque arm like Midwest Chassis has. That's probably not what you want to hear but since I've had my Midwest Chassis fab 9 in the car I've had ZERO issues with any chassis hitting.
This is my entire rear end minus the center section before going on the car
If I didn't have the moser style mount I probably would have done that. I can fabricate a new TA mount that goes right to the 3 bolt moser flange.
Honestly, I've been thinking of doing the cheater 4 link / ladder bar thing for a while now. With bearings/heims I can't imagine it would bind on corners.