Replacing it all, adding whatever you say it needs to be stiff and strong lol *Pics*
 03-04-2012, 07:04 PM
#1
Junior Member
Thread Starter

Join Date: Jan 2012
Location: Toms River
Posts: 63
Likes: 0
Received 0 Likes
on
0 Posts
Car: '89 GTA Brilliant Red
Engine: L98
Transmission: 700R4
Axle/Gears: 3.27
Replacing it all, adding whatever you say it needs to be stiff and strong lol *Pics*
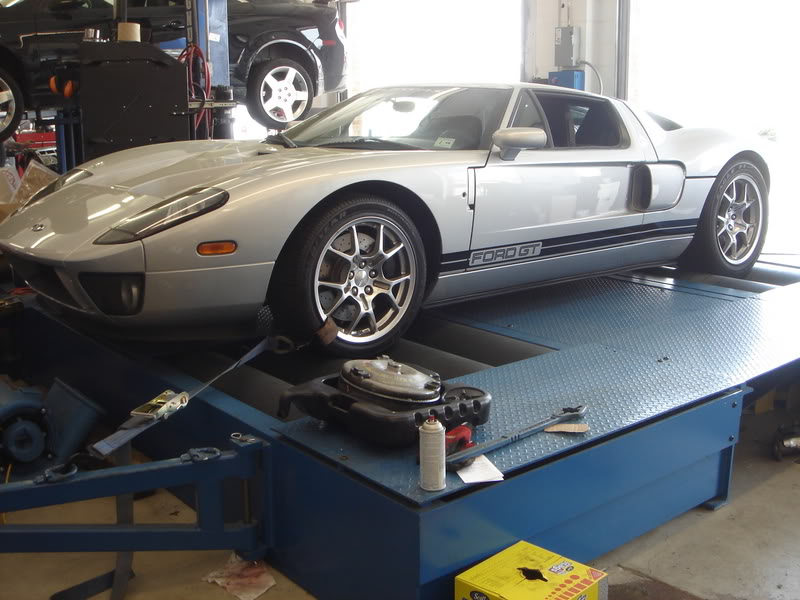
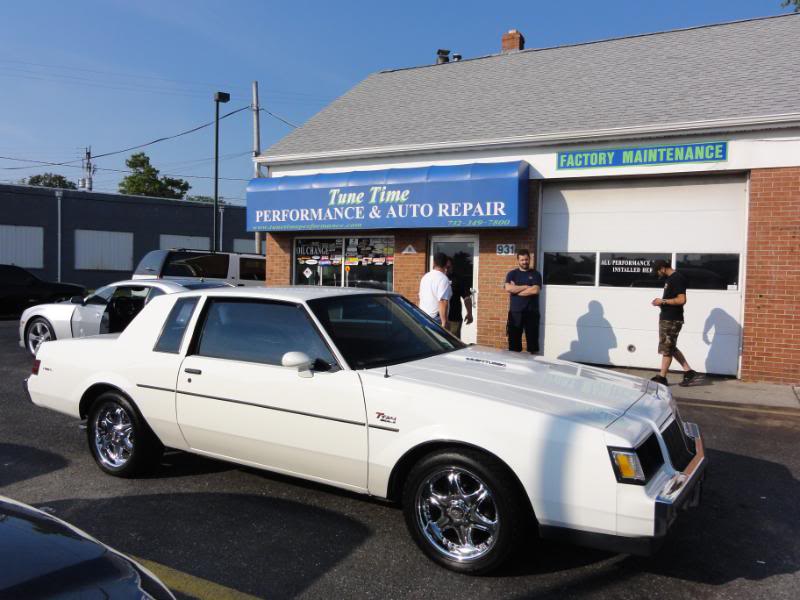
picked up my '89 L98, bone stock, 67k mile 2 owner GTA and i love it.. What i don't love are the creaks and groans it makes when it moves....AT ALL lol.. I have already changed plugs, wires, cap, rotor, Harmonic balancer, fixed broken bolts in the following: TPS sensor, inspection cover, other manifold areas, etc. does ANYONE know how to use rust penetrant on these things???
I am in the process of ordering new centerlink and idler, they're shot. car has new inner/outer tie rods already (struts and shocks are Delco and only few years old). Car sat in storage with an occasional maintenance run for YEARS (Guy had this and a TTA..)
My main question is what are you guys using by way of replacement a-arms (lower control front) and rear control arms? As well as Panhard rods, various sway bar bushings, frame connectors, wonderbars, strut tower braces, etc?? I am leaning towards Spohn for most but am curious if there are guys that have done this already and may have a suggestion (what they would change if doing it over again). I want this car to be solid so i am definitely getting the frame connectors that get welded all the way from front to rear and some type of "T" or "A" frame so it's as rigid as i can make it. Thanks in advance.
here's a couple pics


while its on the lift getting all of these new parts installed i will take pics along the way and will review the equipment for you guys.. Just get me started...
btw, i have access to this shop at all times (my friend's place, i got KEYS!!! lol)
I am in the process of ordering new centerlink and idler, they're shot. car has new inner/outer tie rods already (struts and shocks are Delco and only few years old). Car sat in storage with an occasional maintenance run for YEARS (Guy had this and a TTA..)
My main question is what are you guys using by way of replacement a-arms (lower control front) and rear control arms? As well as Panhard rods, various sway bar bushings, frame connectors, wonderbars, strut tower braces, etc?? I am leaning towards Spohn for most but am curious if there are guys that have done this already and may have a suggestion (what they would change if doing it over again). I want this car to be solid so i am definitely getting the frame connectors that get welded all the way from front to rear and some type of "T" or "A" frame so it's as rigid as i can make it. Thanks in advance.
here's a couple pics
while its on the lift getting all of these new parts installed i will take pics along the way and will review the equipment for you guys.. Just get me started...
btw, i have access to this shop at all times (my friend's place, i got KEYS!!! lol)
Last edited by Tonygxp; 03-04-2012 at 07:07 PM.
 03-05-2012, 07:38 AM
#2

Re: Replacing it all, adding whatever you say it needs to be stiff and strong lol *Pi
Wow, that car looks pretty clean. Great find Tonygxp.
We would love to help:
http://www.umiperformance.com/catalo...=index&cPath=6
ramey
We would love to help:
http://www.umiperformance.com/catalo...=index&cPath=6
ramey
03-18-2012, 12:55 PM
#3
Junior Member
Thread Starter
Join Date: Jan 2012
Location: Toms River
Posts: 63
Likes: 0
Received 0 Likes
on
0 Posts
Car: '89 GTA Brilliant Red
Engine: L98
Transmission: 700R4
Axle/Gears: 3.27
Re: Replacing it all, adding whatever you say it needs to be stiff and strong lol *Pi
Well, yesterday was the first in a probably three part install for my upgraded suspension install. Let me start by first saying that I went with all Spohn parts, everything chromoly, poly or delran bushings, in some cases delran on one end, poly on other lol..
Anyone taking on this task at home, i strongly suggest you have an air compressor available. i cannot imagine having to deal with what i went through without one.
at my friend's shop i started at about 8am and was there until a good 7pm (with few breaks in between).
I figured "let me start with the easy stuff" right, great plan, if the car was coopertaing it would've been genius. However, 23 years and starting it's first 15 yrs assembled in the lovely town of Troy NY left me with several seized, frozen bolts inside of the bushing sleeves in various chores yesterday (panhard rod, lca and a-arm).


I torched, rust penetrated, sawzall, everything you can think of but the end result was having to use the wizzer wheel and chop the ends of the bolts off (both sides, head and shaft). at that point i had to pry the tips of the bolt out from the mounting hole on the vehicle side and then slide them out.. Sound like it's easy right? Well, it isn't due to the angle, position and size of the wizzer discs, mounting hole locations etc...
 these LCA's are nice. what wasn't nice was round II of the ol' bolt seized in the sleeve of the original LCA's lol


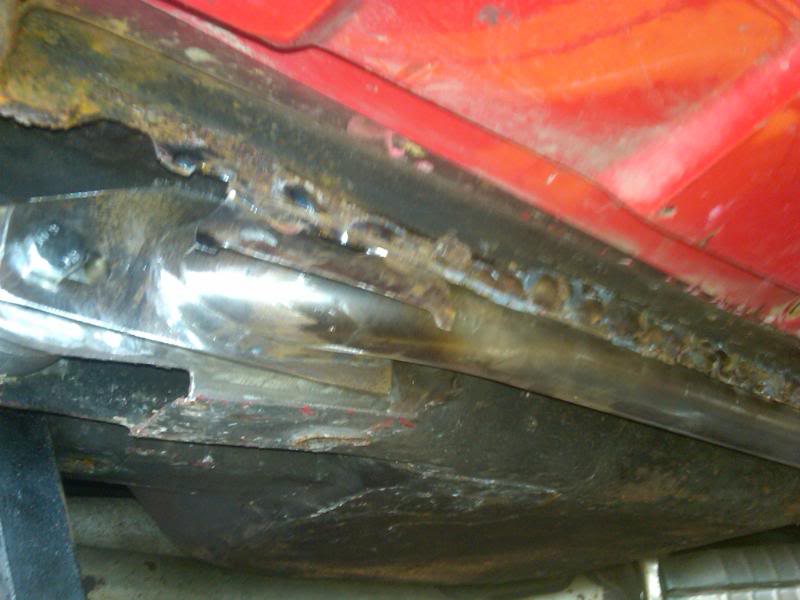
before i could install the rear lca's, we had to prep and install the SFC's.


we bolted it up and started making the marks to what needed to be grinded and formed (pushing the pinch weld over towards the bar a 1/8" or so which was done by using a ball peen hammer, so it could be welded..) the black rubber/plastic side skirt pieces were removed so we could see what we were welding.

Here's what was grinded, next step was the "tapping" towards the sfc.
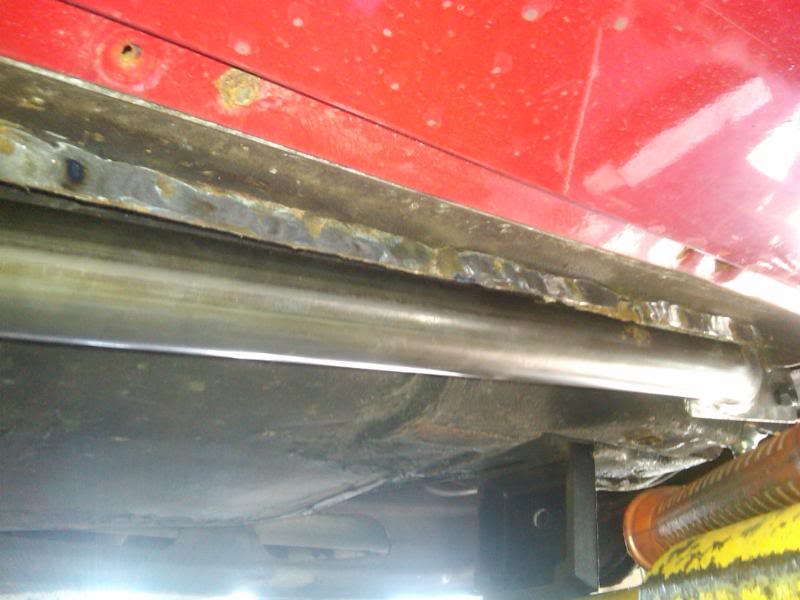
in this pic you can see we also grinded down the area where the sfc bolts to the rear lca mount. i had them welded and bolted at that point. a bead in the "L" shape from far left of bracket along the whole bottom of the sfc. (can't hurt i figured)
Anyone taking on this task at home, i strongly suggest you have an air compressor available. i cannot imagine having to deal with what i went through without one.
at my friend's shop i started at about 8am and was there until a good 7pm (with few breaks in between).
I figured "let me start with the easy stuff" right, great plan, if the car was coopertaing it would've been genius. However, 23 years and starting it's first 15 yrs assembled in the lovely town of Troy NY left me with several seized, frozen bolts inside of the bushing sleeves in various chores yesterday (panhard rod, lca and a-arm).
I torched, rust penetrated, sawzall, everything you can think of but the end result was having to use the wizzer wheel and chop the ends of the bolts off (both sides, head and shaft). at that point i had to pry the tips of the bolt out from the mounting hole on the vehicle side and then slide them out.. Sound like it's easy right? Well, it isn't due to the angle, position and size of the wizzer discs, mounting hole locations etc...
these LCA's are nice. what wasn't nice was round II of the ol' bolt seized in the sleeve of the original LCA's lolbefore i could install the rear lca's, we had to prep and install the SFC's.
we bolted it up and started making the marks to what needed to be grinded and formed (pushing the pinch weld over towards the bar a 1/8" or so which was done by using a ball peen hammer, so it could be welded..) the black rubber/plastic side skirt pieces were removed so we could see what we were welding.
Here's what was grinded, next step was the "tapping" towards the sfc.
in this pic you can see we also grinded down the area where the sfc bolts to the rear lca mount. i had them welded and bolted at that point. a bead in the "L" shape from far left of bracket along the whole bottom of the sfc. (can't hurt i figured)
03-18-2012, 01:02 PM
#4
Junior Member
Thread Starter
Join Date: Jan 2012
Location: Toms River
Posts: 63
Likes: 0
Received 0 Likes
on
0 Posts
Car: '89 GTA Brilliant Red
Engine: L98
Transmission: 700R4
Axle/Gears: 3.27
Re: Replacing it all, adding whatever you say it needs to be stiff and strong lol *Pi
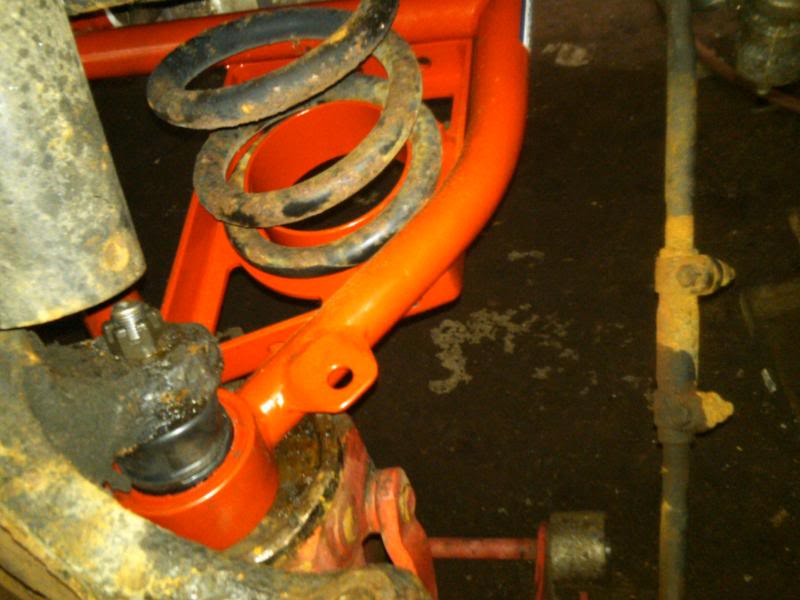
just a pic of the rear components installed. understand, these pics were off my phone, i left my camera at the house and truth be told, the aggravation the 23yo bolts gave me i wasn't in a good mood where i was even thinking about documenting the install, but i remembered to snap a few pics.

can you spot the a-arm bolt that caused me an issue lol
just a quick pic of my Spohn chromoly a-arm prior to install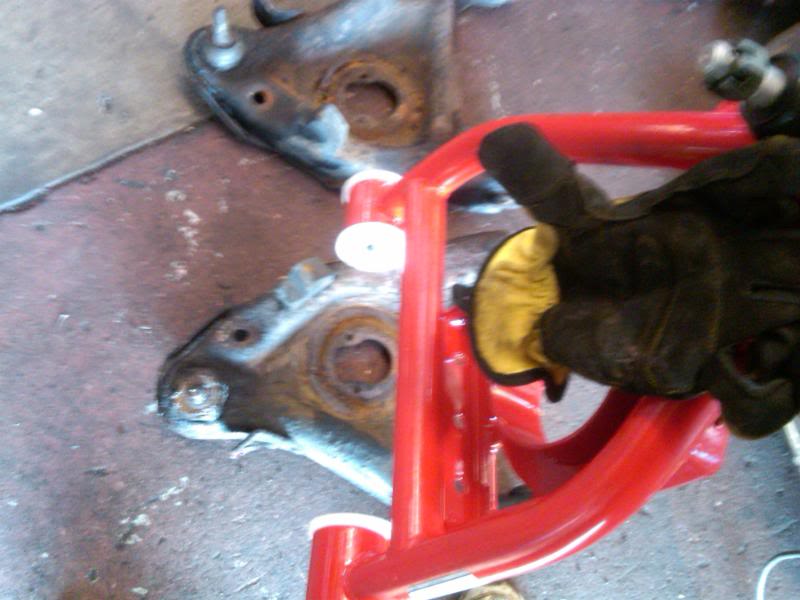
installing the a-arm which will have to be disconnected when my springs come in.. yes, i though i could use the same springs.. that was until i took the old ones out and saw the last 1/2 coil still laying there lol front of the car is on the ground right now. looks cool but rides like garbage. moogs coming in this week!
all in all i can't give you an idea of what types of improvement all this did so far (additionally it had new sway bar bushings, links, and idler put in) due to the front being on the ground right now. i was fighting the wheel all the way home. the front wheels are out big time (negative camber).. once the springs get in there, i will get the alignment. car doesn't leave the garage anyway so no biggie. anyway, i will report back once i get some driving done subsequent the alignment/springs etc.
PS, car is definitely "stiff". i'm liking it so far. sfc's are a must for any of these that's for sure.
When i get it back on the lift i will take better photos (hd camera). the SFC's were painted with undercoating black so they look factory.
03-18-2012, 01:15 PM
#5
Junior Member
iTrader: (1)

Join Date: Jul 2011
Location: Las Vegas. NV
Posts: 83
Likes: 0
Received 0 Likes
on
0 Posts
Car: 1989 IROC-Z Convertible
Engine: 5.7 TPI
Transmission: 700R4
Axle/Gears: 3:23 Posi w/ alum. driveshaft
Re: Replacing it all, adding whatever you say it needs to be stiff and strong lol *Pi
Tony, I'm not trying to be a smart***, but it's my understanding that the del-rin bushing should go to the rear-end side or does it matter?
Edit..Nice car BTW!!
Edit..Nice car BTW!!
03-18-2012, 01:24 PM
#6
Junior Member
Thread Starter
Join Date: Jan 2012
Location: Toms River
Posts: 63
Likes: 0
Received 0 Likes
on
0 Posts
Car: '89 GTA Brilliant Red
Engine: L98
Transmission: 700R4
Axle/Gears: 3.27
Re: Replacing it all, adding whatever you say it needs to be stiff and strong lol *Pi
yes, they were swapped before the car came down, good eye. next time when it's up i will take more pics. i was too tired to show the finished results.
03-18-2012, 11:49 PM
#7
Supreme Member

iTrader: (5)
Join Date: Sep 2004
Location: Casselberry, FLA
Posts: 2,771
Likes: 0
Received 5 Likes
on
5 Posts
Car: 88 V6 'bird/89TBI bird/85 T/A
Engine: 2.8/TBI/TPI
Transmission: V8 T-5/700R4 x2
Axle/Gears: 3.42 open/2.73 open/ 3.27 9 bolt
Re: Replacing it all, adding whatever you say it needs to be stiff and strong lol *Pi
Following along, now. Good score!
Trending Topics
03-19-2012, 07:18 PM
#8
Junior Member
Thread Starter
Join Date: Jan 2012
Location: Toms River
Posts: 63
Likes: 0
Received 0 Likes
on
0 Posts
Car: '89 GTA Brilliant Red
Engine: L98
Transmission: 700R4
Axle/Gears: 3.27
Re: Replacing it all, adding whatever you say it needs to be stiff and strong lol *Pi
moog springs were ordered today. hope to get them in by friday (alignment Saturday if they're done by then).

Thread
Thread Starter
Forum
Replies
Last Post
Ghettobird52
Tech / General Engine
15
12-29-2023 08:23 AM