When you click on links to various merchants on this site and make a purchase, this can result in this site earning a commission. Affiliate programs and affiliations include, but are not limited to, the eBay Partner Network.
Finally going to dive into installing the Wolfe minitubs and find myself not knowing where to start. Below there are three images of my passenger side wheel tub. Don't mind the FatMat. I have drawn a line of where I think I should cut but am really not sure. Mind you there is only the first cut line, not both inner and outer.
So my main request is: Can someone take my images and import them into paint or whatever program and draw a line where I should be cutting for both the inner and outer cuts? Don't need anything super precise, just want to make sure I am understanding what I think I have been reading from older threads. Surprisingly there are no current complete minitub install threads. I will take a ton of pictures as I go and will try to make a thread that can be referenced by others.
Got it. Thanks guys. Not sure why this seems more intimidating than other mods I have done.
I will make this first cut this weekend sometime I hope. Then I will assemble the tubs, still flat in the shipping box.
I would like to make the tubs as deep as possible while not altering the suspension geometry. I plan on seeing if I can run C6 Grand sport rims with 325s on them. They are 19x12.
I would like to make the tubs as deep as possible while not altering the suspension geometry. I plan on seeing if I can run C6 Grand sport rims with 325s on them. They are 19x12.
Don't you still run into the issue of the lower control arm like //< 86TA>\\? wouldn't it be easier to pull the quarter out instead? Or you meant stock geometry and go with the offset LCA like //< 86TA>\\
edit** wouldn't let me actually post the screen name properly** Still won't WTF
scooter: Yes I am referring to going with the offset lower control arms. I will also be going with the bag over shock setup from air ride. I am no body work master, so modding stuff you can't see vs stuff you can see is always going to be an easier route (for me).
don't go hacking/cuttinging up things till you take the time to look at all over fit of the parts your going to use. the above shot shows what you will be working with on a 6.5 " back space after you get the wheels to fit.
what is the back space on the wheels your going to install? with this info you can tell what you will need to remove.
Last edited by articwhiteZ; Aug 29, 2015 at 12:40 PM.
the shot above shows what a 13" wide side wall under the car. but its a 10.275 " wide rim. not much left to go before the rear end would need to be made shorter.
Last edited by articwhiteZ; Jun 3, 2017 at 09:56 PM.
Thanks for the info. I think I will have to make moch rims/tires out of cardboard or plywood so I can simulate the different sizes. I have already cut just about all the way up to the shock mount wall. I left about a 1/4" more metal after the wall. I think this is just about as big as you can go. I will also need to moch up a bag over shock air ride setup to make sure that will fit. I think it should. The air bag is only 4" is diameter, but we will see.
this is what a MT Sportsmen looks like before it runs into panrod mounts on the rear end housing.
13x29x15. the cross sec on the 325 50 15 MT drag radial and tred width are better then the sportsmen.
this is the 325 50 15
Last edited by articwhiteZ; Sep 3, 2015 at 09:23 PM.
Since I am attempting to install bag over shock air ride components as well as run a 345 tire, I need to figure out of all that "stuff" will fit. I have reinstalled my Moser 12 bolt and all rear suspension components so start figuring out fitment and how much I really need to tub the rear. So far all I know is MORE. LOL. I will post pics soon so you guys can weigh in and maybe provide some advice.
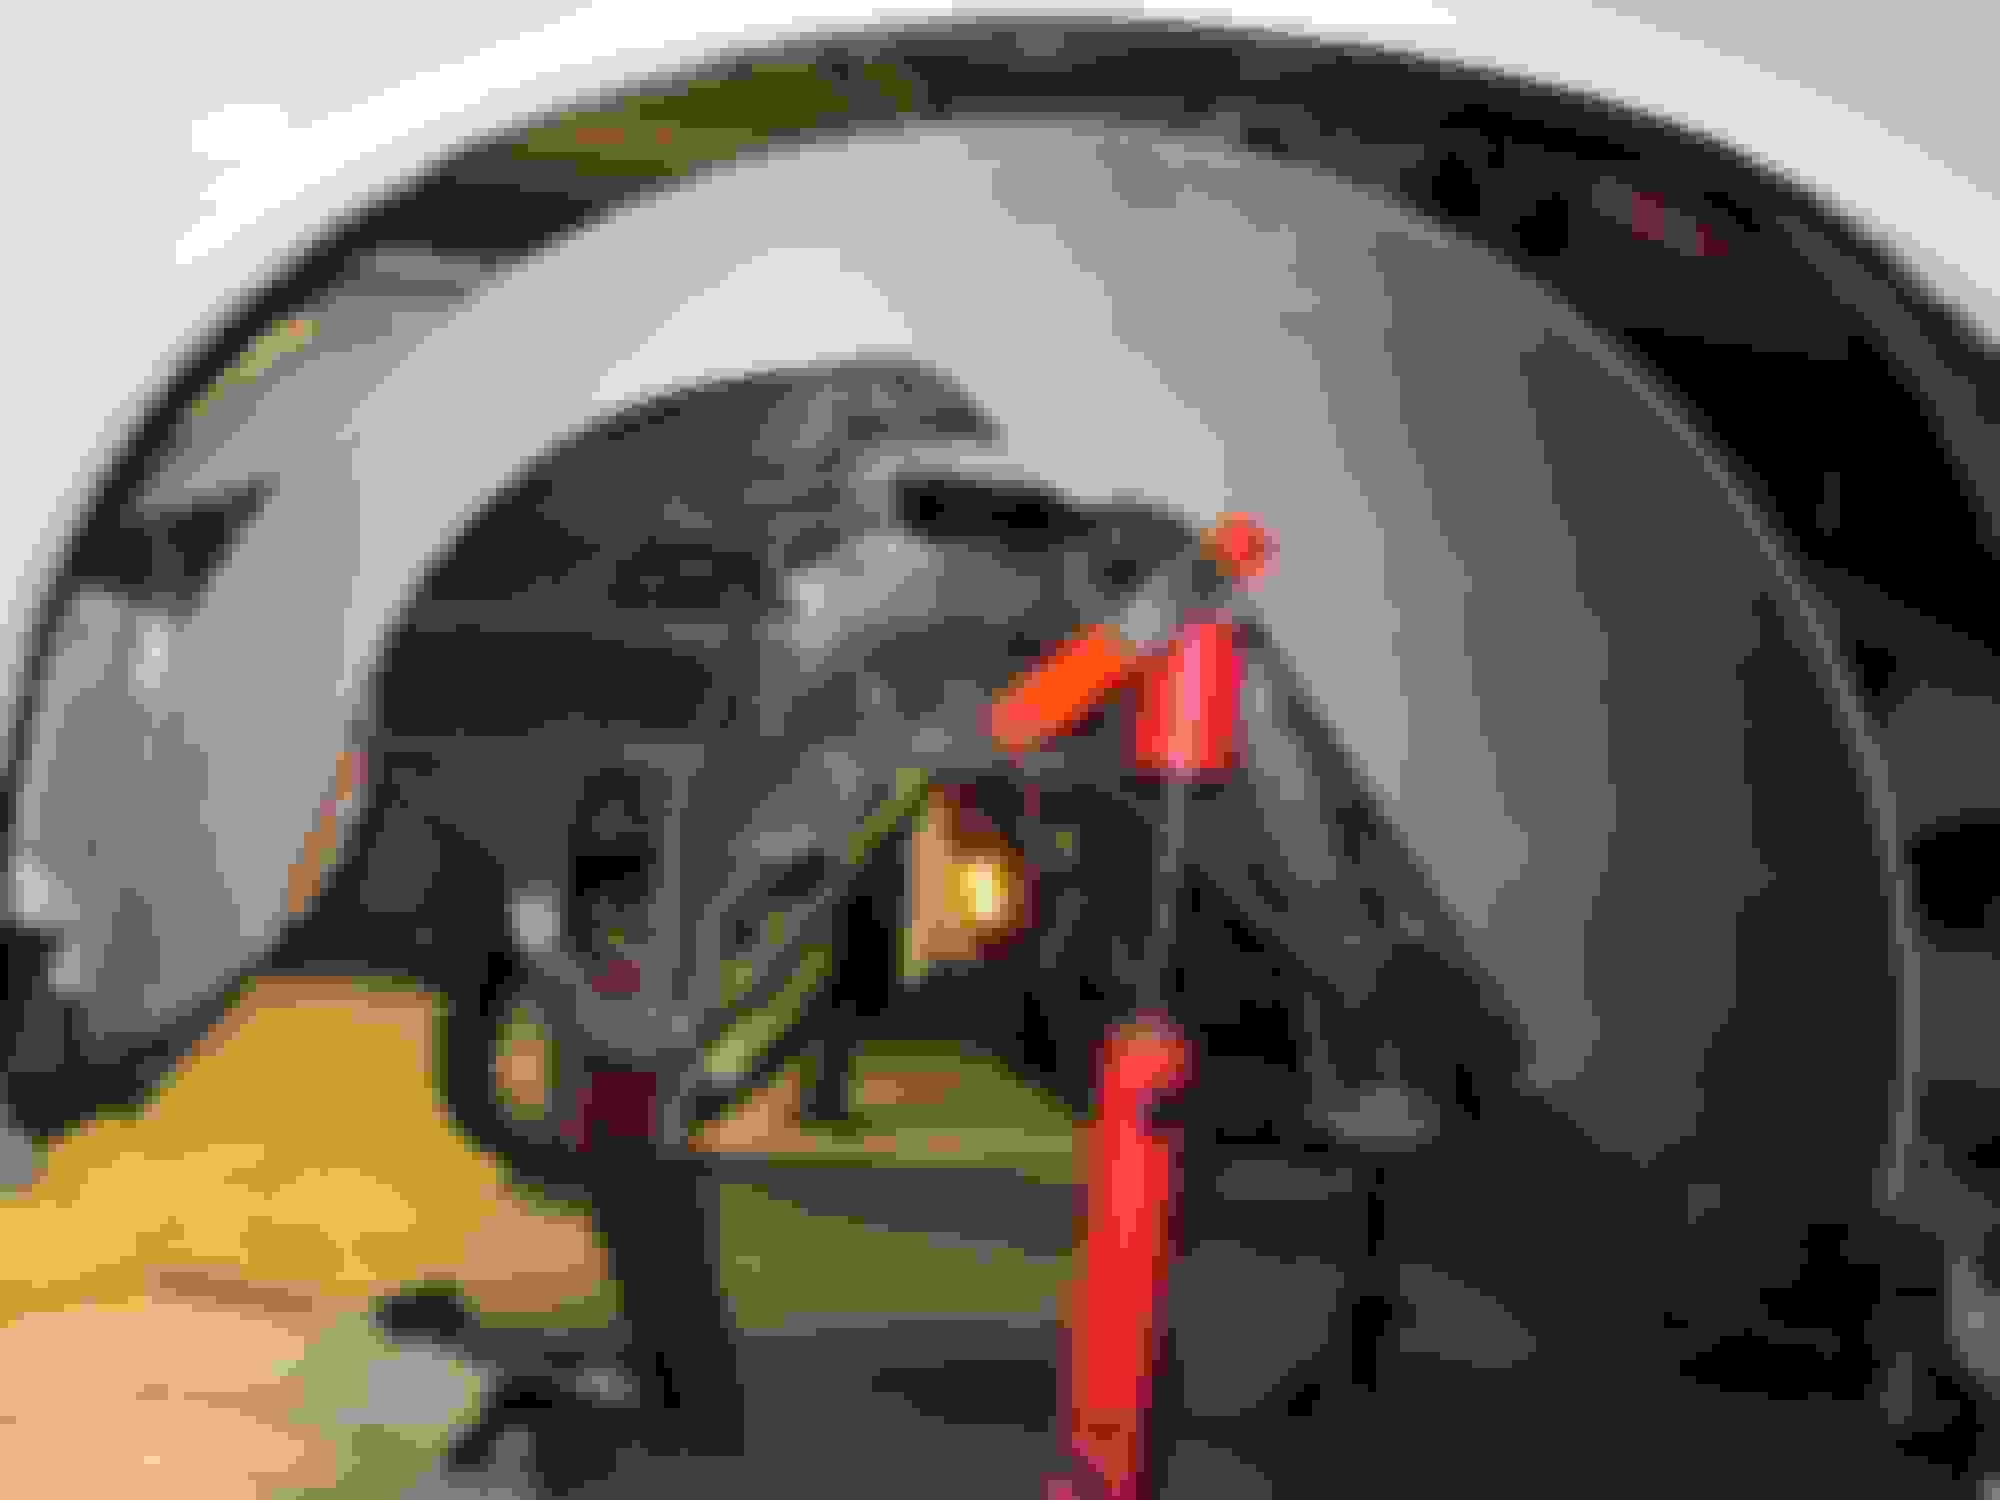
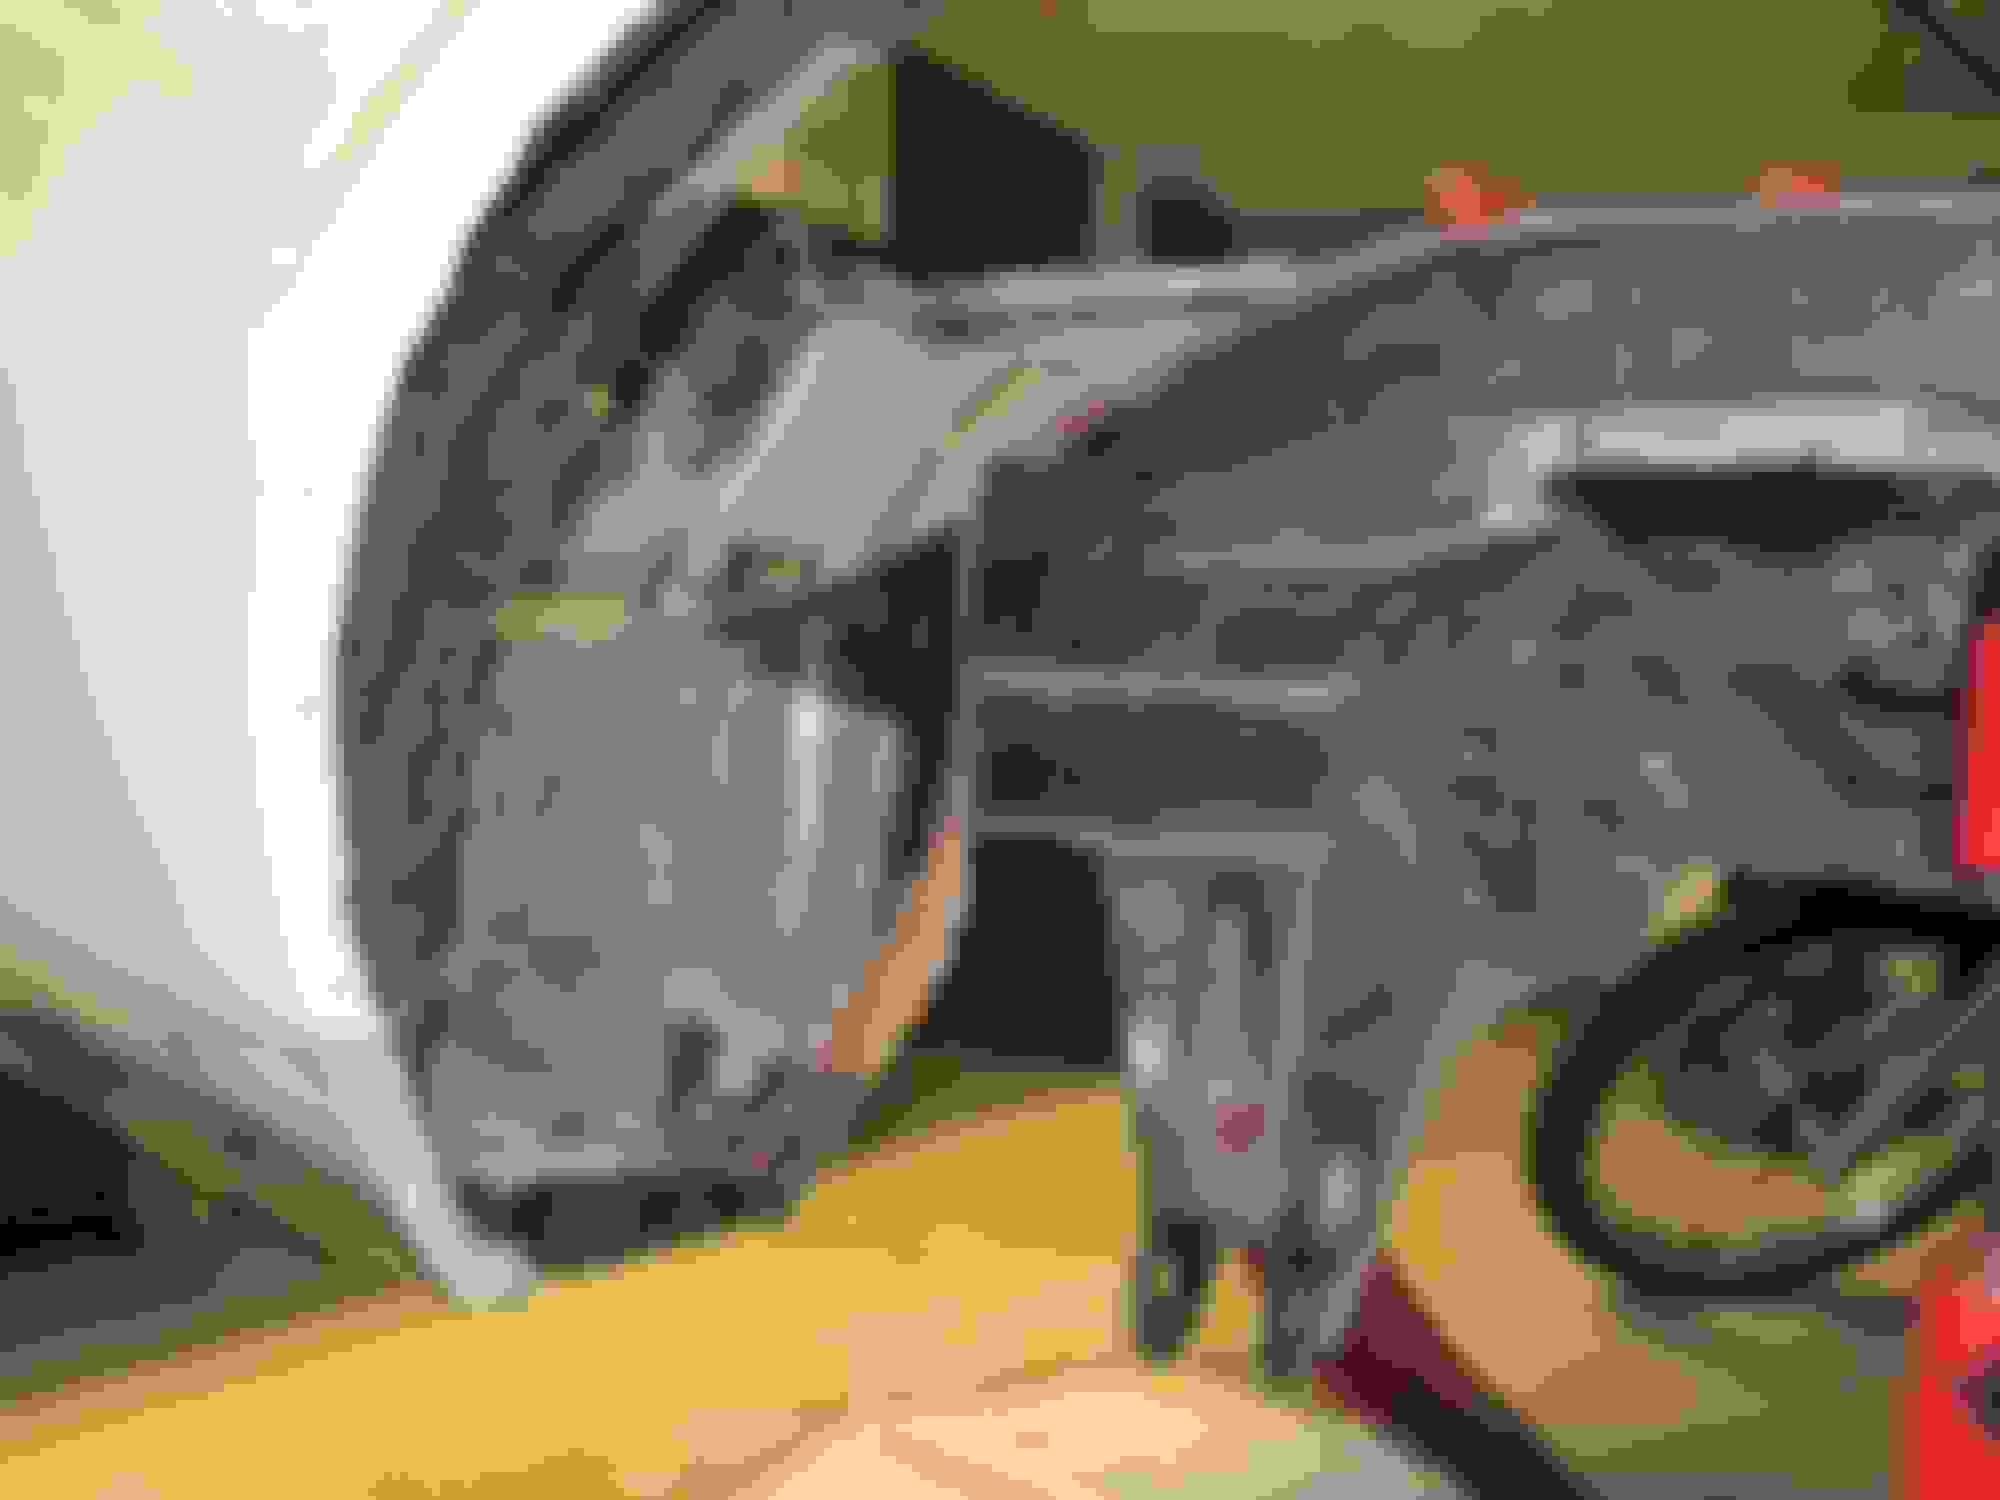
Sorry for the horrible pictures, the battery was dying and I needed to get some sleep. But anyways,
I am trying to show how close the rim is to the panhard rod attachment point. It is also close to the trailing arm. That is not an issue with the Spohn stepped trailing arms that can be purchased. I am more concerned with the panhard rod attachment point.
The rim is a C4 ZR1 replica rim with a 315/35/17 Nitto 555R. (11" wide rim)
I want to move up to a 12" wide rim and a 335 or 345 tire, but am not sure, even with a minitub if it will all fit.
Thoughts? Comments?
I will get some more time to work on this in the coming days. Maybe once the rim is raised to the operating height, things become more obvious.
Dennis the lca's and the panhard bar mounts, both on the axle and the frame are going to be the issues if they are left in their stock locations. I too will be running the ZR1 wheels 17x11 with 8"bs.
I swapped in an 8.6 ZR2 rear axle and made my own mounts for lcas and panhard. For the LCAs I swapped positions with the shock and put the LCa to the inside. On your car these would line up with the factory frame rails instead of the factory lca mounts. This would let you run straight lca's. The shock, mounting to the outside, is not an issue as it mounts inside the wheel rim. I don't think you will be able to run the bags on this build as there is hardly room for standard coilovers that measure 3 1/2" od.
The panhard bar I shortened to 36 1/2 inches and made new mounts as shown below. This puts the mounts directly under the rear frame rails but gives you the extra 3" clearance per side that you will need. My car will be lowered 3" from stock so I had to cut away and rebox the frame rails for suspension travel clearance.
Do you have any pictures of how it sits now? Any pics of you putting it together? I have my ps wheel tub cut out now and my 12 bolt installed and can't seem to figure out how to do this. If I cut more tub out, it may work, but then I lose the room I need for the air ride. But before that comes into play, the panhard bar mounting point seems to be an issue. Does that live inside your room at ride height?
83RDRACR: Thanks for posting all those pictures and explanation about your build. I really want to run 345s and air ride, but now that I see how much room there really is I feel my plans changing.
I don't want to modify my Moser 12 bolt at all. I really don't want to modify the suspension attachment points on the car either. I think that would get me in a little over my head I feel.
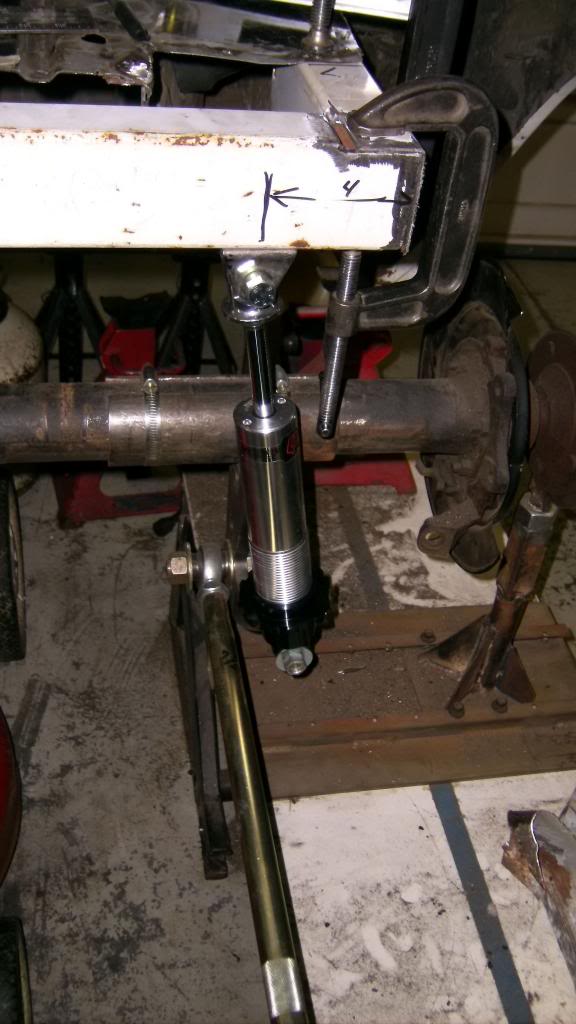
I will mock in place a 4" diameter tube where the shock goes. This will represent the air ride. Then I will see how much more room there is from the outer sheet metal to the mocked up air shock. Whatever width there is, this will be the tire width I will shoot to use (minus thicknesses for clearance, tub wall, etc...)
Do you have any pictures of how it sits now? Any pics of you putting it together? I have my ps wheel tub cut out now and my 12 bolt installed and can't seem to figure out how to do this. If I cut more tub out, it may work, but then I lose the room I need for the air ride. But before that comes into play, the panhard bar mounting point seems to be an issue. Does that live inside your room at ride height?
Pics of tire/wheel at ride height. Tire just fits inside of fender lip. I will trim and roll lip for about 1/2" clearance. Ground clearance with this setup is 5 1/2 at bottom of rocker pinch weld.
17x9 wheel with 6" bs. I can easily go 17 x 11 or 18 x 11 with 8" bs. Frame above axle is closest thing to tire/wheel.
Here is pic of how my 2 x 3 tube frame is grafted to stock frame rail above axle. Tube rail is in same position width wise as the stock rail.
And a view of all the rear end mods, how it all fit together
83RDRACR: Thanks for posting all those pictures and explanation about your build. I really want to run 345s and air ride, but now that I see how much room there really is I feel my plans changing.
I don't want to modify my Moser 12 bolt at all. I really don't want to modify the suspension attachment points on the car either. I think that would get me in a little over my head I feel.
I will mock in place a 4" diameter tube where the shock goes. This will represent the air ride. Then I will see how much more room there is from the outer sheet metal to the mocked up air shock. Whatever width there is, this will be the tire width I will shoot to use (minus thicknesses for clearance, tub wall, etc...)
As articwhite posted earlier with his picture of the axle side panhard bar mount, you reach a point where this mount and the one on the frame limit tire/wheel and back space options. You either move the mounts in or have the wheel stick outside the fender.
When I was planning out my build I knew I would be cutting out the rear seat area for the 3 link suspension, but I didn't want to cut out the entire cargo area so I grafted in my new frame work at about the rear axle center line. I still have a full functioning cargo area that keeps the factory designed crumple zone intact.
Also the air ride shocks will be supporting the weight of the rear of the car. If you keep the factory upper shock mount you will need to reinforce the mount area (ridetech may have included this reinforcement plate in their kit. I know some coil over conversion kits include a heavy metal plate to weld into the shock and spring pocket.)
For the shock mock up I used 4" drier vent tube. Set shock at eye to eye ride height length and made tube to fit the gap between the shock eyes. To close off top and bottom I added 2" to the length top and bottom, cut slitts all the way around and folded the sections inward where they fit tight to shock shaft. You could use your old shocks for this. I am absolutely sure this is how all of the big time fabricators do this!!!!!
There are a couple of tgo post where the owner removed the rear frame rails, from the back seat area to the lower frame horns on each side of the fuel tank, by drilling out all of the spot welds and left the factory floor intact. He then welded in 2x2 square tubing (I think) in their place and a lateral brace for a shock mount.
i did get the 325 50 15s to tuck under and look good. but still I'm going to roll the fenders.
I picked up a eastwood fender rolling tool. just to roll the outer rear fenders. have not done it yet..as the car is still in boxes and stands.
my wheels are welds RTS 10.275 6.5 back space on a 15" could get a 7" back space on the car but wanted to keep a wheel with something of a dish to it. I treyd 4 or 5 makes of wheels and off sets till i got one i wanted to stay with.. did the weld 2.0 on the front
as the weld RTS just did not look good on the front. i had them for over 3 years and the place i got them from took them back and i paid $100 more for the weld 2.0s swell guys..
notice my gold weld wheel caps.... a flash back to 20 years ago... STILL new in boxes..
Last edited by articwhiteZ; Oct 20, 2015 at 08:31 PM.
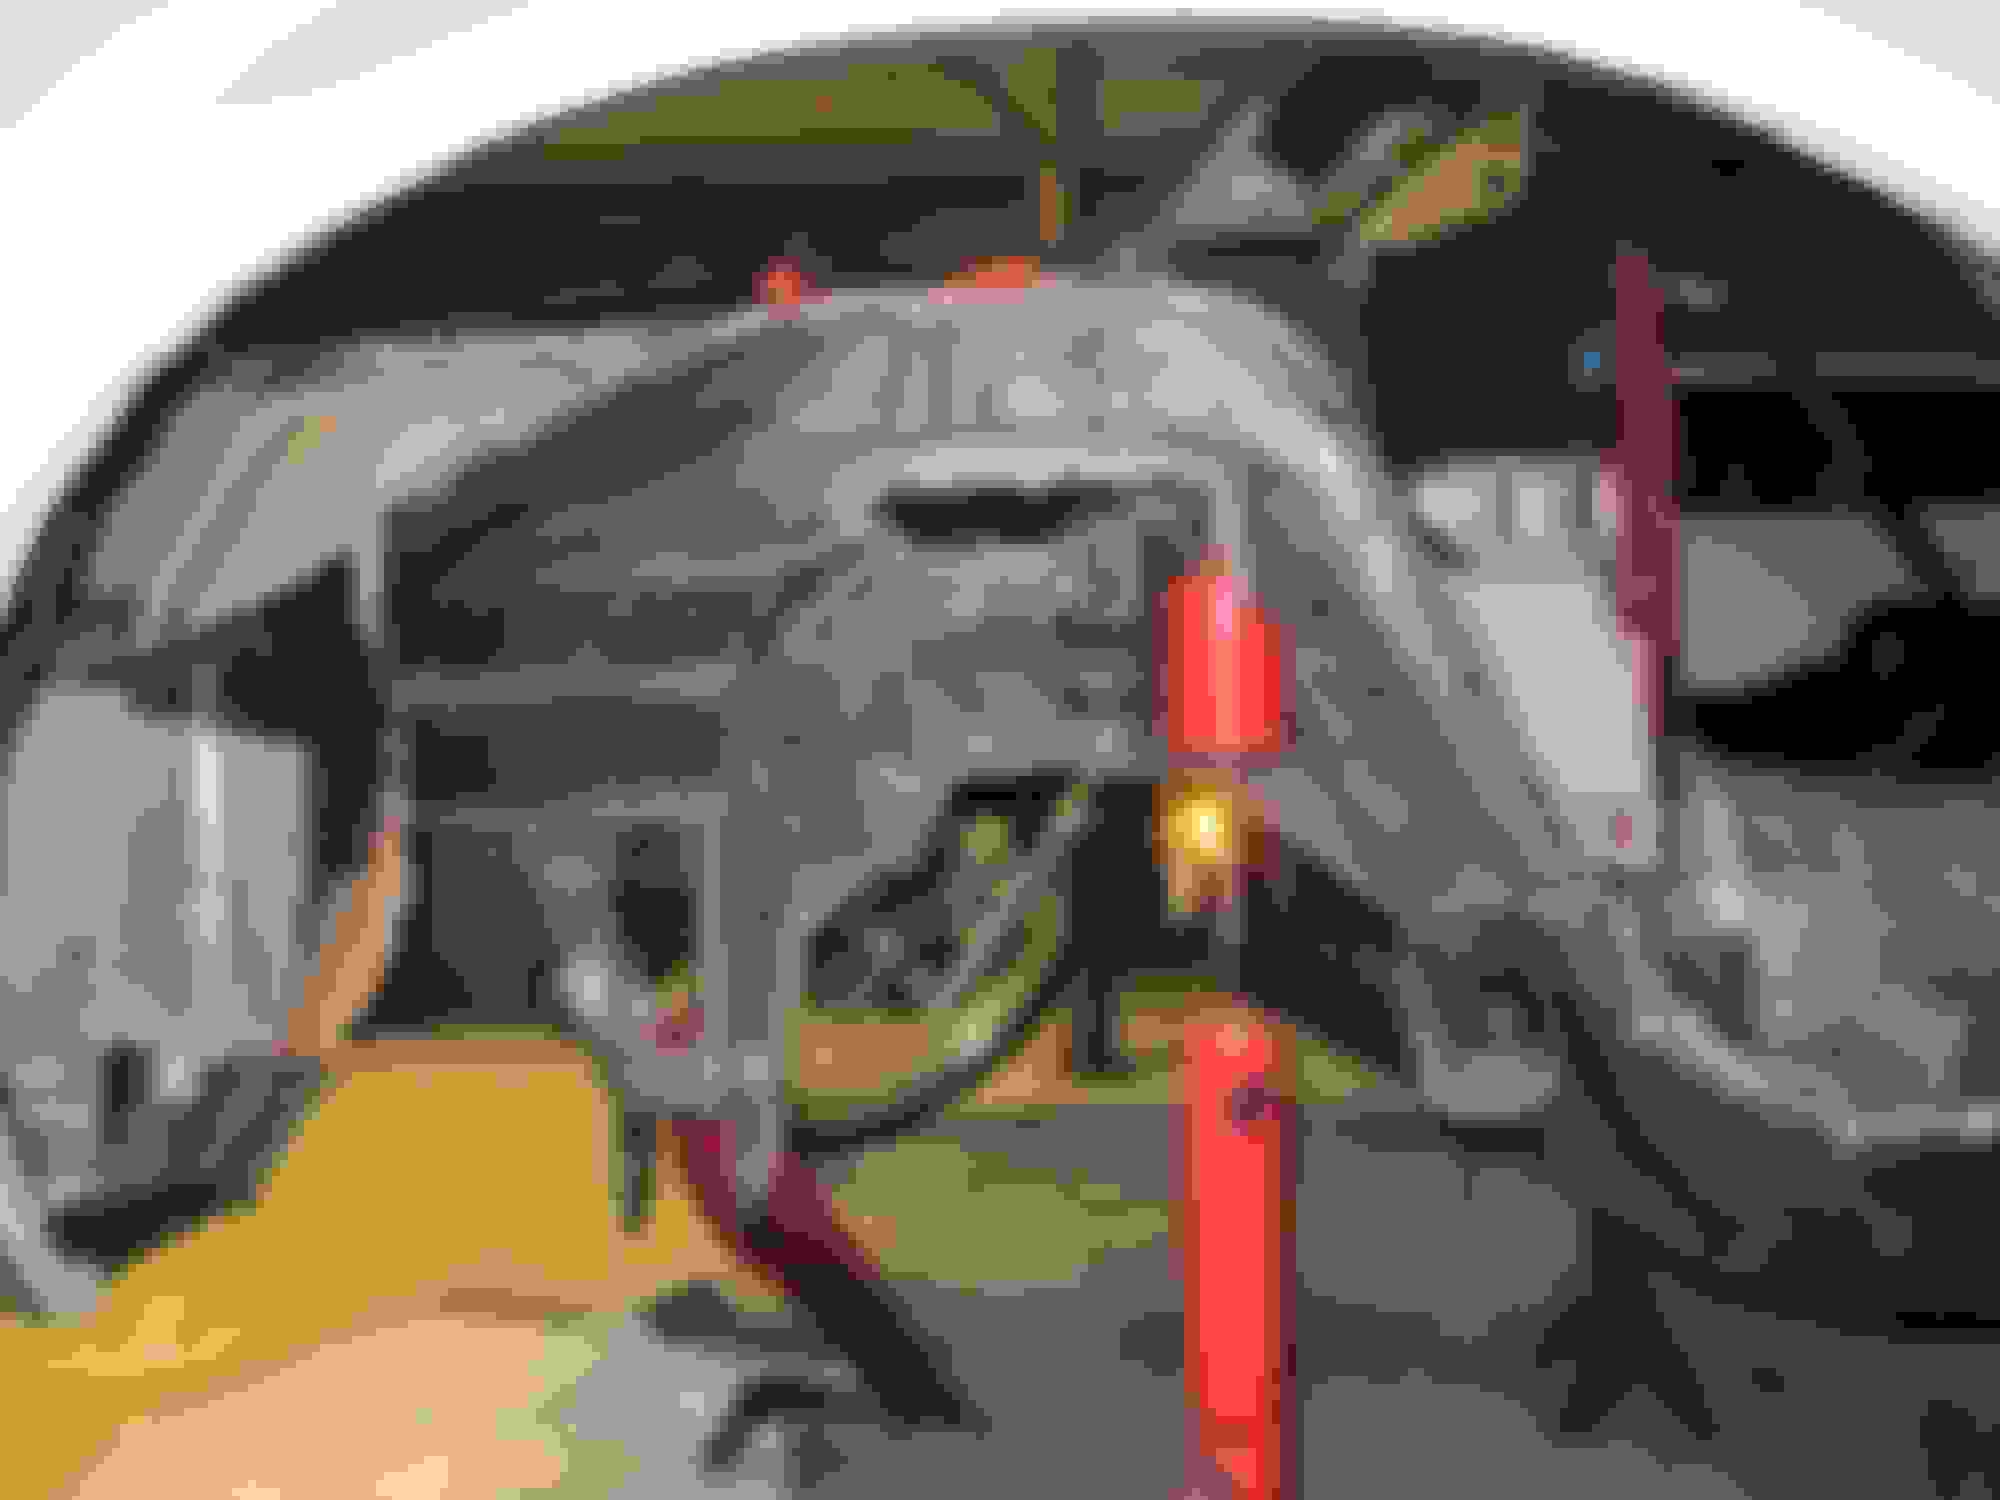
Finally getting around to doing a little work on my minitub install. Really not sure if I need to cut away more or if I have gone far enough. I am pretty much flush with the pan hard bar attachment point on the body. The pic below is my 17x11" ZR1 replicas that I would like to sell so I can replace them with something bigger. I would like to go all the way up to a 19x12 but not sure if it will all fit. The rear of the rim is hitting the mounting location and the outside edge is about 1.5" away from where the finder lip will be rolled to. So the magic question is: If I get 19s that will add another inch to the radius of the rim. That will make the rim actually start to "clear" the mount because the mount for the panhard rod sill start to fit INSIDE the rim. This seems strange, but I guess it should be OK. The image was taken with the suspension at full compression. If this works, then I may cut a little more and make the tubs a bit deeper to add a bit more clearance. Anyways, please take a look and give me your thoughts. I will start to use my camera again instead of my phone soon so I can better document the install. Thanks.
I thought my axle was centered. I did a crappy job doing that because it is off center by quite a bit.
Once it is centered, I will throw my calipers back on there during fitment checks.
My goal for stuffing 12" wide rims is dead. I don't think it can happen with my budget and skills. The panhard rod attachment point is simply too much in the way. There might be some way to "just" get it to fit, but I don't want to be flirting with failure and I don't have enough cash to do trial and error stuff.
I will use my 17x11" for now and tuck them as far in as I can. Then later when the car is done, I will upgrade to something like a 19x11.