When you click on links to various merchants on this site and make a purchase, this can result in this site earning a commission. Affiliate programs and affiliations include, but are not limited to, the eBay Partner Network.
I havent posted in over a year but that doesnt mean the project was dead. On the contrary a lot of work has been done to the car and ive driven it hundreds of miles to verify that all of my modifications are working as they should. This is a picture of how the car stands as of now.
Wow, lots of rework in the front there. Are those widened fenders to fit bigger tires? How are you liking the FiTech setup?
Komet, if you look in the fabrication forum you'll find my original build thread under "Home brew road racer" that I started in 2010. The first thread shows in great detail what all has been done to the car. In regards to the front end, I have integrated the entire 4th gen Z28 suspension, steering, and brakes using a custom k member. I also moved the front wheels 5" forward in the fender (the car is original length but wheelbase is now 106") to improve the weight distribution. Fenders are flared because 4th gen track width is 1.5" wider per side.
As far as the fitech, I am very pleased with it. It took some time and effort to get it tuned properly but it really improved the in-town drivability over the Holley carb. Switching to FI from a carb will quickly show any inadequacies in your fuel delivery system. A lot of guys bad mouth Fitech and aftermarket tbi conversions, but i found most problems are caused by installer error and not the unit itself.
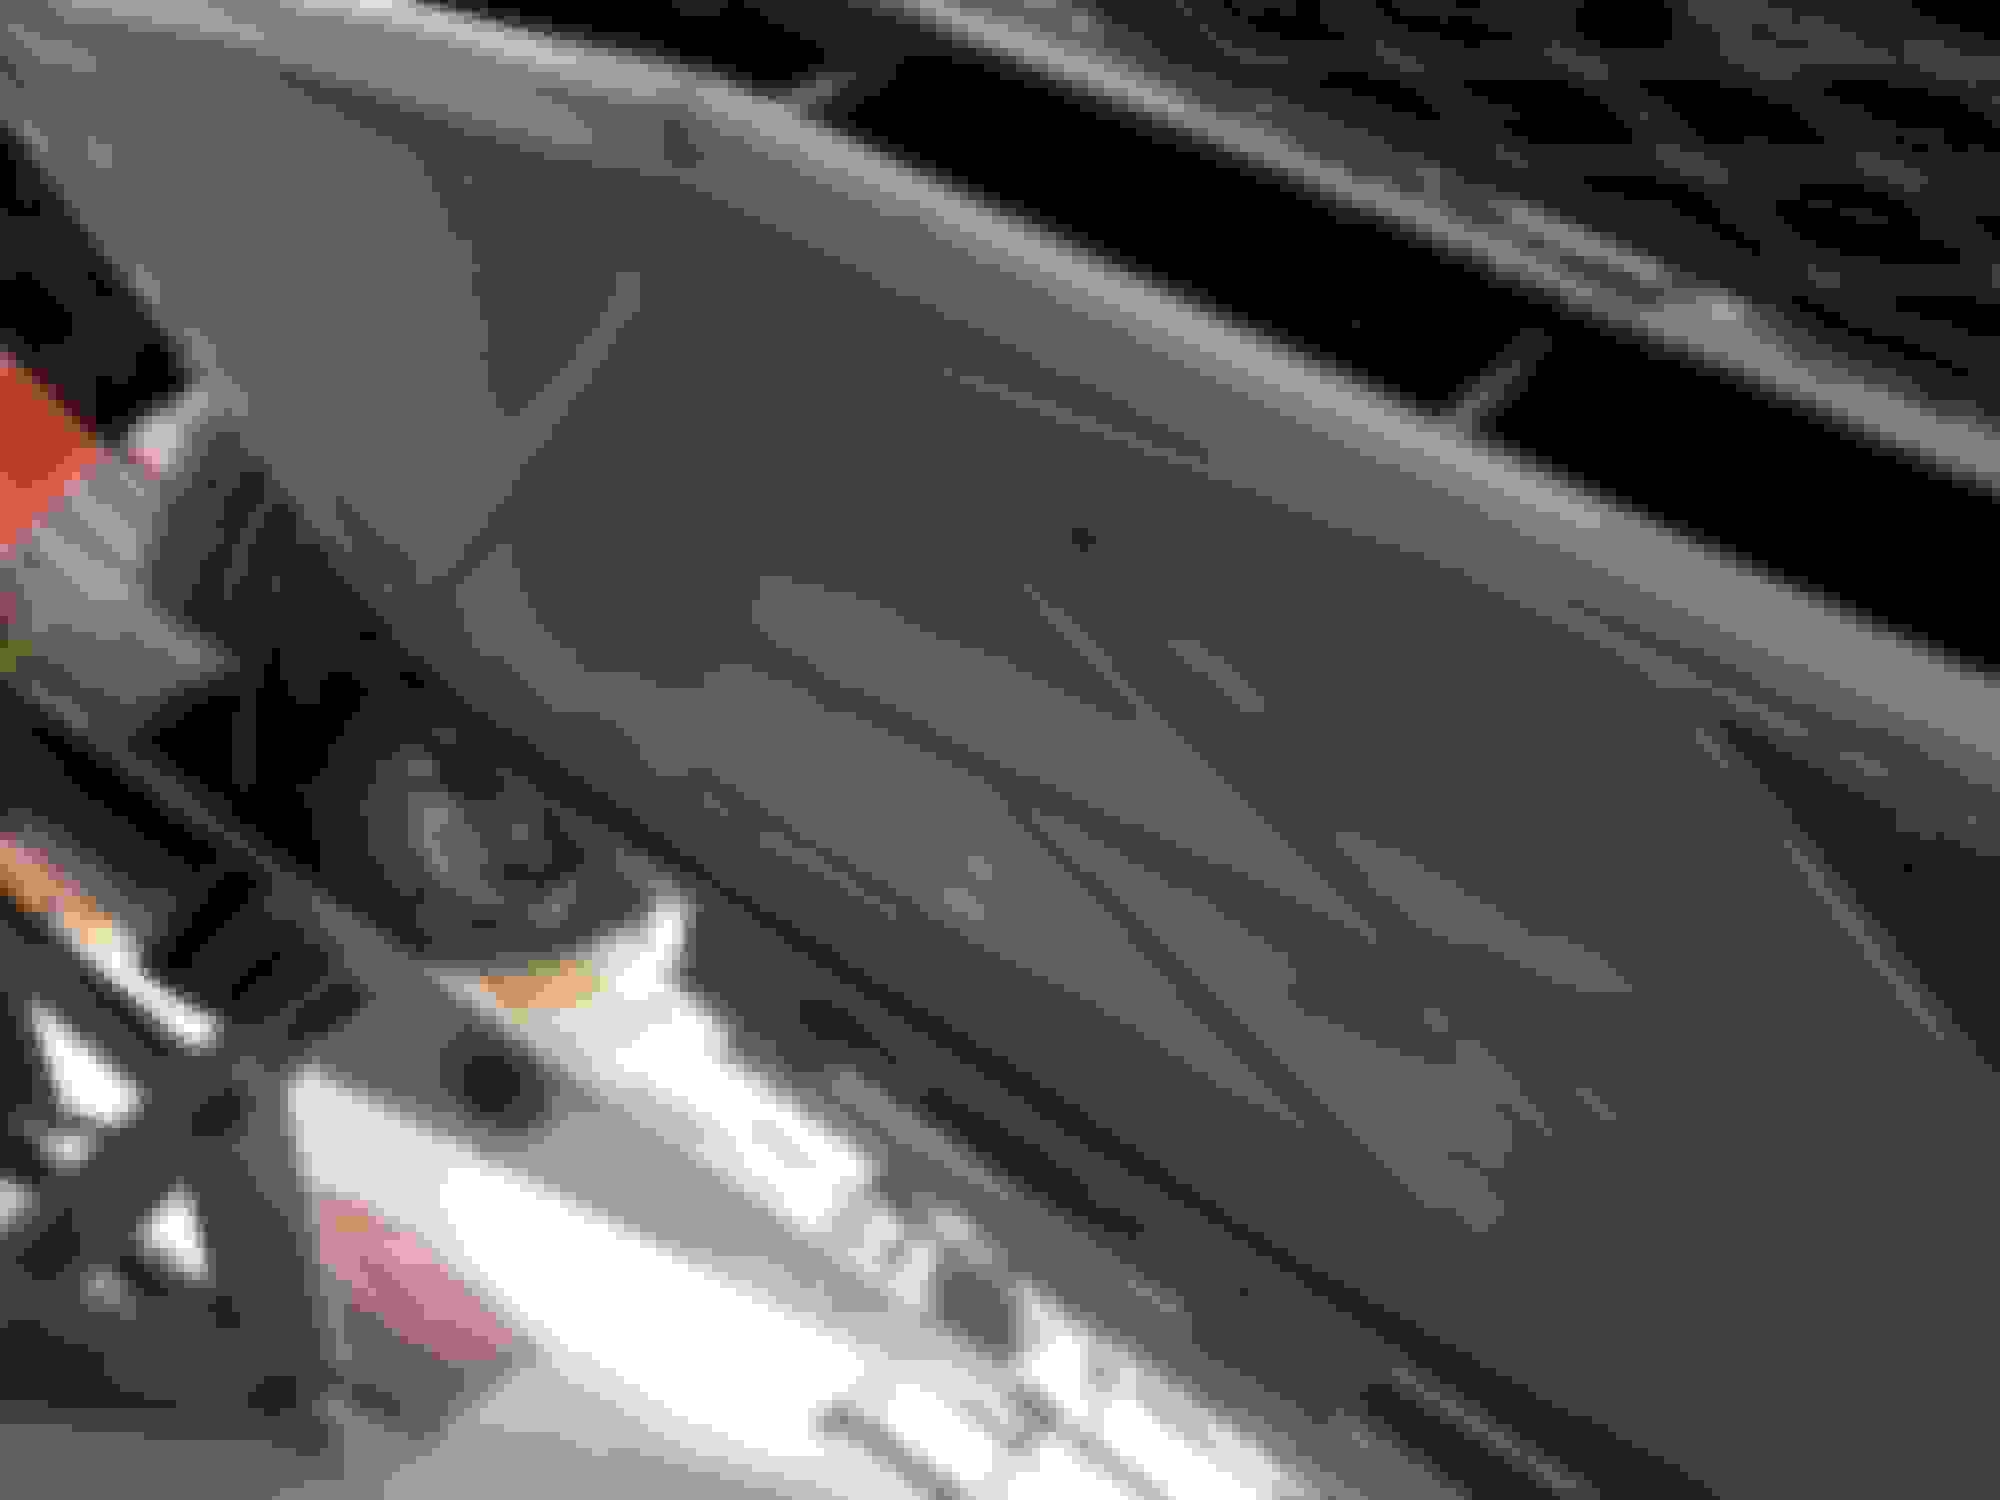
One of the problems that came about was my 5" offset inner tie rod mounts caused the rack to rotate up and down when initiating a turn. I couldn't really feel it , but noticed it while working under the car. To solve the problem i came up with a guide for the center link, that consist of 4 urethane wheels mounted to brackets attached to the r&p frame mount. The center link kind of floats between the rollers, allowing it to move up and down about an 1/8" total.
One of the problems that came about was my 5" offset inner tie rod mounts caused the rack to rotate up and down when initiating a turn. I couldn't really feel it , but noticed it while working under the car. To solve the problem i came up with a guide for the center link, that consist of 4 urethane wheels mounted to brackets attached to the r&p frame mount. The center link kind of floats between the rollers, allowing it to move up and down about an 1/8" total.
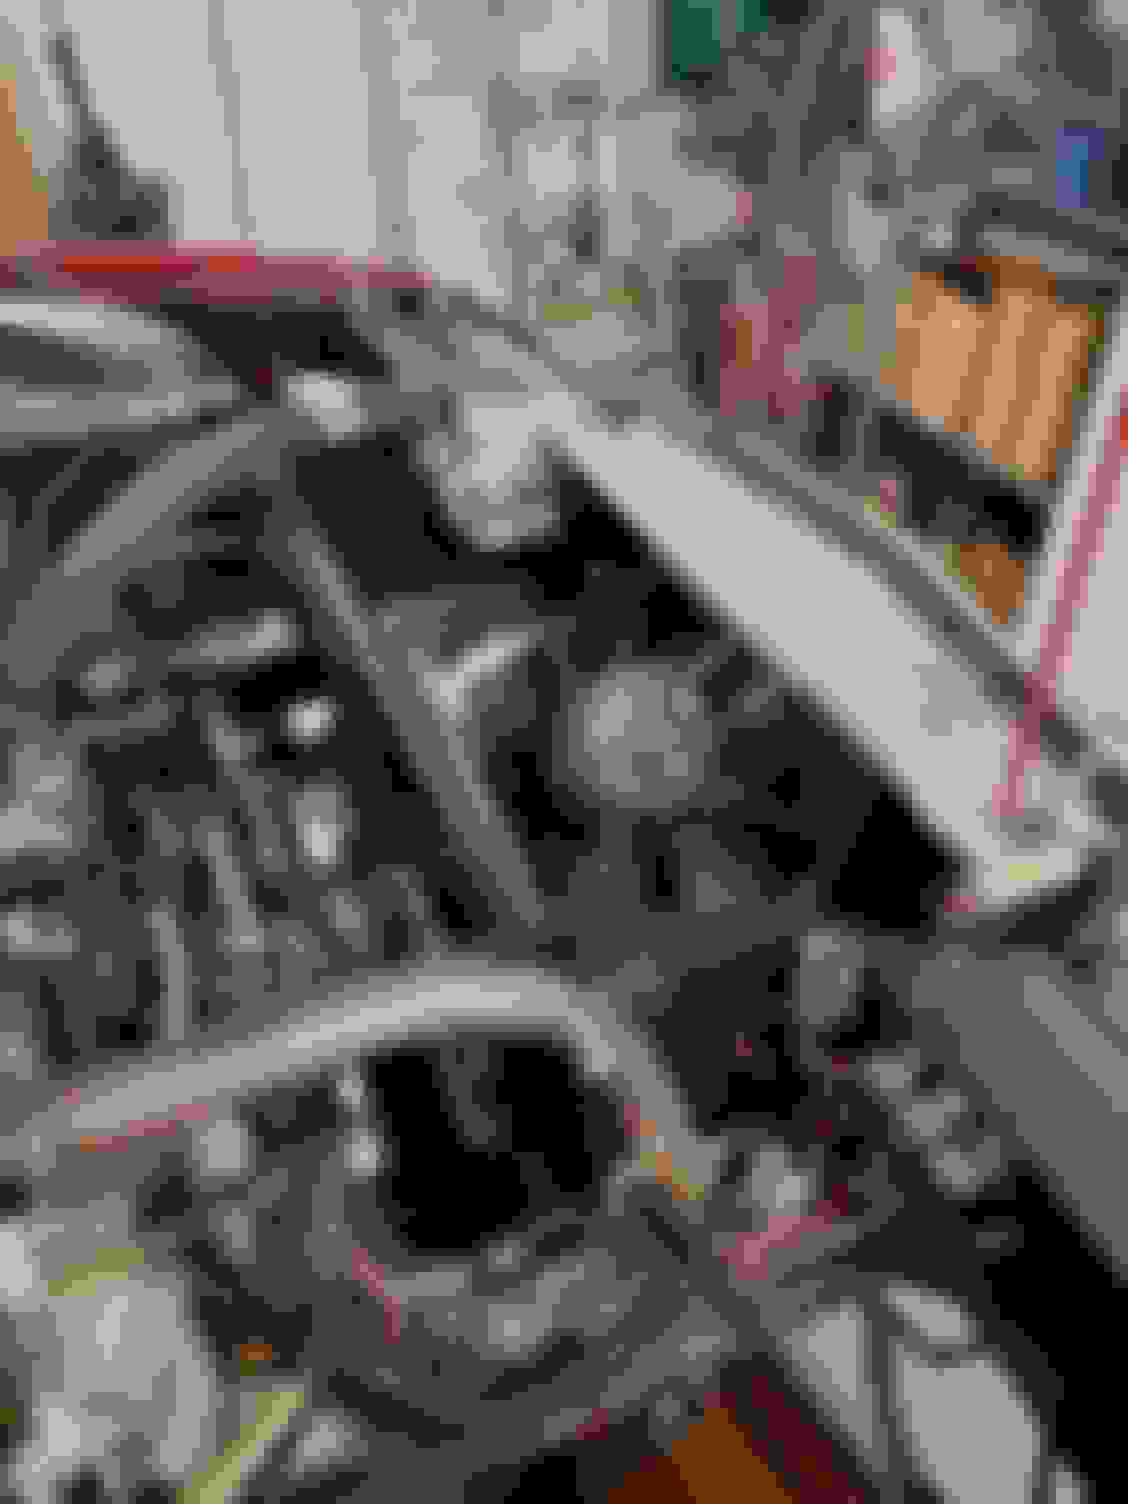
Another upgrade I did this spring was to install a remote oil filter and a large plate style oil cooler. Because of my cars low ground clearance I run a modified set of C3 vette headers that have been shortened in height by about 2.25". This left just enough room to screw on the shortest sbc filter I could find. Being that it was so short it wasn't ideal for oil filtration and sitting just 3/8" off the header pipes didn't help my oil Temps either. With the small amount of space I had to work with I ended up using a Transdapt flush mount oil filter adapter plate and 1/2" 90 degree fittings to get the oil in and out of the engine. The adapter plate comes with standard hex head bolts to hold the plate to the block, but my 90 degree fittings wouldn't clear the heads. To solve the problem I countersunk the bolt holes using a 45 degree chamfer bit and some 5/16" beveled Phillips head screws.
you can see in this pic just how little clearance I have between oil filter mounting pad and the top of the header collector.
All oil filter plumbing is -10 steel braided hose. The routing is output from engine to the remote oil filter, oil filter output to lower oil cooler fitting, and then oil cooler outlet back to engine inlet. Running the lines in this manner keeps any junk or bearing debri from getting into the oil cooler.
Last edited by 83RDRACR; Dec 28, 2022 at 08:33 AM.
FITech has a magnetic controller mount now that works much better than the windshield suction cup one. It�s part number 62017. You could mount this right to your sheet metal dash.
I just bought one for my Ultimate LS controller. Hoping to figure out a way to mount this in a gauge pod on the A-pillar
Wow just read through your original thread after seeing this resurrection! What a crazy amount of work, and welding, you've done, and dealt with the highs and lows of life and a project. Thanks for sharing and glad you are still working on this - cant wait to see whats in store! Cheers
Wow just read through your original thread after seeing this resurrection! What a crazy amount of work, and welding, you've done, and dealt with the highs and lows of life and a project. Thanks for sharing and glad you are still working on this - cant wait to see whats in store! Cheers
ughmas, thanks for taking the time to read my build thread. Yes it's been a lot of work but I've enjoyed watching my dream come true one piece at a time. There were a lot of obstacles to overcome, both on the car and in my personal life, but also a sense of satisfaction as each obstacle was resolved.
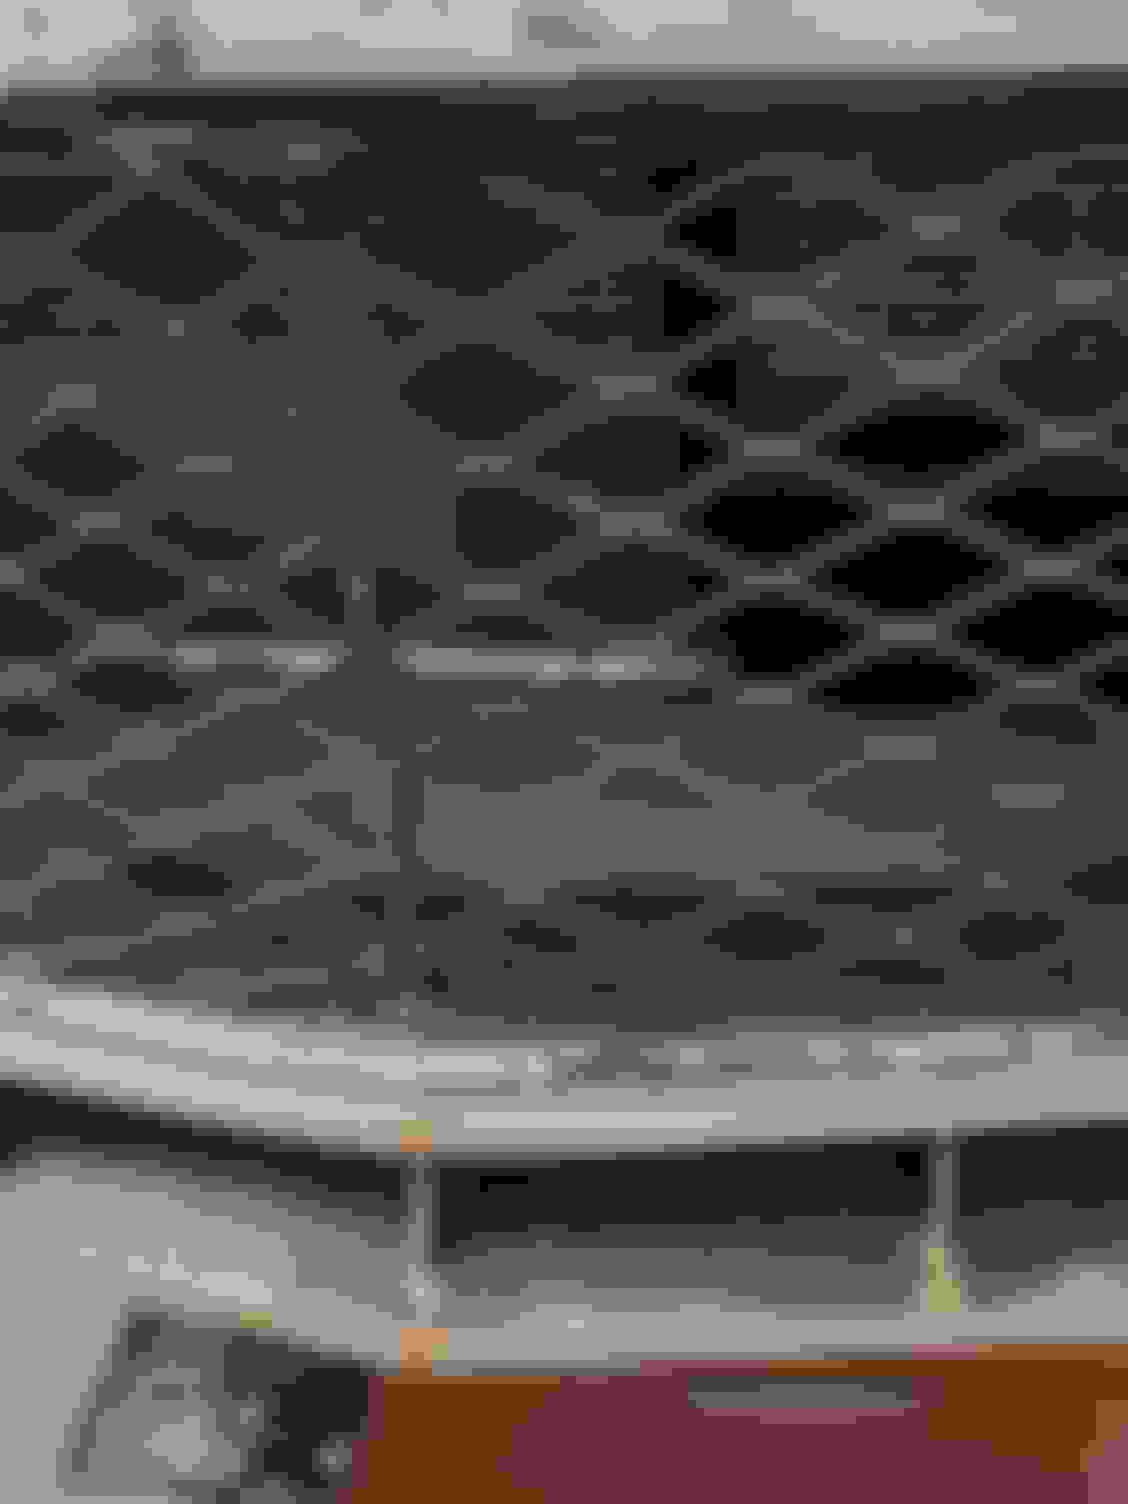
The radiator in the car lays forward at about a 45* angle. All the air to the radiator is ducted through the front grille. The electric fan is a 2 speed unit from a 1999 Gran Marquis. It fits the radiator core perfect, uses a big 19" fan and pulls big air, but also big amps. Low speed uses a 30 amp breaker and 50 amp relay and high speed uses a 50 amp breaker, a 70 amp relay with 8 Guage wiring. I run a 185 Stat and with fan on low car stays about 200 degrees whether 60* out on the highway or 95* stuck in rush hour traffic downtown.
I run a TKO600 in the car and really needed a working parking brake. My rear brakes are an aftermarket kit from SSBC and the calipers have an integral parking brake. When putting my interior together I retained the factory parking brake lever but it's now mounted between the driver's seat and the transmission tunnel. All I needed was an emergency brake cable kit to hook it all together. I used Summit Racing's universal kit and it worked well except I had to weld the cable to the factory eyelet to be able to attach the cable to the hand brake. Factory parking brake lever mounted to floor just to the left of the brake proportioning valve. Black bracket welded to trans tunnel anchors front cable housing. Rear cables enter through rear firewall behind drivers seat. Cables attached to my calipers with no problem. Clamped cable to rear axle tube flange. Made a couple simple wire hangers to keep cables from hanging to low or getting pinched in coil over spring.
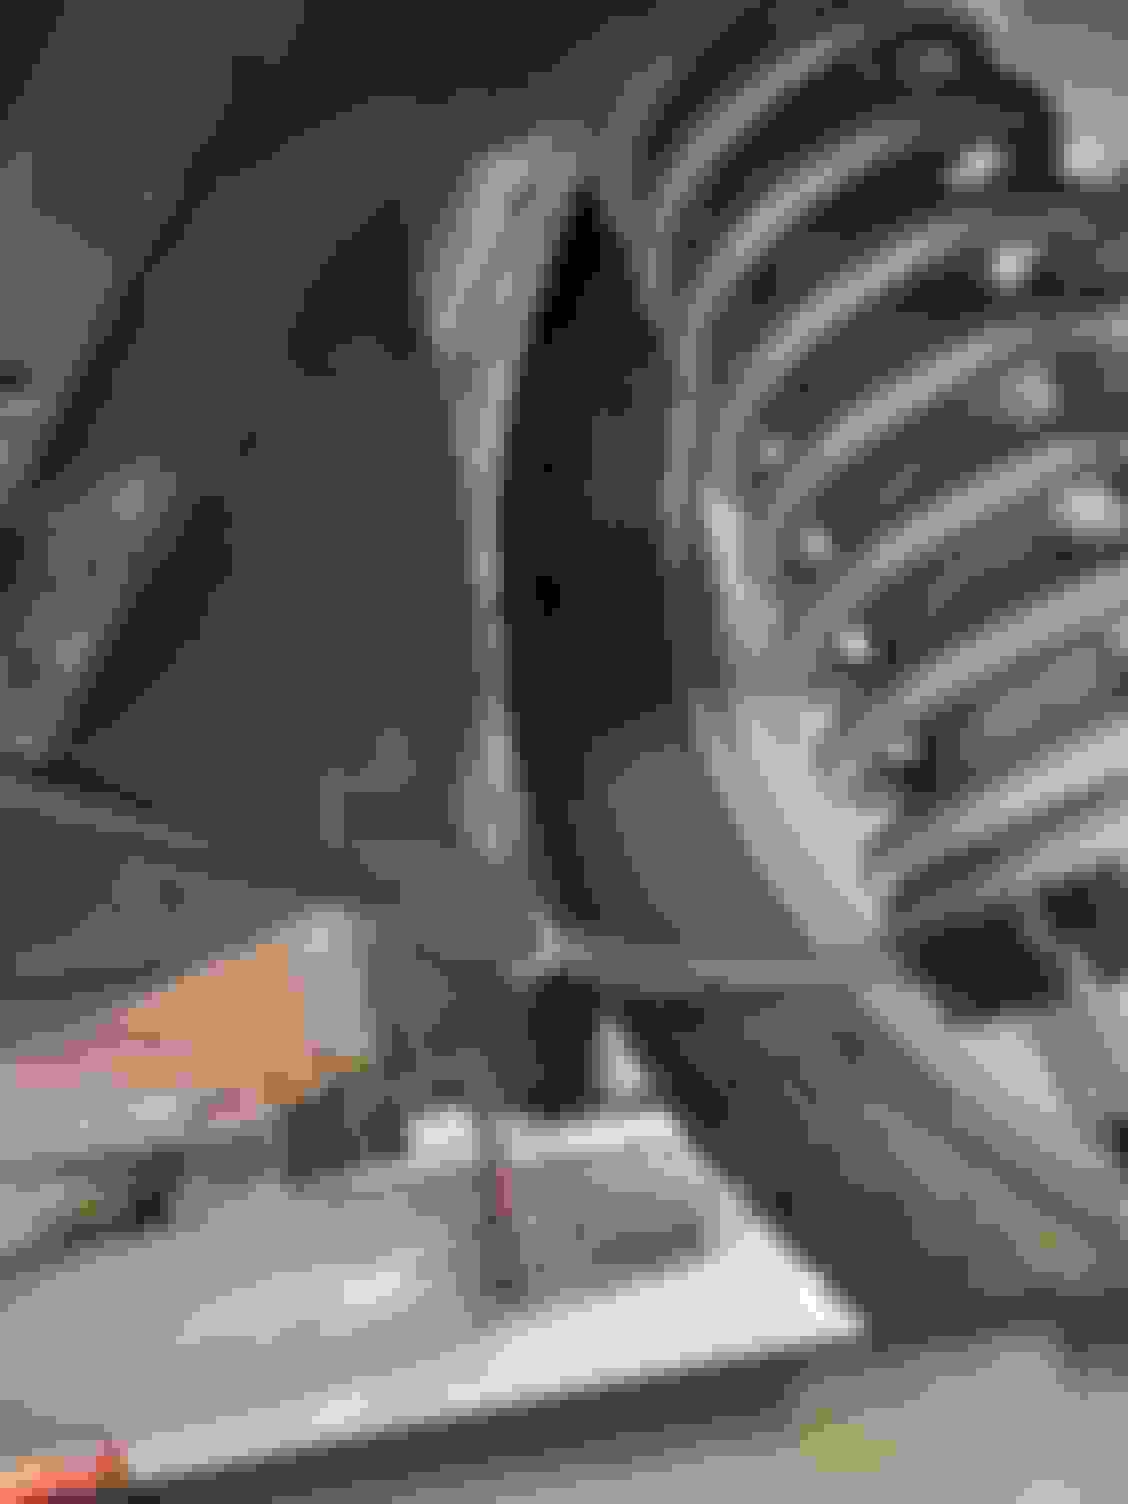
I've been mostly working on bodywork lately but also trying to get car ready for autox. I built this car thinking I'd run 11x17 C4 Vette wheels at all 4 corners but trends have changed and 17" tw200 tires are hard to find. I needed to step up to an 18" wheel and after much research decided C5 Z06 rear wheels would be a reasonable substitution. Watching Marketplace for several months I found four 10.5x18 Z06 wheels and tires. The rears mounted up no problem, but the fronts were close to touching the upper ball joint stud. I corrected this problem with 1/2" wheel spacers and 3" ARP wheel studs. Right front tire just touches upper balljoint stud. Looks pretty good with the 10.5x18 Z06 wheels. This is clearance on right front after 1/2" spacer and longer studs. Left side clearance after spacer. Left side has noticeably more clearance than the right side. Something isnt right.
After lookin at both font spindles carefully I came to the conclusion the the top of the right spindle was bent outward towards the tire. I have a spare set of spindles and pulled the the right side off the car to compare. Sure enough the spindle that I have used to build this front suspension around is bent. I replaced it with the non-bent spindle and it has moved the top of the tire farther out from the upper ball joint, basically giving me positive camber. I have enough adjustment to get my -1/2* camber street setup back but I'll have to relocate the upper mount to get -3" camber for autox. Here you can see the difference in the bent spindle(rear), and non bent(front). The top half of the rear spindle is bent up towards the rotor. The top half of the front spindle lays flat, near parallel to the floor
I’m glad to see that you are still working on your project. I was starting to wonder if you had abandoned it. I hope to hear from you and see updates more frequently than every six months. The car is looking good, your persistence is paying off. If you are doing the body work, paint can’t be that far off. That’s when you start to get excited about the final product. I’m looking forward to it.
I�m glad to see that you are still working on your project. I was starting to wonder if you had abandoned it. I hope to hear from you and see updates more frequently than every six months. The car is looking good, your persistence is paying off. If you are doing the body work, paint can�t be that far off. That�s when you start to get excited about the final product. I�m looking forward to it.
Thanks for still following the build. Ive done more than ive posted, but bodywork is boring. Ive got a pair of severely gutted doors that are in the primer stage now. They only have the inner and outer handles and outer mirrors and im guessing they weigh under 50lbs each(stock was 95lbs). The car runs and drives very well and handling is tight and precise. Ive pushed it hard on back roads and highhway on ramps and it corners flat and seems very balanced. I just need to get it on a track where I can really test its limits. Switching to Fitech fuel injection really improved the low speed drivability. I'm just amazed that all of the crazy, major modifications that I've done actually work and work well together. Driving the car you would never know it's been cut up and modified so heavily.
So I'm doing bodywork now, and I'm really not very good at it. I put too much filler on, then sand too much off, and have to do it again. Eventually it comes out ok. Here are some pictures of hood, deck lid, and my gutted doors. Interior side of door showing sub-structure that mounts interior door handle. Sheet metal panels installed and interior door handle mounted. In keeping with my "home brew" budget build, the metal panels are made from salvaged sheet metal shelving units. I have rolls of lightweight, gray, outdoor, carpeting that I will cover the door panels with. I'm thinking I'll have to use velcro strips to fasten the carpet to door panels.
Last edited by 83RDRACR; Jul 15, 2023 at 11:29 AM.
Lots of filler, sanding, fiiler and sanding. These doirs were given to me free, so i didnt feel bad about cutting them up. Thet were however in rough shape, with multiple dents from being kicked to close and being repainted twice.
This is how the doors look now after 2 coats of heavy fill primer. There are some small air holes visible that I'll have to fill with spot putty before i block sand them, but definitely heading in the right direction.
This hood started out as a 6" Harwood pin-on unit that I cut down to a 3" cowl. These hoods are big, nearly 5'�5', and a real pain to remove and re-install by yourself everytime you want to check something under the hood. To get around that I made hinges that pivot at the A-pillars that allow the hood to open and the cowl scoop clears the windshied.
Here you can see the bottom of the hood. I boxed in the bottom of the cowl using 1/4" hardboard that i fiberglassed to the bottom of the hood. The hood seals to an 18" pan under the 14" air filter. I sealed the pan to hood with a section of garage door seal. This has turned out to be very effective in selling off hot underhood air as I have not seen intake air temps higher than 100*f even on 90+ degree days.
So I've been slowly getting some bodywork done on the car. I've got the gutted doors installed and then started on the front fenders. Besides having to fill in the 5" gap behind the relocated wheel opening, I had to do something to fix the excessive gap between the front edge of the door and the back of the fender. A second set of used fenders solved both problems. I was able to cut sections from the fenders to cover the 5"gap and I used the rear edge of the used fenders to extended the rear edge of the modified fenders tou close up the door gaps. Instead of welding the patches in I opted to try panel bond adhesive. That worked so much better, no worries about warpage from heat, so much faster. Here you can see what im starting with, a 5" gap behind the relocated wheel opening and a large gap between door and fender.
Patch panels installed on right side. Still lots of body filler, shaping, and sanding to get ready for paint but just getting that large gap in the fender covered makes me feel like i got something accomplished.
The left side needed a little more work as the lower lip of the wheel well was pretty well rusted away. I used nearly 100 sheetmetal screws to hold the panels in place to insure a good, tight bond between the base fender and the patch panels.
The left side needed a little more work as the lower lip of the wheel well was pretty well rusted away. I used nearly 100 sheetmetal screws to hold the panels in place to insure a good, tight bond between the base fender and the patch panels.
Last edited by 83RDRACR; Aug 20, 2023 at 08:51 PM.
Reason: I duplicated the previous post
Stoked to see this one come back to life!! Keep it up! Been following for 10 years!
Thanks for sticking with me through the years. I can't wait to have the bodywork done and the car at least in primer. Its such a fun car to drive on the street, very well mannered till you lay into the throttle, and then it gets pretty rowdy. Ive put about 2000 street miles on it over the last 2 years so thats verified that all of my modifications have proven road worthy. The biggest problem i had was a fuel delivery issue that plagued me from the start. It seemed intermitten with the carb and got worse with the efi. Turned out to be that the pickup tube in the RCI fuel cell was positioned too close to the bottom of the tank, and on high demand it couldn't pull fuel in fast enough and the engine would starve for fuel, even with a full tank.
I never wanted this car to be one of those grandeous, over the top builds that never gets finished. The plan has always been, build it, drive it, enjoy it. God has thrown me a few curveballs over the years and is continuing to do so, but I'll persevere and get this car to the track, hopefully this summer.
More bodywork and pics of progress. Lots of body filler and sanding and shaping. Im pretty pleased how the flare is turning out. So much sanding!!!! Door gaps and belt line are lining up well. A lot of work but it came out pretty good. Drivers side came out well also.
With the fenders finished except for block sanding I turned my attention to the roof. When I got the car it had a dealer installed sunroof. It worked okay and didn't leak, but it didn't fit with the road racer look I'm trying for, so I took it out and welded in a tight fitting patch. Even though I used hundreds of tack welds over 2 days, trying not to warp it, it still sagged and puckered really bad. The inner roof support was cut out when the sunroof was installed so there is nothing supporting the roof panel and helping hold its shape. I welded in three 2x34 16ga strips to the underside of the roof, while using a small bottle jack to push the roof skin up. Of coarse when I removed the jack the roof sagged some but not as bad as before. To hold the roof skin up and allow me to adjust the curvature I made some adjustable supports out of 1 1/4 angle iron and 5/16 carriage bolts. I made a template of the curvature of the roof.
The adjustable supports were welded to the halo bar of the roll cage. Here you can see the supports welded to the halo bar. The long carriage bolts push up against the 16ga strips . The strips help spread the load across the roof so it doesn't "tent" up just above the bolt head.
So, another day spent out in the garage. I've pretty much got the entire roof roughed in and shaped. I put a guide coat on before I stopped for the day. I'll lightly sand over it tomorrow to find the high/low spots.
I didn't take pictures as I smoothed out the roof, but basically I ran a 6" orbital sander with 40 grit over the roof to rough up the old paint and show the high and low spots. The high spots I tapped them down with a hammer and the low spots I filled with a fiberglass based body filler. When the fiberglass dried I covered the entire roof with a thin coat of the fiberglass filler and let it dry. I then used the 6" orbital to sand down the fiberglass and work on getting the curvature of the roof back. After 2 applications of the fiberglass and sanding, I switched to a lightweight body filler. Again 2 coats with sanding in between and the roof is looking pretty good. Hopefully more progress tomorrow.
8P
So I've been working on the body now fo
r a few months and am finally getting to the end. Fenders and doors were painted a couple days ago and all the rest of the removable body parts will be painted by the end of the week. Seeing how the doors and fenders turned out makes all of the hours spent shaping and sanding the panels worth while. Feeling excited. More pictures later.
Finally, after 14 years, the car is one color and looks good. It is very close to how I envisioned it when I first started planning this build. The car is far from finished but this is a big step forward.
The last few pictures of the car painted were taken just before I left to take the car to the biggest annual car show in my area, about 20 miles away. Even though the car hasn't been driven hardly over the last 9 months, it fired right up and the Fitech injection was very responsive. The McLeod hydraulic throwout bearing went out, just as I got to the venue and was sitting in stop and go traffic for nearly 30 minutes. There were no leaks and the clutch started working again after sitting for about an hour. Buddies at the show said that they have had similar issues with hydraulic throwout bearing assemblies, with fluid boiling from exhaust heat. I assumed that was my problem and figured I swap fluid to high temp dot 5, and put heat wrap on fluid lines. I lost the clutch again on the way home and even after cooling down, and trying to bleed the system I could not get the hydraulic tob to work again. I ended up pulling the transmission and disassembling the tob. The piston was stuck in the bore, and you could see where the factory installed fittings protruded into the bore slightly, chipping little pieces off the edge of the aluminum piston.
Edge of piston chipped away by factory installed fittings.
To resolve my clutch problem, I replaced the McLeod tob with a Tilton unit. Tilton's tob is a much simpler design and is much easier to set up. While everything was apart, I replaced the Centerforce clutch assembly and the LT1 16lb cast flywheel with a Ram 26lb steel flywheel and a Ram dual friction clutch assembly. The pedal feel is a little bit lighter, but the big difference is how easy it is to take off from a dead stop with the heavier flywheel. With the lighter flywheel I had to always rev the engine to at least 3000 rpm and really feather the clutch to keep the engine from bucking, or stalling. Now with the heavier clutch, I can leave at 1500 rpm and not have to slip the clutch hardly at all. This is a real drivability improvement, as I like to take the car out as often as I can.
With the clutch issue fixed and the weather getting cooler, I decided to work on making the car more "finished", and less of a tin can. A couple friends of mine had leftover heat/sound deadening mat that they offered me, so I decided to strip the interior and put that in. That trip to the car show in 90* temps was pretty toasty. The car didn't overheat, but I sure did. After the insulating mat was down I started putting down the carpet. My floor pans are modified so factory replacement carpet won't fit. A few years ago I bought 3 5'x7' rolls of light weight, indoor/outdoor carpet at a discount store. The carpet has no backing on it, which allows it to stretch a little and conform to contours of the floor. Still, it takes several pieces to cover each side. I used heavy contractors paper that you can buy at Lowe's, to make patterns for the pieces. I cut the carpet pieces a little oversize and then trimmed as needed. Tunnel and driver's side is done. 7 seperate pieces to cover the drivers floor. I used 3M spray fabric adhesive to glue directly to the kilmat.
I almost forgot, I installed the NASCAR style door bars. The bars are preformed pieces from Allstar Performace. They are 1 3/4" diameter, .090 wall thickness and made to fit a 42" span between the A and B pillar tubes. My A to B distance was about 43 1/4" so I had to lengthen the bars a little. I cut the bars in half and slipped a piece of 8" long, 1 1/2" diameter, rollbar tubing inside. After positioning the bars in the car, I tack welded them together, removed them and then fully welded the inner tube to the outer, including 4 plug welds on each side of the cut. To further strengthen the cut area, I welded the door bars spacer over the sliced area, making the spliced section triple thickness of the original bar. Should be strong enough. Fitting the door bars. Here you can see the spliced section in the ceter of the bars. I feel a little safer now with the bars in place, since the doors are just gutted, tin shells.
The McLeod hydraulic throwout bearing went out, just as I got to the venue and was sitting in stop and go traffic for nearly 30 minutes. There were no leaks and the clutch started working again after sitting for about an hour.
I had the same issue when I was at a cruise in. More stop than go for about an hour and the fluid boiled out of the reservoir. I was able to pull over and let it sit for about an hour and it has worked perfectly since. I have an original replacement TOB from a GTO with a McLeod RTX dual disc.
Nice to see that you are driving your art work.
I have since learned that this is a common problem with hydraulic tob and the usual fix is to use high temp dot5 fluid and put heat wrap on headers and the fluid line to tob. I have done both so hopefully no more clutch issues.
I continue to peck away at the interior and made a headliner panel out of luan plywood. When I first built the roll cage, I decided to make provisions to attach a headliner to the halo bar, both for appearance and to block heat coming through the uninsulated roof. I had welded in mounts for dzus fasteners to the inner circumference of the halo and then cut a cardboard template to fit. I transferred the template to the luan, cut it out with a skill saw and used pop rivets to secure the dzus screws to the luan. I'll cover it with the same
carpet as used on the floors. Since I have extra luan, I think I'll make a second panel to fit behind the main hoop and cover the roof area between the main hoop and rear hatch.
When I first built this car l switched the brakes over to manual brakes. I moved the pushrod pin up 2" to get a 6:1 pedal ratio, reinforced the firewall to prevent flex, and tried to match a master cylinder bore size to my LS1 brakes. After looking at different charts on the web I first went with a 7/8" bore Mopar style master cylinder. Nope, very low pedal. 24mm (0.945") bore was better, but still had to double pump the pedal to get a firm brake. Stepped up to a 1 1/16 bore and now have a high firm pedal. Just to give me a little more peace of mind, I plumbed in front and rear brake pressure gauges that I mounted just to the right of the instrument cluster. Now a hard push of the brake pedal will get me 900lbs of hydraulic pressure to the brakes. My homemade manual brake conversion...1/2" aluminum mounting plate, adjustable pushrod, pushrod pin moved up 2", Dorman mopar master cylinder. About $50 total.
Another big project I took care of last year was to totally rewire the car. I had originally reused the factory c100 plug and wiring, cutting out what I didn't need and adding what I didn't have. It kind of worked ok, but the birds nest of wires under the dash was a nightmare. My car is pretty basic electronically, no heat, no stereo, no pw, pl, pseats, but I needed more than a basic 12 circuit universal wiring kit. I settled on a 21 circuit kit from Speedway. It's a nice kit, wire is good quality and plenty long. The fuse block integrates the turn signal and 4 way flashers so it's compact. What the kit does not include is any type of wiring diagram. The wires are all labeled headlights, ignition, turn signal, but how they actually wire into the car is up to you to figure out. A good 3rd gen wiring diagram and a lot of patience will make the job go better.
I don't like sticking my head under the dash to check fuses, and since I'm building the car I decided to make a slide out drawer on the passenger side of the dash to hold the fuse box and possibly an msd box someday. Slide-out electrical drawer Fuse box mounted Drawer closed. Not shown are the 3 10-32 thumb screws that secure the drawer when closed. After the new wiring was routed it was all covered in a nylon wrap. This was much easier to use than the factory corrugated plastic loom. Behind the dash is much less cluttered.