When you click on links to various merchants on this site and make a purchase, this can result in this site earning a commission. Affiliate programs and affiliations include, but are not limited to, the eBay Partner Network.
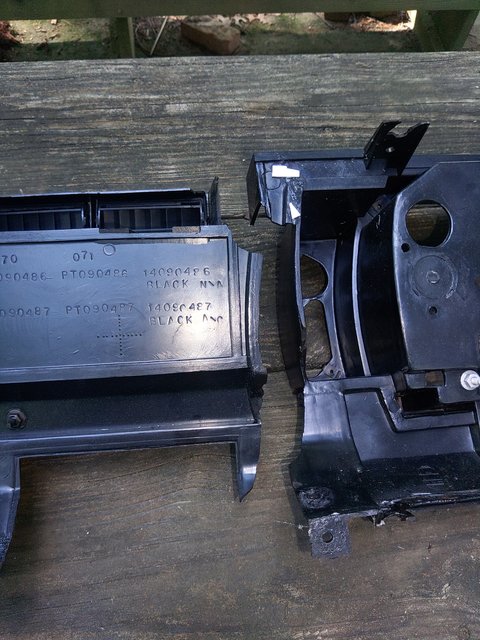
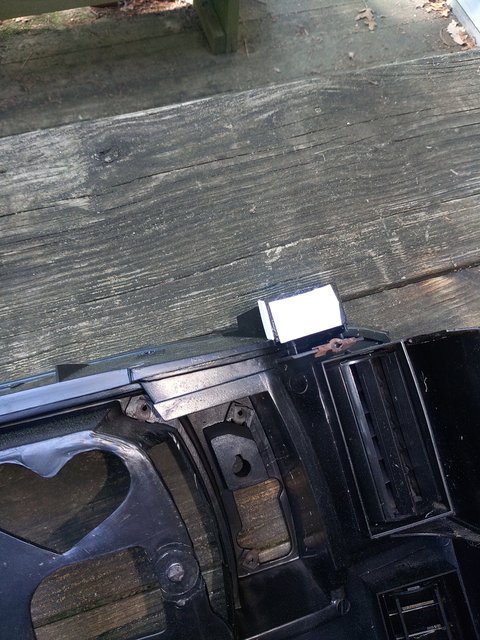
So like many the plastic dash frame/front has broken and crumbled over the years. It broke in 1/2 at the middle by the rt drivers bezel down to the radio. Of course, finding the right glue was hard none of the epoxys work in the least. I stopped by a model store and was recommended this stuff-
It works.
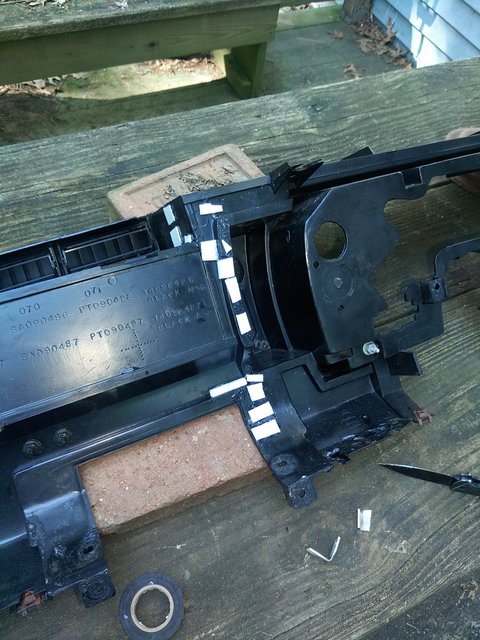
So I hit up Hobby Lobby to get some sheet plastic to cut as reinforcements.
All the years of making model airplanes is coming in handy with this 1:1 scale car.
It was bitch to get out I hope I can get it back in once piece.
What type of plastic did you use as a reinforcement? I have the IP out of my 88 right now and was just sitting here contemplating the crack repair. Thankfully, mine didn't split in two yet
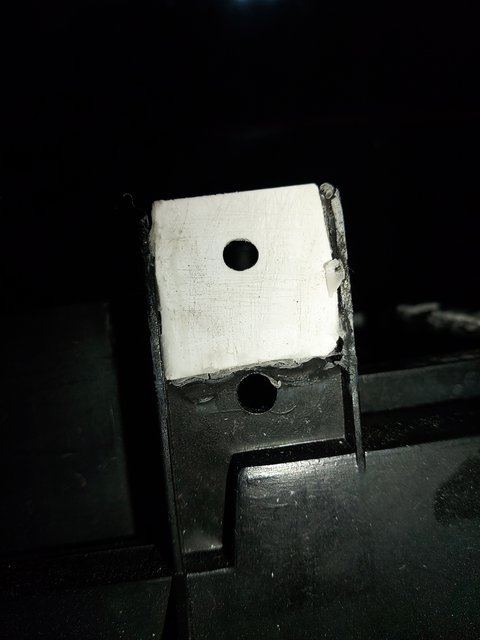
So I took paper to trace the missing pieces. I score the plastic and break it like glass. Some dremal and sanding later to make it fit close. Added braces to reinforce them. I painted it with semigloss so it blends in as much as possible.
I riveted mine back together w/some sheet metal braces. Broke in half like yours too. Eight years and going still. Not to steal your light, here's some pics.
Yellow represents the braces. Top line goes across the vents.
Side view.
Some of the braces.
Dr. side corner, same for pass side.
So like many the plastic dash frame/front has broken and crumbled over the years. It broke in 1/2 at the middle by the rt drivers bezel down to the radio. Of course, finding the right glue was hard none of the epoxys work in the least. I stopped by a model store and was recommended this stuff- https://www.amazon.com/Coral-Glue-IC-GEL/dp/B00HNWQYPS
It works.
So I hit up Hobby Lobby to get some sheet plastic to cut as reinforcements.
All the years of making model airplanes is coming in handy with this 1:1 scale car.
It was bitch to get out I hope I can get it back in once piece.
"Rosco The IROC", Pleases ADVISE. if you get it in without it breaking!
I riveted mine back together w/some sheet metal braces. Broke in half like yours too. Eight years and going still. Not to steal your light, here's some pics.
Yellow represents the braces. Top line goes across the vents.
Side view.
Some of the braces.
Dr. side corner, same for pass side.
I had used braces like that at first. Mostly to hold up my CB radio I mount under the vent. I thought that's what broke it till reading other cases on here.
Originally Posted by 84 1LE
Not too difficult, just time-consuming. The biggest hassle for me was the wireing harness.
UGGGHH ain't that the freaking truth. Also, I need to put it in stages. I want to attach the side vents first but the damm harness is between it and the front, plus the metal frame. I wish I could pull it out, assemble it with the wire harness and fit it back.
Any suggestions?
Originally Posted by mikeceli
"Rosco The IROC", Pleases ADVISE. if you get it in without it breaking!
Good luck!
Will do. I just got in new jute padding I'm putting in and next week the struggle beings.
Easiest way for me was cutting the tape that held the harness to the dash. Then leaving the harness in place (mostly) on the car, but trying to keep it out of the way when re-installing the dash was another issue. I got the dash as close as i could to the firewall and still able to reach behind and re-tape the harness back. Not as pretty a job as factory, but i got the it re-taped and out of view and not in the way. Dash fit is good as before.
My 99 S10s dash harness just unplugs from the firewall on both sides and the dash just pulls away from the firewall. How i wish the camaro was like that.
About how many hours to remove and reinstall the dash? Not counting repairing the cracked dash? How many "cuss words" does it involve?
I lost track of the cuss word count, but after removing the gauges, dashpad, dropping the column, speakers, ducting, hush panels. Just with undoing the harness and pulling the dash out of the car. I'd say 30-40 minutes, adding the above plus one or two things I'm probably forgetting about. I'd add another hour and roughly the same when reinstalling everything.
Most cyanoacrylate adhesives get brittle with age. Initial hold is great, but after time, you're finding bits laying in the floorboard. Since that's the dash support frame, I'd back those repairs up with a couple of layers of fiberglass, just like repairing your boat or Corvette. We haven't had to do that on our '92, and I hope to never have to, but we have repaired the grill and headlight mounting frame on our '79 Seville and '86 SVO that way with good success. We epoxy the parts together with a 2-part epoxy, then come back with fiberglass cloth and resin. Double the layers on the hidden side. Then shoot the parts with a paint that closely-matches the color of the plastic and it's been good for several years.
Most cyanoacrylate adhesives get brittle with age. Initial hold is great, but after time, you're finding bits laying in the floorboard. Since that's the dash support frame, I'd back those repairs up with a couple of layers of fiberglass, just like repairing your boat or Corvette. We haven't had to do that on our '92, and I hope to never have to, but we have repaired the grill and headlight mounting frame on our '79 Seville and '86 SVO that way with good success. We epoxy the parts together with a 2-part epoxy, then come back with fiberglass cloth and resin. Double the layers on the hidden side. Then shoot the parts with a paint that closely-matches the color of the plastic and it's been good for several years.
What 2 part did you use?
I might have to try the fiberglass. I got the wires back in and the vent plumbing and things started to break again.
What 2 part did you use?
I might have to try the fiberglass. I got the wires back in and the vent plumbing and things started to break again.
Devcon 5 Minute Epoxy. The 8.5 OZ bottles are probably a lifetime supply, so they'll eventually age out, but worth getting for fixing things like dashes and other plastic bits. Here's a quick picture of the repaired headlight mount on our Seville. Hard to see, as it's painted, and now dusty. I used regular Bondo fiberglass patch to cover all the crack repairs.
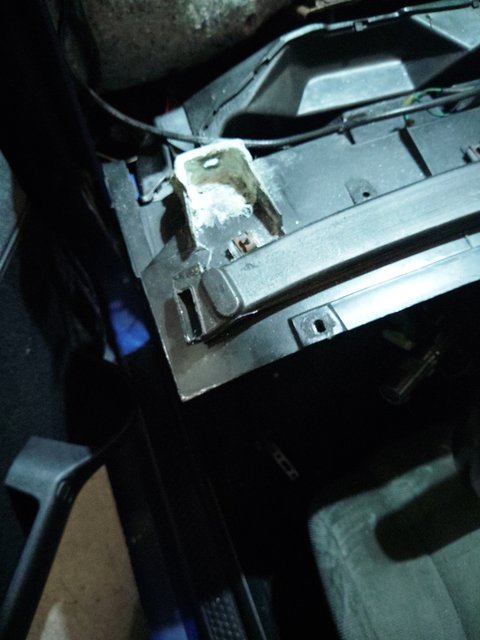
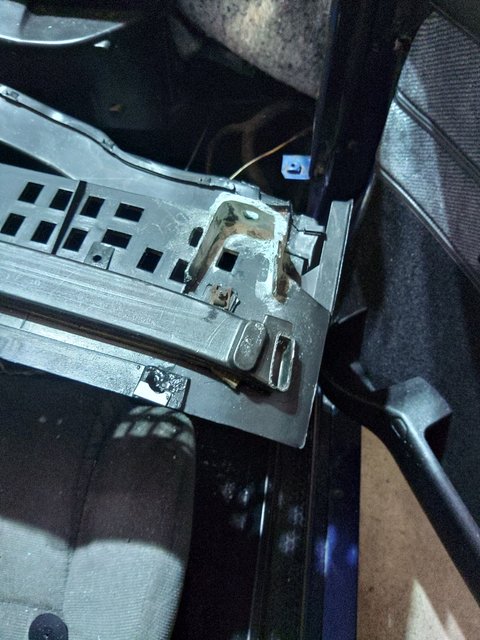
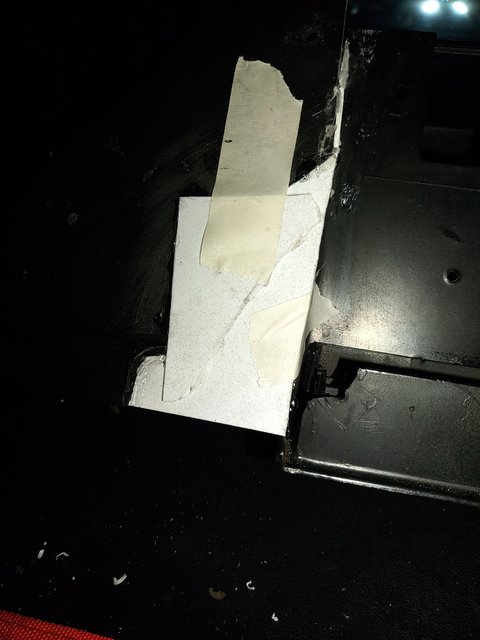
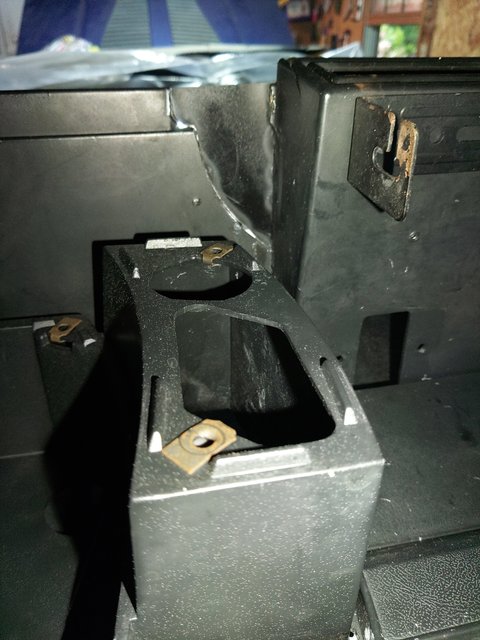
Finally got to work on the IROC again. I pieced together the dash but the fixes for the top attachments did not work. The plastic was shattered so I couldn't piece the mounts together and I couldn't find a good glue.
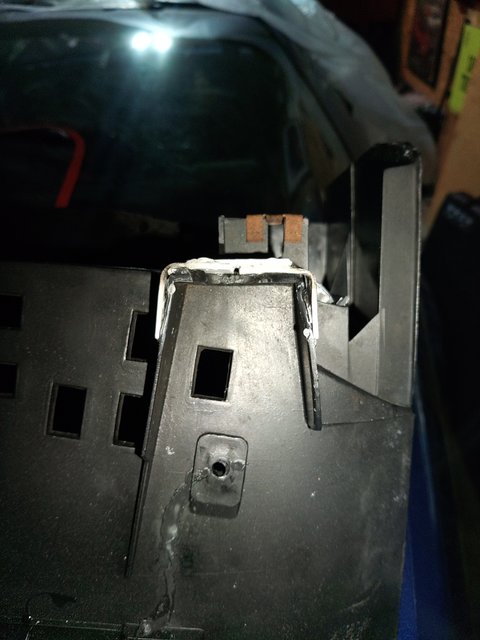
So I used long fiber fiberglass to remake the mounts. It's ugly even after sanding but it looks like it will work. It sucks that the can has tons of warnings but not a single word on how much hardener to use. So I hope it's right. After cutting the holes it seemed a little soft in the middle so I'm giving it a day more to cure till I try and mount the dash.
I got the dash shell back in, but I'm afraid my fix being thicker might screw up the dash pad alignment.
I attached the harness. Then put the HIVAC ducts in, screwing the end vents in was a PITA. One of the tabs to the center duck broke again and I added reinforcement and it's holding.
With a helper I rehung it and bolted the corners and top middle in first.
Now the hard part putting the guts back in all twisted up.
For those of us with the same split, what about making some sort of "Trim piece" to cover the crack? Having read this thread, I will not be pulling my dash, to fix it's crack. (And, I am NOT talking about the Dash PAD).
The drawback with fiberglass is it's notorious for cracking on its own. Not to rain on the parade, but be careful when tightening the nuts on that repair. Too much and it could crack, but I suspect with vibrations/ bumps while driving around may do the job and crack or delaminate it from the plastic.
The drawback with fiberglass is it's notorious for cracking on its own. Not to rain on the parade, but be careful when tightening the nuts on that repair. Too much and it could crack, but I suspect with vibrations/ bumps while driving around may do the job and crack or delaminate it from the plastic.
Indeed. You still have to treat the part like it's brittle even after the repair. I'll also add washers to spread the load of the bolt/screw some to try to prevent additional damage. I have, so far, been pretty lucky with the 'epoxy the pieces together, then cover with a layer of fiberglass' process. It's a mess, and smells until the fiberglass cures, but seems to do well.
The drawback with fiberglass is it's notorious for cracking on its own. Not to rain on the parade, but be careful when tightening the nuts on that repair. Too much and it could crack, but I suspect with vibrations/ bumps while driving around may do the job and crack or delaminate it from the plastic.


 We haven't had to do that on our '92, and I hope to never have to, but we have repaired the grill and headlight mounting frame on our '79 Seville and '86 SVO that way with good success. We epoxy the parts together with a 2-part epoxy, then come back with fiberglass cloth and resin. Double the layers on the hidden side. Then shoot the parts with a paint that closely-matches the color of the plastic and it's been good for several years.