When you click on links to various merchants on this site and make a purchase, this can result in this site earning a commission. Affiliate programs and affiliations include, but are not limited to, the eBay Partner Network.
LTX and LSXPutting LT1s, LS1s, and their variants into Third Gens is becoming more popular. This board is for those who are doing and have done the swaps so they can discuss all of their technical aspects including repairs, swap info, and performance upgrades.
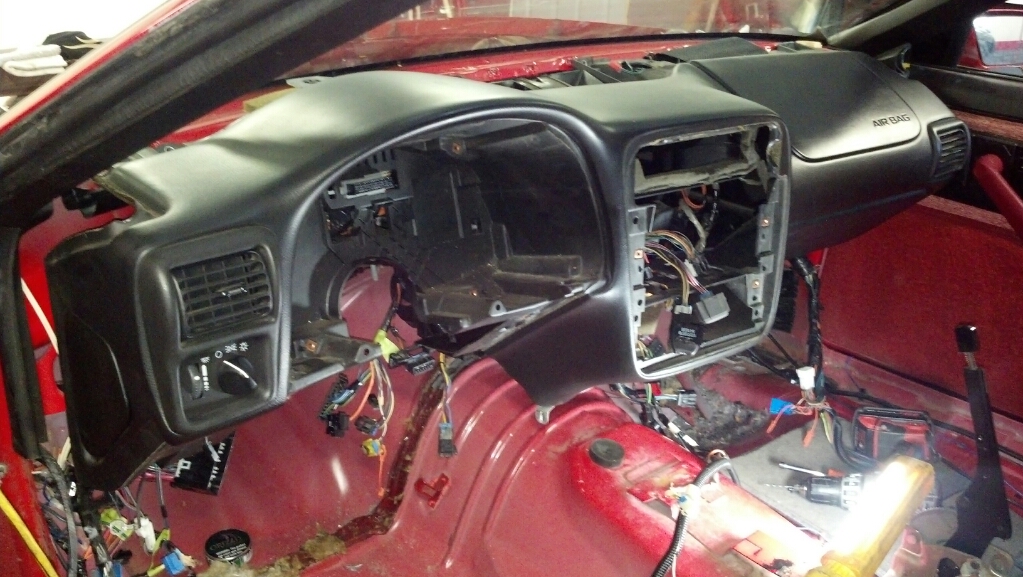
I had this awful miss that I couldn’t seem to tune out. My VE table for the enhanced speed density OS was spot on, and nothing seemed to be wrong mechanically. But, I was getting knock retard at moderate throttle and popping at high RPMs. And then…
Evidently, I never did replace the spark plugs after I removed them. It was on my “To-Do” list as part of the build, but I must have forgotten about them. For your reference, the TR55 above is gapped to 0.055” and the AC Delcos on the bottom are 0.125”-ish. Let this be a reminder to not overlook the small stuff…
I should have a nice driveline update to post within the next week or two. So, check back for new shiny stuff.
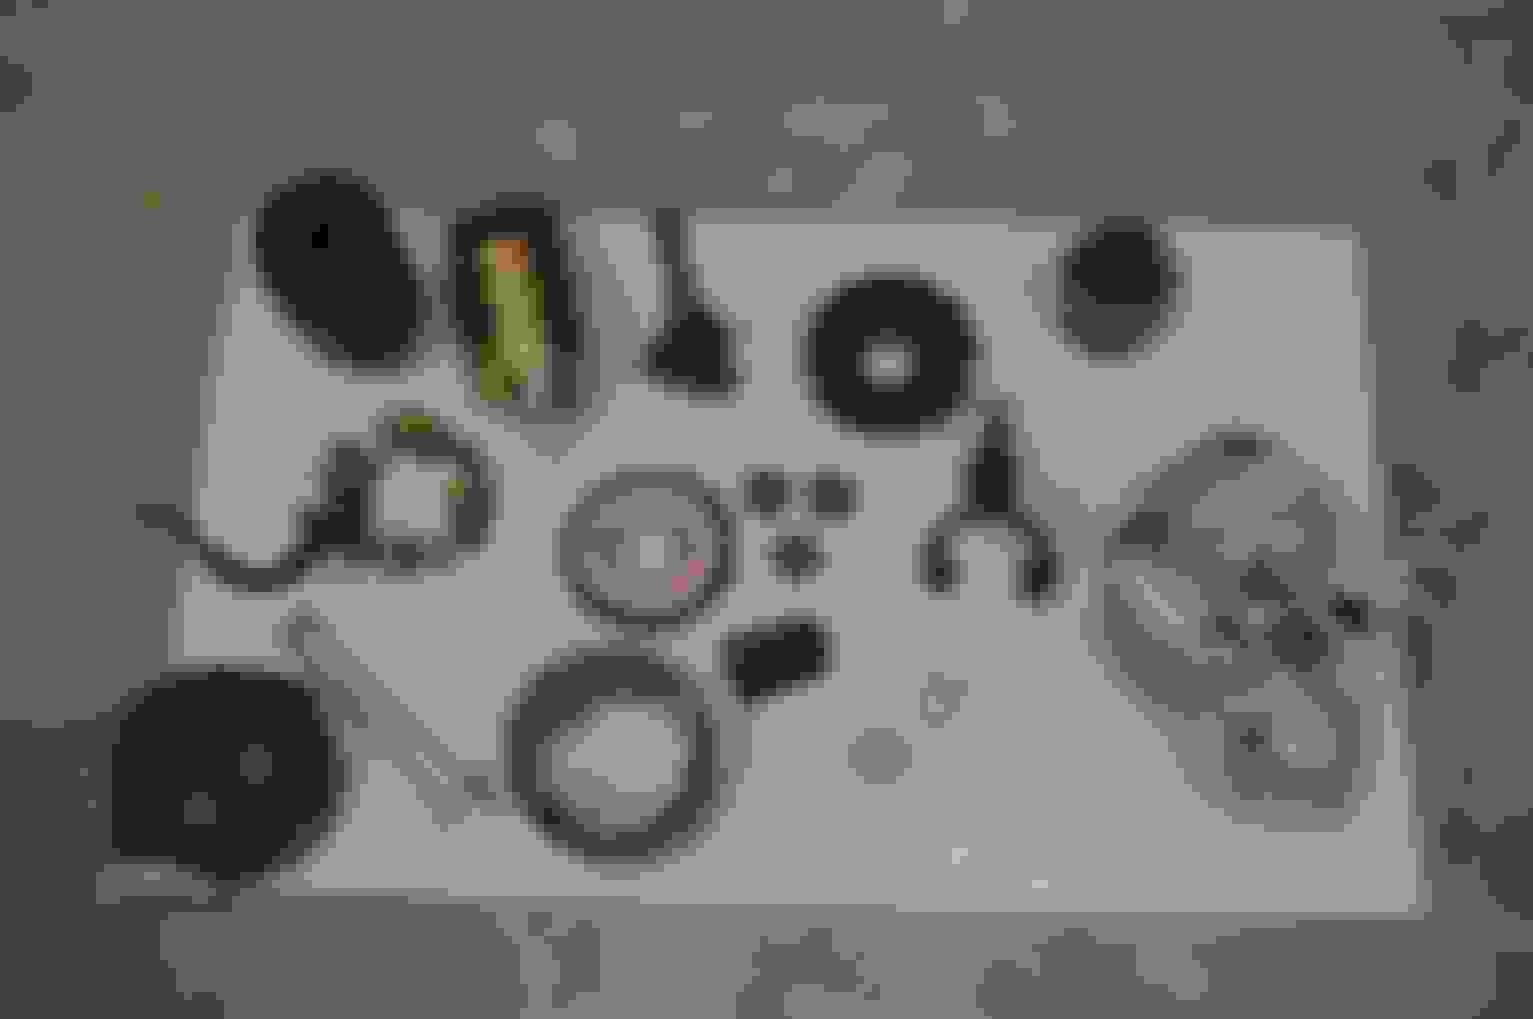
It's all the goodies for my new 9 inch rear. I un-boxed everything, and was going to post up the pictures, but I'm still waiting on my third member. When that shows up next week, I can get into the next phase of the never ending build.
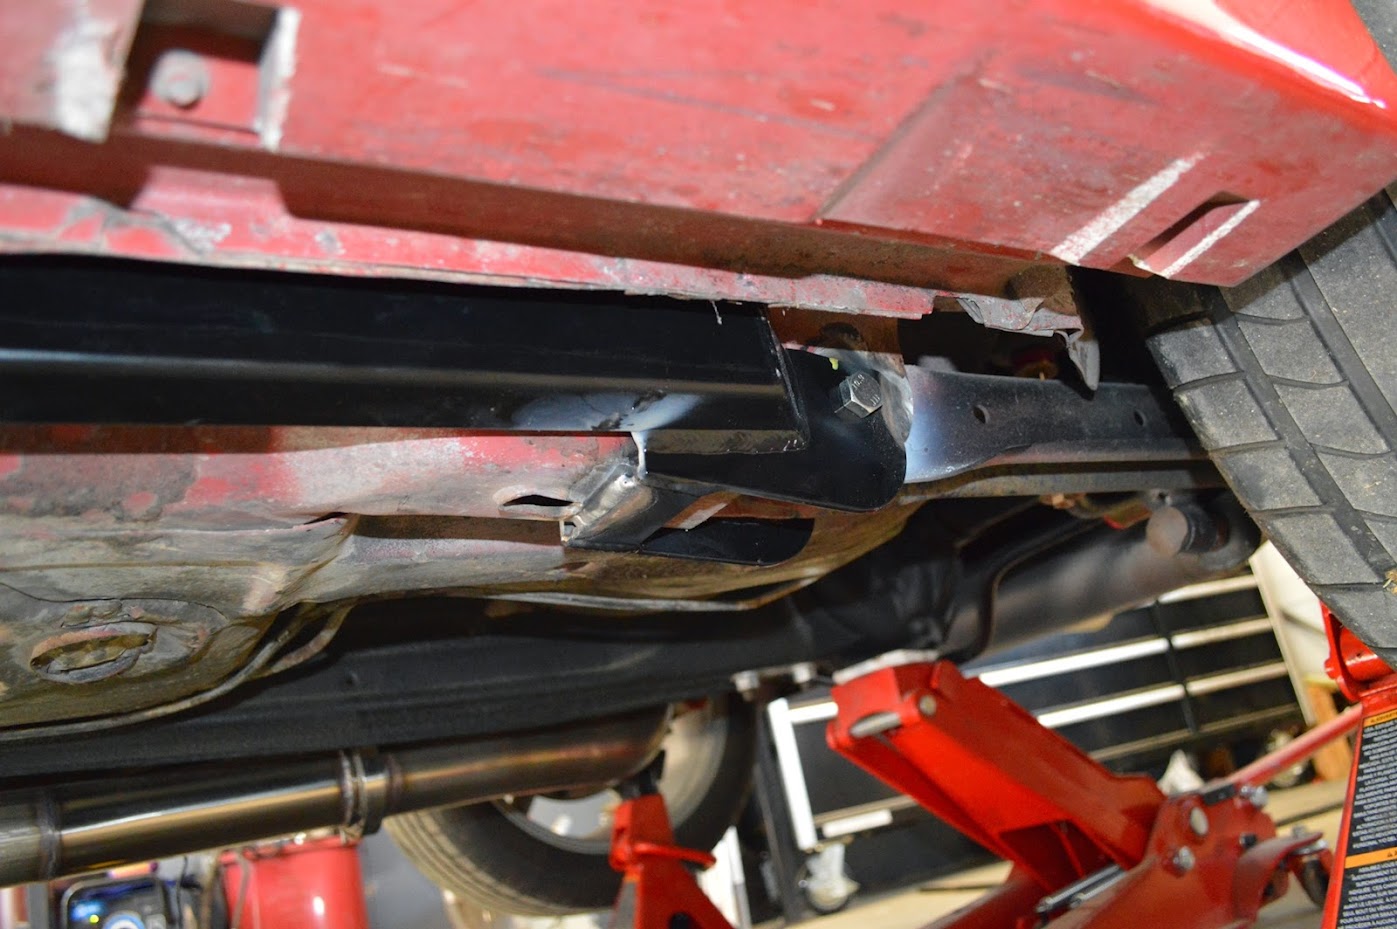
Finally got around to putting my UMI subframe connectors on today. I'm not sure how I feel about the welds, but hey... TIG welding under a car isn't easy.
The exhaust looks a little lower than it really is here.
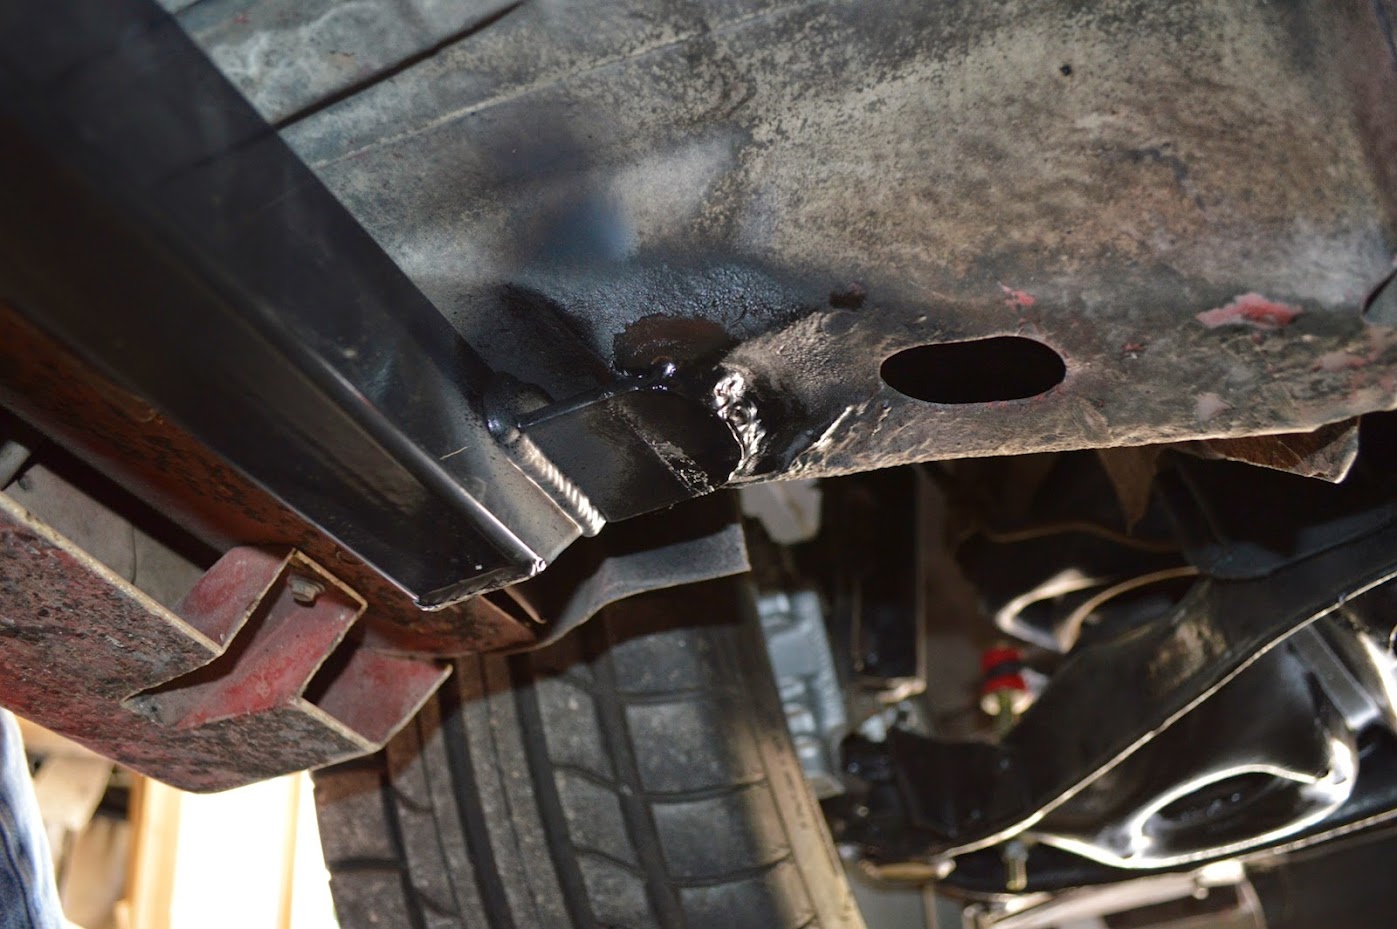
I couldn't get to the inside of the LCA pocket, so I welded the strap on the bottom.
All things considered, the driver's side fit up pretty nice.
I read someone's review stating that the SFC's made their car drive like a 3 Series. Interestingly, I have an '09 335i. They don't drive the same... at all. However, the ride and stability is much improved with the addition of the UMI pieces. The rattles are definitely reduced/eliminated, and the car just feels way more solid. I don't know why I didn't do this years ago.
I heard from Quick Performance that my third member shipped on Friday. So, I should have that mid-week. I am looking forward to getting the 9 inch and 4.11's in the car.
On another note, I think I need a crank or cam position sensor. The car backfired and stalled out on the way home from a short drive. Which sensor would interfere with spark, crank or cam?
Last edited by abadv8; Jun 15, 2014 at 06:20 PM.
Reason: Fixed spelling and grammatical errors
I'm also wondering what proportioning valve to got with, I have 2010 camaro brembo brakes, also can you explain what you done to get your t56 set up right? your work is great, thanks
Originally Posted by abadv8
Crap... my proportioning valve was a complete no-go. What are you other drum to disc converts running with?
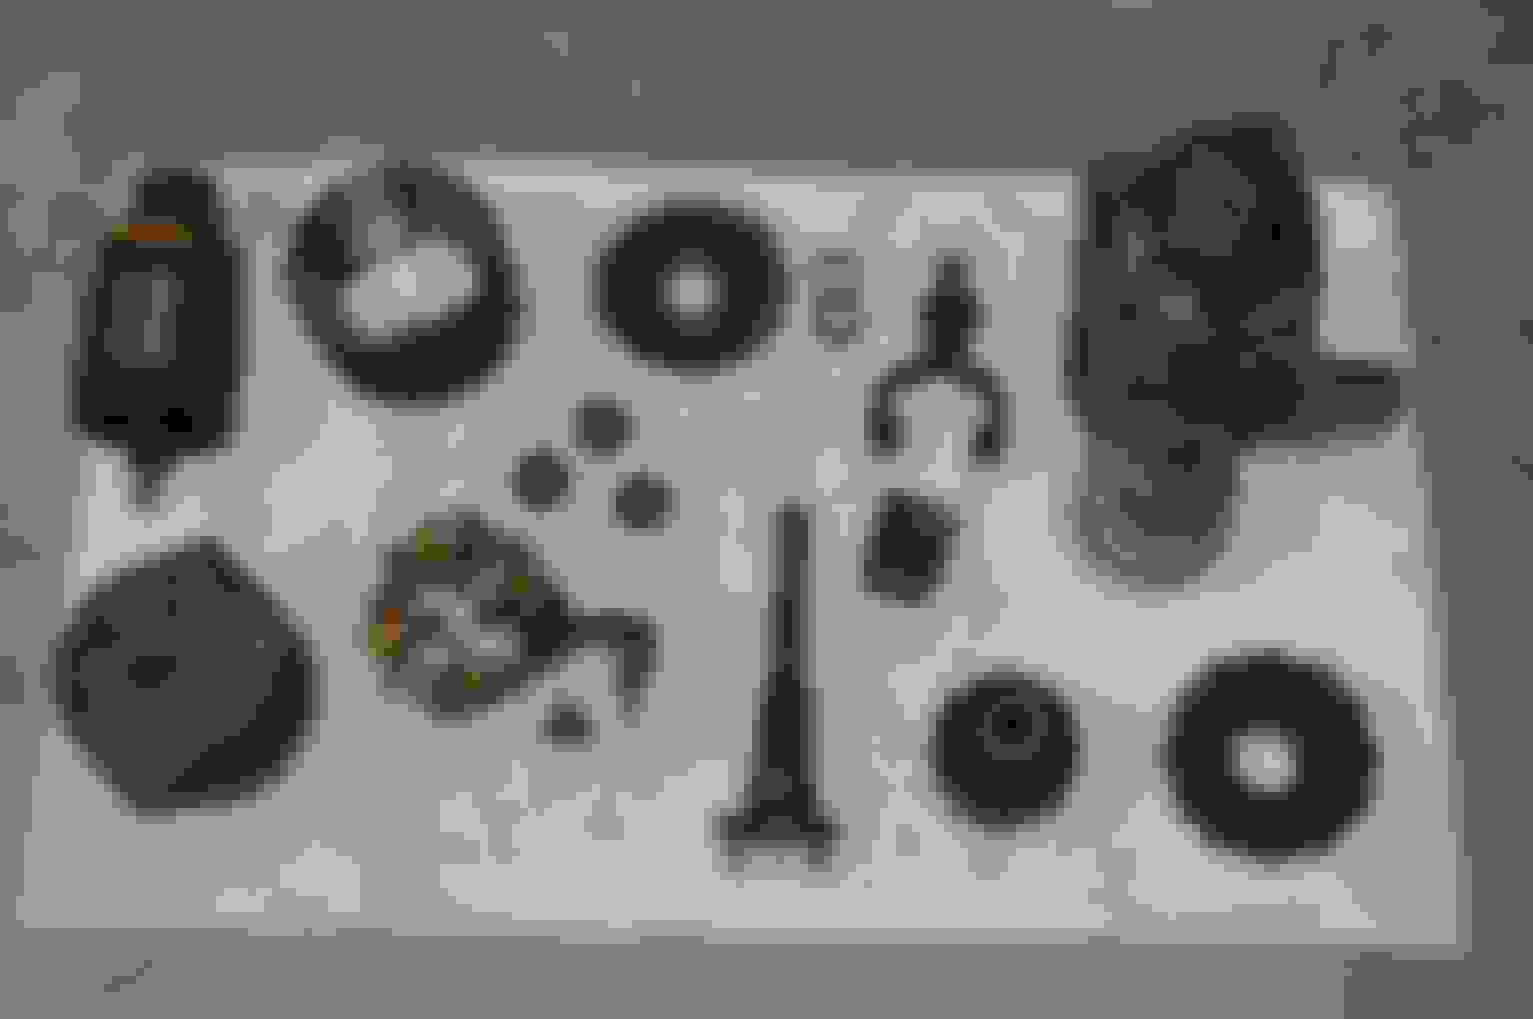
Finally wrapped up the install on the 9 inch. I'm tired of working on it. Apparently what a vendor considers "bolt-in" and what I consider "bolt in" are two very different things. I guess when I think of bolting something in, it doesn't conjure up images of cutting, grinding, pressing, drilling, and welding. But, maybe I missed something.
Below is a picture of everything that was installed (minus the torque arm bracket).
I started out with good intentions of photographing everything, but I just got burnt out with it. This is a shot of welding on the sway bar brackets.
I ordered the BMR brackets, for 3 inch tubes, but the radius was just a little large. Hopefully this will hold.
As previously mentioned, I did get it all buttoned up and took it out for a drive. The 4.11 gears are a fantastic change. I need to tweak my speedo just a bit, as it reads 1.5 MPH high at 60.
Also, I really like the QA1 panhard bar. Centering the rear was super easy.
I'll see if I can some pictures of the rear in the near future.
Very impressive stuff man. Wish I knew how to weld, would make a lot of my project so much easier. I have those same subframe connectors but I cant install them at the moment because of my lack of welding knowledge. Will probably get them installed by a shop when my car is running but Im sure I will have to pay an arm and a leg for that.
Also really like that rear end that you installed. Sorry to hear it was such a pain in the *** to install it. How does it line up all installed? Tires nice and evenly spaced on both sides? Really like your car. Has given me more than a few ideas.
I wound up cutting 2/3 of a coil off each rear spring to adjust the ride height a little. So, it was pushed out to the driver's side, but not much more than with the 10 bolt. However, a couple of quick turns on the QA1 panhard bar's adjuster sleeve, and it was centered (I really like that piece).
I knew it wasn't going to be a fun and frustration free install. But, I wasn't expecting some of the little caveats.
For example, the studs for the third member were slightly out of alignment. I pressed them in, and they were all at slightly different angles. I discovered this after I had the sealant on the housing and was trying to set the third member in. It was my fault for not dry fitting it first.
Then there was the brake backing plates. Quick Performance was good enough to include new T-bolts, but they were too short to use the lock washers. I will need to pull the brakes off again and see if i can find longer T-bolts. If I can't I'll just grind down some regular hex head bolts long enough to accept lock washers.
QP sends sealed bearings. However, they also recommend that you install a lip seal into the housing itself. This is all good and well, but the wider inner race of the sealed ball bearings, the large retaining ring, and the installed depth of the lip seal did not jive. I'm fairly confident that the retaining ring is hitting the face of the lip seal. I guess we'll find out how much after I put some miles on it.
The caliper hose and parking brake cable bracket needed to be cut off, as it was not wide enough to fit over the QP lower control arm brackets. In the future, I'll weld them directly to the brackets. But, for now, they're held on with half of the original bracket missing.
Possibly the most exciting part was pressing the old U-joints out of the LS1 drive shaft. They are retained by some sort of injected polymer retainer. When they let go in press, they make an unmistakable sound.
All things considered, it wasn't a horrible experience. However, it's definitely worth noting that you are not going to install one of these with a socket set and some hammers.
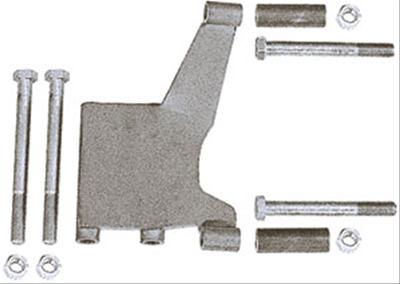
Could you tell me as much as possible about that 9" housing, specifically the torque arm mount. It's the exact kind I'd like to install on my currie housing.
I can tell you whatever you'd like to know. I think Five7Kid was running one, and had some bad luck with the heim joints and deflection. However, they use what looks like a heavy duty eye bolt now. There is no spherical component to the joint, so there is no lateral movement.
Basically, you have two 3/16" thick tabs welded to the housing on top, and the same on the bottom. The eye bolt goes between those tabs. Once everything is torqued down, it feels pretty solid. I didn't have any fitment issues with the torque arm itself, but I used the OEM piece from the fourthgen.
I still need to take pictures of the installed rear. So, if there is anything specific that you want to see, let me know.
Cool. The bottom one is the Currie 9" mount and I'd like to replace it. Here's some threads I made about my Currie 9". I like seeing threads with fab/9" content and figured you might too:
Had the car out for a 60 mile drive today. There was some state highway, some interstate, and some city driving. I was a little bit nervous about the RPM's on the interstate, but I think I can live with it (~1700 RPM @ 70 MPH).
The gear set has developed a very slight whine under light throttle while decelerating. Cruising at constant speeds, accelerating, or decelerating produces no gear noise. Overall, I'm satisfied with the performance and noise.
Also, I think I have found and corrected the culprit for my occasional stalling and failure to start. The wires for the crank sensor were quite brittle and one had some bare wire showing through one of the cracks. This bare spot was right next to the solenoid on the starter. So, my guess is that it would occasionally ground out on the starter and shut the car down. Then, messing with the wiring harness up by the cam sensor was enough to move the cam sensor wiring away from the starter again. That's my theory and I'm sticking to it.
I think that next on my list is the suspension. What are my options to keep the ride height I have and take some of the harshness out of it? Or, is that even possible? I'd like something that doesn't rattle the car over every break in the concrete or asphalt.
I'll be putting some final touches on the rear install this weekend, and should have some installed pictures to the new rear to post (if I can fit under there with the camera from decent angles).
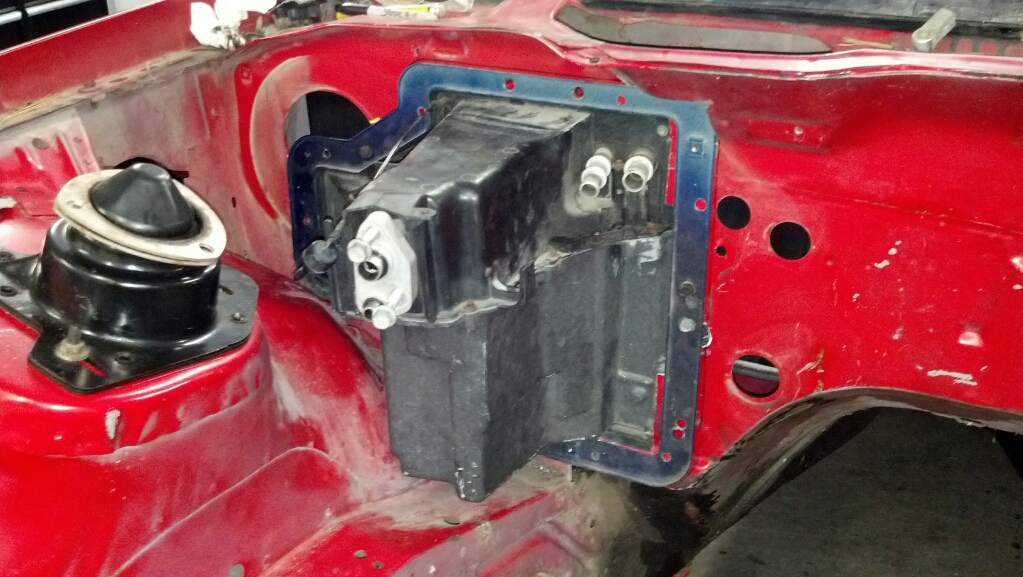
I got back from my Pacific Rim trip on Thursday night, spent the better part of the day on Friday trying to get back on North American time, and was able to put a few hours into the project on Saturday. Below is what I've managed to do...
First, I got the the HVAC box roughly fitted to the firewall. There should be minor plugging and filling to do for the old heater hose and blower wheel holes. But, I think with a coat of paint, it should look pretty factory.
I had to cut into the cowl a bit on the upper right hand side to allow the flange to sit flush. This should be pretty easy to box in.
The box sits very close and tight to the strut tower. I don't think that this will be a long term issue, and once the fitment is final, should fit a tad better.
The dash dropped right in, and the ducting is a perfect match.
I'm not sure that I'm happy with the gap on the driver's side. Did any of you notice that your dash swap seemed to be shifted to the passenger side by about an inch?
That's all for now. I'm hoping to get back out there and finish up the sheet metal work for the box today. I just wanted to ping those that have installed the dash before, and see if you felt it was perfectly centered or shifted to the passenger side.
Thanks!
Looks great... im also in the process of doing the same thing. Im not retaing the fresh air though. Im just going to mold the top cowl vents with bondo so that no water enters the cowl. I found rust under the drivers side dash so im just omitting the problem
[QUOTE=Mr Pain;5798476]Looks great... im also in the process of doing the same thing. Im not retaing the fresh air though. Im just going to mold the top cowl vents with bondo so that no water enters the cowl. I found rust under the drivers side dash so im just omitting the problem[/QUOTE
]
Perfect place...especially if no adding wire extensions is necessary! ! Ill be installing mine here also. Im also using the ENTIRE wiring harness inside engine bay and inside car.
Yes, I did measure the primaries. They are 1-3/4". Racing Innovations only offered them for a short time, and then transitioned to 1-5/8" (presumably because they were a little cheaper).
do you remember having any plugs left over for the doors? im in the process of wiring my doors up and have 2 plugs i i cant id. one is blk/gray and goes near the lock and the other is near the window motor and is y/b/Lite bl/dark bl
i already have the windows, locks and mirrors wired
do you remember having any plugs left over for the doors? im in the process of wiring my doors up and have 2 plugs i i cant id. one is blk/gray and goes near the lock and the other is near the window motor and is y/b/Lite bl/dark bl
i already have the windows, locks and mirrors wired
This is probably way late. But, I think those are for the speakers. The door speakers on the 2000 were a 4 wire setup (one set for subs and the other for tweeters).
Great build, I'm working on mine now removing the old hi mileage L98. I would love to have your welding skills. I really need the equipment so I can practice welding. I can stick metal together but it ain't pretty. I have had some training but nothing serious.
My advice for a home welder would be an AC/DC GTAW (TIG), since you can weld anything with AC/DC. It's way too easy to make beads that look nice on a GMAW (MIG), but don't have the penetration. TIG forces you to learn about penetration and puddle control. And, if you can TIG, you can pretty much weld with anything. TIG also forces you to prep your joints, as it isn't as easy to fill big gaps with a TAG, as it is with a MIG.
If you want to get into it, and if I can help, let me know (I'm on the other side of Atlanta).
Hopefully nobody minds me updating this with repair info. I searched for information on the PG260 starter, and it was pretty sparse. Additionally, I believe that this hobby is about learning and doing it yourself, so the goal is that this is helpful.
So, my starter died about two weeks ago. I took the car to work and when it was time to leave, all I got was a "click". Persistence paid off and after about 50 repetitions the starter caught and I was able to get it fired up and drive home.
My diagnosis was that the solenoid was bad. I've seen this before and repaired it on other starters. So, I tore it down and headed off the to the parts house for a new solenoid. Apparently they don't sell anything other than complete starters nowadays. My options were to purchase a re-manufactured starter for $190 or order the replacement solenoid from an online source for $13.68. I chose to order the solenoid. Since I had some time to wait, I decided to check over the rest of the start assembly. Below is the process of tearing down and reassembling the PG260 starter.
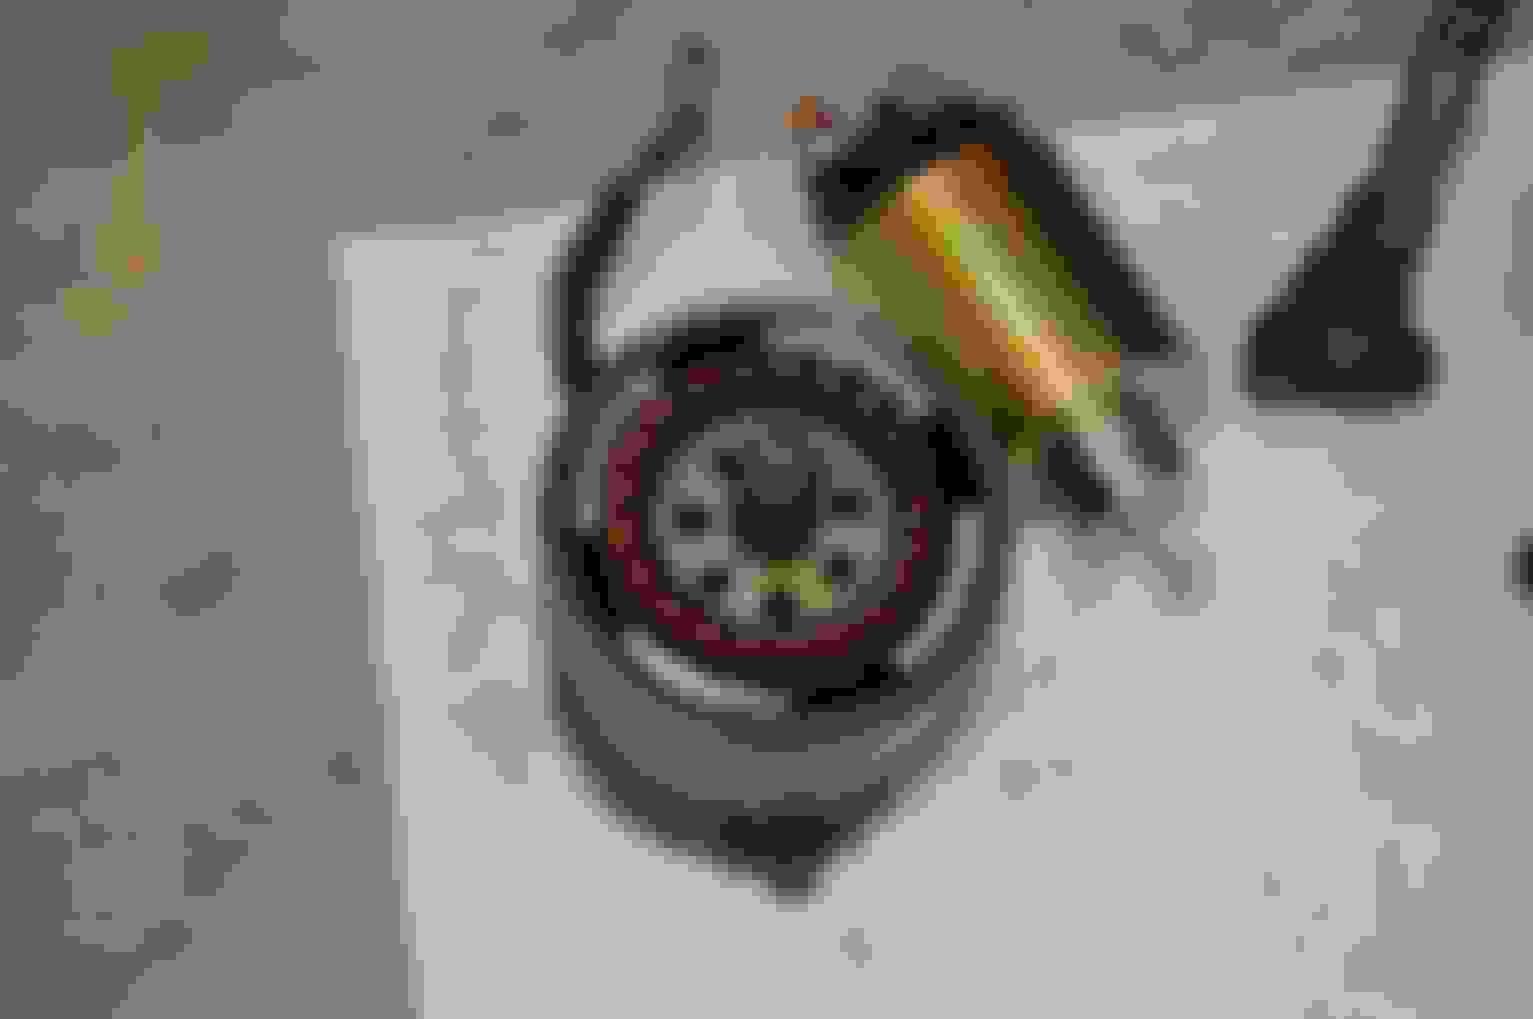
This is what I am working with. A circa 2000, original GM PG260 starter. It's seen better days...
After disassembling, everything looked pretty terrible...
Nothing a good cleaning can't fix. I got to try soda blasting. The jury is still out on that one. I wasn't terribly impressed...
Time for reassembly. To start, put the cummutator assembly back into the can. Put a dab of grease in the bushing cup. Note the pieces of aluminum welding rod holding back the springs for the brushes. You pull those after the rotor is installed.
Once the rotor is installed, you can install the stator housing. The stator housing is design to fit only one way. Align the smaller indexing notches with the cutout on the commutator can. Tech tip: use a long bladed driver of some description to hold the rotor down, or the magnetic force of the stator will pull it up and out as you install the stator housing.
Next up, install the shaft/sun gear into the ring gear. I didn't show it, but i put a dab of grease on the bushing in the ring gear. I used hi temp brake grease for all of the lube in the starter.
Wipe some grease on the helical splines for the bendix assembly.
Install the bendix. I'm not sure if that's the proper term, but it's what I've come to know it as. It's the sprag clutch mechanism...
Install the spacer/retainer, snap ring, and thrust washer. Then put another dab of grease on the end of the shaft.
Coat the groove for the throw out arm with more grease. This will not only lubricate, but also hold the arm in place during assembly.
Install the throw out arm, as shown.
Pack the planetary gear assembly with grease and insert the planetary gears.
Drop the drive assembly into the housing. It's a tight fit, and you'll need to pay attention to ensure that the shaft fits into the needle bearing or bushing at the nose of the housing.
Install the rubber seal/isolator/plug into the housing.
Slide the motor assembly into the drive assembly, and tighten down the screws. The stator housing is design to fit only one way. Look for the stampings and align them with the notch for the throw out.
Install the new solenoid, paying special attention to indexing and engagement with the throw out fork.
That's it. Hopefully this saves someone else $170 in the future.
Good repair, does it work. I, like you am into doing my own repairs. Years back we could go up to the parts counter ask for a solenoid, bendix, or brushes and do our own repairs. but not anymore they don't stock a lot of these parts. I'm planning to do my 4L60E rebuild, I've done many transmission repairs and rebuilds but not on the 4L60. Wish me good luck.
Is this your first electronically controlled automatic overhaul? They really aren't that bad, just be meticulous and really clean out the valve body. Everything else is pretty much the same as it's always been.
I'm doing pretty much the exact same swap and I have a couple quick questions. I want to do the same HVAC swap, and I see everyone using the same mounting ring. Is that just cut out of the 4th gen firewall?
Also, did you retain RAPS? The 4th gen used a different style door switch and I wondering how you converted the wiring.